A Maintenance Oriented Podcast For Airplane Owners, Pilots, and Mechanics

Year: 2016 (Page 2 of 5)

037 – Total Electrical System Failure, and One Way to Avoid it in Your Airplane

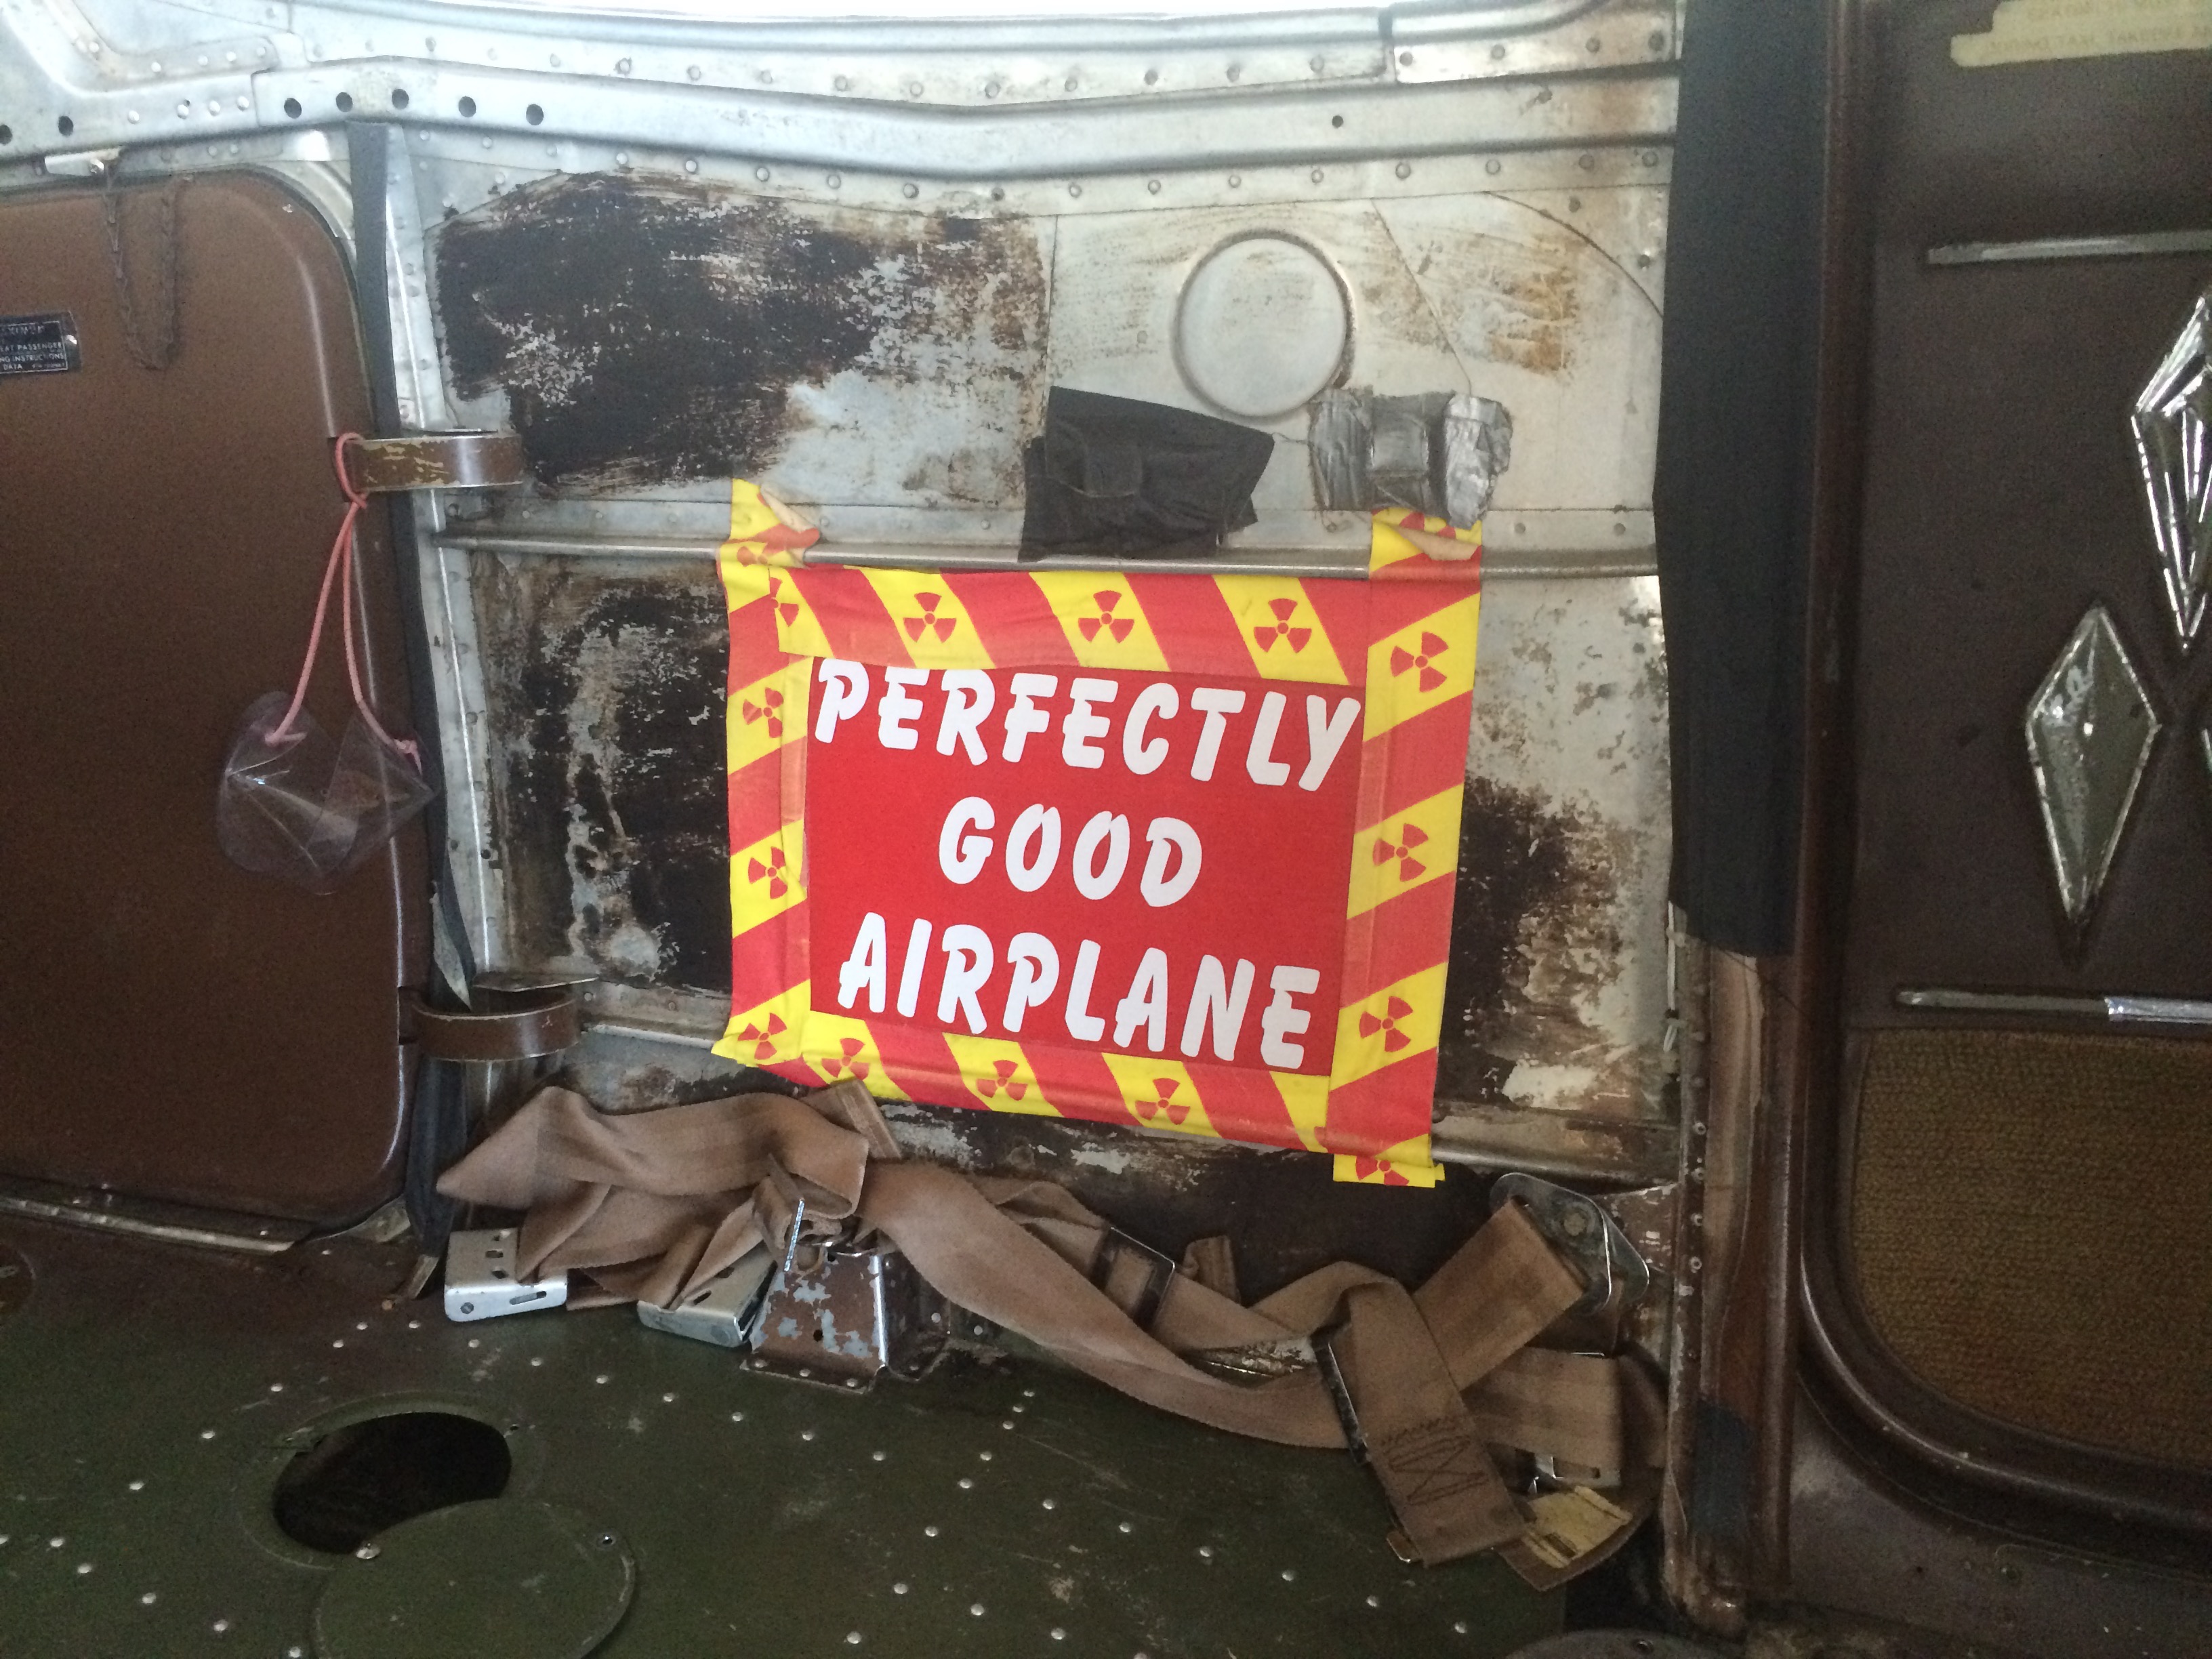
When it comes to flying an airplane, total electrical system failure is something you hope to never experience in real life.

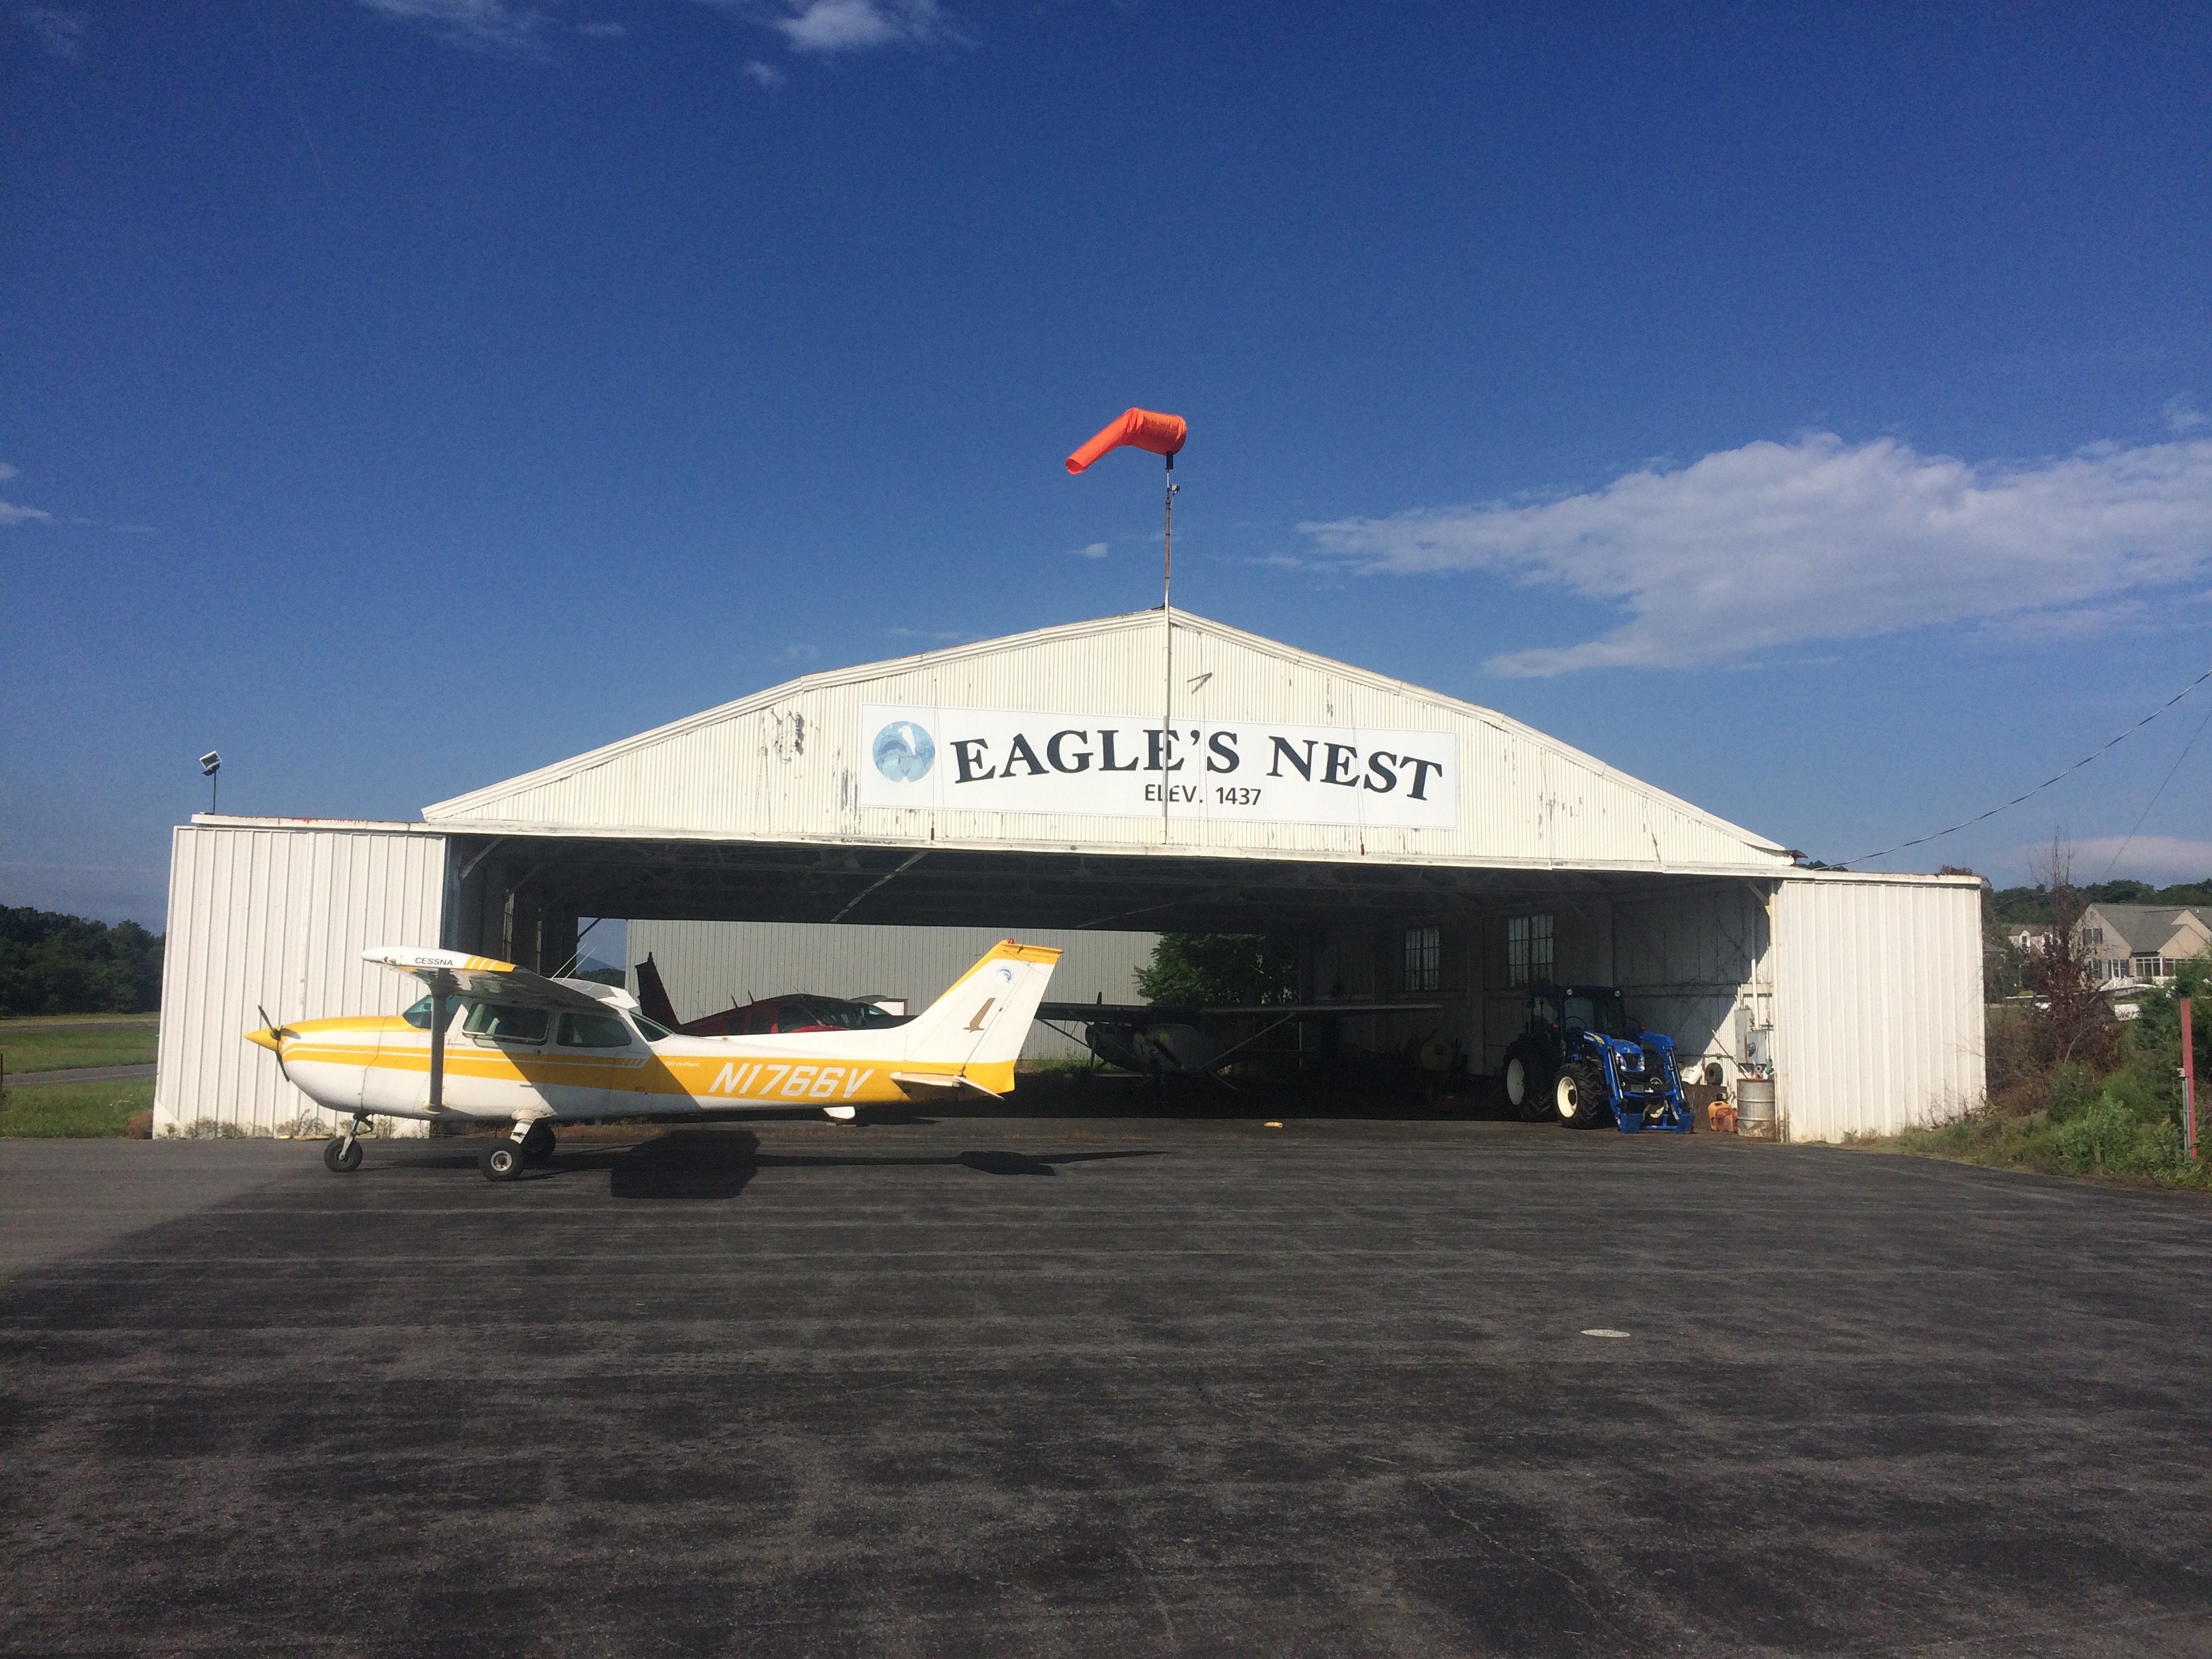
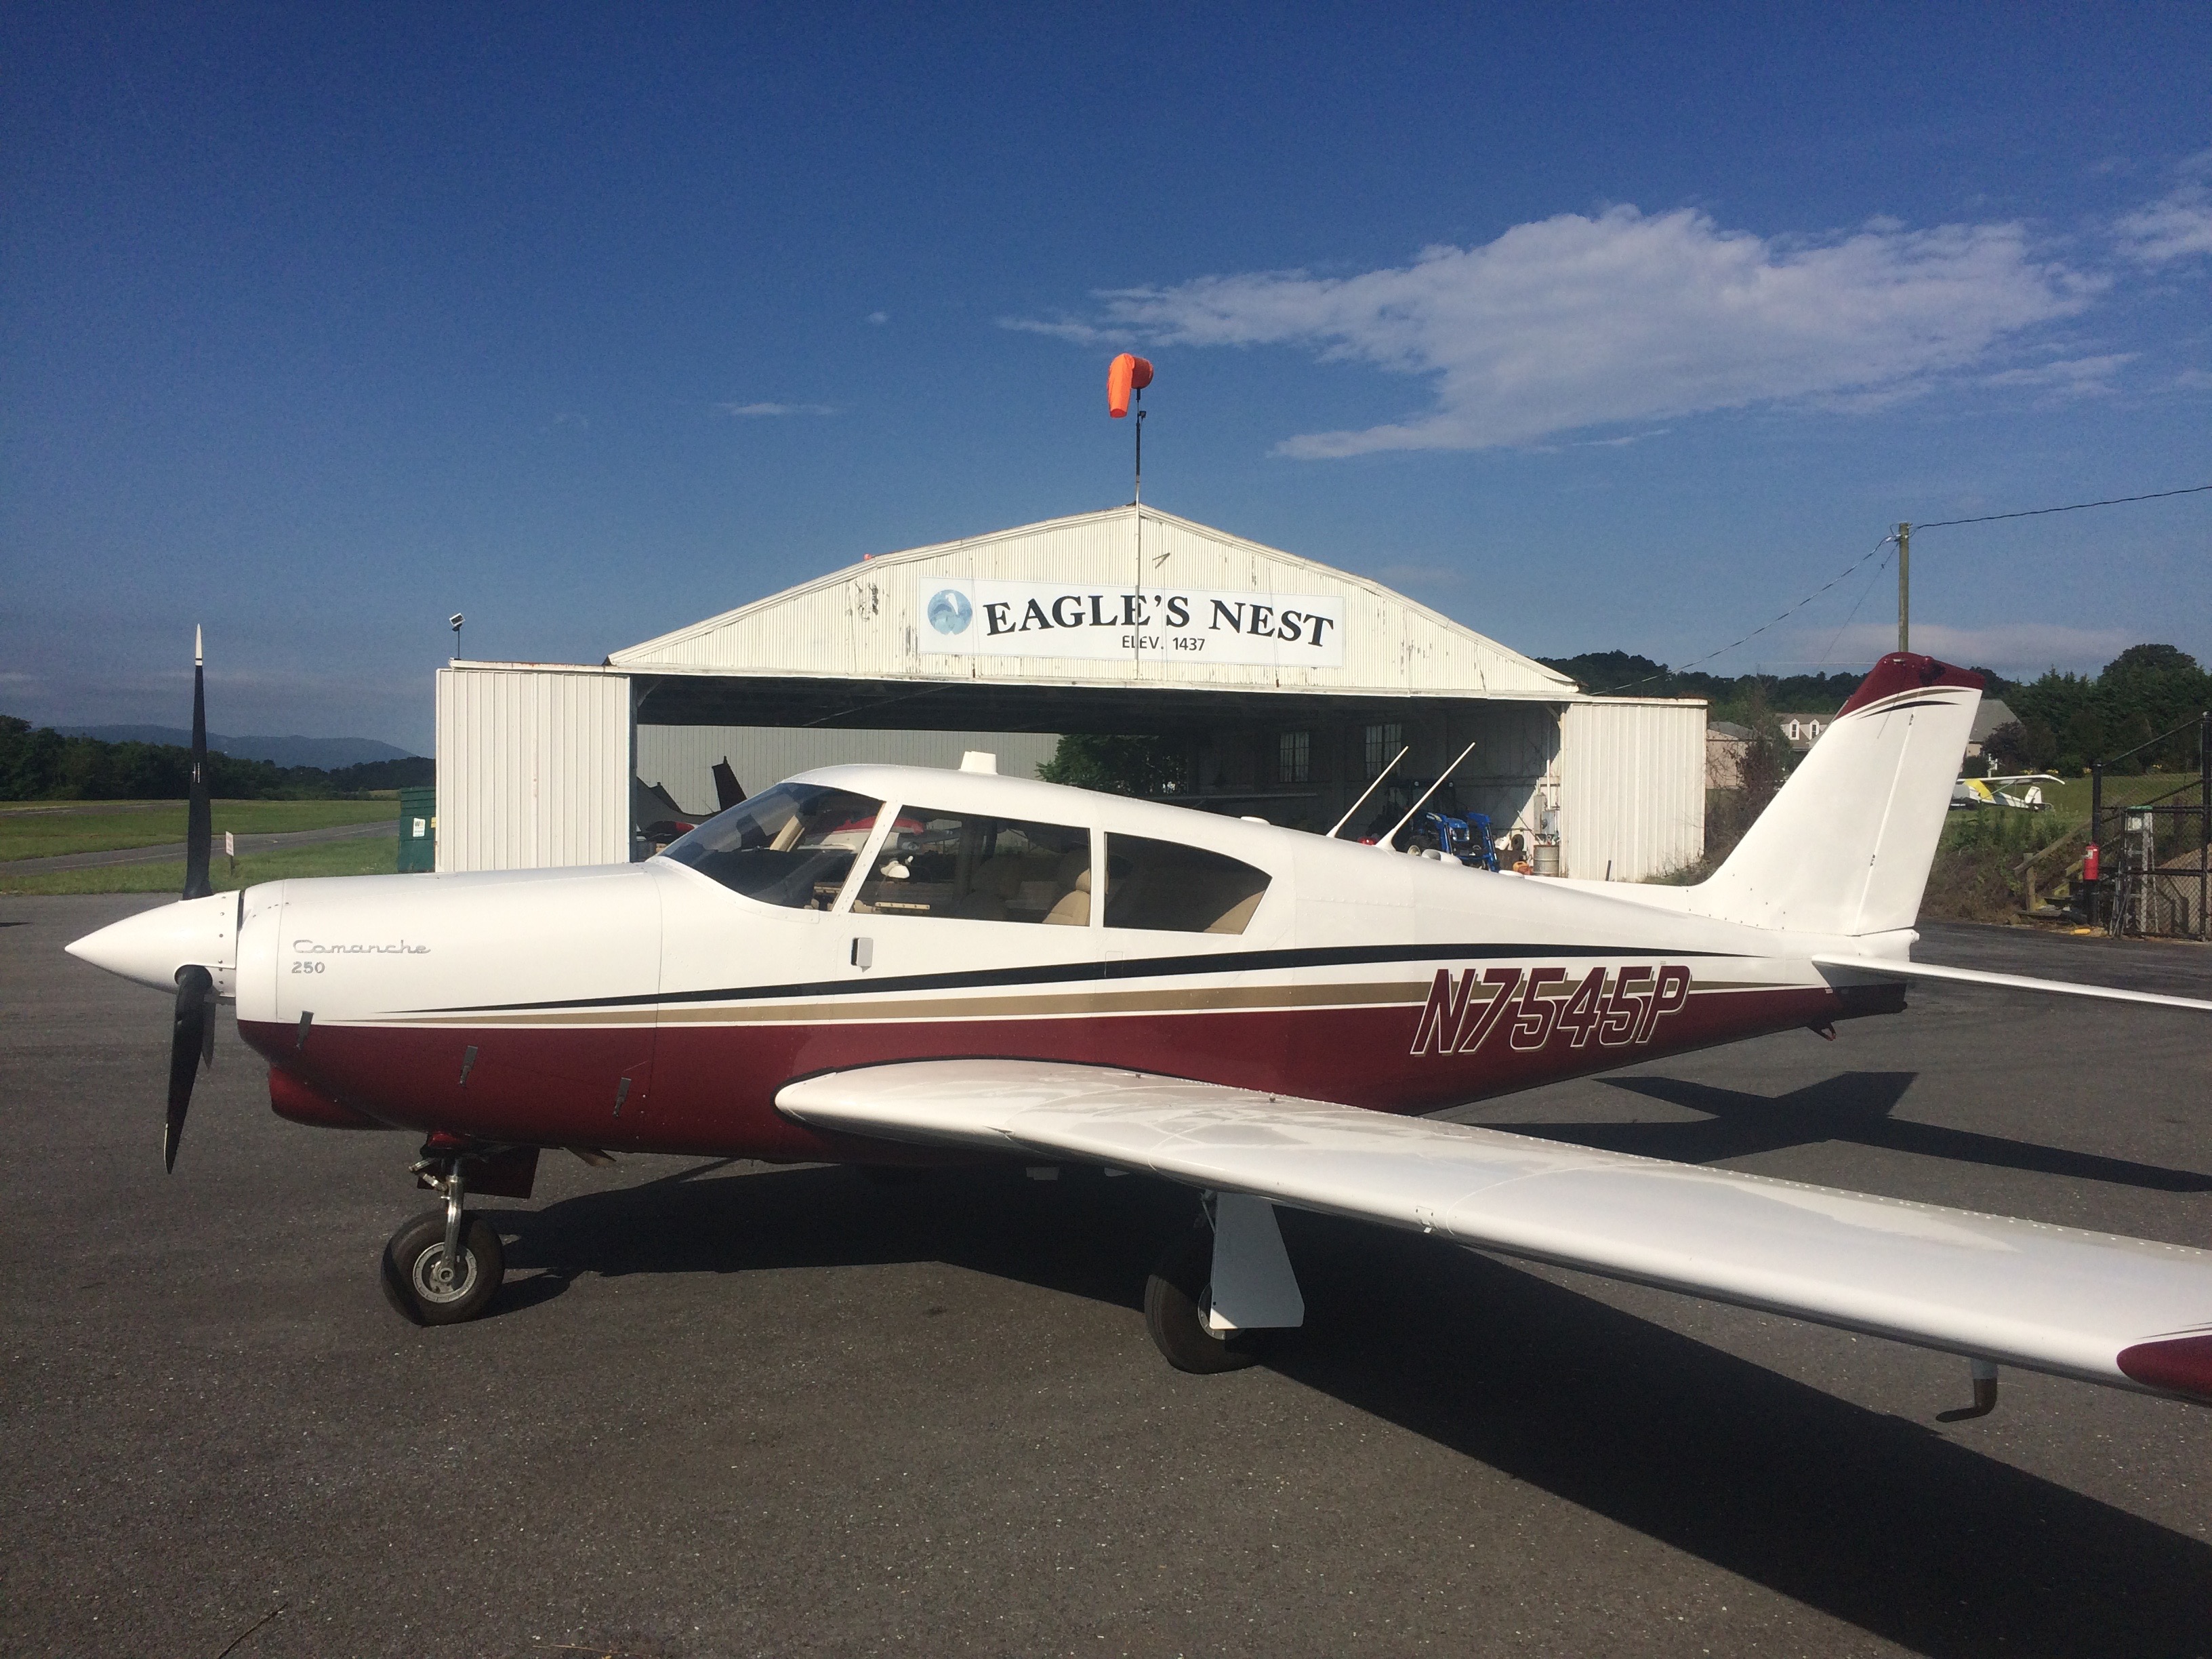
But it happens, and it happened at our airport the other day.  Thankfully everything turned out well in this case.

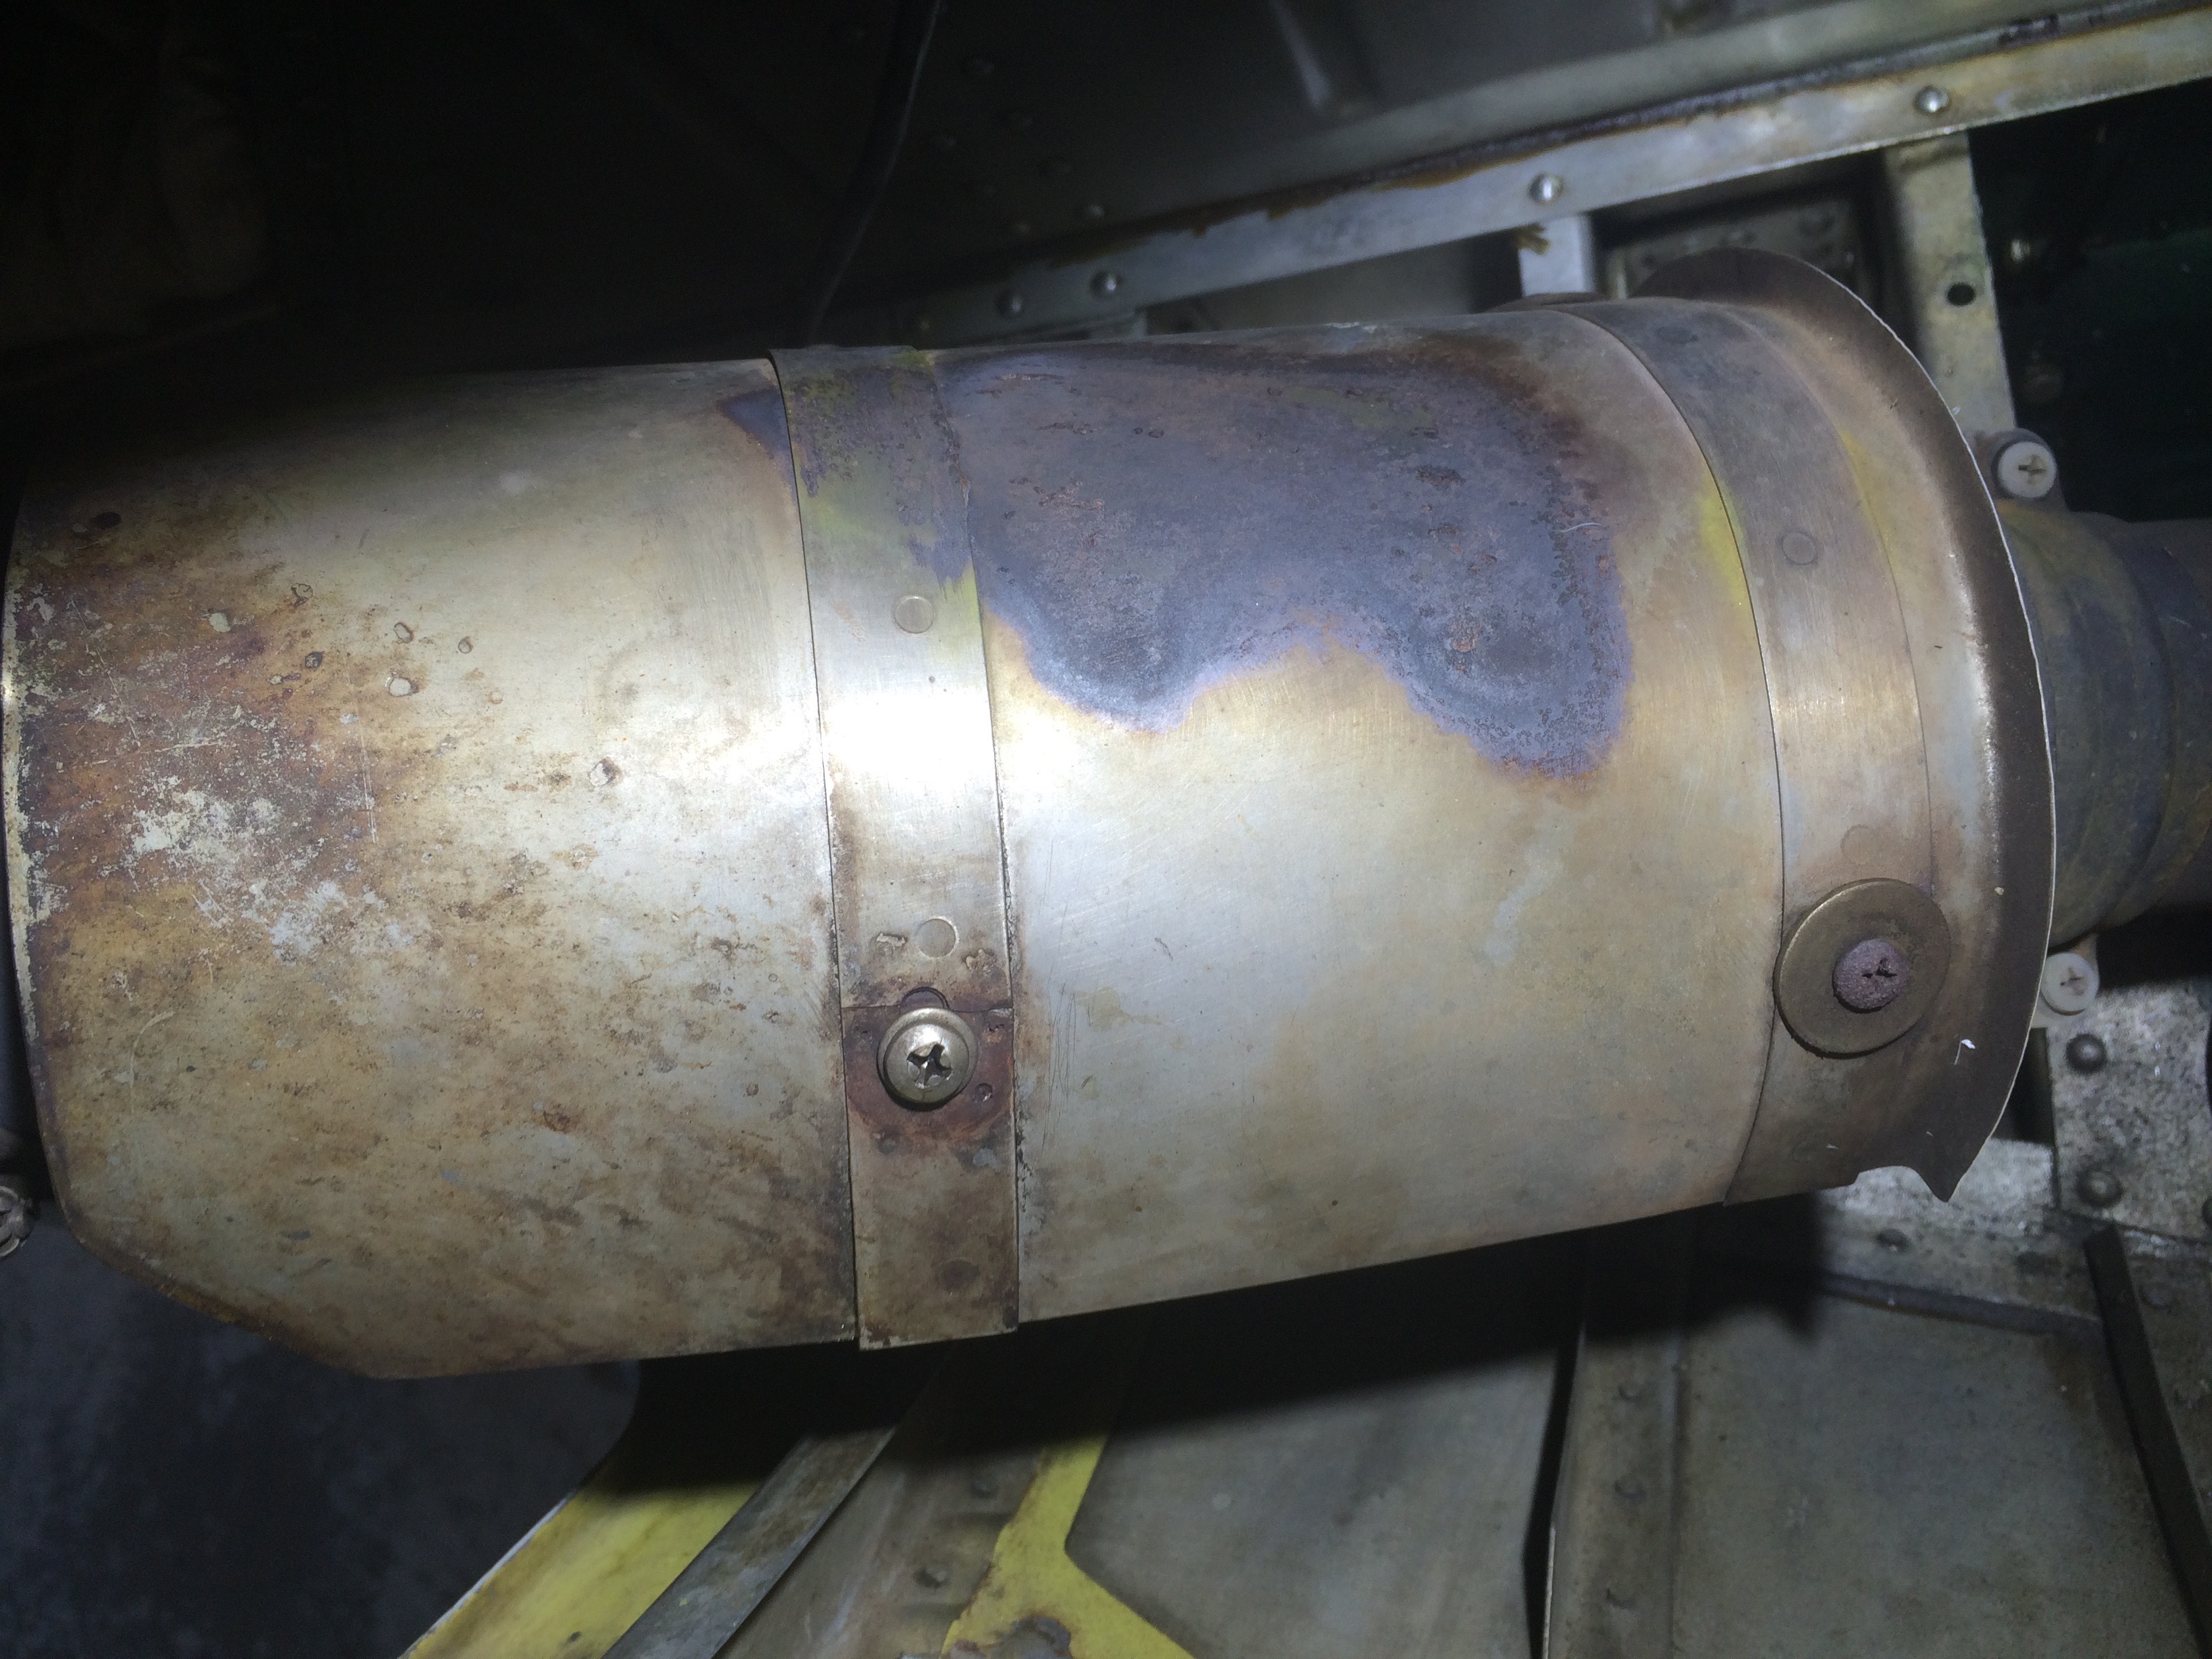
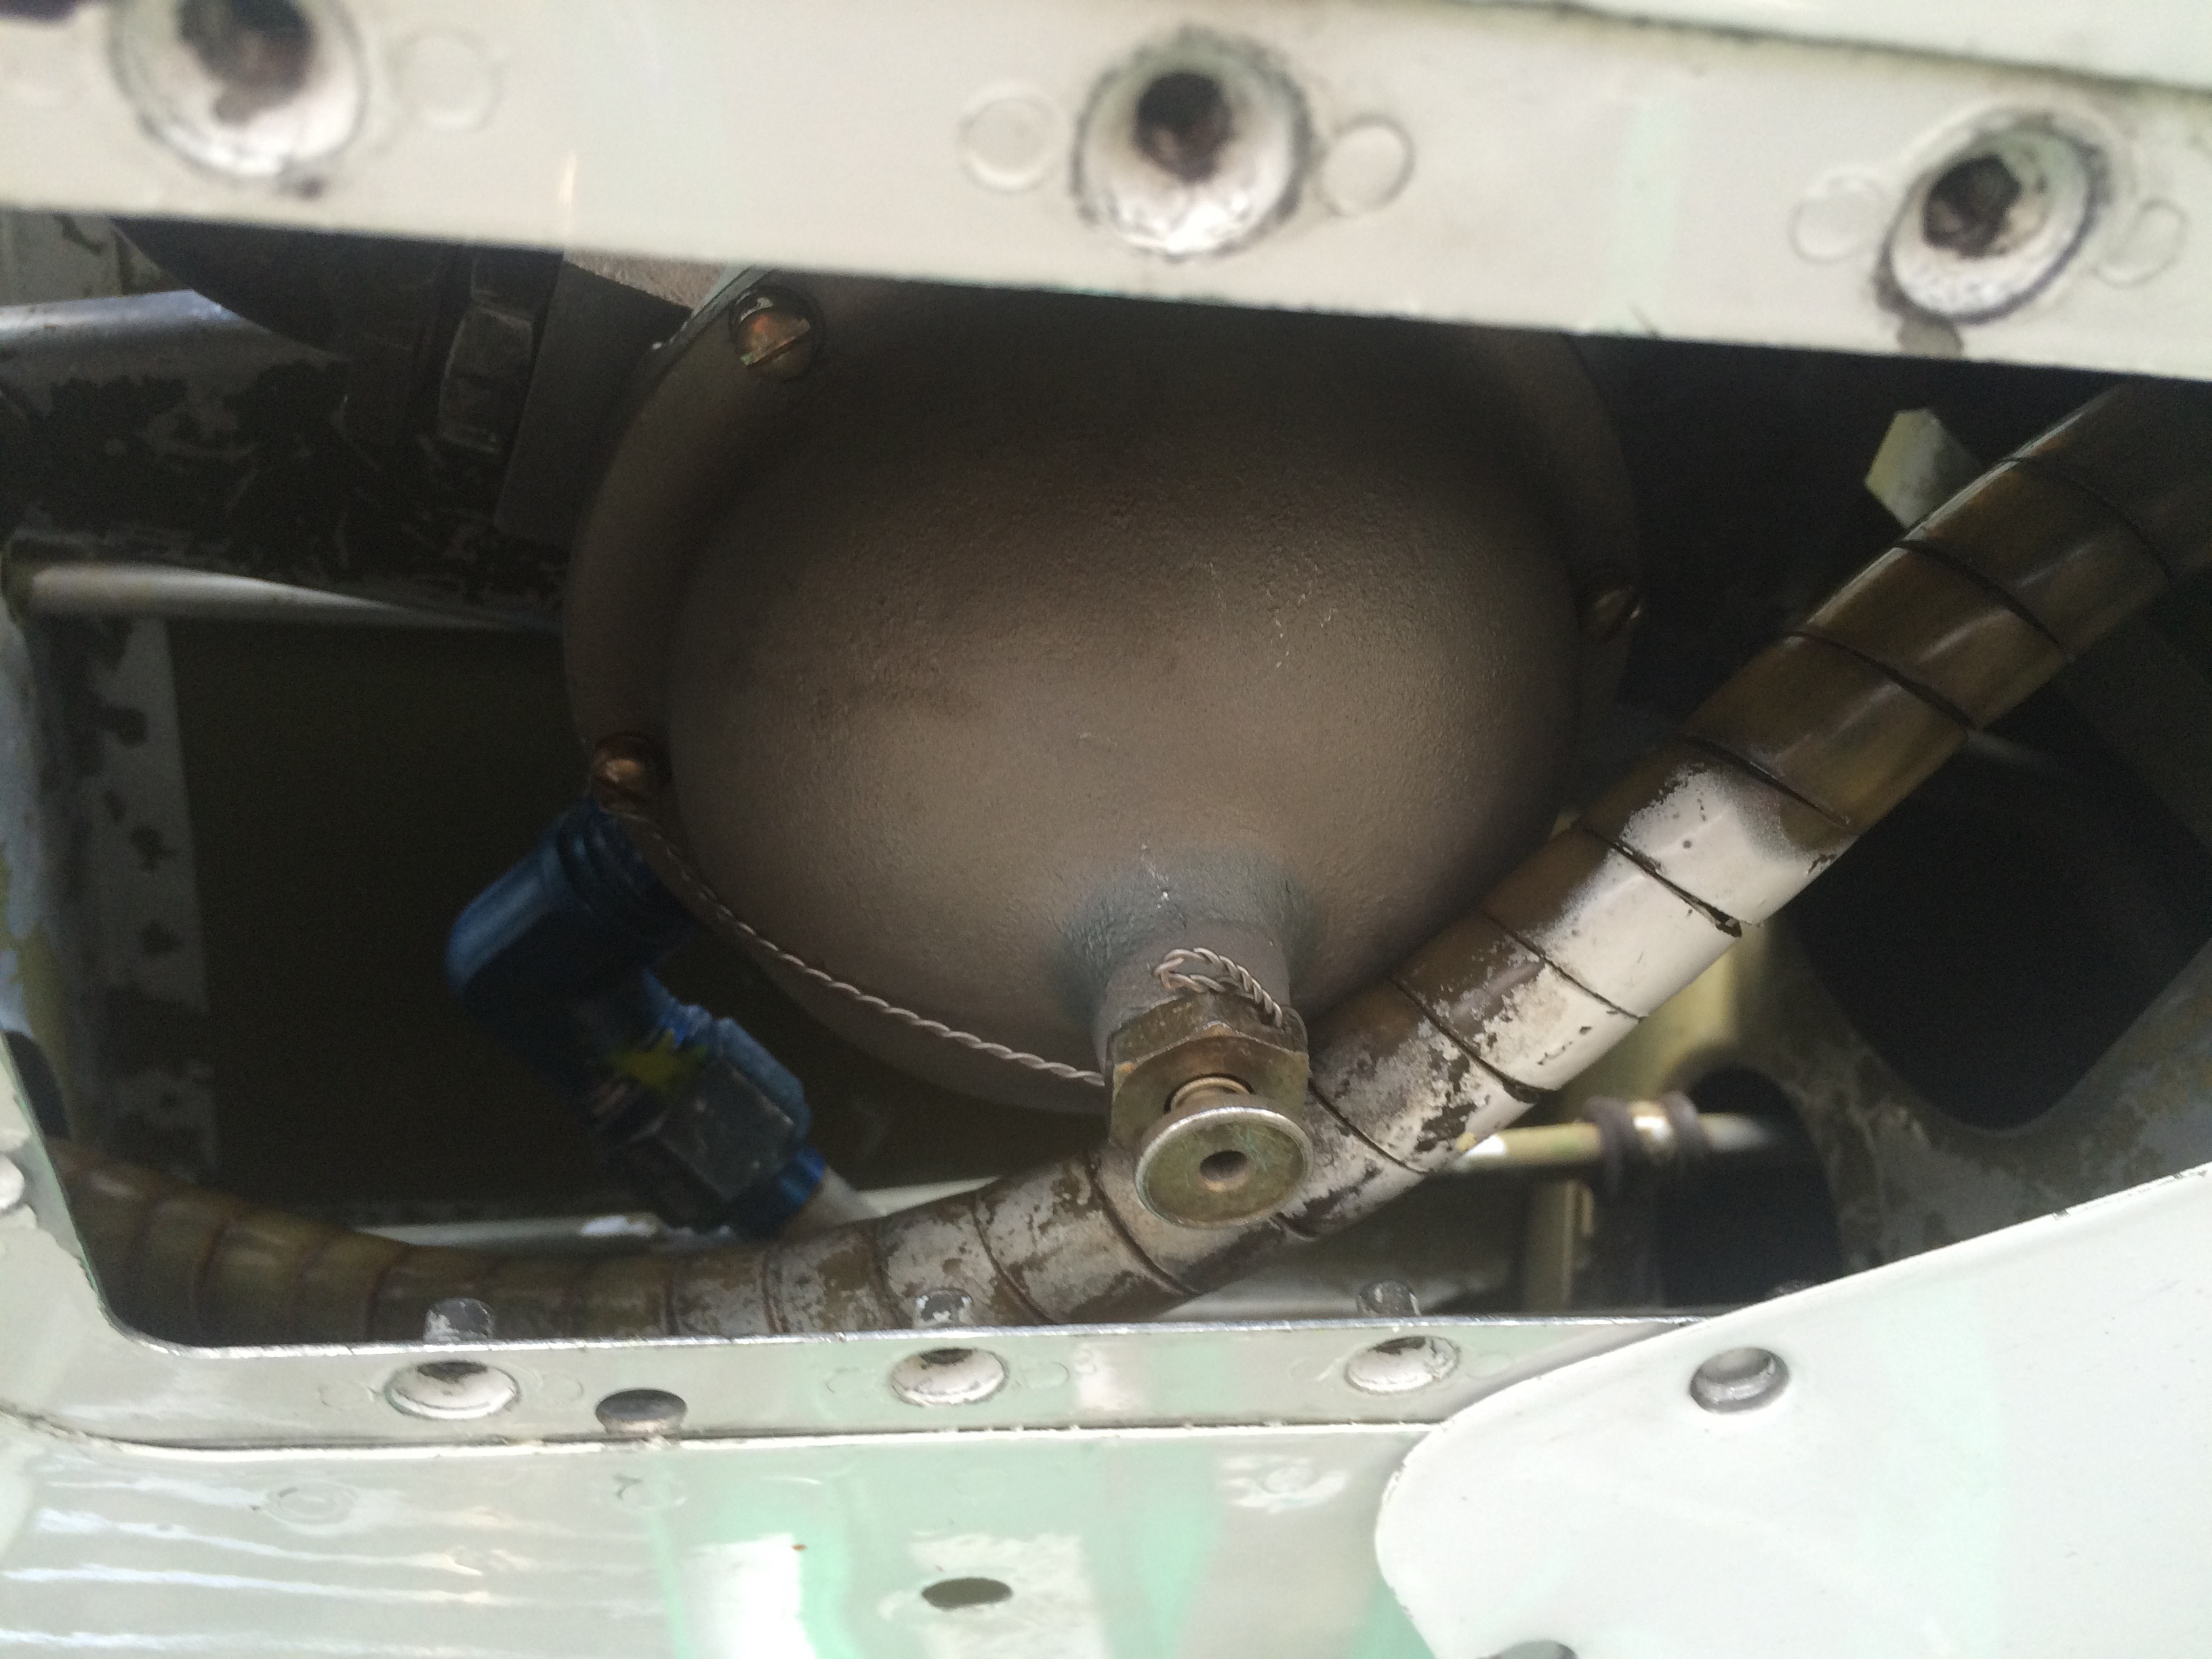
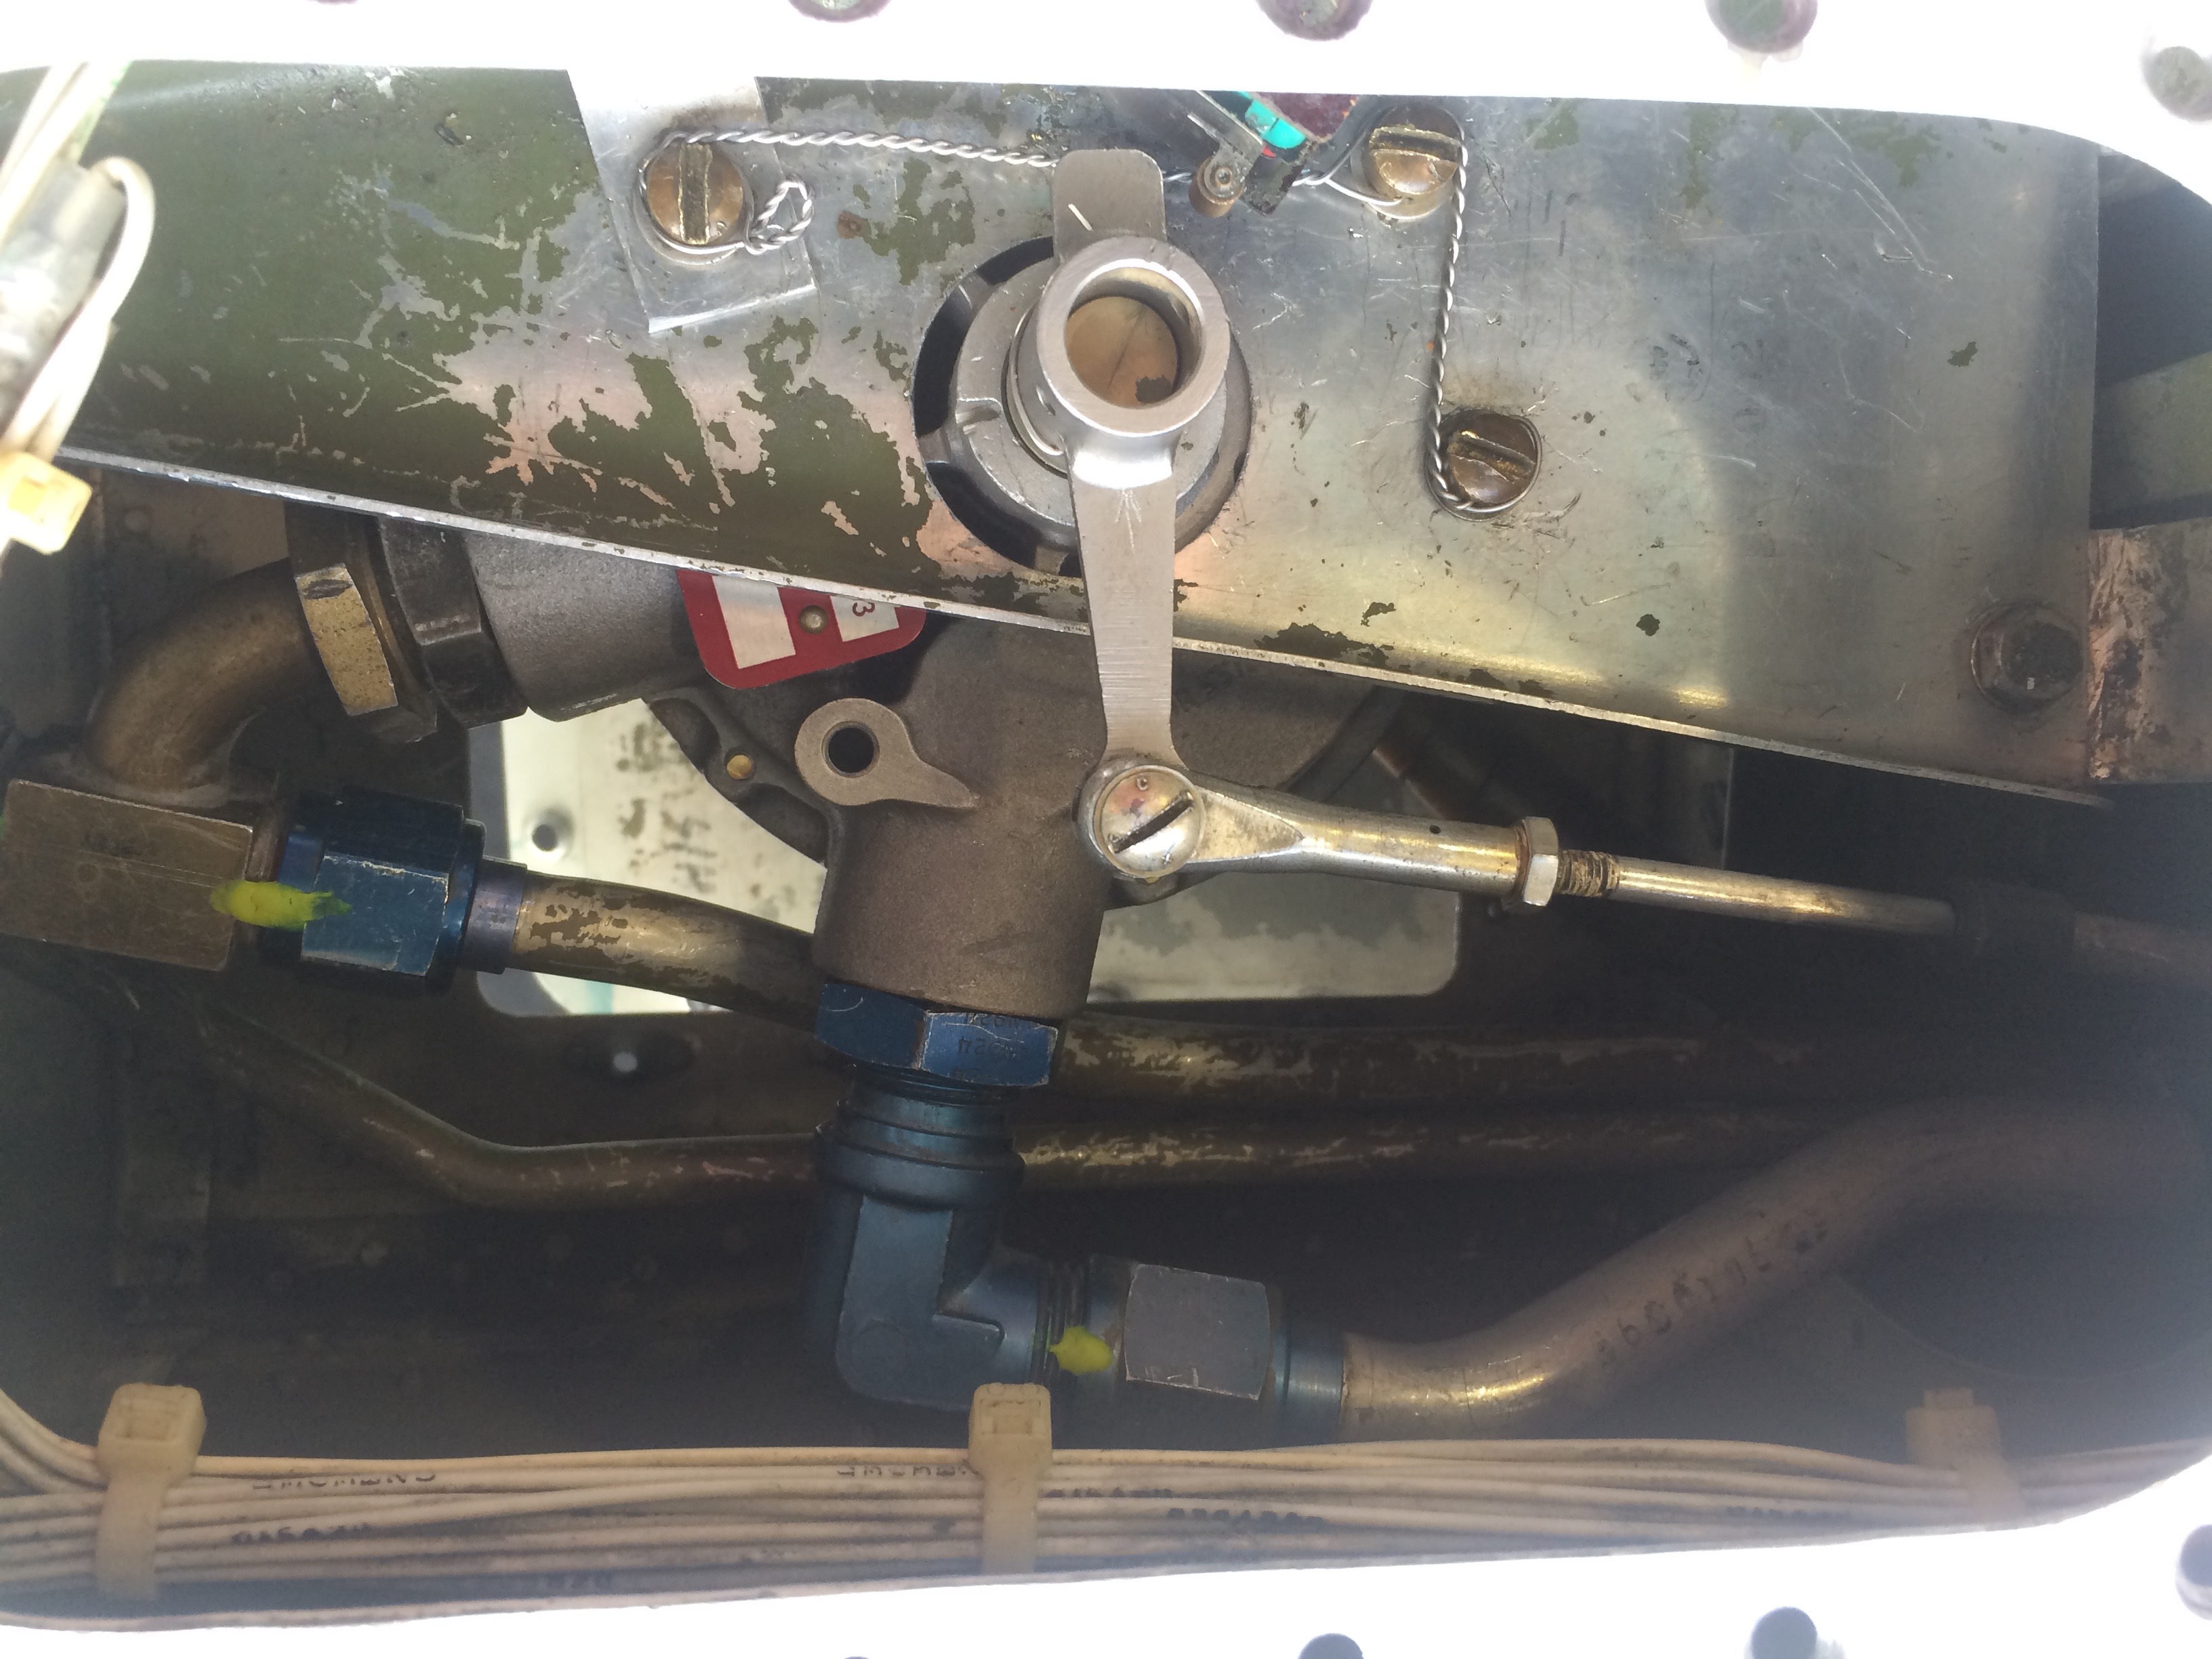
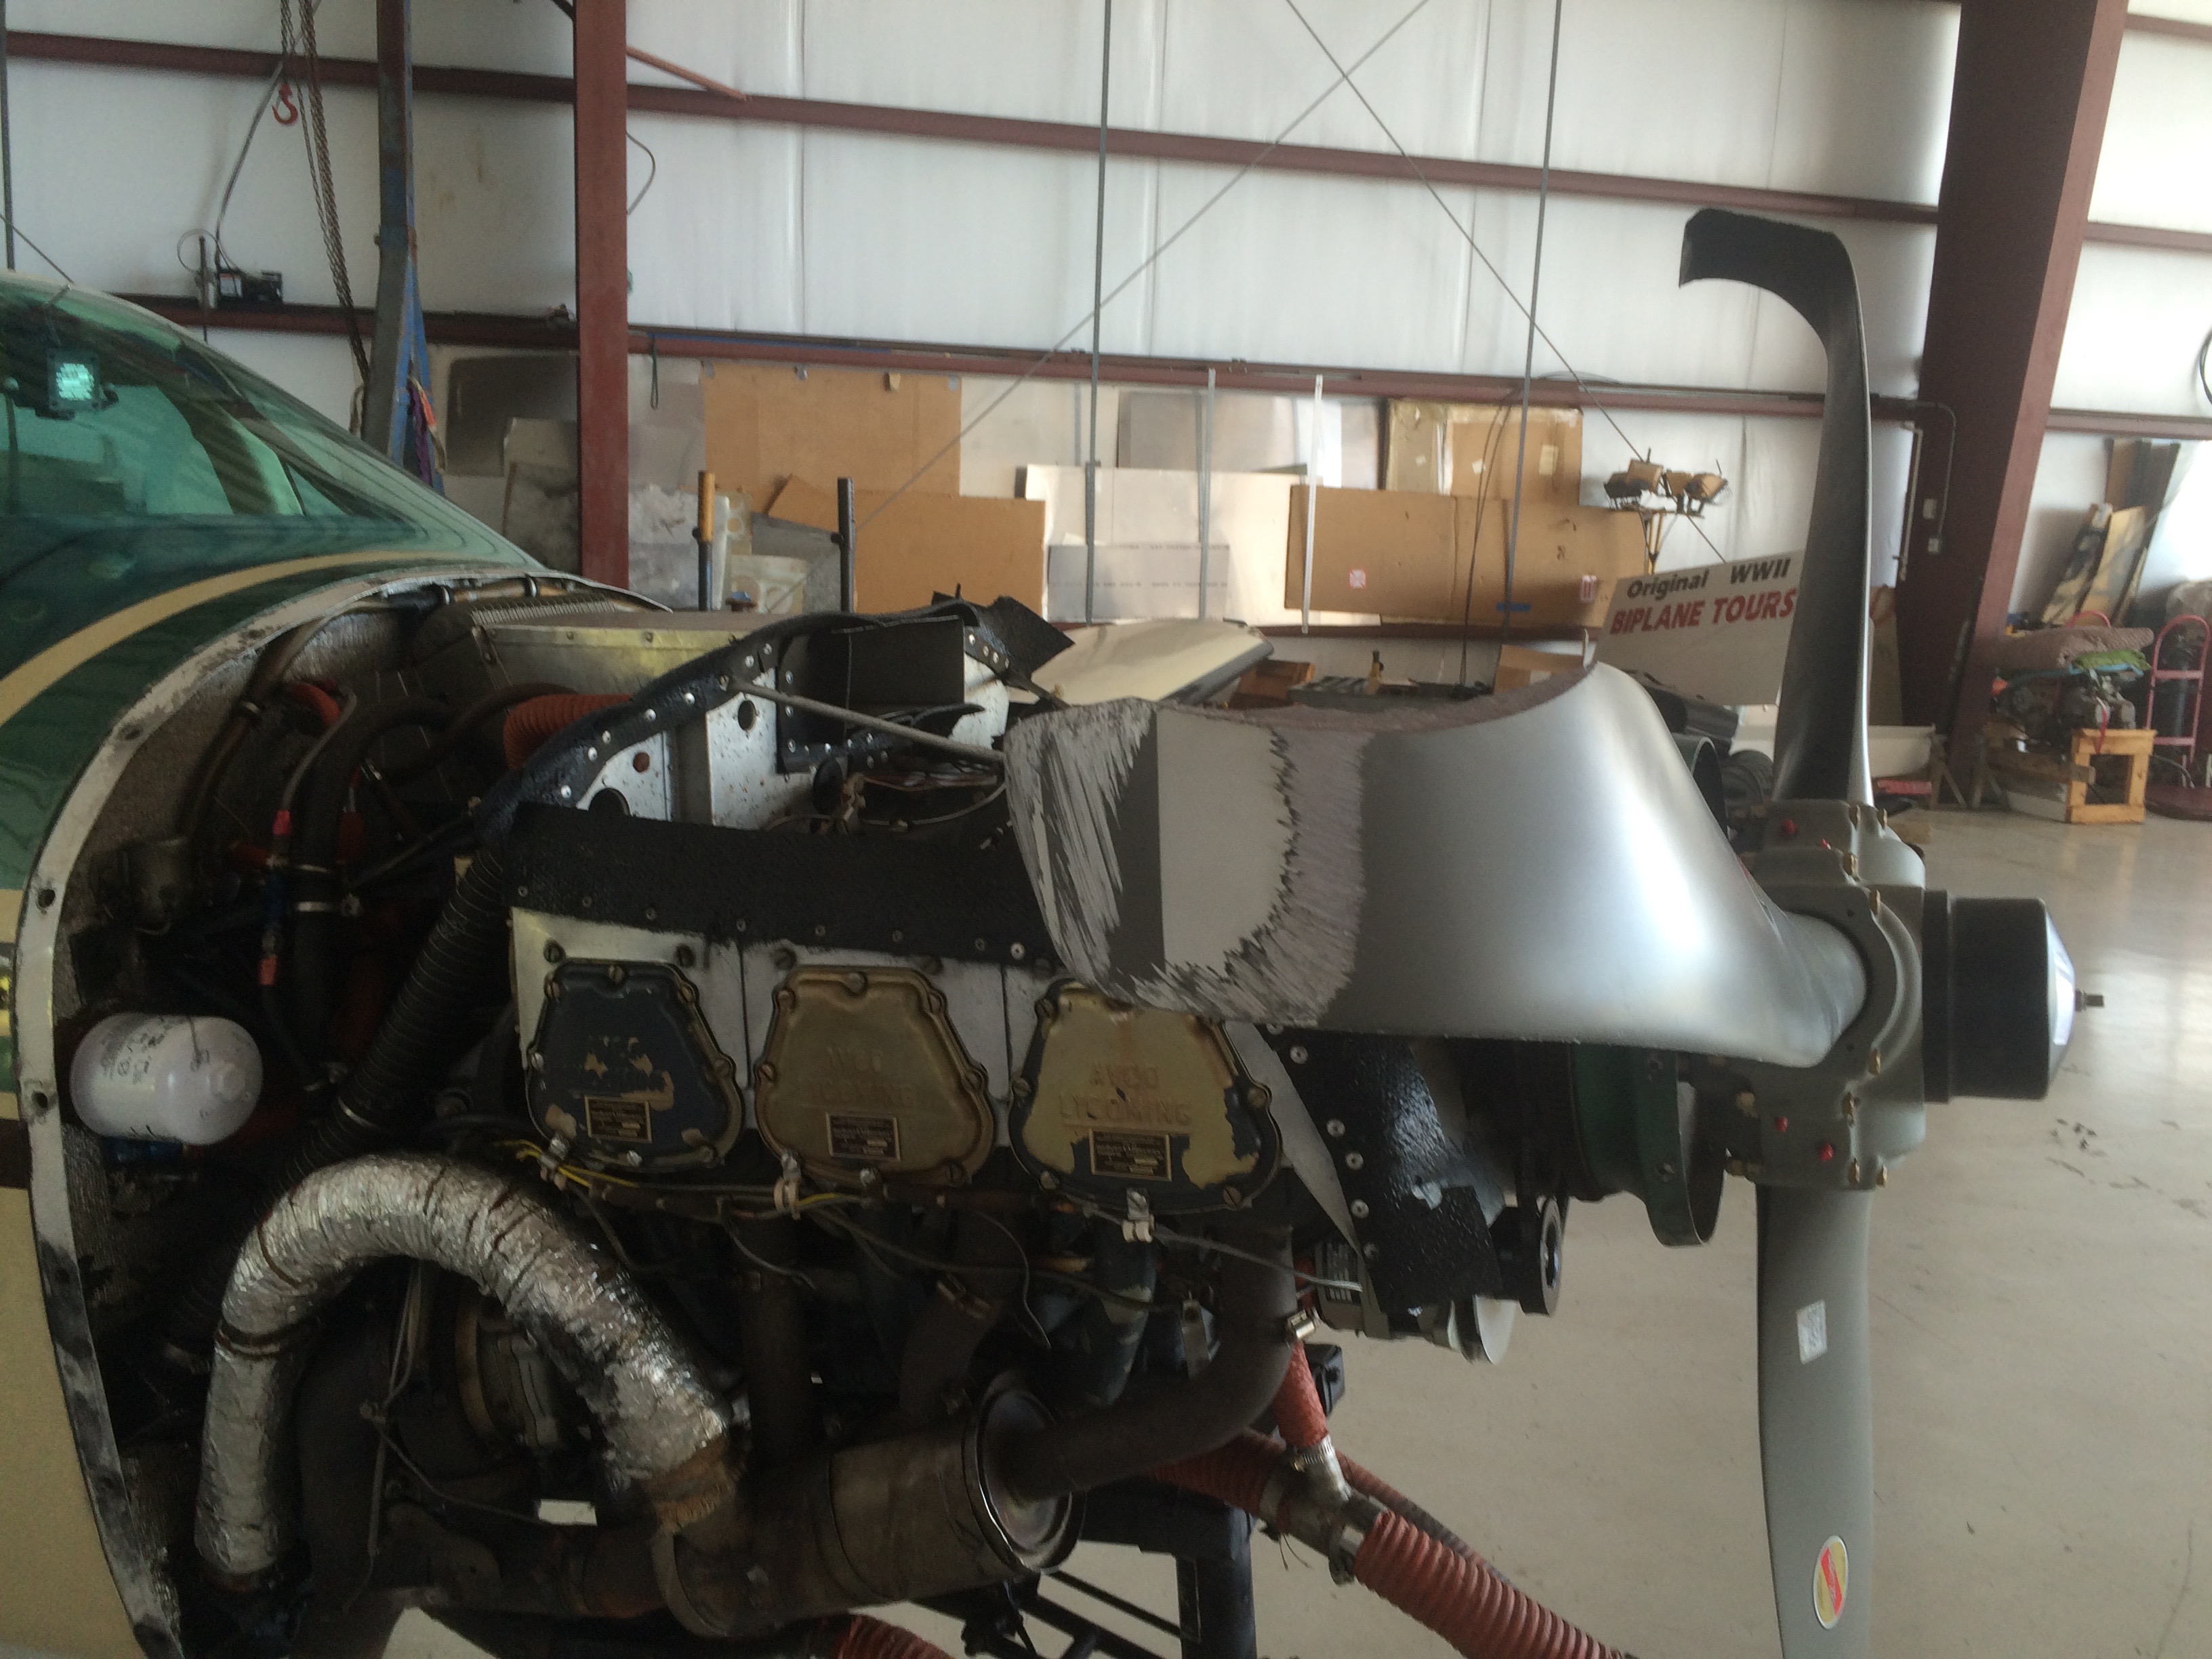
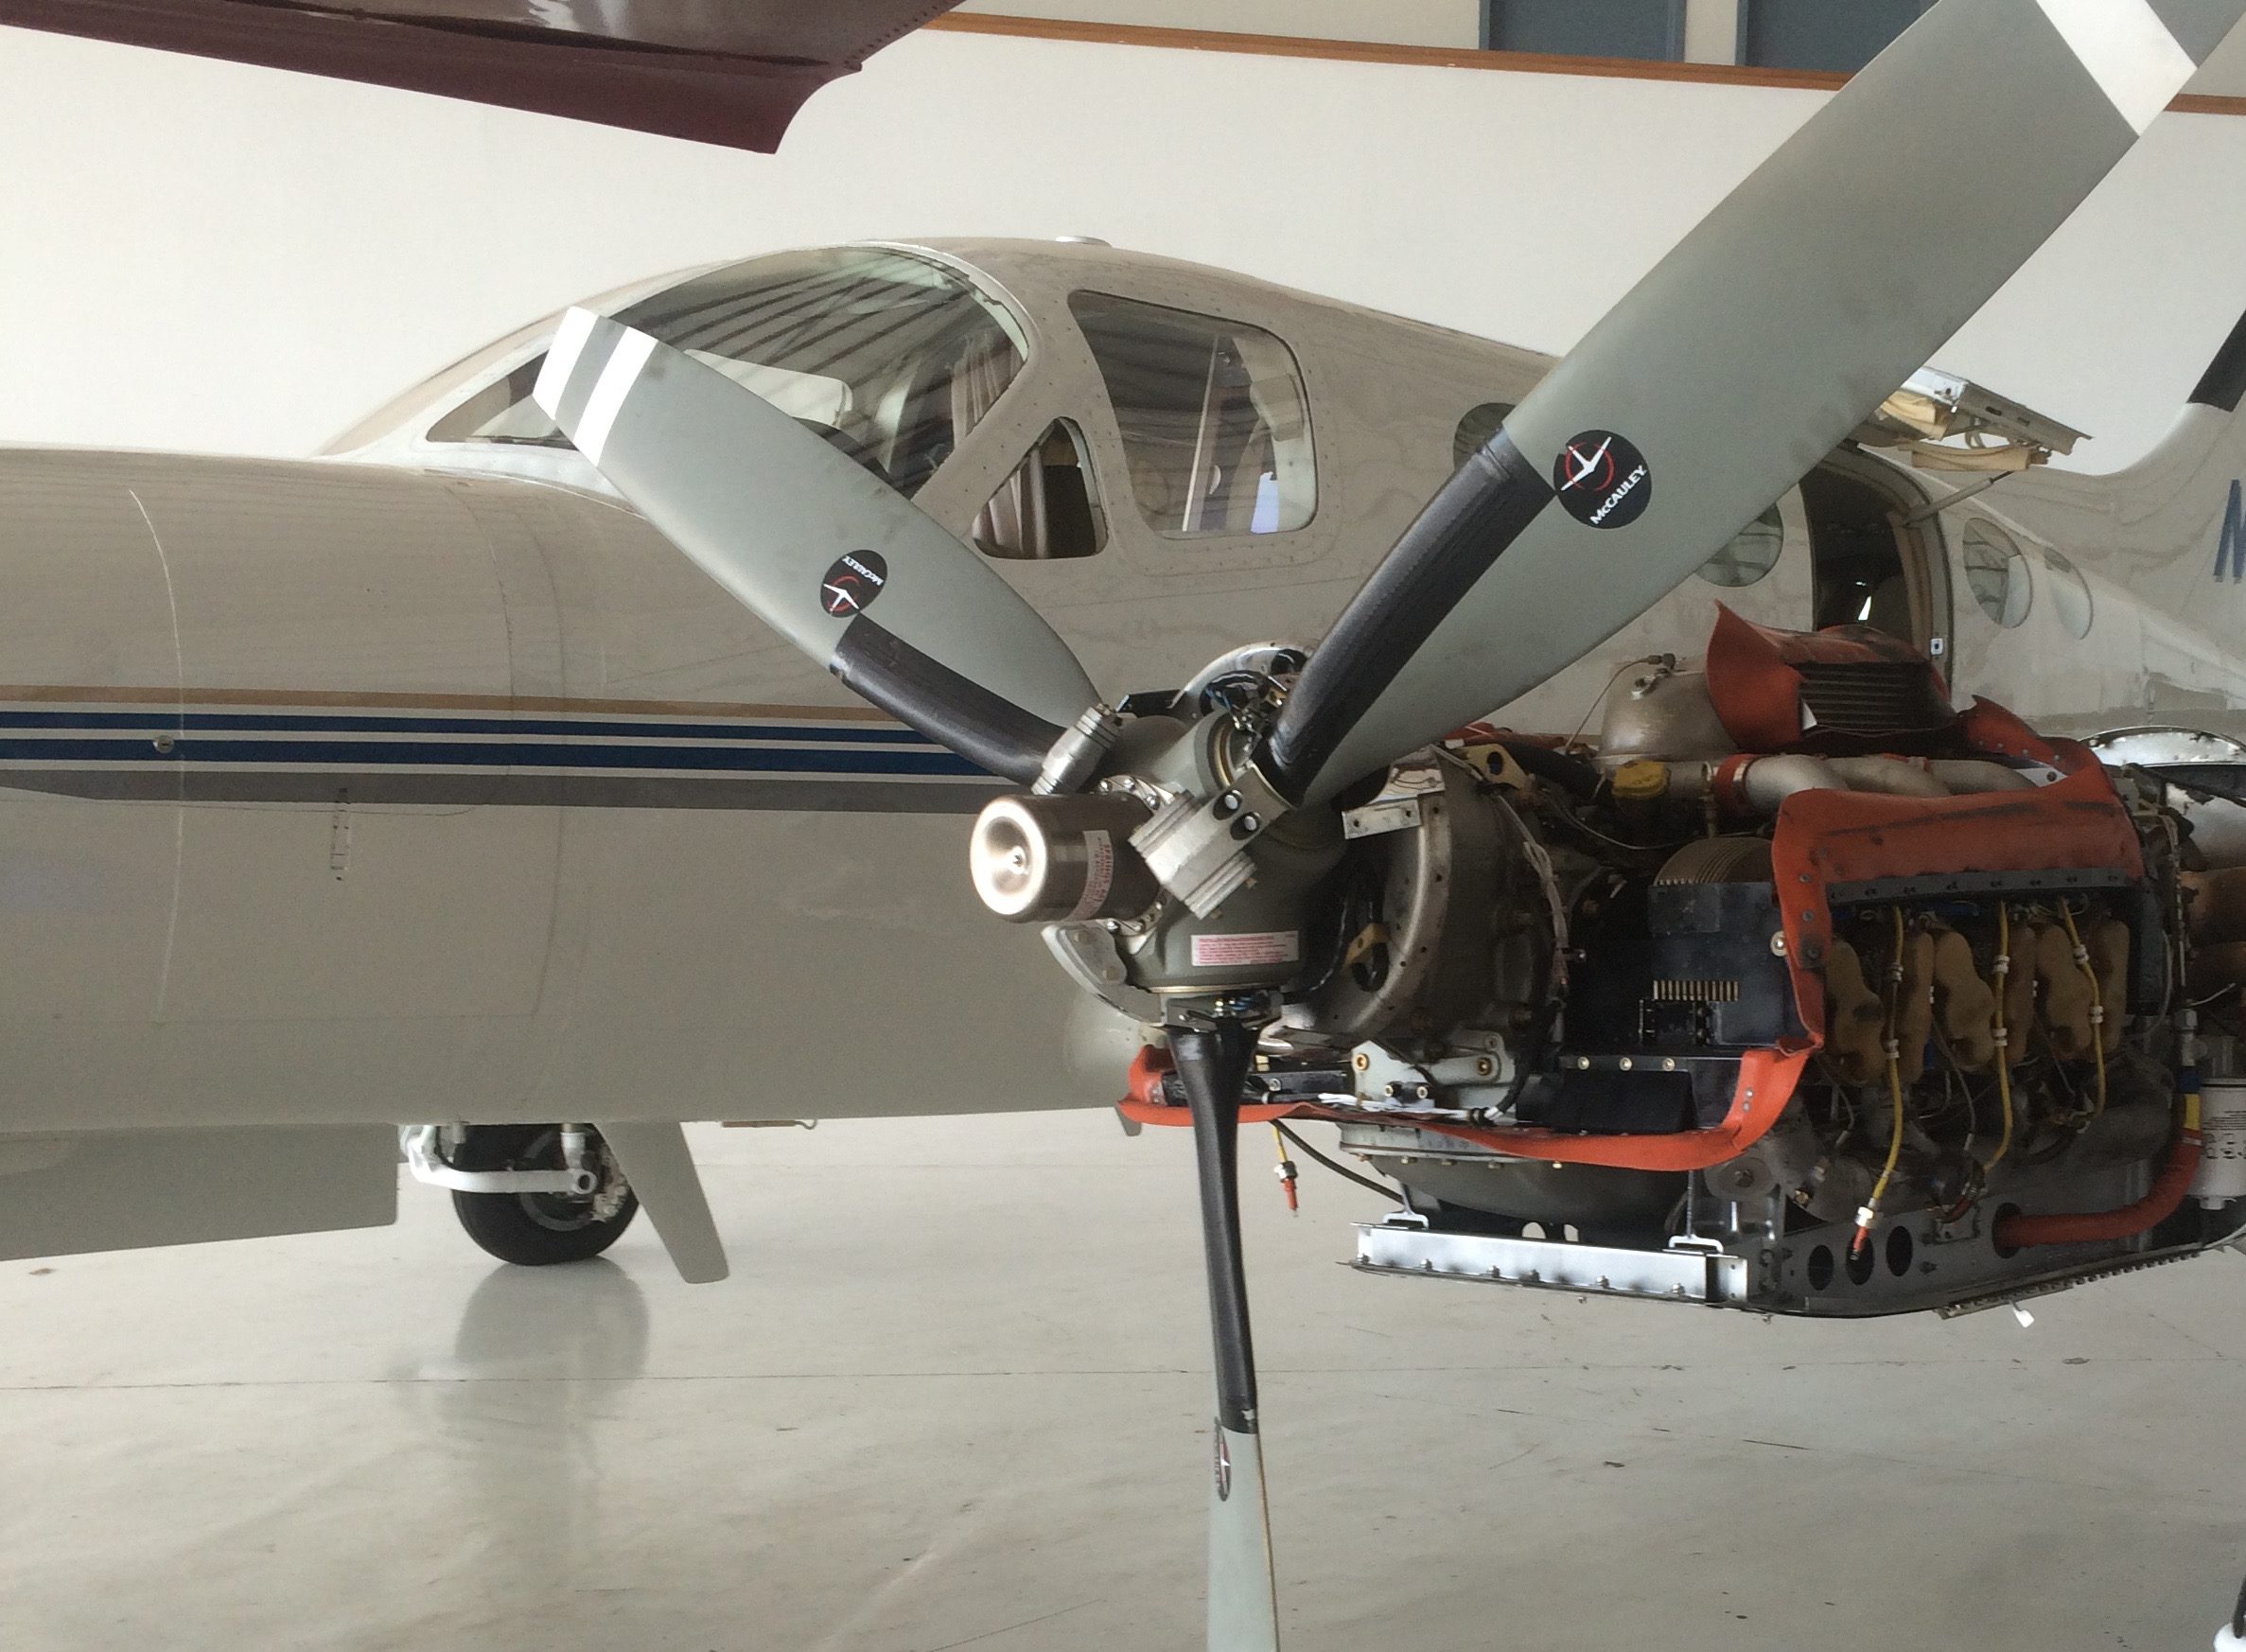
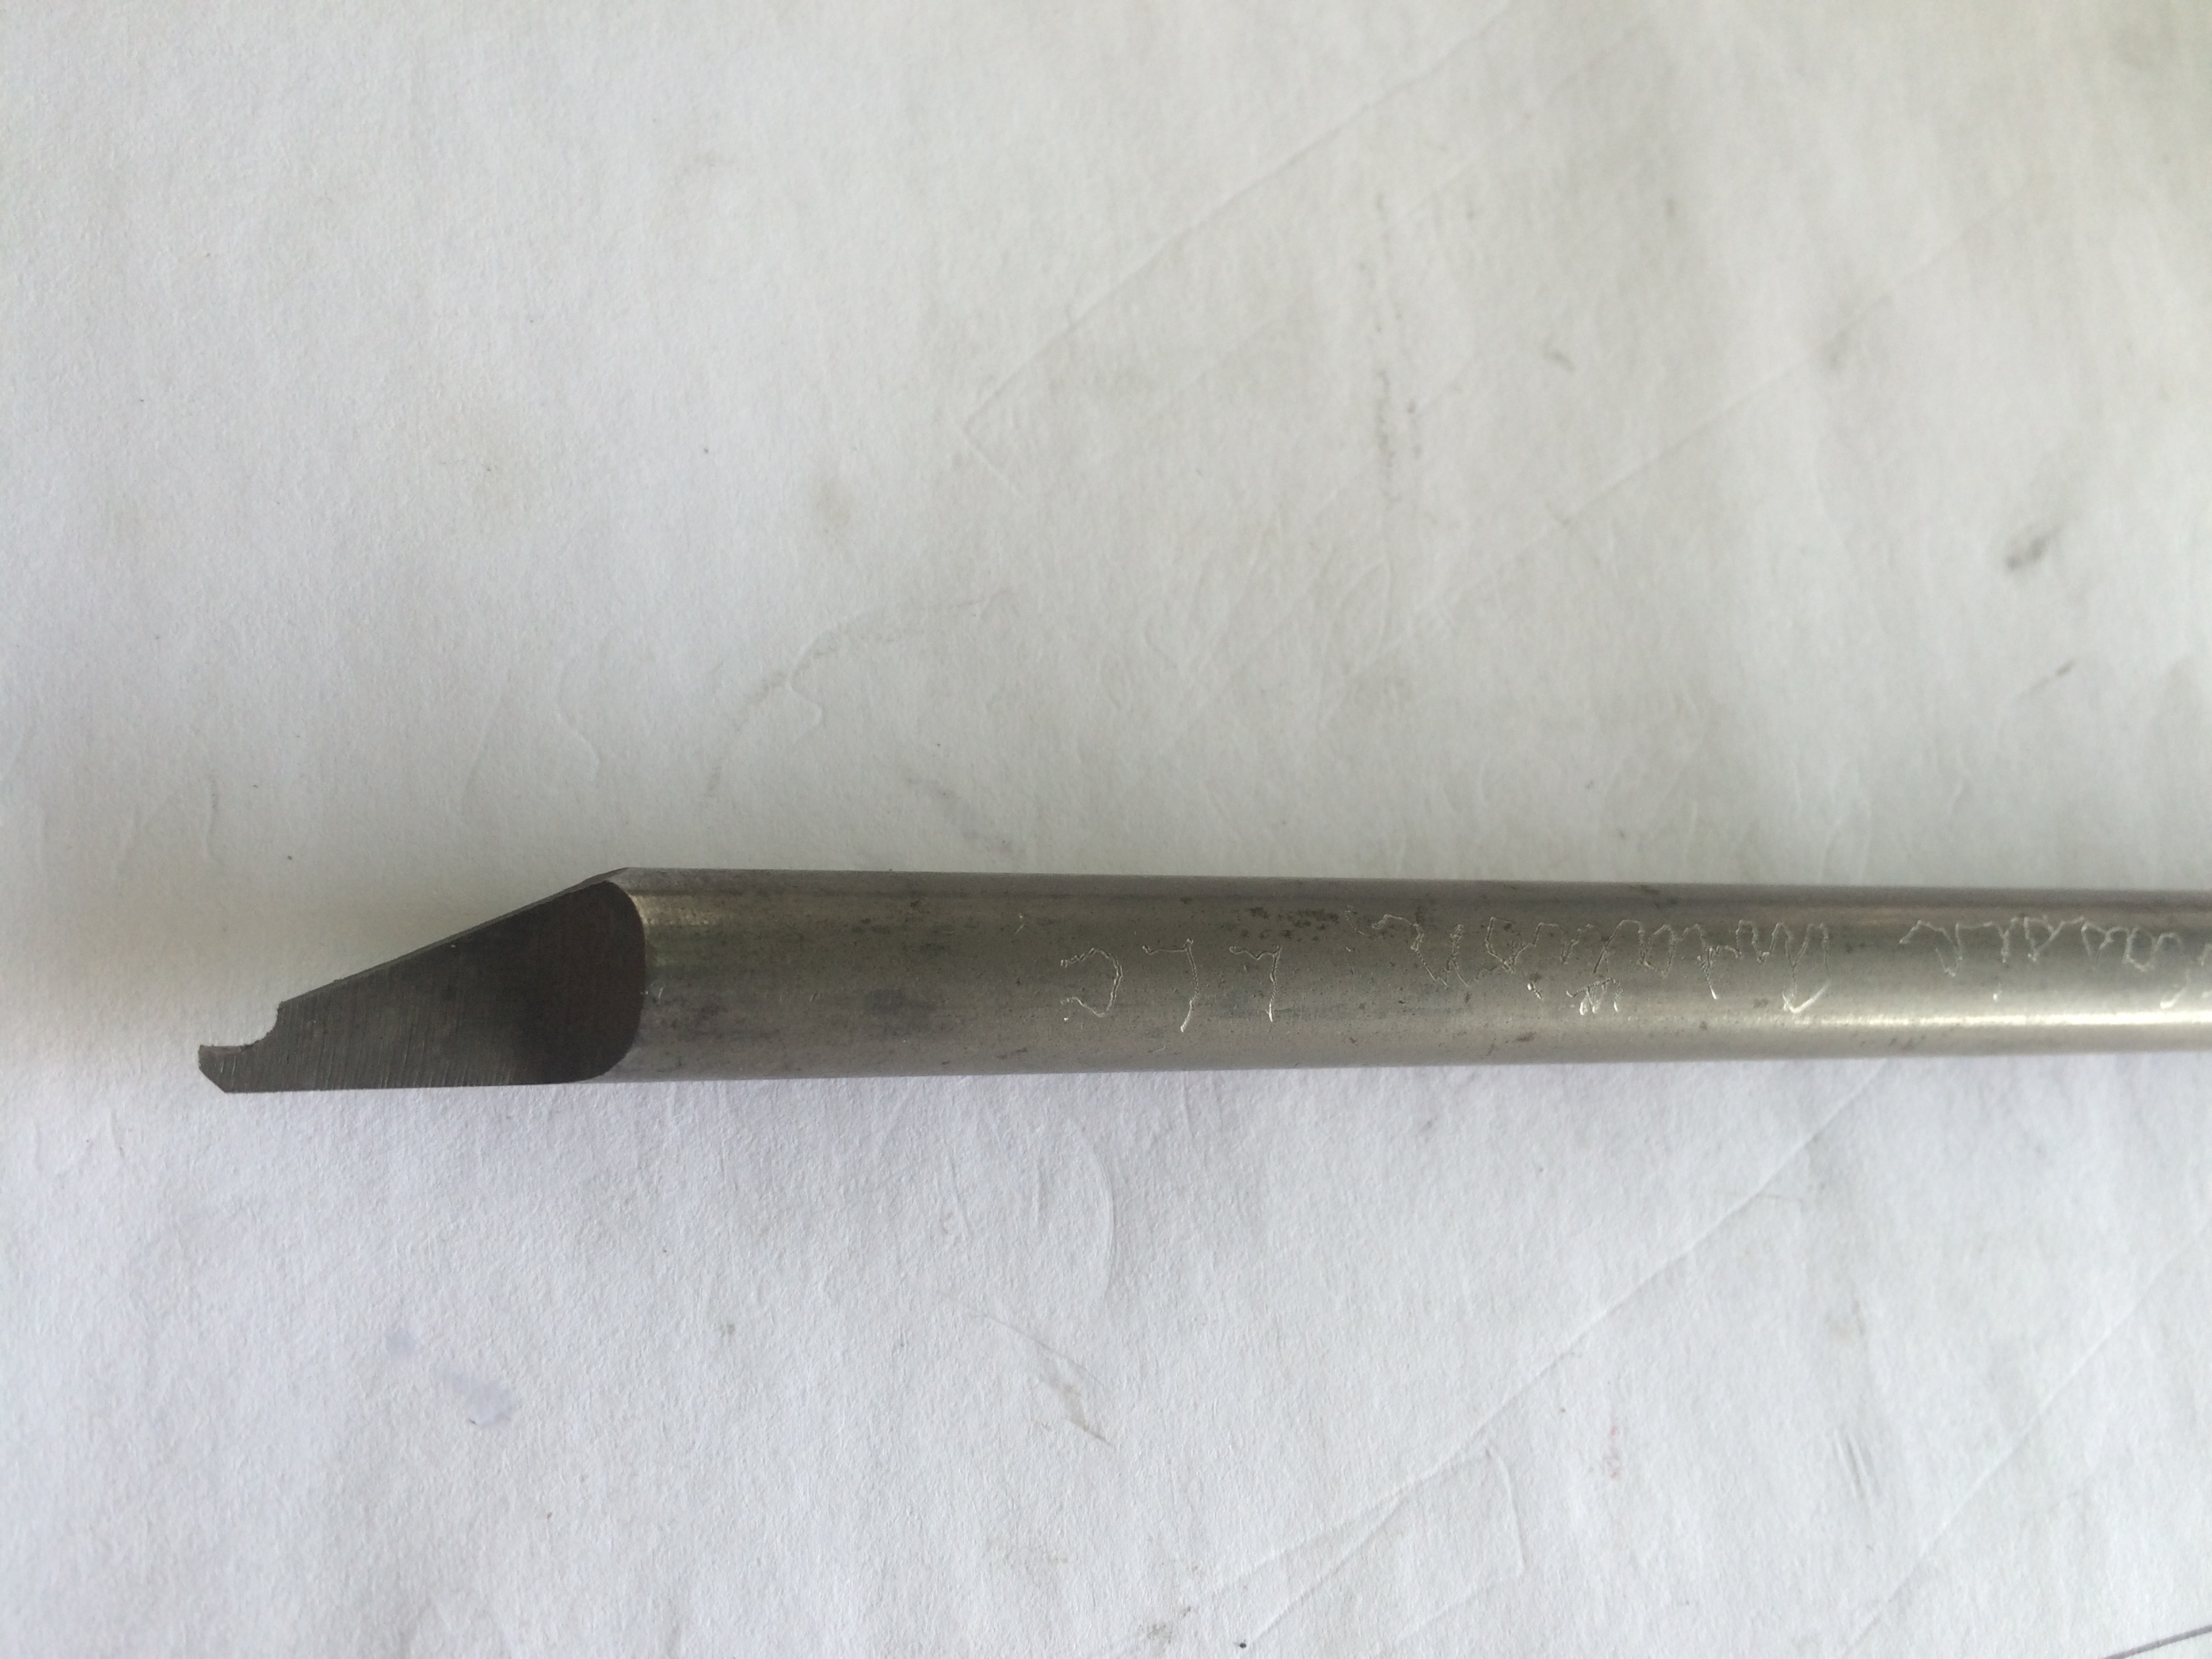
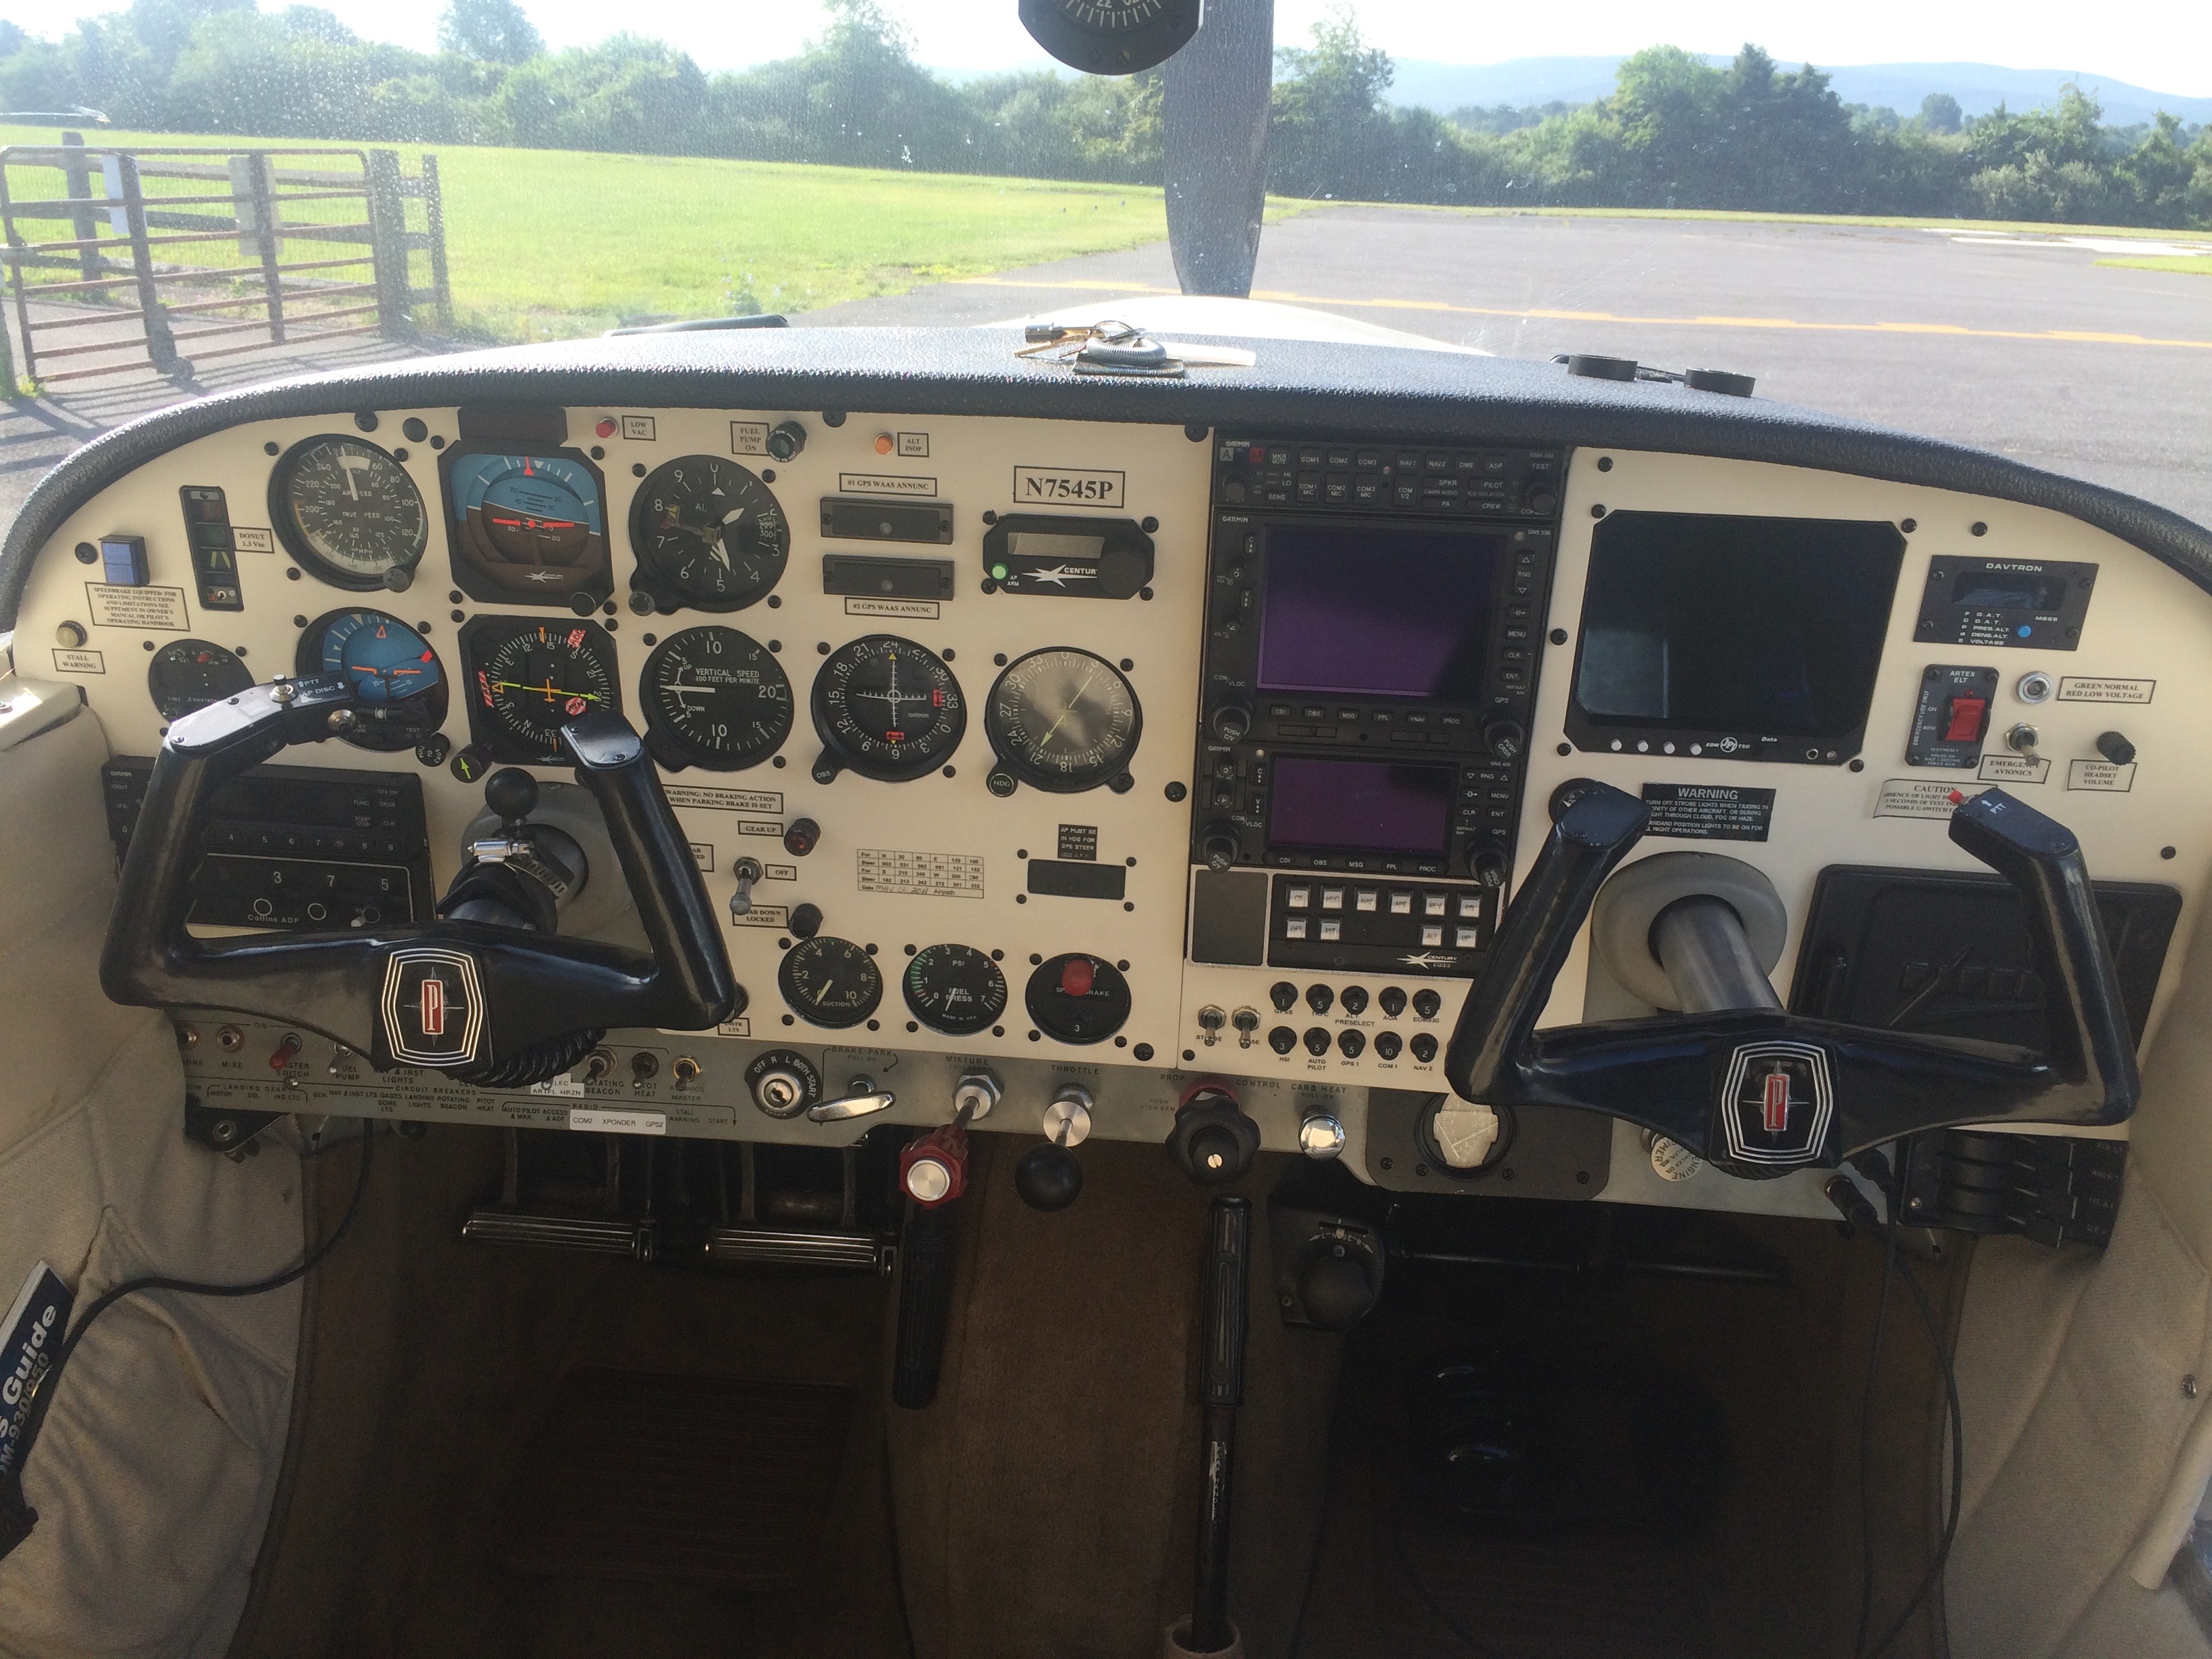
Your aircraft battery is the heart of your electrical system.

Airplanes & family 014


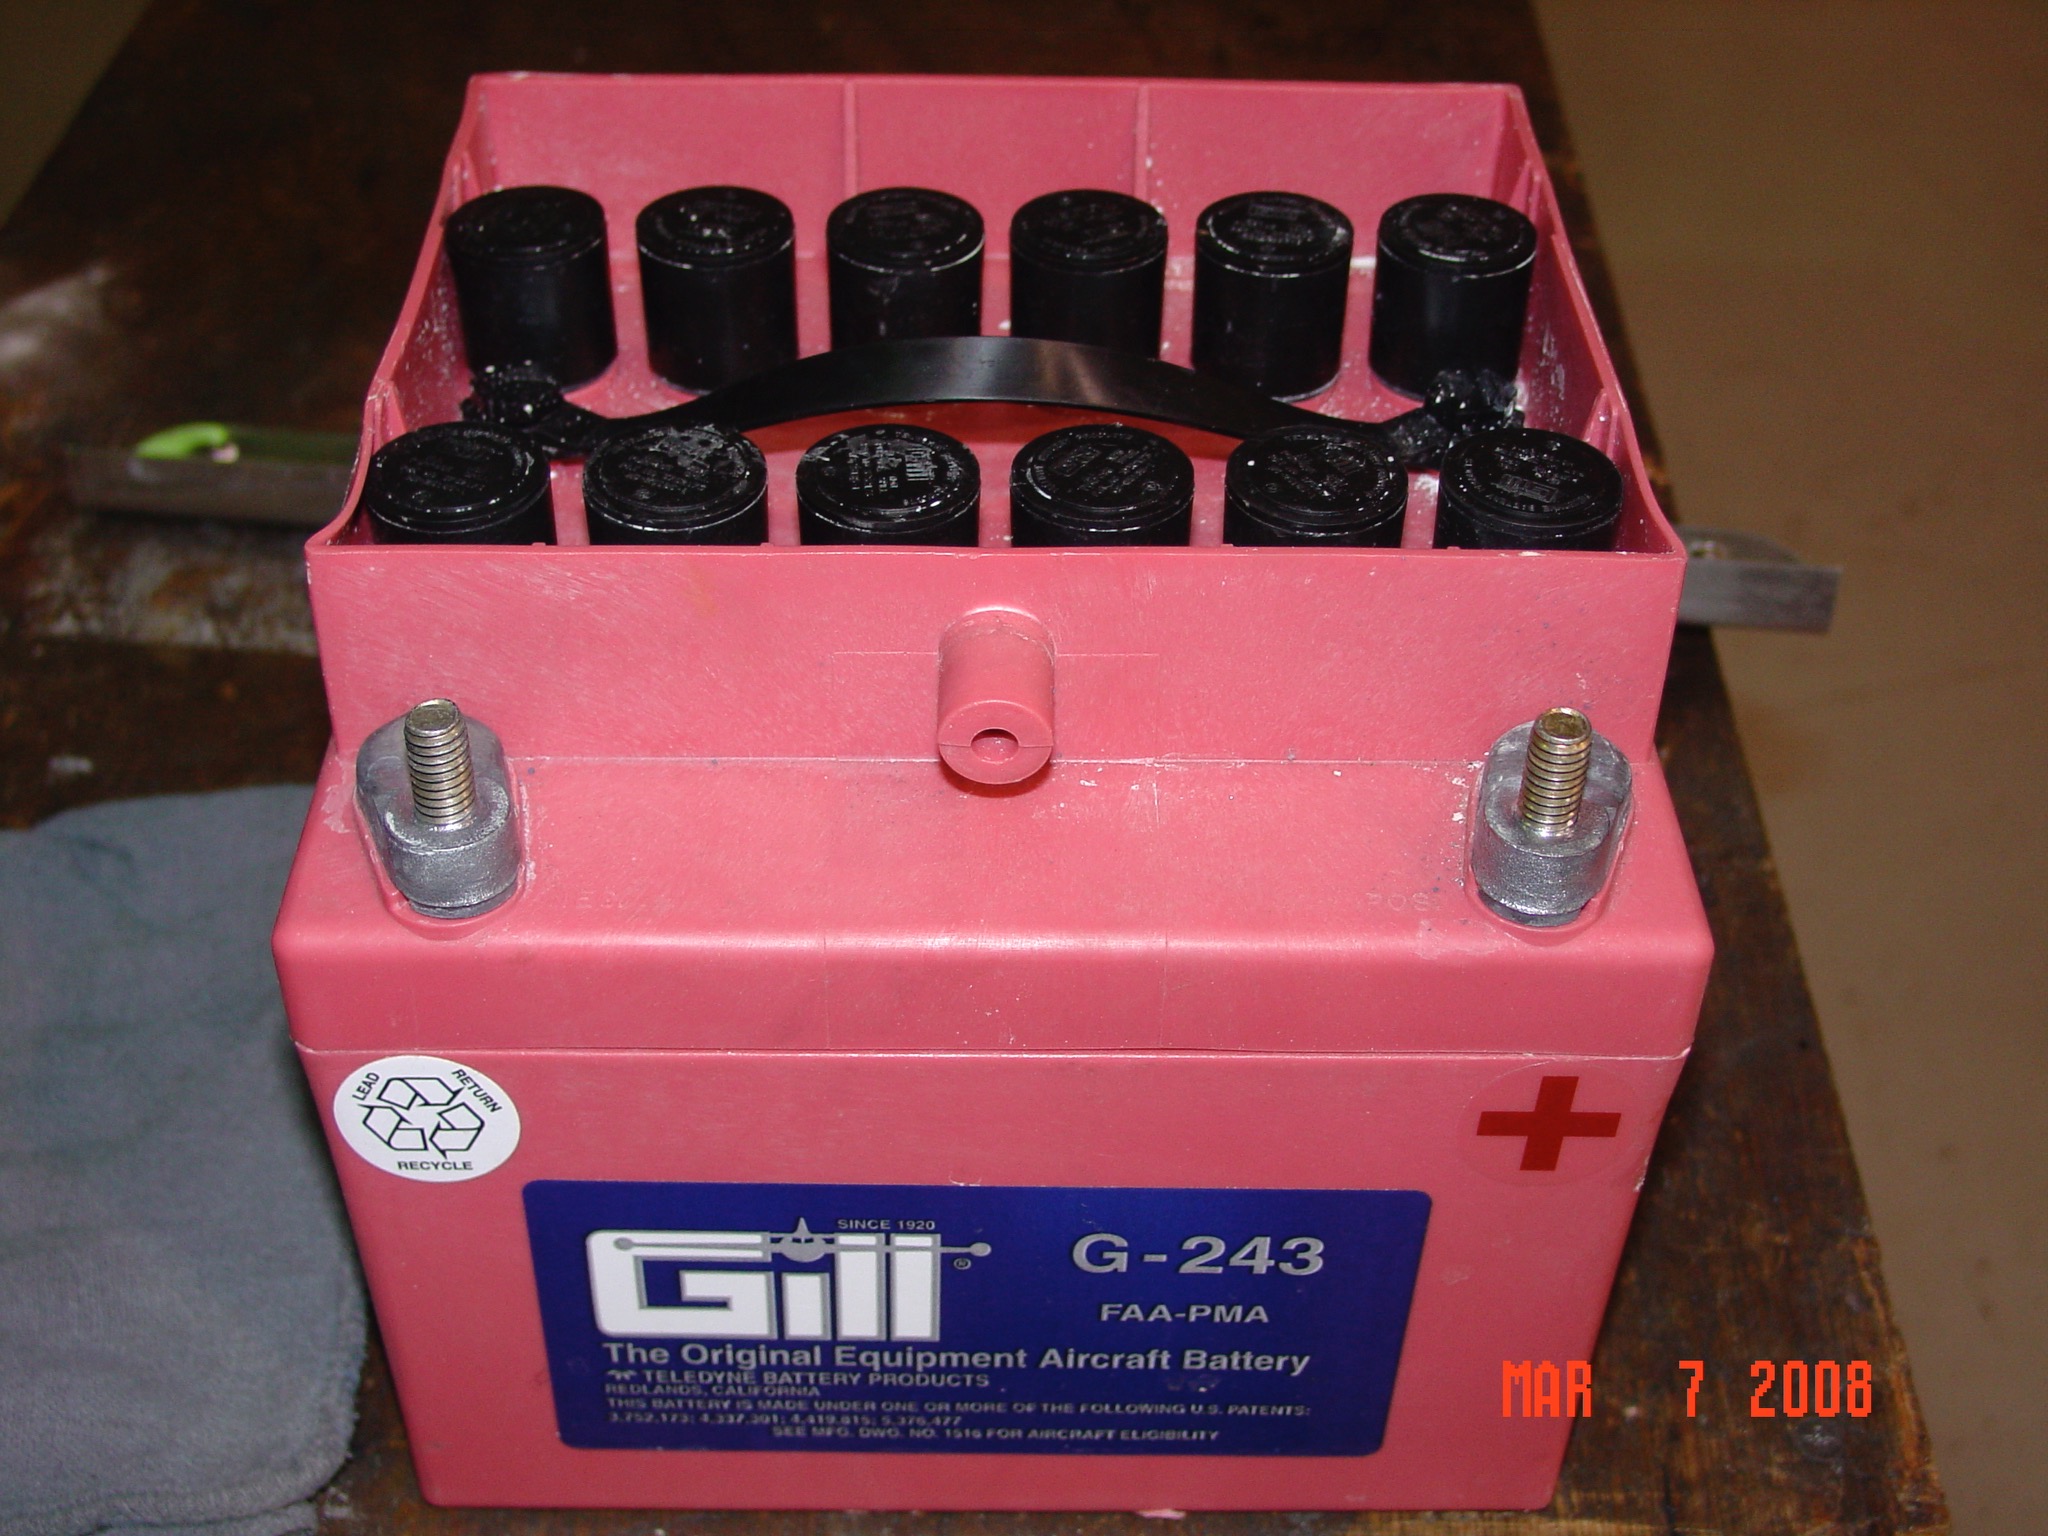
But, there’s only a certain amount of power stored in that battery, and it must be continuously charged while flying in order for all the electrical system components to function normally.

Listen to today’s episode to hear about the safe landing of an airplane that had an electrical system failure, what the apparent cause was, and a possible solution for it.

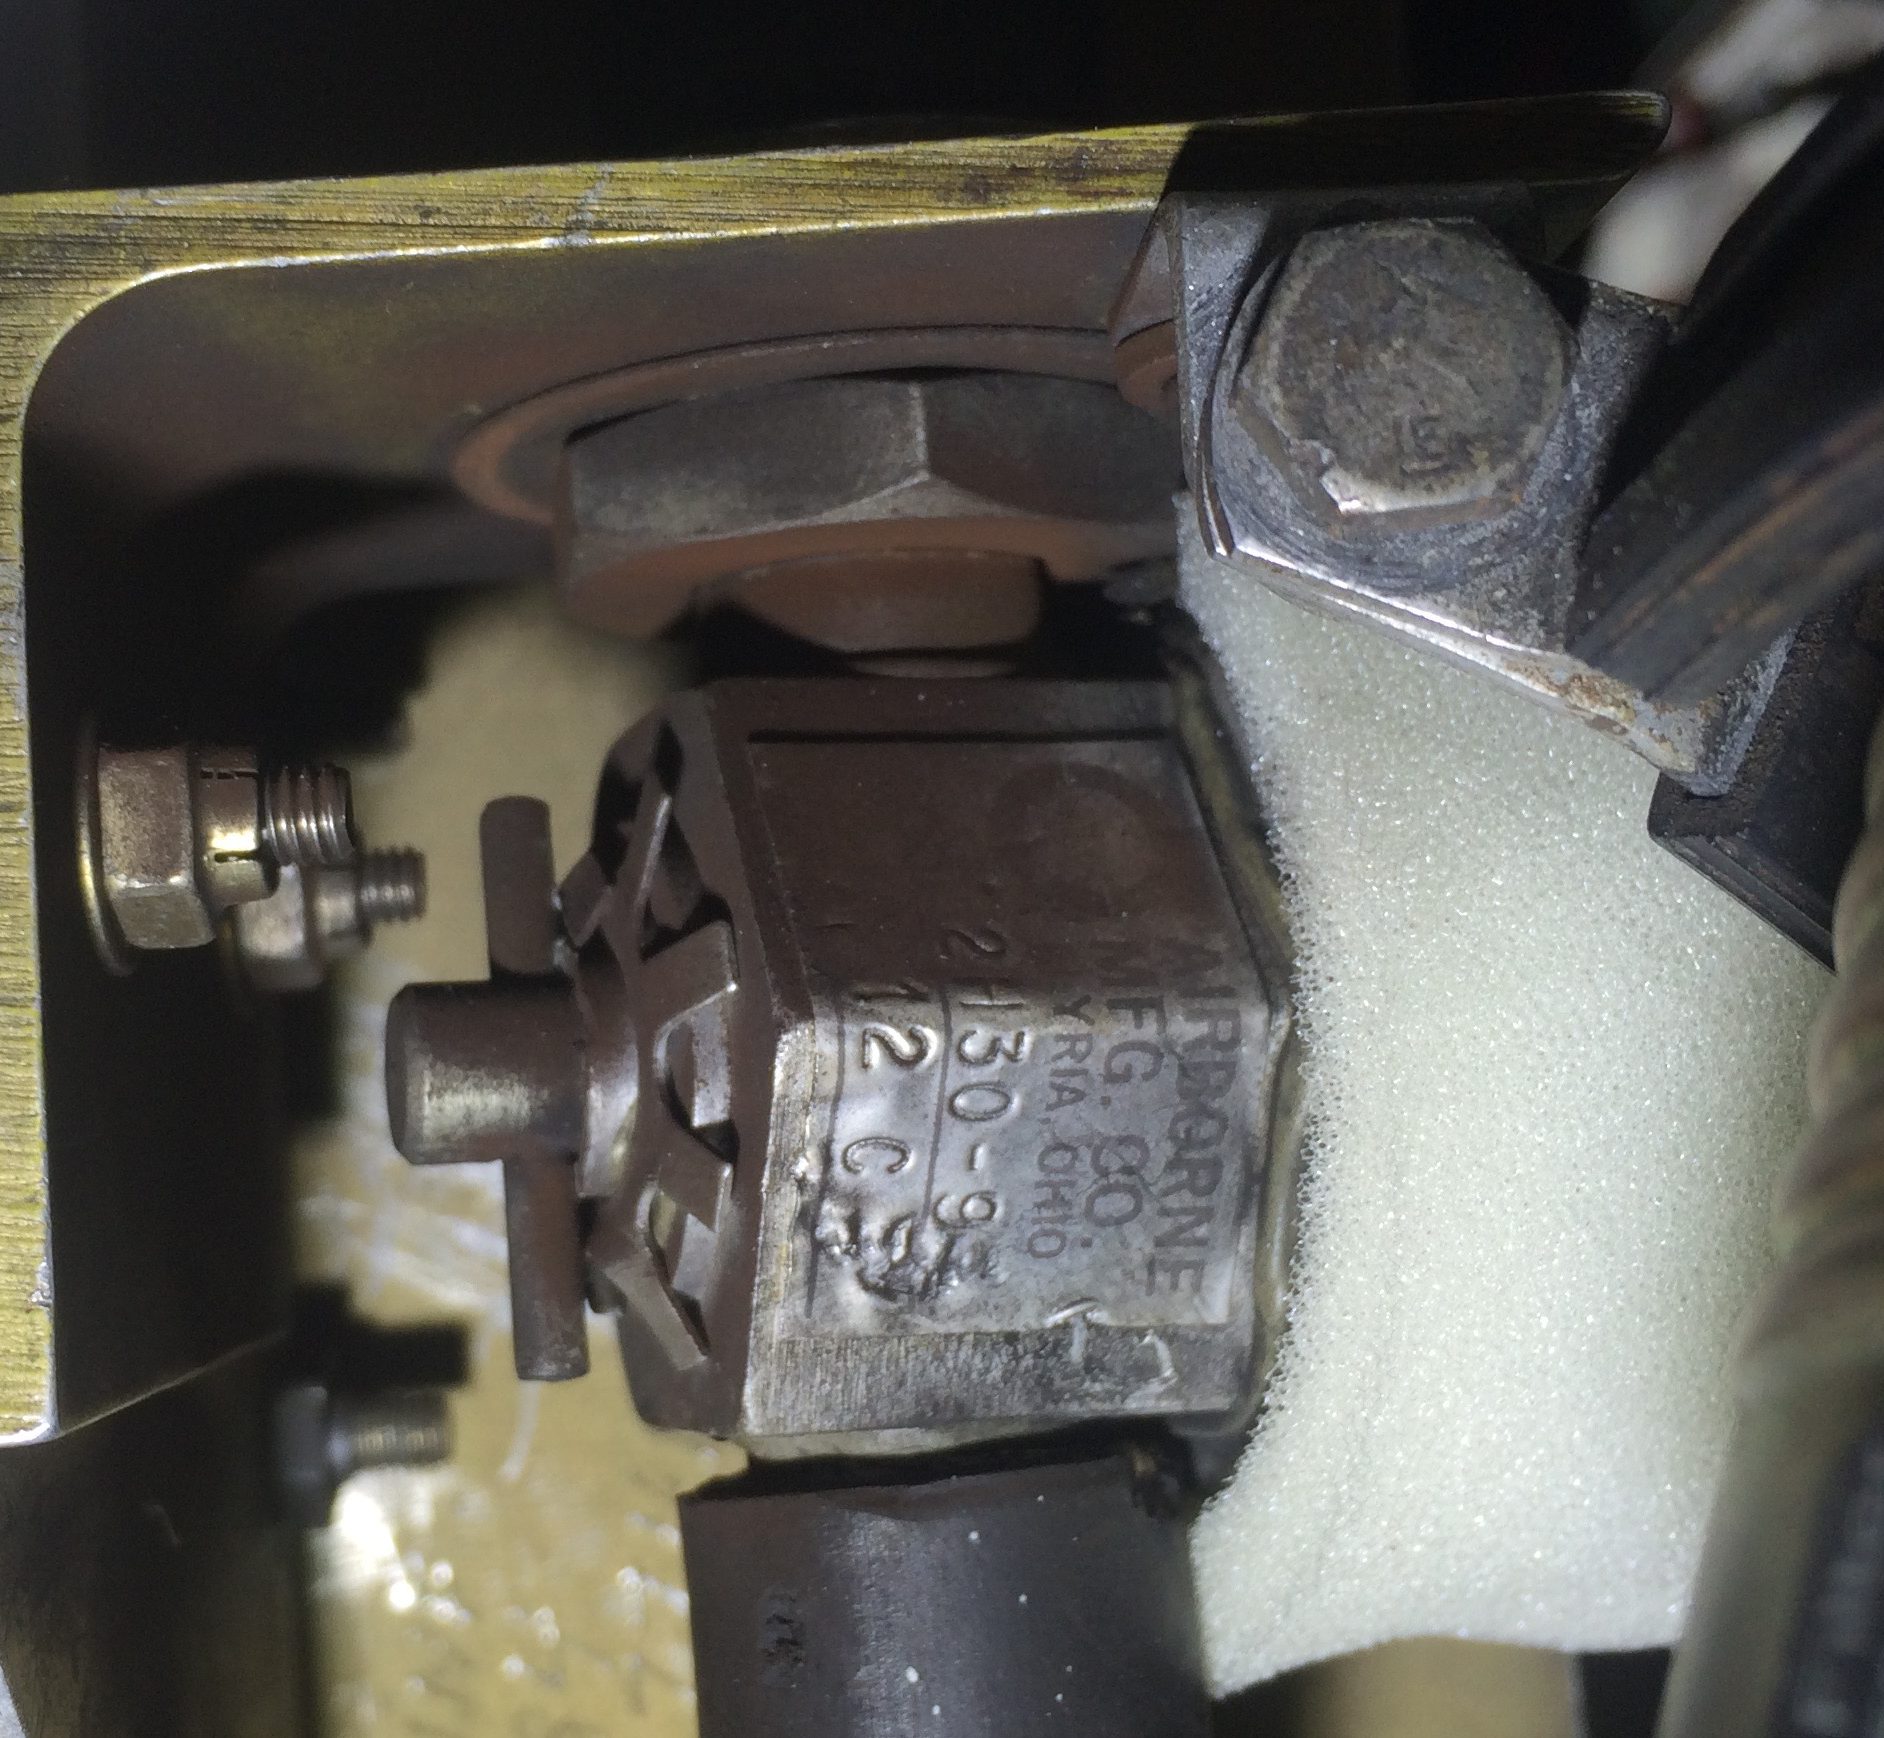
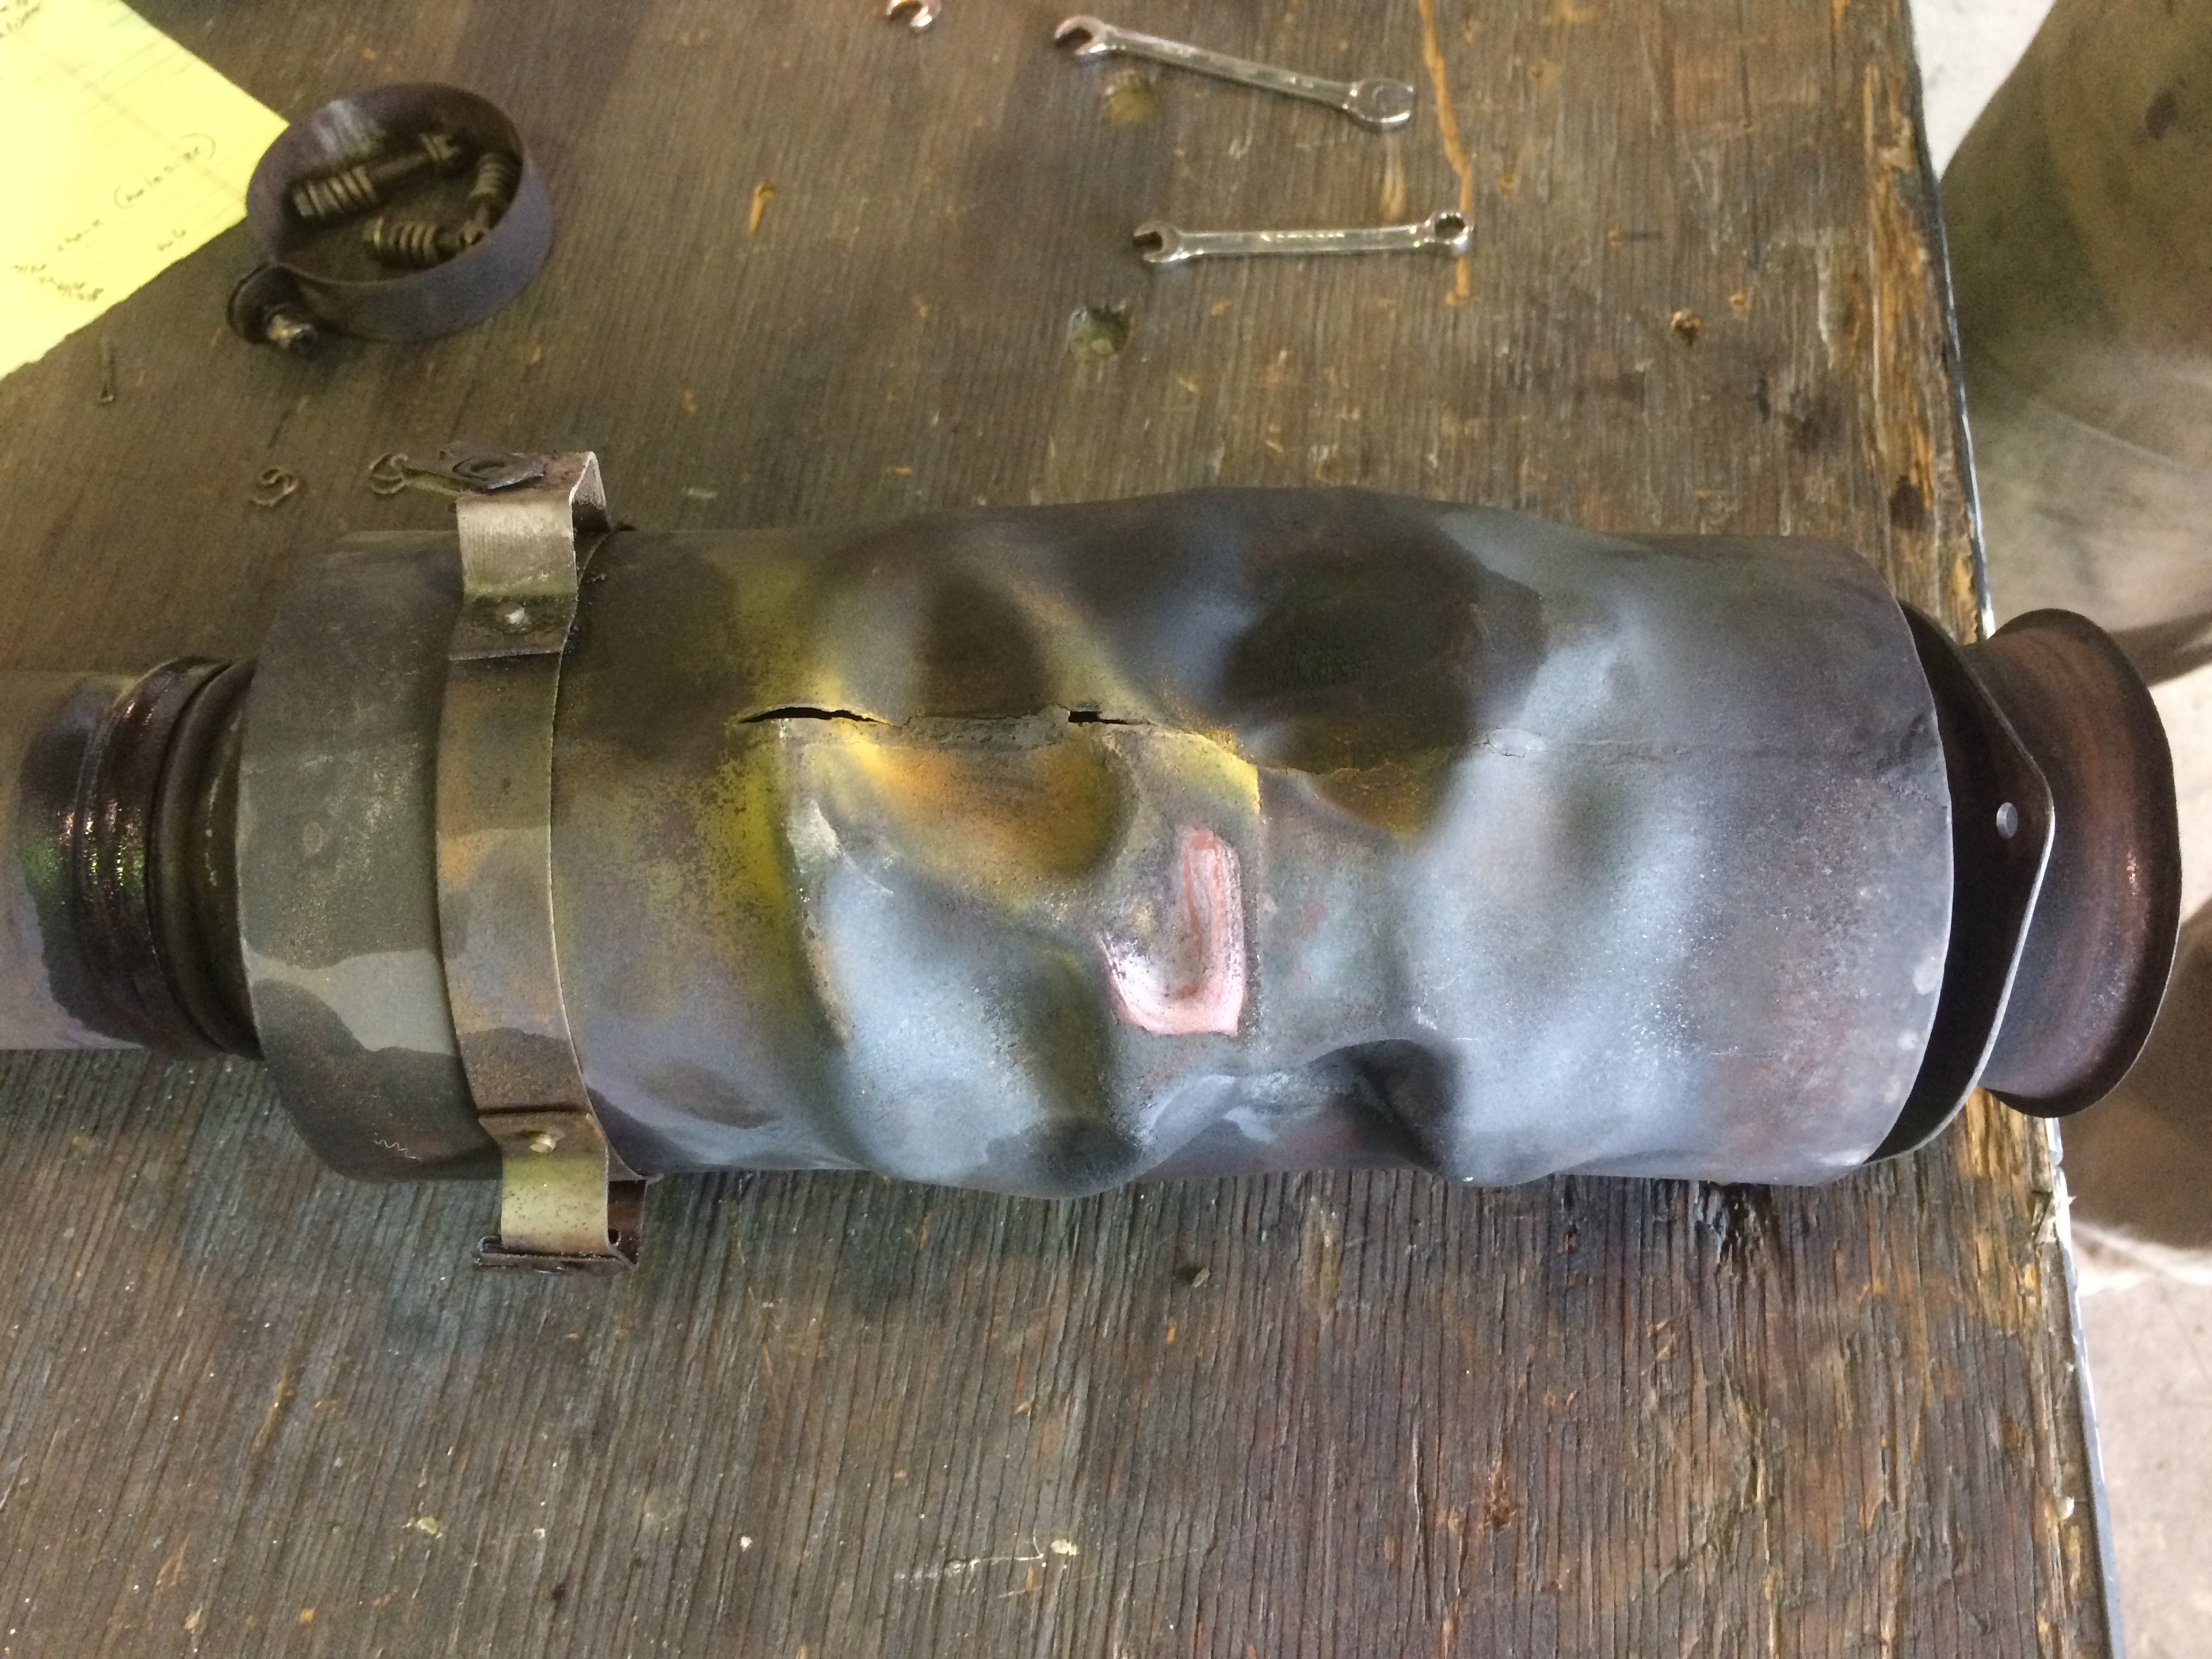
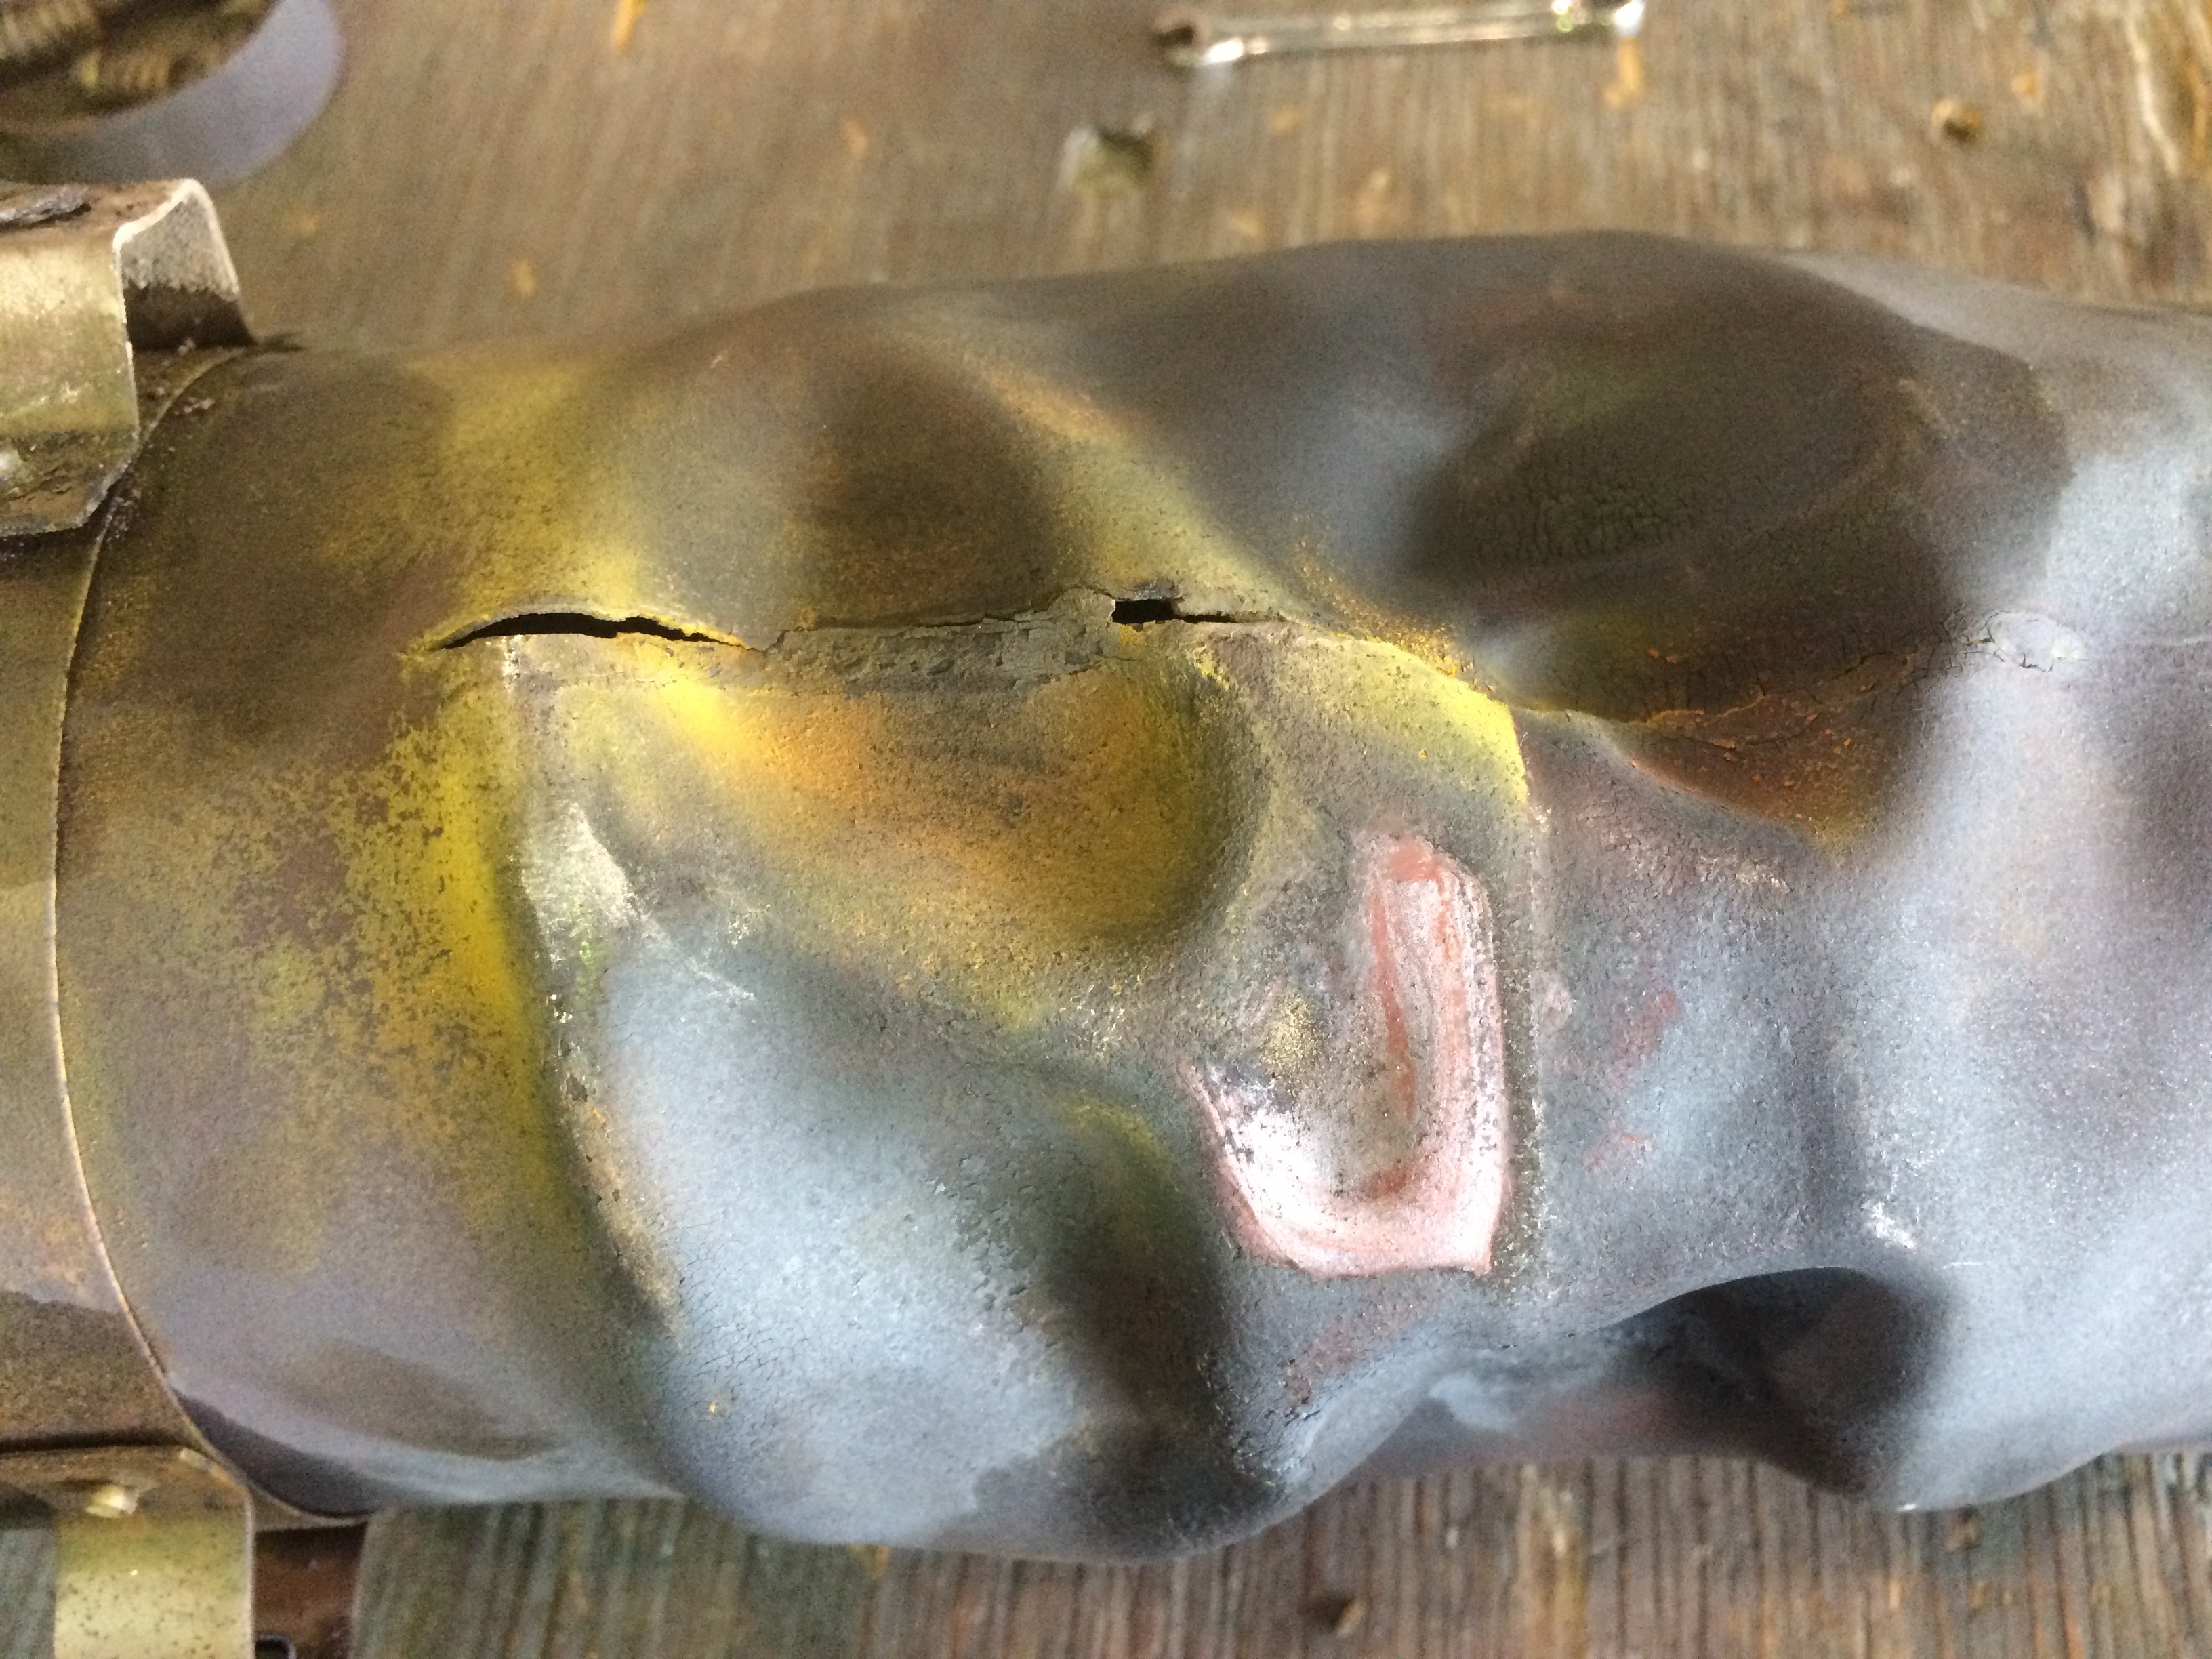
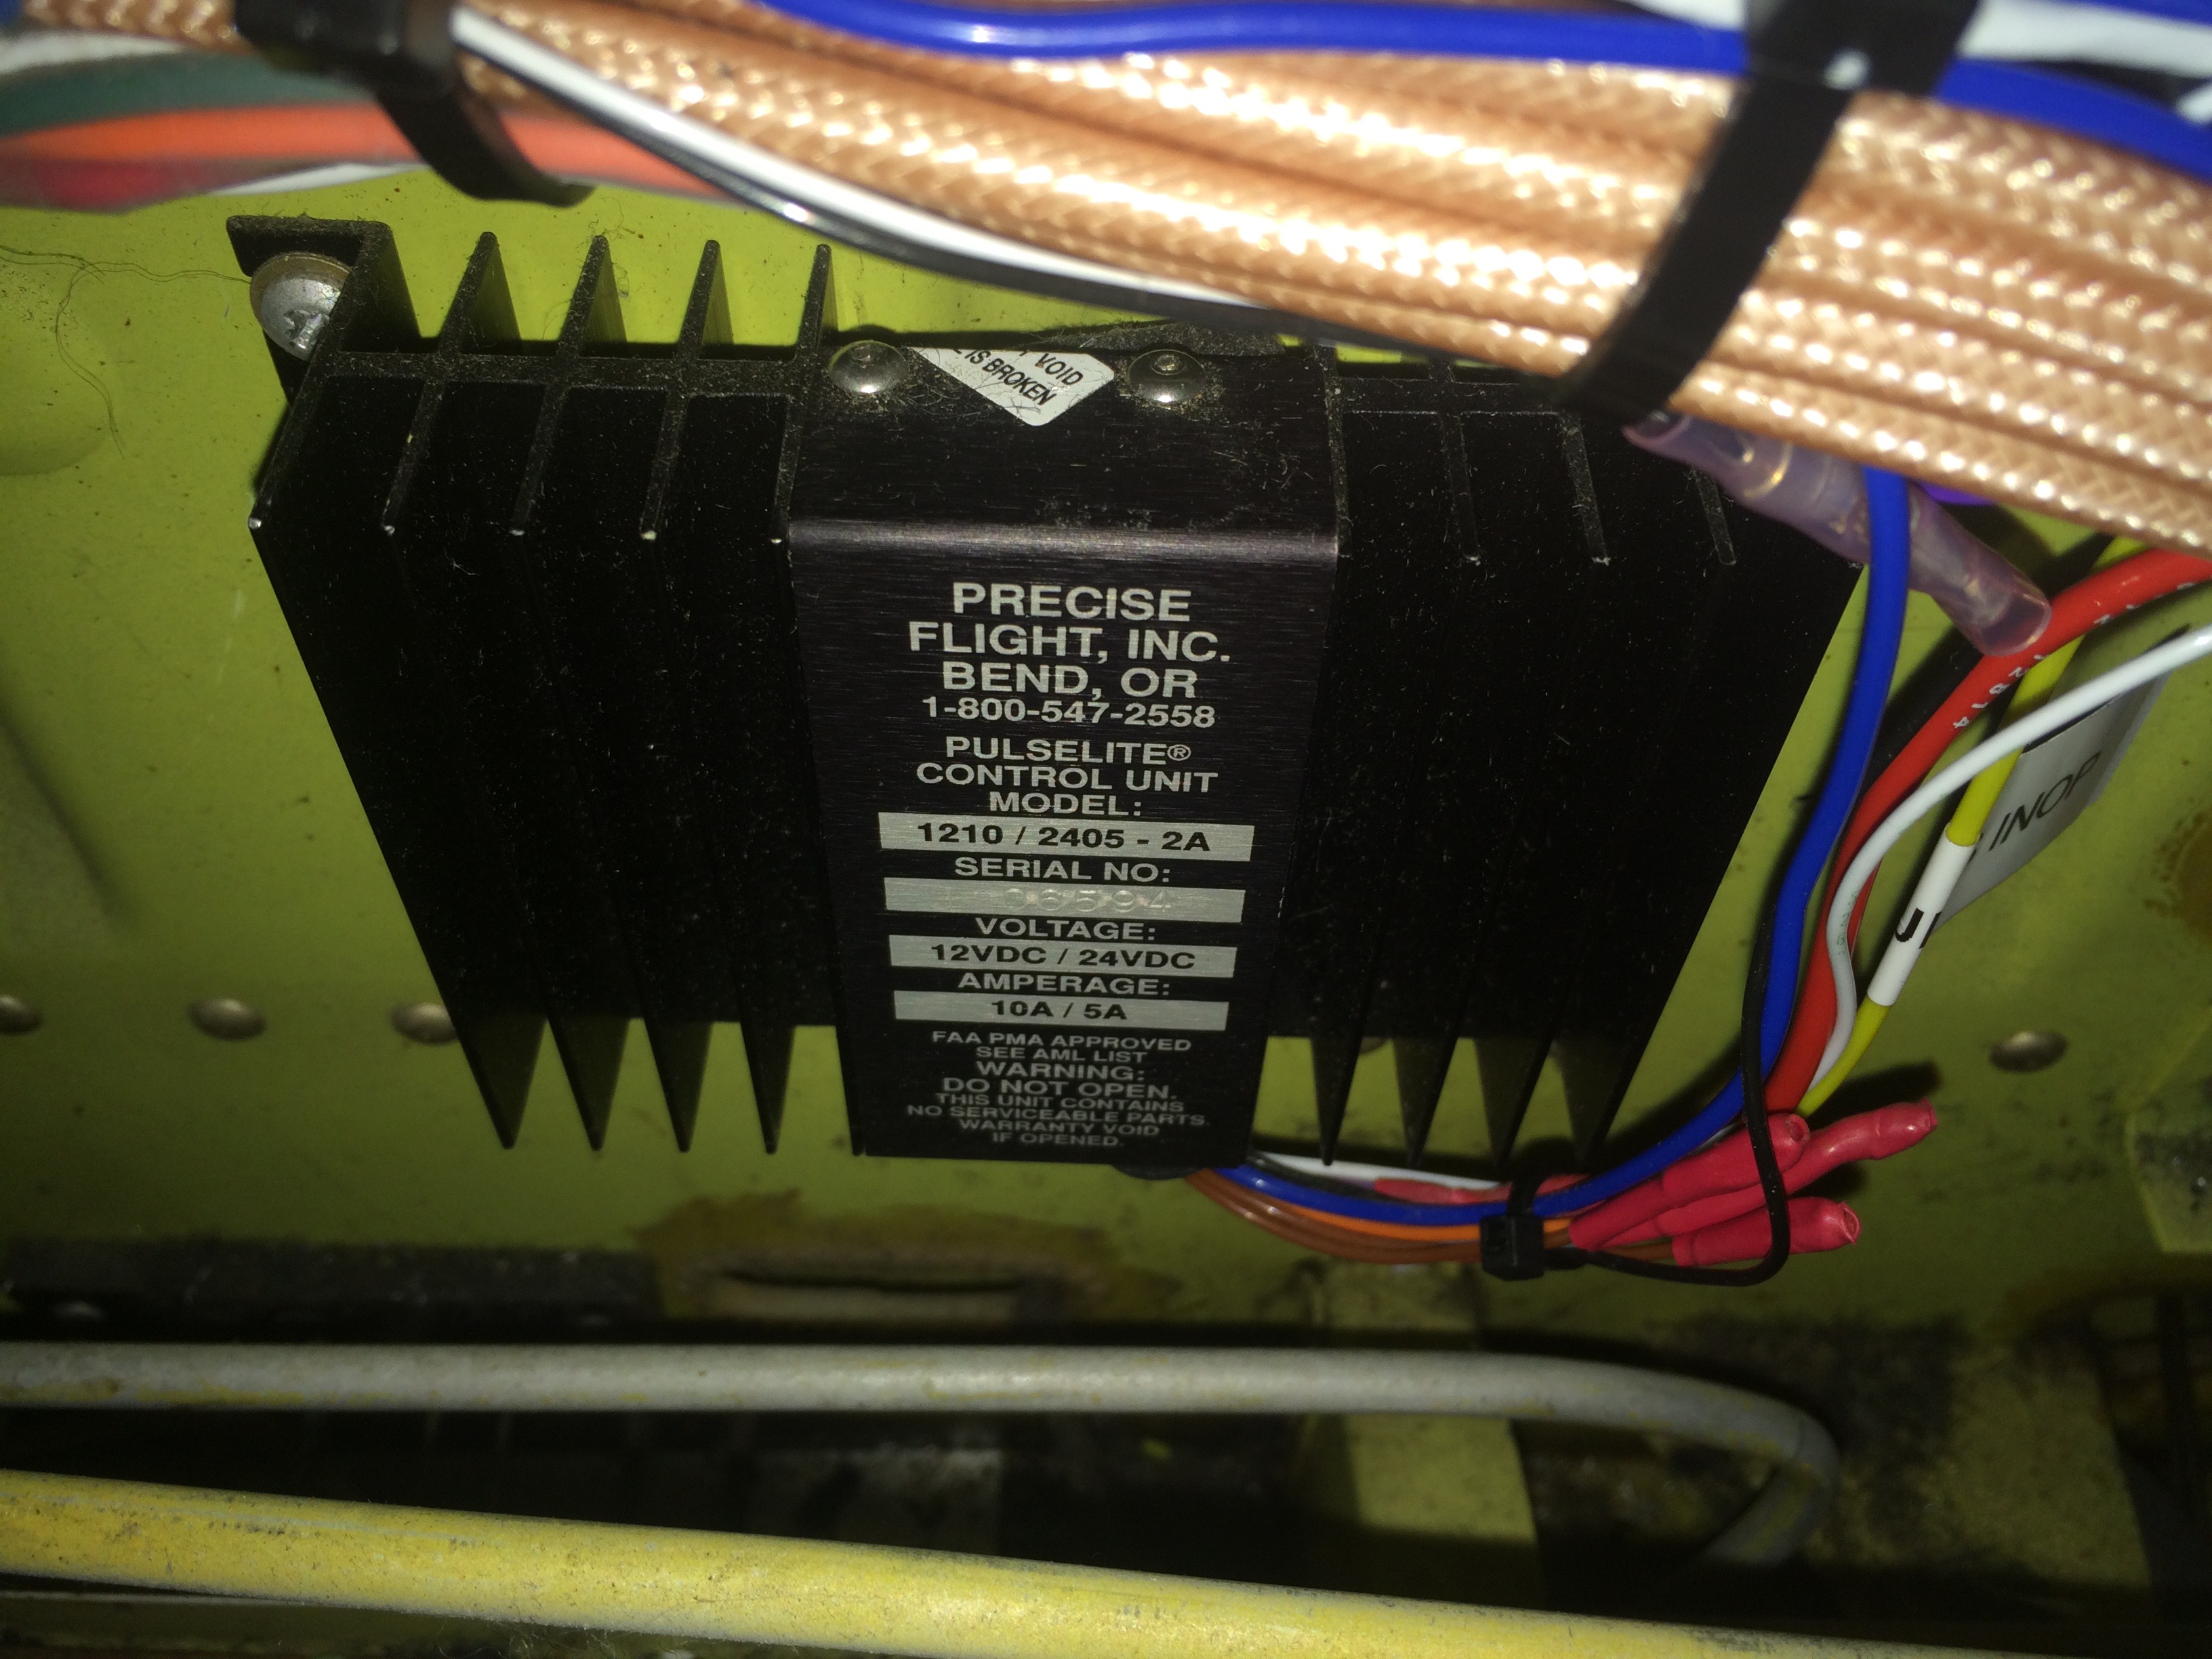
There is ONE MAIN THING I’m asking you to do in your airplane to help guard against an electrical system failure:  Do an in-flight test to verify that your charging system is adequate for the equipment you have installed.  This is an especially important test after any electrical modifications are made, or new avionics installed.

IF you do have too much electrical load in your airplane, for the capability of the charging system, there is a simple solution that works for many airplanes.  Listen to today’s show to find out about it.

Tip:  If you read this article that appeared in Director of Maintenance magazine, on October 1, 2012, you can get a good idea of what this solution is.

I also give a few other recommendations in this episode.  Here they are:

  • If you don’t have a digital voltage indicator in your instrument panel, consider adding that.
  • Incorporate some electrical system problem scenarios in your next flight review.

  • Review your POH electrical system operation and schematics.
  • Read Savvy Aviator #27 article about aircraft battery maintenance.  http://www.avweb.com/news/savvyaviator/191348-1.html

  • If you have any electrical mods done, or equipment added, verify your charging system can keep up.

Thank you, to those of you who left a rating and review in iTunes… I really appreciate it.  If others of you will do that as well, hopefully more airplane owners can find out about the podcast, and I will try to mention you in a future episode.

Thanks and have a great week!


036 – Tell-Tale Colors in an Airplane’s Engine Compartment

As an airplane owner, you are authorized to remove and reinstall your engine’s cowling, as long as it does not involve “removal of the propeller or disconnection of flight controls.”

So, have you ever wondered what to look for in there?

Listen to today’s podcast episode to learn about some key colors that can be indicators of some issues that may need corrective action.


BLUE:  Possible fuel leak… fix ASAP!

RED:  Possible hydraulic leak.

HONEY color:  Clean engine oil.

DARK BROWN oily color:  dirty engine oil.

DARK BROWN, dry dust:  steel part chafing.

img_4069


Notice the dark brown dust, indicating a loose, and chafing, steel part.


DARK GRAY:  Possible indication of aluminum chafing mixed with rain water.

LIGHT BROWN:  Possible exhaust leak, especially at cylinder flanges.

TRAFFIC LIGHT COLORS:  Red, yellow, and green:  Colors to look for on exhaust valves with a borescope.

For more information on this, read the following article with AOPA, by Adrian Eichhorn:

https://www.aopa.org/training-and-safety/air-safety-institute/valve-safety

This article is an excellent, simple explanation of borescoping and exhaust valve inspections.

Remember, when it comes to exhaust valves, GREEN MEANS STOP!

Here is a PDF document from AOPA about exhaust valves and what to look for:

https://www.aopa.org/-/media/Files/AOPA/Home/Pilot-Resources/ASI/Valve-safety/14FN0000-ASI-Valve-Safey-Poster_Final.pdf


And one more color:

:  The color of my personal torque putty.

Listen to the podcast to hear the story of why I use a lot of this stuff now!


Finally, if you would help me by leaving a review on iTunes, I’d greatly appreciate it!  This can help more airplane owners find the show.  Here’s how to do it:

  1.  Go to iTunes store.
  2. Search for “Airplane Owner Maintenance” or “Dean Showalter.”
  3. Click on the podcast picture or the name “Airplane Owner Maintenance.”
  4. Click “Ratings and Reviews.”
  5. Click “Write a Review.”
  6. Give a title, write a short review, and give a star rating.
  7. AND, if you include your real name in the body of the text, and anything else you’d like other airplane owners to know I will try to recognize you in a future episode.
  8. Thanks!


So…  go take a look at your airplane engine, and see if you have any “Tell-Tale colors” that need to be addressed!

Have  a great week!


035 – Airplane Exhaust Systems Tell Stories… Are You Listening?

It’s getting cooler these days!

This ‘ol gravel road is one of my favorite places to take a walk in the morning.

IMG_4051


And the last two mornings, it has actually been slightly chilly… today I even wore a jacket.

It’s such a contrast to the recent, normal hot summer weather we’ve been having.

…Which reminds me that in the cold weather season, heat is needed to keep an airplane’s cabin warm.

And one of the most common ways to heat a small airplane cabin is to collect it off the engine’s exhaust system.

So today, we discuss things to be aware of with airplane exhaust systems, and how to keep them in a safe, airworthy condition, especially in relation to heating the airplane cabin.

One danger we face is CO (carbon monoxide) in the cockpit.

Mike Busch wrote an excellent article on the subject that was published in the AOPA blog October 20, 2014.  The title of this article is “Carbon Monoxide, Silent Killer.”

Please, please, read this whole article!

http://blog.aopa.org/opinionleaders/2014/10/20/carbon-monoxide-silent-killer/

The information in this article is so important, it could have the potential to save your life or someone else’s life some day.

There are two printable, high-resolution pages in this article that I would highly recommend you laminate, put in your airplane, and review the information frequently.

Here is a scary looking muffler that was removed from an A36 Bonanza.

IMG_4055


The muffler was severely deformed, AND had a large crack in it.

IMG_4056


The cover over the muffler was telling a story, saying, “It’s hot!  Really, really hot!”

IMG_4054


The heat from the hot exhaust gases was a factor in causing the heat shield band clamp to break.

IMG_4066IMG_4065


Listen to today’s episode and hear some ways your airplane exhaust system might be talking to you.

I’ve also put some recommendations in today’s show, that can help make your airplane safer as we approach colder weather, and all the time, really.

Any comments, questions, and feedback on this episode are much appreciated.

And one last request:

Please go to iTunes and leave a rating and review for the podcast… it can help other airplane owners find it, and it’s very helpful to me as well.

Have a great week everyone!

P.S.  One great place to get help with exhaust issues, and to buy exhaust parts is The Parts Exchange.  You can visit their website at AircraftExhaust.com.  They also have some useful inspection tips on that site as well.

034 – An Airplane Fuel System Mystery is Solved When a Guy Named Kevin Saves the Day

Recently, I’ve been working on a Cessna 414, for the annual inspection and associated repairs.

Listen to today’s episode to find out about why we removed both the left and right fuel selector valves for repair, and how it all worked out.

Each wing has one of these selector valves

IMG_4050


The fuel strainer bowl, in this case, is part of the selector valve and can be accessed through the bottom access opening in the wing.

IMG_4049


The selector valve can be removed through an opening in the top of the wing, after draining fuel and disconnecting all the lines and cable attachment.

IMG_4048


Today’s episode also tells the story of a fuel leak on an Aerostar aircraft a few years ago, and how challenging it was, until we found the right person, who knew exactly what to do to fix it.

I also tell a story of how a Cessna 172 engine was kept running in a very innovative way, that resulted in a safe, airport landing, but could have been catastrophic, if this technique had not been used.

Finally, I have 3 recommendations for fuel system familiarization:

  1.  Take a little time to study your fuel system in your POH, or Flight Manual.
  2.   If you have an issue, do some research, and try to find the best person to help, who has experience with that issue.
  3. Get involved in your airplane’s maintenance, and learn about the fuel system… it just might help you in the future.

IF YOU HAVE A UNIQUE OR INTERESTING FUEL SYSTEM STORY, please sent it to me so we can share it with others and all learn from it.

Thanks!


033 – Airplanes I Saw and a Pilot / Medical Examiner I Met at Dare County Regional Airport

This replica of the original Wright Flyer is displayed in the lobby at Dare County Regional Airport on the Outer Banks of North Carolina.

IMG_3955


This Waco is used for air rides at the Outer Banks… it’s a “flying convertible!”

IMG_3965


If you’re interested in skydiving, you can also do that at Dare County.

IMG_3954


You can jump out of a perfectly good airplane!  This sign is posted on the inside wall of the Cessna 182 that is used for hauling skydivers.

IMG_3959


This Bellanca was in the shop for repairs due to a gear collapse, or not fully extended situation… oops!  But, let’s not be quick to judge here… it can happen to the best of us.  Listen to today’s podcast for some talk about gear up landings and avoiding them.

IMG_3956


This Cessna 421 was also stuck at Dare County for a teardown inspection due to prop damage… must have hit something – maybe a runway or taxiway light?

IMG_3962


IMG_3963


The Outer Banks is one place that feeds my soul!

IMG_3991


032 – Aviation Reflections from the Outer Banks of North Carolina

Hello from the Outer Banks of North Carolina!

Yesterday, I stood on the end of runway 2 and took a picture at the First Flight Airport on the Outer Banks… if you stick with me today, I’ll share with you some of my personal aviation memories from the Outer Banks.

IMG_3945

My family is on vacation here this week, and I thought I’d share with you some of my personal thoughts about general aviation here on the Outer Banks.

As I reflected on my personal situation, I realized that I’ve had a fair number of aviation experiences that are somehow related to the Outer Banks.

I share some of those stories in today’s episode.

First Flight Airport is a worthwhile stop for aviators who make it to the Outer Banks.

IMG_3930

It’s a fairly short, but steep hike to the Wright Brothers Memorial at First Flight Airport.

IMG_3934

We really owe a lot to Orville and Wilbur for their extreme perseverance.


IMG_3942


This clever entry code is used at First Flight Airport, and at Ocracoke Airport, to gain entry into the flight planning facilities.


Check out this video of a flying replica of the original Wright Flyer.  What a crazy adventure!

https://www.youtube.com/watch?v=o1mscspl-VU

I was thinking about all this as it relates to mx, and being a mechanic, it hit me that visiting a place like the Outer Banks is an especially good time to make sure you have at least some sort of tool kit and a few spare parts like a couple spark plugs and tools to change them… there is no maintenance at 3 of the 4 airports we talked about today.

So… if you don’t have a small aviation toolkit that you carry with you, consider putting one together… it just might save the day for you sometime!

And please… send me your ideas that could be shared with your fellow aviators…if you do have a toolkit with a few spare parts that you carry with you, I would be interested to know what is in your kit… also any times you had to use the kit, and how it helped you.

The better prepared we are when we go flying, the better!

Thanks so much for joining me today for this special Outer Banks episode.

Have a great week!

031 – Spark Plug Servicing for Airplane Owners, and One Simple Tool You Should Not Be Without!

IMG_3874Spark plug servicing… it’s one of the FAA-approved tasks that airplane owners can perform and sign off on their own airplanes.

It’s really not a complicated process, but one that deserves some careful attention to detail to make sure the work is done properly.

This is not a training course… it’s just information that hopefully will motivate you as an airplane owner to get some help to learn more about spark plugs.  Or, if you are already familiar with the process, perhaps there might be something new here for you to consider.

Remember, always get training for this type of thing the first time or  two, until you get familiar with performing the task yourself.

Here are some things you may need, or find useful, in servicing your aircraft spark plugs:

  1.  Wrenches for removing the spark plug wires from your plugs, one either 7/8 or 3/4, and one for the smaller nut to keep the  wire/lead from twisting while you remove the nut.
  2. A spark plug servicing kit, like this one from Aircraft Spruce, can be very helpful:  http://www.aircraftspruce.com/catalog/topages/sparkplugmaintkit.php?recfer=3551  And if you want to buy just the spark plug socket, they have that too.
  3. A 3/8” drive ratchet for the spark plug socket.

  4. A gauge for determining if the plug is too worn or not (The center electrode is perfectly round when new, so if it looks too much like a football, it may be too worn… use the gauge to tell.)
  5. A pick for carefully removing lead chunks.

  6. A torque wrench.

  7. And finally, number seven, that amazing little tool, the gap expander, for those occasional times when you get the spark plug gap a little too tight!

IMG_3880


As far as I’m concerned, this is truly a must-have tool for spark plug servicing!


IMG_3876IMG_3878


At Classic Aviation, we keep a bin of annealed spark plug gaskets (left).  The annealed ones will seal better  when the spark plug is reinstalled.  (Check out the right picture above to see how easy it is to bend an annealed gasket with your fingers.)

Below are some more items you may want to use for cleaning spark plugs:  Blasting media for a spark plug cleaner, and a gap gauge to get the gap set properly.  If you buy a kit like I mentioned above, these may be part of that kit.IMG_3864


Here are some more helpful pieces of information on spark plugs if you’re interested:

For Lycoming engines:

http://lycoming.com/Portals/0/techpublications/serviceinstructions/SI1042AA_2_17_15.pdf

For Continental engines:  check out SIL 02-3C.

One final tip:  Keep a spare spark plug or two in your airplane, along with the proper tools to change it if necessary… one day, you may be glad you did!


030 – Troubleshooting a Pulselite Landing Light System, and an Amazing Resource from the FAA for a Very Small Fee

Episode #030… thanks Cliff Ravenscraft for all the excellent instruction in the course Podcasting A to Z!  That’s how I was even able to get this thing off the ground!

And, if YOU have a reason to start a podcast, check out Cliff’s course… it is top-notch!  For more information, check out PodcastingAtoZ.com

In today’s episode, I’m telling thIMG_3798e story about troubleshooting a Precise Flight Pulselite system in an A36 Bonanza.  It was not working when the airplane came in for the annual inspection, and it took some digging to determine what was wrong and fix it.

It was worth it though… I’m a firm believer in pulsing landing lights, for the increased visibility they provide to other aircraft.


IMG_3793


Locating the Pulselite control was a key part of the troubleshooting process.


IMG_3788IMG_3790                                                                                                        Finding the unmarked fuse holders for the Pulselite system was quite challenging… they were behind the circuit breaker panel on the pilot’s sidewall.


IMG_3787IMG_3792

Turns out, the 20 amp fuse was blown!  Check out the picture of the blown fuse, along with a new one to replace it.

Hopefully, labeling these fuseholders and putting a placard next to the Pulselite control, may help someone in the future, if there is ever another similar problem with this system.


In situations like these, sometimes it may be helpful to have the installation records and 337 form for a modification like this.  So I wanted to mention that you can get a CD of these kinds of records from the FAA Certification Office for a very small fee… just $10!  If your 337 forms and records are scattered or incomplete, this may be something to look into.

As I think back on this whole scenario now, it reminded me of some things that airplane owners can do, to make the troubleshooting process more efficient for their mechanics, especially if it is an added piece of equipment, that may not have any information in the aircraft maintenance manual.

  1.  You can order a copy of your aircraft records from the FAA Certification Office.  You can get a CD for $10, that will include all the 337 forms that have been filed for your airplane.  This is an amazing resource!  Keep this information available to your mechanic, especially during annual inspection.
  2. Whenever possible, make sure all your fuse holders are labeled, both for the component they are powering, and the proper amperage of the fuse.
  3. Add a listing of all these fuse holders, and their location, and the proper amperage of the fuse, in your POH or owner’s manual.  (Perhaps in the section for the electrical system.)
  4. When having modifications done to your airplane, ask questions about all this, and make a plan to ensure all these details are covered.  You’ll be glad you did if…
  5. Whenever you encounter a problem like the one I described today, go ahead and label things at that time, if not already done.(I put a placard next to the Pulselite control, indicating that there were 2 fuses for this system behind the pilot’s circuit breaker panel.)

029 – A Trip Down Memory Lane to the Shortest Paved Runway in Virginia

Last Friday, I had an opportunity to do some flying with John Trissel at Eagles Nest Airport, in Waynesboro, Virginia.  John is the airport manager at Eagles Nest.

Check out this unique little airport here:

http://www.eaglesnest.aero/

IMG_3767


AND, if you want to see what it’s like to land at Eagles Nest, check out this you tube video:

Here’s another picture from the airport’s website:

18210


Last Friday, we were getting John checked out in Don Vreuls’ PA 24-250, a very nice Comanche, I might add!

IMG_3769


This airplane also has a fairly impressive instrument panel, with enough toys to keep you occupied for hours, even on a long flight!  Check out the AOA indicator to the left of the airspeed indicator.  If you would like to see more information on this, you can go to www.alphasystemsaoa.com.  Mark Korin is passionate about using these AOA systems to save lives.  (He was one of my favorite speakers at a recent IA renewal seminar.)

IMG_3764


So all in all, it turned out to be a great day at Eagles Nest, and I was grateful for the opportunity.

Thank you John… I really enjoyed flying with you!

And thank you Don… you have a very nice airplane, and it’s always a pleasure to work with you!


One more thing… If any of you out there have any good short runway stories or pictures that you would be willing to share with me, please send me an email:  deanshow@gmail.com.  Thanks!


028 – Your First Preflight After Maintenance… Do NOT Miss This Detail!

What is flight control rigging?

Flight control rigging, involves checking and making any necessary adjustments IAW the MM instructions, to make sure all cable tensions, control positions and movements, and travel stops are set within the MM specifications. 

When done properly, this ensures that the airplane will perform at it’s optimal capability, fly straight and level in cruise, and achieve the best airspeeds possible.

Some true stories about flight control systems being misrigged have turned out well, while others have not.

Listen to today’s episode and be reminded of the importance of  proper flight control rigging.

AD 2013-02-13 and Piper SB 1245A

When this AD and service bulletin are done on Piper stabilator control cables, it is a prime time to make sure of proper rigging when the inspection is finished.

McFarlane Aviation has all this information, along with new control cables, if necessary, on their website:

http://www.mcfarlaneaviation.com/Details.aspx?Article=402


What can you do as a pilot to make sure your airplane is rigged properly?

  1. Do a rigging visual inspection.
    1. Center the control yoke.
    2. Make sure ailerons are evenly aligned with the flaps or the wingtips.
    3. If adjustable (like many Beechcraft models), make sure the elevators are evenly aligned with the horizontal stabilizers.
    4. Check to see that when the rudder is centered, the nosewheel is also centered.  (Unless of course you own a Cirrus, Diamond, or other airplane with a castering, non-steerable nosewheel.
  2. Move cockpit controls and verify proper movement of control surfaces.

  3. Check all trim system movements and indications.

  4. Don’t just “gloss over” the controls check during preflight checklist.

  5. Do a complete “free and correct” check in both directions…esp after avionics!

I’ve developed a check list called:

Aircraft Rigging Checklist for Pilots

It’s a step by step instructional checklist you can use to check your airplane control systems, that will help you to determine if your airplane is rigged properly.

It’s good for almost any airplane… Beech, Cessna, Piper, and many others.

I will send you this for free as a PDF  document if you send me an email… deanshow@gmail.com and mention you would like the Aircraft Rigging Checklist for Pilots.

So… when do you know your airplane might need some rigging attention?

  1. Your airplane does not fly straight and level in cruise.

  2. Your flight controls or trim tabs do not match the cockpit control positions.

  3. Your flight controls do not positively contact the stops.

  4. You go through my rigging checklist, and notice something out of the ordinary.

Remember, when moving flight controls during any of these checks, make sure you are very careful and pushing on places with good structure.

Don’t lift elevators by the trim tabs.

Be careful about moving Piper rudders… cables are very tight, and because of the design, cannot be moved easily unless on jacks.

« Older posts Newer posts »