Podcast: Play in new window | Download
April 15, 2016
As an airplane owner, have you ever tried to troubleshoot and fix a landing light or nav light yourself?
If not, why not give it a shot? In most cases, the process is fairly simple.
Today, we talk about some simple steps to take when you have a landing light or nav light that’s not working.
And the good thing is, this is FAA approved “Preventive Maintenance!”
Nav lights are easily accessible.
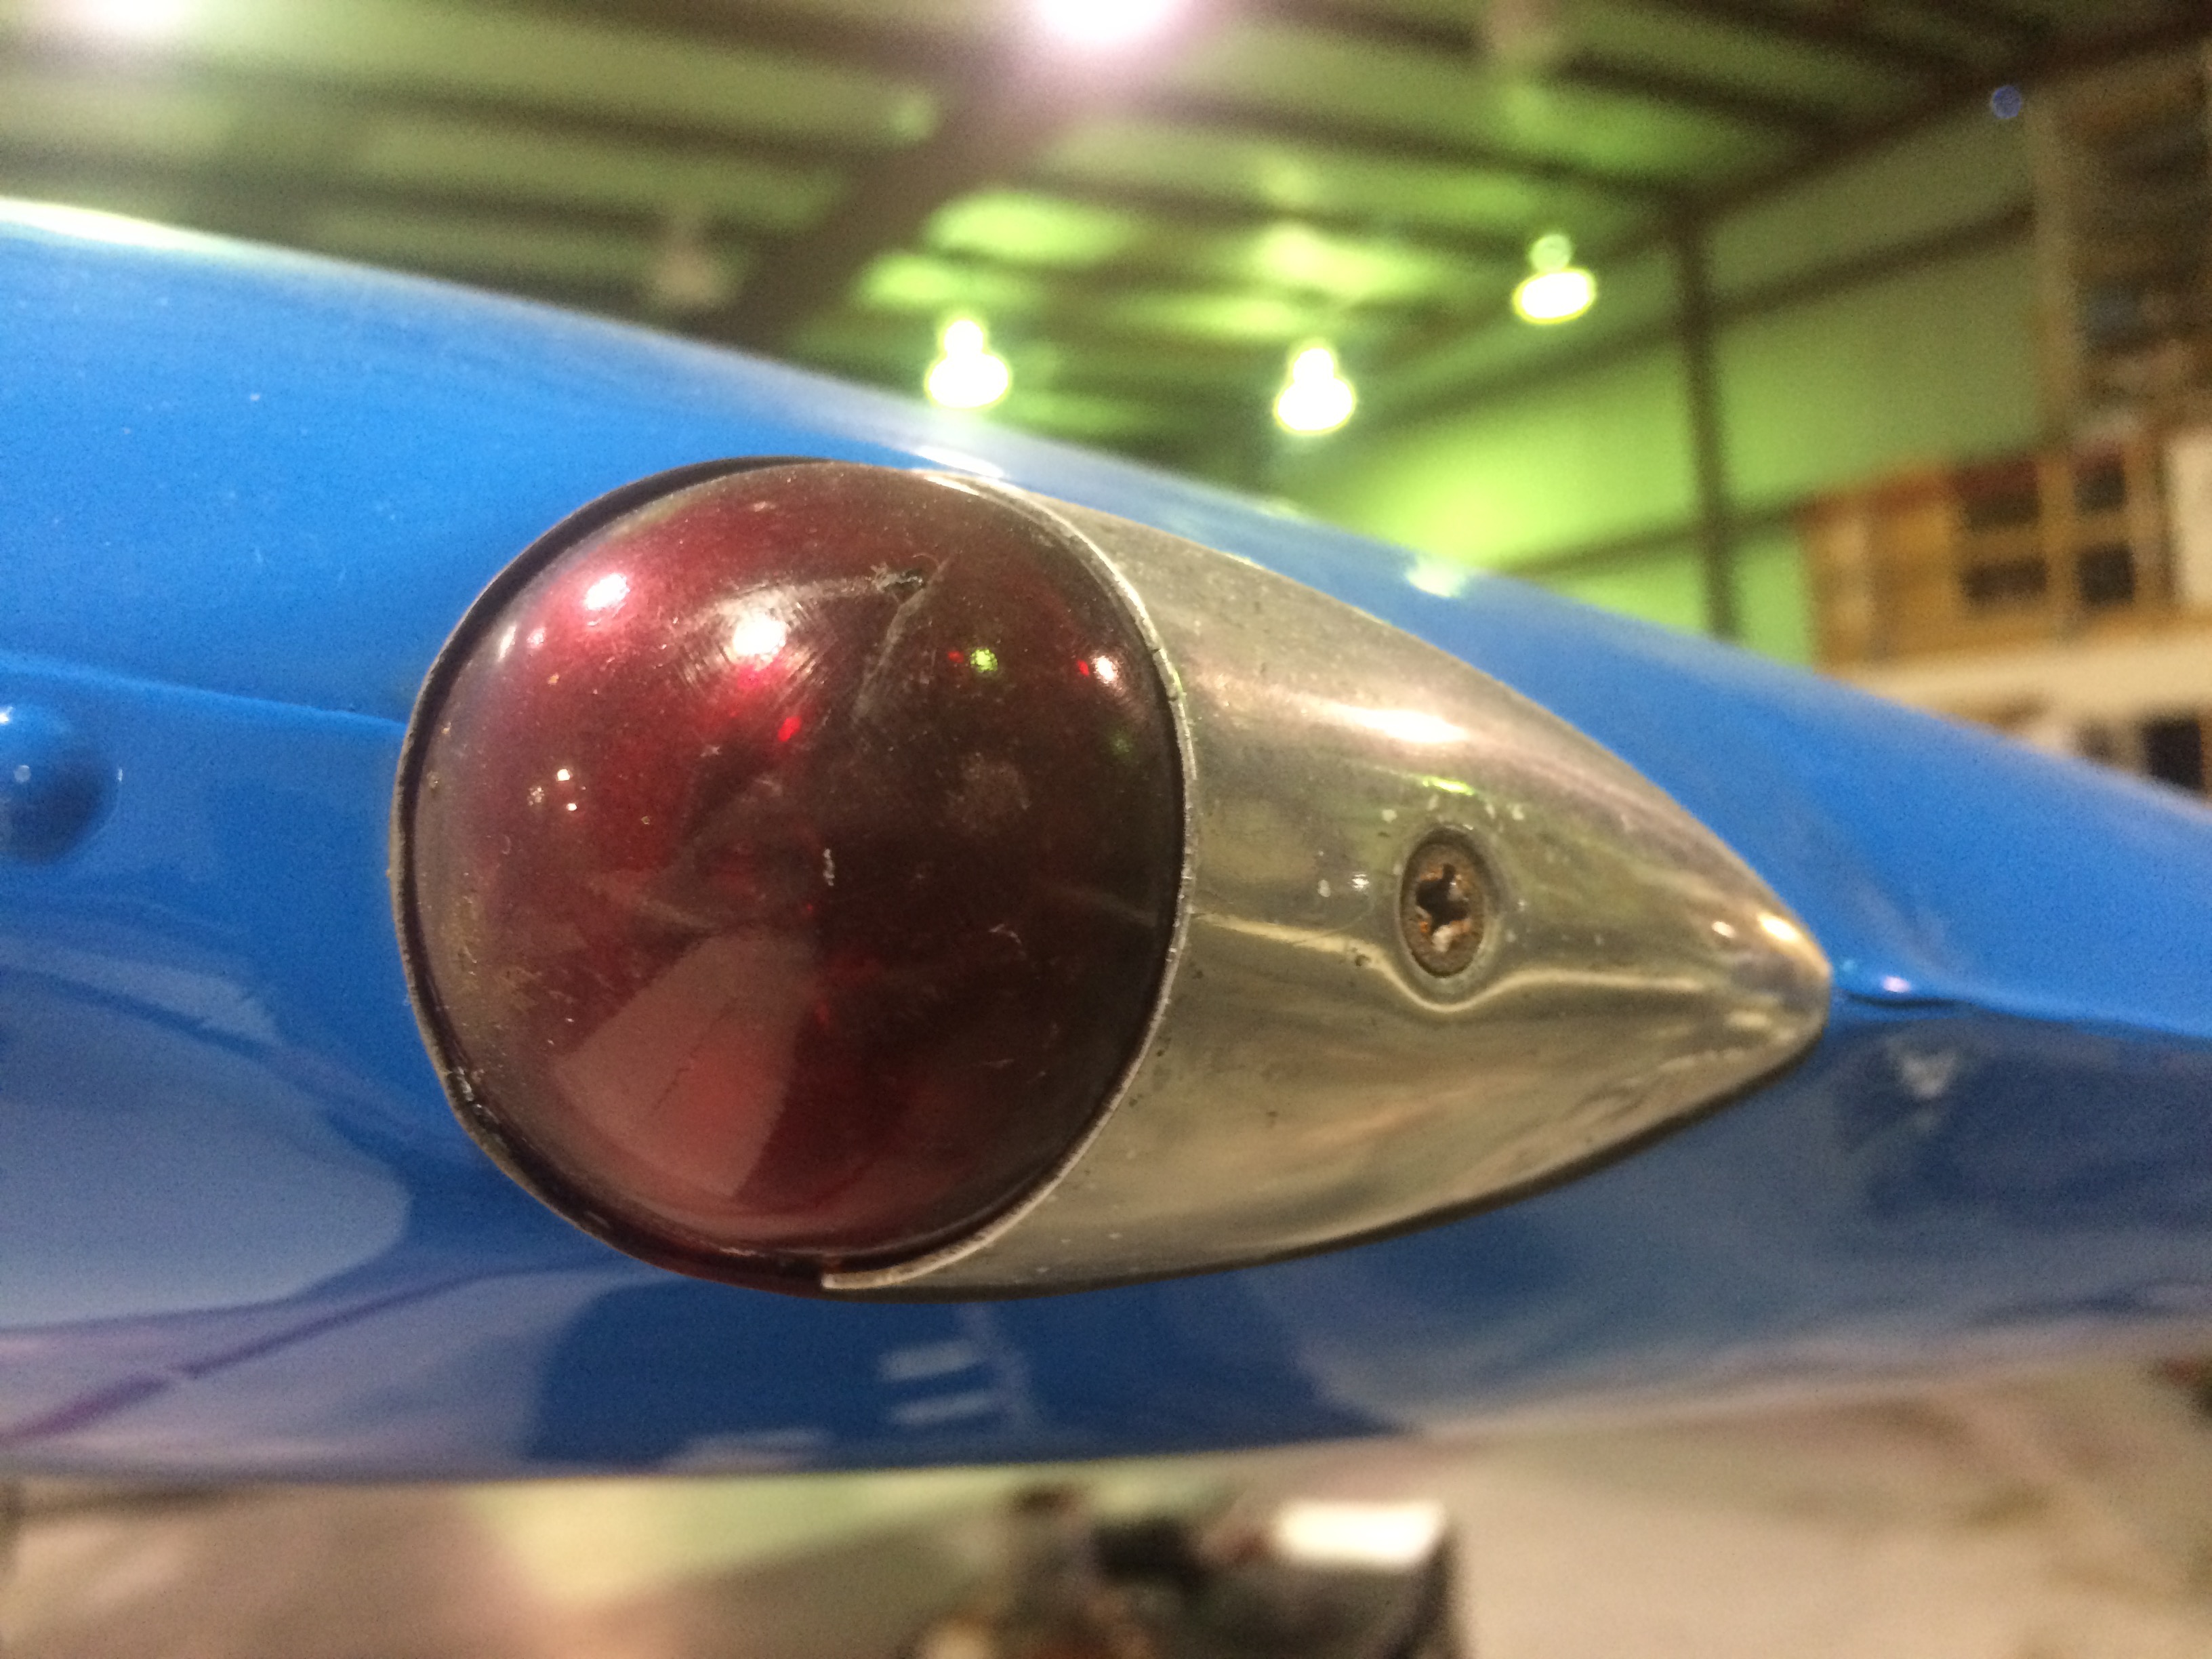
Be careful not to drop the lens when removing that one little screw!

And this one has two lenses to be careful with and make sure they don’t fall when you take the screw out.
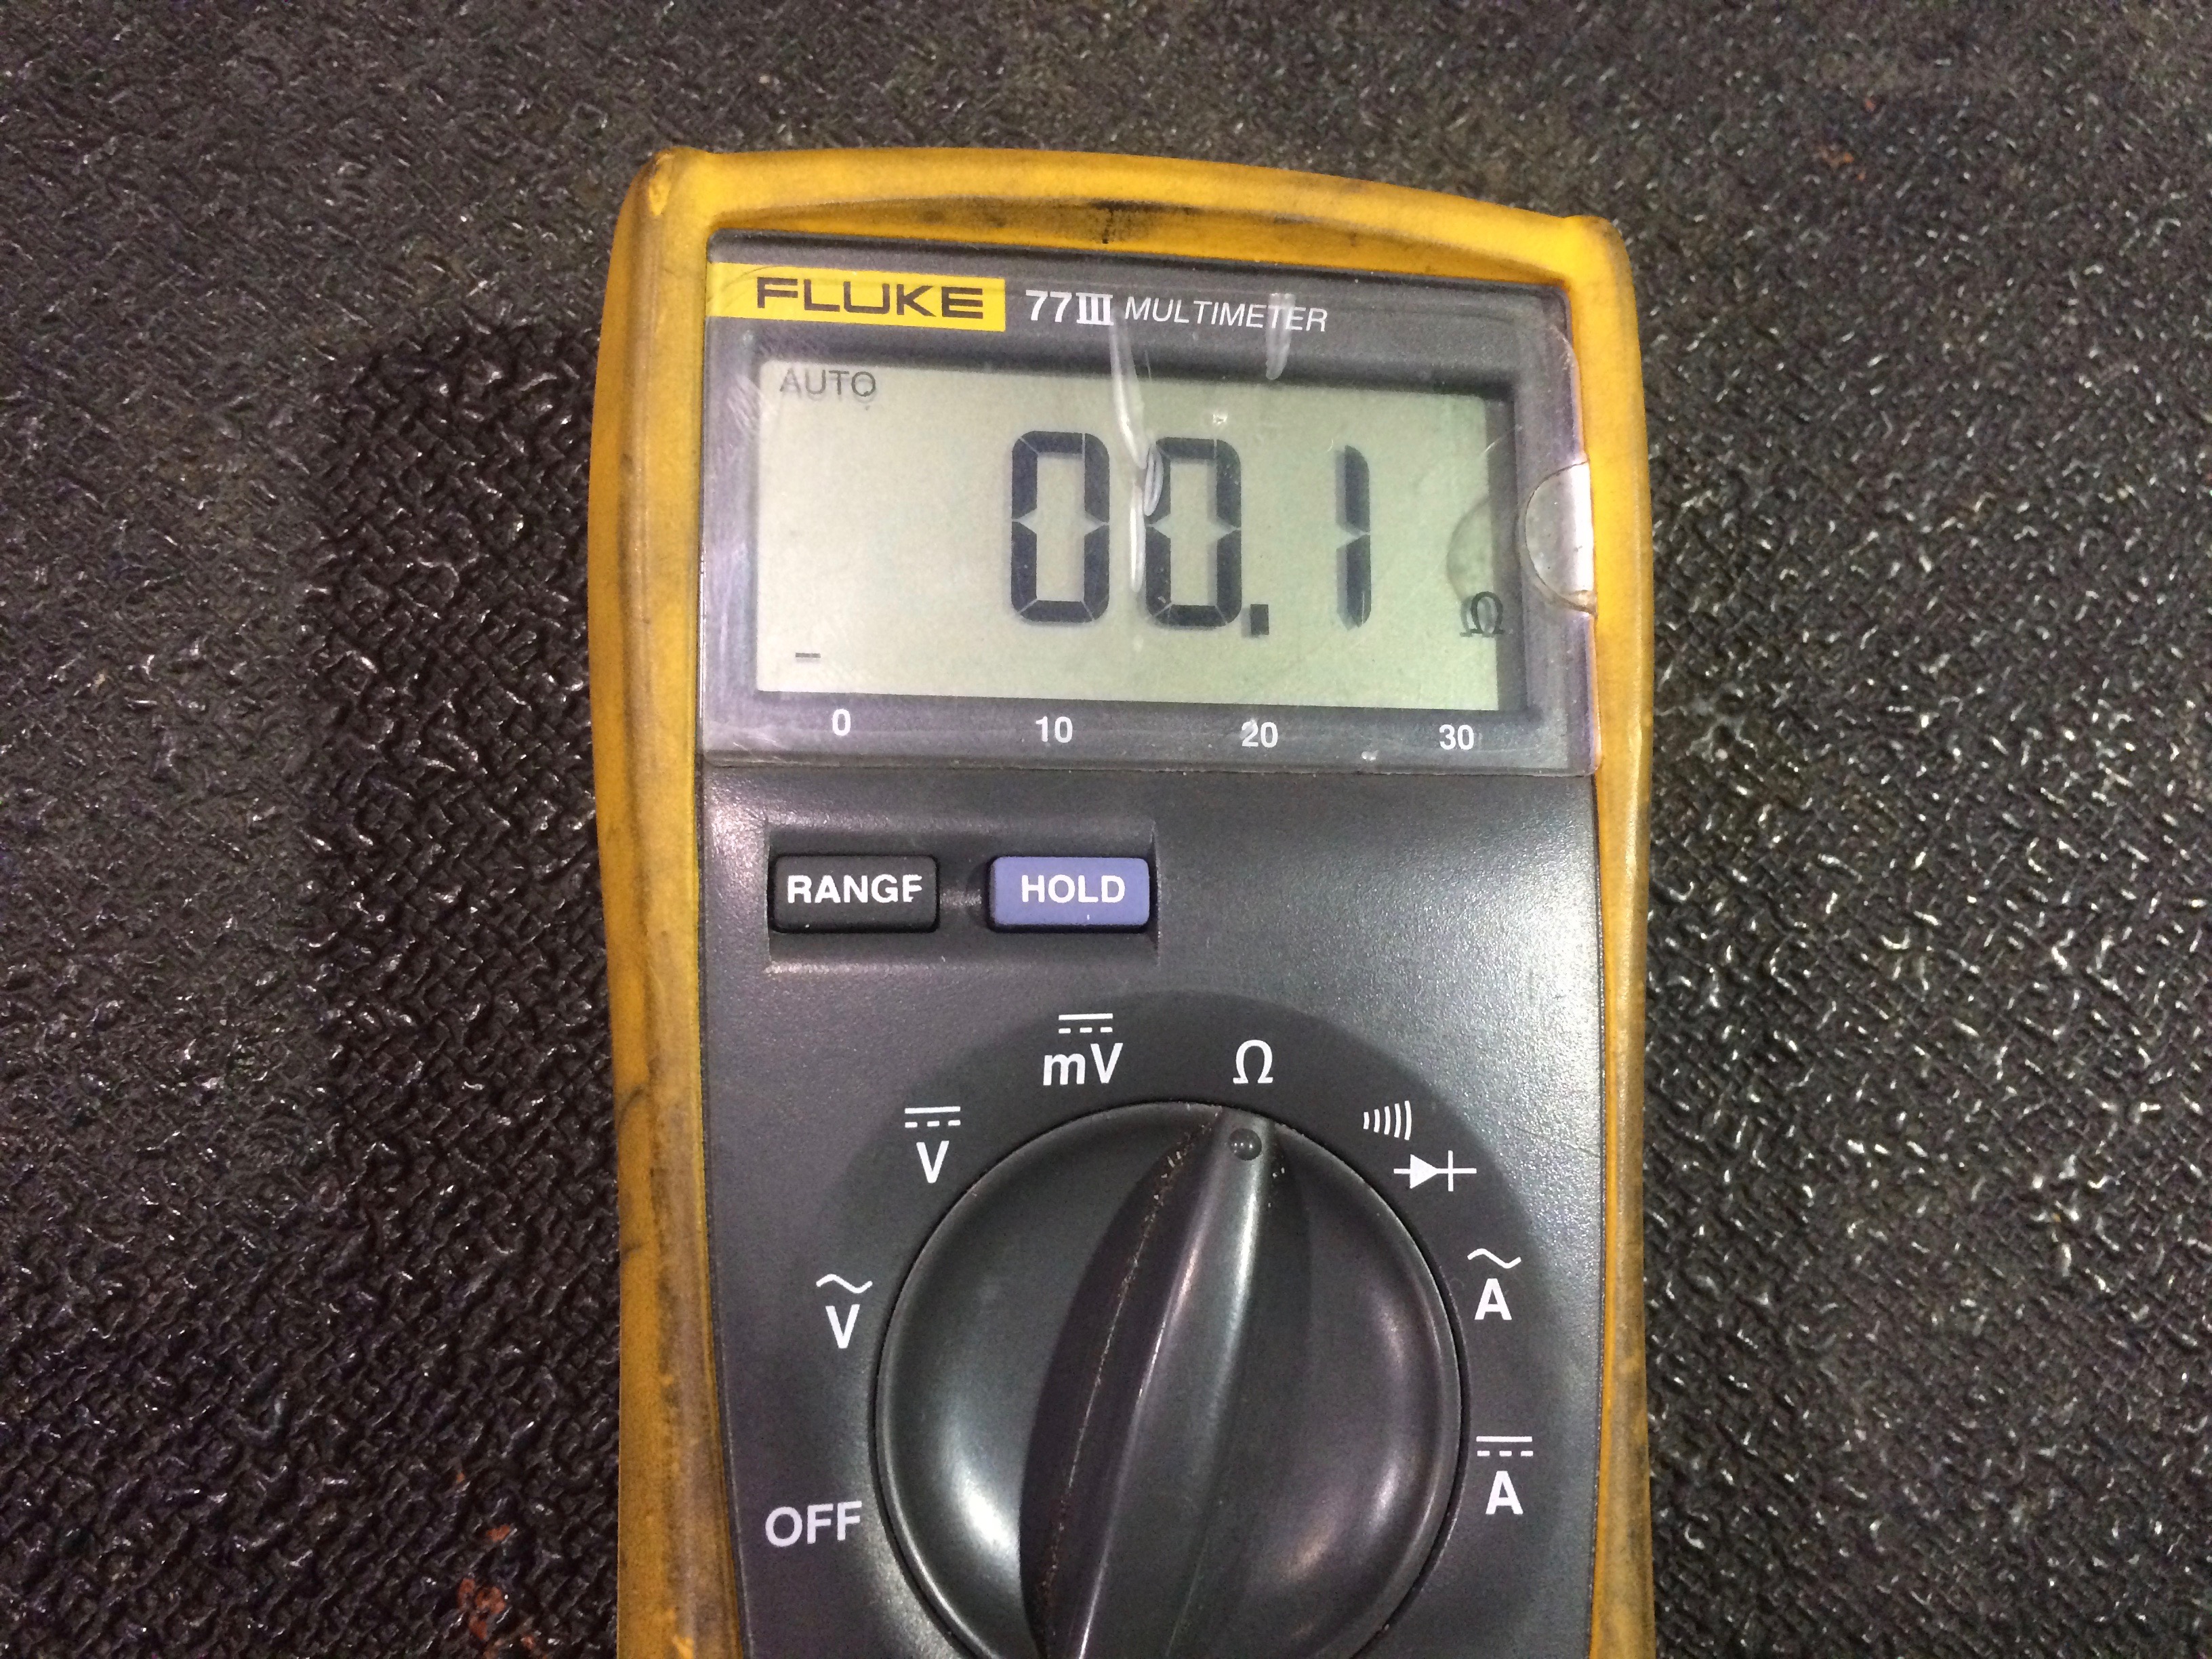
Here is a typical reading of what you should see when checking a ground circuit… this is direct continuity, with little to no resistance. Notice the multimeter is set on the ohms setting.
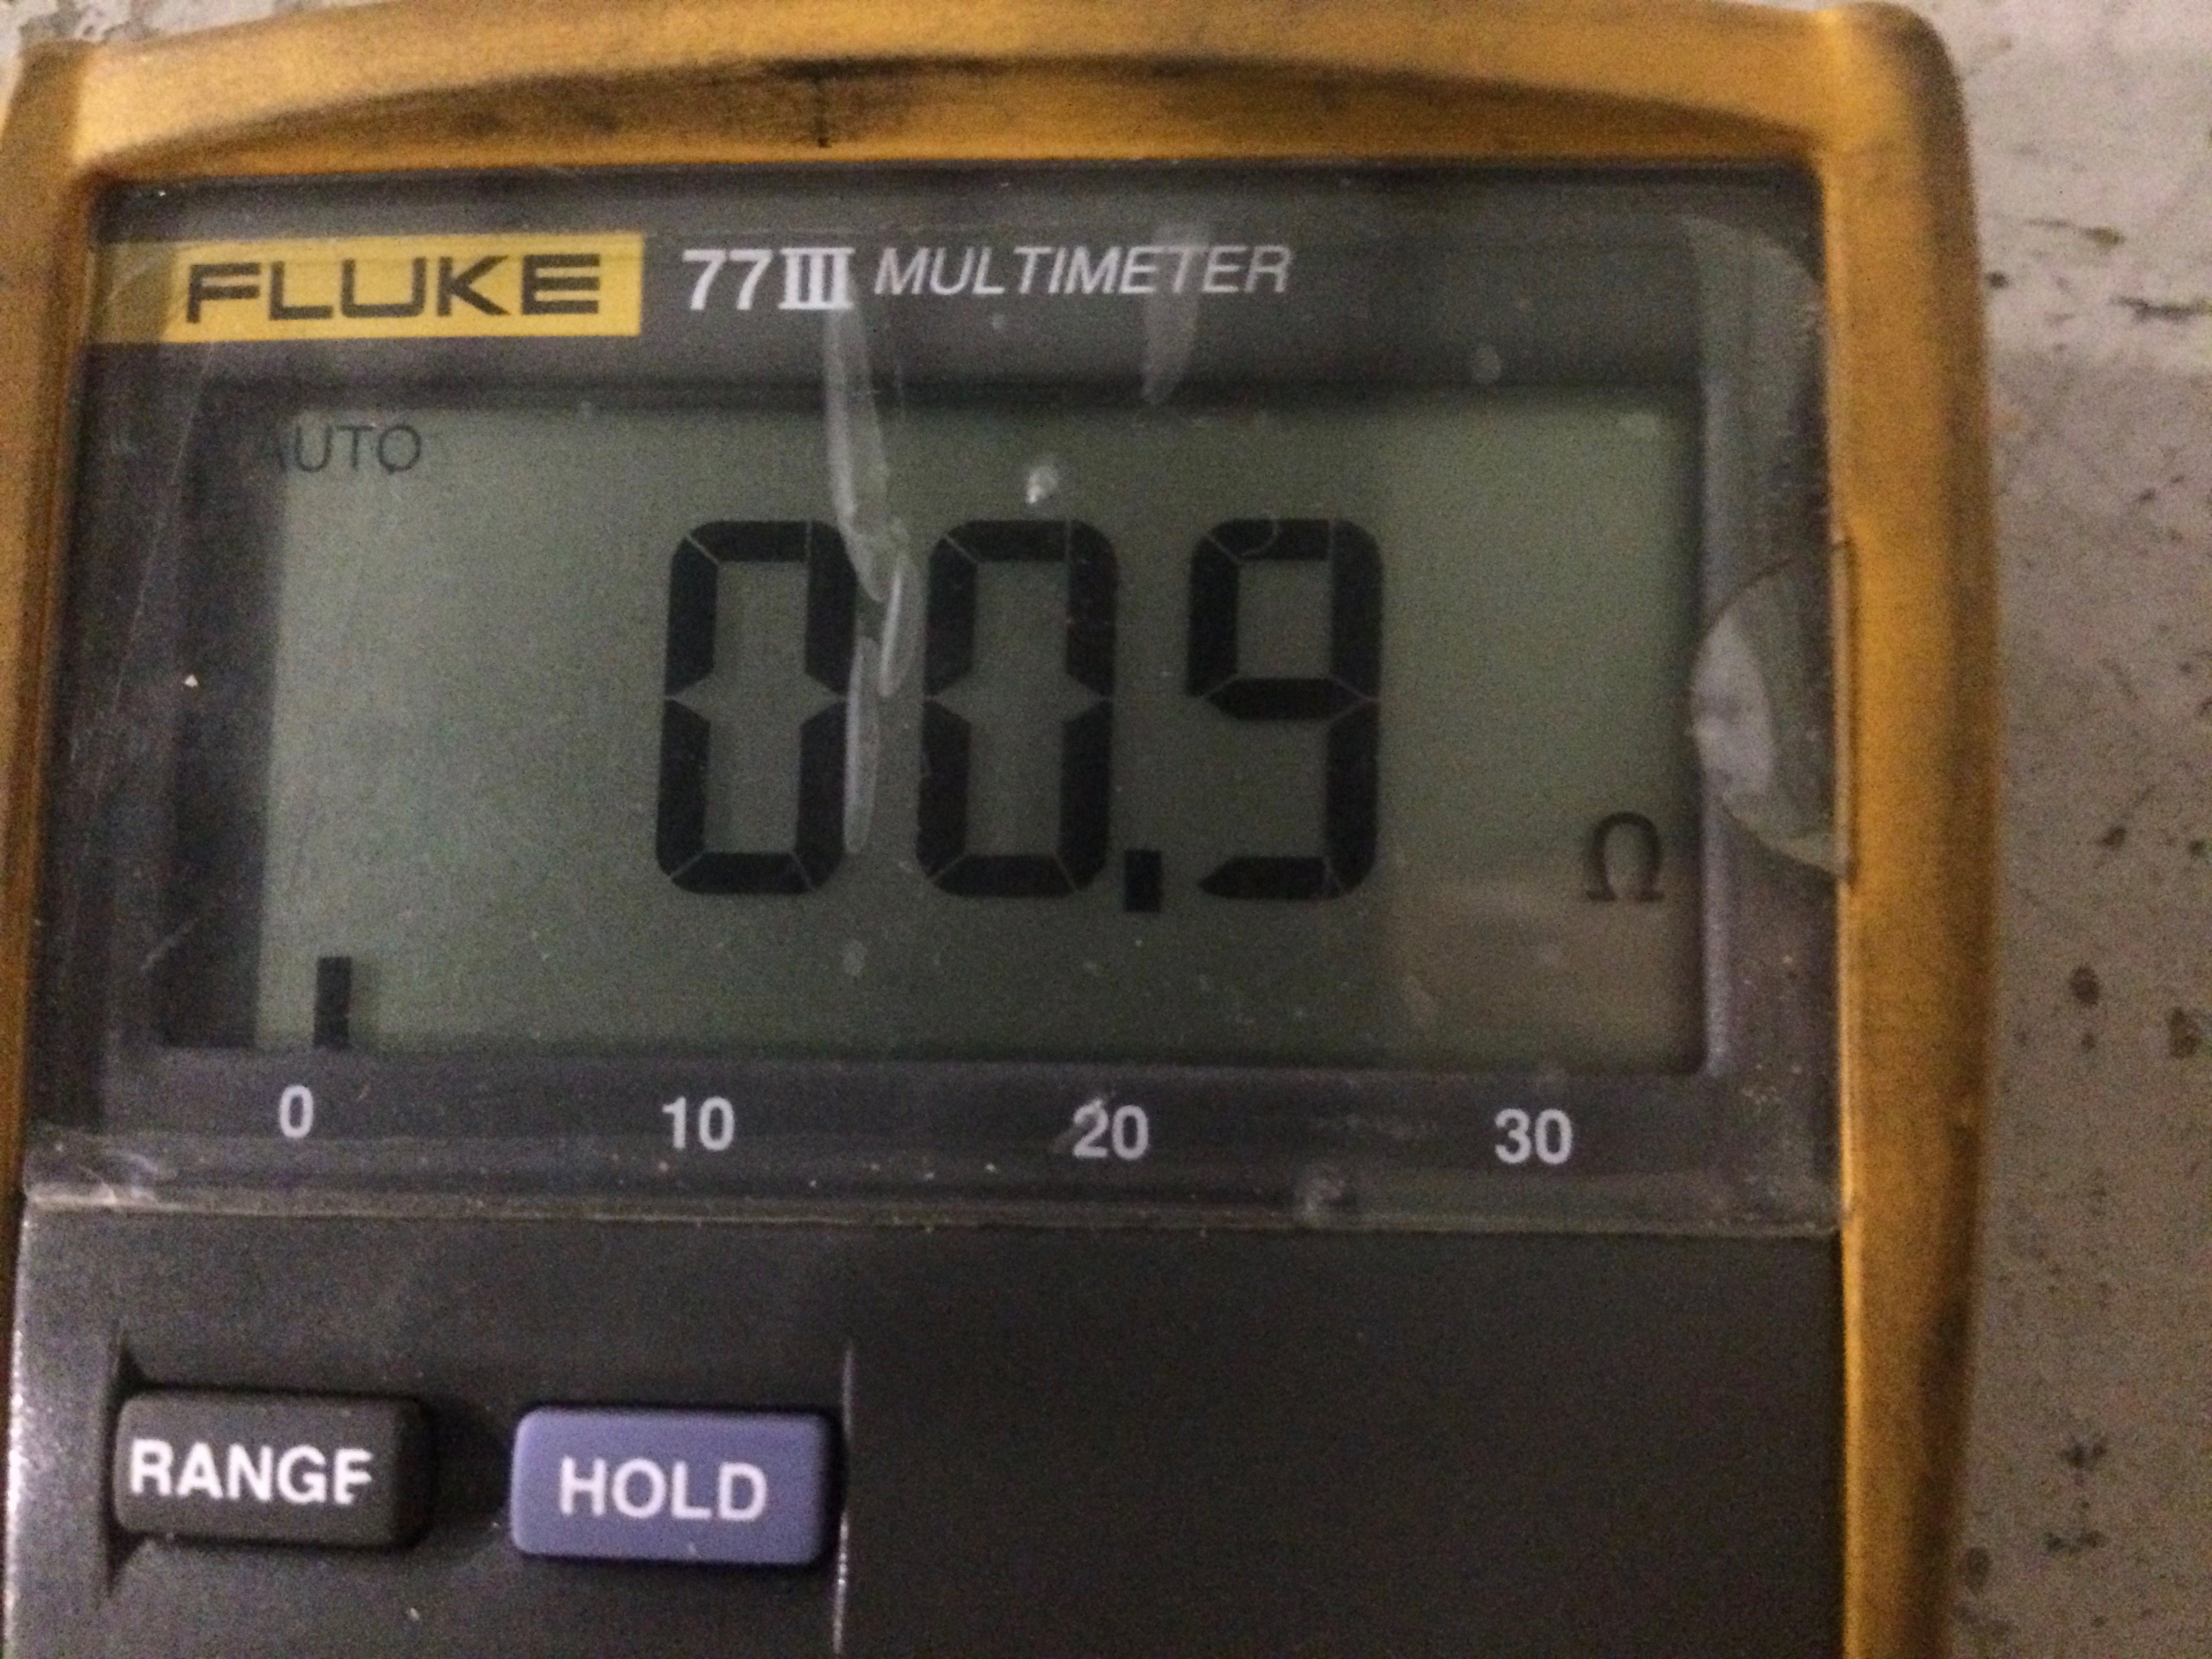
Even this much resistance could indicate a problem… perhaps some corrosion or a loose connection.
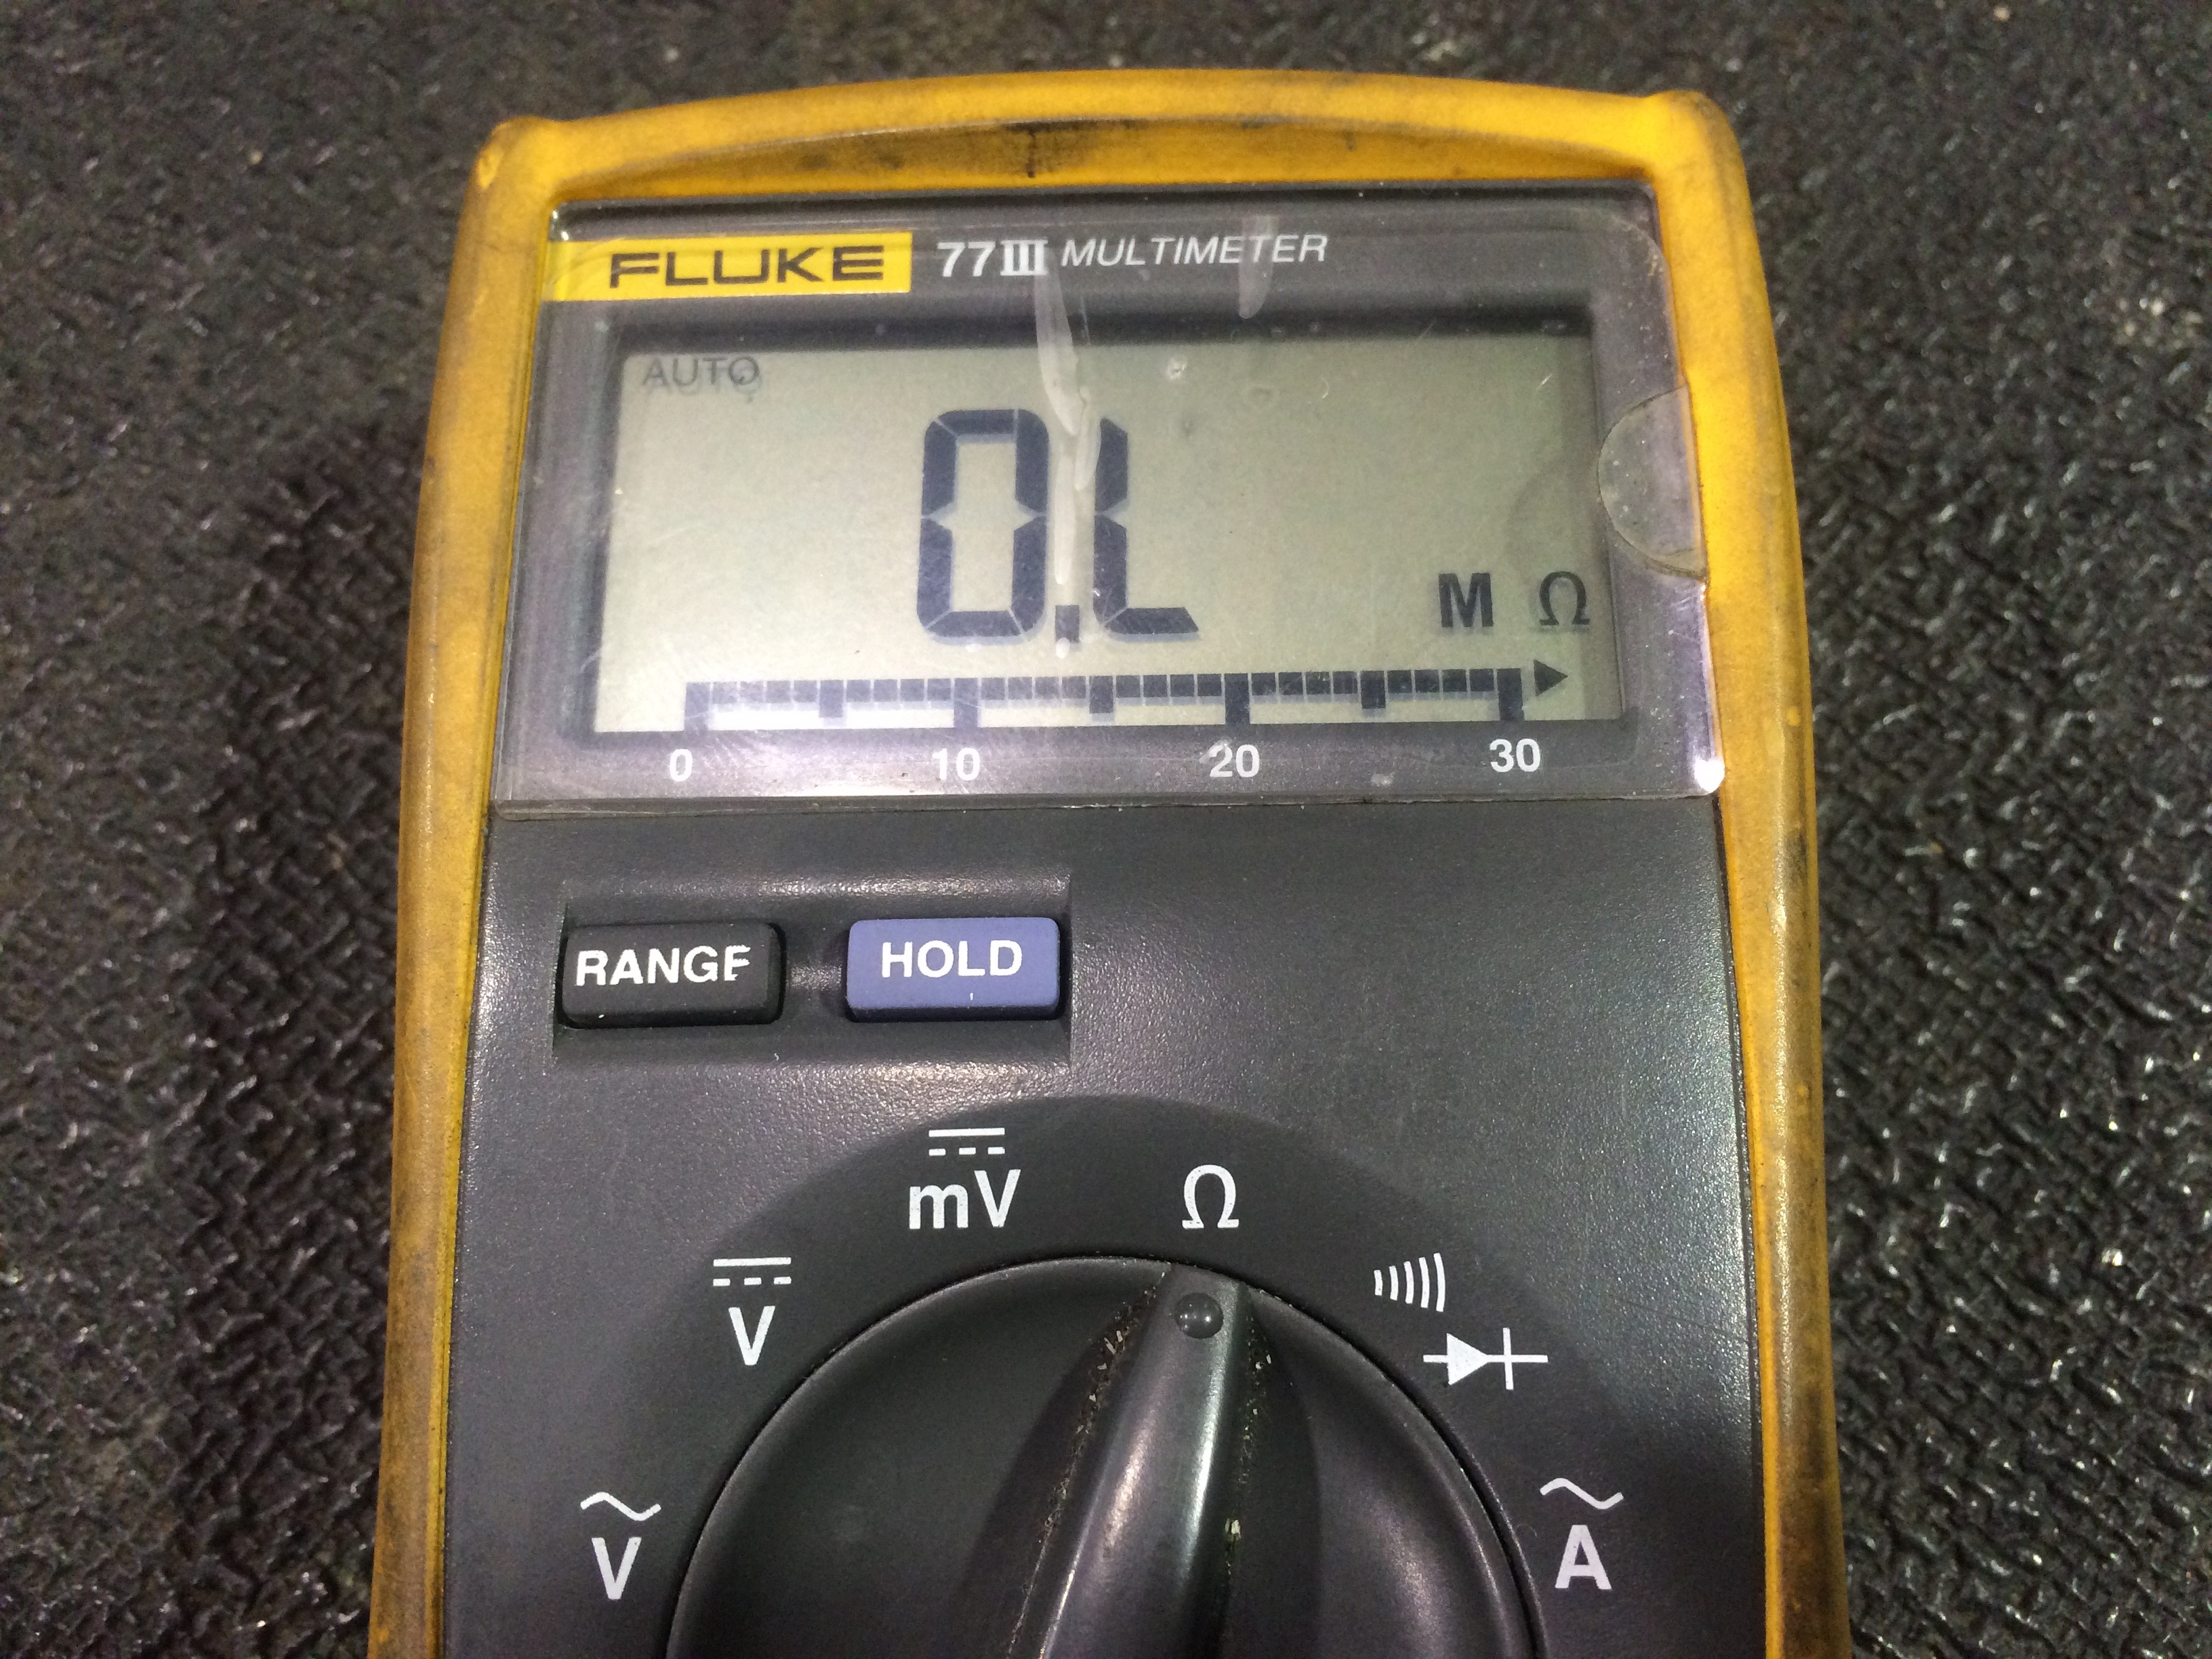
This indicates not continuity, and could indicate a broken wire.
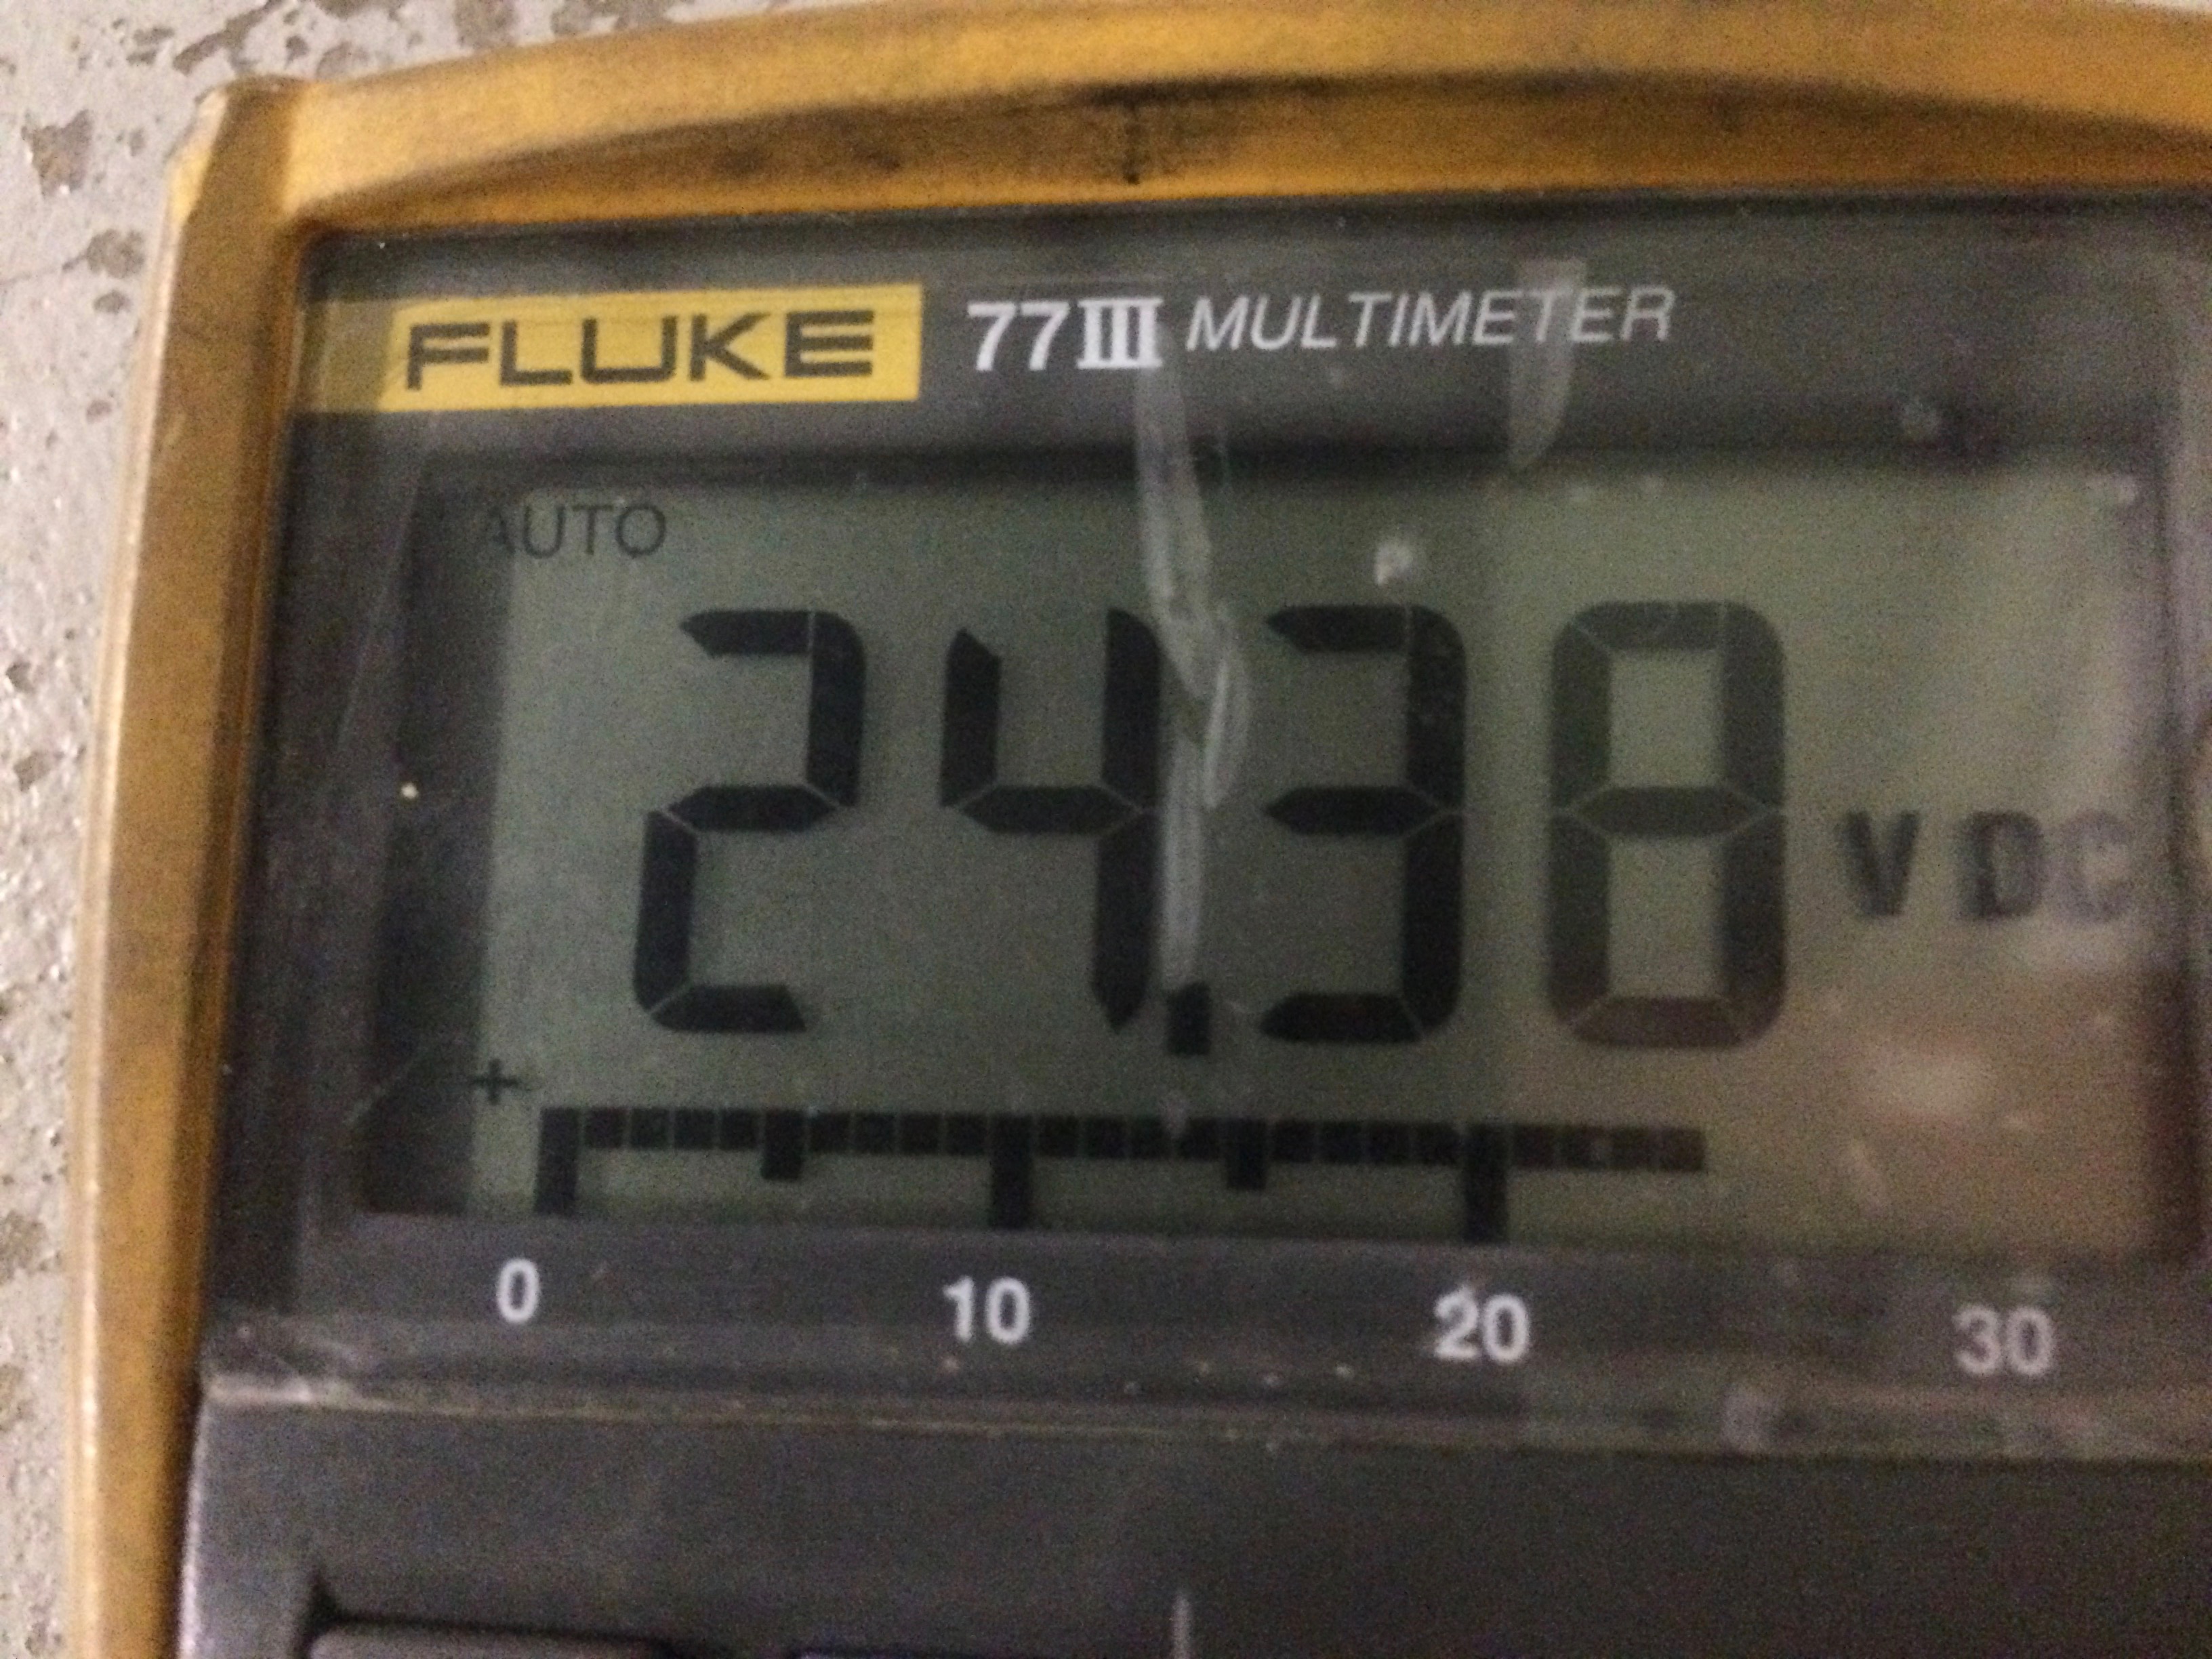
To check for power (voltage) at a landing light or nav light (or any other component for that matter,) set the multimeter on the DC voltage setting (2 clicks to the left of the ohms setting… see the previous picture.) Then turn the battery master switch on and turn the light switch on. Then, this is what you should see if you have a 24 volt airplane. (It may vary a little depending on the condition of your battery, and whether or not it is fully charged.)
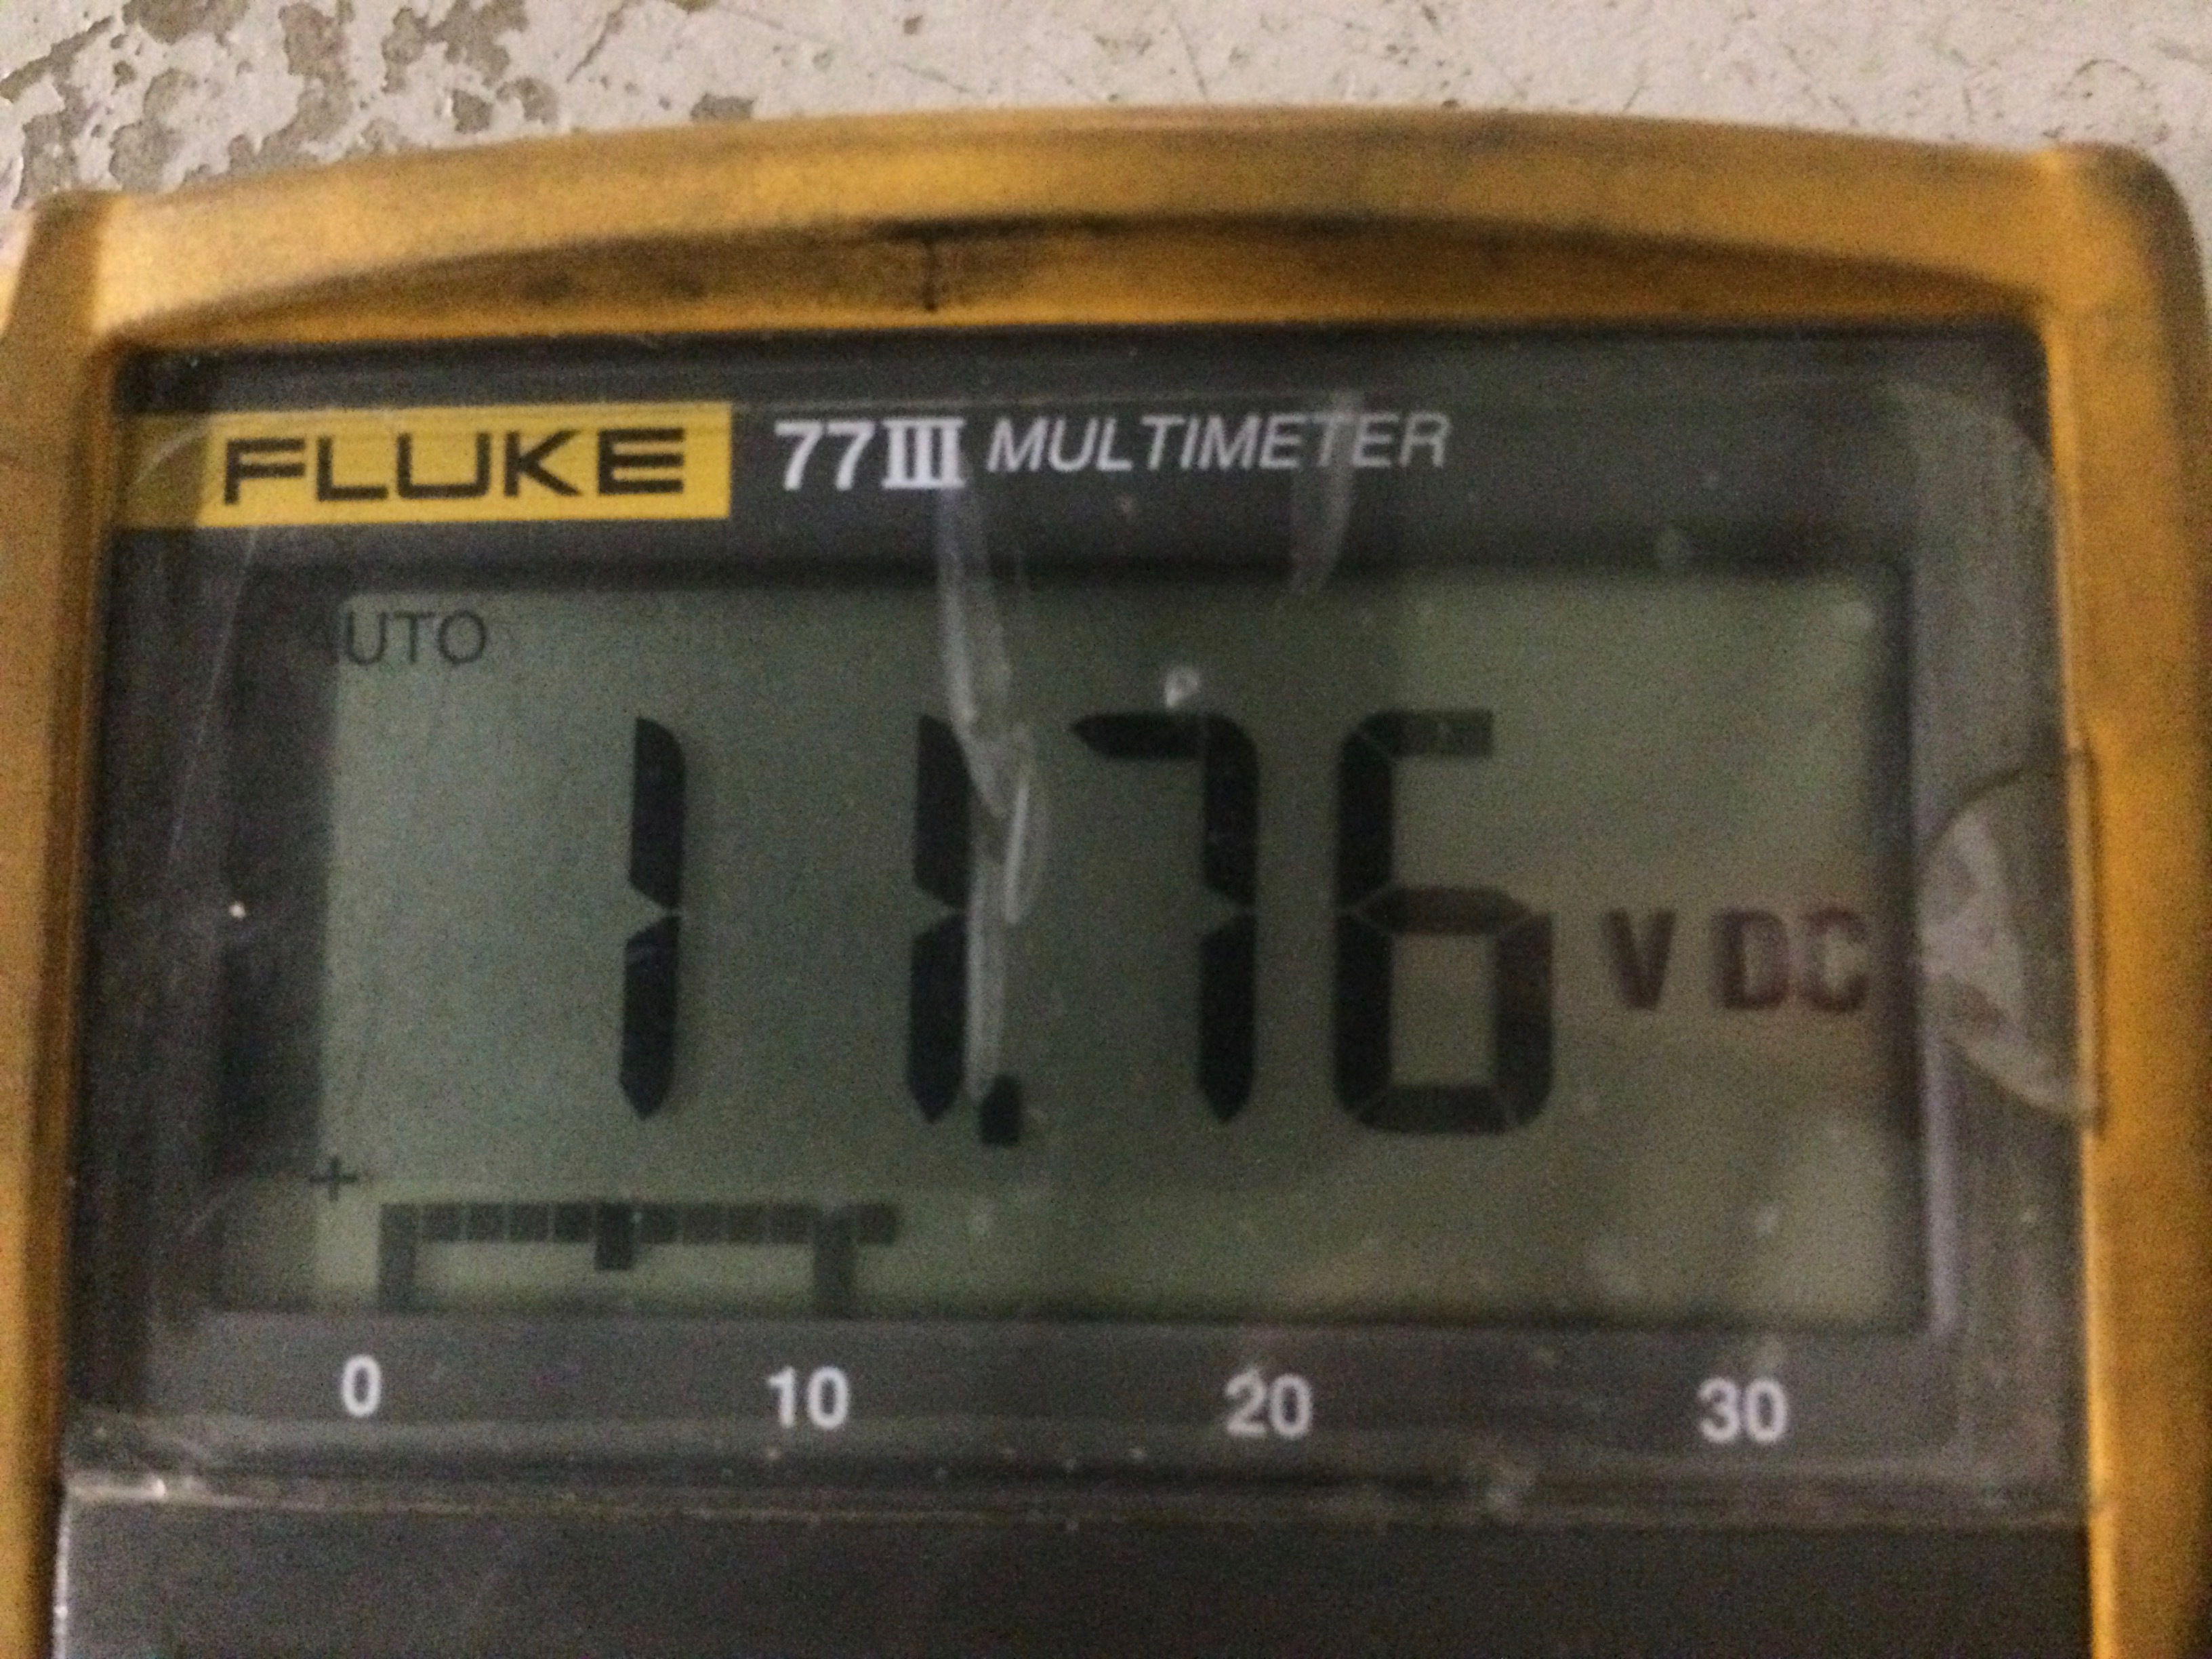
And this is about what you should see if you have a 12 volt airplane. (This one is a little low… preferably you will see at least 12 volts at the power terminal for a light.)
If this weeks topic has prompted any questions, please leave a comment or hit the button at the right and leave me a message. Or as always, you can send me an email at deanshow@gmail.com
Thanks!
Recent Comments