A Maintenance Oriented Podcast For Airplane Owners, Pilots, and Mechanics

Month: June 2016

028 – Your First Preflight After Maintenance… Do NOT Miss This Detail!

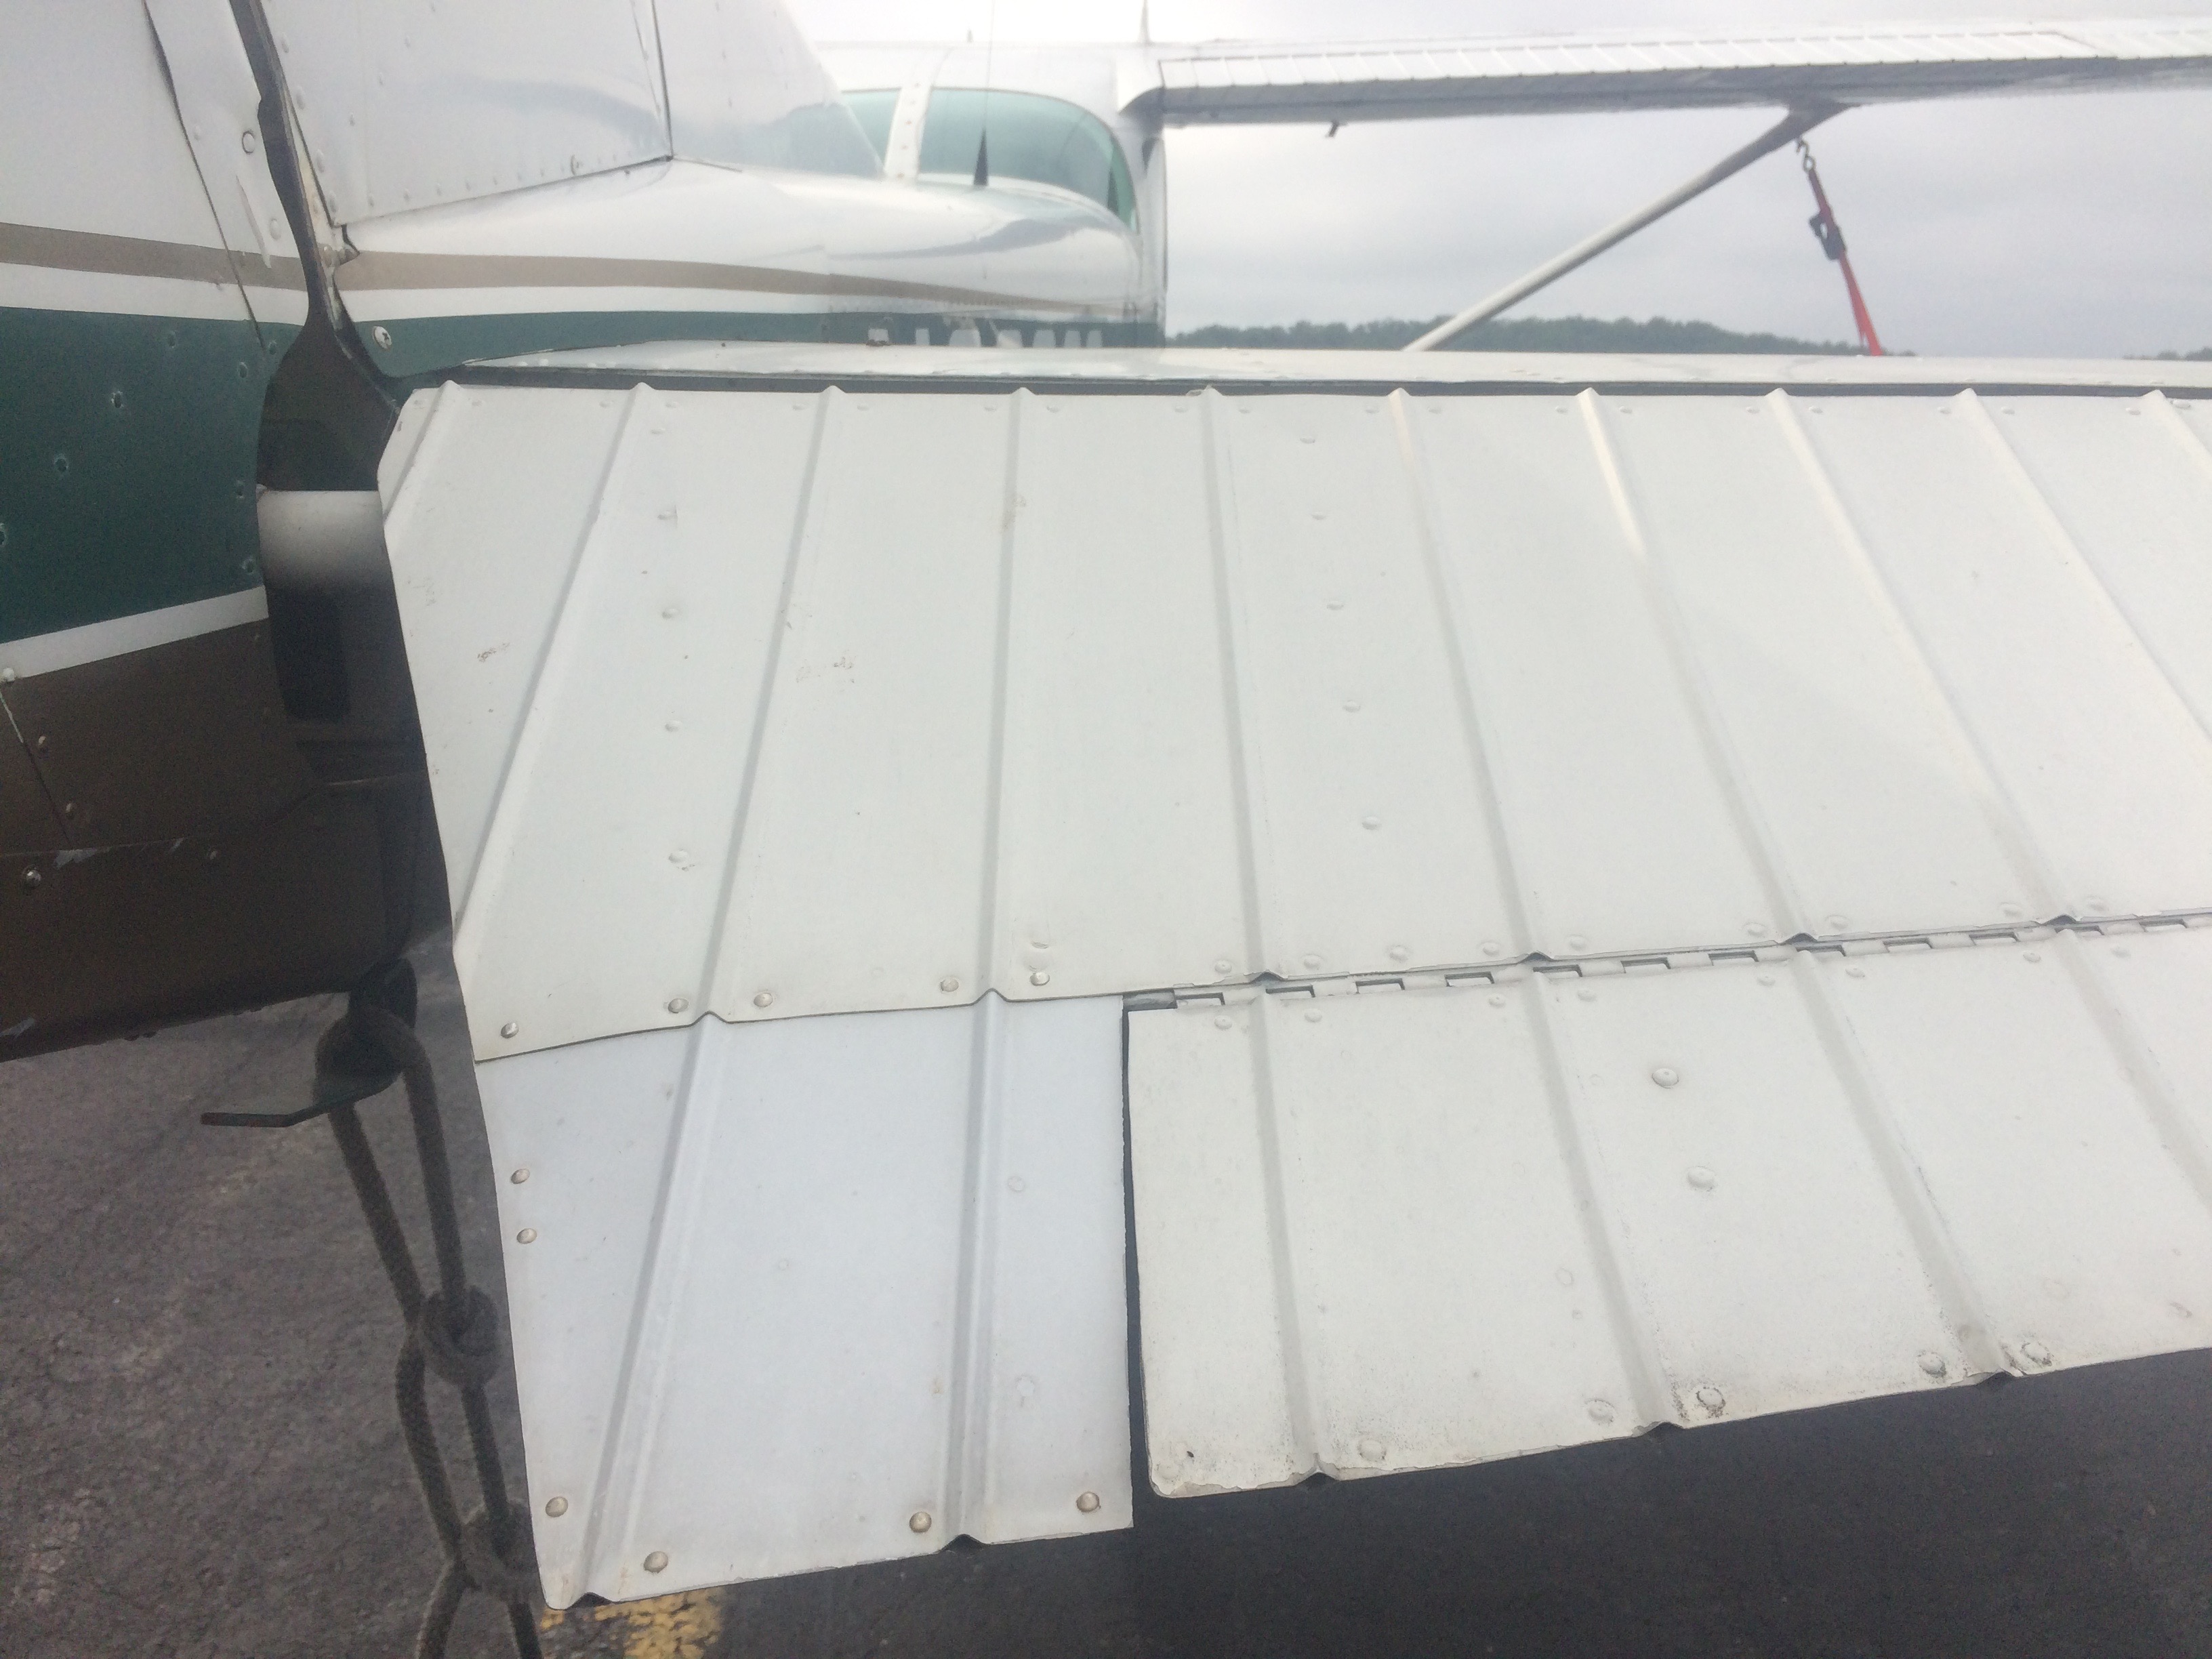
What is flight control rigging?

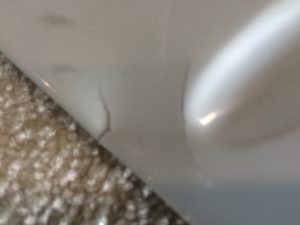
Flight control rigging, involves checking and making any necessary adjustments IAW the MM instructions, to make sure all cable tensions, control positions and movements, and travel stops are set within the MM specifications. 

When done properly, this ensures that the airplane will perform at it’s optimal capability, fly straight and level in cruise, and achieve the best airspeeds possible.

Some true stories about flight control systems being misrigged have turned out well, while others have not.

Listen to today’s episode and be reminded of the importance of  proper flight control rigging.

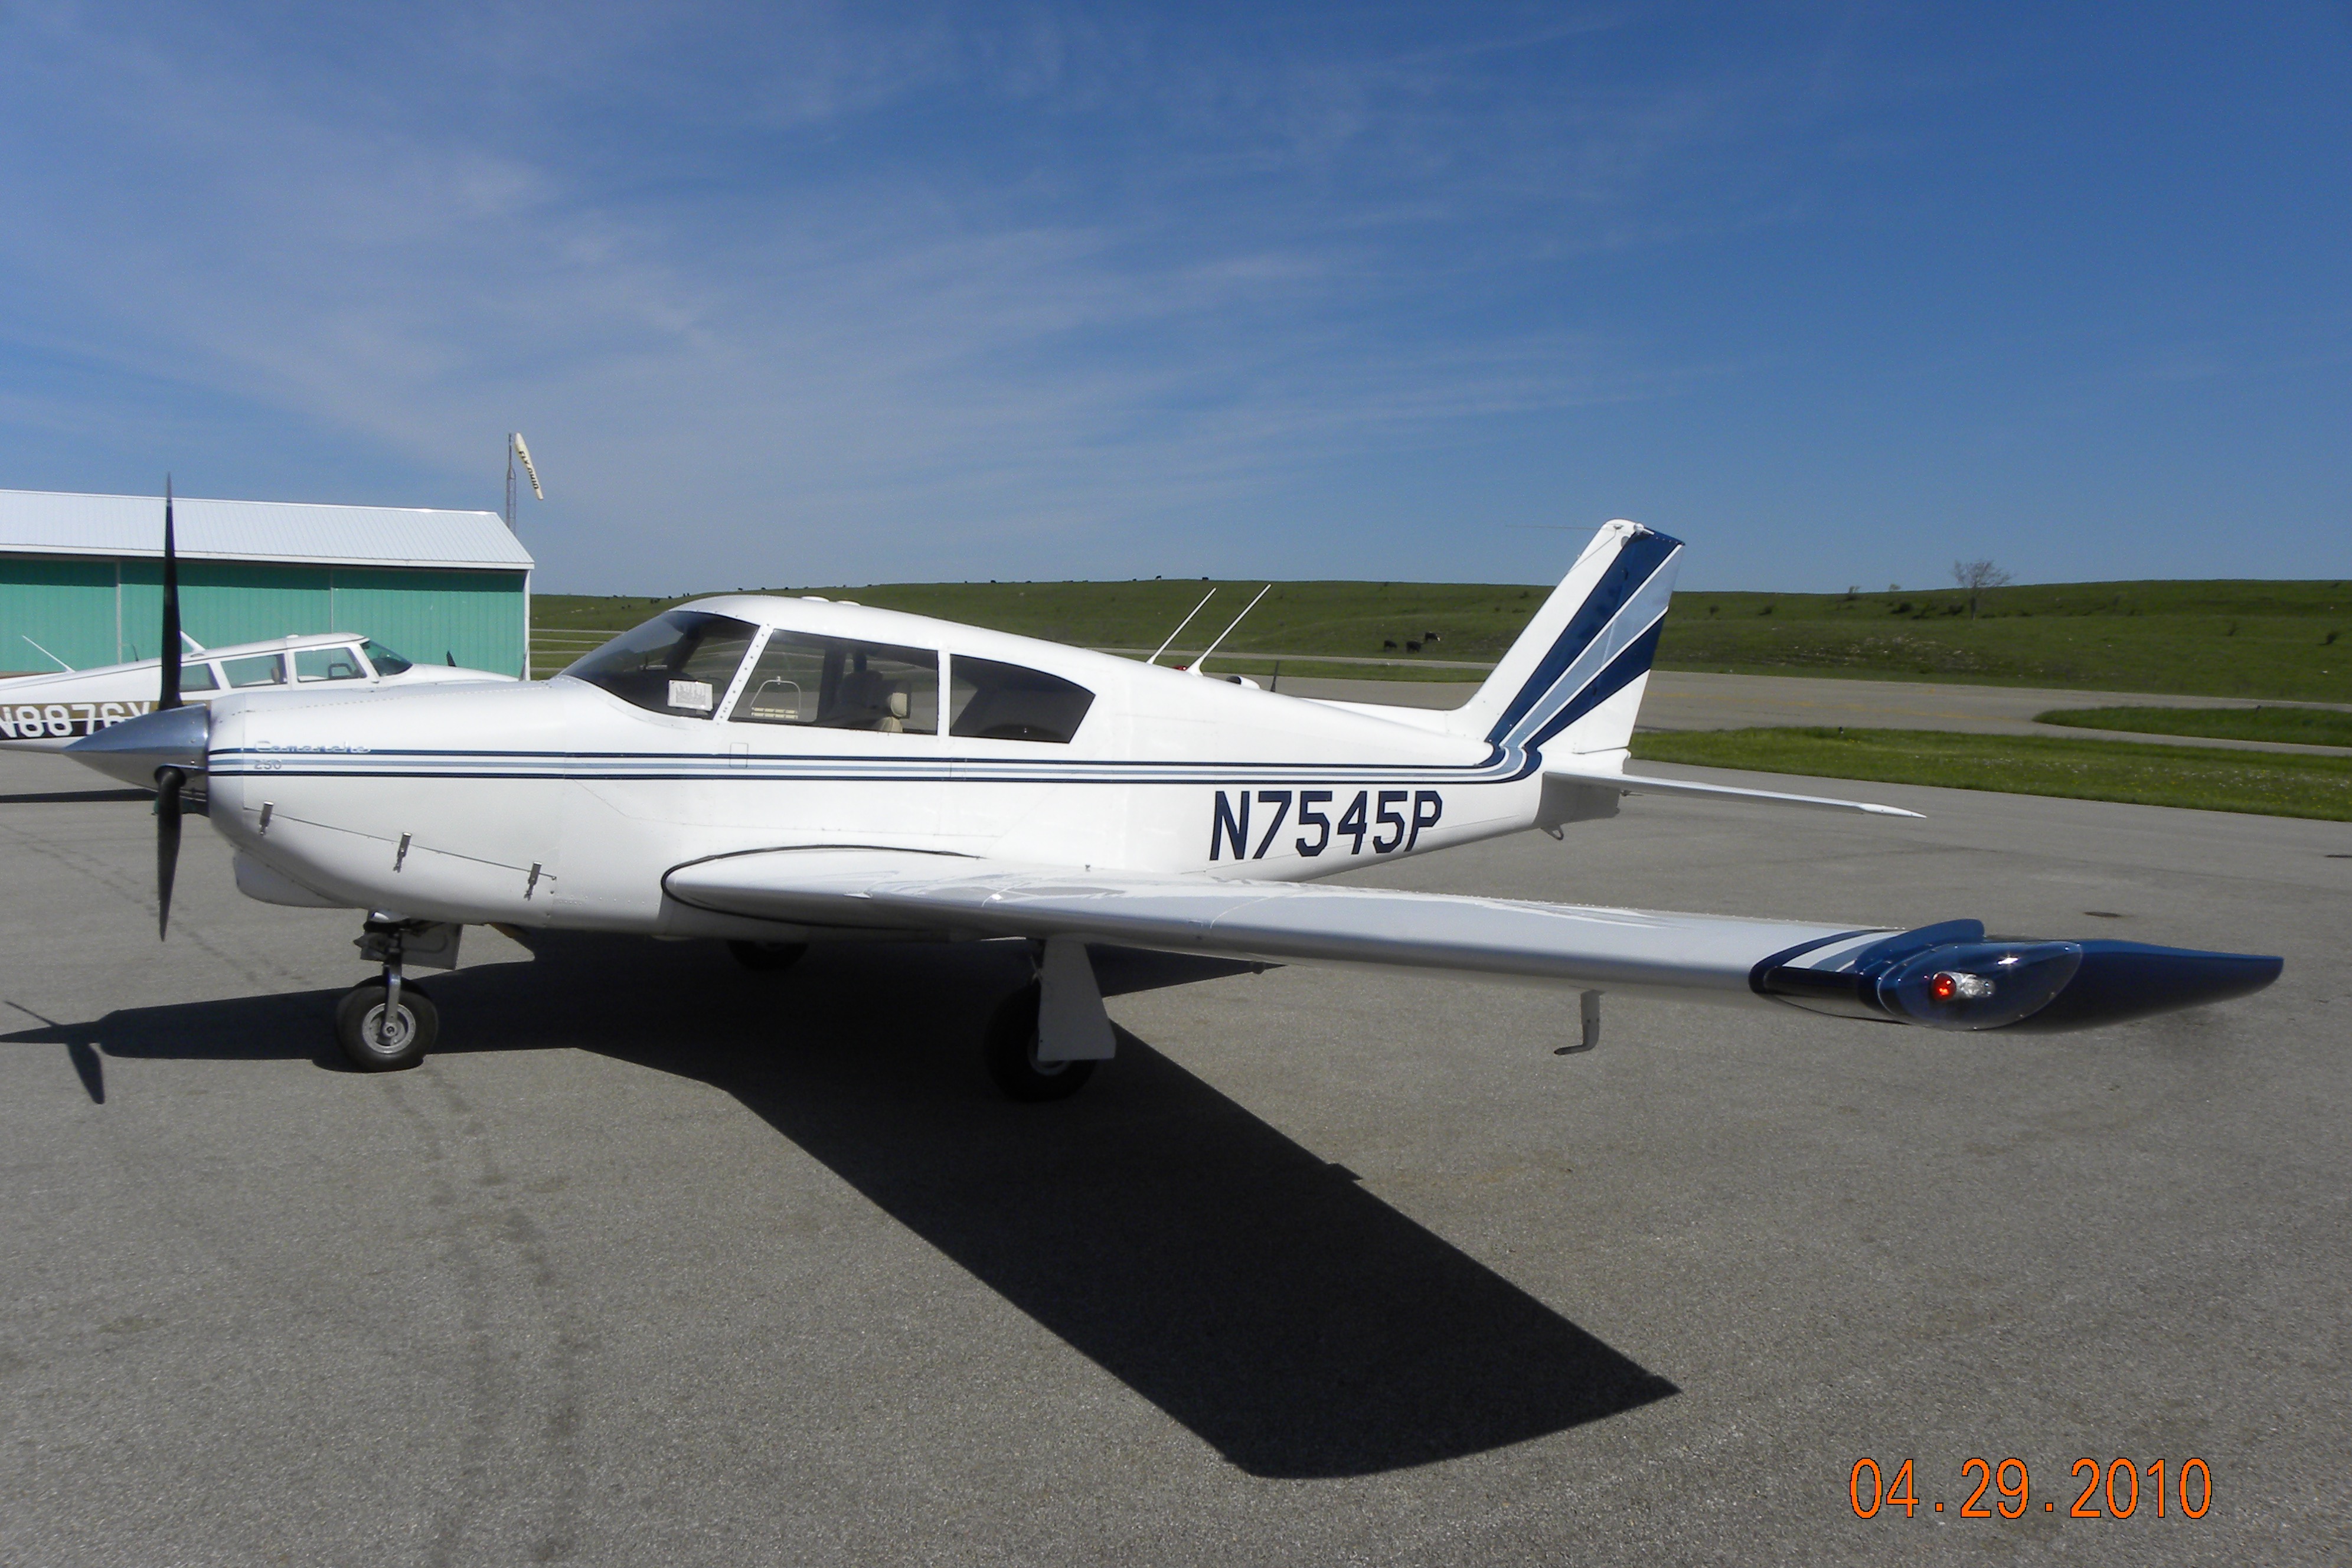
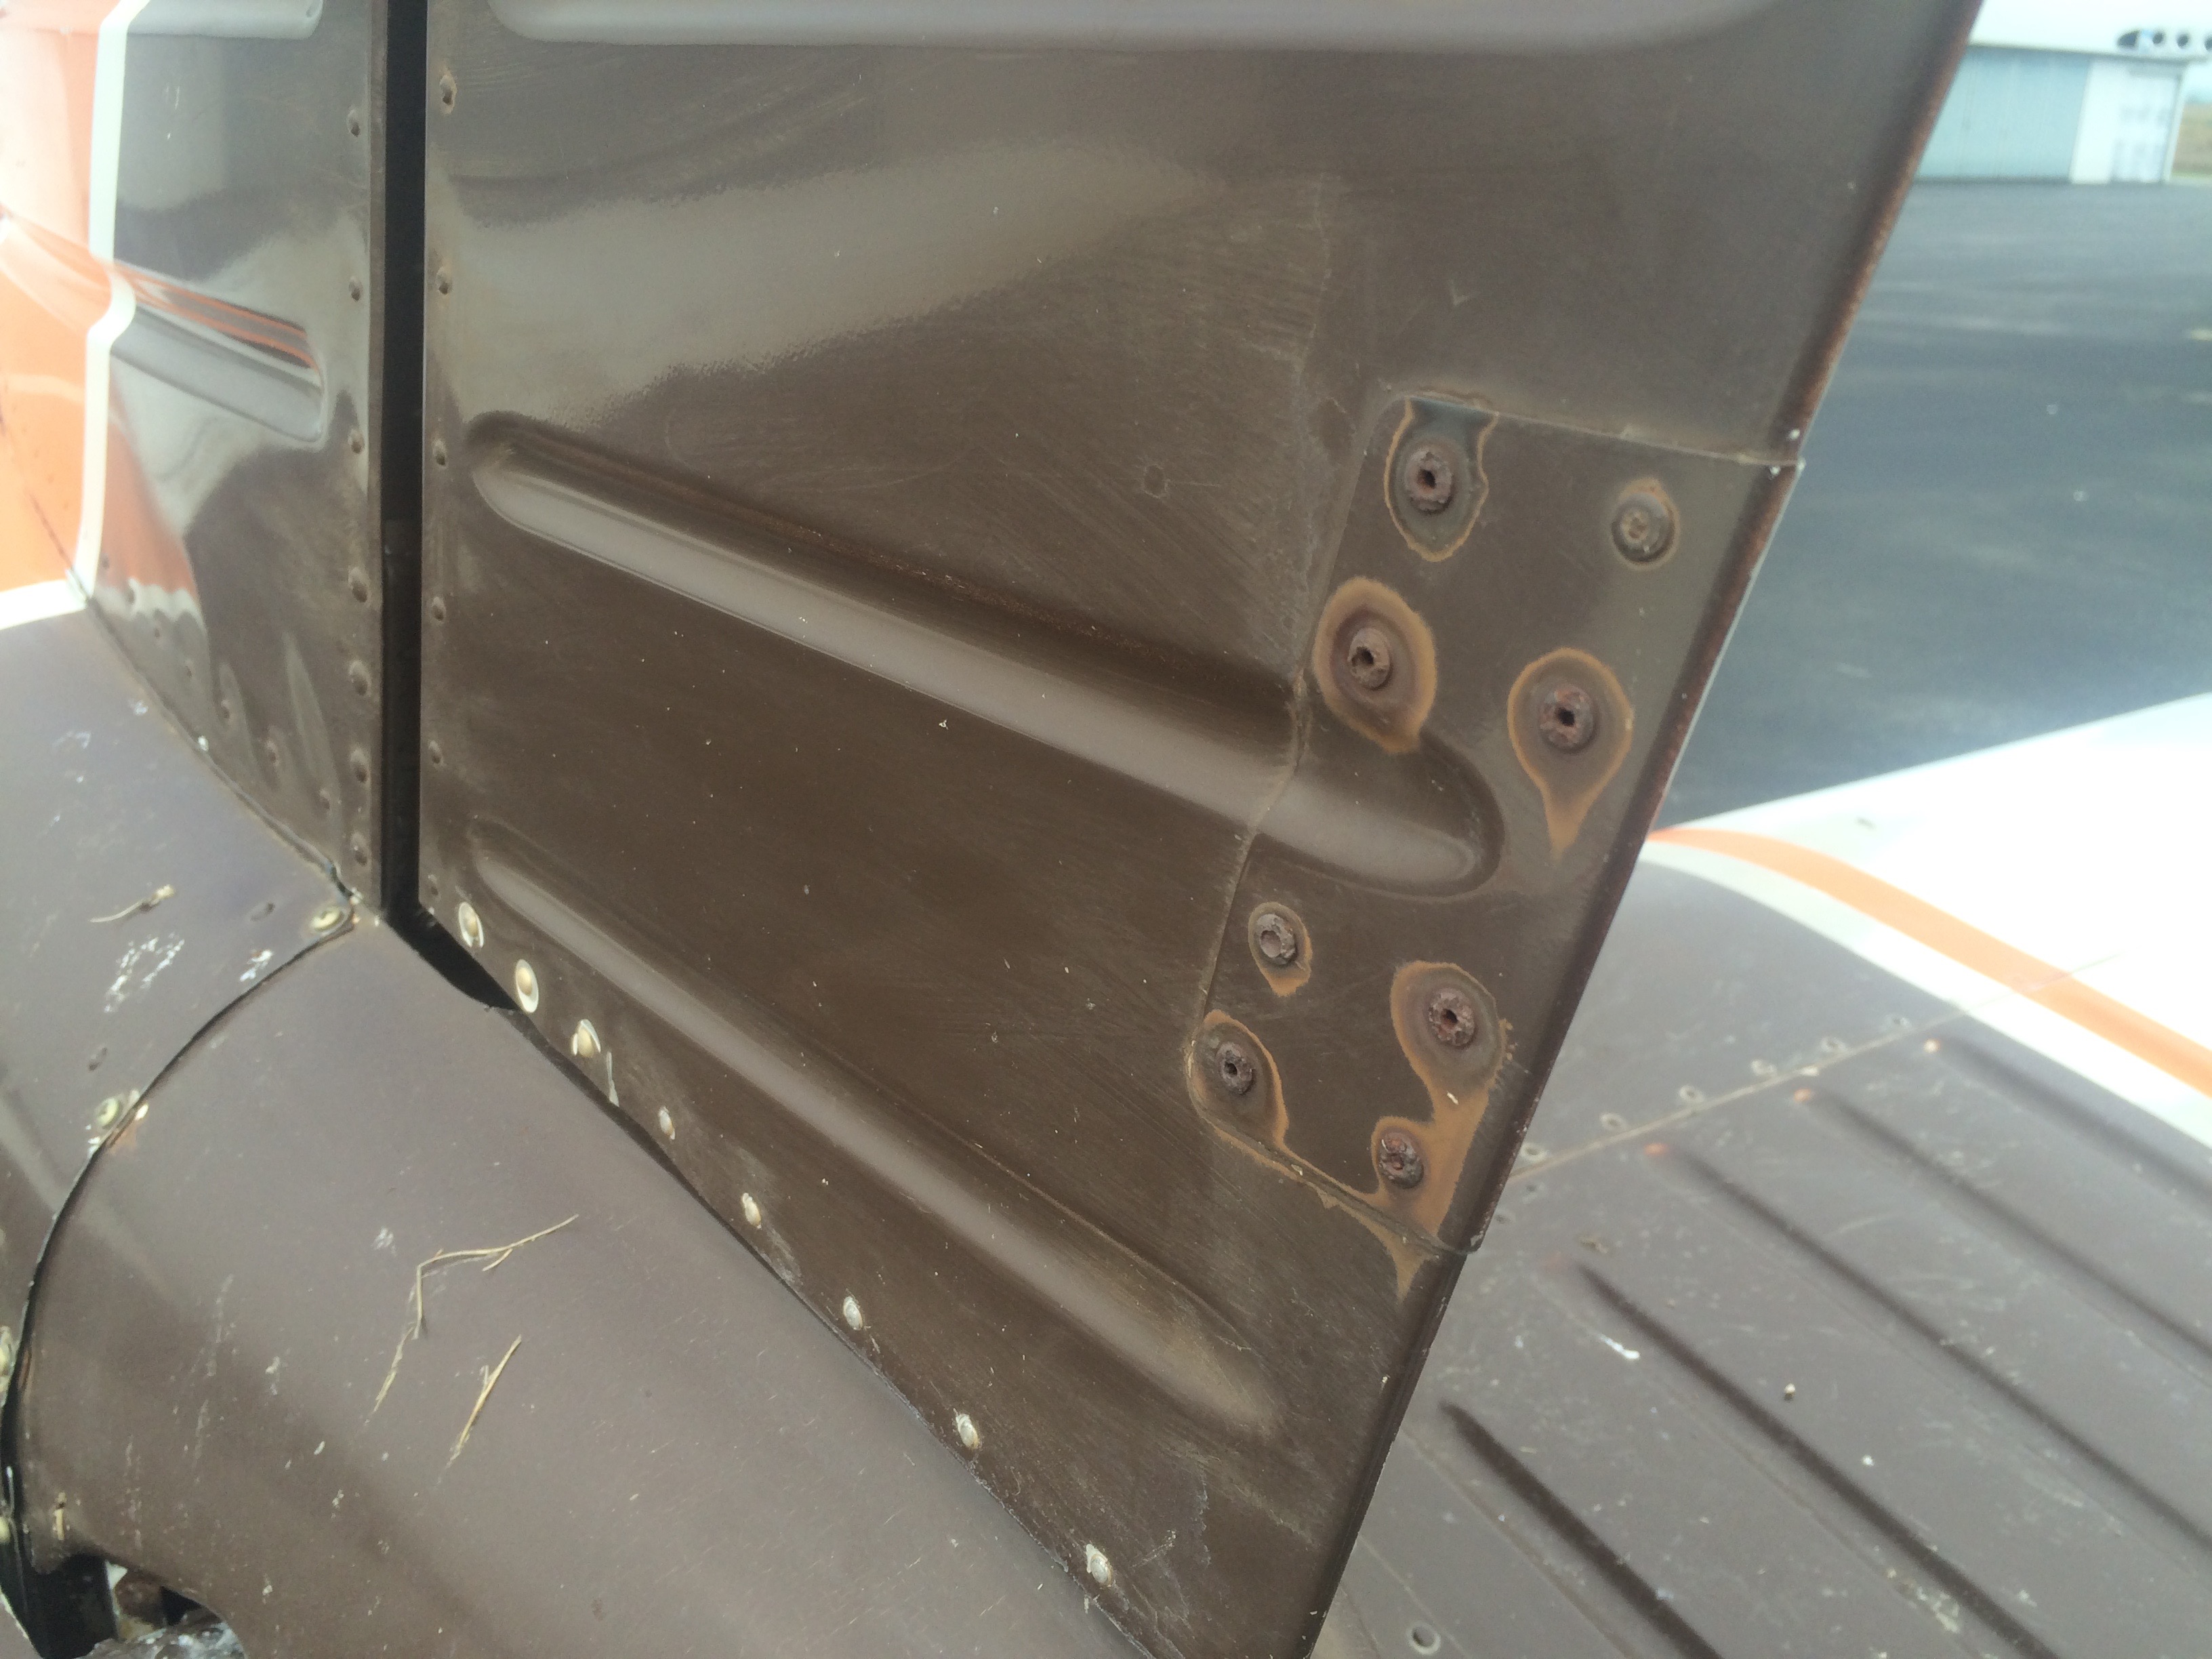
AD 2013-02-13 and Piper SB 1245A

When this AD and service bulletin are done on Piper stabilator control cables, it is a prime time to make sure of proper rigging when the inspection is finished.

McFarlane Aviation has all this information, along with new control cables, if necessary, on their website:

http://www.mcfarlaneaviation.com/Details.aspx?Article=402


What can you do as a pilot to make sure your airplane is rigged properly?

  1. Do a rigging visual inspection.
    1. Center the control yoke.
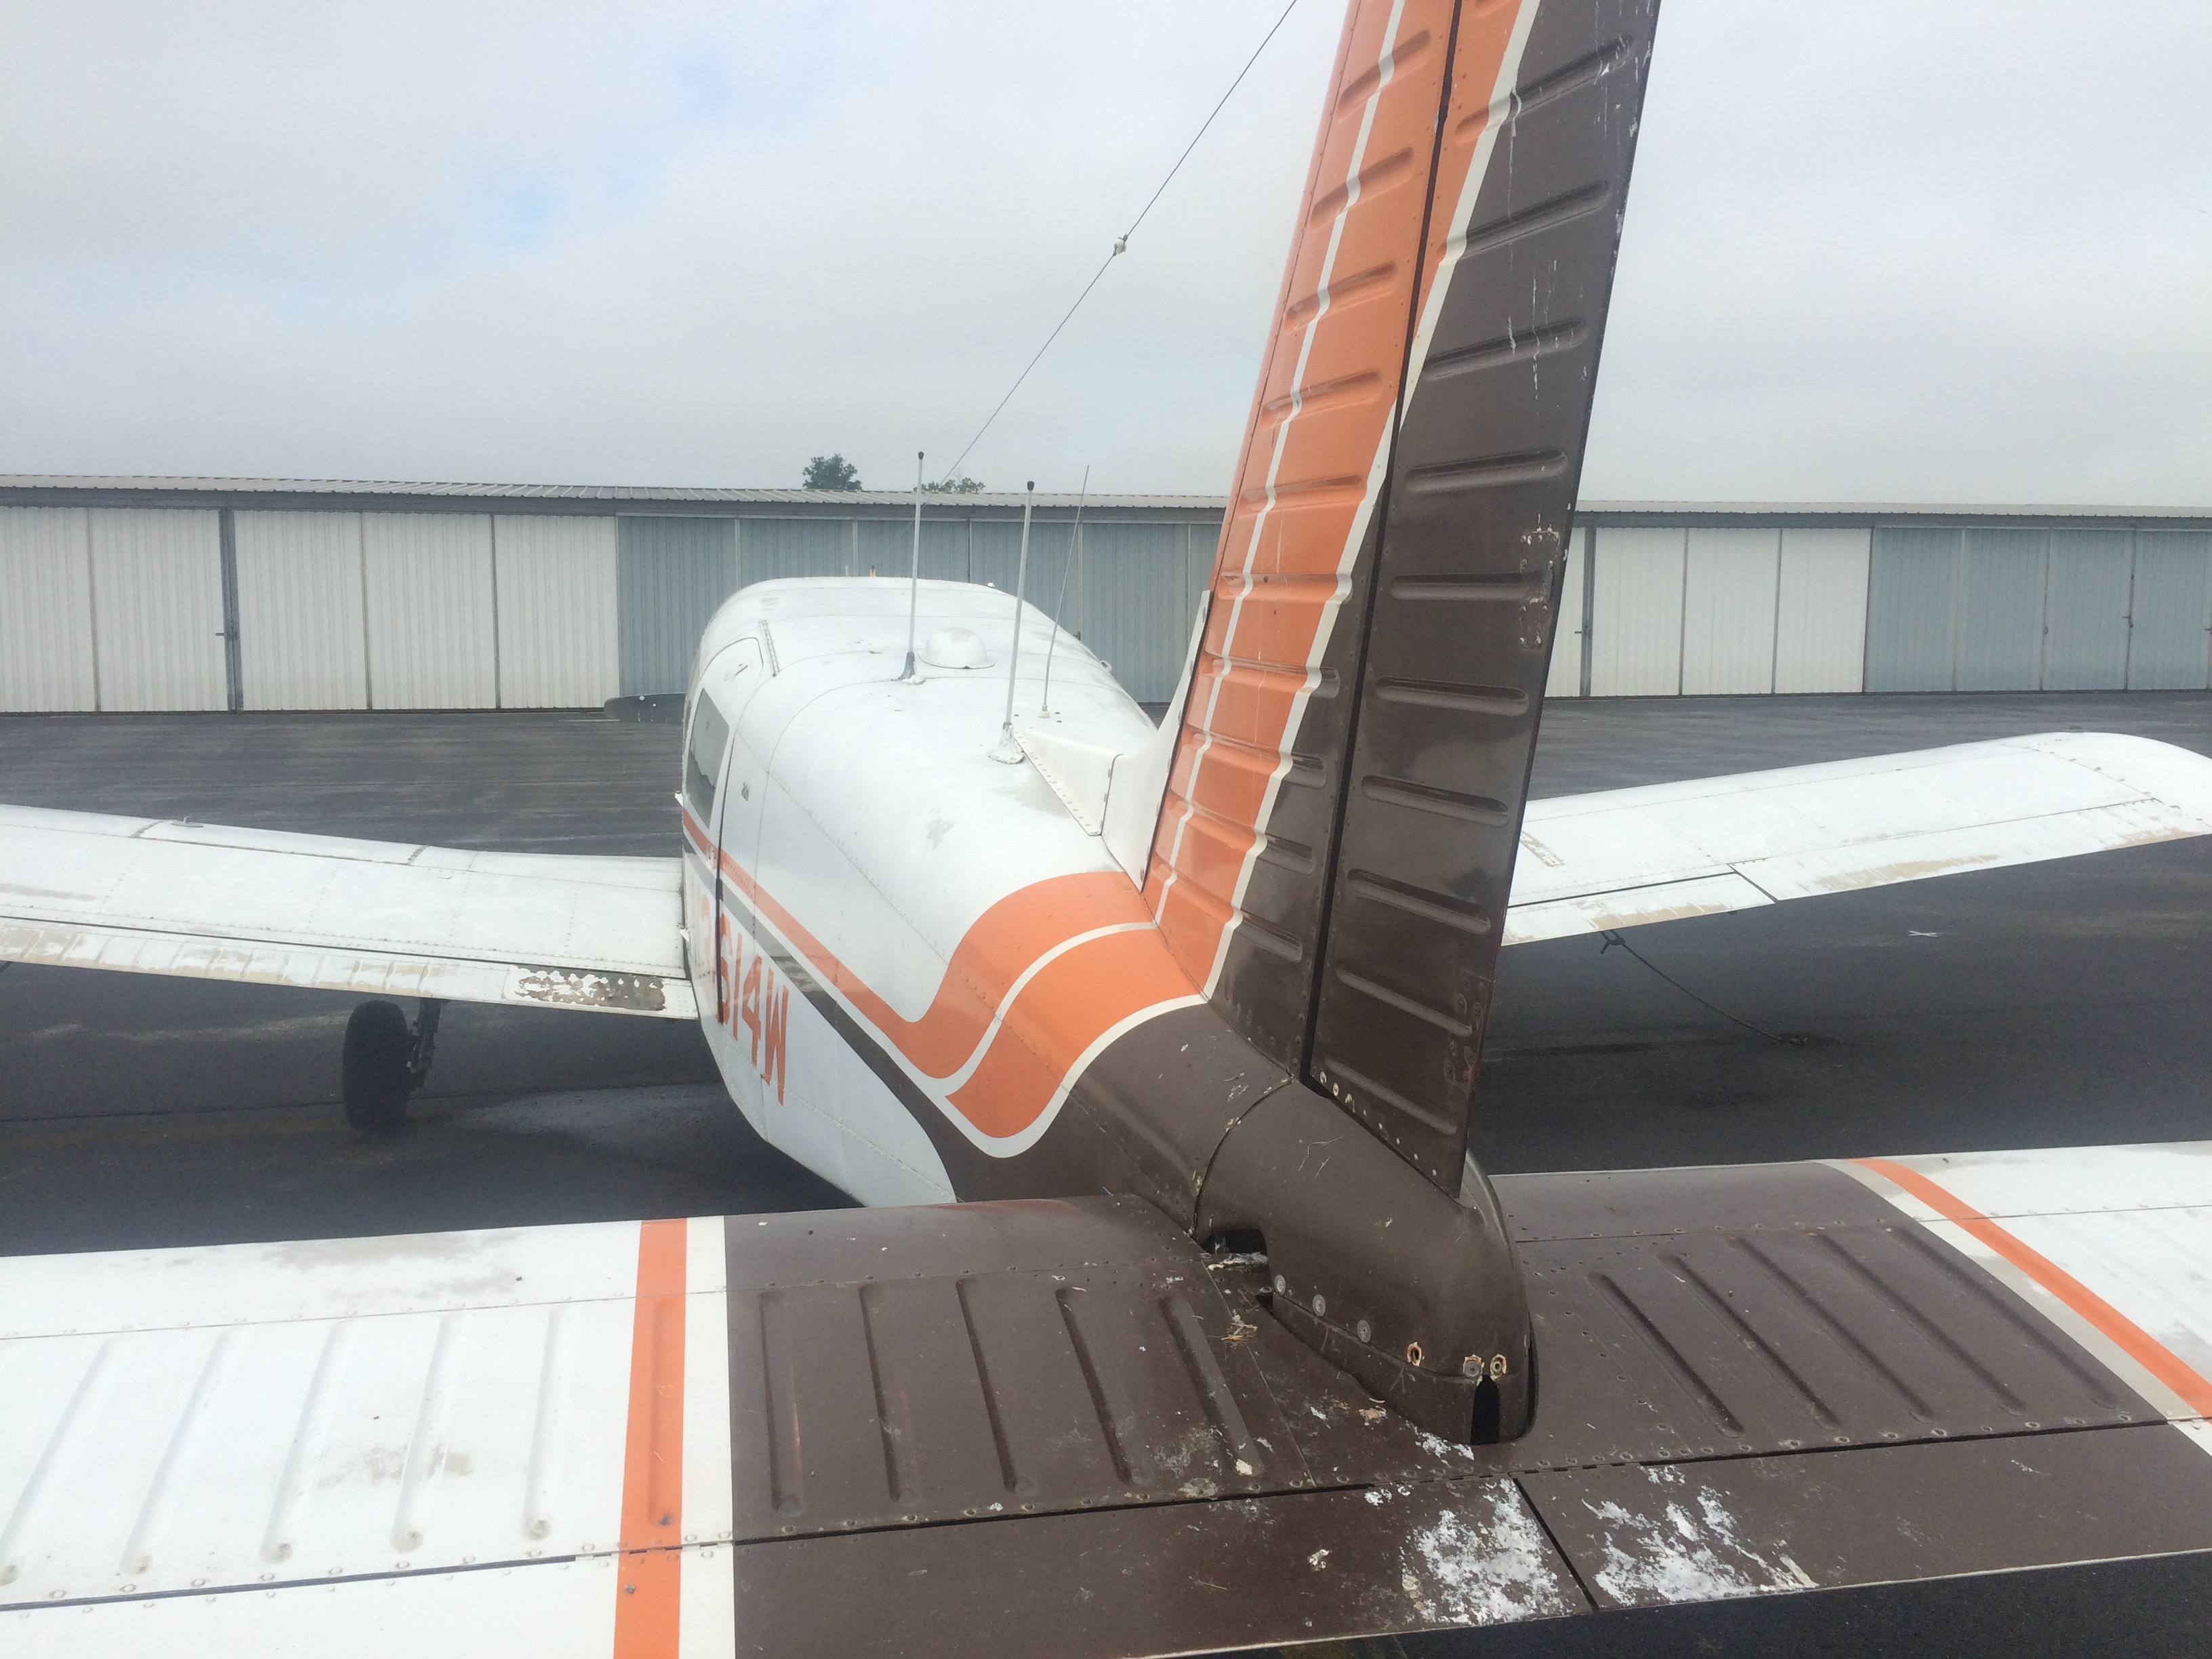
    2. Make sure ailerons are evenly aligned with the flaps or the wingtips.
    3. If adjustable (like many Beechcraft models), make sure the elevators are evenly aligned with the horizontal stabilizers.
    4. Check to see that when the rudder is centered, the nosewheel is also centered.  (Unless of course you own a Cirrus, Diamond, or other airplane with a castering, non-steerable nosewheel.
  2. Move cockpit controls and verify proper movement of control surfaces.

  3. Check all trim system movements and indications.

  4. Don’t just “gloss over” the controls check during preflight checklist.

  5. Do a complete “free and correct” check in both directions…esp after avionics!

I’ve developed a check list called:

Aircraft Rigging Checklist for Pilots

It’s a step by step instructional checklist you can use to check your airplane control systems, that will help you to determine if your airplane is rigged properly.

It’s good for almost any airplane… Beech, Cessna, Piper, and many others.

I will send you this for free as a PDF  document if you send me an email… deanshow@gmail.com and mention you would like the Aircraft Rigging Checklist for Pilots.

So… when do you know your airplane might need some rigging attention?

  1. Your airplane does not fly straight and level in cruise.

  2. Your flight controls or trim tabs do not match the cockpit control positions.

  3. Your flight controls do not positively contact the stops.

  4. You go through my rigging checklist, and notice something out of the ordinary.

Remember, when moving flight controls during any of these checks, make sure you are very careful and pushing on places with good structure.

Don’t lift elevators by the trim tabs.

Be careful about moving Piper rudders… cables are very tight, and because of the design, cannot be moved easily unless on jacks.

027 – Signs of a Shady Paint Job… and Some Useful Tips About Control Surface Balancing

In episode #26, I mentioned briefly the importance of flight control surface balancing.

Then, the other day, I got an email requesting more information about flight control balancing and rigging.

Thank you, Ashley Blythe, for sending that in!

In this episode, we discuss paint jobs, how to tell the good ones from the not-so-good ones, and flight control surface balancing.

Check out the following video that demonstrates why control surface balance is so important… you don’t ever want to experience this kind of flutter in flight!


Here is an article by Paul New of Tennessee Aircraft Services from November 15, 2009:

http://www.tennesseeaircraft.net/keeping-your-balance/

This is a helpful and easy-to-understand article about balancing.

DSCN3119

DSCN3117Here is a Piper Comanche that I flew with my son to Dial Eastern States Aircraft Painting in Cadiz, OH years ago.

They do a very nice paint job!

You can check them out at www.desapi.com

You can also see a picture on their website of this same aircraft after the paint job… it turned out beautiful!

Here is the 15 step process they use to paint an airplane:

Step 1 – Inspection
Step 2 – Controls removed
Step 3 – Paint removal
Step 4 – Cleaning
Step 5 – Etch
Step 6 – Dent repair
Step 7 – Alodine
Step 8 – Primer
Step 9 – Base coat
Step 10 – Stripes & Graphics
Step 11 – New hardware
Step 12 – Controls balanced
Controls are balanced and checked for travel according to maintenance manuals. Bearings are lubed. Worn bolts are replaced using new nuts and washers.
Step 13 – Placards
Step 14 – Finishing up
Step 15 – Customer inspection

Balancing of flight controls should be a part of every aircraft paint job!


Here are some signs of a possible “Shady Paint Job.”

  1.  The aircraft painted with the flight controls installed.  How to tell?  Paint on the mounting hardware;  leading edges not painted well, due to lack of access;  areas not painted very well fwd of ailerons and rudder, and elevator.
  2. Little attention to hard-to-get-to areas:  flap wells, gear wells, etc.  A really quality paint job will give reasonable attention to these areas.  Maybe not as pristine as the other areas, but total neglect of these areas is a red flag!  (Sort of like the belly not being cleaned during a wash or detailing job.)
  3. Paint in places where it should not be.  (bearings, moveable controls, hydraulic cylinder shafts, etc.)
  4. Inspection panels and other covers were not removed for the paint job.  (Screws painted in place.)  This is a real problem because the paint will need to be broken the next time those screws are removed.  Sometimes, old rusted hardware and cowling fasteners are just painted over.
  5. No documentation of flight control balancing.  Be sure the  airframe log entry for the paint job includes this!  After controls are installed and control rods attached, you can’t tell if the balance is within specs… you are depending on proper maintenance.


Next time you do a preflight inspection, take special notice of your flight control attachments and balance weights, to make sure everything is securely attached with no excessive wear.


026 – Cracked Flight Control Surfaces… Are They Airworthy or Not?

That depends!

Today, I share a story about a pair of ailerons that were damaged when a Piper Cherokee was backed into the T-hangar a little too far.  We talk about the repair options for a scenario like this.

IMG_3601IMG_3600


IMG_3611

Here is a Piper Cherokee rudder we removed for repair due to 2 cracks in the trailing edge.

Are any cracks or repairs allowed on Piper flight control surfaces?

What about Cessna?

The answers may surprise you.

Listen to today’s episode to find out about some clear information that airplane owners should know.

Regardless of what kind of airplane you own, today’s show can help to point you in the right direction to get answers for your flight control surface questions.

Don’t take a chance on a questionable repair… there are too many of them flying around out there.

IMG_3607IMG_3605IMG_3606

These patches may have been considered acceptable many years ago, but not today!  Thankfully, this is not a flying airplane… it is now being used for A&P training.

Here are a couple other repairs I found…

IMG_3604

This one is a Cessna 310 that is now being used for A&P training.  These patches were installed on the elevator many years ago.

IMG_3608

So, after talking about control surfaces, here are a few things you might want to consider:

  1.  Take a look at your airplane… do YOU have any cracks in any of your flight control surfaces?  If so, do whatever needs to be done per the service manual… after all, even though unlikely, you don’t want to get stuck because an FAA inspector has grounded your airplane.
  2. Take a walk around your airport and look at all the flight control surfaces… it might surprise you how many there are…  if nothing else, it will give you an idea of the kinds of cracks that can happen, and the places that tend to crack easily.
  3. Be careful when you do your preflight inspection.  If you hear that “oil canning” effect when you move your flight controls, you are pushing too hard on it… if you must move it slightly, do it between the palms of your hands (preferably at a rib if possible), rather than grabbing the trailing edge with your thumb and finger.  (There’s good reason for that “NO PUSH” placard.)


IMG_3590


And remember, even if you CAN legally repair a flight control surface, it must be balanced after the repair and paint are completed.

If you have any good stories about flight control surfaces, please contact me and let me know.

deanshow@gmail.com, or use the comment button on this episode, or leave me a voicemail by using the button on the right side of the page at airplaneownermaintenance.com

Thanks, and if you like this podcast, please go to iTunes and leave me a rating and review.  I would really appreciate it!


025 – Oil Filters, Oil Leaks, and a Cracked Crankshaft

Do you own an airplane?  If so, have you ever changed the oil on your  engine?

The engine oil change is one of the FAA approved maintenance tasks that owners can perform on their own airplanes.  Just make sure you are familiar with the process, and have the proper tools and equipment.

Listen to today’s episode to hear a story from many years ago about an oil change that turned out bad… thankfully no one got hurt, but it was quite a fiasco, none the less.

Also, if you have not listened to episode 011, you may be interested in that one also… it’s called “Oil Changing Basics for Airplane Owners.”

Just the other day, I found some something on a Piper Cherokee that was worth talking about today… hopefully, something we can all learn from as a reminder to do all our airplane maintenance to a standard of excellence.

First of all, the safety wire tail on the oil filter was not bent back into itself… the end should be bent to avoid a sharp end.

IMG_3575 (1)


Secondly, I was surprised to find that the filter was very loose.

Check out this video:

If an oil filter is torqued properly, you should not be able to move it at all with your hand.

The torque spec. is 16-18 foot pounds.  The bottom of that range is plenty tight, which equates to 192 inch pounds.

Along with the oil filter, another item to be checked on Lycoming engines (and some Continental engines) at the annual inspection, is the oil suction screen which is in the bottom of the oil sump.

This oil suction screen had a lot of carbon in it after about 120 hours of operation.  In this case, it might be a good idea to clean it again in 50 hours, instead of waiting until the next annual inspection.IMG_3585


So, after considering the story about the unfortunate oil change from many years ago, and after considering the loose oil filter from just the other day, here are several recommendations:

  1.  Be sure you use a torque wrench on your oil filter.  (When torqued properly, you should not be able to tighten it any more at all by hand.)
  2. For Lycomings, if you fly a lot and change your own oil, consider cleaning the oil suction screen at least every 100 hours, perhaps 50 hours if you find carbon like the one in the picture above.

  3. Always do a ground runup and check for leaks after an oil change.

  4. If your oil filter is difficult to loosen, when you remove it, be encouraged… that is a sign that it was torqued properly.  (Use a box end wrench or a socket… an open end wrench will round off the corners of the nut on the back of the filter.)  An automotive style oil filter tool is also a good option if it fits on the filter housing.

If you have a story about an oil change that became a problem, that we could all learn from, please send it to me.

Or, if you have any other comments, questions, or topics you want to hear about, you can:

  1.  Leave me a voice message.  (Use the button on the right side of the page at airplaneownermaintenance.com)
  2. Leave a comment on any of the episodes.
  3. Send me an email at deanshow@gmail.com

Thanks, and happy oil changing everyone!

Dean Showalter