A Maintenance Oriented Podcast For Airplane Owners, Pilots, and Mechanics

Month: September 2017

071 – A Walk-Through of the Beech Bonanza Inspection Checklist

Do you know what goes on during your airplane’s annual inspection?  Do you know what should be going on, and what should not?   Perhaps todays episode can help think through some of these questions, regardless of what type of airplane you own.

Today’s episode deals specifically with the Beechcraft Bonanzas, and the “ANNUAL LONG FORM INSPECTION GUIDE.”

But don’t worry, if you like this idea of talking through an inspection checklist, and you own some other kind of airplane, just shoot me an email to “dean{at}airplaneownermaintenance{dot}com” and let me know what type airplane you’d like me to discuss in the future.  Or, leave me a voice message on the website:  AirplaneOwnerMaintenance.com.

Or, if you don’t like this format, and it’s too cumbersome or boring to go through the checklist, please let me know that as well.  (However, before you dismiss this whole thing, perhaps you might want to have your A&P/IA listen as well for some potential new ideas and perspectives.

Here’s the video about the autopilot roll servo cable in an A36 Bonanza:

Following is a link for the Beech Bonanza Longform Inspection Guide:

http://flyabonanza.com/Resources_files/Bonanza%20Annual%20Inspection%20Guide.pdf

I got through about half of this in today’s episode, and plan to finish “walking through” the rest of it in the next episode.

Also, the article by Paul New that I mentioned, called “No Further Action Required,” can be found here:

http://www.tennesseeaircraft.net/no-action-required/

And while your there at Paul’s website, TennesseeAircraft.net, go ahead and take a look at his other articles.  They are always well-written and very educational… thanks Paul!

P.S.  Happy 50 Year Anniversary to the American Bonanza Society!  ABS has been a fantastic support and resource for so many Beechcraft owners for all these years… Honestly, this is one weekend I wish I was in Kansas, instead of Virginia!


070 – Engine Hoses, And The New AD on Piper Oil Cooler Hoses

AD 2017-14-04 affects a huge list of Piper models, including Cherokees, Arrows, and Saratogas.

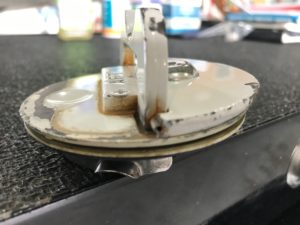
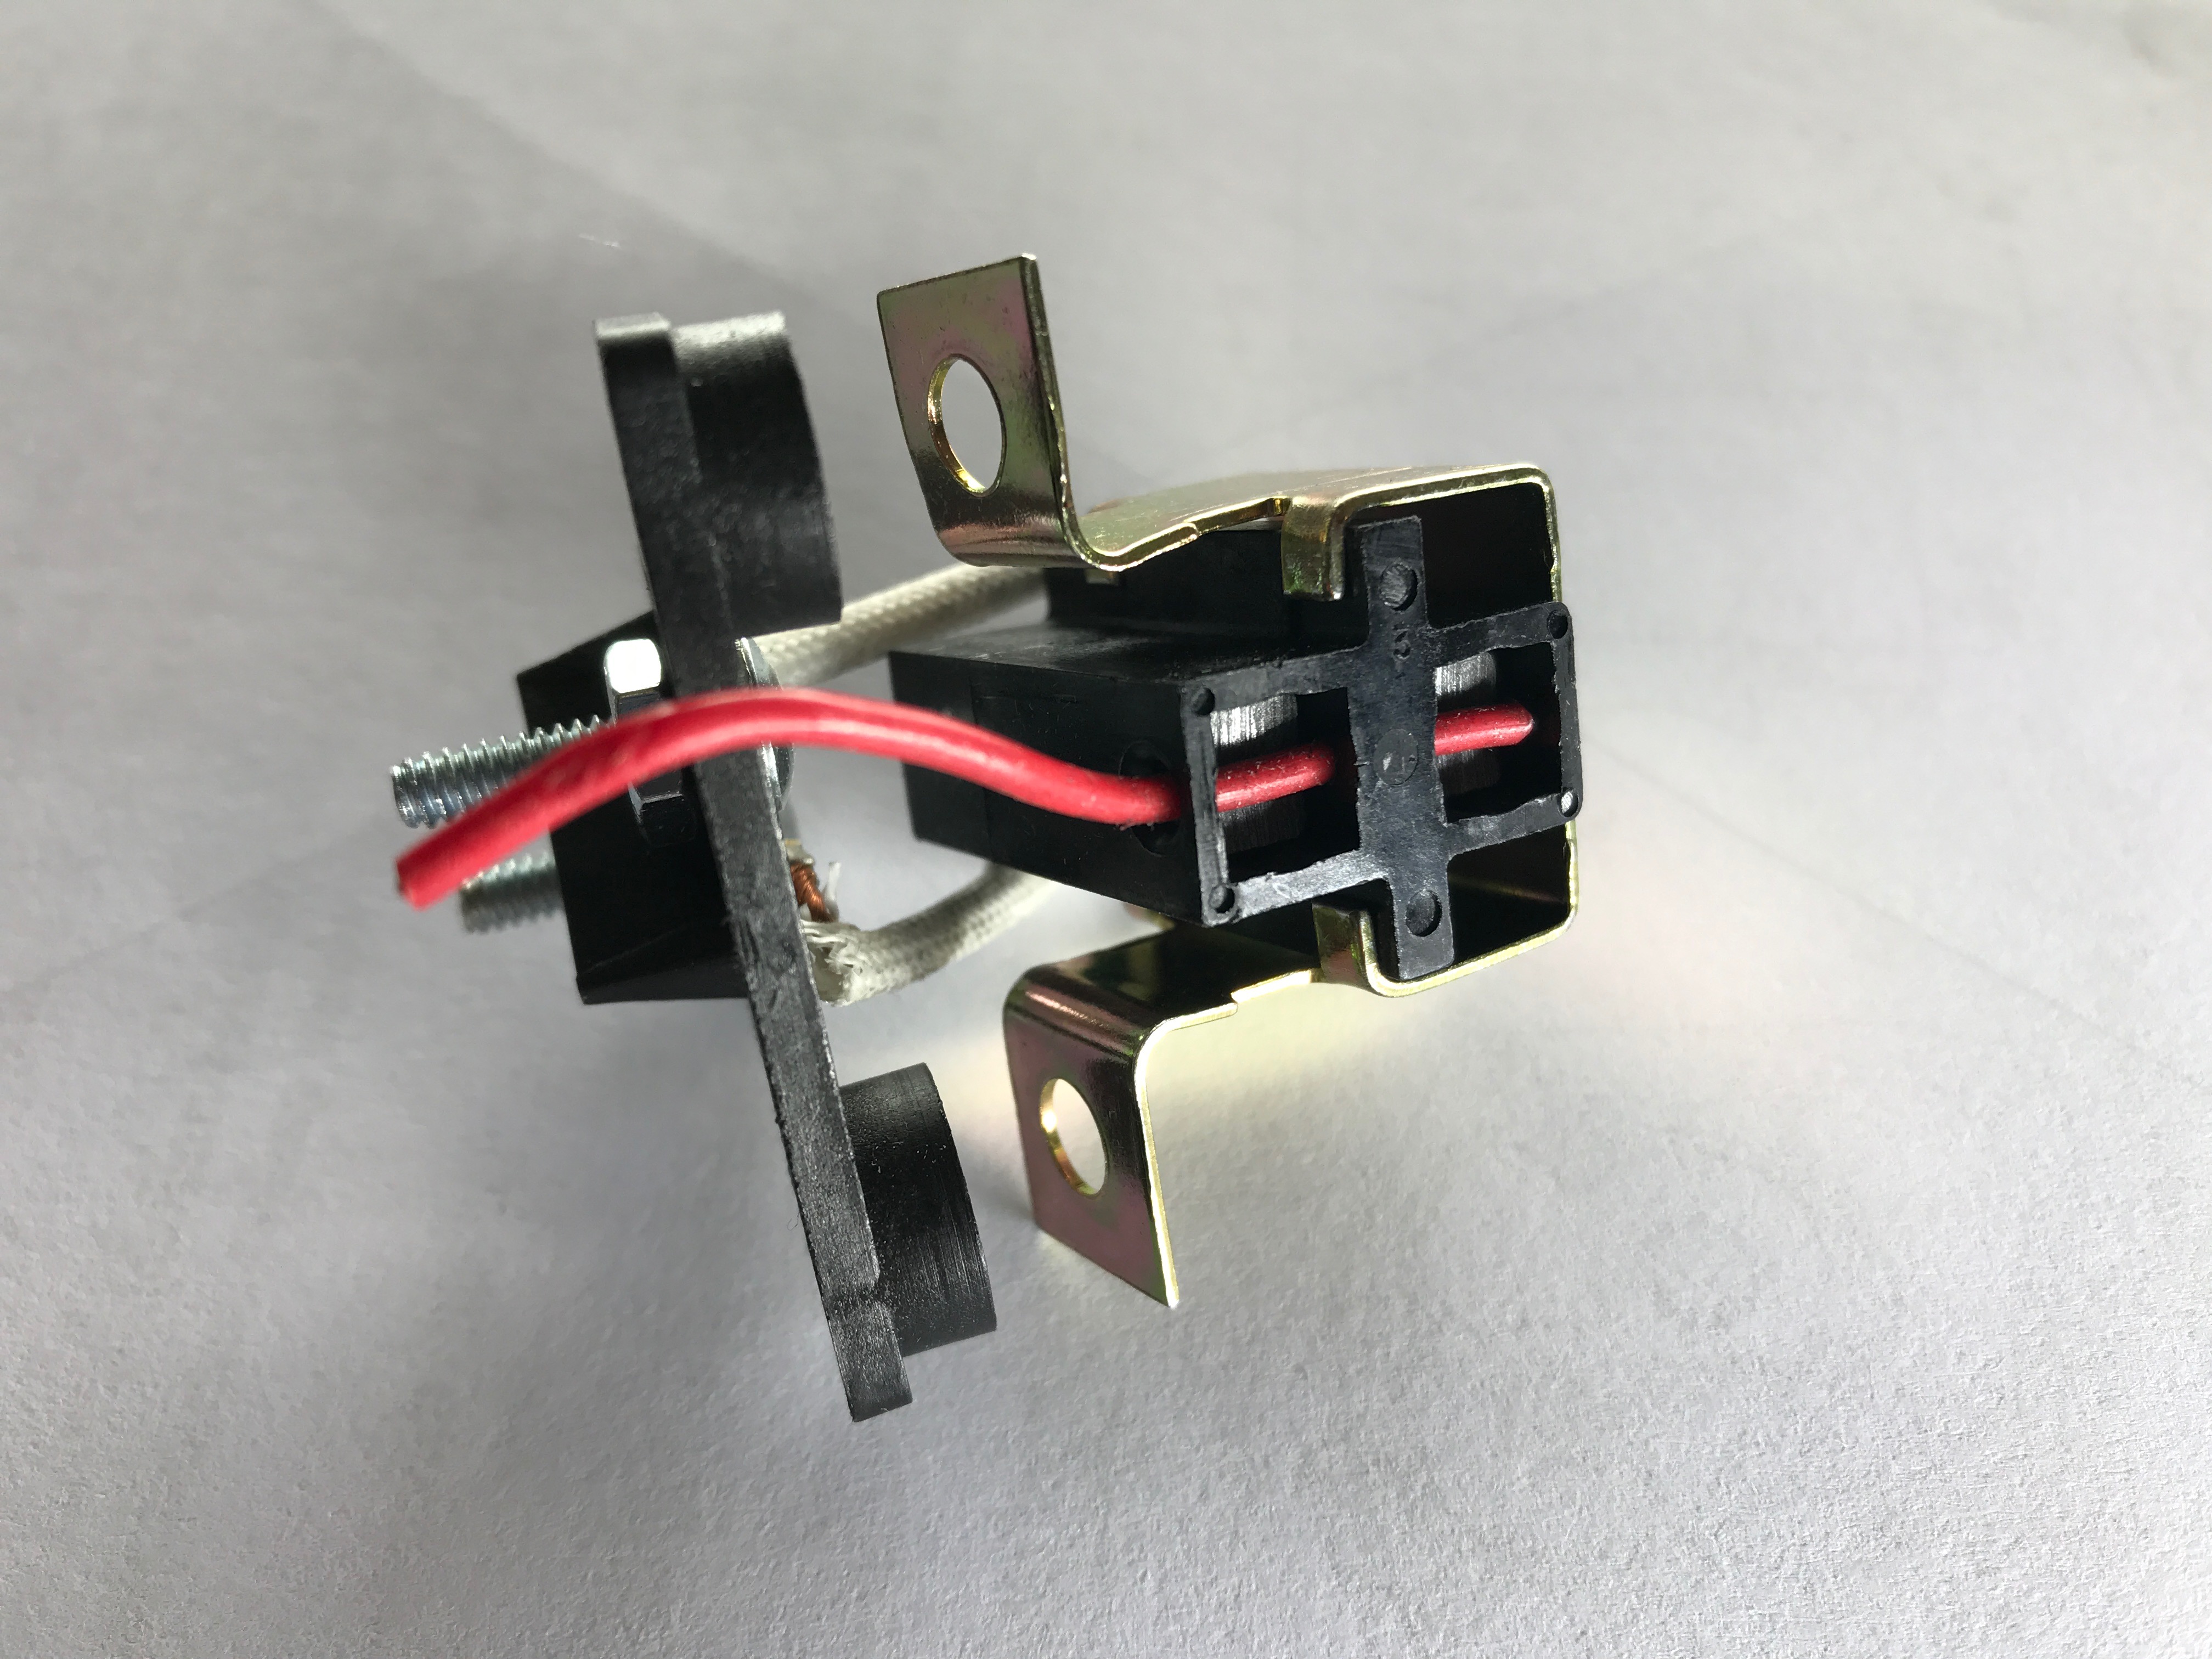
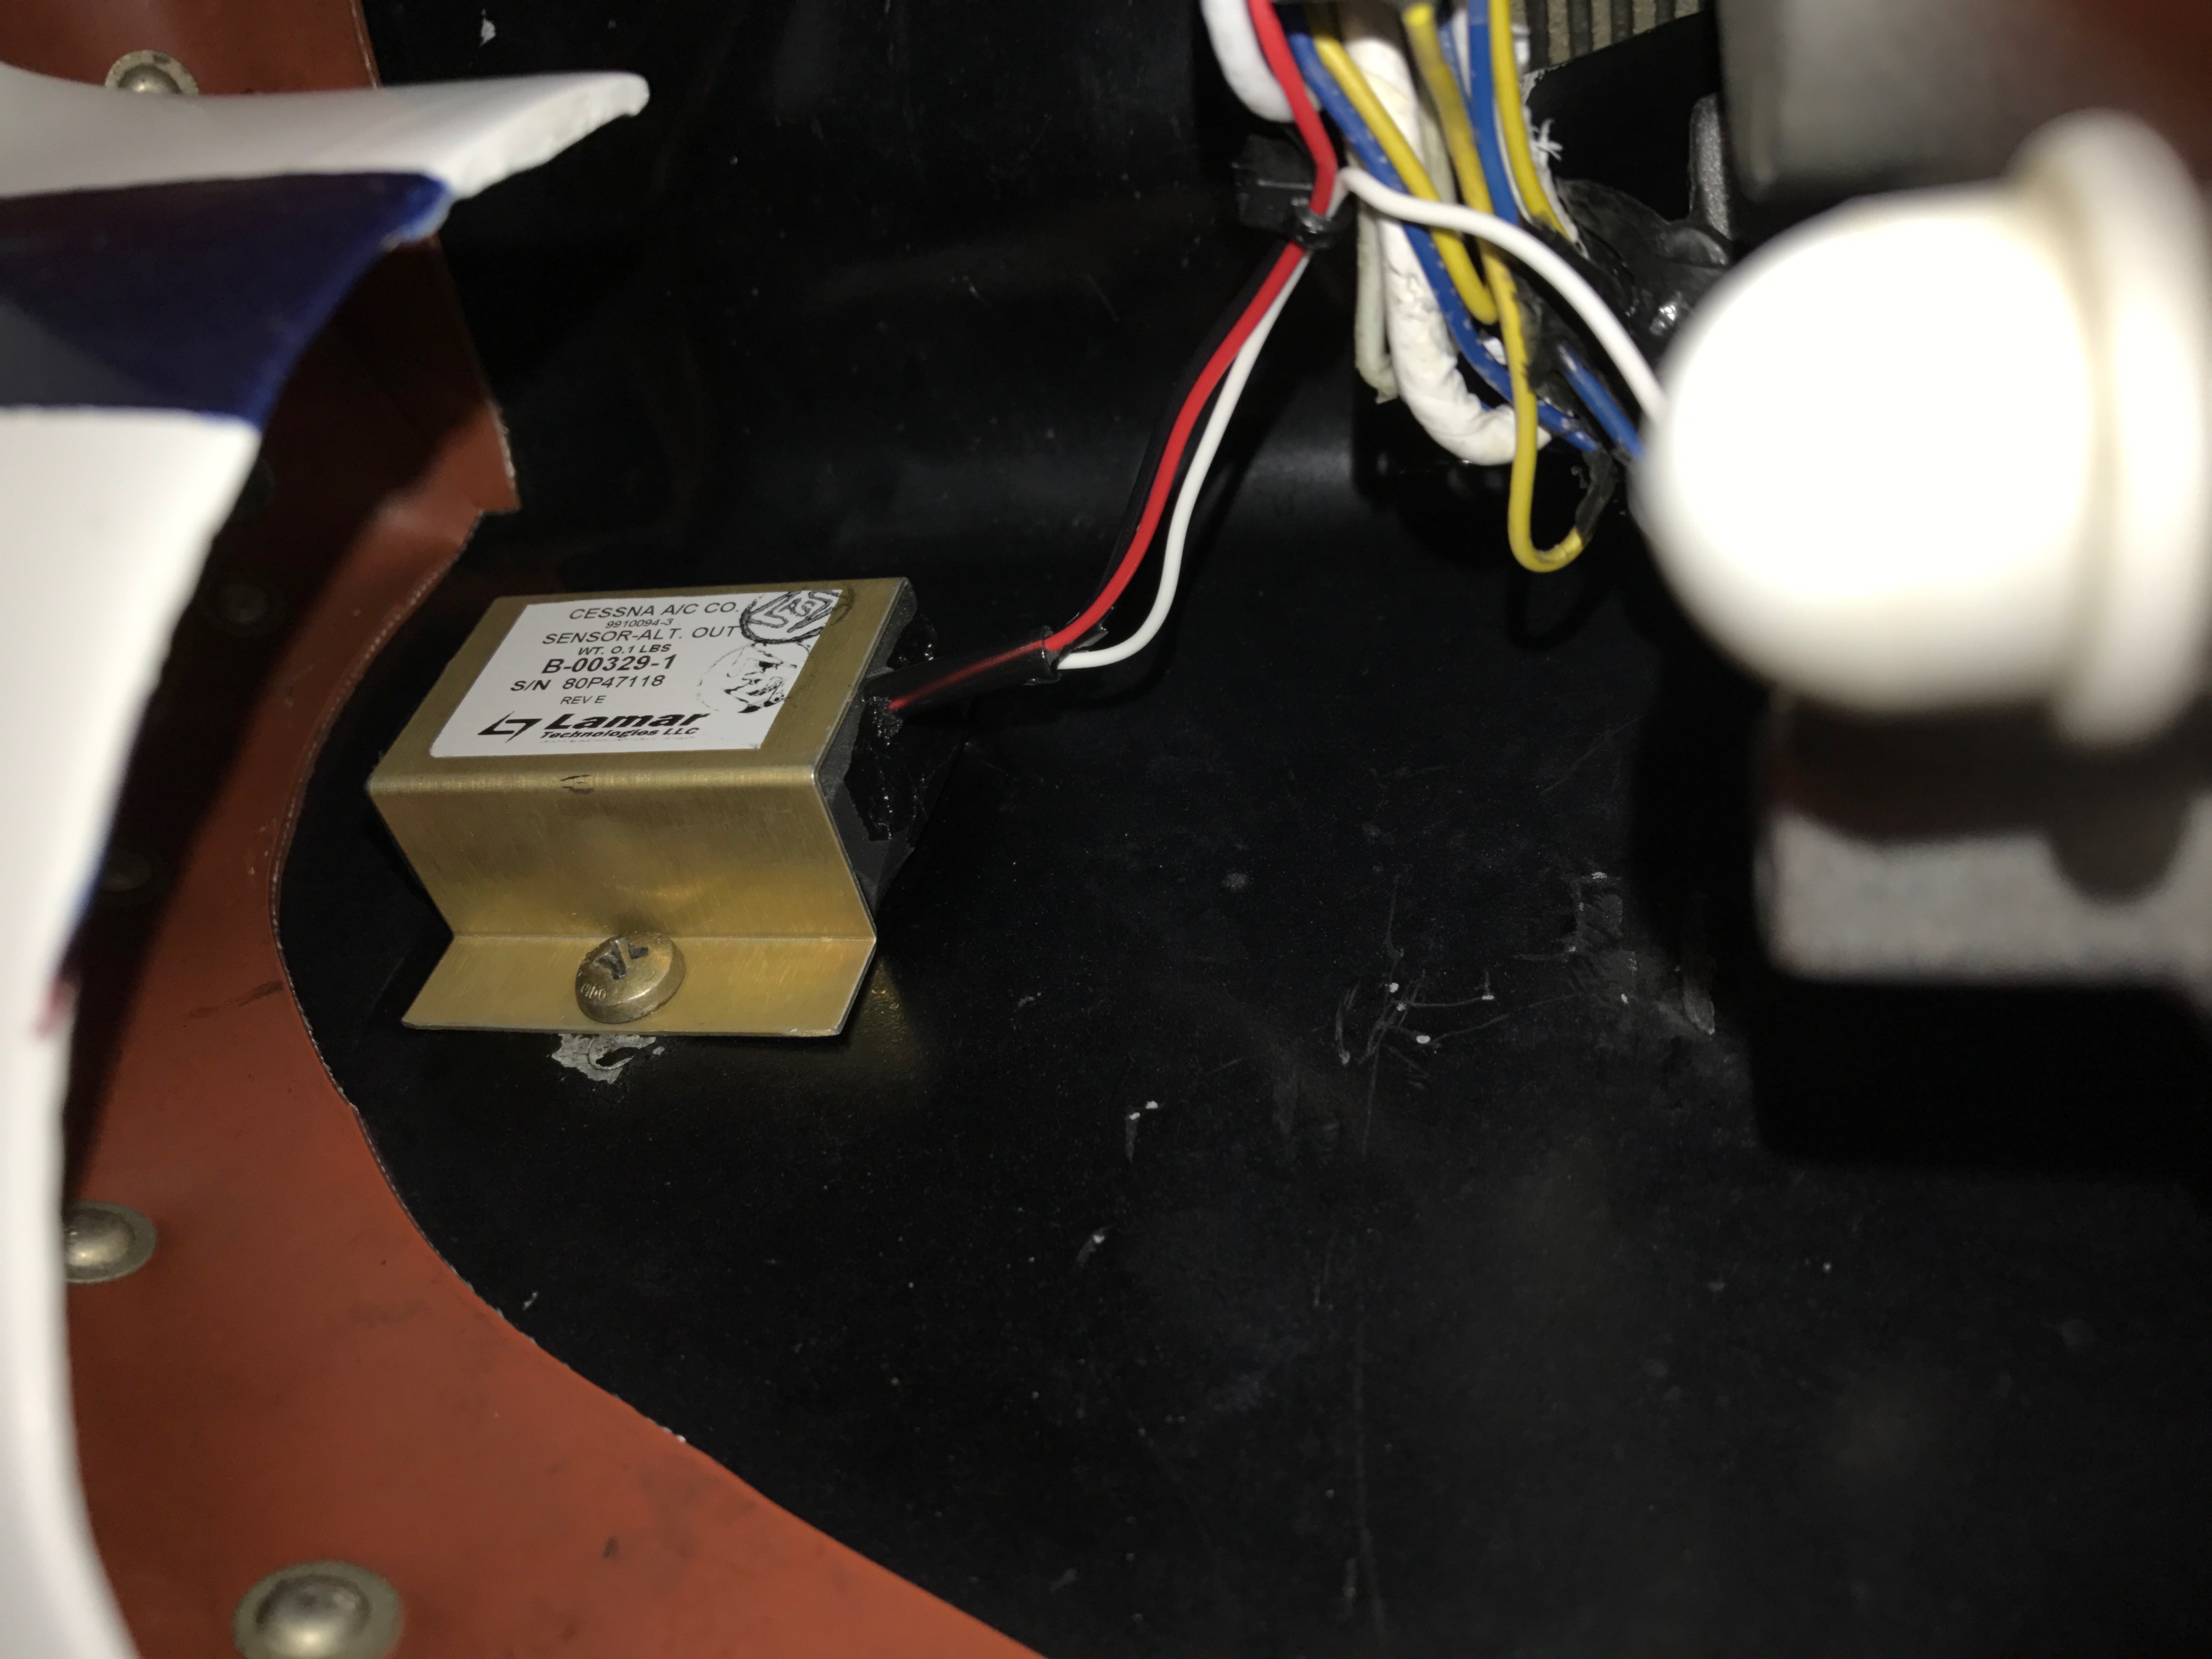
But before we get into that, I wanted to give an update on the alternator brushes mentioned in episode 069.  Here are some pictures of the new brushes I installed in that alternator:


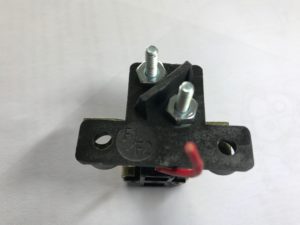
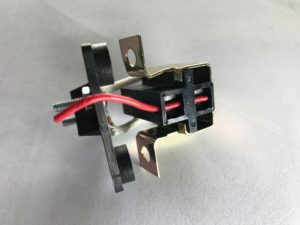
That little red wire holds the brushes out of the way while the brush holder is installed in the alternator.  Then, after it’s in place and the screws are tight, the red wire is pulled out gently, and the brushes snap down against the slip rings in the alternator.

After installing this new brush assembly in the left engine of that twin Cessna I was working on, the charging system was back to normal!

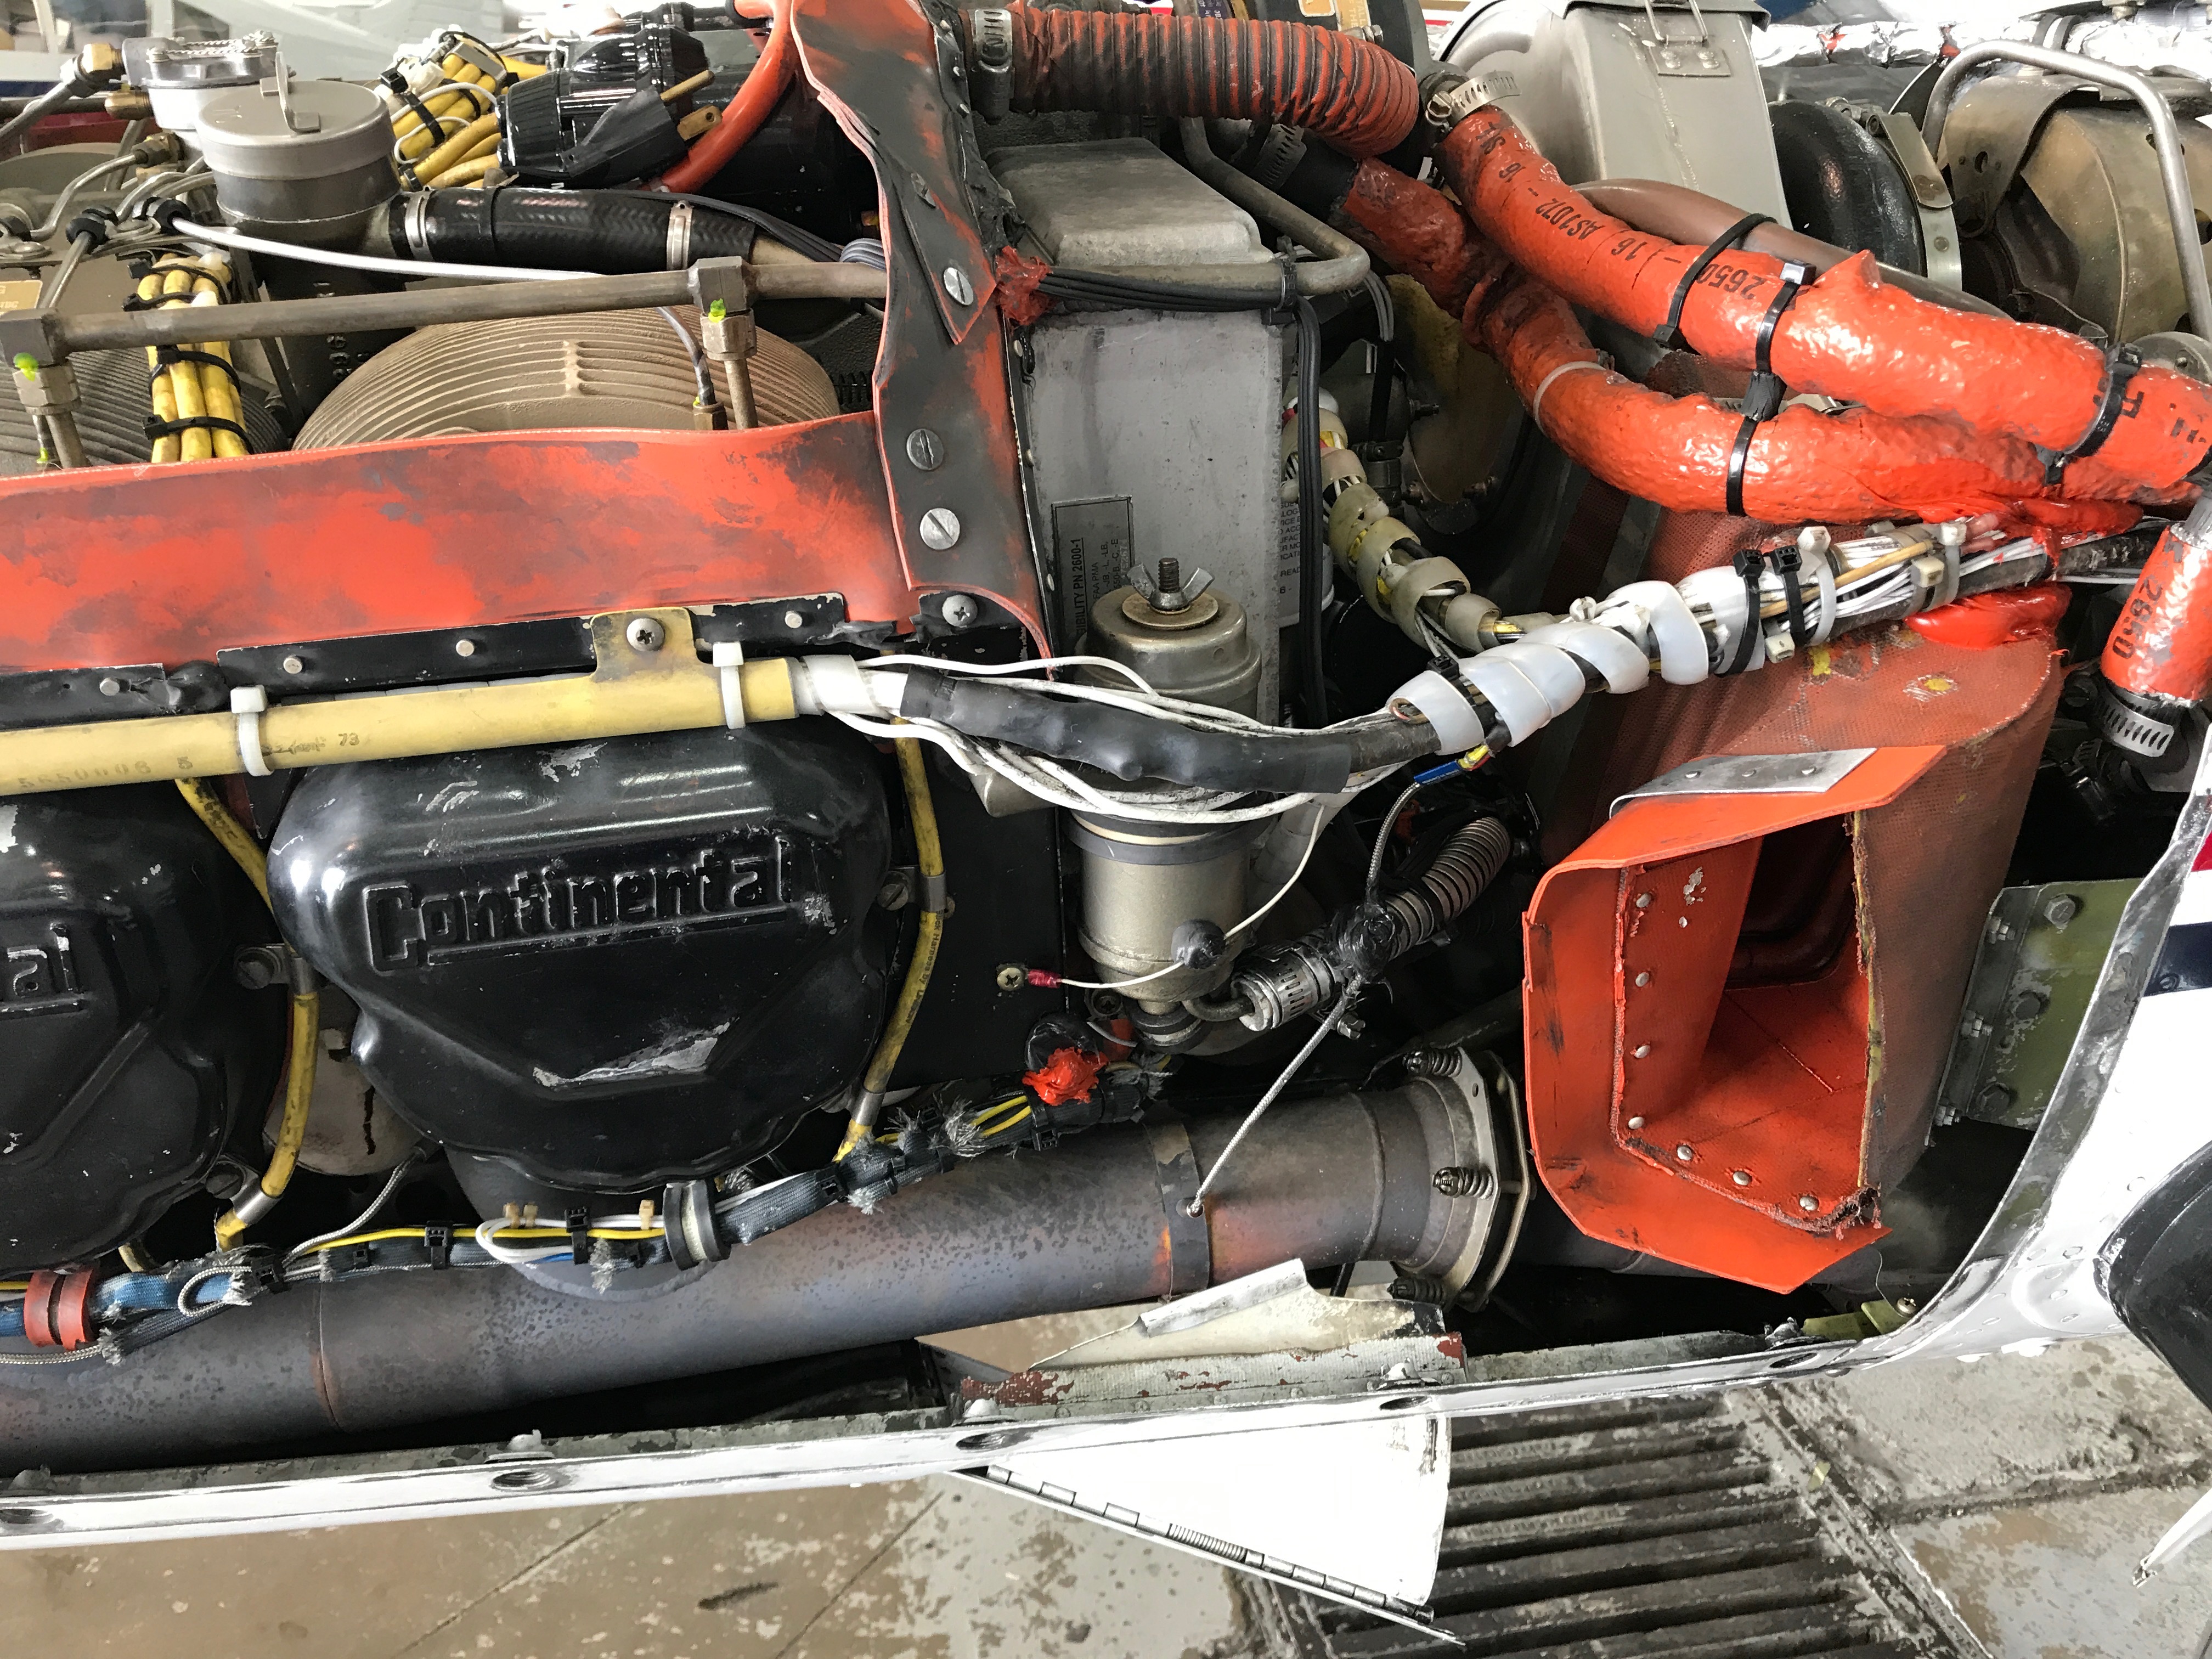
Now for the new AD on Piper oil cooler hoses.  AD 2017-14-04 supercedes AD 95-26-13.

I discovered this new AD recently while performing an annual inspection on a Piper Archer.  The oil cooler hoses were still in relatively good condition, although they had over 1200 hours on them.  (This airplane gets flown a lot.)

These were not TSO-C53a, Type D hoses, so they had to be changed.  The good thing is, we ordered and installed new, Type D hoses, so that terminates the AD for this airplane.

This AD has a lot of information in it, and it can be a little confusing to figure out, but the bottom line is, if you have TSO-C53a, Type D hoses, they are not affected by this AD.  However, if you have Type C hoses, or any other hoses, they need to be inspected at certain intervals, and then replaced when they have either 8 years, or 1000 hours, on them.

How can you tell if you have Type D hoses?  Just look at the metal tag on the hose assembly.  If it says Type D on that tag, your hoses are not affected by this AD.  Generally, Type D hoses will be either the teflon hoses, with smooth, brown, exterior and a tag that says “Type D,” or, hoses with orange firesleeve, that also have a tag that says, “Type D.”

Back in 1996, another document that was issued by the FAA, was SAIB ACE 96-01, which offered some AMOC’s (Alternative Method Of Compliance.)  AMOC #1 gave the option to terminate the AD with Type C AND Type D hoses, as long as the oil cooler was mounted at the rear of the engine, and there were no defects noted on the hoses.

But with the new AD, that AMOC is no longer approved as a method to comply with the new AD.

So I had to change those hoses in that Archer… oh well, they should last a very long time!  And since we installed Type D hoses, the AD is now terminated in that airplane.

If you want to dig deep and learn some detail about hoses, how they are made, and the differences between type C and type D hoses, here is an AOPA article that is quite educational:

https://www.aopa.org/news-and-media/all-news/2006/january/01/airframe-and-powerplant

Here are a few recommendations to consider when it comes to engine hoses, regardless of what type of airplane you have:

  1. Although not required for part 91 operators, good idea to change them every 8 or 10 years.  Many airplane engine hoses are 20 or 30 or more years old… you’re taking chances to let them go that long.
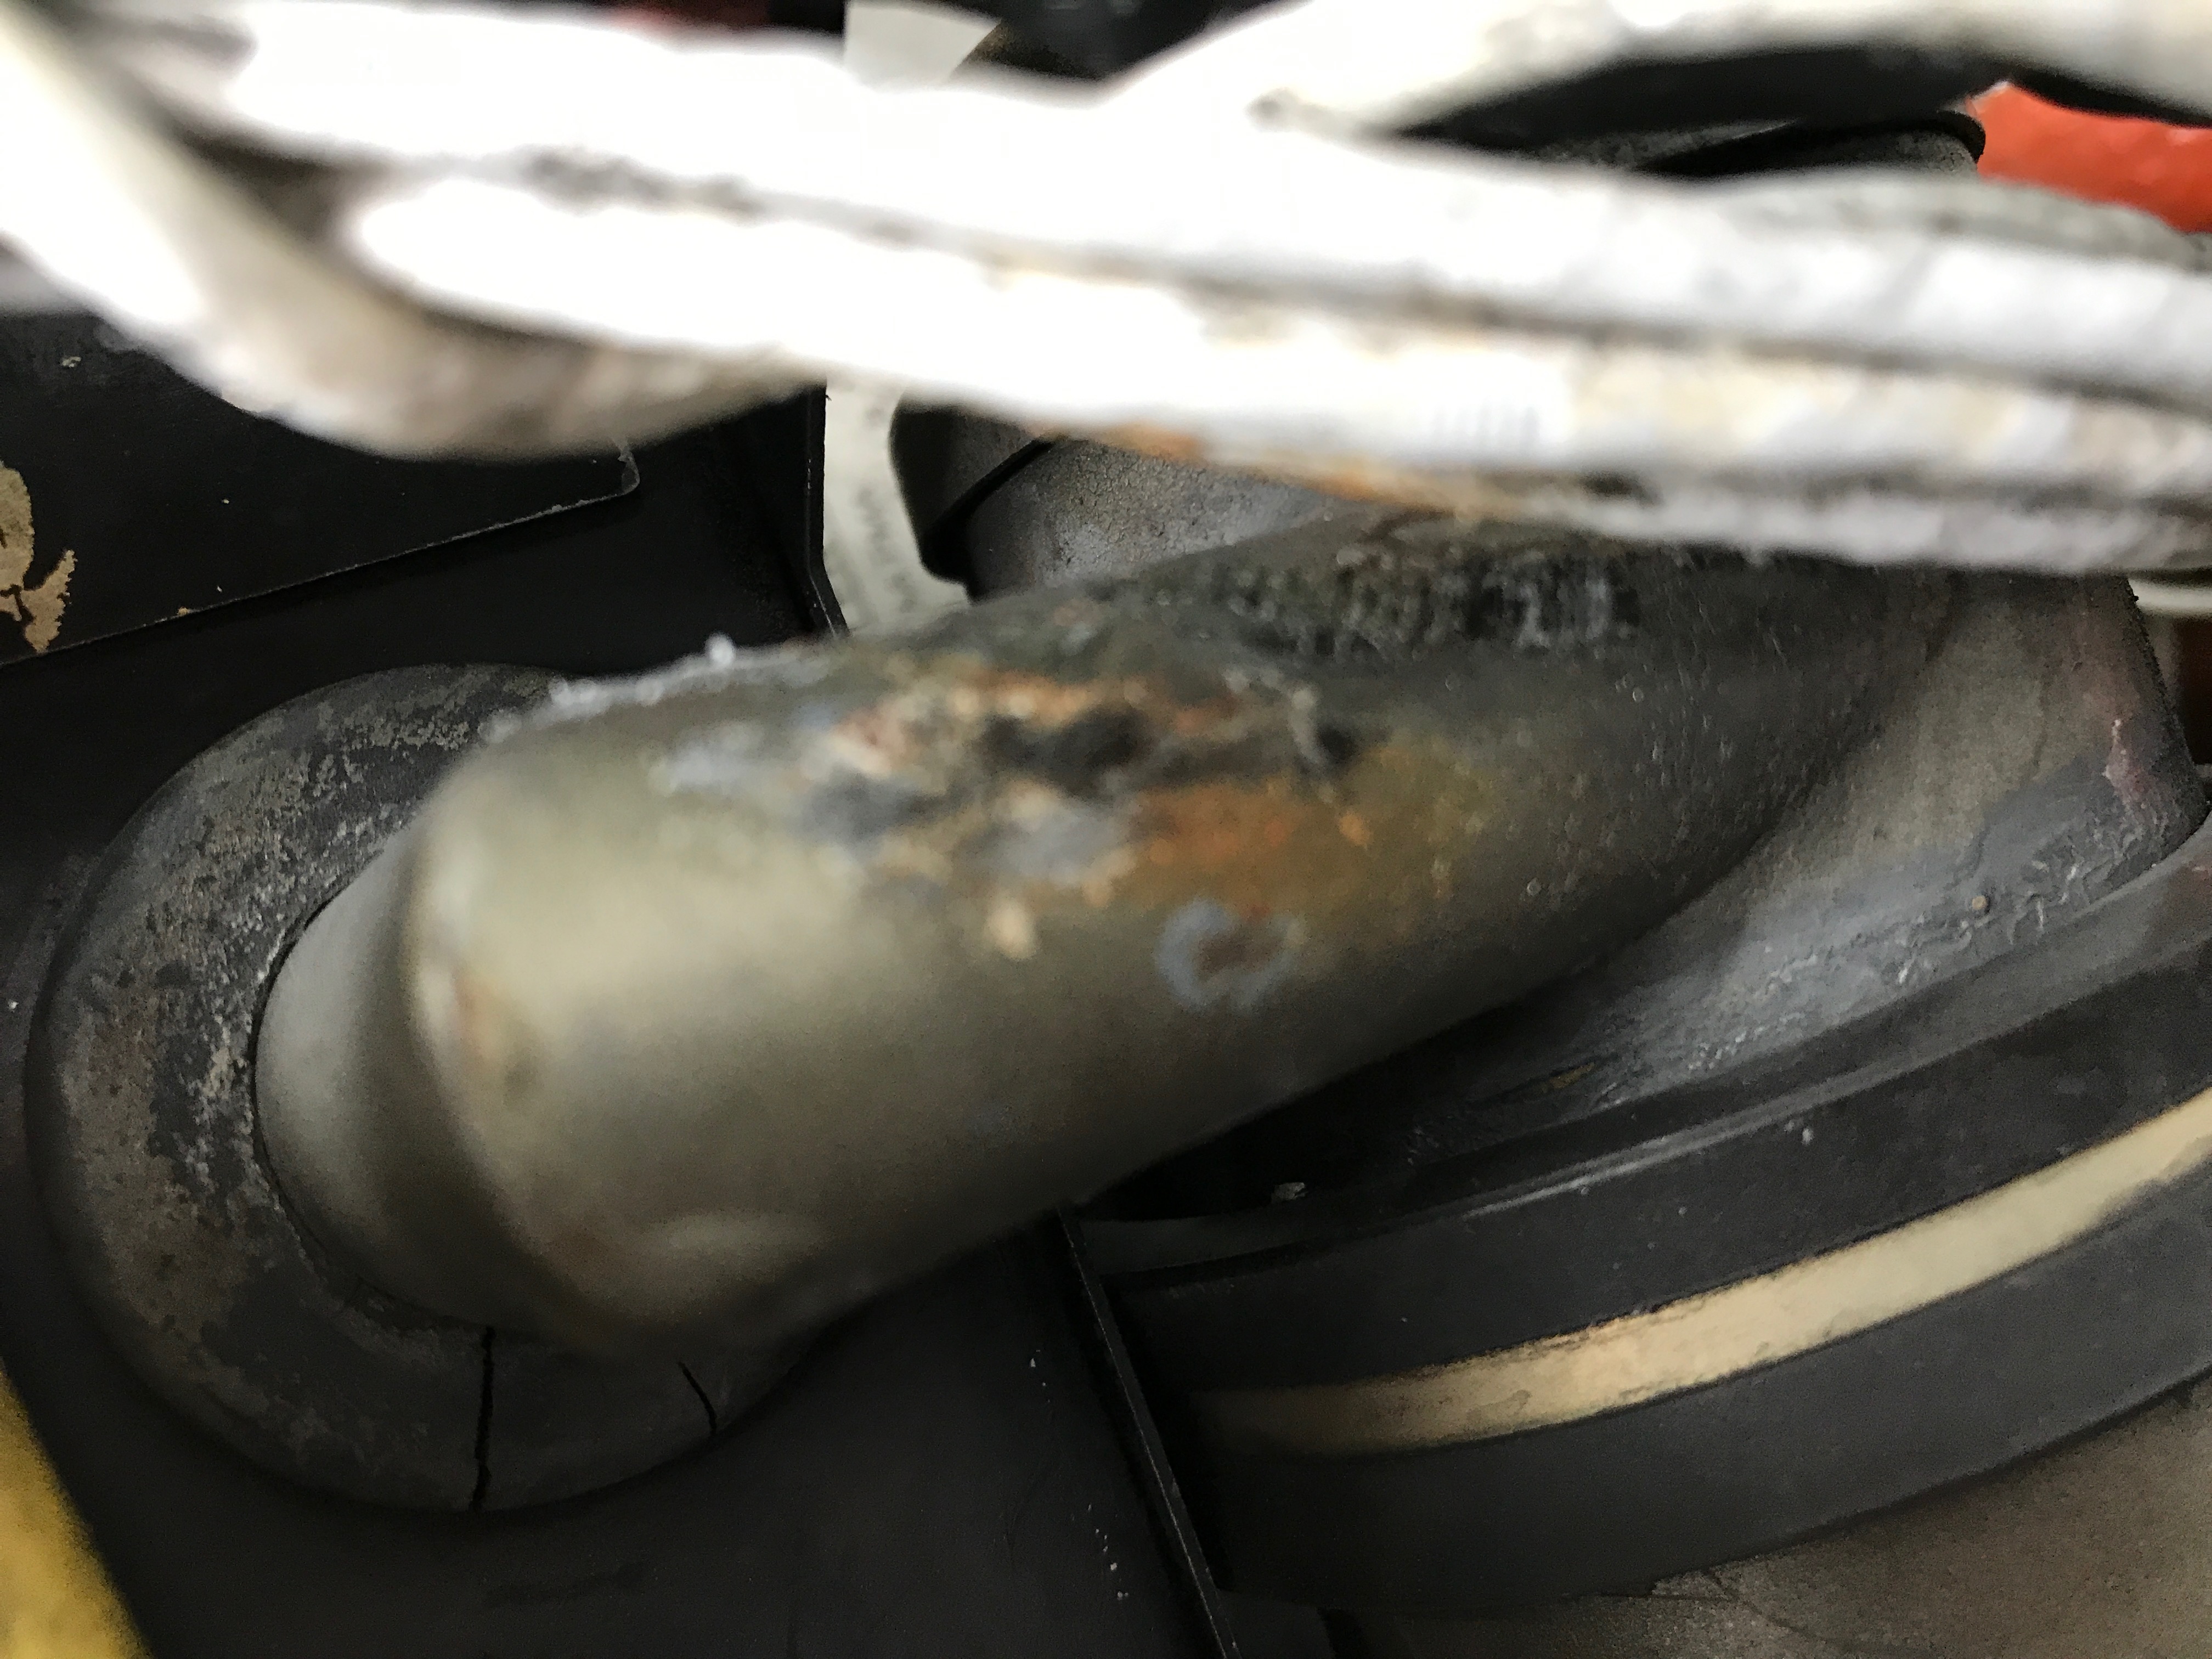
  2. Make sure there is clearance between hoses and any exhaust component.
  3. Verify hoses are not bent too tightly.
  4. Always be looking for any leakage… esp. at hose ends.
  5. Verify all hose B-nuts are tight, with torque putty applied.
  6. If you move a hose to the side, and you hear it creaking, it’s probably old and needs to be changed.
  7. Even though the brown, teflon hoses are sometimes described as having no life limit, it’s still a good idea to change them at a reasonable frequency.

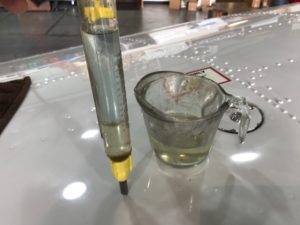
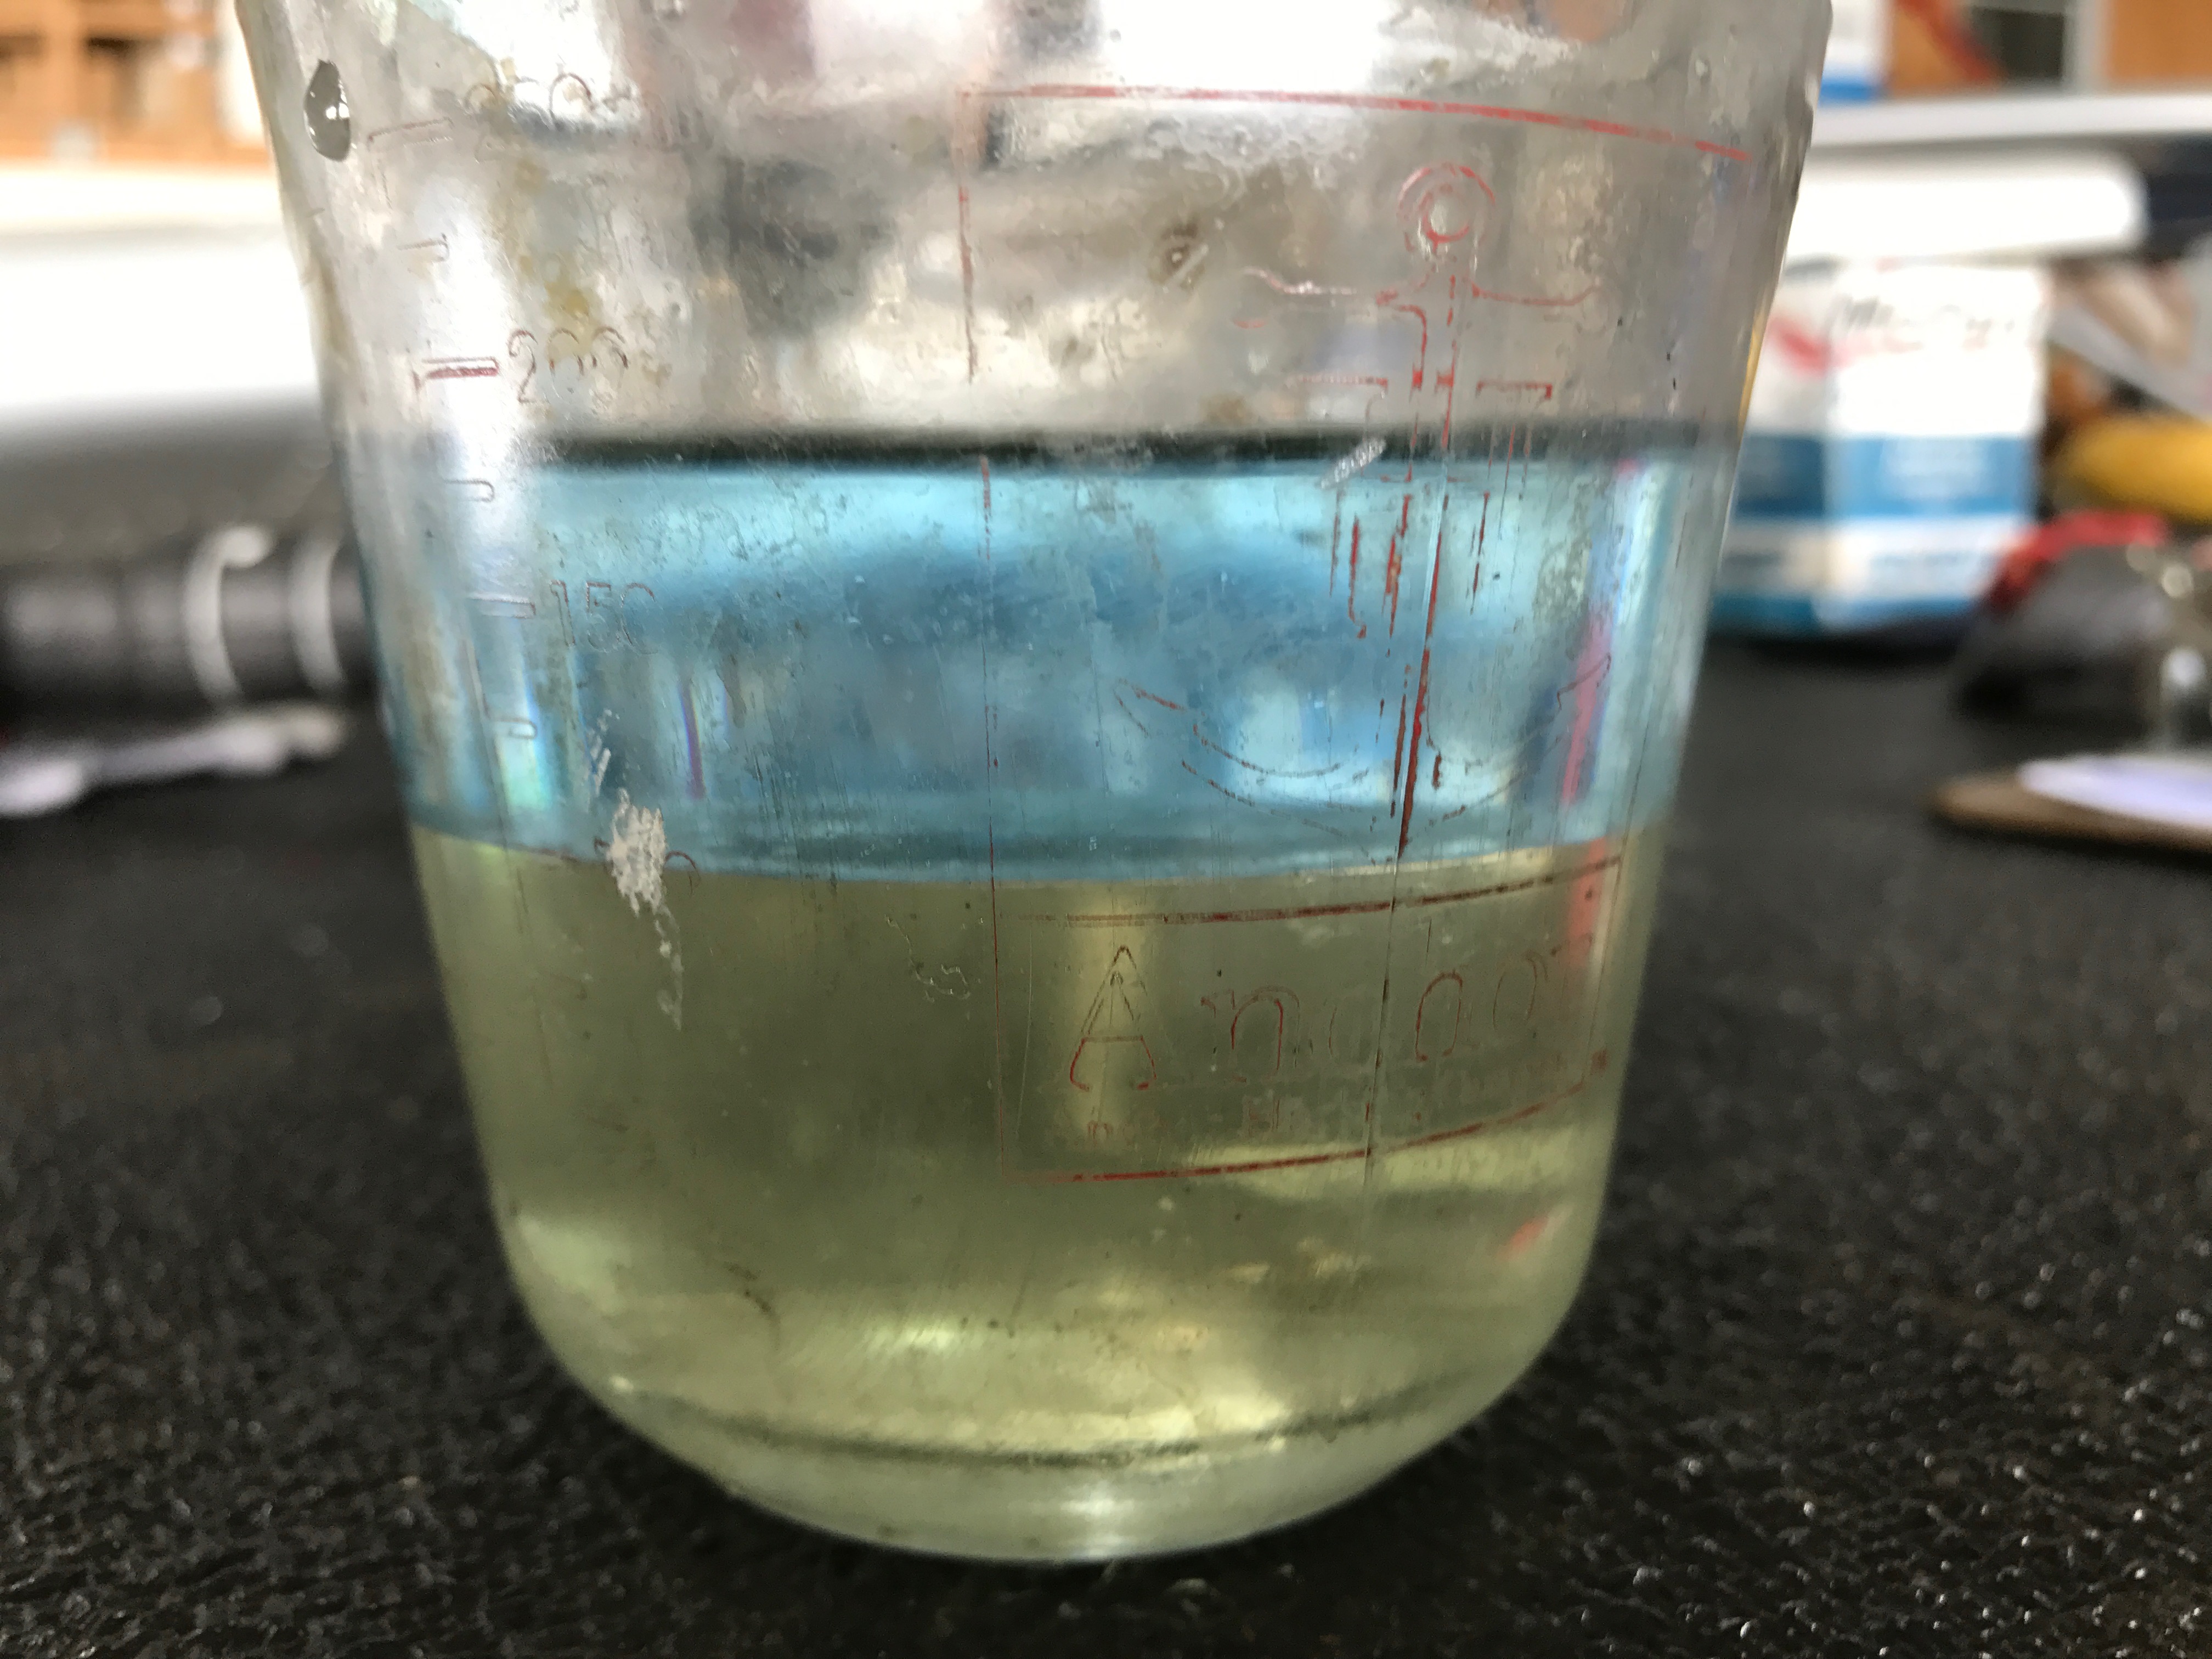
Now for one final thing that surprised me the other day.  I was inspecting another Piper Archer, and part of the inspection is draining the fuel tanks.  After collecting some liquid from the left fuel tank, I noticed it did not look like Av Gas… and it did not smell like Av Gas.  So I continued draining until I got fuel… I had drained almost 1/2 cup of water out of that tank!


It was one more reminder for me to avoid complacency, and keep doing the routine, but important items.

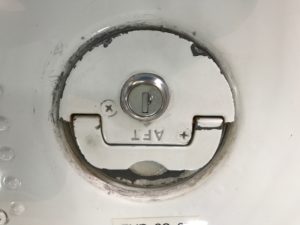
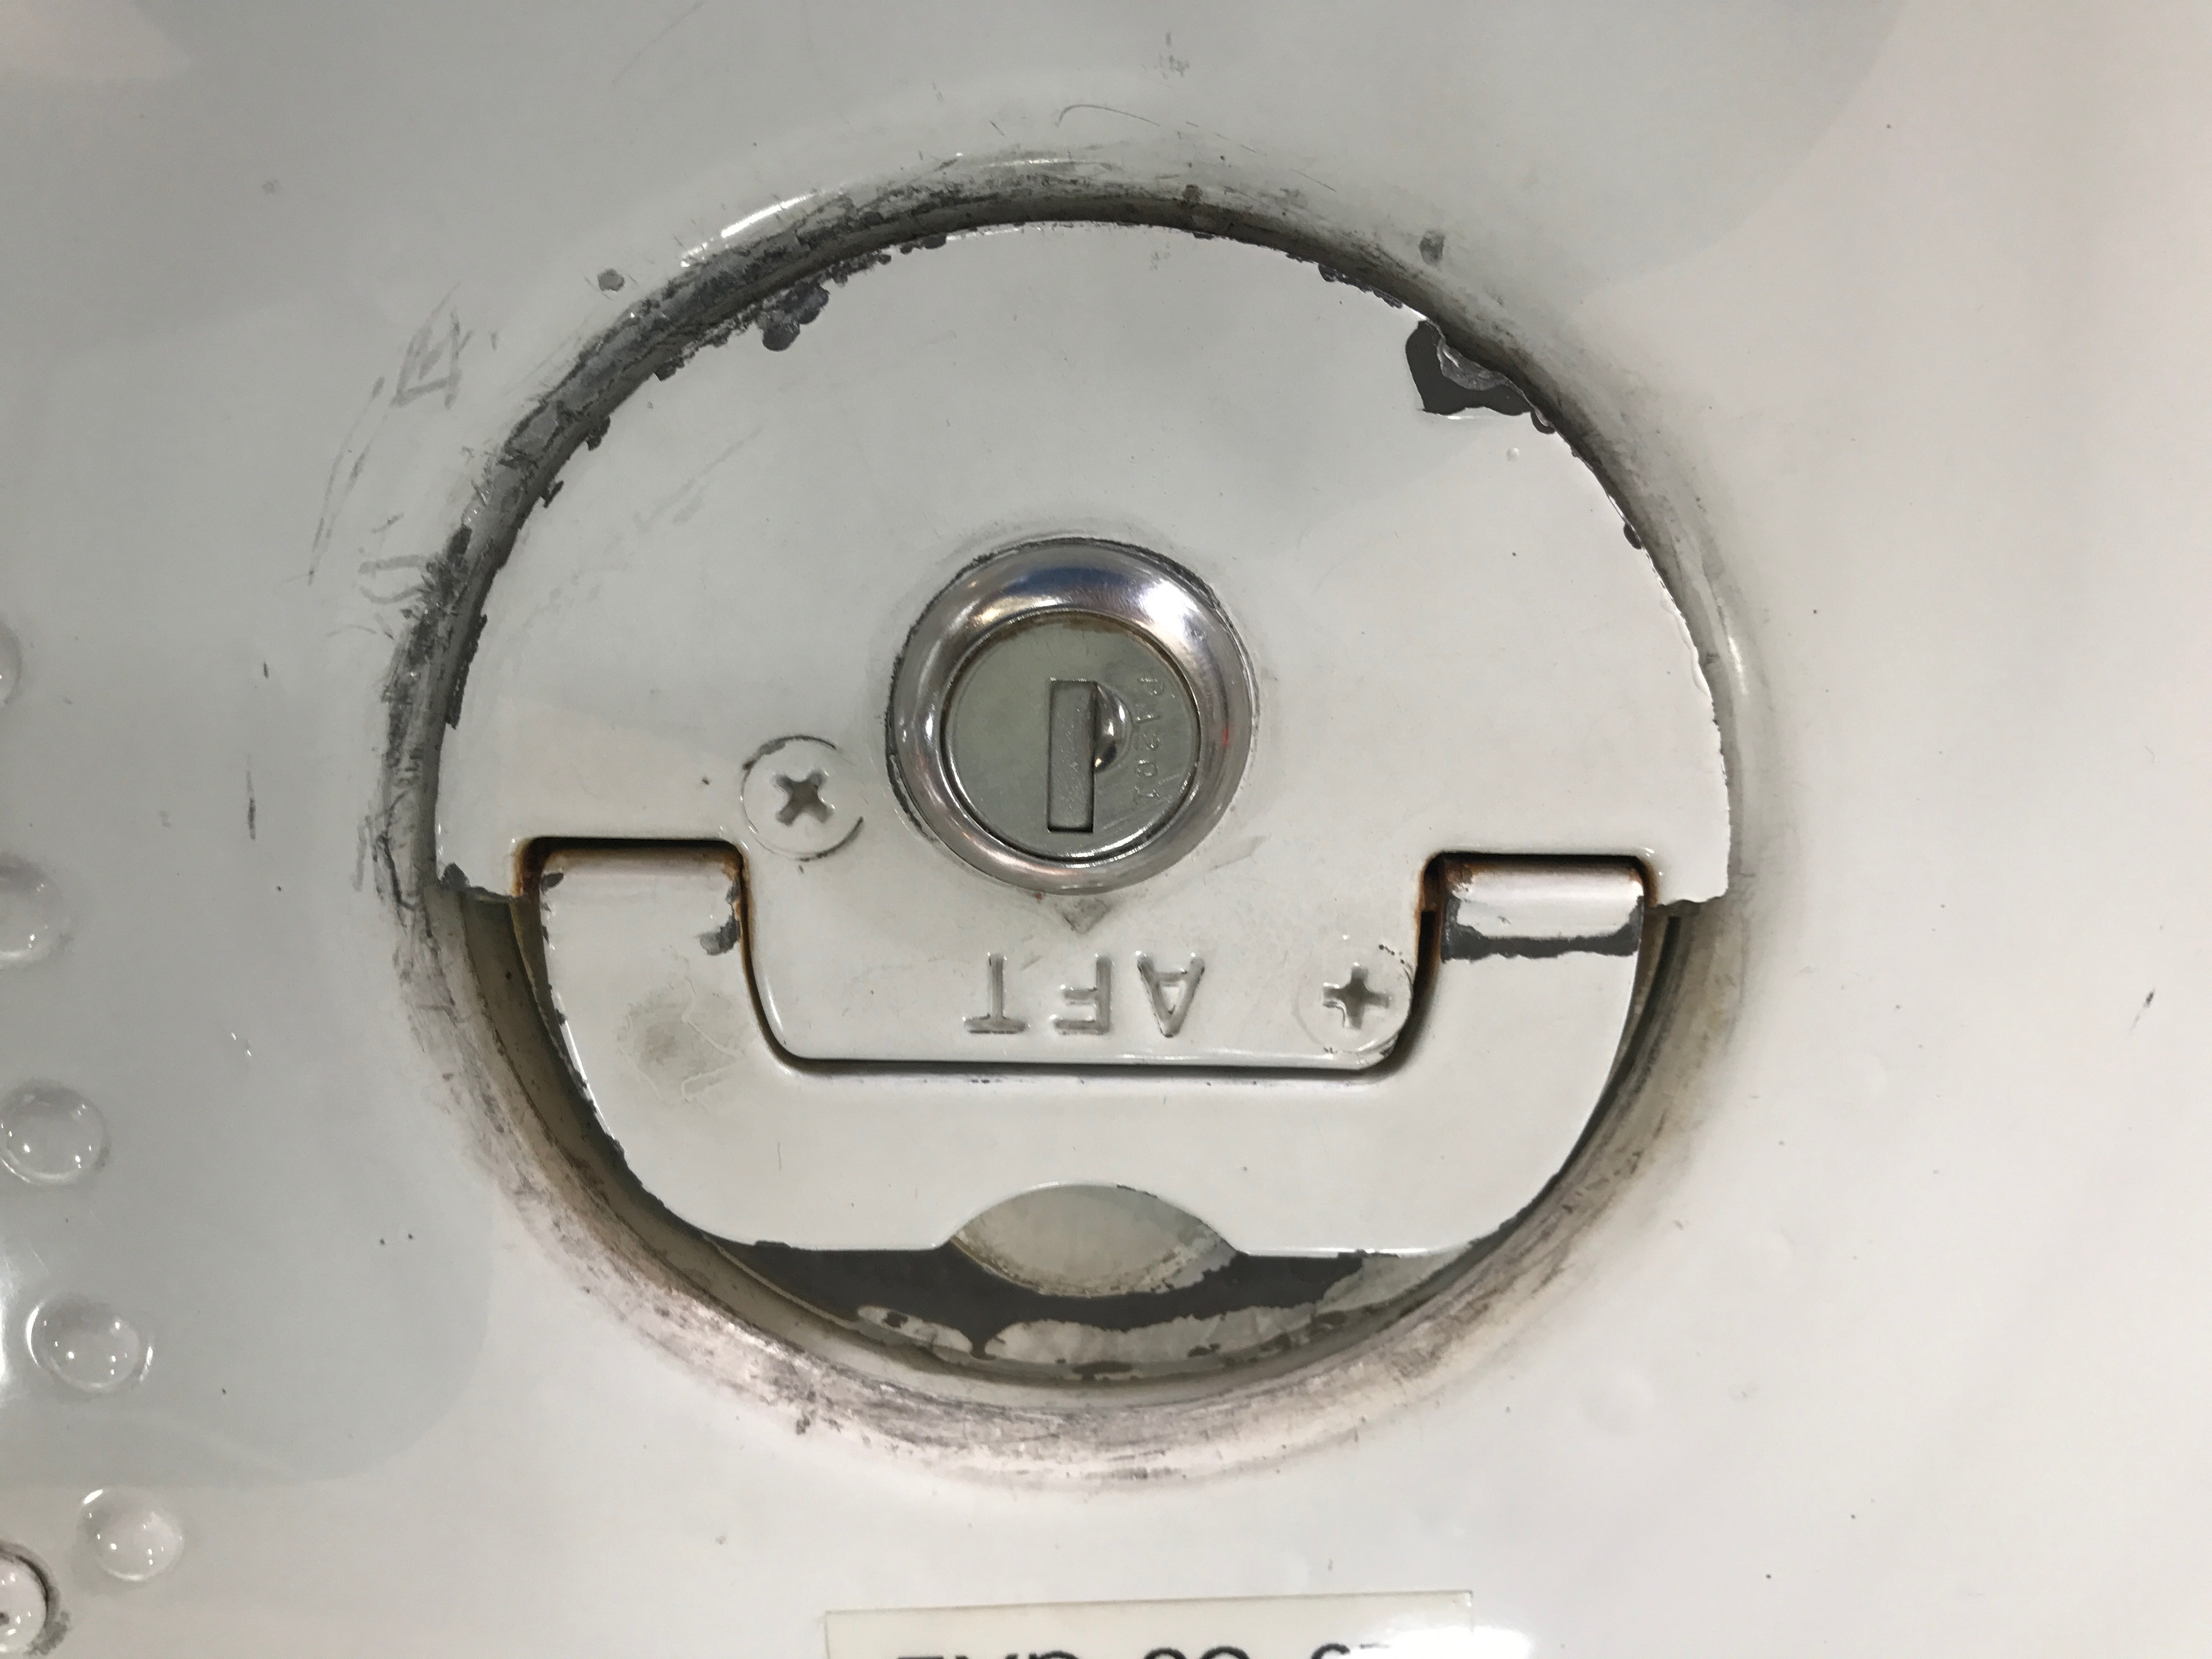
Here’s another interesting thing about that left fuel tank.  The cap was broken… perhaps this was the reason it did not seal well, and let water in!  (A new cap will be installed.)


Thanks everyone!  See you next time!

069 – Airplane Alternators: Real World Issues, and Online Troubleshooting

Your airplane’s alternator is something you depend on, and if it’s not working dependably, it quickly becomes a serious situation.

In today’s episode, we talk about some actual charging system issues I’ve encountered recently in the shop where I work, at Classic Aviation, as well as some interesting discussion I found in some online forums about charging system troubleshooting… (it seems to me that much of that “troubleshooting” turns out to be wild guesses, but there is actually some good information in those forums, if you can sort through all the opinions and “armchair quarterback ideas.”)

Beyond the forums, there is A LOT of good information available online for aircraft electrical system troubleshooting, and one post I found was from Hartzell Engine Technologies.  This is the one I mentioned in today’s episode, that had the tip about using a hacksaw blade for a simple test… I’m going to try that one!

You can find that post here:

Top Tips for Troubleshooting Your Aircraft’s Alternator

Finally, here are some issues I’ve encountered just recently on a twin Cessna:

The “R ALT OUT” light was on, even with the engine running, and the alternator charging normally.


And here is the “Alternator Inop. Sensor” that turns that light on and off, under normal circumstances.  It’s mounted near the alternator at the forward, right side of the engine.


Listen to today’s episode, for a description of what the three wires are for, (the red, the white, and the black wire.)


Finally, the culprit was found… the wire that comes from the ground side of the alternator inop light in the panel, was shorting out on the air-oil separator, before it even got to the sensor at the forward, right side of the engine.  This caused the “R ALT INOP” light to be on, even though the alternator was working just fine.  After fixing that, the system returned to normal operation.  This one was challenging to find!

Here’s what that wire looked like after it was pulled out of that wire bundle.


And the corresponding area on the air-oil separator where that wire was shorting to ground.


Then there was another problem on the left engine, where the alternator would drop off line occasionally… this was different than the right engine, in that it actually stopped working.  It didn’t happen often, just occasionally.  Here is that alternator:


And here is what the brushes looked like when they were removed:


Needless to say, a new brush assembly has been ordered!


So, those were some interesting issues, and it’s good to finally have them solved.


In thinking about this whole area of charging system troubleshooting, here are several things to keep in mind:

  1. We all tend to approach troubleshooting from the perspective of our personal experiences.  So, if we had a particular problem or two happen in the past, we naturally tend to think someone else may have that same problem.
  2. It’s really easy to immediately think of the main components, like the alternator and the voltage regulator.  Unfortunately, these are some of the most costly times in the system, and many times, are not the cause of the problem.  Changing them without good troubleshooting, can be a shot-gun approach… it might fix it, but it might not.
  3. Out of the ordinary issues are sometimes not covered in the maintenance manual, and these can be very frustrating to troubleshoot and figure out.  Like that chafing wire that caused the alternator inop light to stay on, even though the system was actually working.
  4. Some issues I’ve seen, that have caused problems, have included:
    1. Loose connections (at alternator, at battery, at airframe ground, etc.)
    2. Corroded/burned contacts inside electrical master switch (field circuit side.)
    3. Chafing wiring in engine compartment.


So, as an airplane owner, what can you do?

  1. Learn all you can.
    1. Read online, but be cautious!
    2. Study your POH.
    3. Work with your A&P if possible.
  2. Ask questions.
    1. If you get obscure answers that sound confusing, ask someone else!
    2. If you get a defensive answer, definitely ask someone else.
    3. Example:  Can you explain to me why you think we need to replace the alternator?  (There should be a valid answer to this, other than, “It’s the most obvious thing to do.”)
  3. Be as gracious with your A&P as you can.
    1. They’re not perfect, after all! 
    2. Some problems are complex.
    3. This is not someone you want to be ticked off at you!

Happy troubleshooting!