A Maintenance Oriented Podcast For Airplane Owners, Pilots, and Mechanics

Year: 2018 (Page 2 of 3)

096 – The Reason Why Jeremy’s Airplane Engine Was Gasping For Air

Scroll down to see a video about scat hose installation.

Recently, I got an email from Jeremy Zawodny, and he told me a story about his Glastar airplane, which is powered by a Lycoming O-320 engine.  He experienced a partial power loss soon after takeoff, and when he pulled the carb heat, the power was restored.  Listen to today’s episode to hear the rest of the story.

Here are some pictures of Jeremy’s induction airhose:

Well done Jeremy, in replacing that worn hose!  And thanks for letting us share your story!

There was an SAIB (Special Airworthiness Information Bulletin,) that was issued awhile back that talked about air hoses on Piper airplanes.  Here’s a link for that SAIB… it’s worth taking a look at and checking your air hoses, whether you have a Piper, or some other type of aircraft.

Piper Induction Hose SAIB

It seems there is a mistake in the bulletin about the part number for the air duct they talk about.  Here’s a picture of one part number air duct that is used for some Pipers:


Remember, there are 4 different types of air hoses (ducts) that we talked about in this episode:

  1. Scat –  Single layer red/orange color high temp hose with thread on the outside and steel wire on the inside.
  2. Sceet – Same as Scat, except double layer fabric, with the steel wire between the layers.
  3. Cat – Single layer black lower temp hose with thread on the outside and steel wire on the inside.
  4. Ceet – Same as Cat, except double layer fabric, with the steel wire between the layers.

If you own an airplane, go check your air hoses in the engine compartment, and make sure they are in good condition and none are about to collapse.

Finally, here’s a YouTube video I just posted, about how to install the most common type of scat hoses I’ve seen in airplane engine compartments.


095 – High Cylinder Head Temps… What Else Can I Do?

Recently, when Oscar, (owner of a Mooney,) and his son stopped in at Classic Aviation, he mentioned that he had been having some trouble with high CHT’s on takeoff and climb, (maybe even in the 420-450 degree range at times.)  Everything was fine in cruise.

So we talked about the normal things you would think of to reduce cylinder head temps… check the baffles and baffle seals, verify correct mag timing, verify a good ground connection between  the engine and airframe, verify correct fuel flow, etc.  Oscar indicated he had considered all those options.  He did say he thought maybe the fuel flow should be a little higher, but with a carbureted engine, full power fuel flow is not field adjustable.

So one question would be:  should he replace the carburetor, or send it out for bench testing?

This is what we’re talking about in today’s episode, and we’re looking for your ideas.

If you have any ideas for how Oscar can bring his CHT’s down (Lycoming O-360 engine,) please comment on this episode, send me an email, or leave a voice message here on the website.

In the next episode, we’ll be talking about a story Jeremy Zawodny sent me about his partial power loss after takeoff in his Glastar.  It’s definitely a story worth learning from!

094 – How a Bonanza, a Cessna 310, a Cherokee, and a Mooney All Fit Into My Week

Limited, Introductory Opportunity In Person With Dean – Read to the End.

Highlights from this week at Classic Aviation:

  • Meeting Oscar (a podcast listener,) and his son.
  • Talking about high CHT’s on Oscar’s Mooney.
  • Annual Inspection on an N35 Bonanza.
    • A charging system issue, and how previous email information from Justin, a podcast listener, was so helpful.
  • Update on Jerry’s Cessna 310 prop.
  • Annual inspection on a Piper Cherokee.

Here is the information Justin had sent me about his InterAv alternator system is his 1960 Debonair, that I found helpful in troubleshooting the InterAv system in the N35 Bonanza.

And here are the brushes Justin found in his alternator:

In the case of the N35 Bonanza, it turned out to be only a broken wire terminal on the alternator, but it was helpful to have all that other information as well.  Thanks Justin, and well done!

And thanks Jerry, for noticing that broken terminal for me in the shop yesterday.  I appreciate that!

Now for a limited, Introductory opportunity for some one-on-one time with me:

Here’s what I’m offering to the first three airplane owners who contact me at deanshow@gmail.com

  • 4 hours of one-on-one maintenance oriented training at your airplane, with Dean.
  • You need to have a location where we can open or remove enough of your engine cowling to look at most of the engine area.  (Preferably in a hangar.)
  • Must be within about a 200 mile driving radius of KSHD.

Here is what we will cover:

  • Extensive preflight inspection, from a maintenance perspective.
  • Detailed evaluation of the engine area.  I will compile a list of items found, along with recommendations, and email it to you later.
  • Ground runup and evaluation.  (I promise you will find this valuable.)  We will talk about how to interpret what we see on the instrument panel, as it relates to what is going on in the engine compartment.
  • Talk through the FAA file for your specific airplane.
  • ICA’s (Instructions for Continued Airworthiness.)
  • Other ideas you have, as time is available.
  • AND, I will bring lunch for both of us.  It will be awesome, because my wife Maria will make it awesome!

I know this is not for everyone, but I promise you will come away inspired!  Imagine being able to notice things about your airplane that need attention.  And imagine being able to communicate much more effectively with your A&P.  I will help you do just that, and more.  Think about how valuable it will be to you, when you can avoid unnecessary maintenance costs, as a result of your time spent with me. 

Keep in mind this is an introductory offer.

If you want to take advantage of this, I encourage you to move quickly.

As soon as I see this episode appear in my podcast feed, I’m going to send out an email to my subscribers explaining the offer.

So don’t wait.

Here’s what it will cost…

$300 plus 50 cents per mile for my travel.

200 miles one way, total 400 miles = $200.  That would be $500 for the complete package.

50 miles one way, total 100 miles = $50.  That would be $350 for the complete package.

Email me NOW – deanshow@gmail.com and grab one of the 3 available spots, and we will get it scheduled.

I look forward to working with a few of you very soon.


093 – Hold That Prop!

When you check the cylinder compressions on an airplane engine, it’s important to “Hold That Prop!”  And on a twin engine airplane with 6 cylinder Continental engines and 3 bladed props, the prop blades will be positioned in one of two ways, depending on how the prop is installed on the engine.

Here’s a Cessna 310 showing the two possible positions that can typically happen after shutdown.  Listen to today’s episode to find out what was discovered during the compression test and what we did about it.

Also, we talk about some other tips and ideas for compression testing in general.

Compression testing can be a dangerous operation, so here are some tips to consider:

  • Compression testing is best done with two people, one to hold the prop and one to hold the gauges.
  • The person holding the prop is in charge.
  • Never attach the air hose to the cylinder unless someone is firmly holding the prop.
  • Establish a routine for compression testing to make it safer and more efficient.


092 – If It Don’t Seem Right, It Probably Ain’t!

Today’s episode is about those times when you notice something on an airplane that doesn’t seem quite right, but you’re not sure what’s going on, and it might take some real digging to get to the bottom of the issue.

But before we dig into those stories, I want to acknowledge that I’m super grateful for my high school English teacher, Miss Vivian Beachy.  Her classes were not easy, but she really cared about her students, and we learned a lot of valuable skills.  She’s the one that sticks out in my mind as one of the best influencers on my current writing ability, and I use that ability often, to write discrepancy reports, and maintenance record entries.  So, thank you Miss Beachy!

Now for the stories in today’s episode:

Story #1 – A strange situation in the steering, rudder, and rudder trim system in a Piper Saratoga.  (I had never seen this happen in all my previous years of airplane maintenance.)

Story #2 – A strange clicking noise in a Beech Baron elevator control system.  There were two distinct clicks as the elevator was raised, and no clicks as it was lowered.  (Once again, I had never seen this exact issue before.)

Here is the area in the tail of the Baron where the issue was happening:

Watch this video and see if you can spot the problem:

And here’s a closer view:


Story #3 – A Beech Debonair with a gear door problem.  The right, outboard gear door was in a serious bind where it attaches to the gear leg.  It turns out there was a very good reason for this, even though it was very difficult to discover.

Listen to today’s episode to find the detailed descriptions and the solutions to all these issues.

Bottom line:  If it don’t seem right, it probably ain’t!  And, it’s worth the effort to figure out what’s going on

091 – An Engine Failure that Lands a Piper Arrow in a Farm Field

I’m back!  I know it’s been a while since I’ve produces a new episode for the podcast, and it’s good to be back.

Today, we are talking about an engine failure in a Piper Arrow, that caused an off-airport crash landing in a farm field.  Thankfully, in this case, no one was injured.

The reason for the power loss was really quite simple, and really important.  The throttle control rod end became disconnected from the throttle arm on the engine, leaving the pilot with no power control and the engine at or near idle power.  An emergency landing was inevitable.

Here’s a picture of the throttle control rod end:

After the crash landing in the field, the rod end was reattached and the engine ran just fine.

The sad part is, the airplane will possibly be totaled.  Here’s the recovered fuselage:


Thanks for listening today!

Please, go take a look at your engine controls whenever you have the cowling off, and see if any need attention.

Also, if you have not checked out the video course, “Safety Wire Like A Pro!” then I invite you to click the graphic that says “Learn to Safety Wire with Dean.”  You can learn all kinds of valuable information in this course.  And whenever you see something like this oil drain that is safety wired backwards, you’ll be able to fix it with confidence.

If you have any questions on this episode, please contact me.  And, if you leave me a voice message, I’ll be happy to include it in a future episode.

Thanks!


090 – Severe Turbulence and the Baron’s Left Engine Almost Quit!

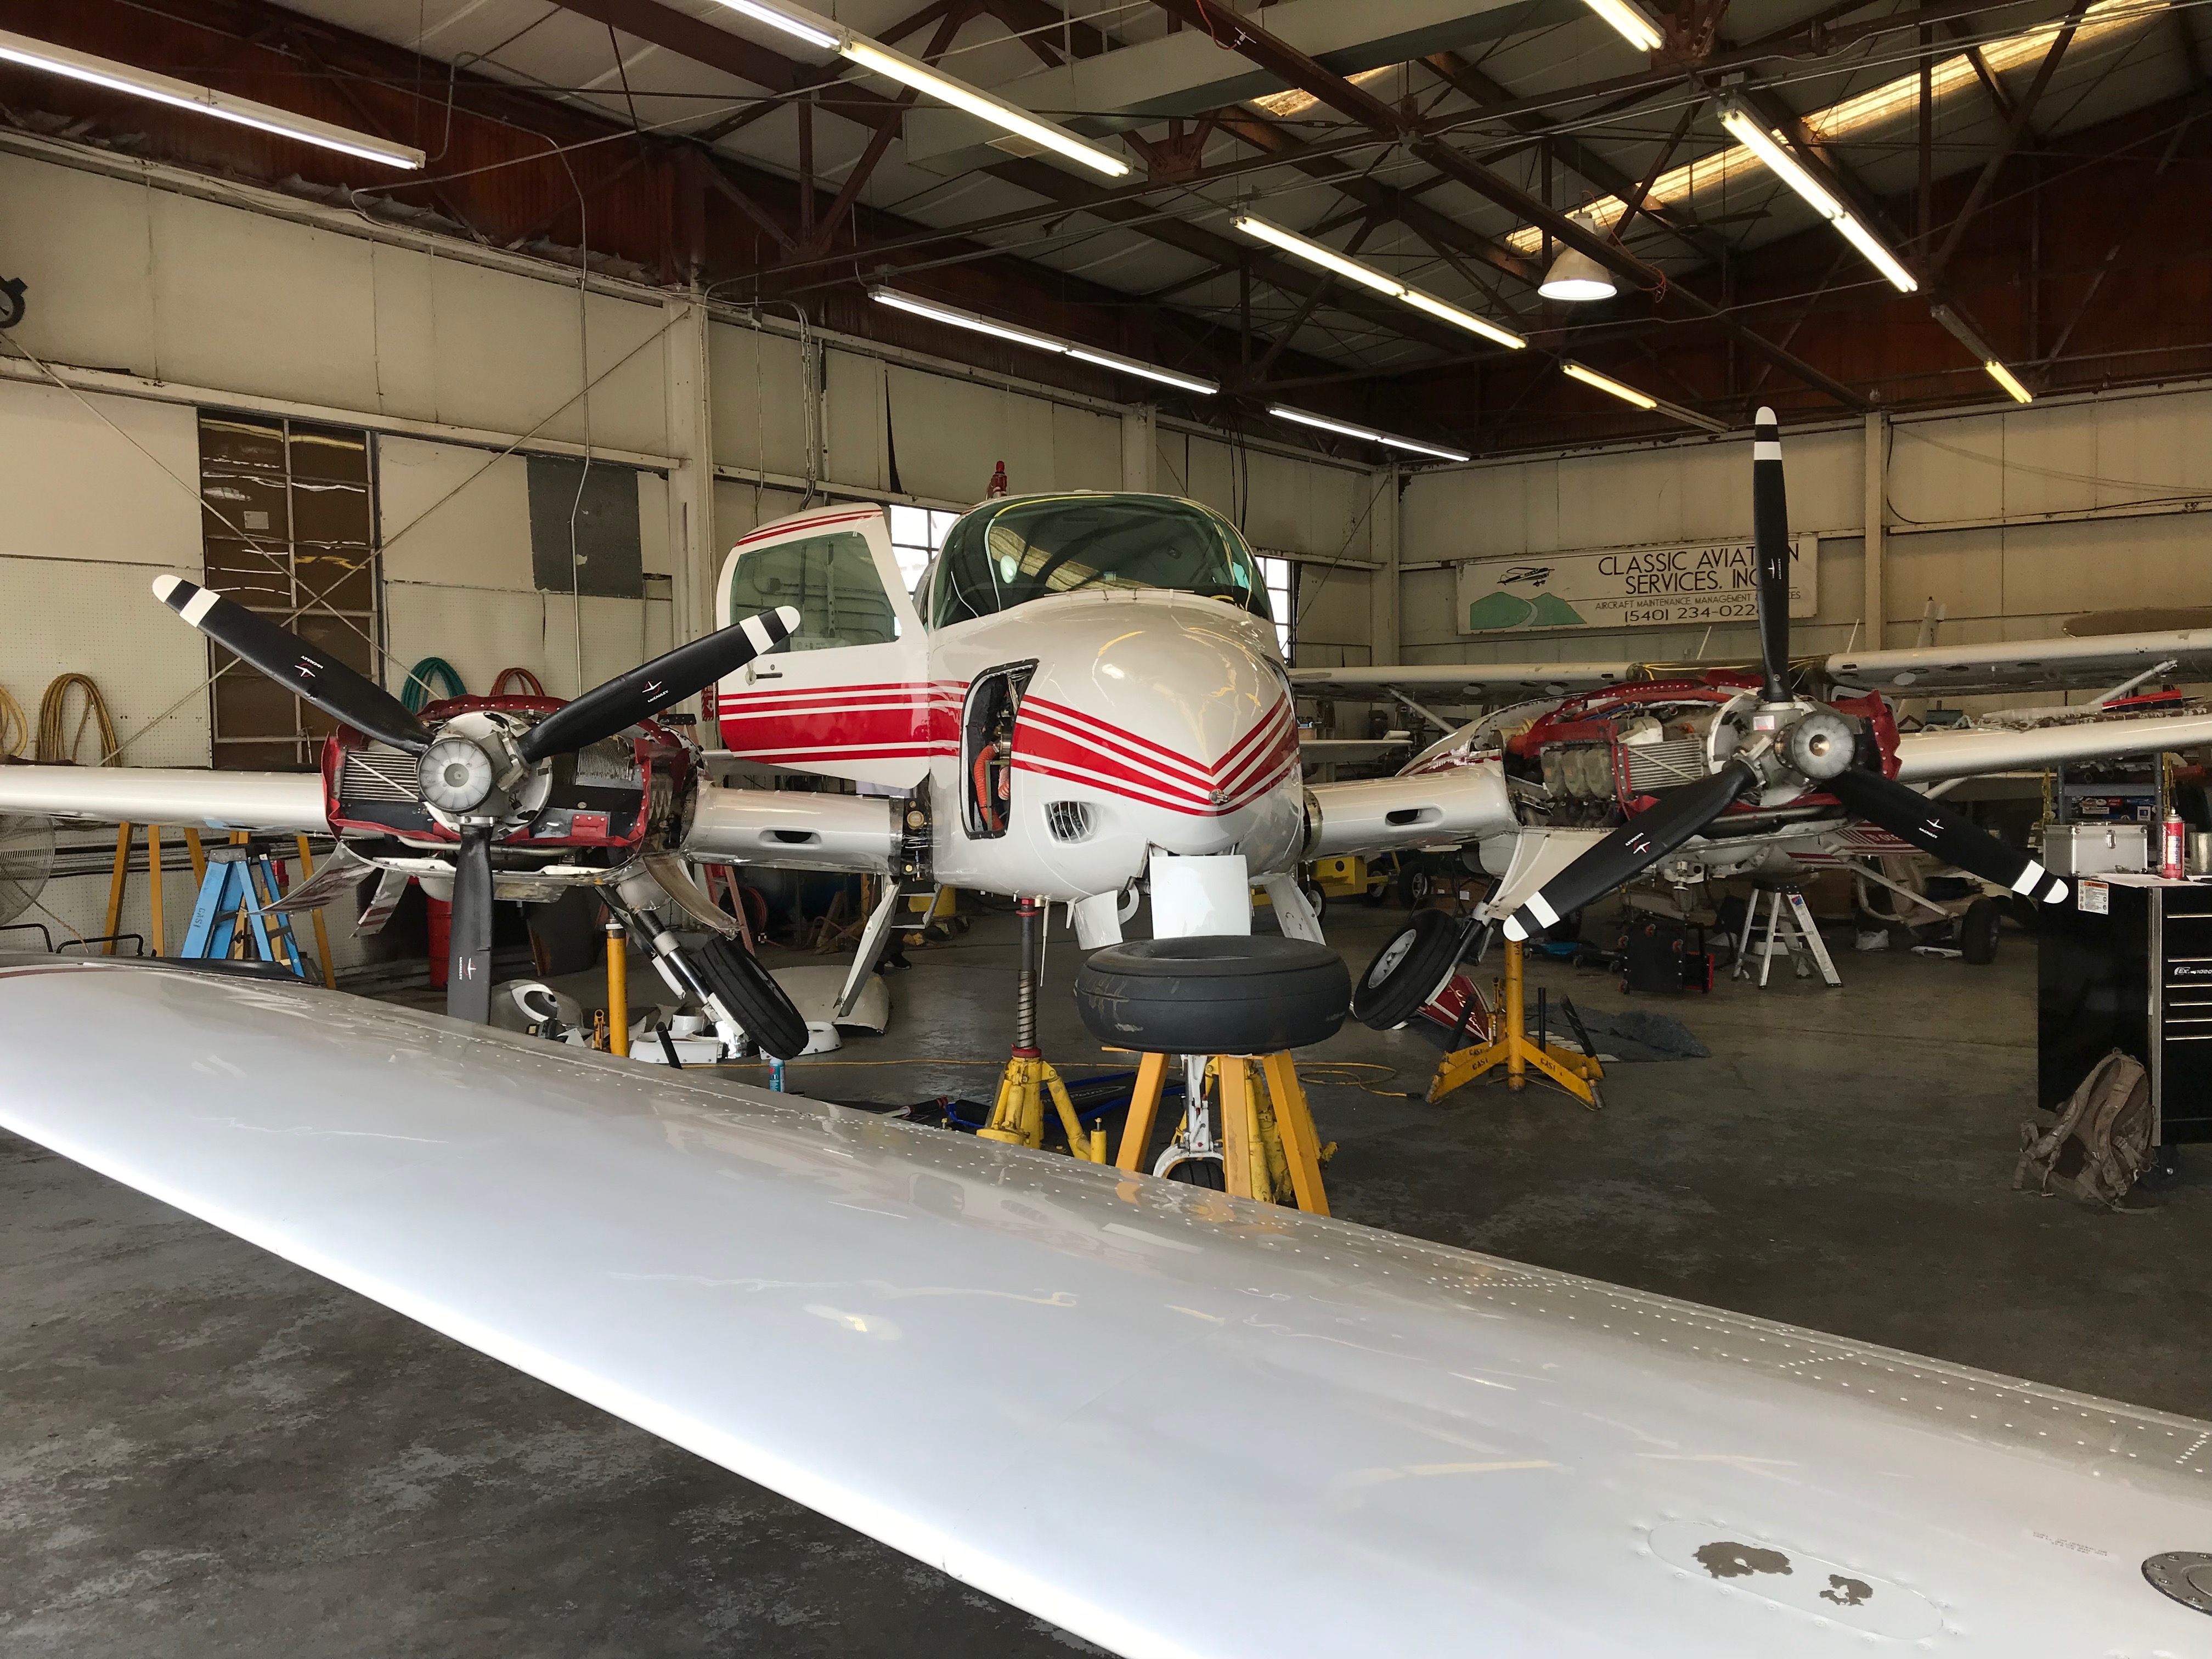
A couple weeks ago, a Beechcraft Baron owner requested Classic Aviation to take a look at his airplane.   He had flown through some severe turbulence, and then the left engine almost quit.  Finally, he discovered that if he pulled the left mixture control about half way back, the engine would run.

A ground run confirmed the problem.   As power was increased on that engine, the fuel flow would increase to a point where it was too rich to run.

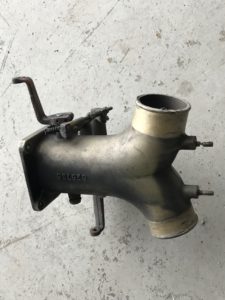
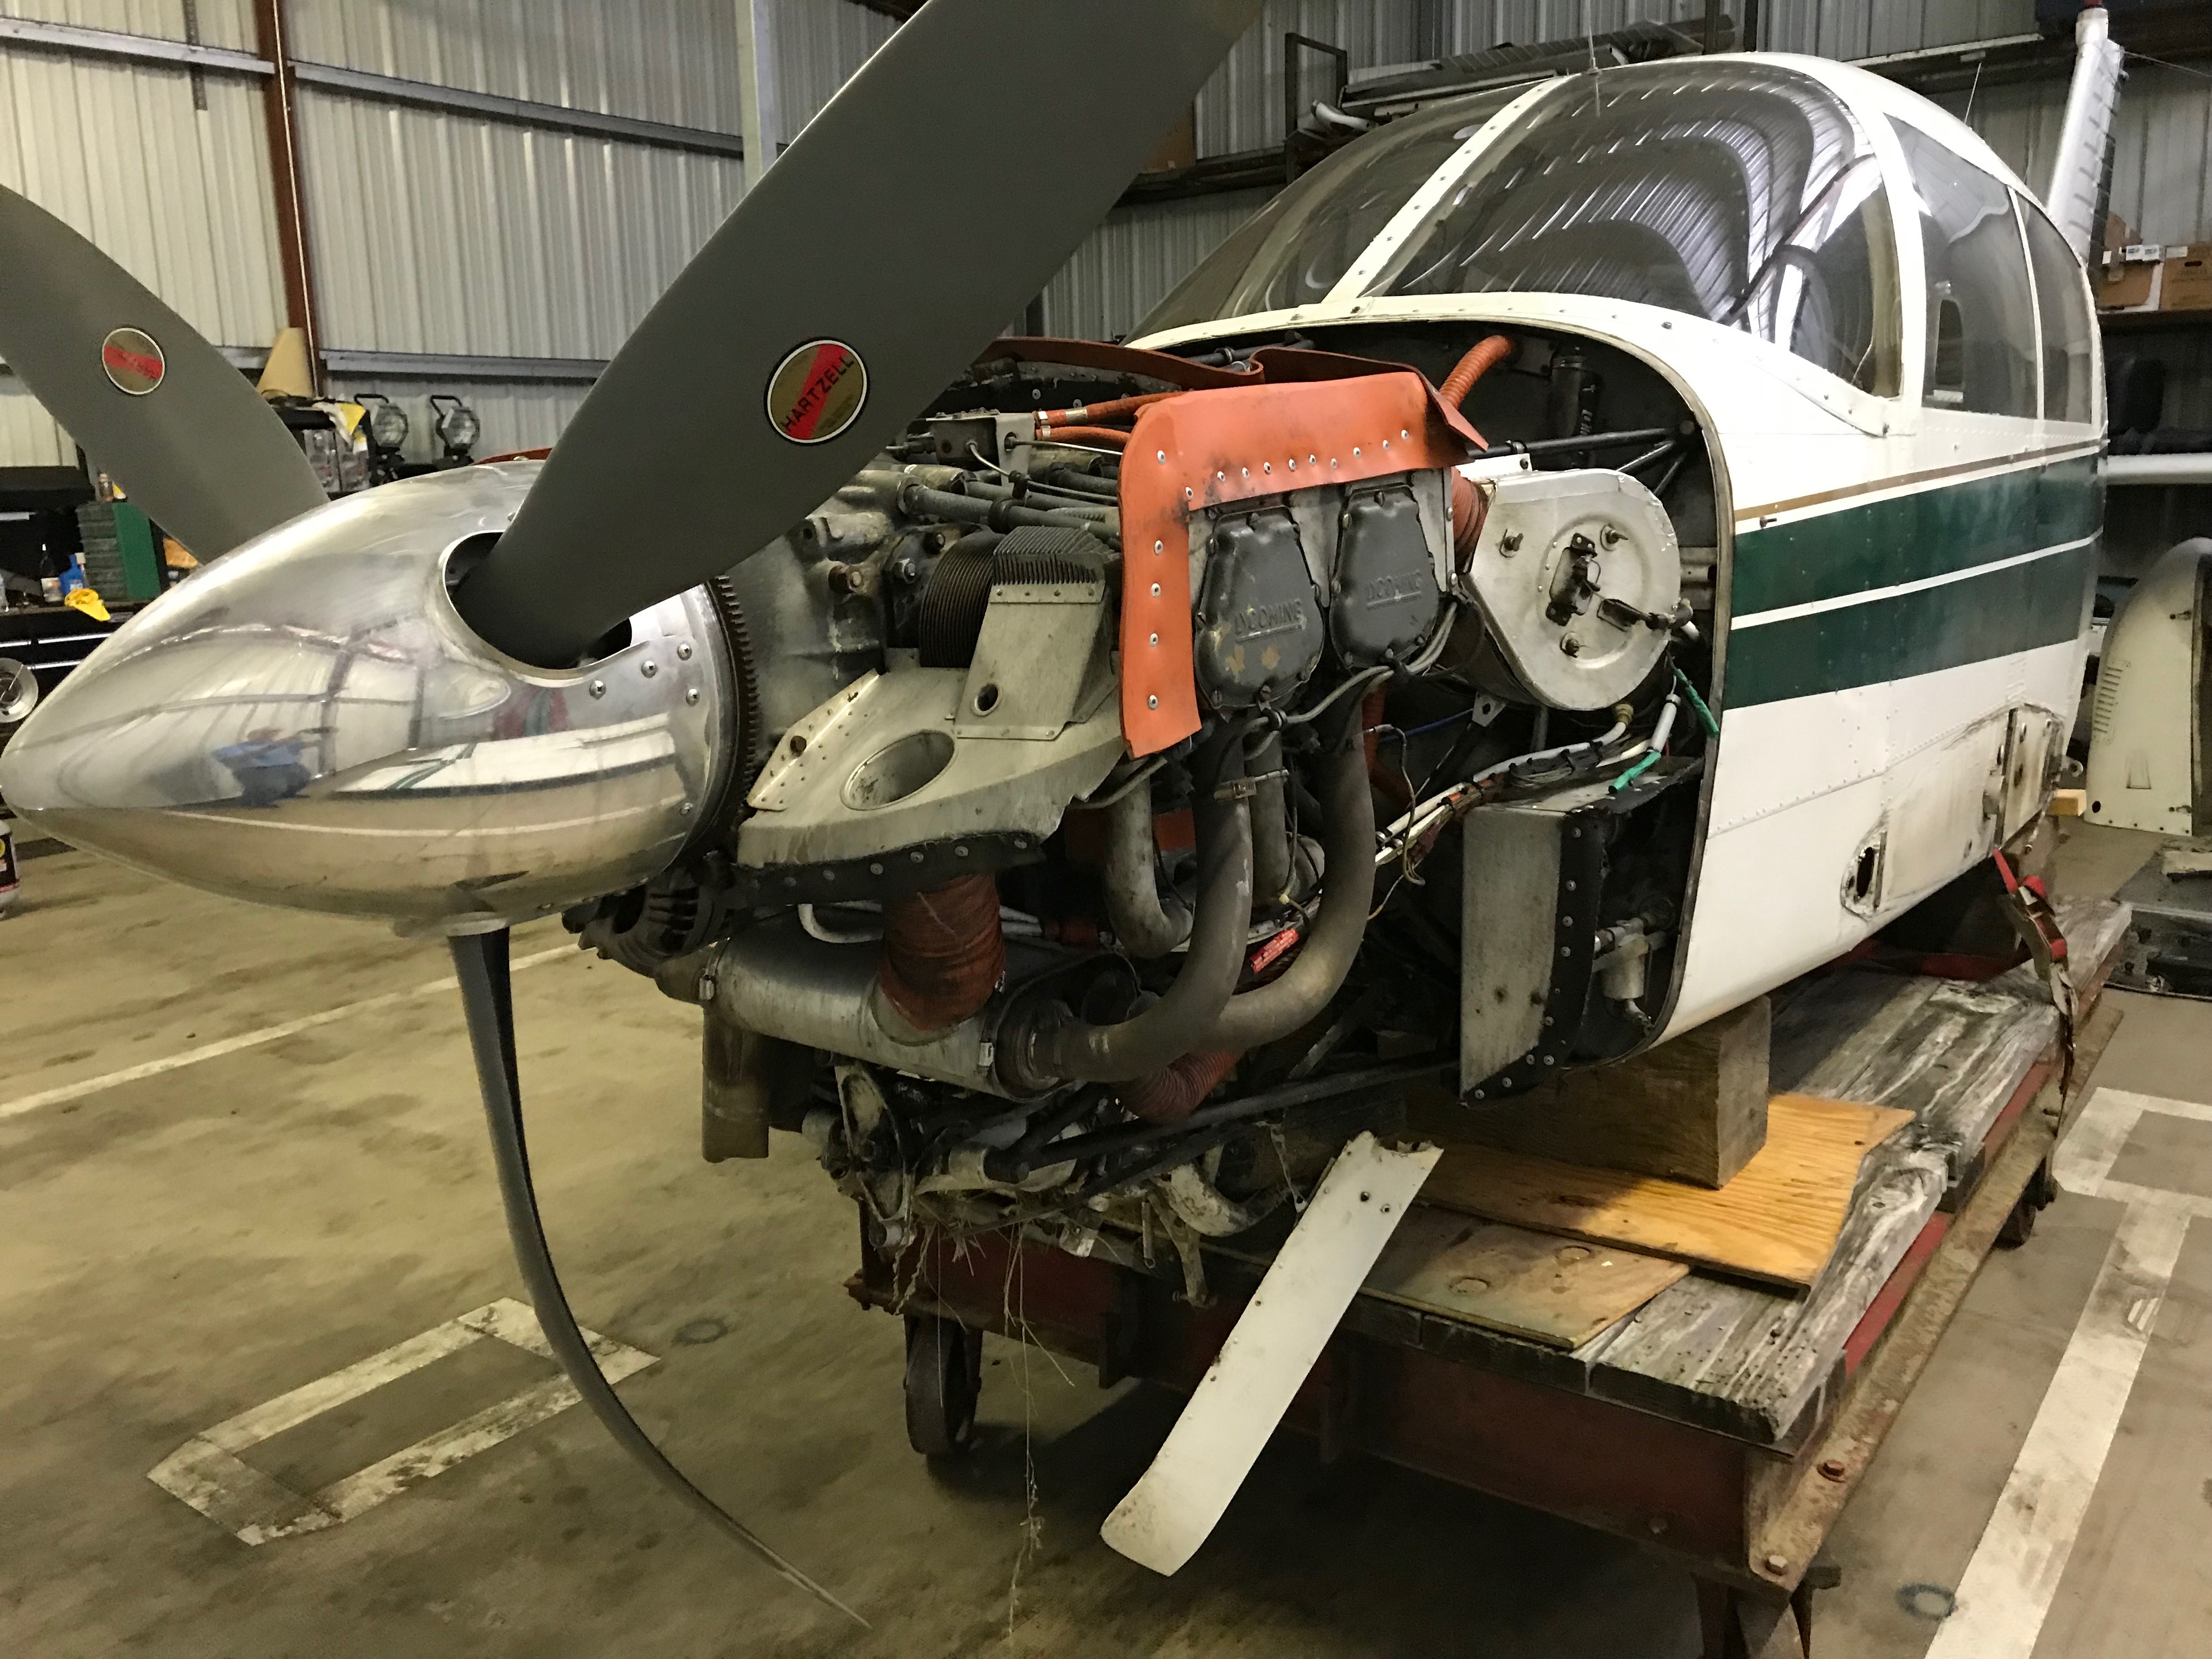
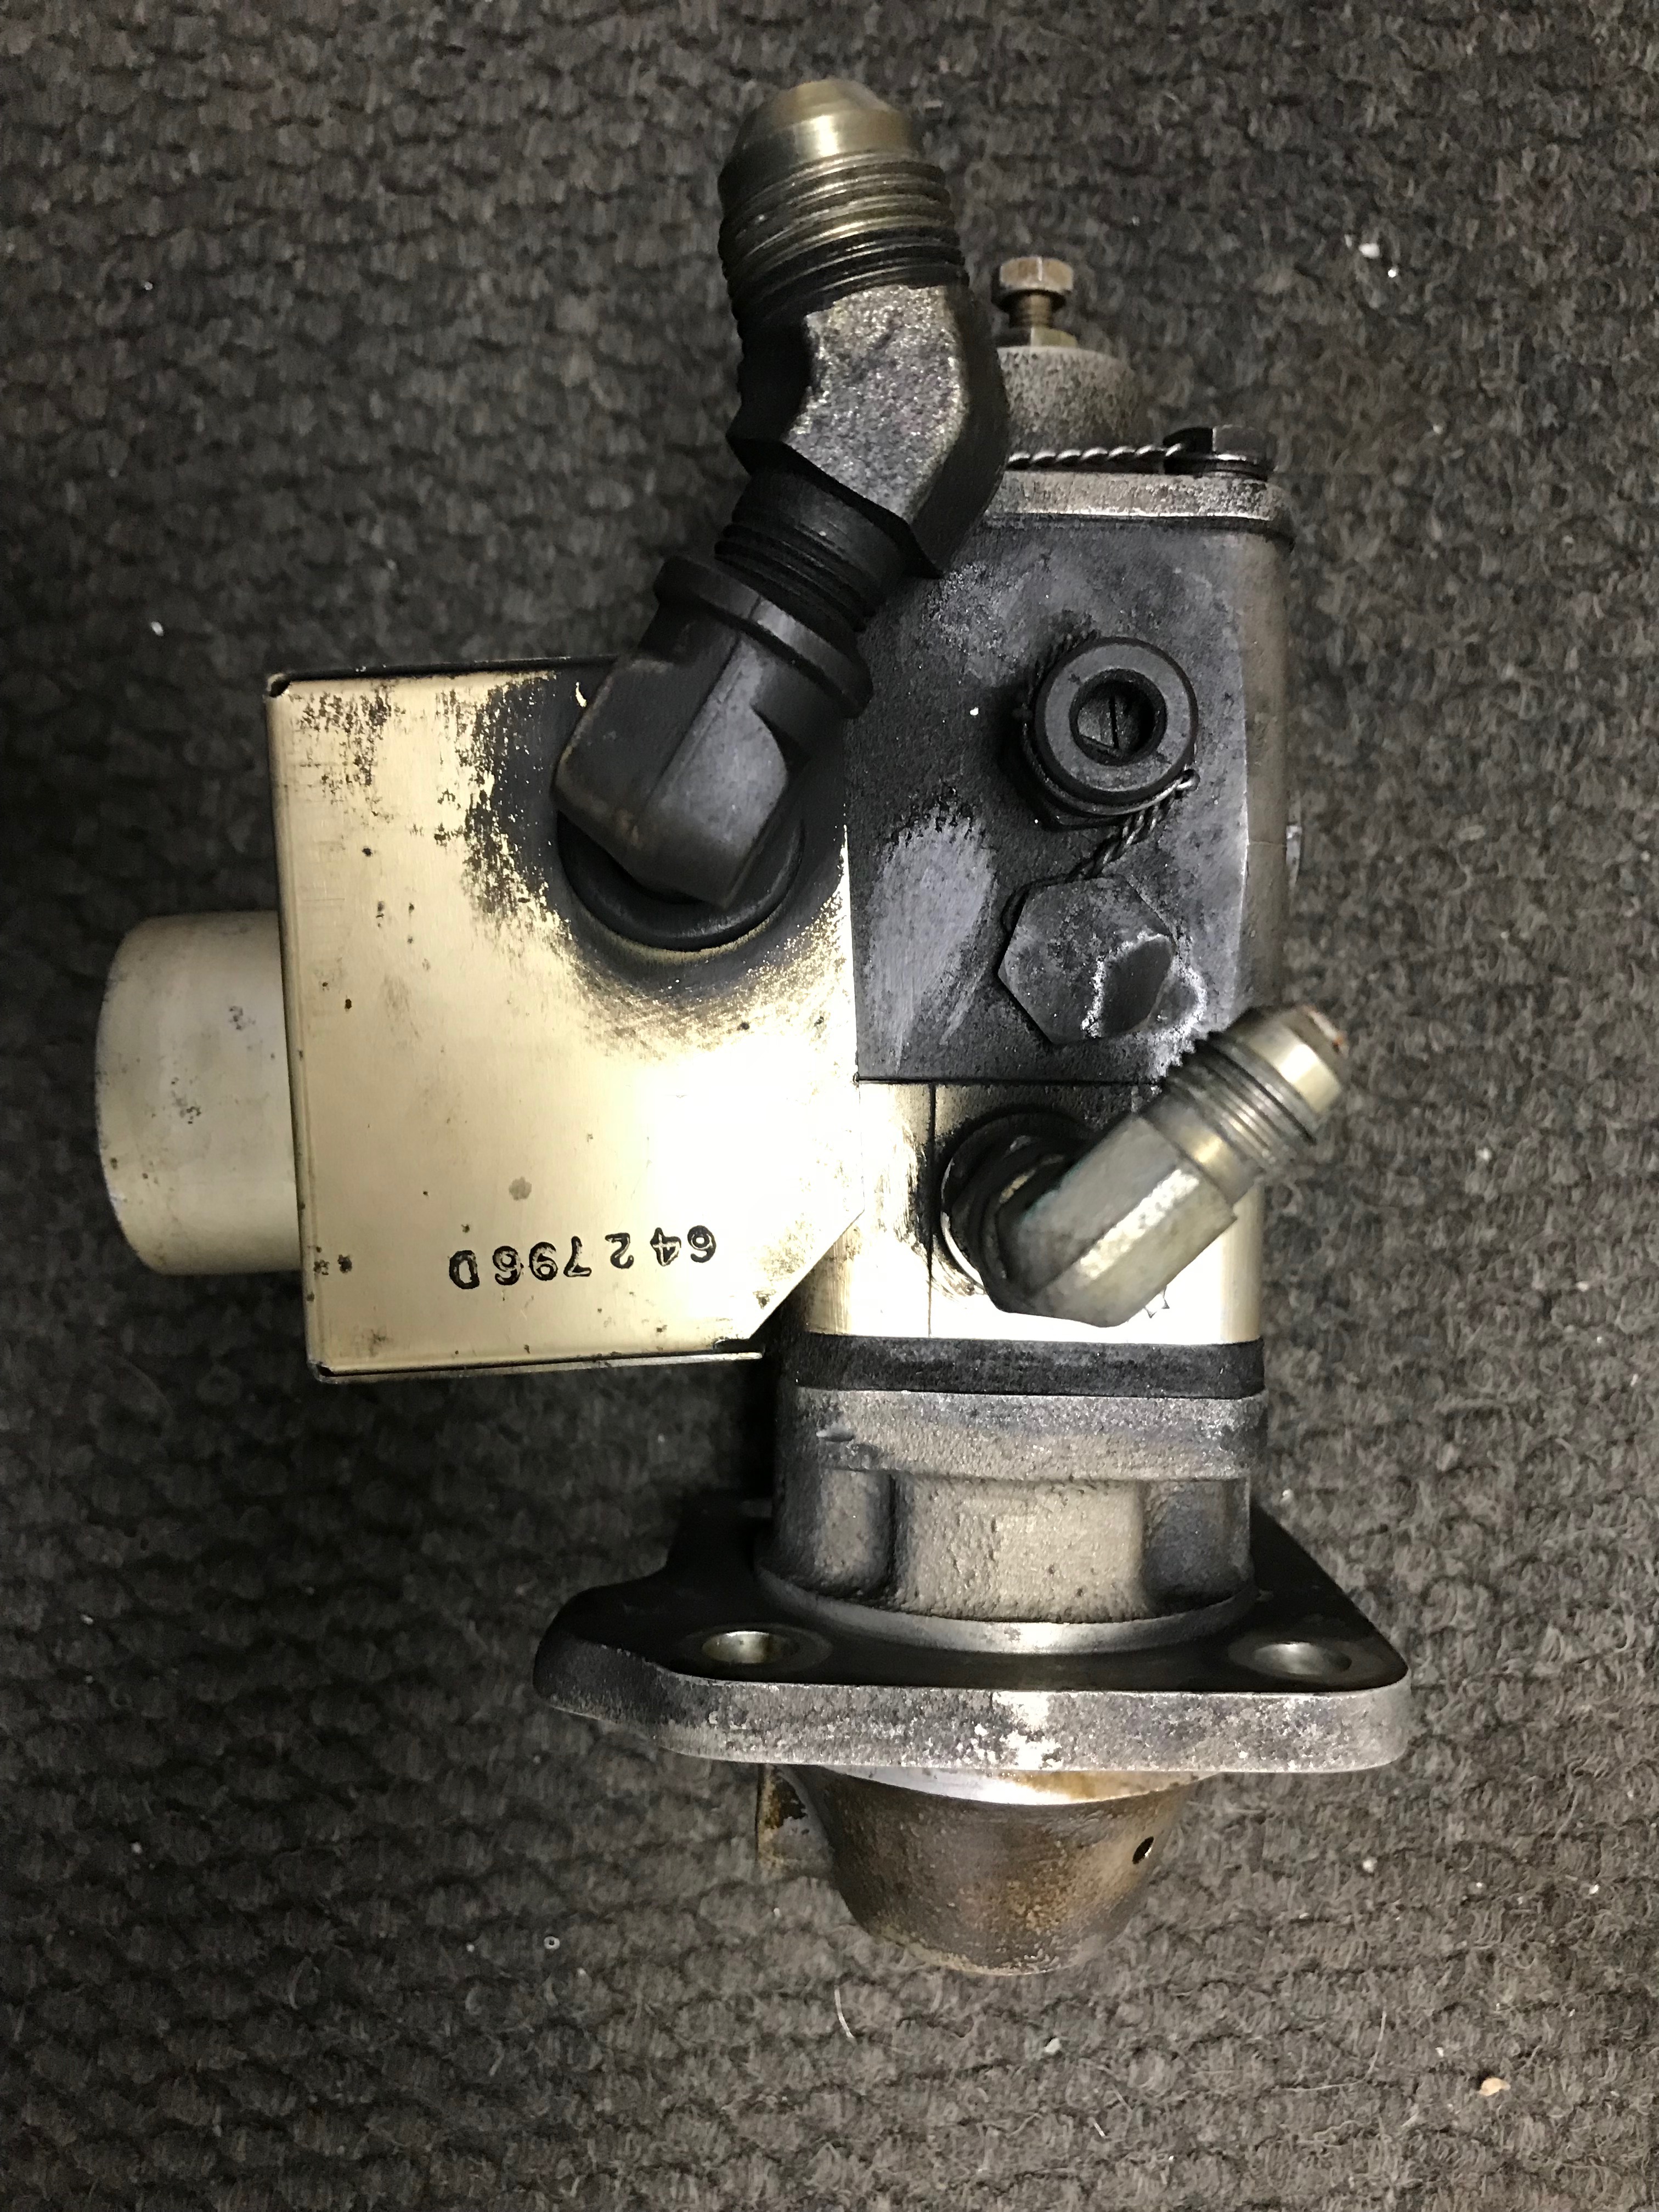
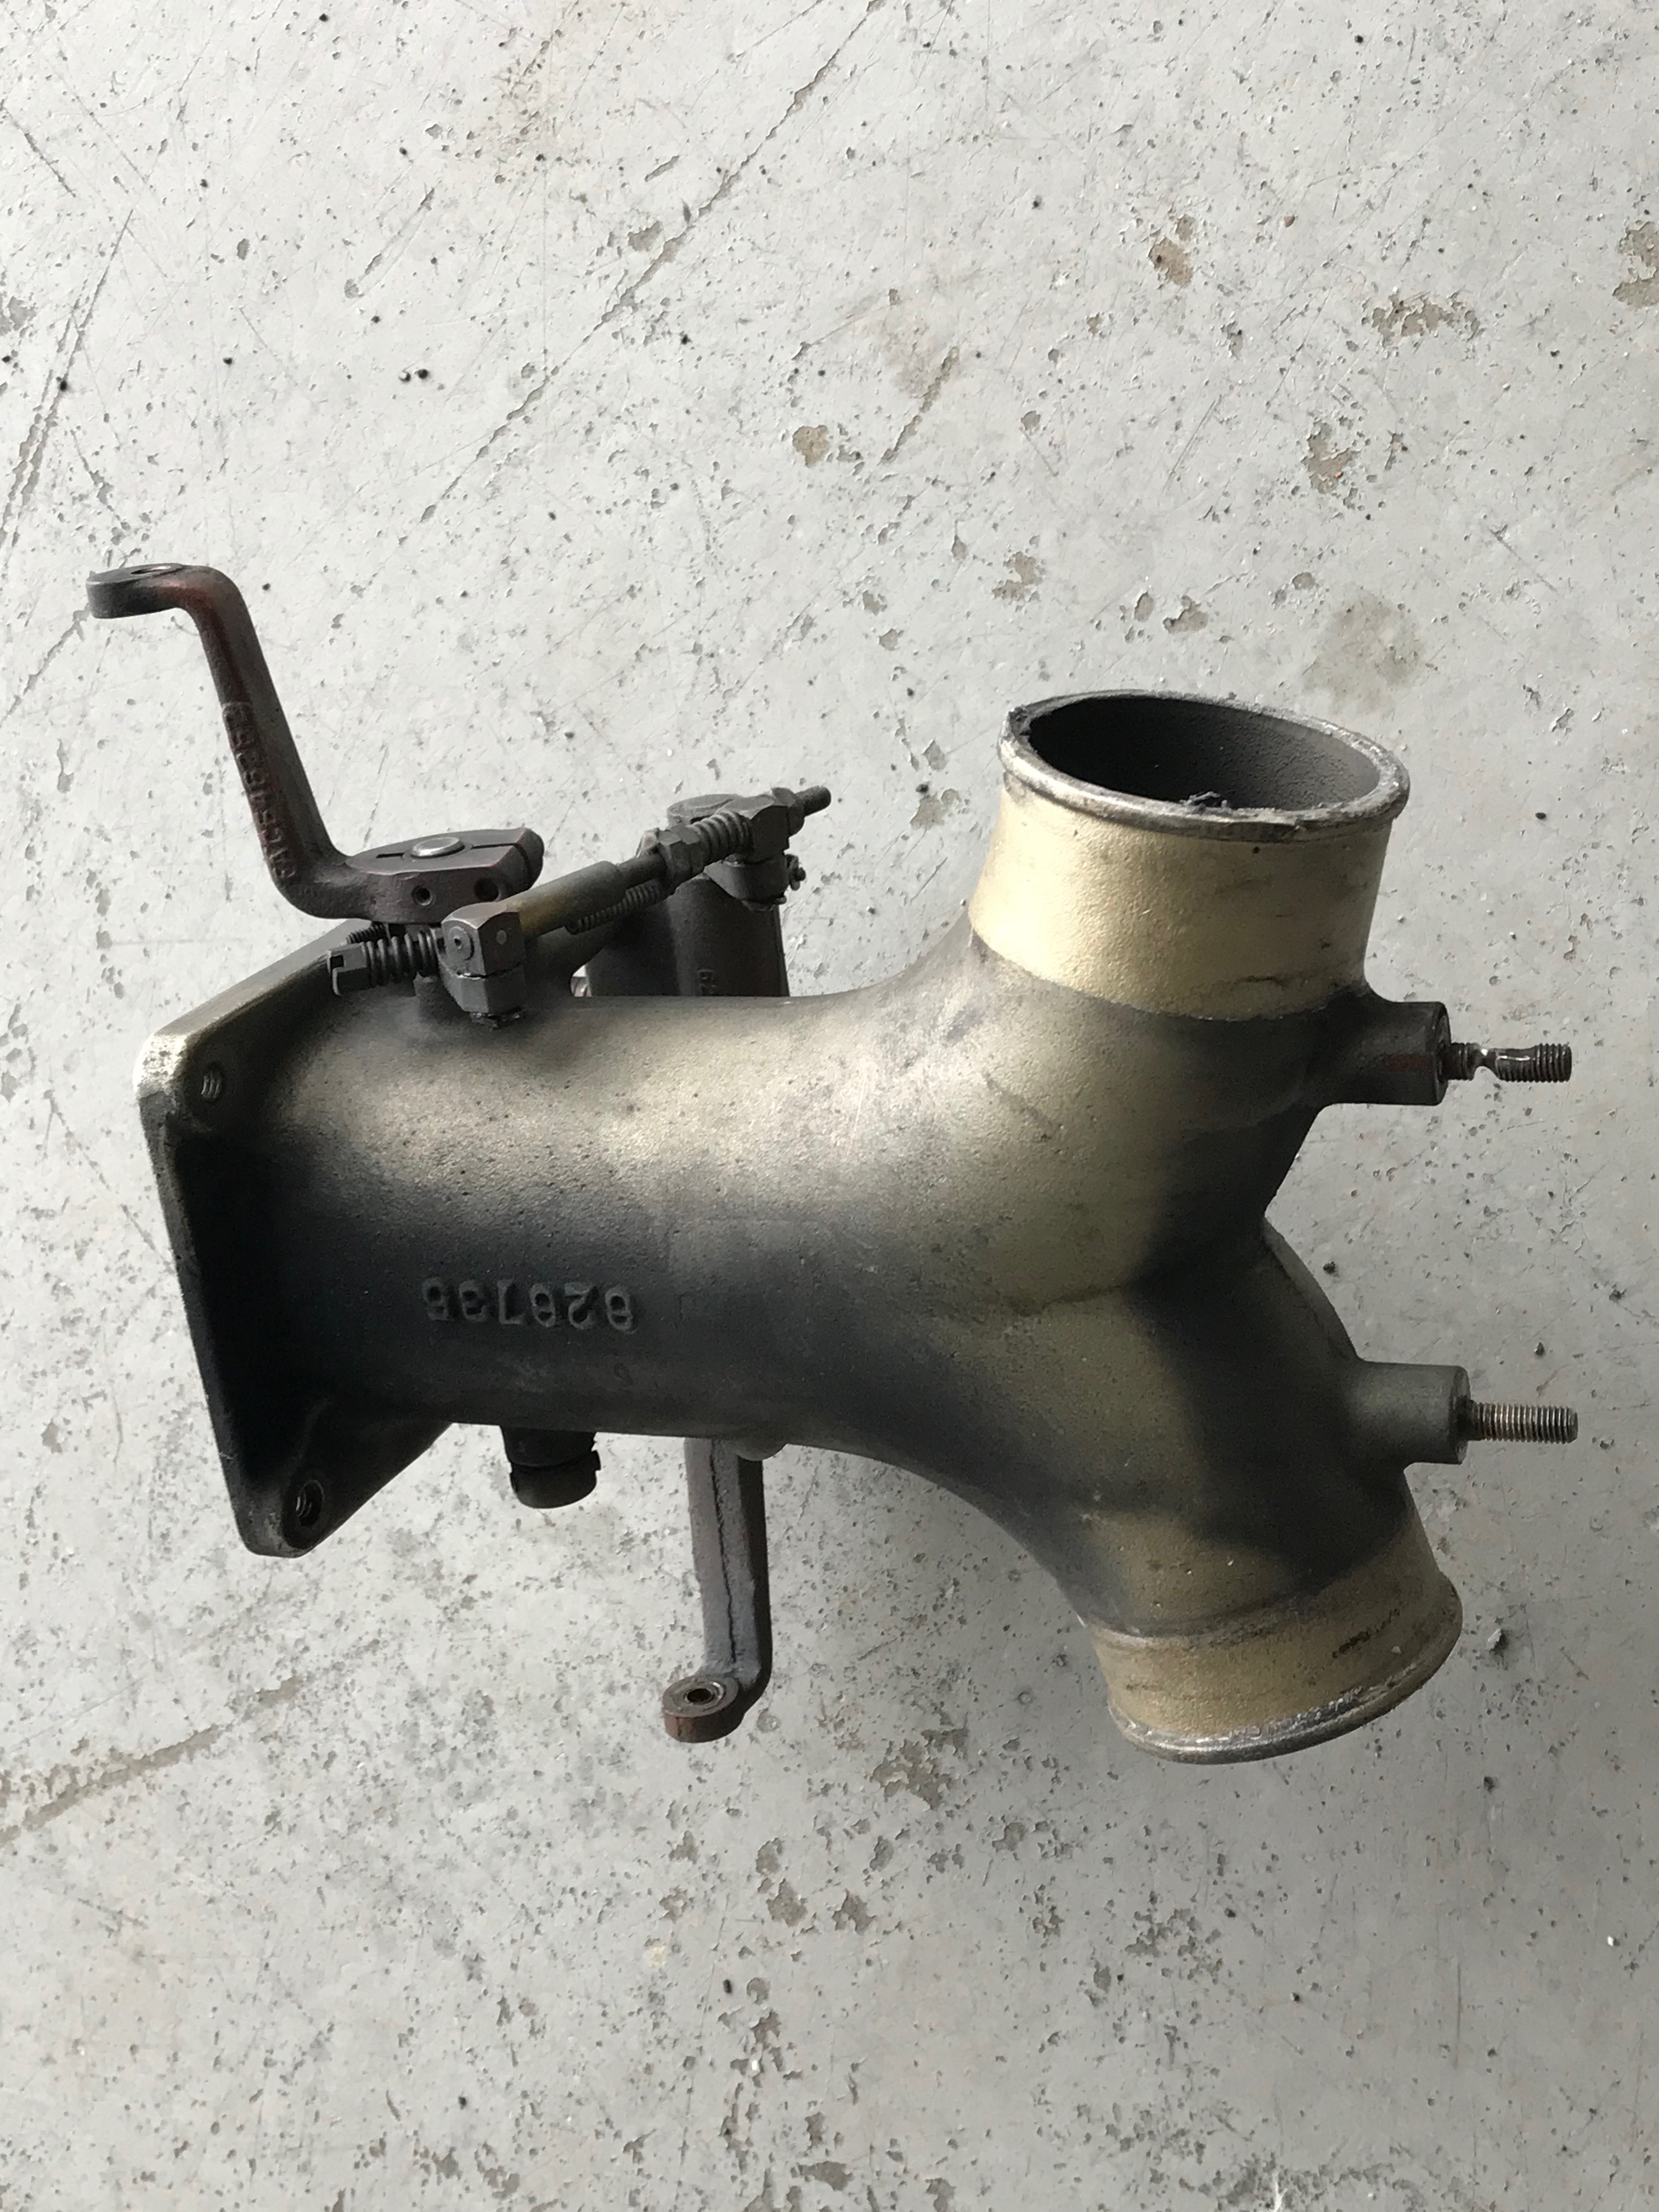
After inspecting the engine with no obvious external issues, we removed the engine driven fuel pump, the fuel control unit / throttle body assembly, and the flow divider, and sent them to Mike’s Aircraft Fuel Metering in Tulsa, Oklahoma for overhaul.  Here’s the pump:

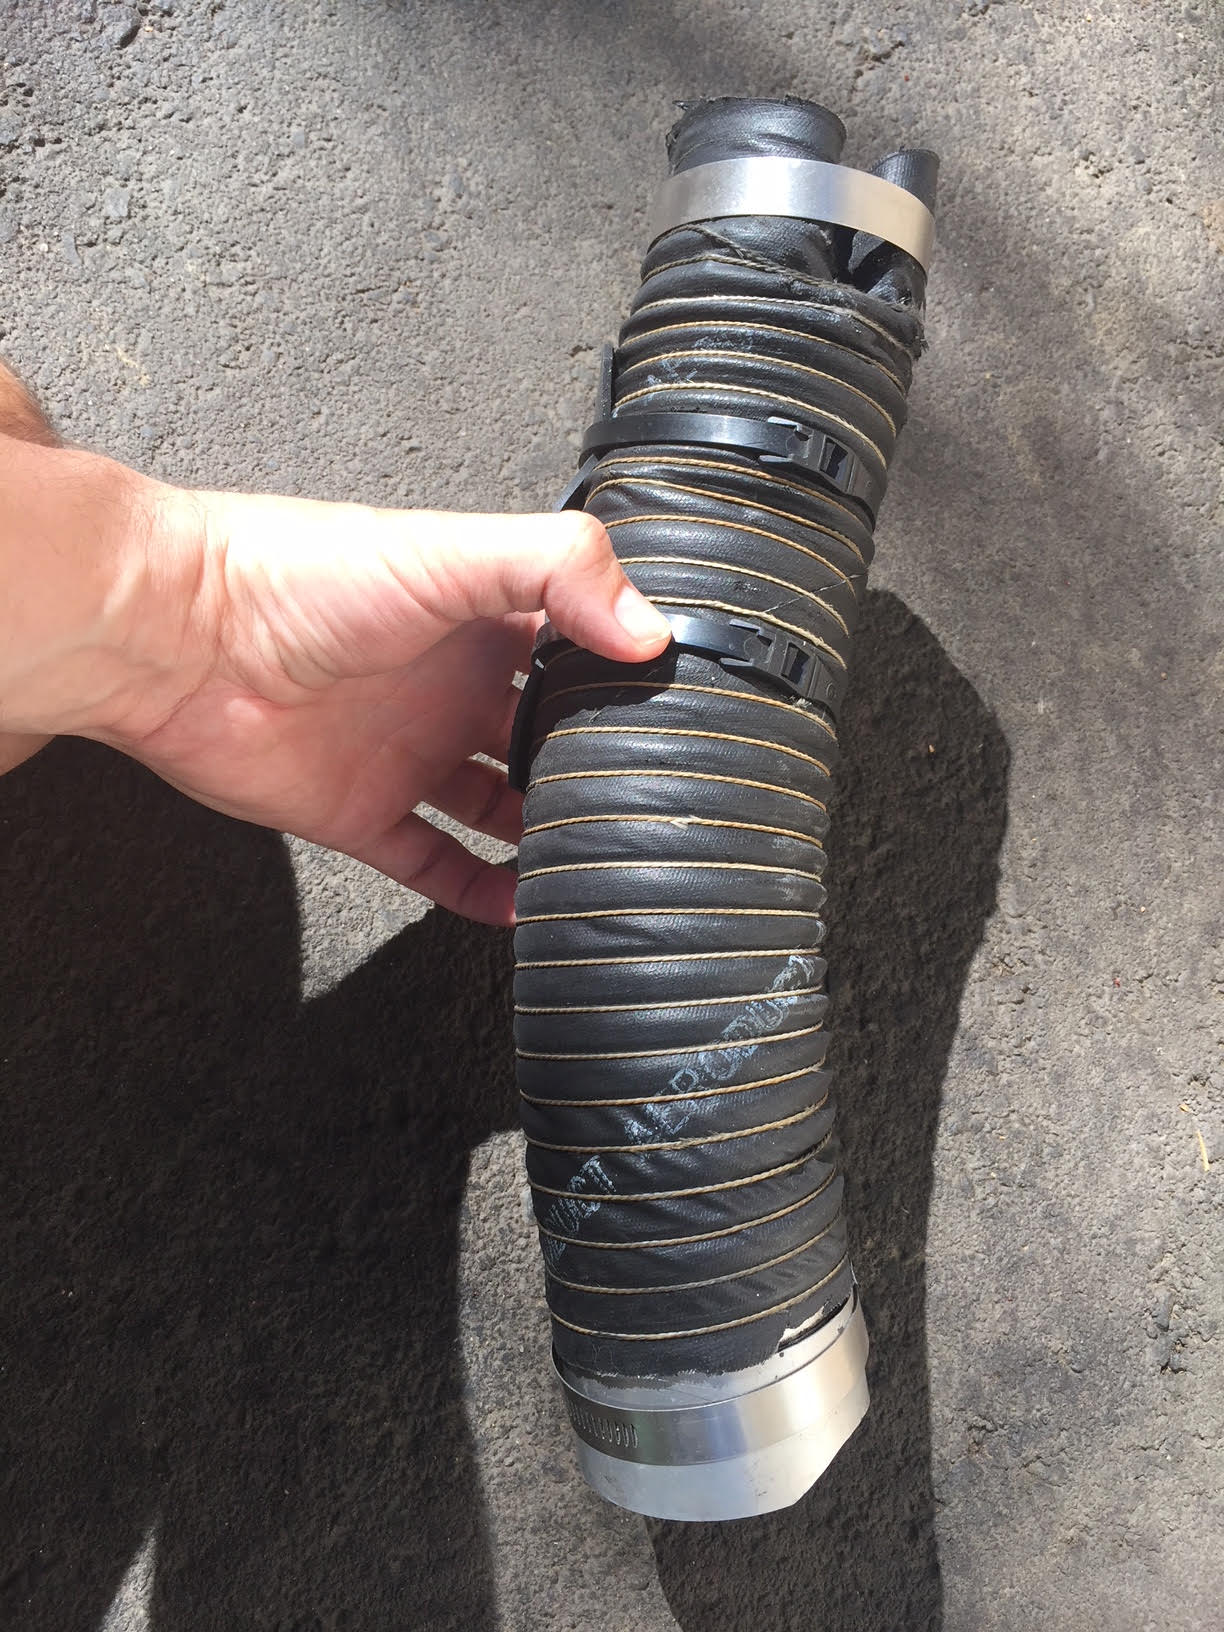
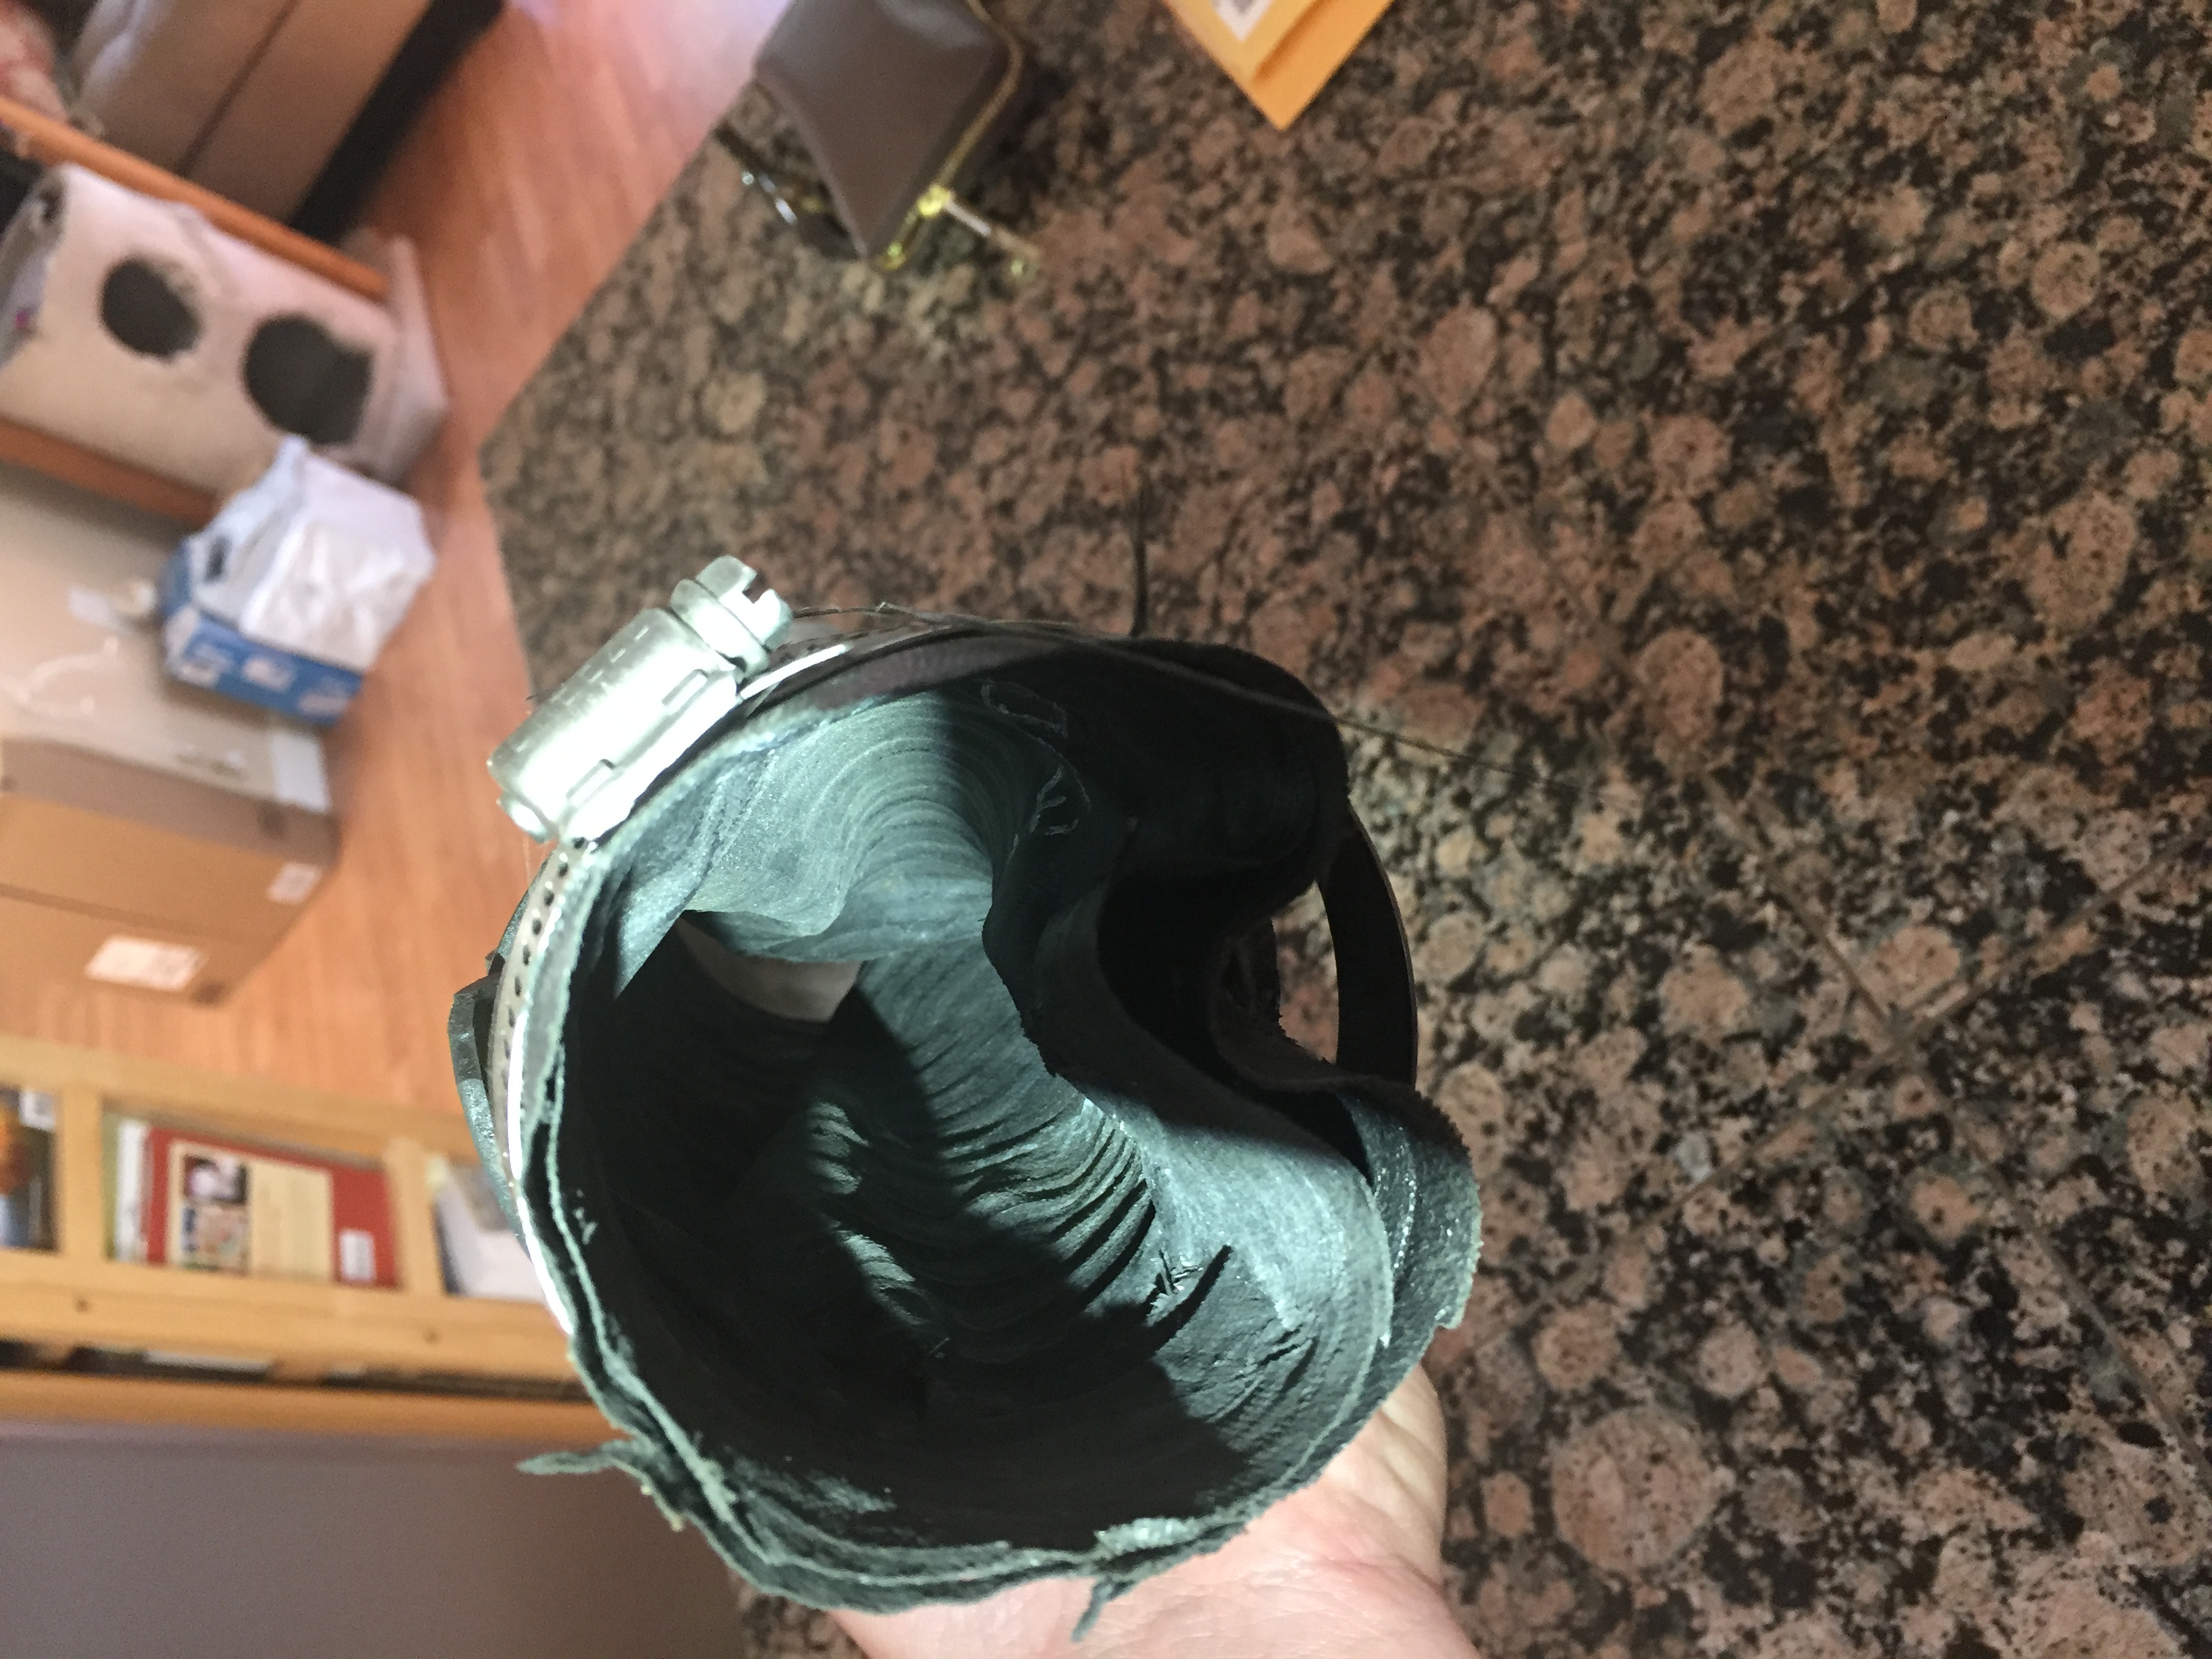
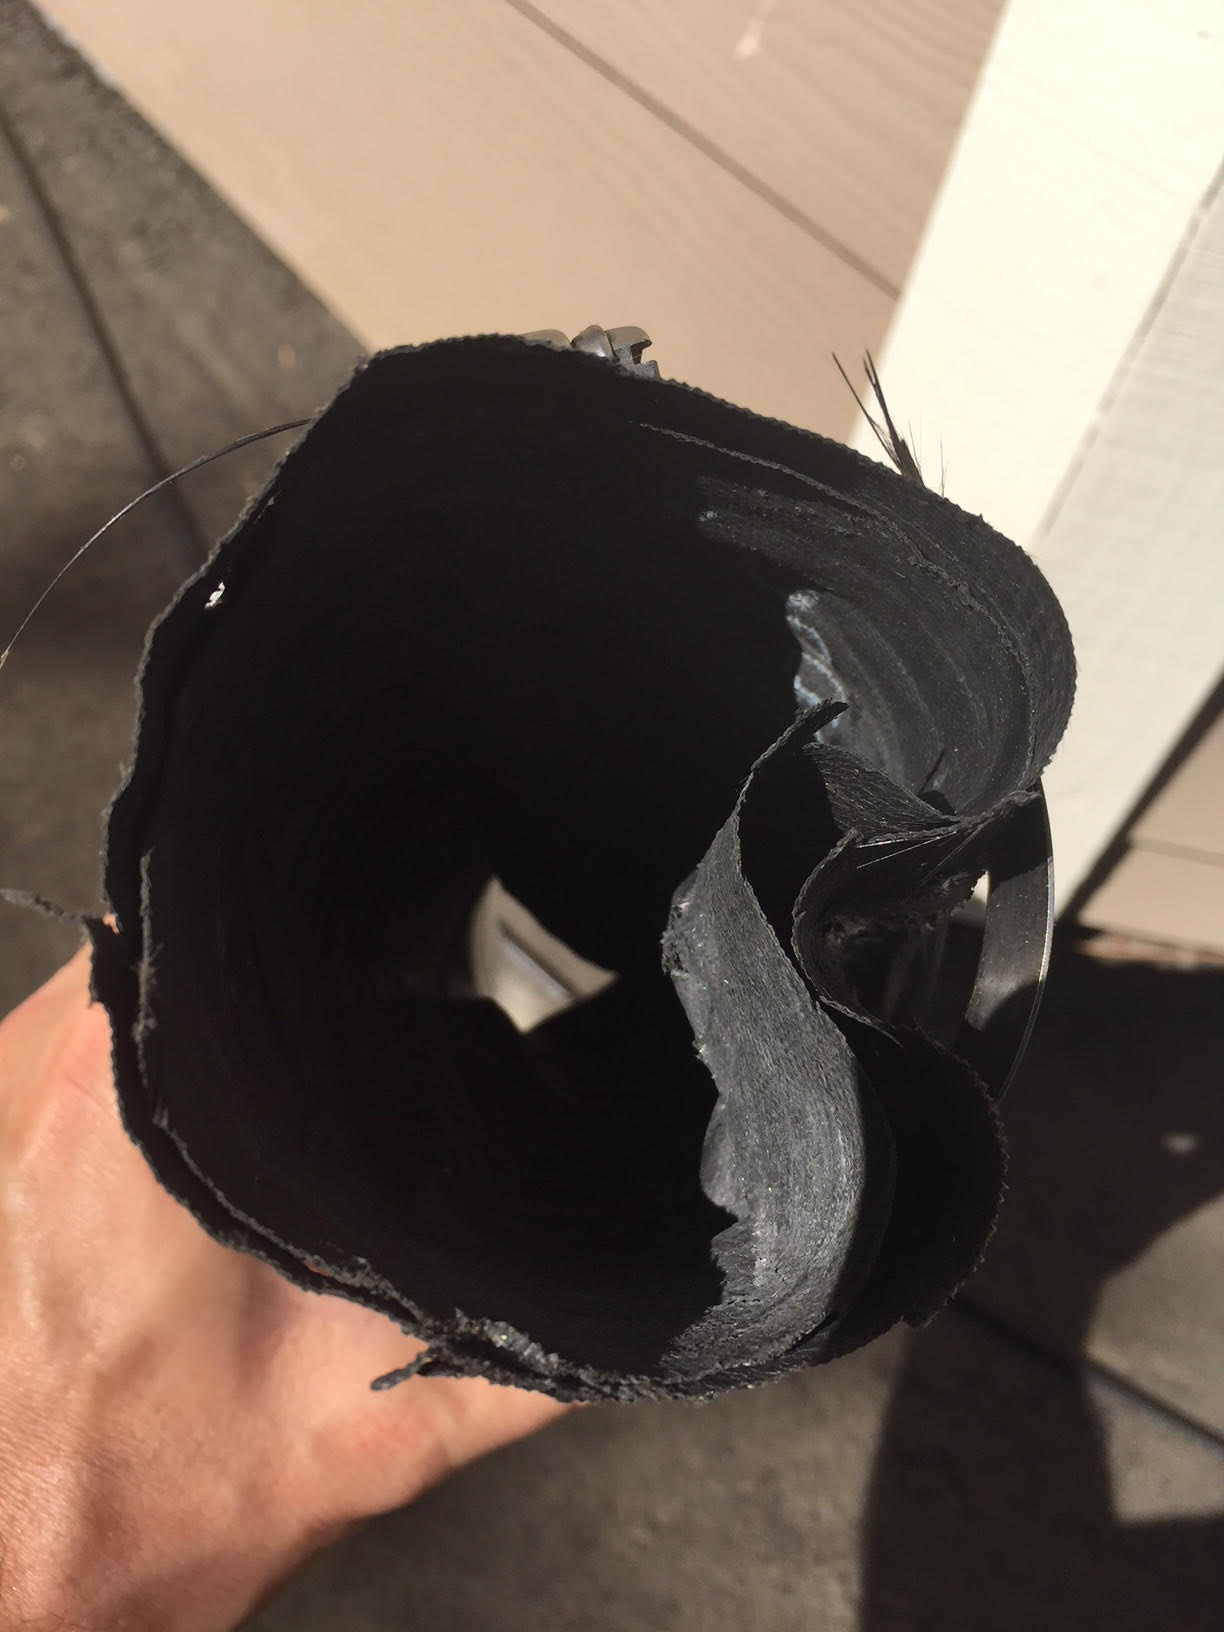
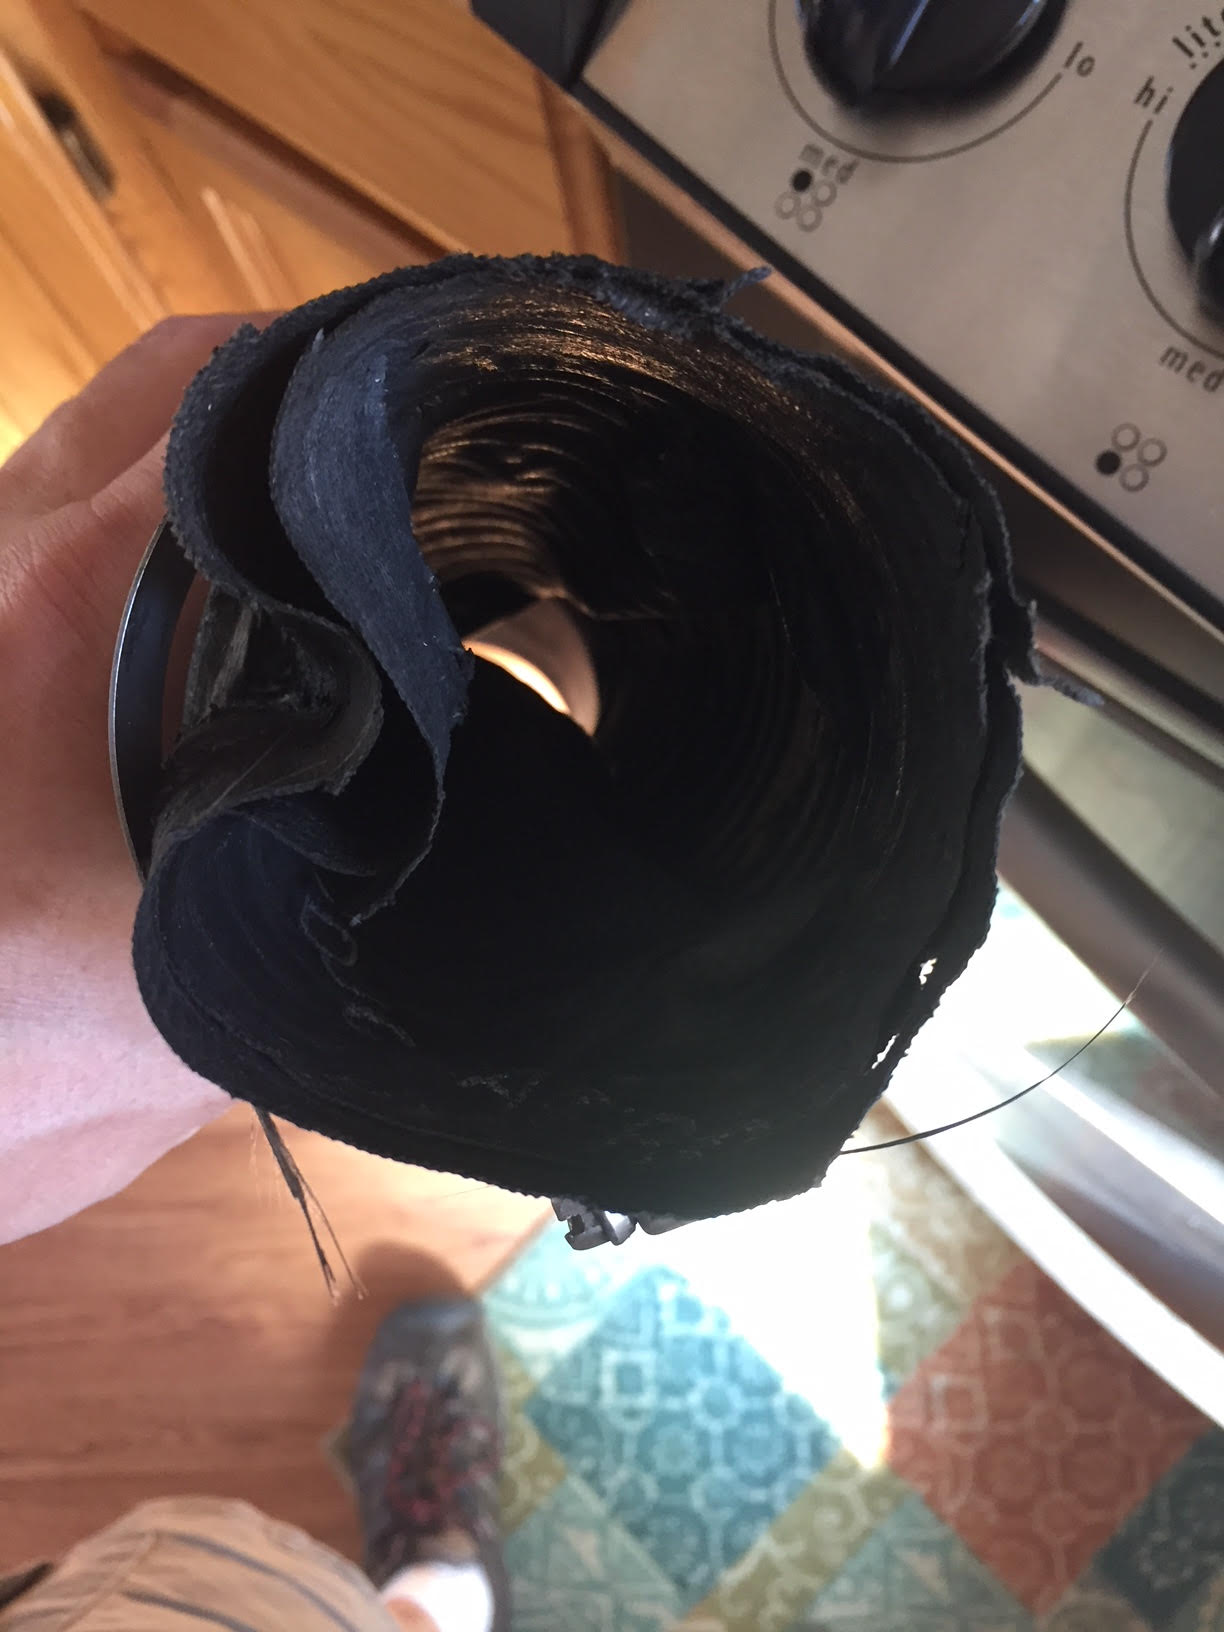
We also changed a few old, stiff fuel hoses.

It turns out that the engine driven fuel pump had debris in it, and that was most likely the cause of the engine problem.

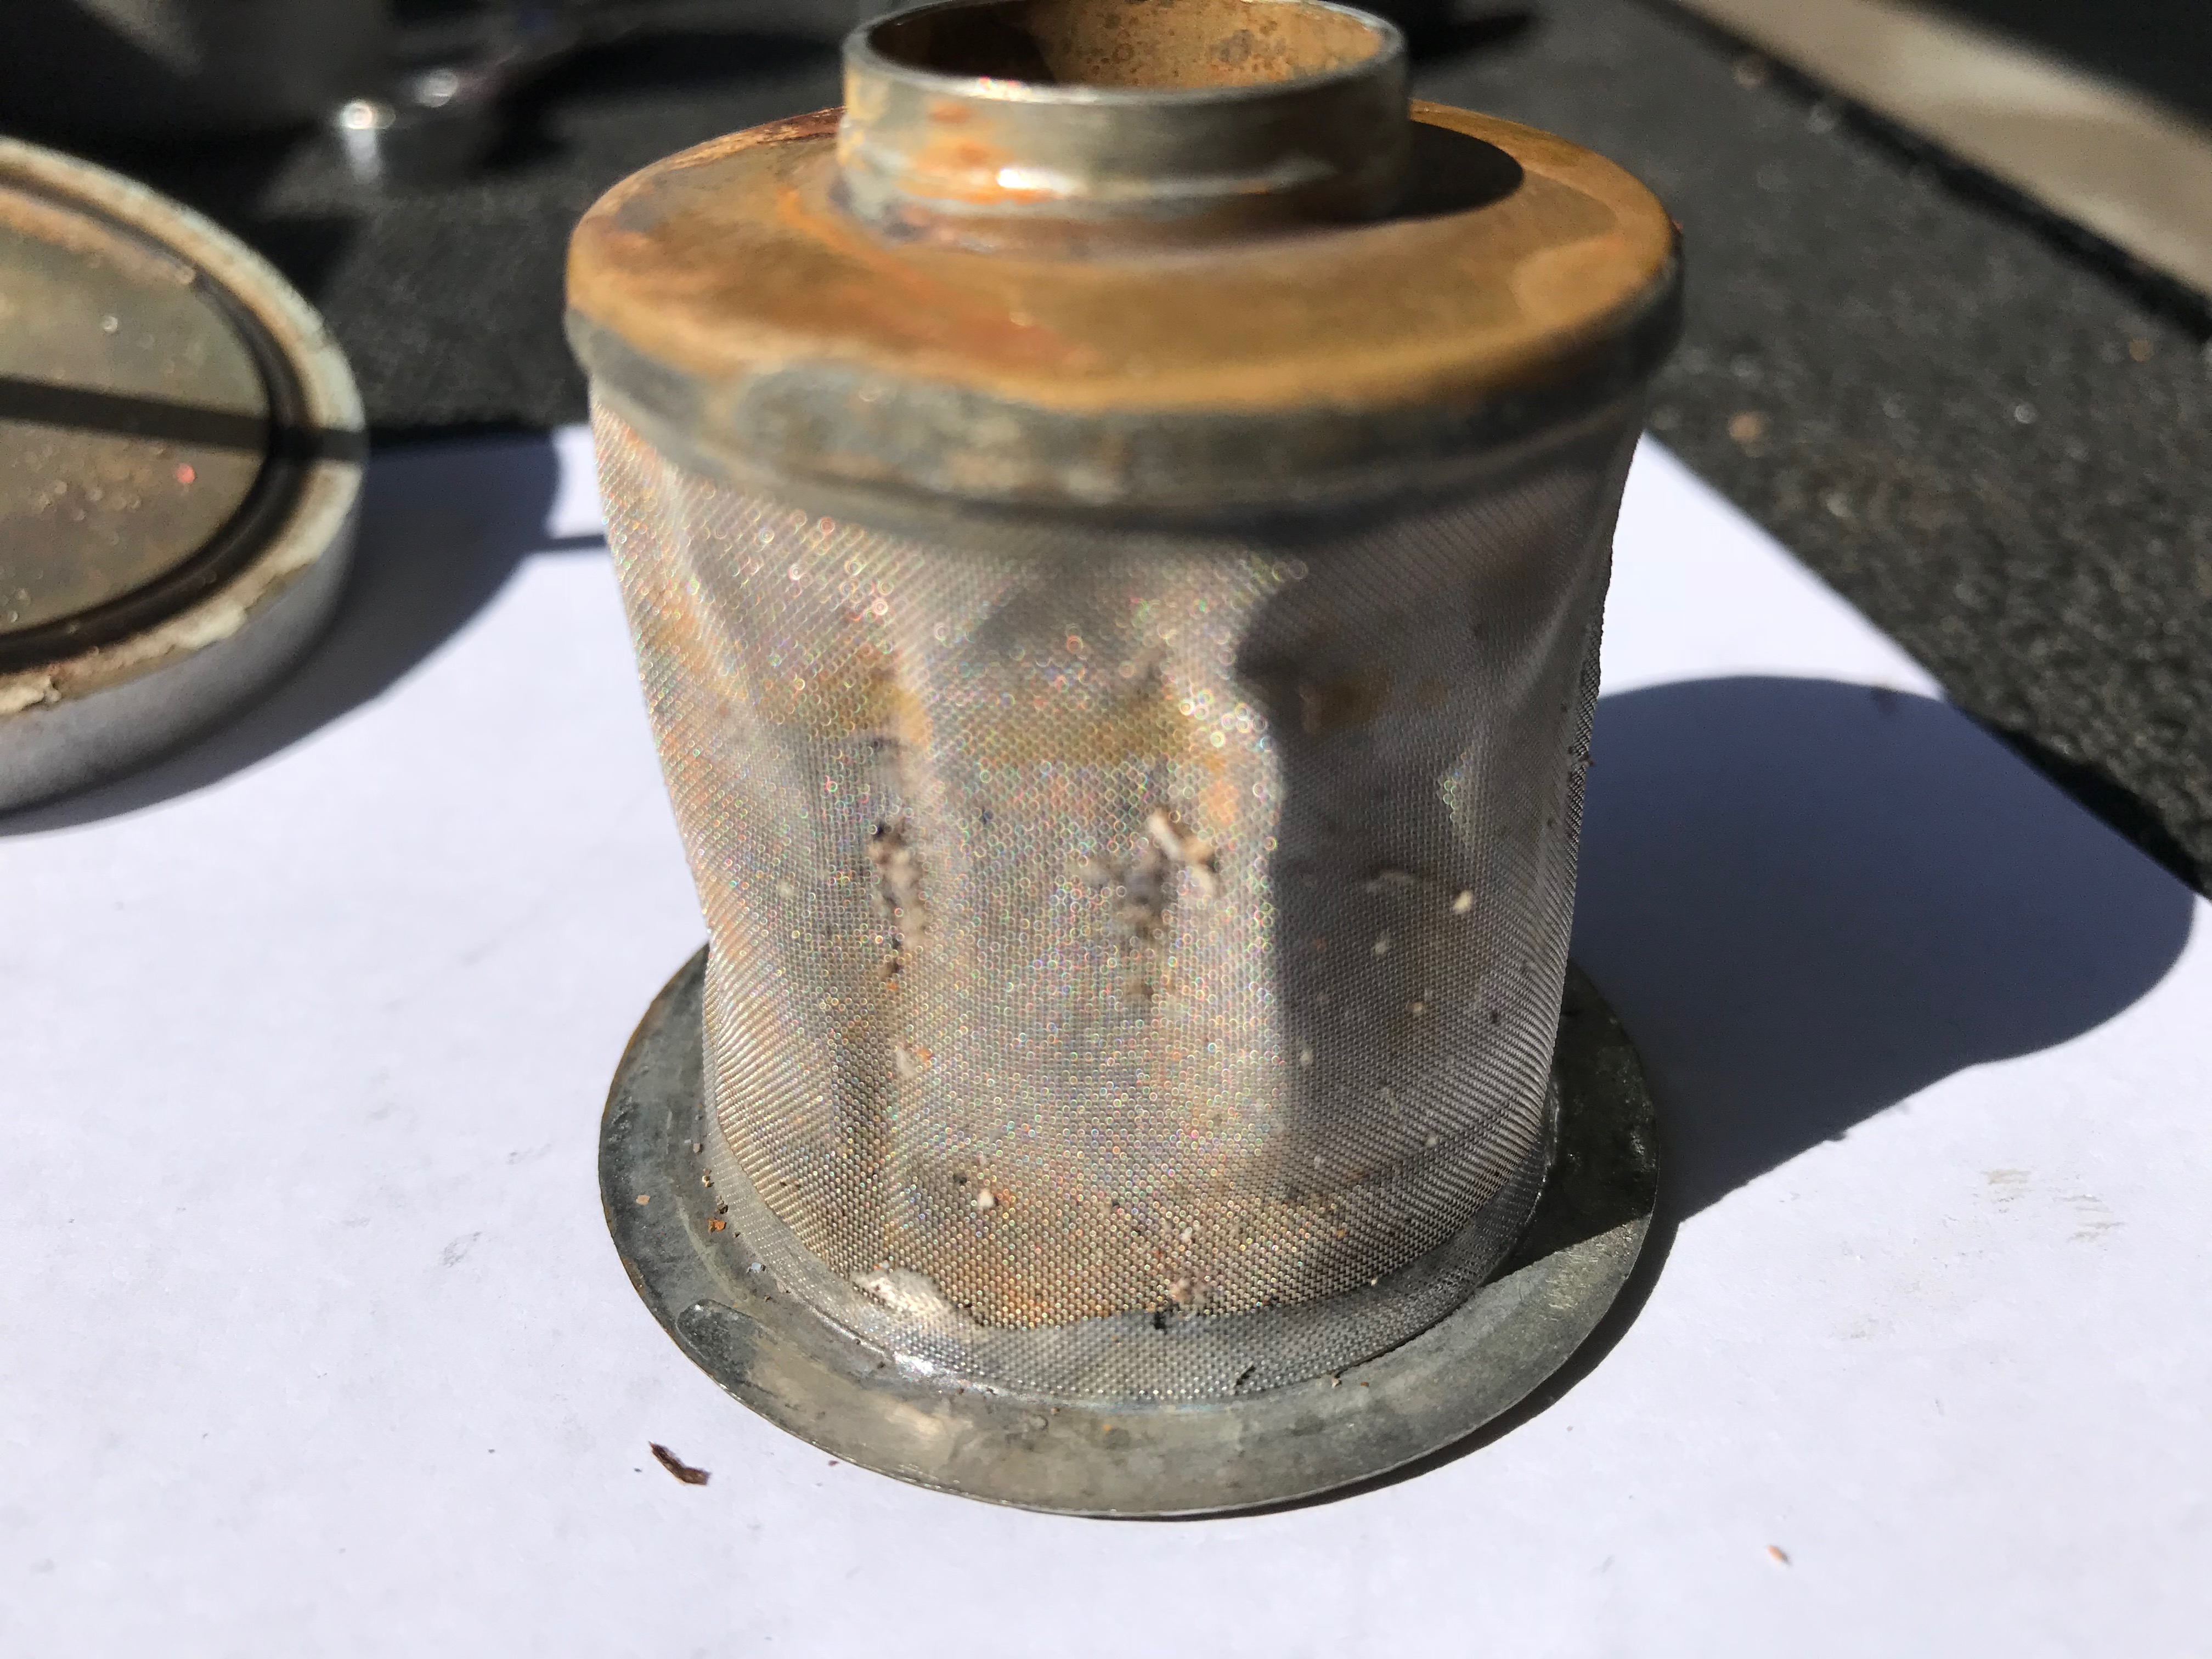
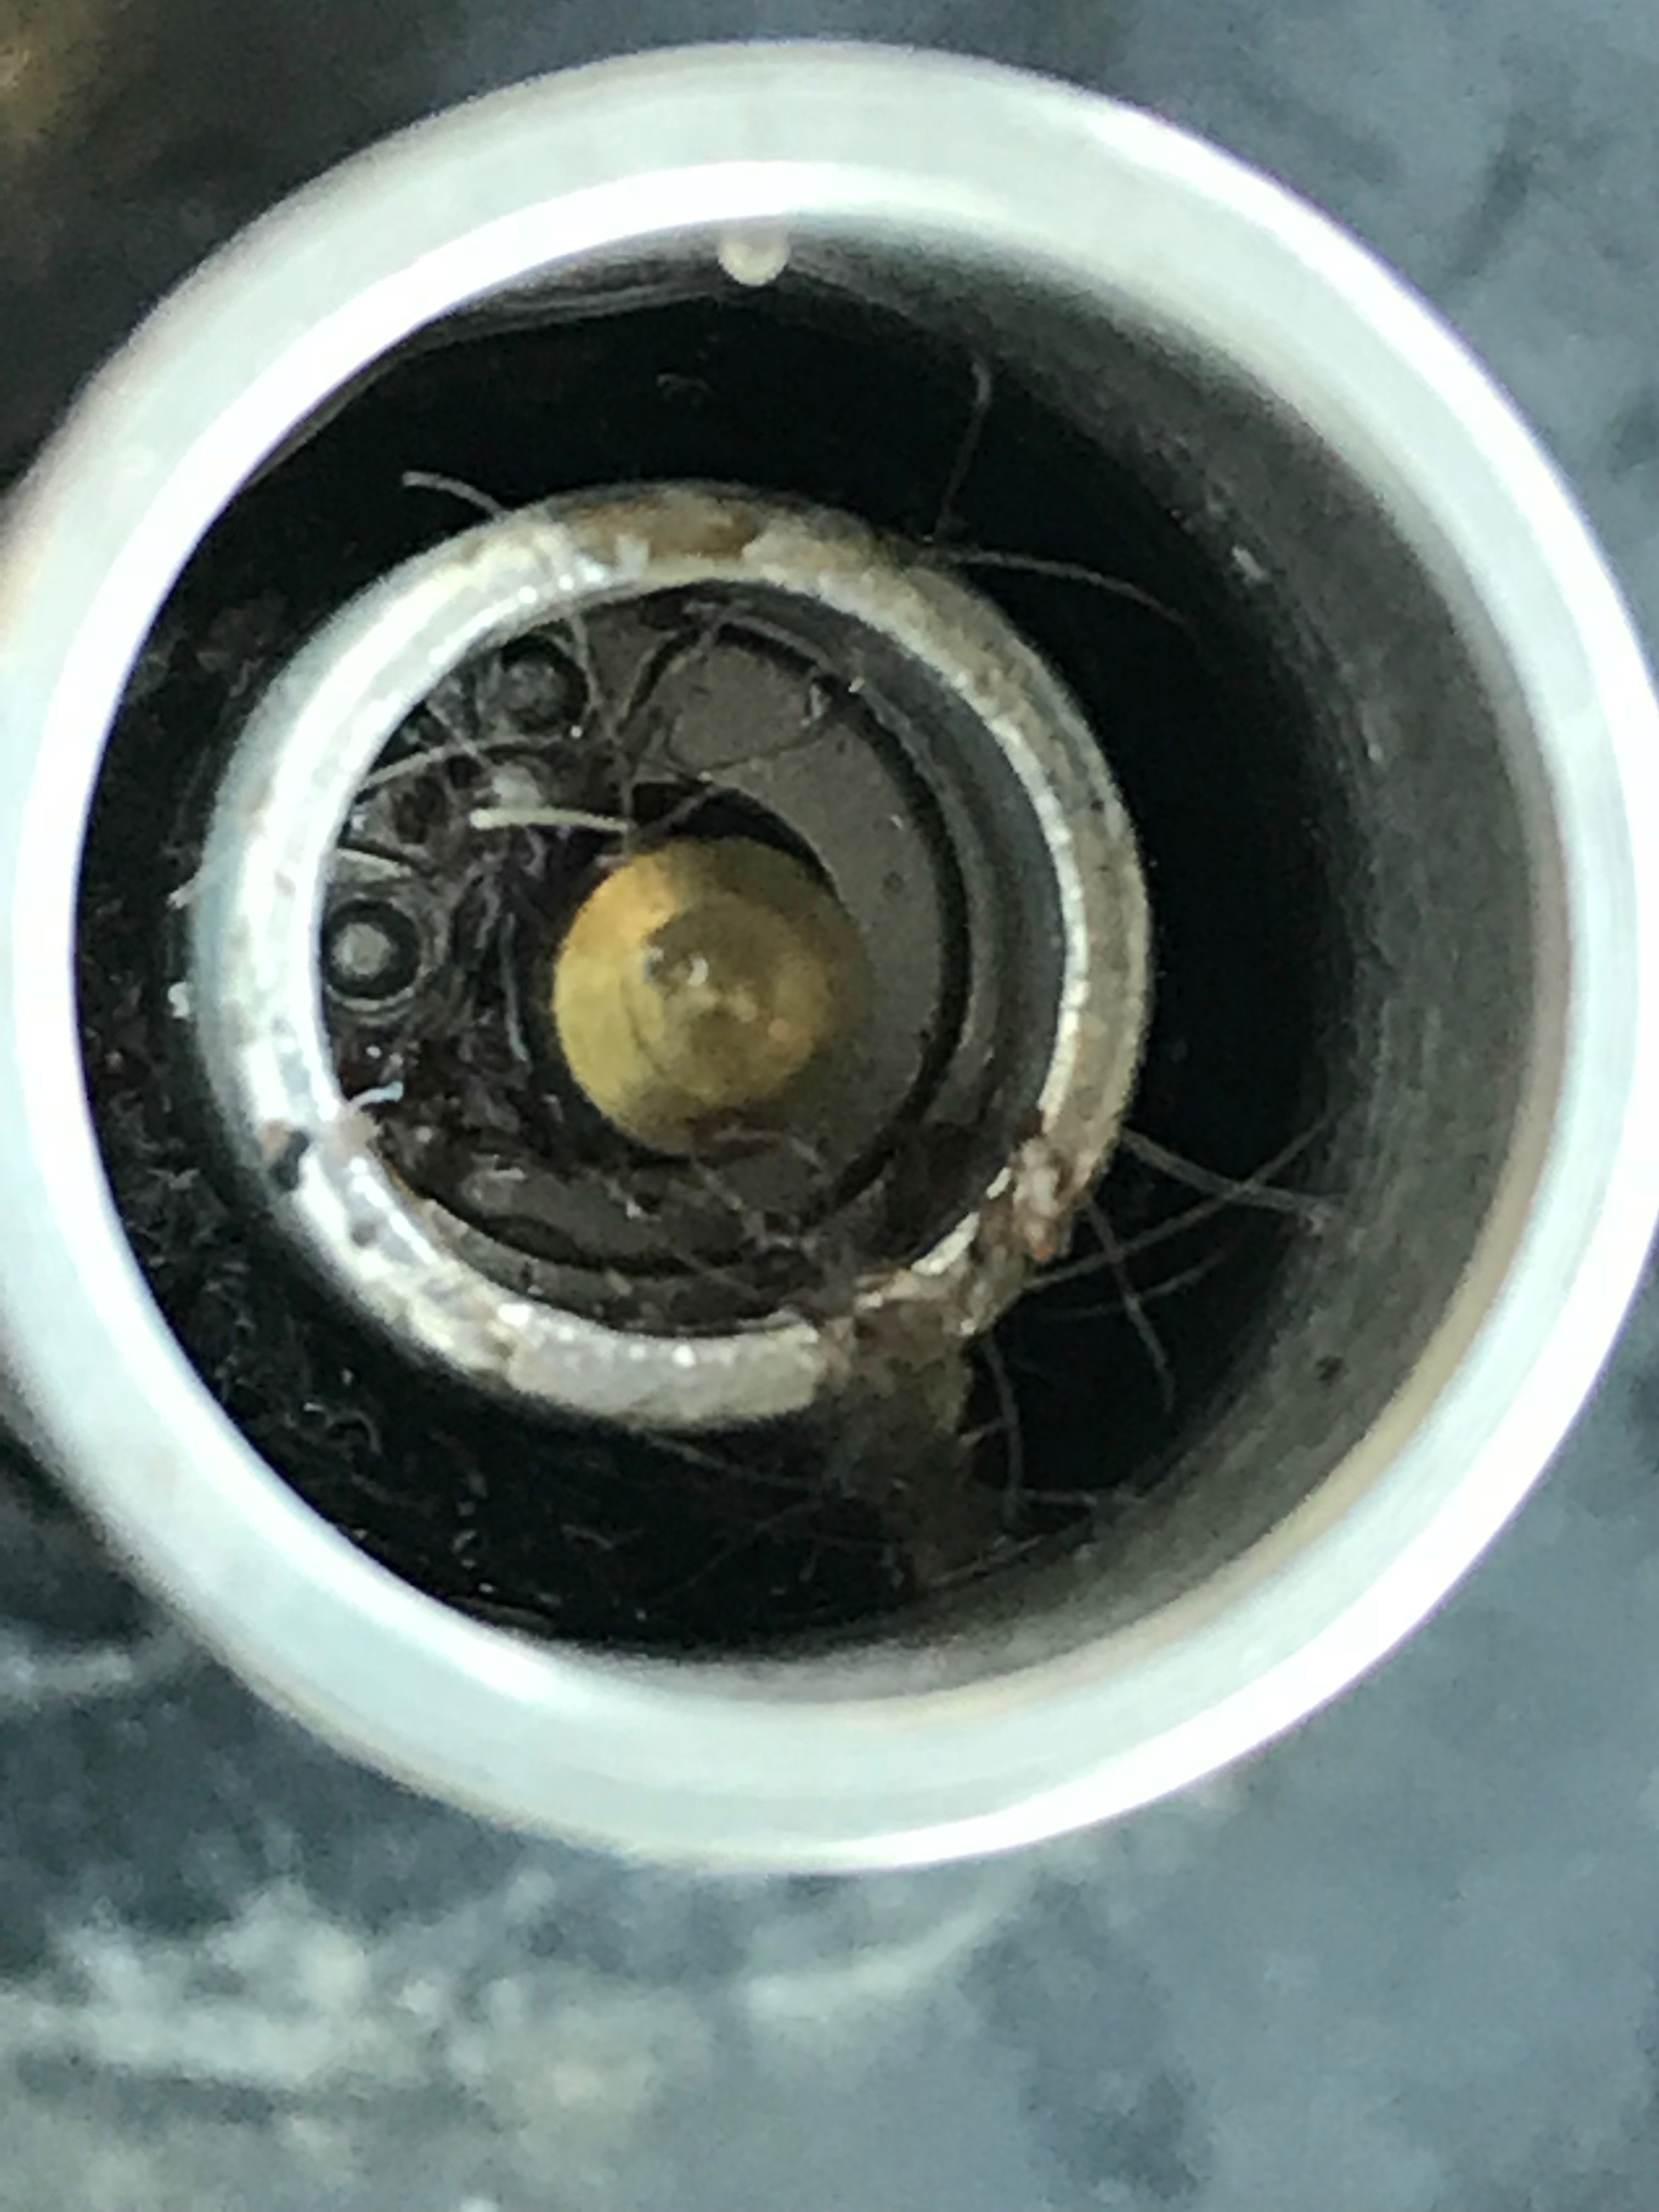
During the process, we removed and cleaned the fuel strainers.  These pictures are the left one:


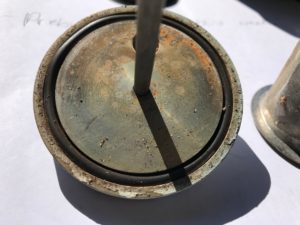
I cleaned the strainers and reinstalled them with the proper seals.

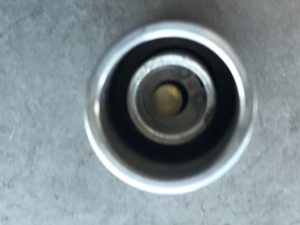
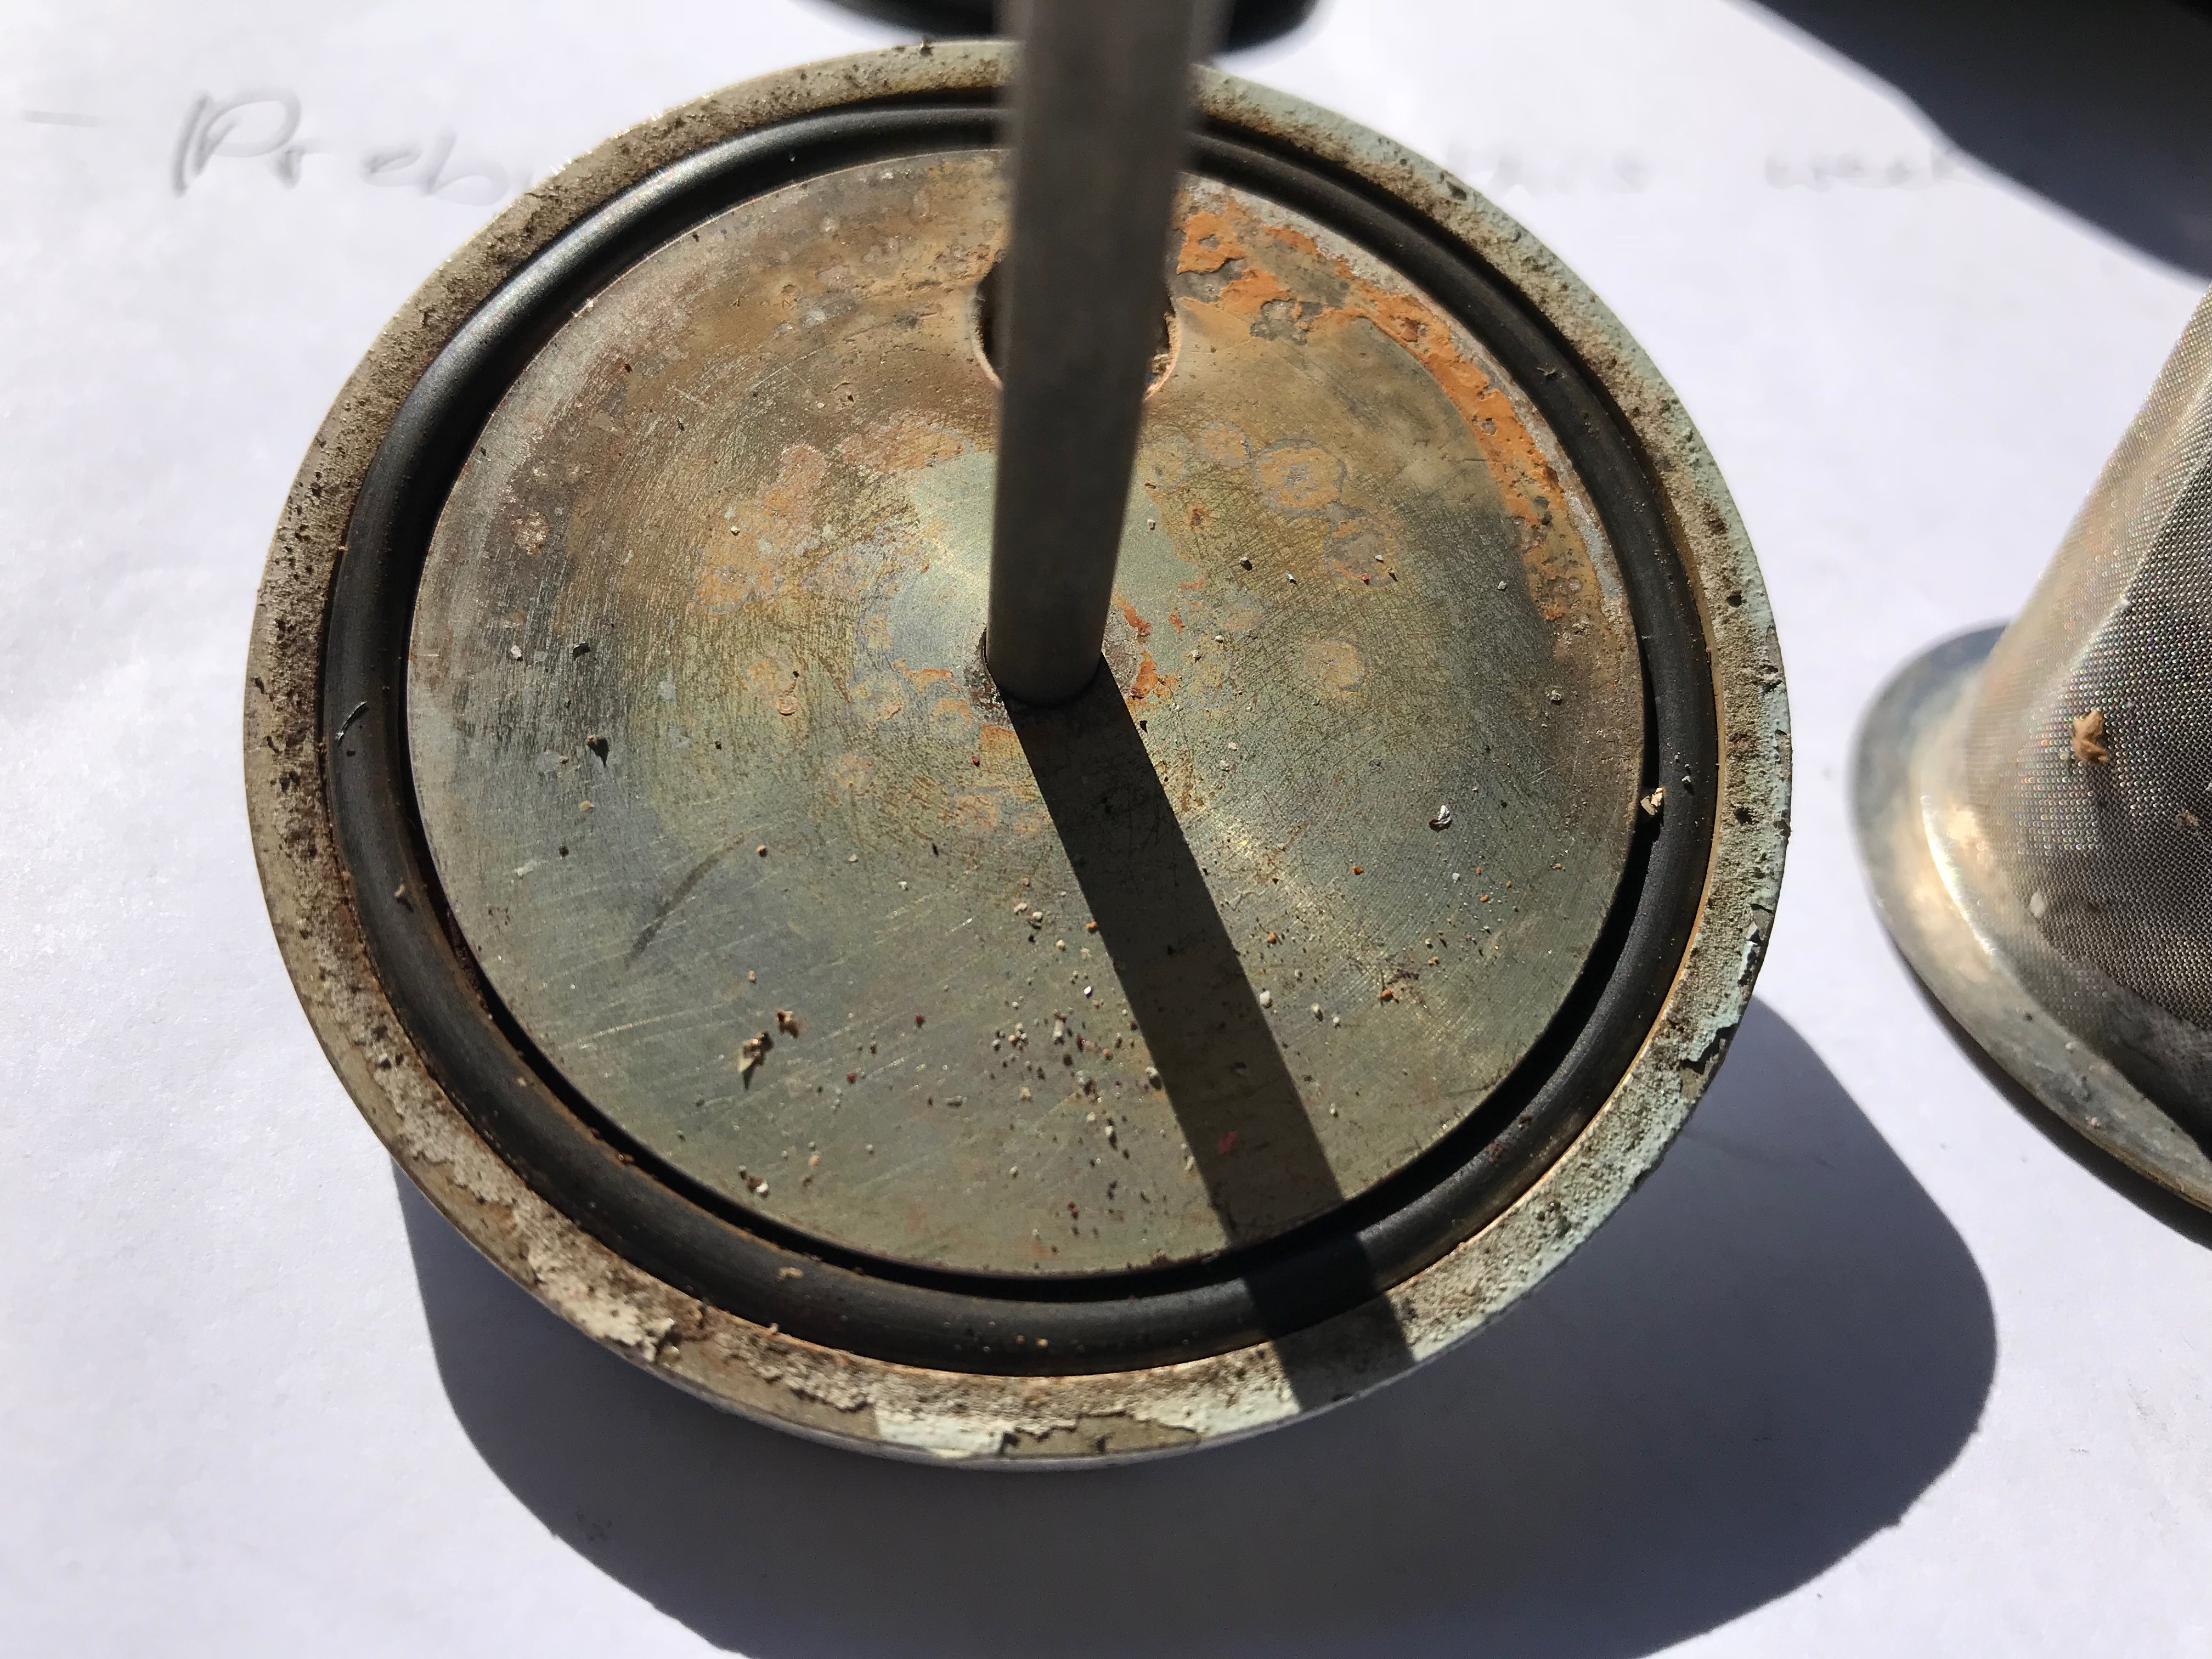
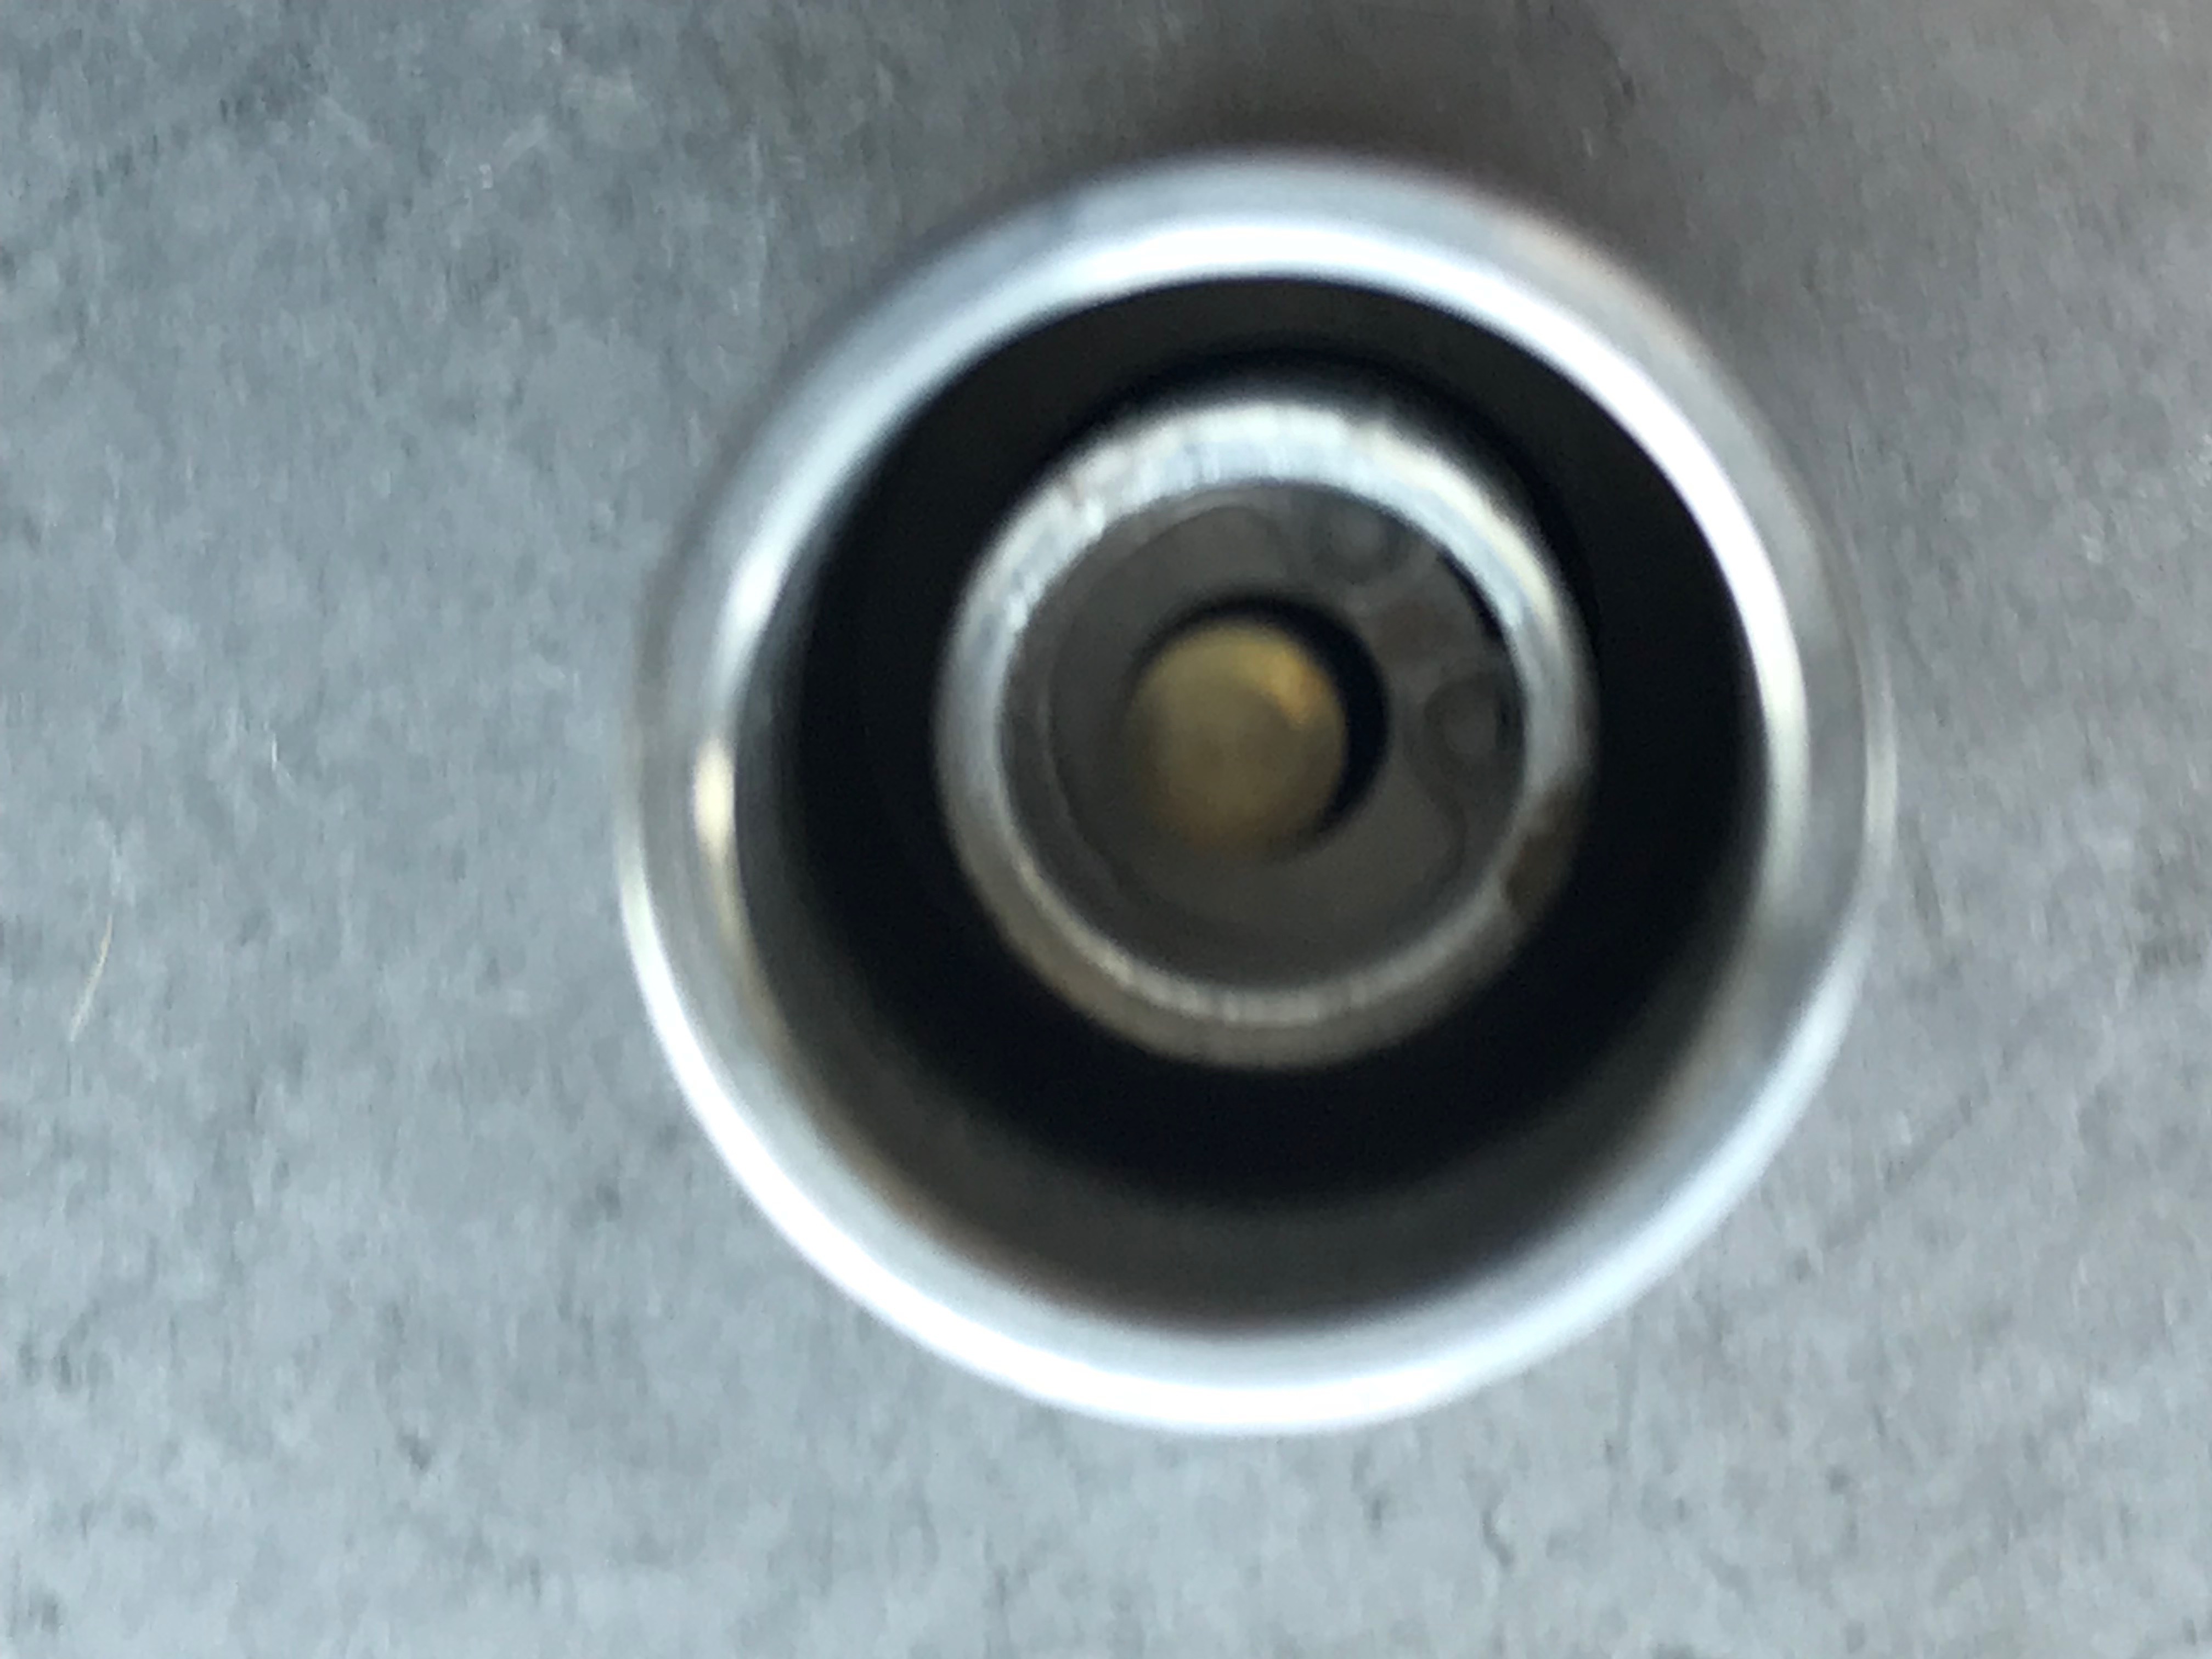
We also drained both main tanks (the ones that were being used when the in flight problem happened.)  The left drain valve had a significant amount of debris in it:

It looked much better after cleaning:

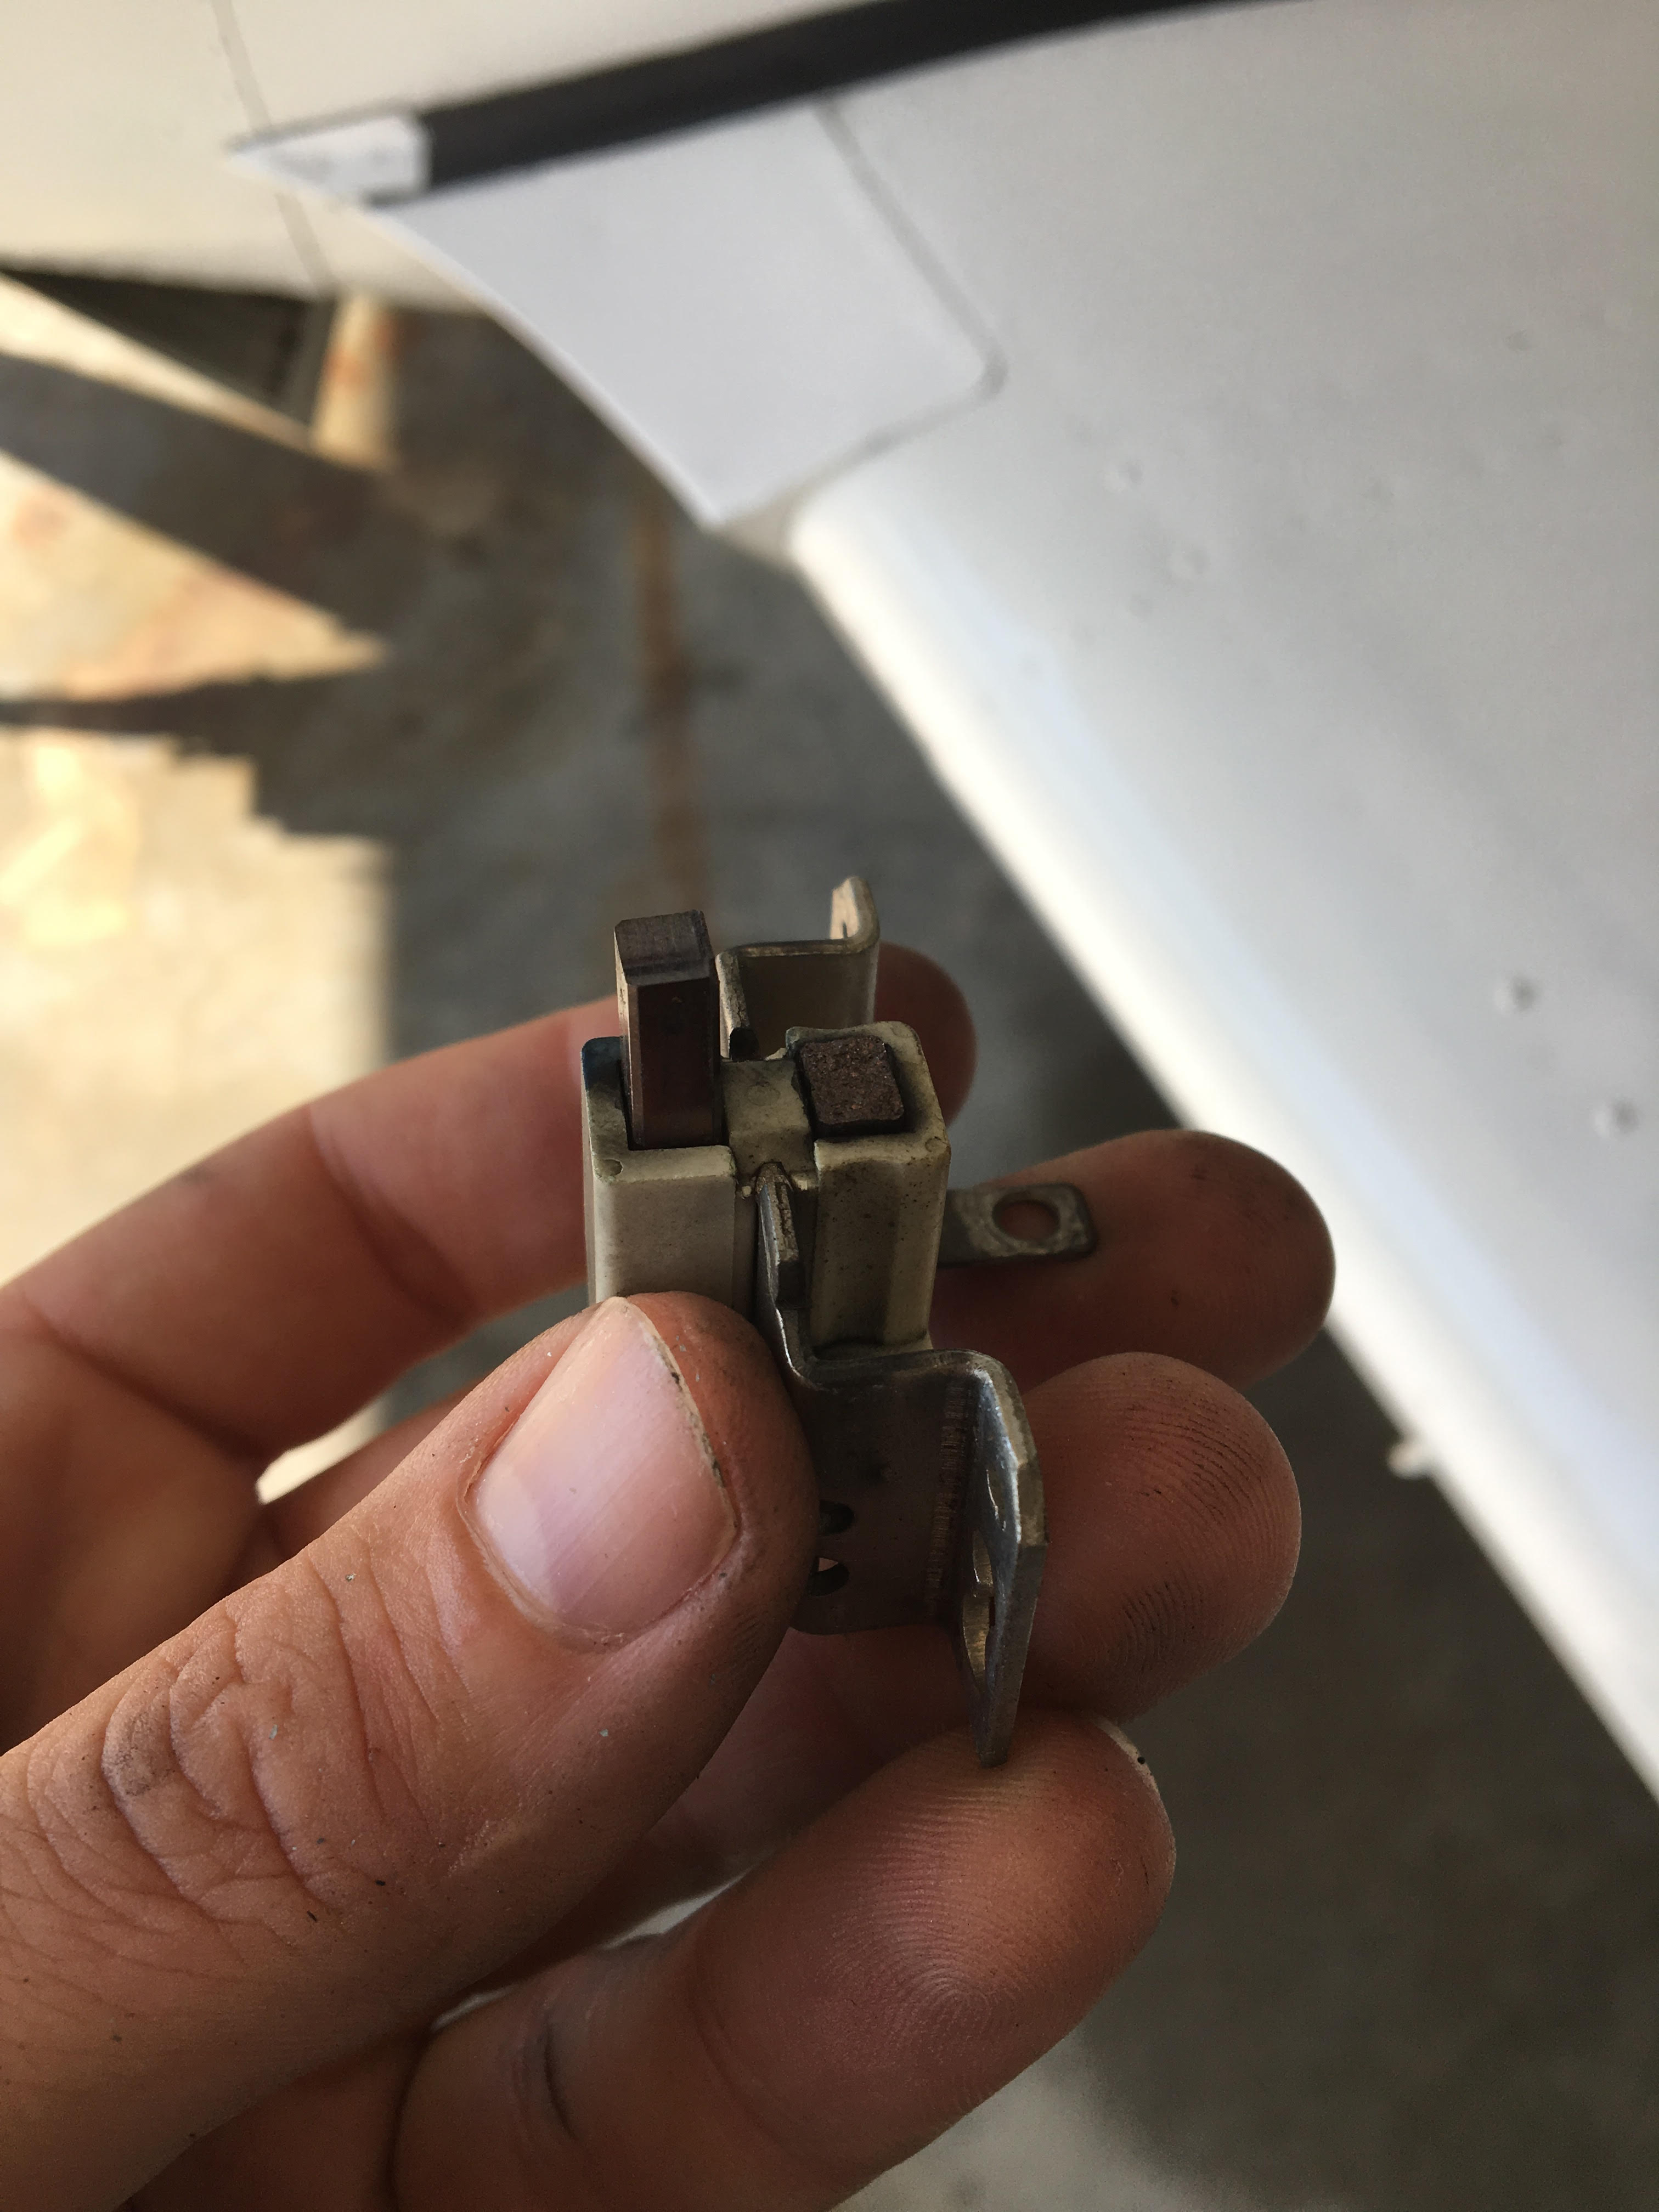
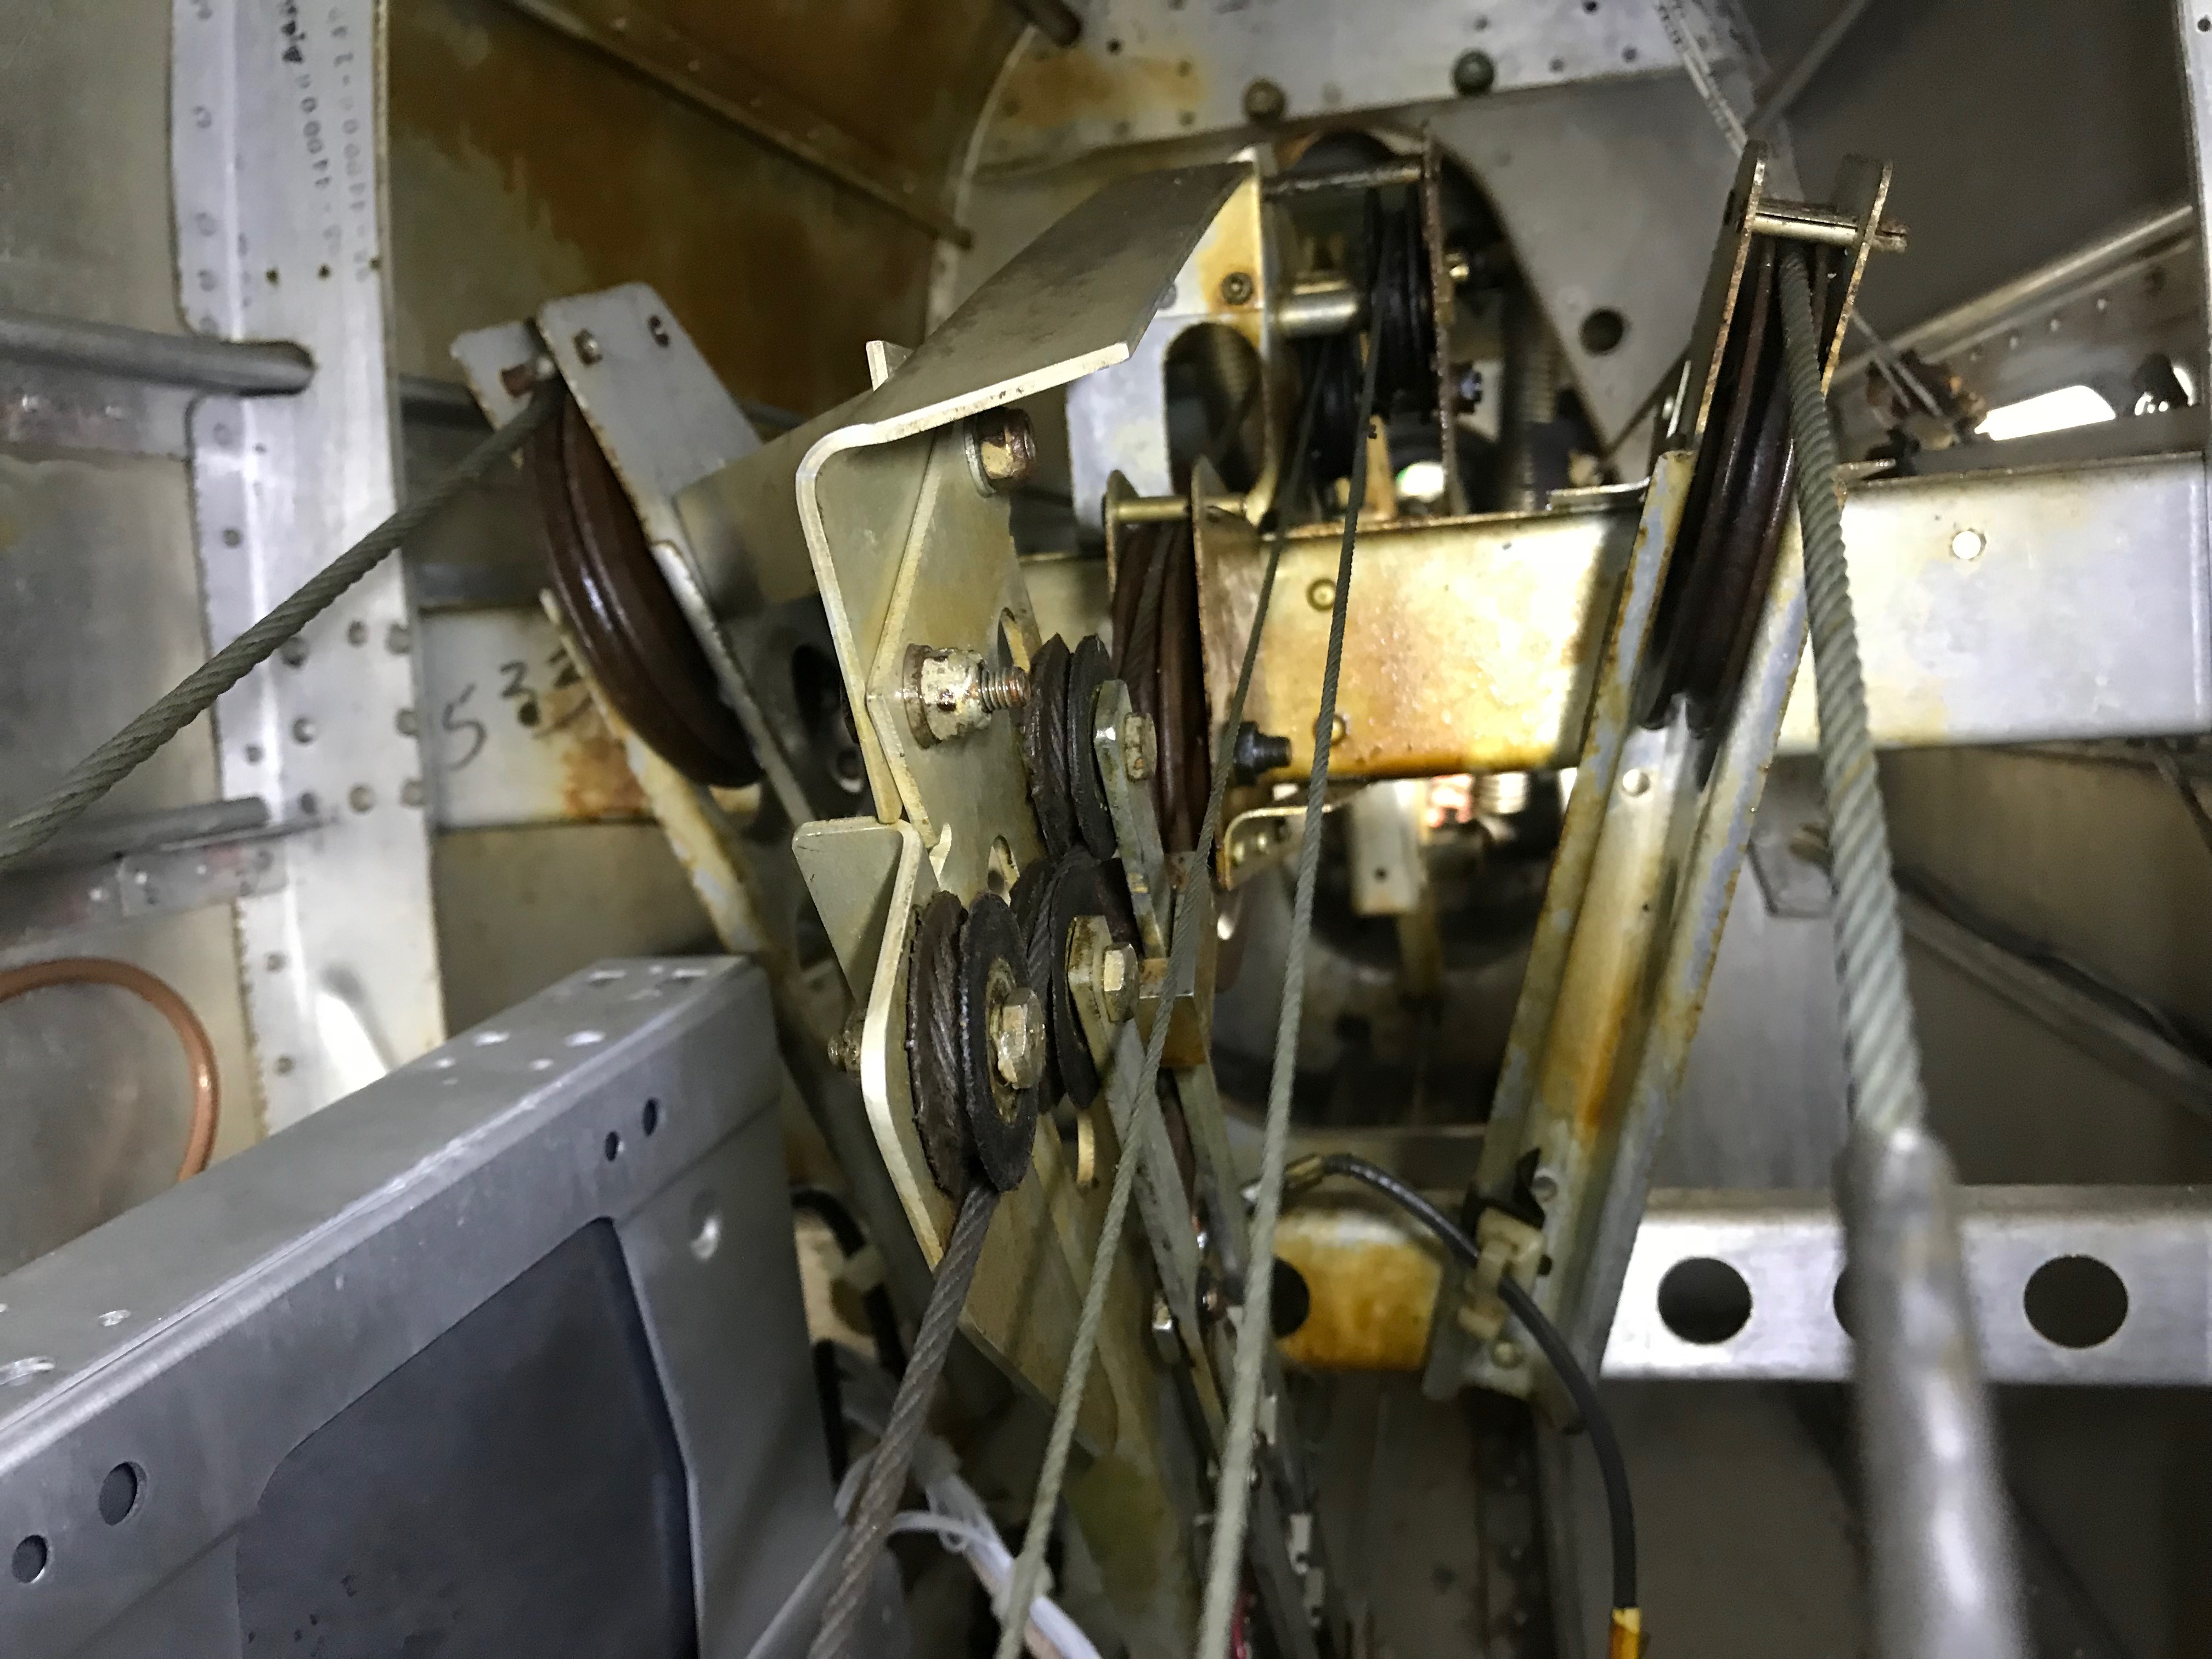
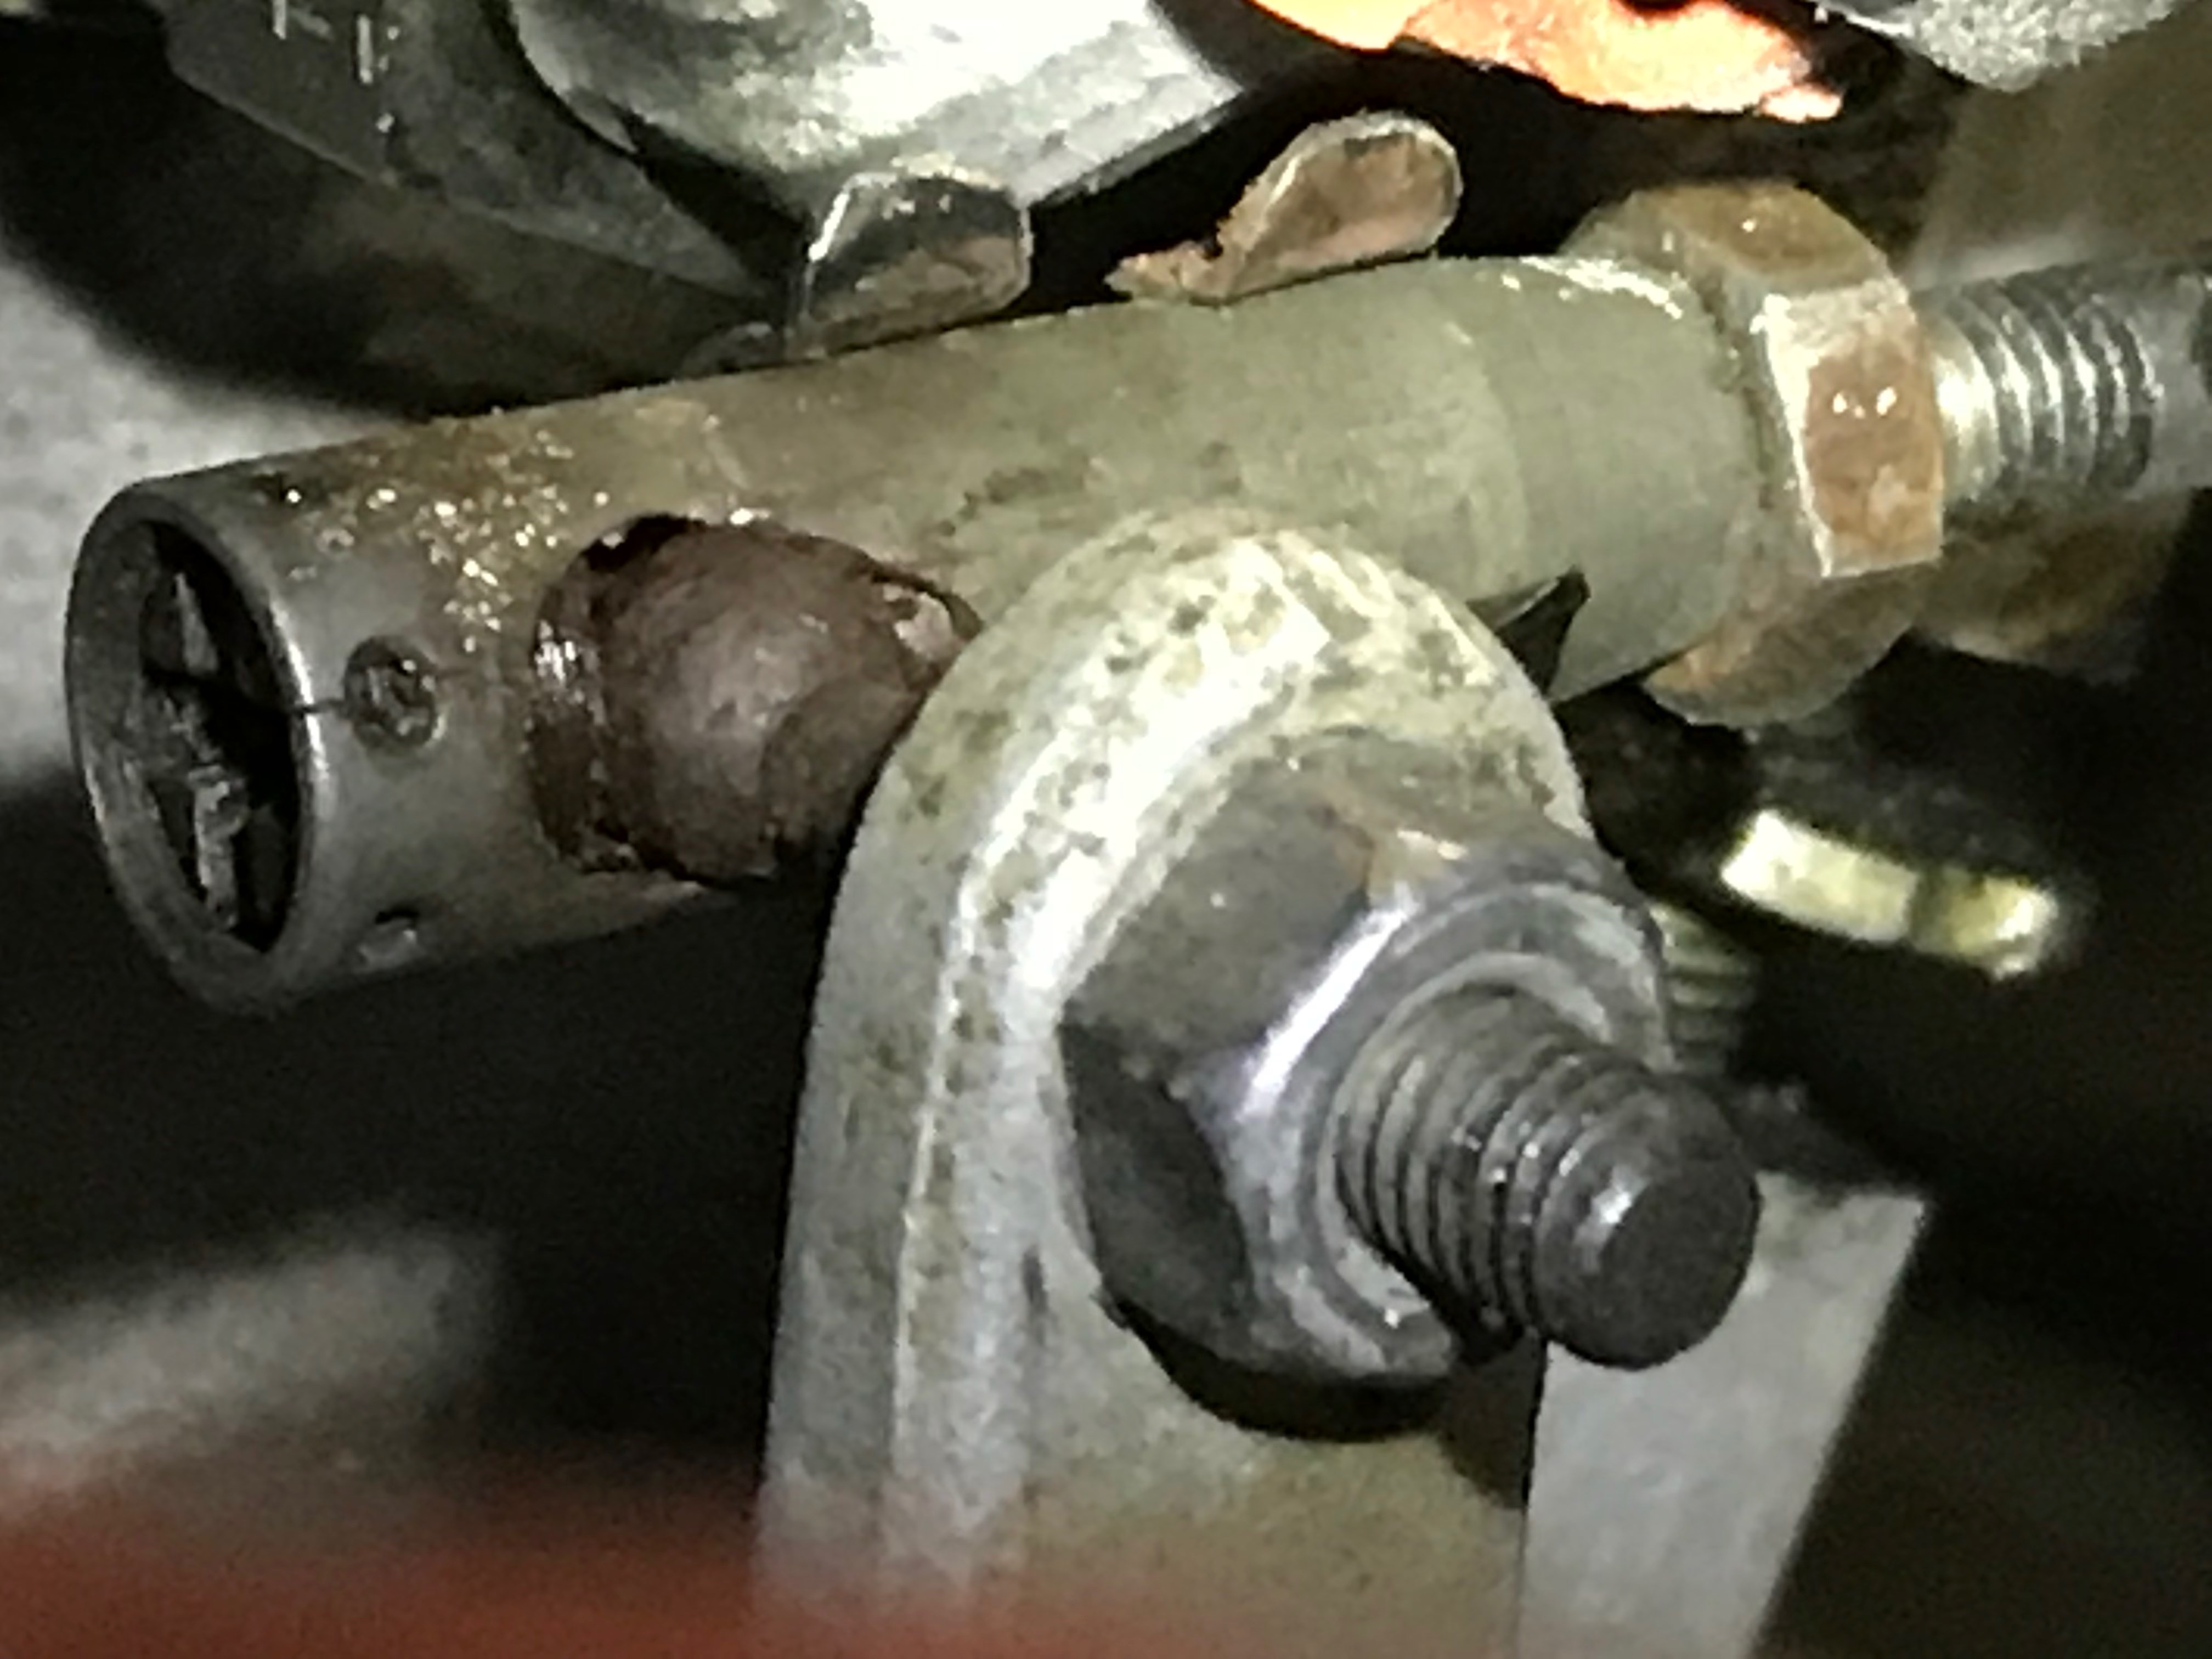
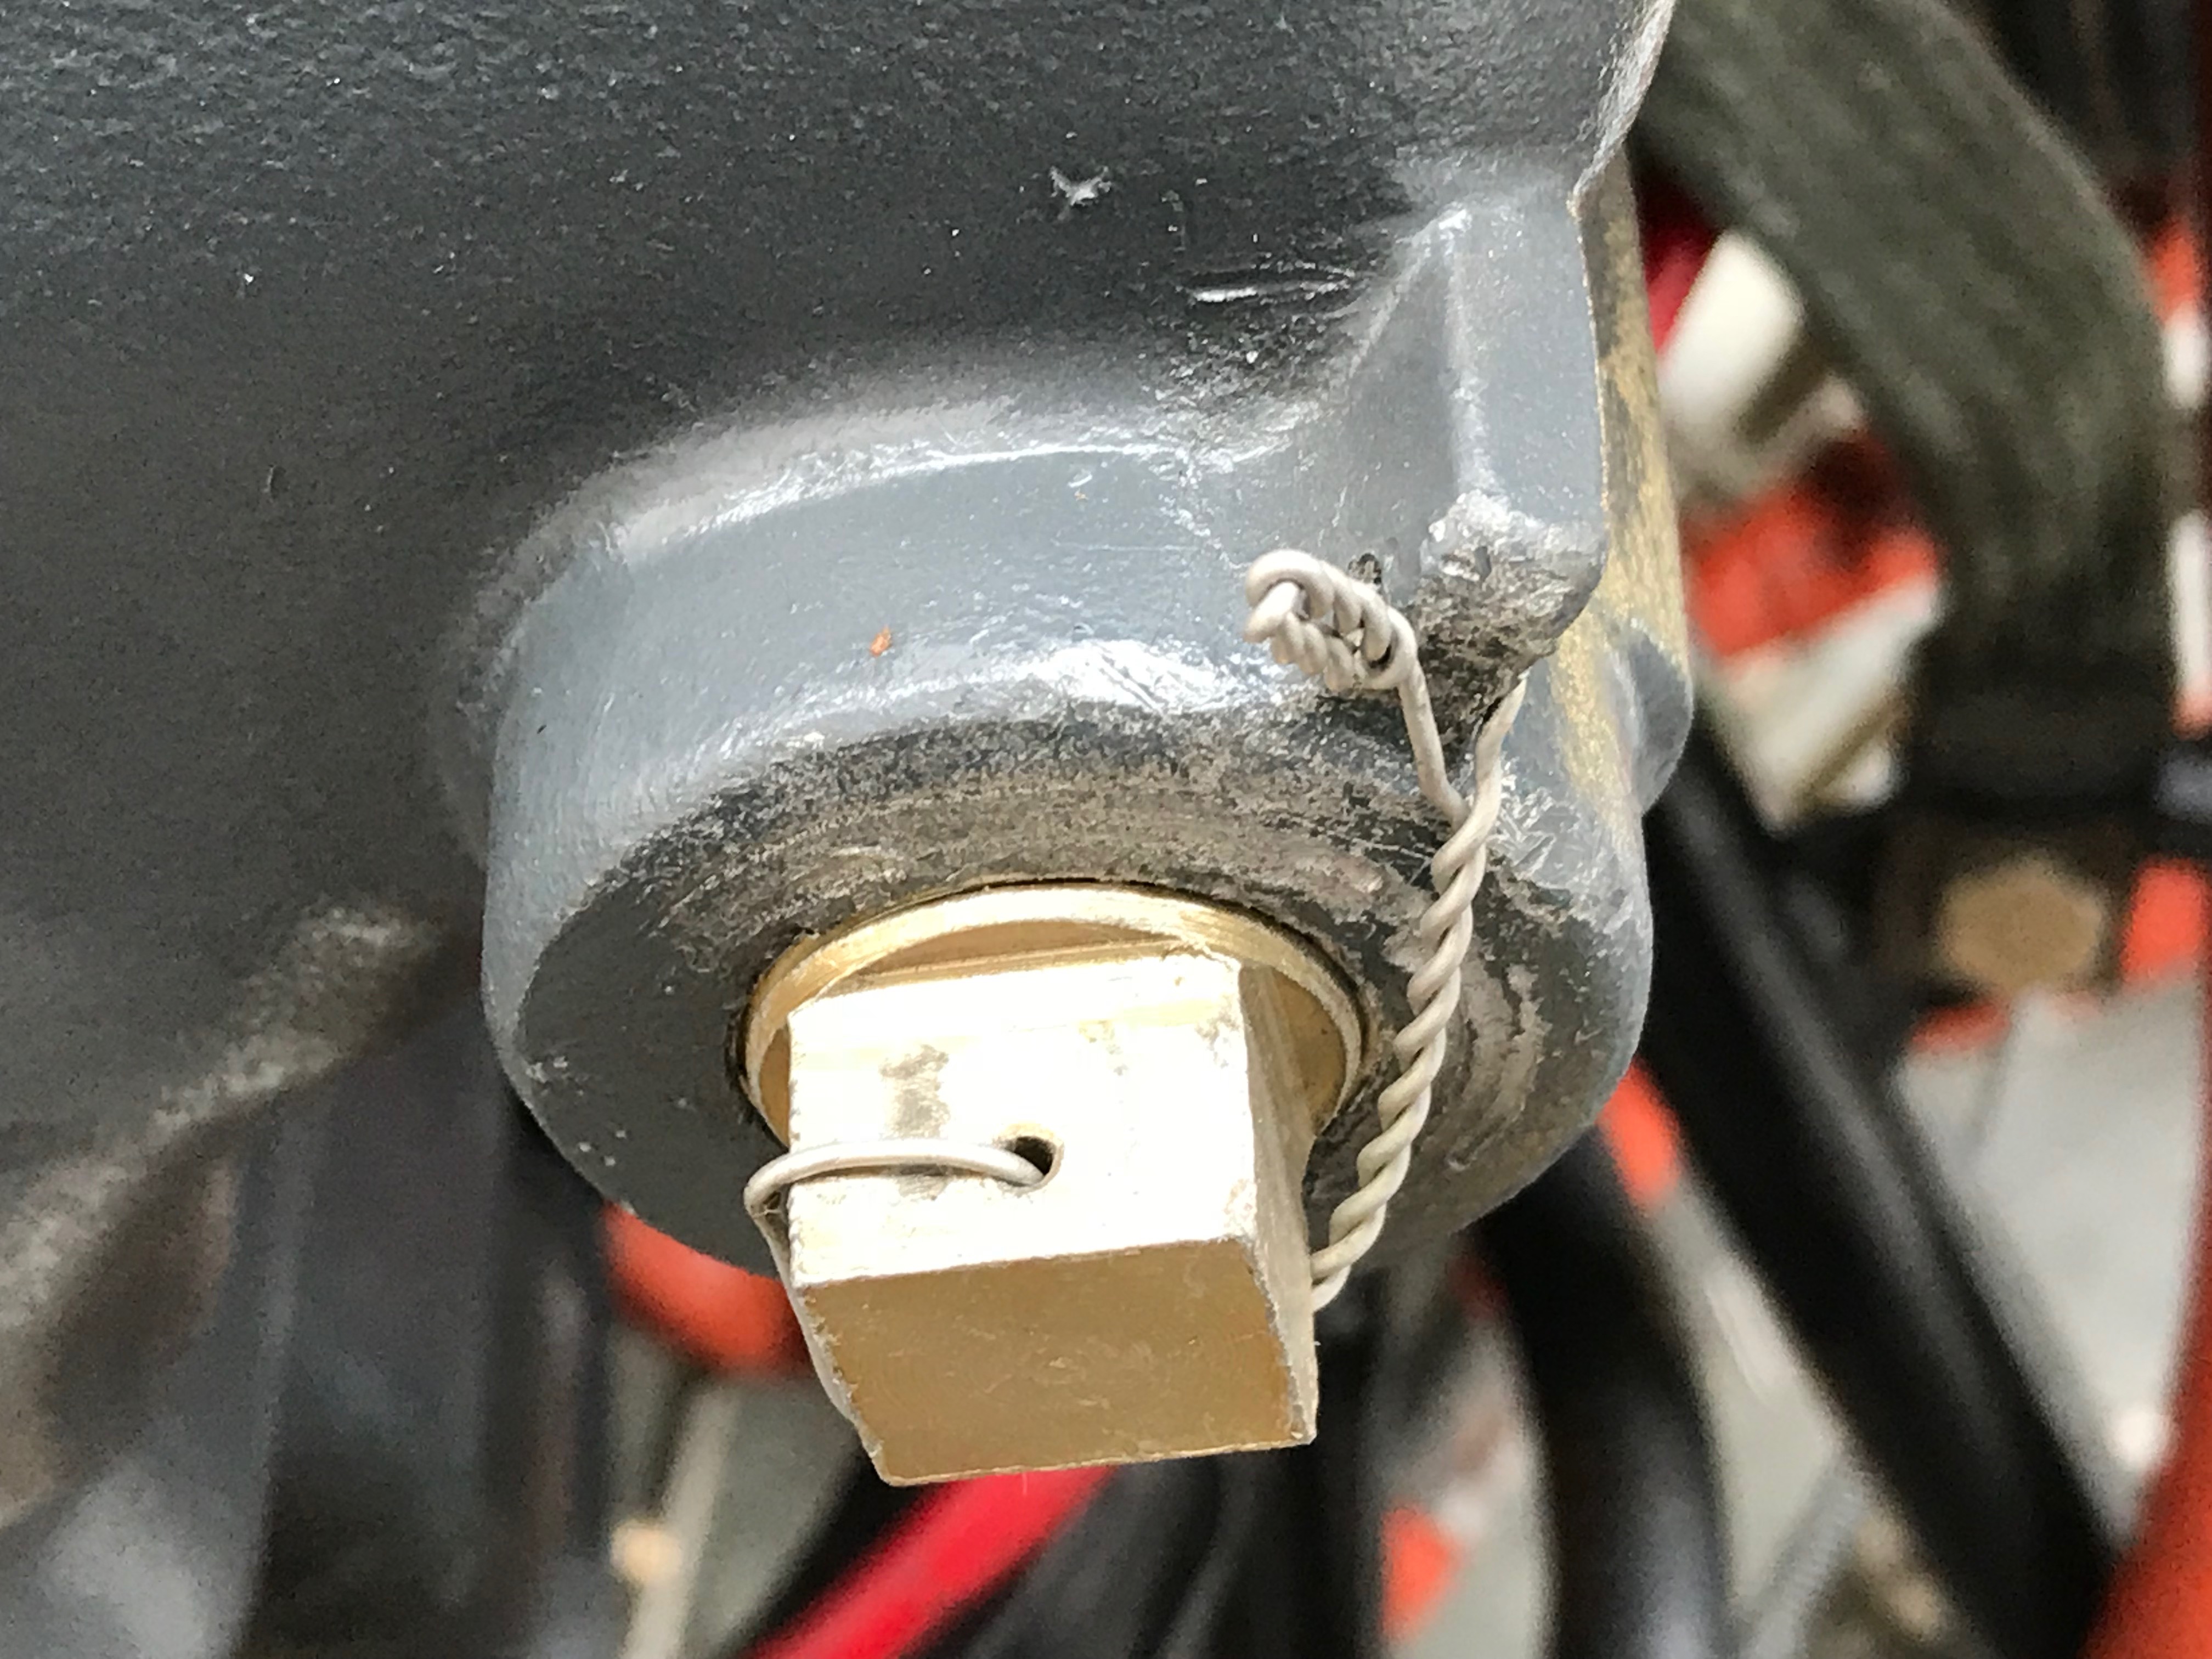
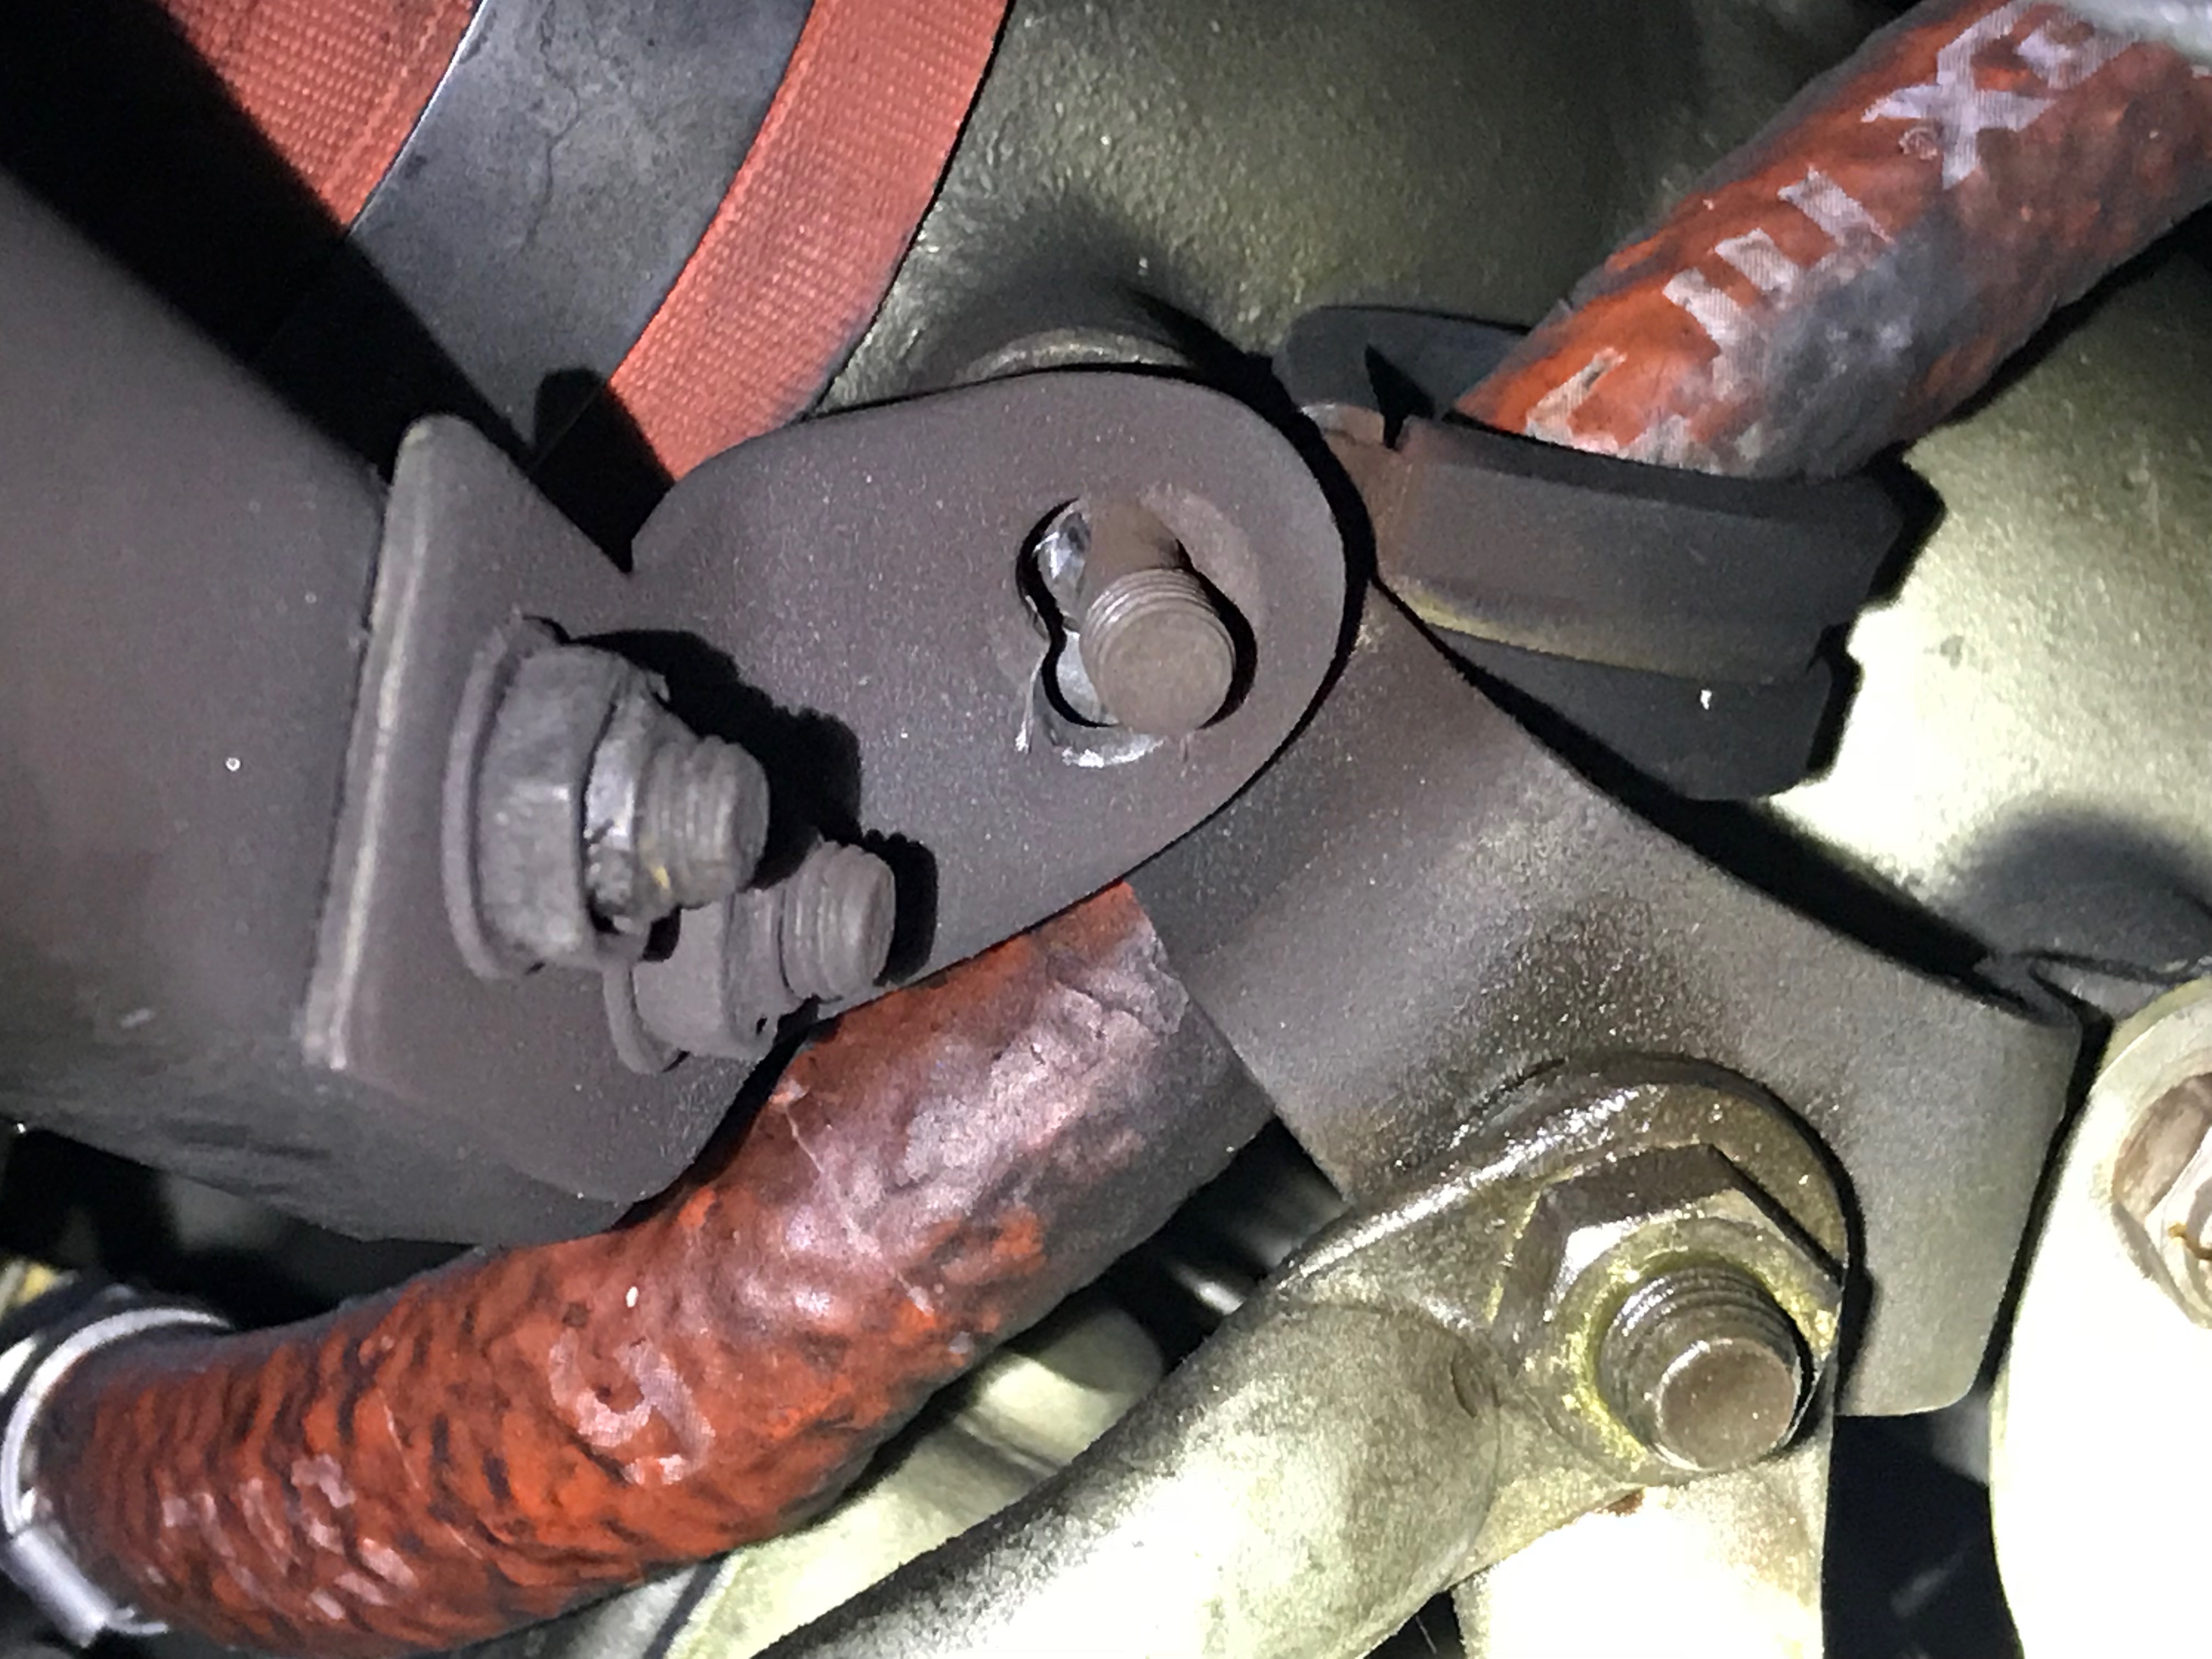
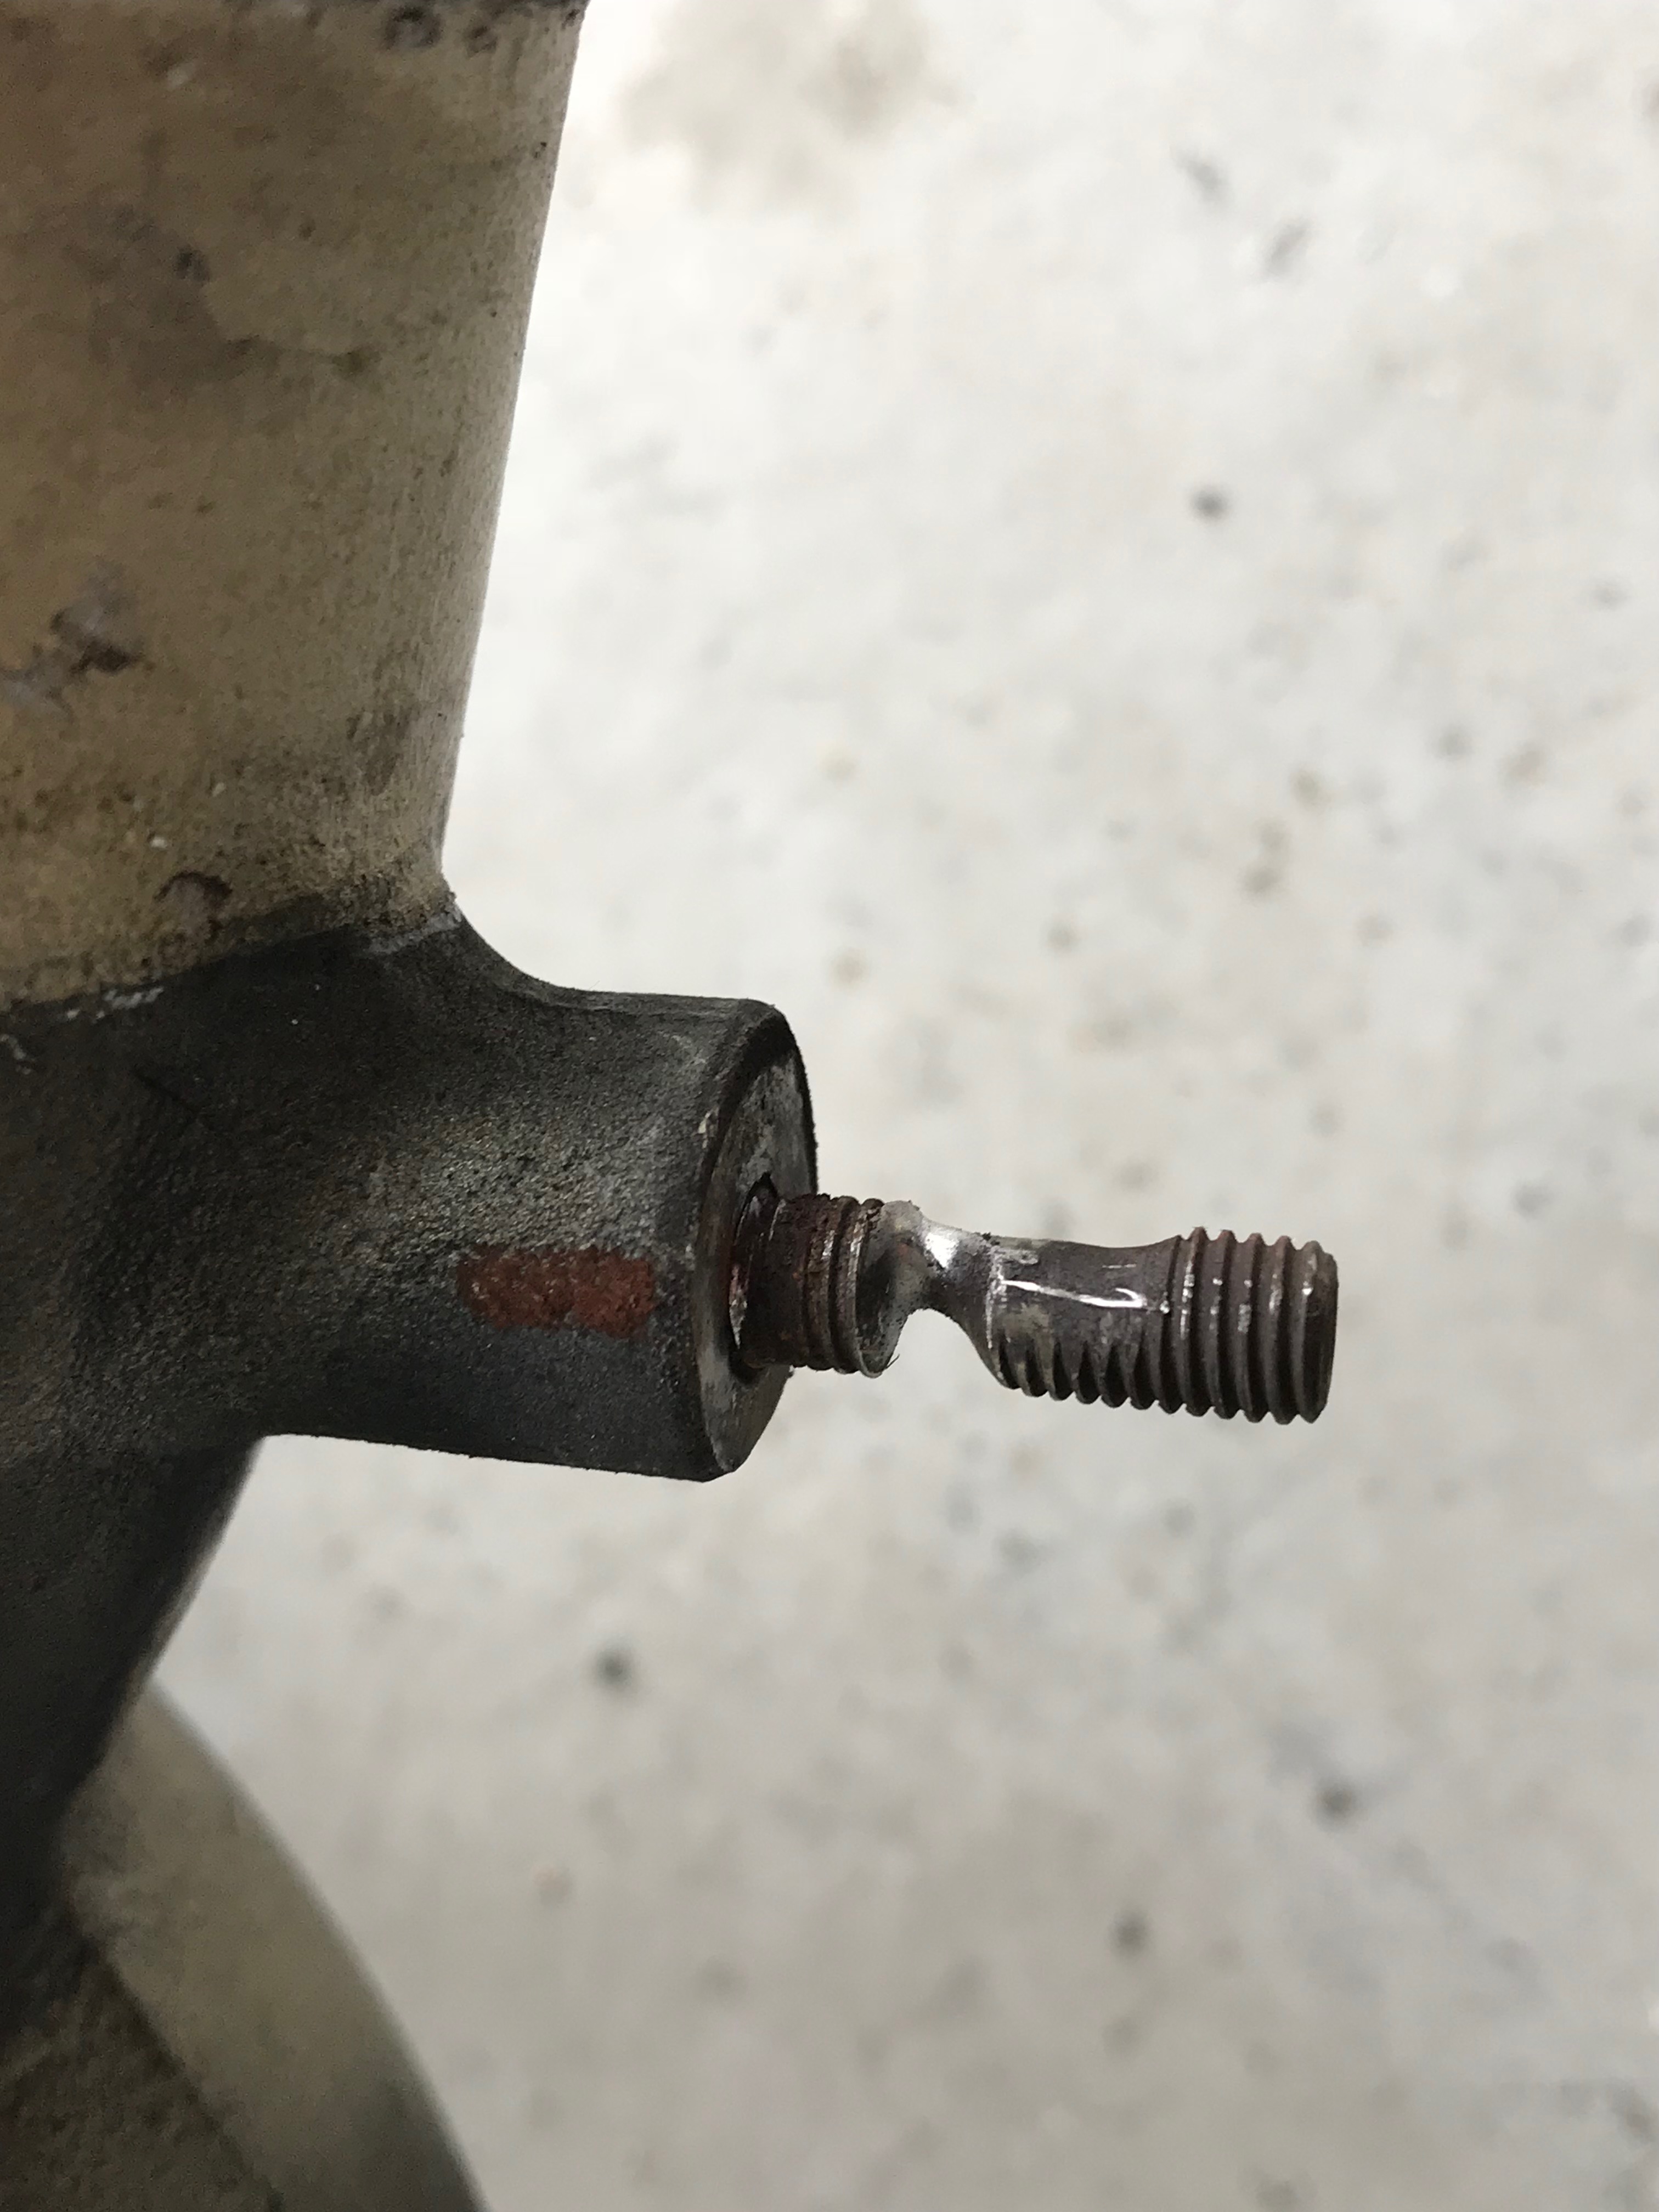
During the process, I discovered a couple other things as well.  One was a severely worn stud at the base of the throttle body that is used to support the exhaust tailpipe:


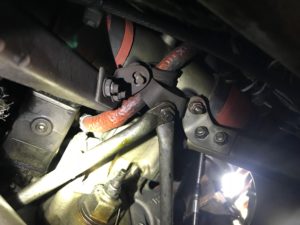
Here’s a closer view after removing the throttle body:


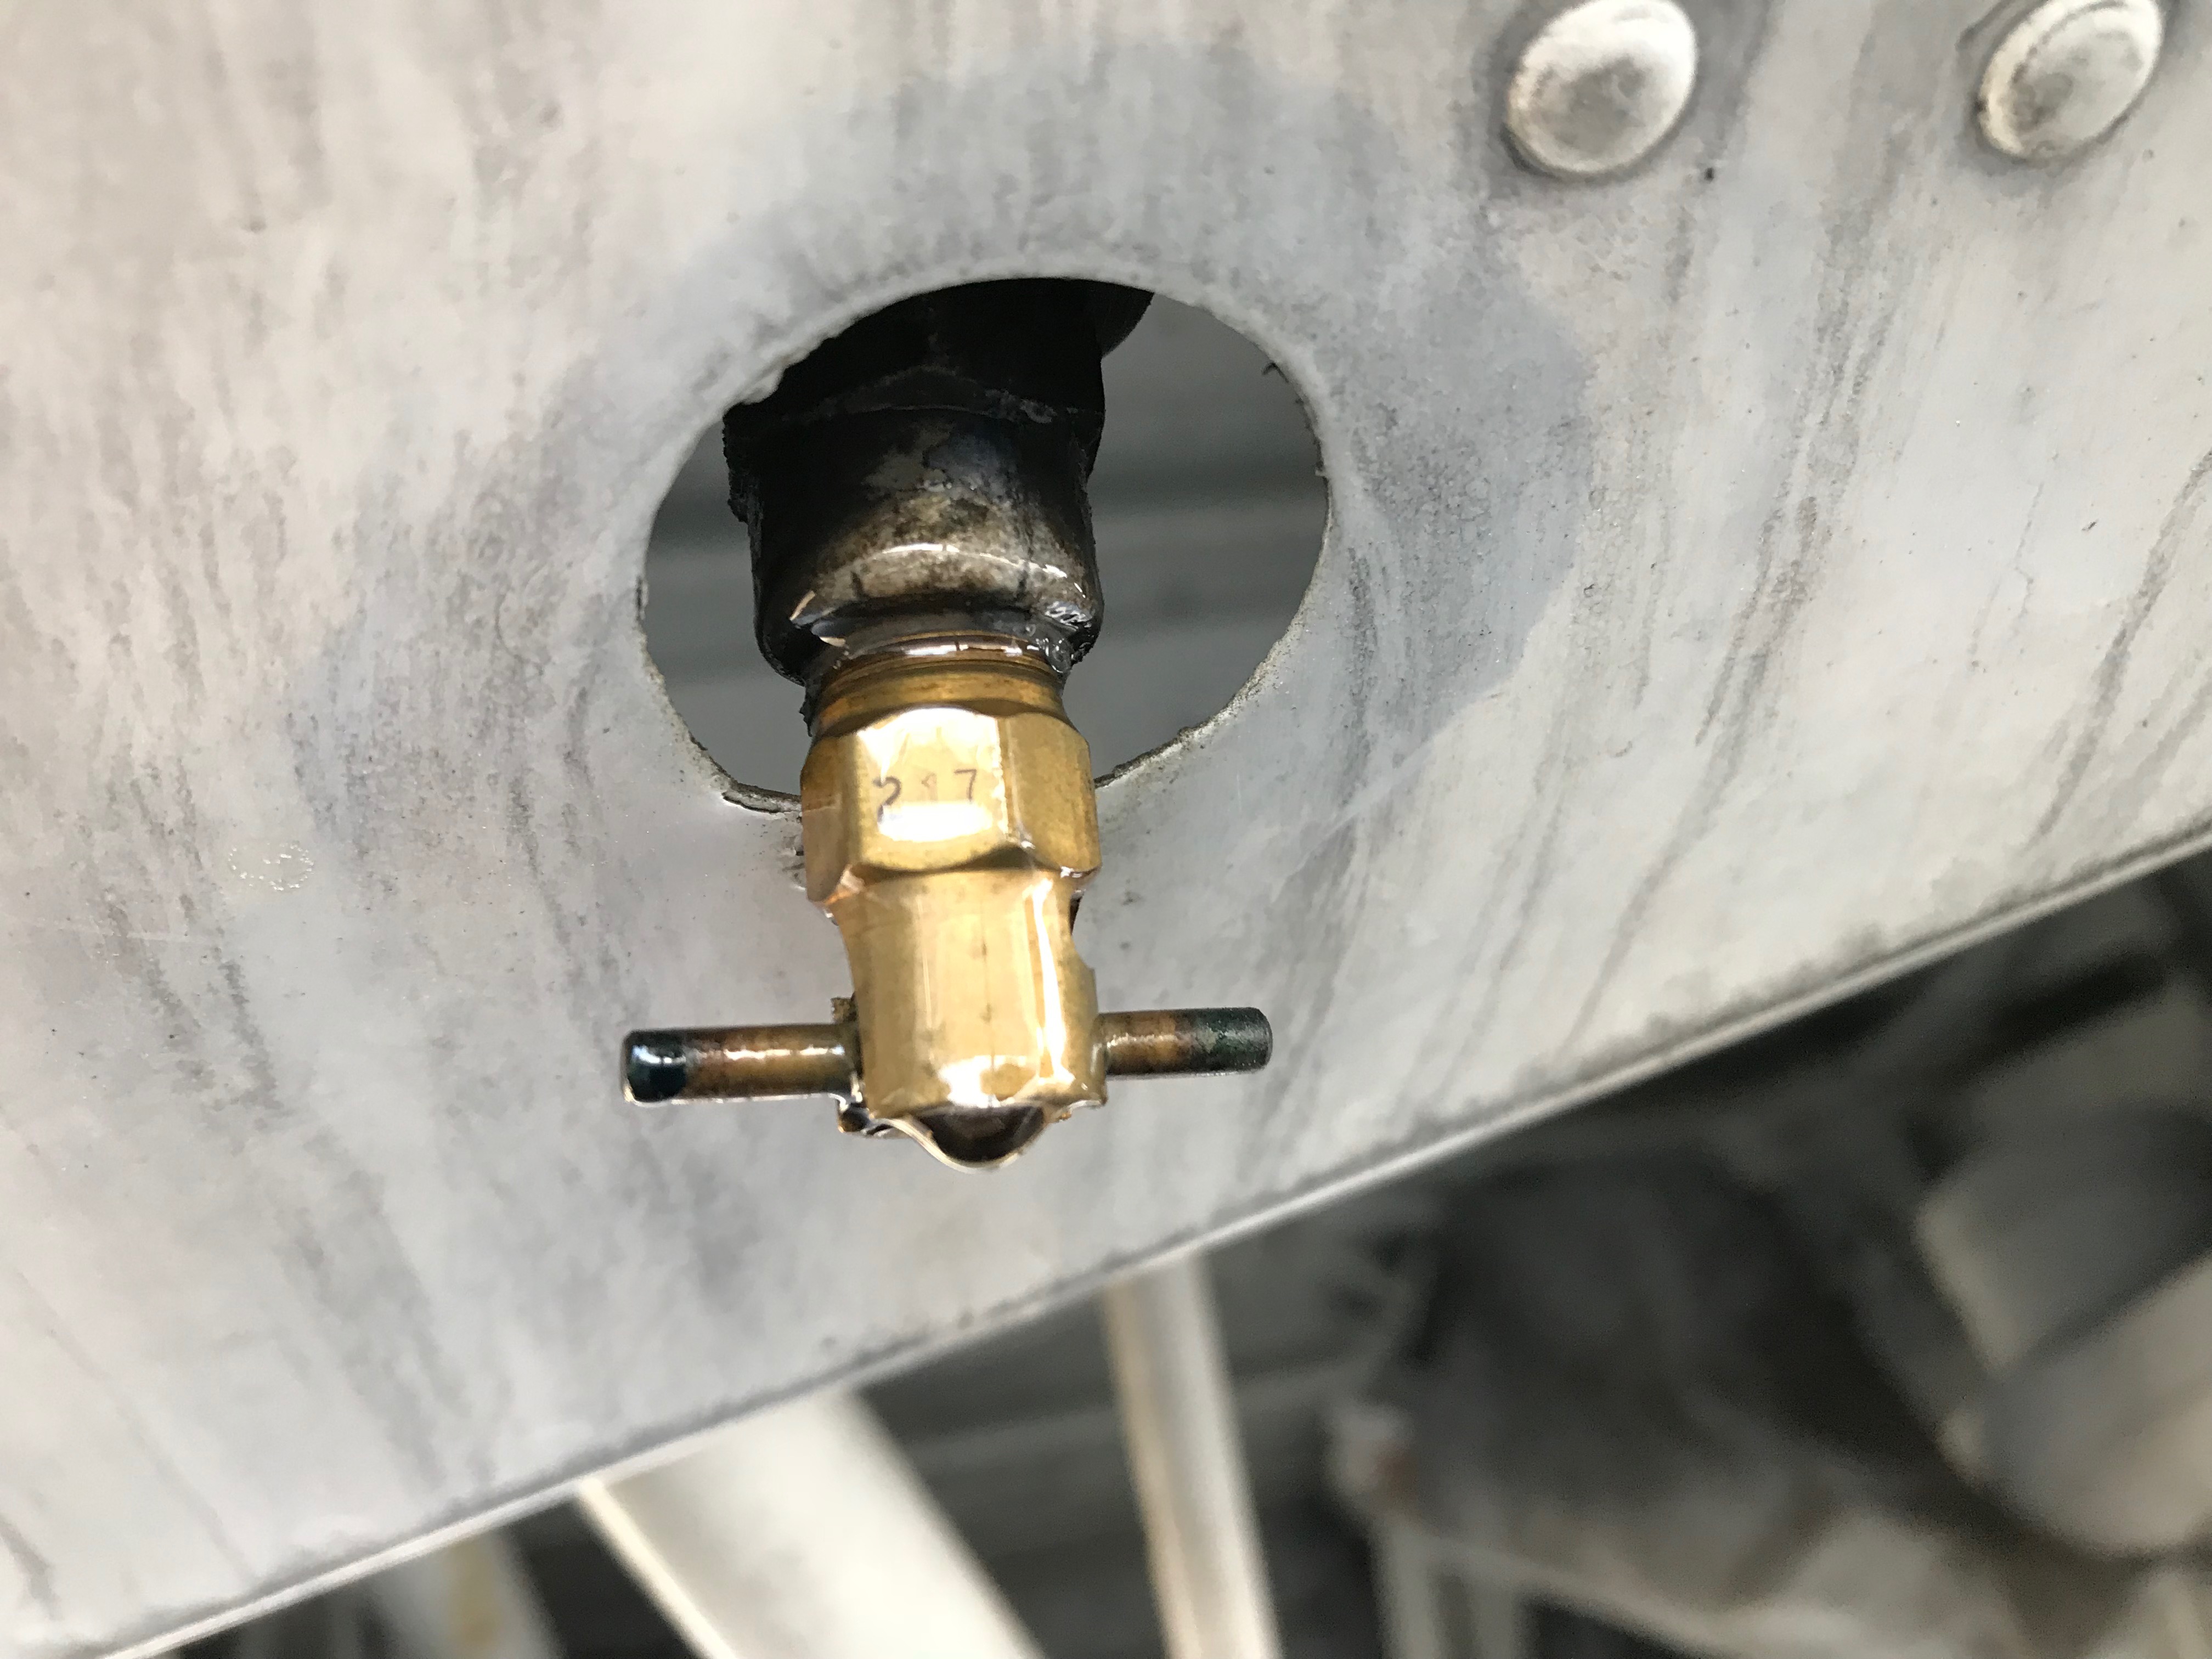
One other thing was that the left fuel strainer drain valve was leaking at the threads.  but instead of needing to reseal the threads, I discovered the fitting was cracked and needed to be replaced.

After fixing these issues, and reinstalling the fuel system components, we flushed clean fuel through the lines with the boost pump, right up to the engine driven pump, and then attached the fuel feed hose to the pump.  After checking for leaks, it was time for a runup.  The fuel pressures and flows were good, and the left idle speed and mixture needed some adjusting, which is normal after having the fuel control / throttle body assembly overhauled.  (The Continental fuel system setup information is in SID 97-3G.)

That bulletin can be seen here:  https://www.twincessna.org/pdf/SID97-3G.pdf

Here’a another article about fuel system setup:

http://www.kellyaerospace.com/articles/ContinuousFlow.pdf

And a good article by Mike Busch about takeoff fuel flow:

https://www.avweb.com/news/savvyaviator/SavvyAviator_65_WhatsYourFuelFlowAtTakeoff-199805-1.html

As I reflected on this whole story, I realized several things:

  1. The routine cleaning of fuel system filters and screens is really important.
  2. Cleaning fuel screens requires attention to detail.
  3. If a fuel tank sump drain is slow to drain, it might indicate debris in the fuel tank.
  4. When working on any specific issue, it’s a good idea to look at the surrounding areas for any additional work needed.


Now for the fun part of this episode.  I’ve met a couple that I want to introduce to you, John and Leslie Caubble.  Leslie left a voice message recently, which is in the audio for this episode… thank you Leslie!

John and Leslie are absolutely fascinating people, who are very involved in general aviation, and a lot of other things.  Their podcast has become a new favorite of mine.  It’s called “The Aloha 360.”  Yes, they live in Hawaii!  Listen to the episode and hear more about them.

They have all kinds of interesting episodes, but you might start with Episode 3:  Why I Learned to Fly.

You can find their podcast website here:

HOME


089 – What Else Should I Do While My Engine is Removed?

During the engine change, it’s a great time to take care of some other items that are much easier to access when the engine is not in the way.

Before we get to that, I want to thank Brad Schmidt for his recent iTunes review.  Brad is a friend of Bret Chilcott and he, like Bret, owns a Stinson aircraft.   Brad loves the tube and fabric airplanes, and it reminded me of an Aeronca champ my previous boss owned years ago… you’ll have to listen to the episode to hear a little more about that airplane.

In today’s episode, we talk about an email question I received earlier this month.   JD Goldstein’s eagle eye mechanic found a crack in his engine case during the inspection, and he ended up needing to change the engine.  Naturally, he was wondering, “What else should I consider doing while the engine is out of the airplane?”

JD’s mechanic had some ideas and recommendations, JD himself had some, and then I also had some ideas.  Here are at least some of those ideas:

  1. Thorough cleaning.
  2. Replacing all hoses with new.
  3. Replacing any deteriorated wiring.
  4. Removing the engine mount if it’s a tube type.
    1. Strip paint off.
    2. Inspect.
    3. Paint or powder coat.
    4. Reinstall (replace worn hardware.)
  5. Closely examine engine control cables and rod ends, and replace as necessary.
  6. New engine shock mounts and new hardware.
  7. Look at everything on firewall for any needed repairs or preventive maintenance.

Another little reminder, if you haven’t checked out the video tutorial course, “Safety Wire Like A Pro!,” then please go check it out.  Here’s the link:  https://airplane-owner-maintenance.teachable.com/p/safetywiring

Jeremy Zawodny sent me some good feedback about the course, and he’s already putting it to good use, on his airplanes.  Well done Jeremy!


One last thing, I wanted to especially recommend the latest episode of Airplane Intel Podcast… stories and recordings of live interviews from Sun N Fun.   That episode was released just this week.

Here’s a link to that episode:  https://www.airplaneprebuy.com/snf

Have a great week everyone!


088 – No RPM Drop When I Select Left Mag

Ignition system issues and a couple other strange scenarios… that’s what we’ve got for today.

Also, if you have not seen Dean’s safety wiring tutorial course, be sure to check out the details here:

Click Here for full details.

In today’s episode, we talk about three different airplanes, and the issues each one had with their ignition system.   Perhaps if you encounter something similar in the future, this information will be helpful in troubleshooting your airplane’s situation.

Before getting into those issues, we also talk about a couple out-of-the-ordinary situations that might be worth mentioning.  Here they are:

  1. An ACK E-01 ELT that would not test properly.  It turns out that one of the eight Duracell “D” batteries was corroded internally causing it to show no voltage.
  2. An intermittent master electrical switch.  The switch contacts had burnt spots on them.

Now for the ignition system issues:

  1. A Piper Cherokee 235:  During the mag timing check, I discovered the mags were “hot” even with the ignition switch in the “off” position.  The switch was not able to ground properly because the broken portions of the shielding ground wiring on the P-leads.  A new ground wire from the ground terminal of the ignition switch to the airframe, fixed this problem.
  2. A Mooney M20J:  A transient airplane at SHD, that ran rough when the right mag was selected.  After some head-scratching trouble shooting, we discovered the P-leads in the dual magneto were swapped… they were installed in the  wrong positions.  After installing the P-leads in the correct positions and replacing the #4 bottom spark plug due to a cracked ceramic, the engine ran just fine, and they were on their way again.  Tom McFadden is the owner of this airplane… a super friendly guy I might add.  He had an interesting business where he provides a  service to digitize aircraft maintenance records.  You can find information at MyAvBook.com
  3. A Cessna 172RG:  The pilot / owner reported  “Repair left mag (no RPM drop.)”  It turns out the right mag P-lead was broken, causing no RPM drop when left mag was selected.  This was because there was no capability to ground the right mag, since the P-lead was broken.

If you know of any interesting ignition system stories, let me know and maybe we can include some of those in a future episode.

Happy troubleshooting, and safe flying!

087 – No Nose Gear Down Light in a Piper Arrow

Today, we’re talking about Piper Arrow landing gear.  Specifically, an airplane that landed at SHD recently and the nose gear light did not illuminate.  Listen to this episode to find out why the light did not come on, and some troubleshooting tips to think about.

We also cover several other fun things right in the beginning of the show.  Here they are:

  1. Speed brakes on a Piper Matrix.  Be sure to go back to episode 052 and watch the startling video of how quickly these speed brakes can collapse if they lose electrical power!  http://airplaneownermaintenance.com/052  (The video is only 8 seconds long, but it’s really fun to watch… I watched it twice just the other day!)
  2. What I learned about a lightning diverter on that Piper Matrix.
  3. Some interesting information from an A&P student named Sawyer.
  4. A non-aviation friend of mine who listens to the podcast.  Thank you Frank Lipski!  Here’s Frank’s website:

    ModernFireInstructor.com

  5. An interesting thing about the Piper Matrix landing gear.

Then, we talk about that Piper Arrow and why the nose gear down light did not illuminate.

And here’s the question of the day:  Do you know what the pressure switch does in the Piper Arrow landing gear system?  I’ve noticed there can be some confusion about this, and hopefully we are helping to clear up some confusion in today’s episode.

One final thing:  If you have not checked out the Safety Wire Like A Pro! video tutorial course, be sure to check it out.  There are 15 videos to help make you a safety wiring expert.  Click Here to read all about it and decide if it’s something you should do.

Have a great week everyone!


« Older posts Newer posts »