A Maintenance Oriented Podcast For Airplane Owners, Pilots, and Mechanics

Year: 2019 (Page 1 of 3)

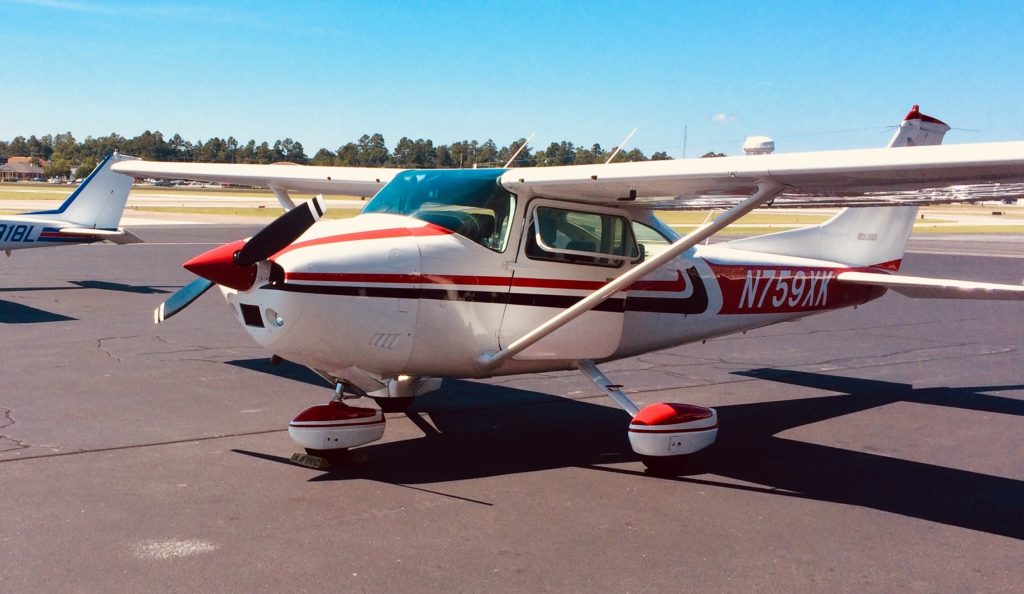
131 – Drew Wright’s Cessna 182 Exhaust Valve Lapping Success!

During the recent annual inspection on Drew Wright’s Cessna 182, cylinder #1 had a low compression of 42/80. However, with the amazing technology of borescoping, he was able to take a look inside the cylinder. The nice concentric circle of deposits on the face of the exhaust valve indicates a healthy valve. Drew wondered if perhaps this valve would be a good candidate for lapping in place, without removing the cylinder.
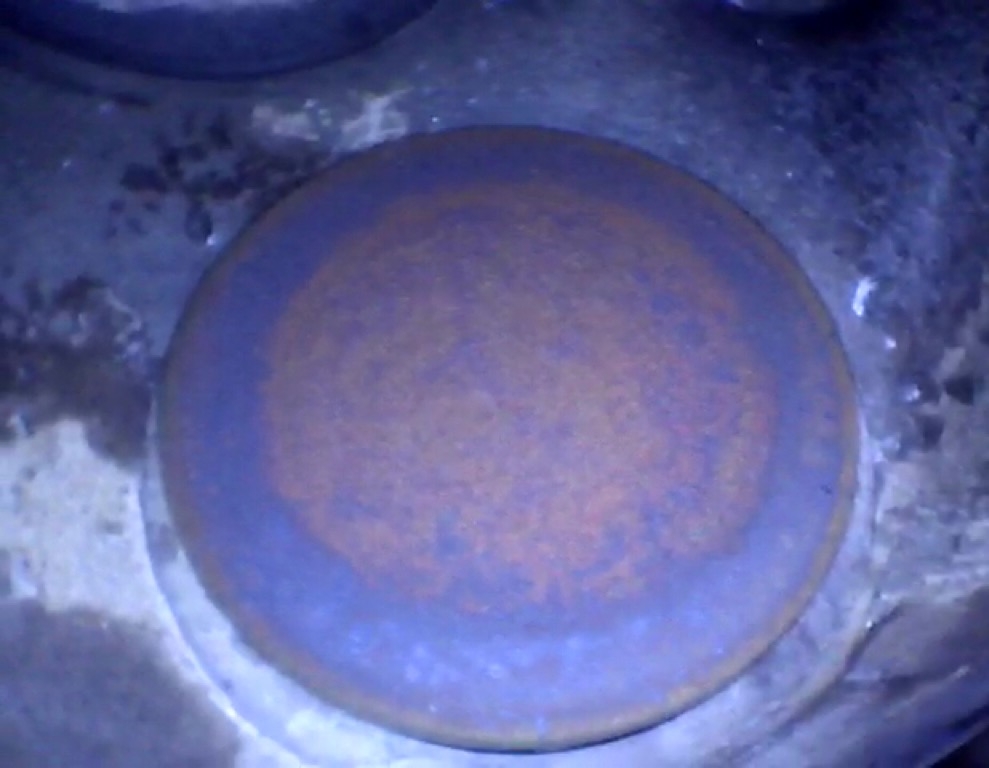
Even though the valve appeared healthy, Drew noticed a significant amount of air leaking out the exhaust during the compression test. Once again, his borescope was very helpful in observing the condition of the exhaust valve and seat area. The valve looks good, except for the rough and uneven seating area.

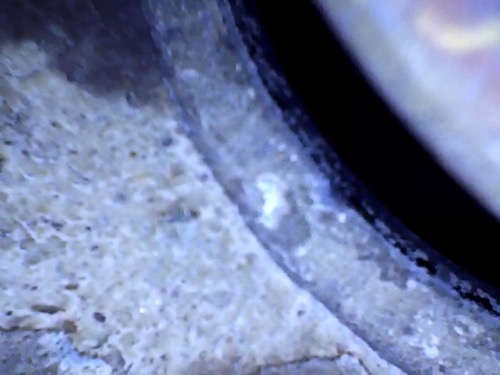
The seat also looks good, except for the corresponding rough and uneven seating area.
With the supervision of his A&P, Drew was able to remove the rocker cover and the exhaust valve springs. After verifying the valve guide was in good condition with no excessive wear, and the valve was sliding freely in the valve guide, he was ready to “lap” the valve (to apply a small amount of valve grinding compound to the edge of the valve using a long Q-tip through the top spark plug hole, and spinning the valve against the seat to smooth out and improve the seating area.)

Drew used a piece of wood dowel rod, some clear tubing, and some hose clamps, for this task… I like his idea so much, I’m planning to use this technique in the future.

One of the most important parts of the lapping process, is cleaning out the residue after the job is finished. One method is to spray Av-gas into the top spark plug hole to wash the grinding compound off the valve and the surrounding areas, and let it run out the bottom spark plug hole. Multiple washings, along with some compressed air, cleans up the area very well.

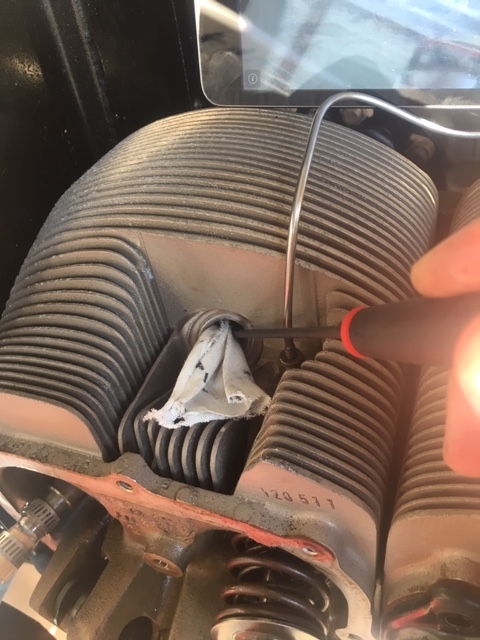
An additional thing Drew did was to push a thin cloth into the top spark plug hole, and pull the valve back to squeeze the cloth between the valve and valve seat. Then, he could turn the valve against the cloth and clean the seating area even better. I’m also going to keep that little tip in mind for my next lapping project. Thanks Drew!

The seating area of the valve showed a nice smooth band after the lapping was done – very impressive!

After the lapping was completed, a new rotator was installed on the exhaust valve, everything was reassembled, and the compression immediately improved!
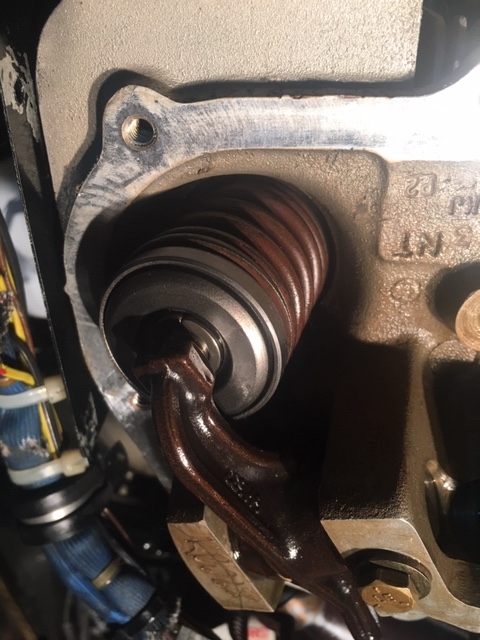
But the best result was the compression test that was done after running the engine… that same cylinder that was 42/80, now had a compression of 78/80! What a fantastic result, and now, hopefully that cylinder will run reliably for many more hours.

Be sure to listen to the audio for this episode for more details about Drew’s adventure. He also shared about an induction leak that was visible because of some blue fuel staining.
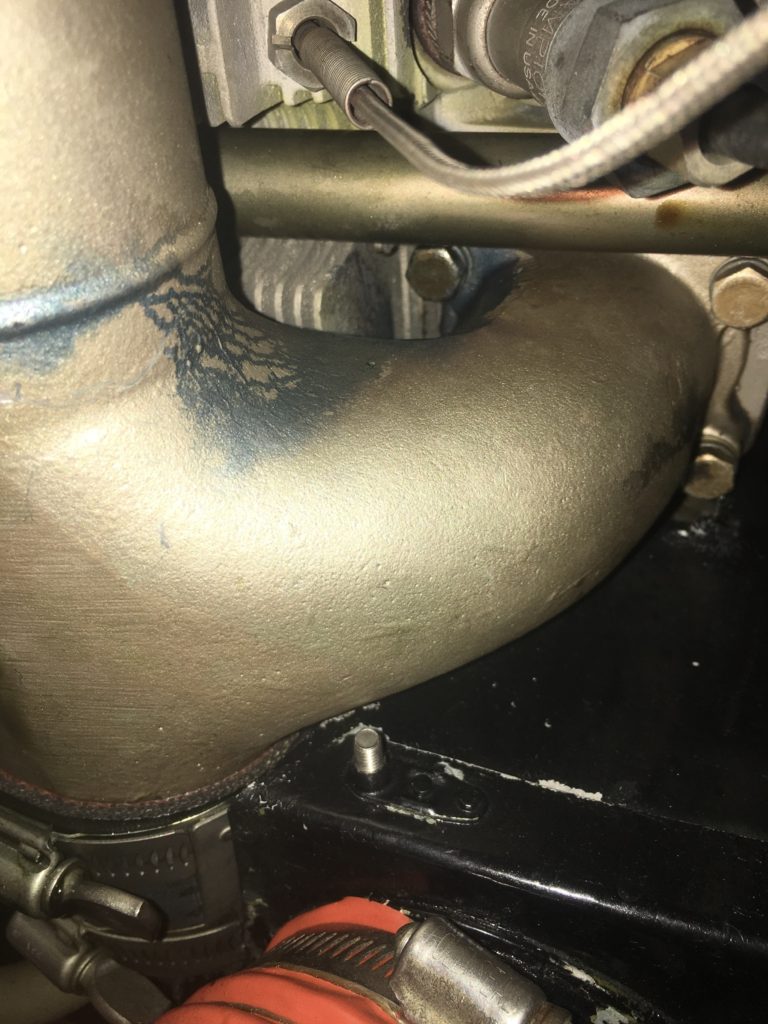
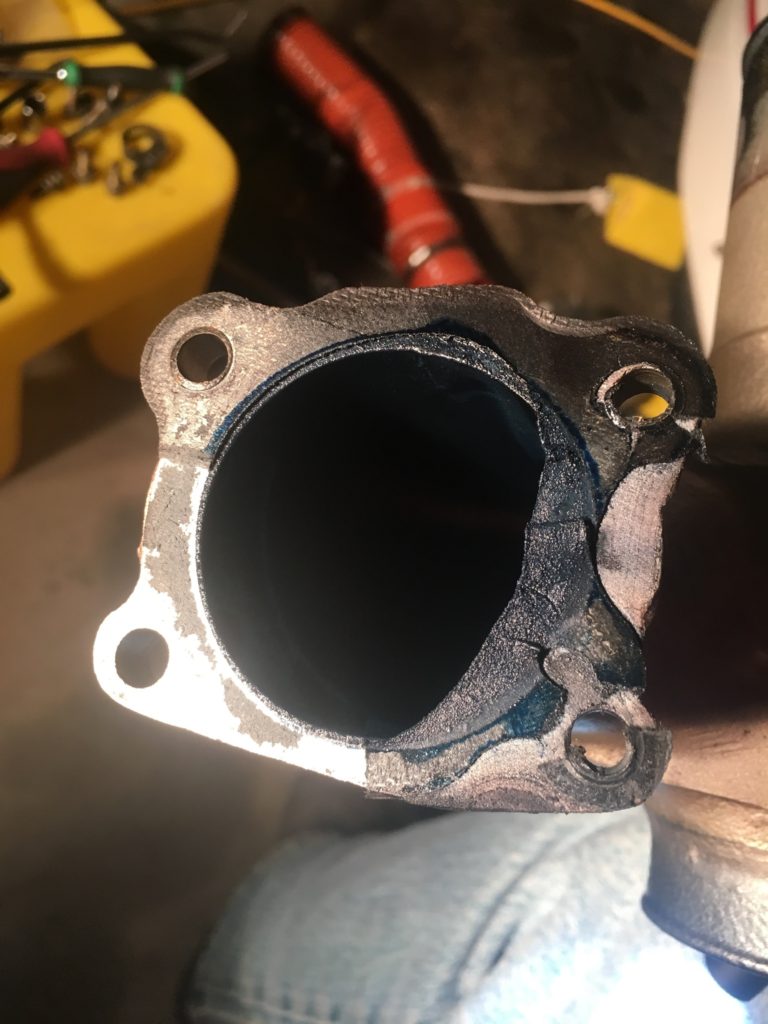
After removing the intake pipe, it was obvious the gasket had shifted out of position during the assembly process many years ago… perhaps this was part of the poor idling problem that was also corrected during the annual inspection. After installing a new intake gasket and adjusting the idle mixture setting, the engine idled much better than before.
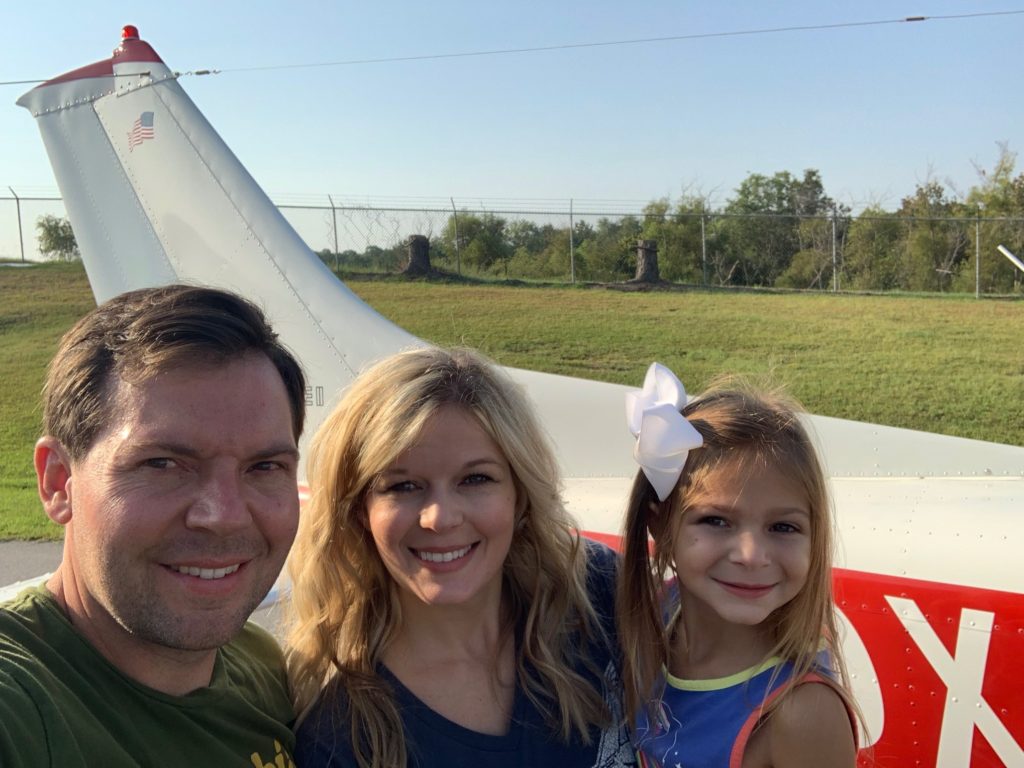
Drew’s story is a true inspiration in so many ways.

So, if you, as an airplane owner, have an interest in learning and getting involved in the maintenance, just find an A&P who is willing to give you some supervision to keep things legal, and you’ll have all kinds of possibilities.

Well done Drew, on your exhaust valve lapping project! I’m thrilled with the result you achieved on this one!

Drew has a young family, and it makes me happy to know he’s taking such good care of his airplane… after all, he’s got some precious cargo to haul around!
130 – A Fuel Leak That Didn’t Catch Fire

Limited time offer on the “Safety Wire Like A Pro!” video tutorial course: (Offer good until midnight December 24, 2019. Just use code “2019” at checkout.)

Click here to save 10% and become an expert!

Hey, check out this 10 second video of an absolutely startling fuel leak I found this past week during a “routine oil change.”

The reason I put that “routine oil change” in quotes is because I’m convinced we should never view an oil change as just a routine thing in itself.

Rather, it should be viewed as an opportunity to become a detective and find any other issues that might need attention in the surrounding area, especially in the engine compartment… like a fuel leak.

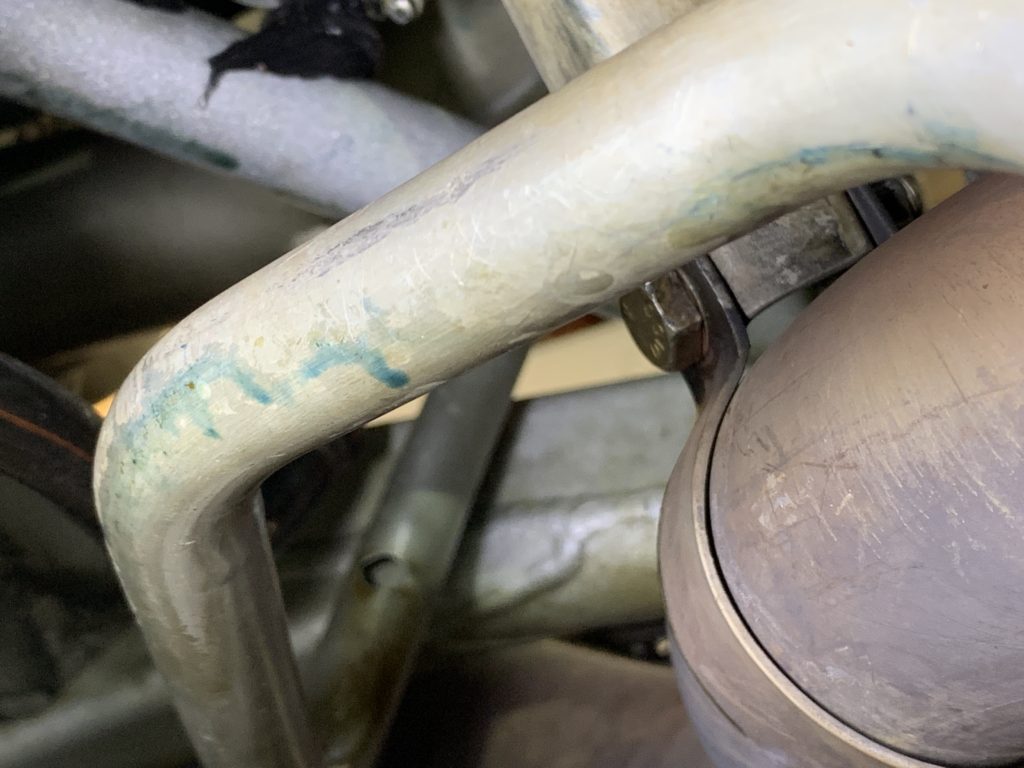
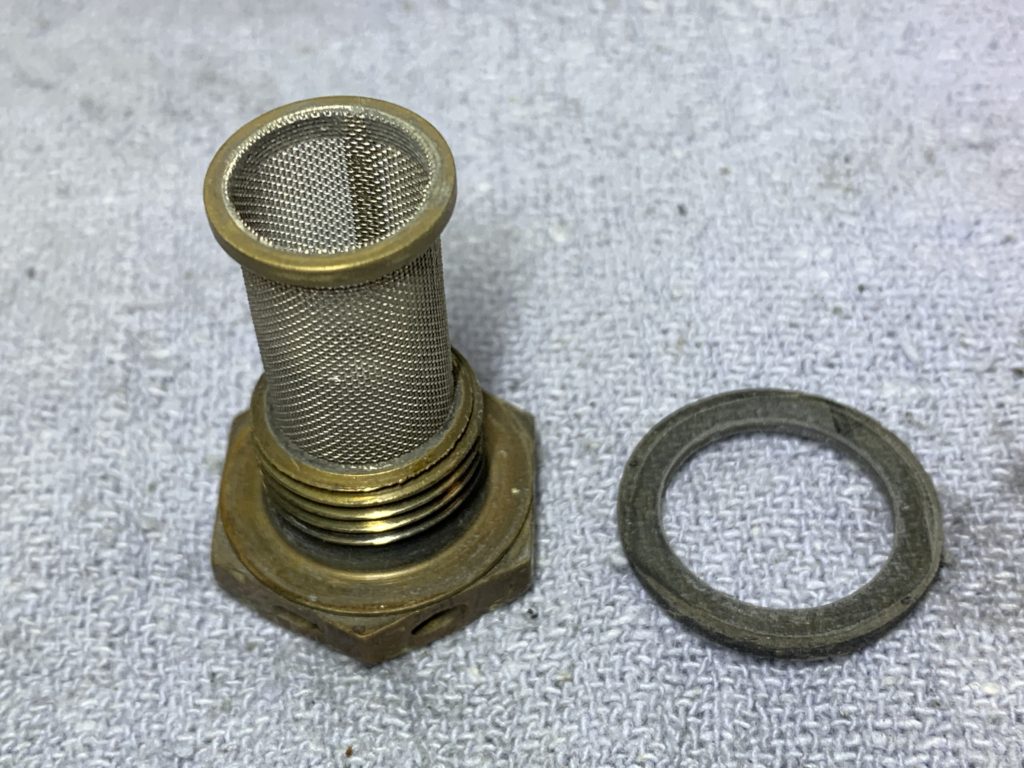
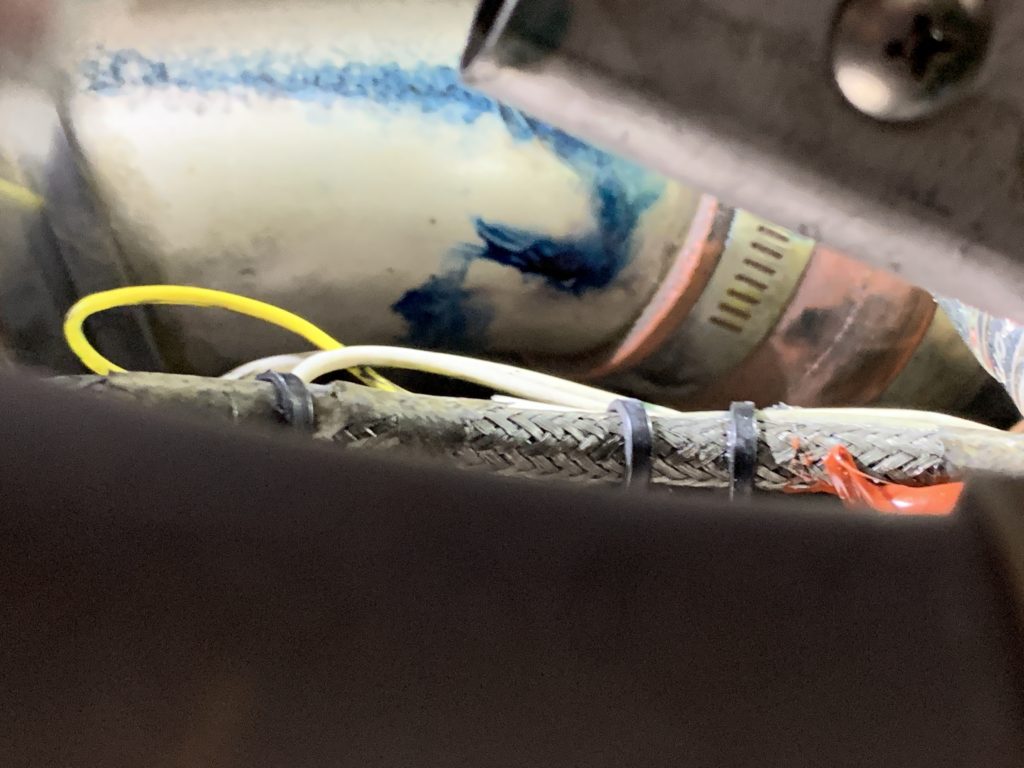
Notice the blue staining in the following pictures… clues of a fuel leak:


Apparently, the gasket on this fuel screen plug was hardened and brittle, and no longer able to provide a good seal.

Listen to today’s podcast episode to hear the story about this fuel leak, and how it was solved.

Also, notice the safety wire on the fuel screen plug in the video… it’s in a very tight spot that’s really difficult to work in. It was a bit of an ordeal to even get the safety wire off the plug to remove it.

And reinstalling the safety wire was even more challenging… which reminds me of something I want offer you:

Between now (Saturday, December 14) and Christmas eve, December 24, 2019 at midnight Eastern Standard Time, I’m offering a 10% discount on the safety wiring video tutorial course, “Safety Wire Like A Pro!” This course will teach you everything you need to know to perform excellent safety wiring during preventive maintenance on your airplane.

Whether you’re changing the engine oil, cleaning fuel screens, or safety wiring a brake caliper after changing a tire, there’s a detailed video in this course to help you with that task.

Become a safety wiring expert with this detailed training opportunity. It’s like I’m right there with you at your airplane… you can set your laptop on a table by your airplane, play the appropriate video, and do your safety wiring right along with me, as you watch me in the video… it’s like having your own personal instructor right beside your airplane.

So don’t settle for that ugly, loose safety wiring that I too often see on airplanes… instead, take advantage of this valuable resource and become a safety wiring expert!

Click here to save 10% on the “Safety Wire Like A Pro!” video course.

Use code “2019” at checkout to save 10%.

129 – Air Filters: Don’t Let Your Airplane Suffocate!


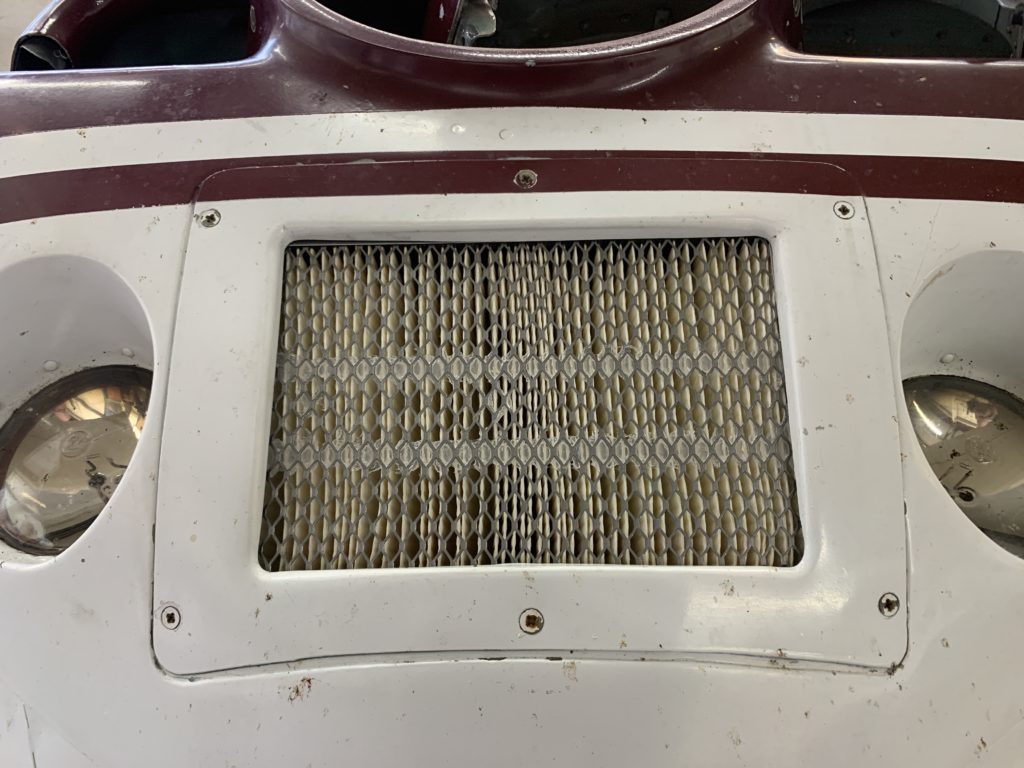
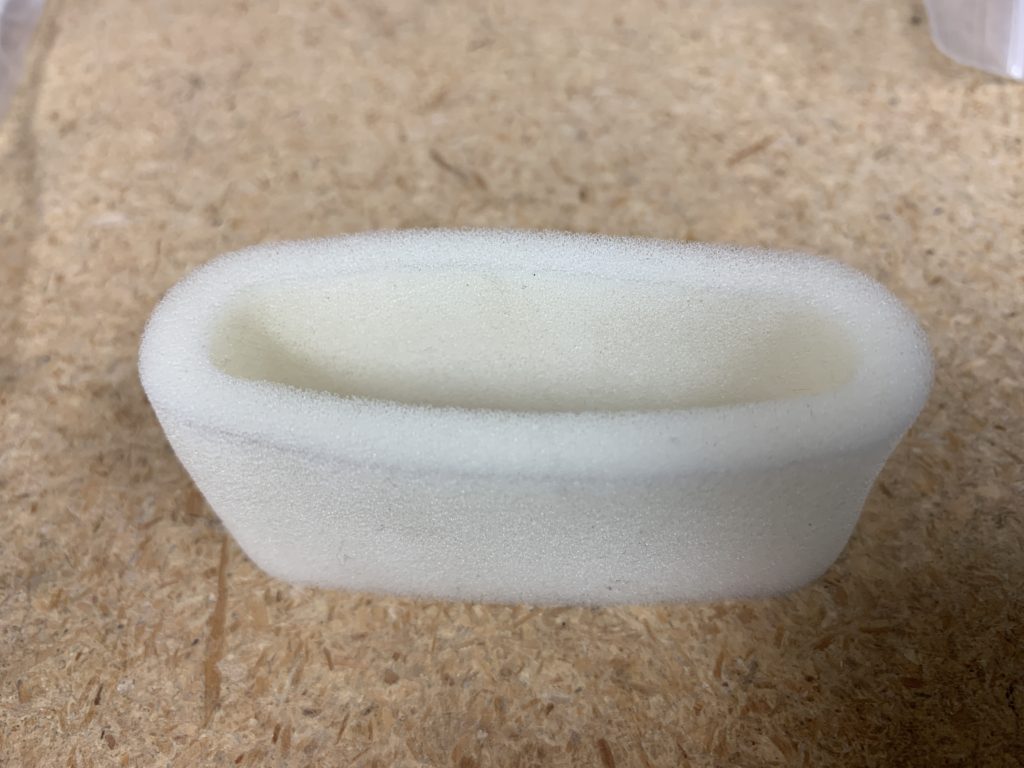
Whether your airplane has a “Brackett” brand filter like the first picture, or a “Donaldson” brand filter like the second filter, or another brand like “Challenger” or something else, they all need to be clean and in good condition.

The air your airplane breathes is critically important. Your engine, your vacuum instruments, and even other components, all need to breathe fresh clean air in order to function properly.

Listen to today’s episode to hear about induction filters, vacuum system filters, and even an obscure filter you may not have thought about.

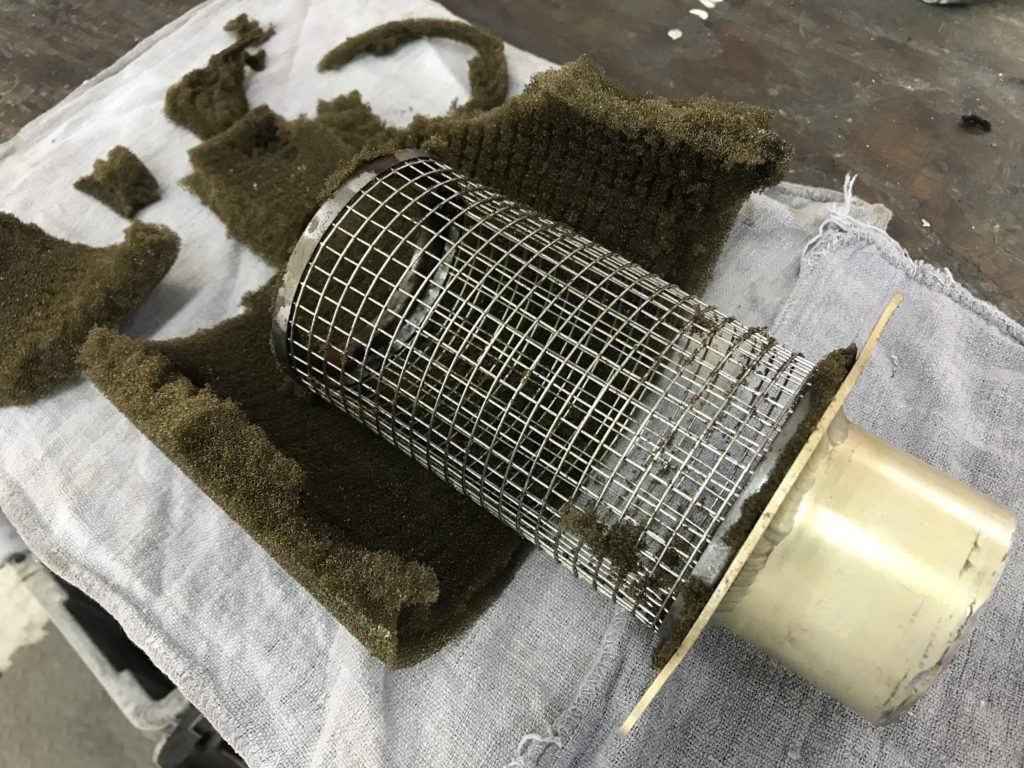
Take a look at what can happen when a Brackett filter is not changed often enough. Upon removal, the foam filter crumbled apart.


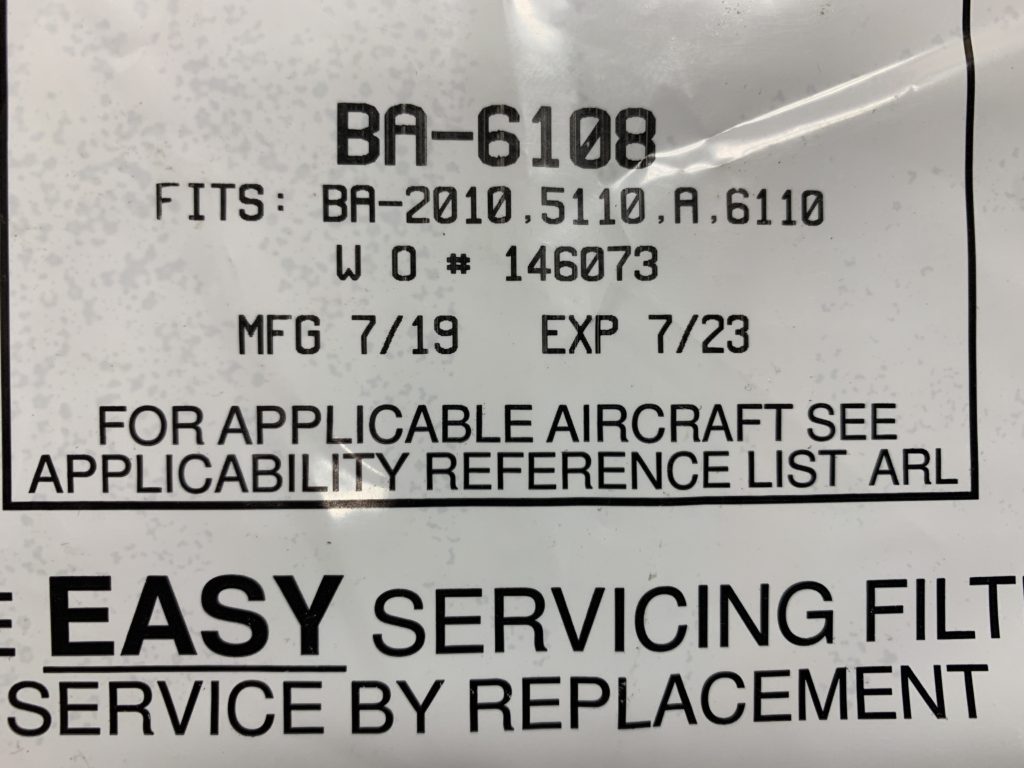
Brackett filters have an expiration date on the package… while they work very well when they’re in good condition, they can also fall apart when they are expired. Don’t install an expired filter!

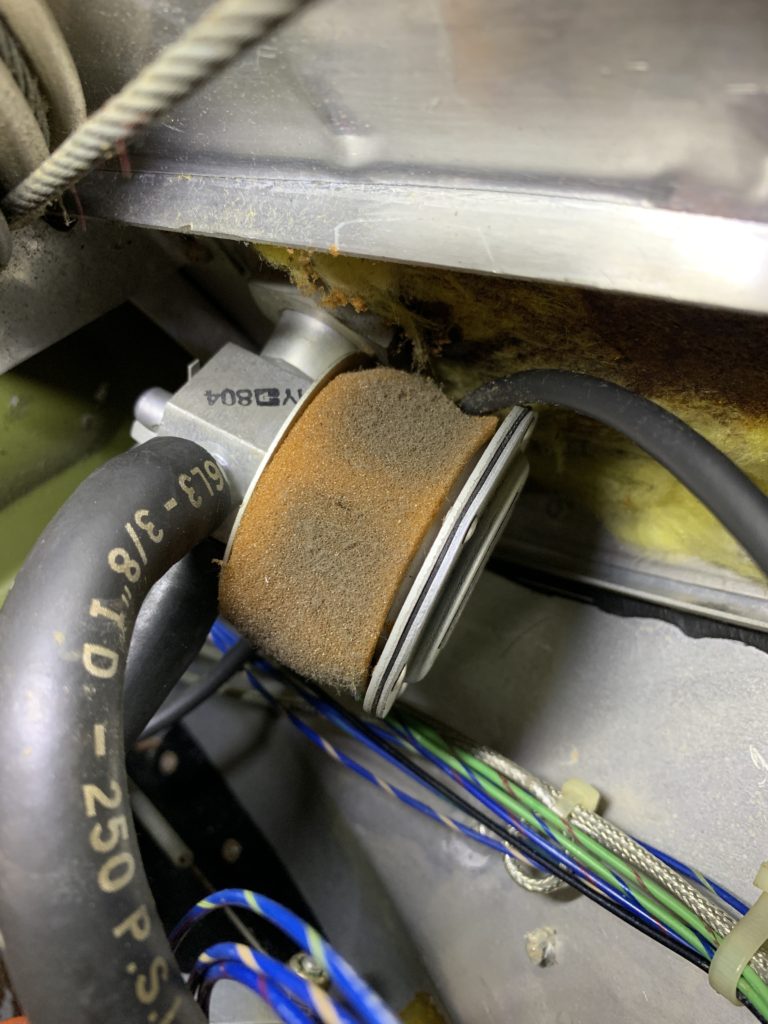
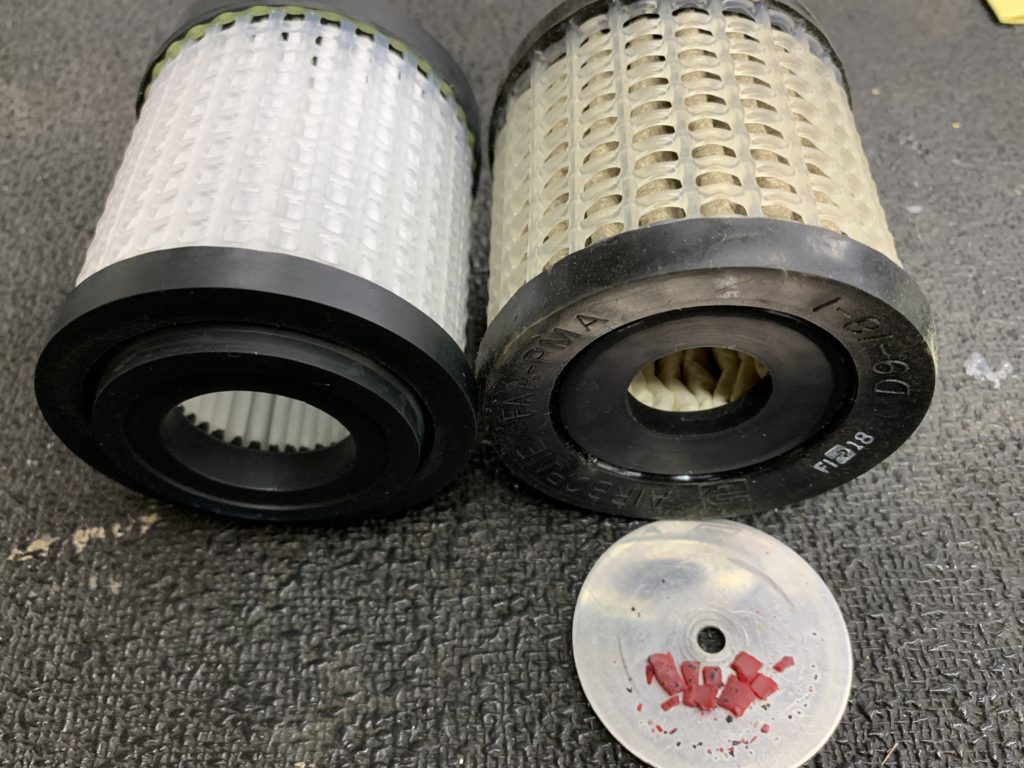
Vacuum systems also need clean filters. Check out this vacuum regulator filter that is covered with dust… this thing has been here for years! Compare this with the new filter that needs to be installed. This filter is sometimes overlooked at the annual inspection. The part number is B-3-5-1. Or, if you buy a Rapco filter, it’s RAB-3-5-1.


The vacuum inlet filter is also an important one to keep clean, so that your vacuum instruments, like the attitude indicator and directional gyro, can breathe nice, clean air. Here’s an example of an old, dirty vacuum inlet filter, compared with a new, clean one:

Clean air filers are vitally important!

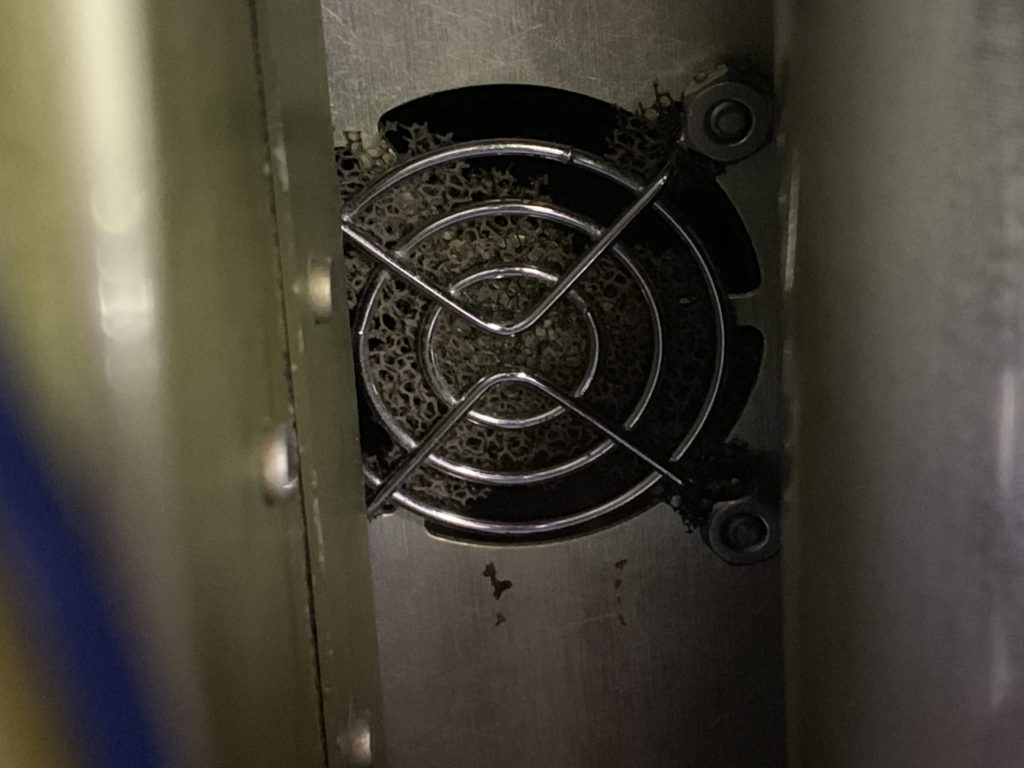
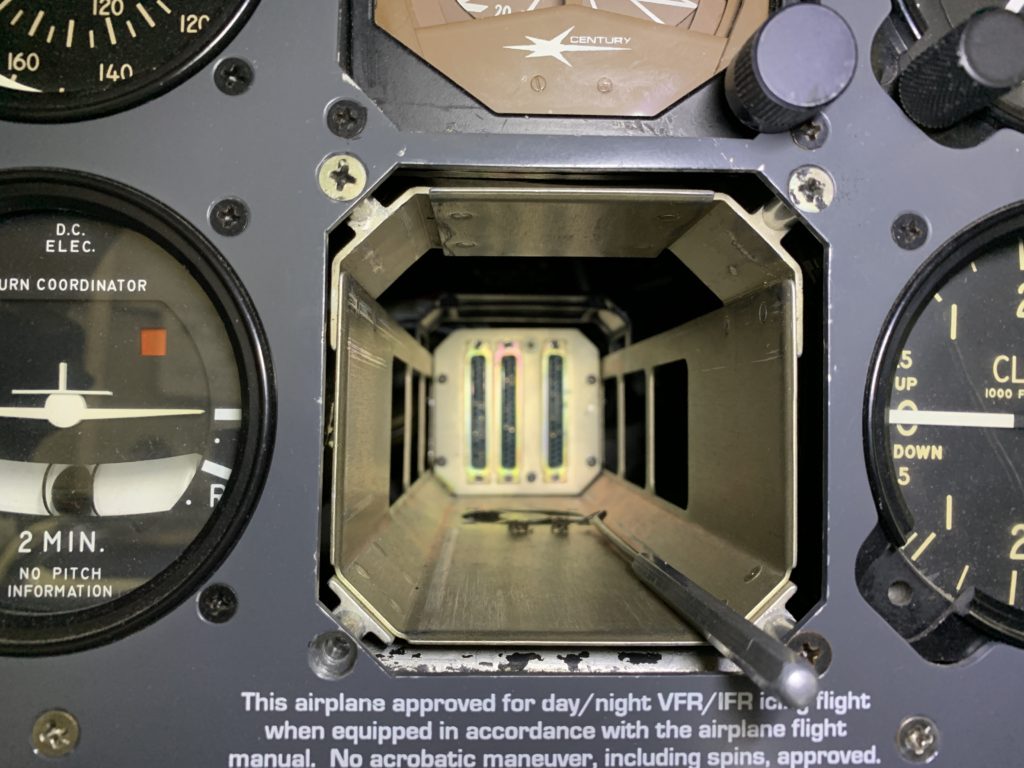
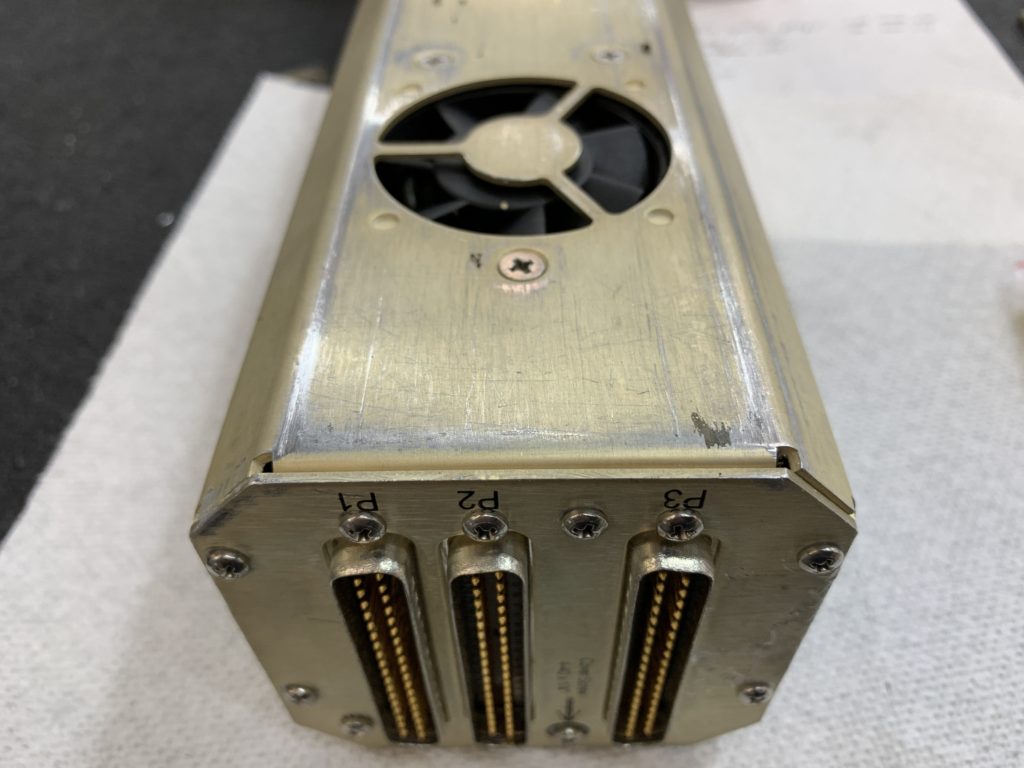
Another obscure filter I encountered recently was on an Aerostar 601P. This airplane has a Sandel SN3308 electronic HSI. The internal lamp needs to be changed at regular intervals. Upon removing the unit from the instrument panel, I discovered the fan filter in the bottom of the tray was falling apart. Take a look at the view from under the instrument panel, and how little was left of the foam filter:

The fan pulls air in through the bottom of the instrument tray, for cooling.

It’s a bit of an obscure air filter, but still an important one.

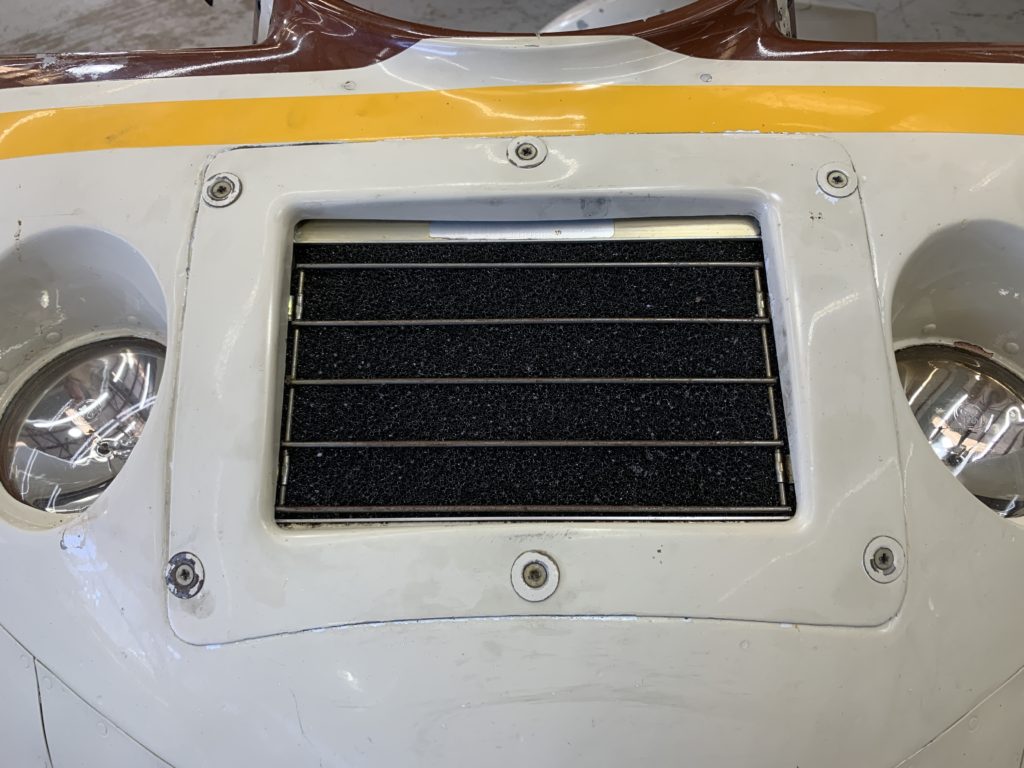
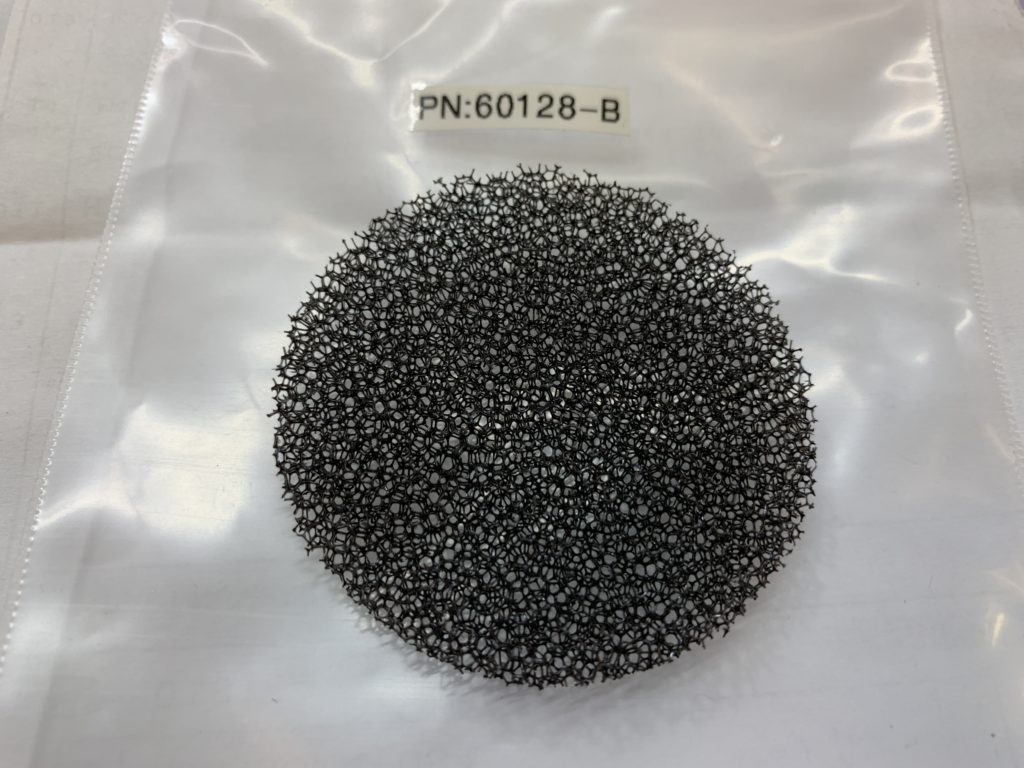
A call to Sandel was very helpful. Although the new filter is a fairly thin, coarse mesh piece of foam, it actually has a part number, and the price was reasonable ($8.) Check it out in the following picture:

The HSI is now breathing clean air again.

So… whether it’s an airplane’s induction filter, a vacuum system filter, an instrument filter, or some other filter, it’s important for all these filters to be clean and in good condition.

Take a look at your filters, and make sure your airplane is breathing nice clean air. Your engine, your vacuum system, and your instruments, will thank you in the form of reliable performance 🙂

Filters discussed in this episode:

Brackett induction filters.

Donaldson induction filters.

Challenger Aviation induction filters.

Vacuum inlet and regulator filters.

Sandel HSI cooling fan filter.

128 – Should I Buy a Twin Cessna or a Beech Baron?

In this week’s episode, we are talking about upgrading to a twin, and some thoughts about choosing between a twin Cessna and a Beech Baron.

Thank you Simon Cail, for your email, and for permission to read the email in this episode.

Simon’s decision was between a Cessna 340 and a Beechcraft Baron 58.

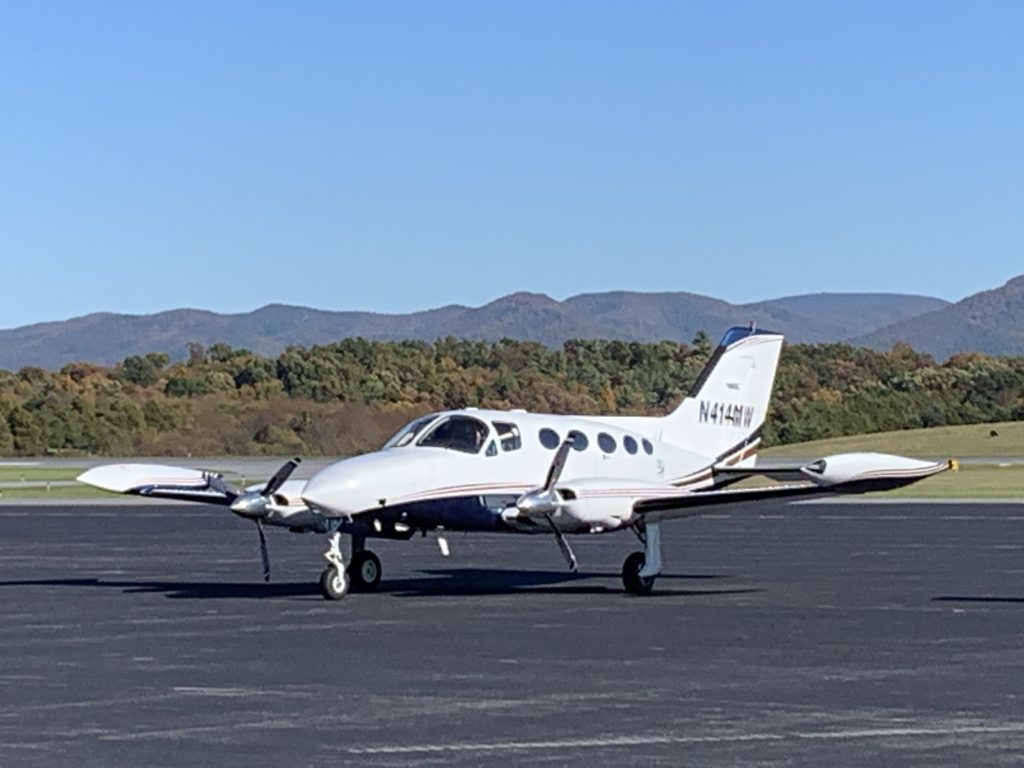
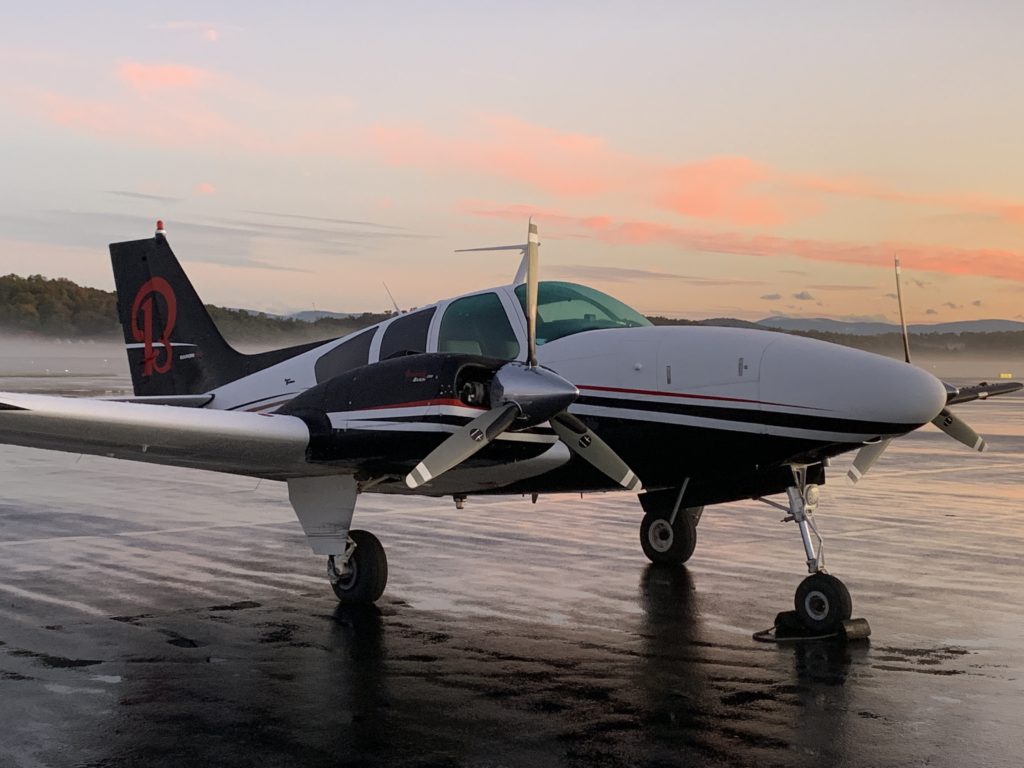
The pictures above are of a Cessna 414 and a Baron 55. But I think they’re close enough for the purposes of this episode.

Listen to the audio for some thoughts about the two types of airplanes, especially from a maintenance perspective.

Simon, I wish you well in your upgrade to a twin… let me know what you decide. And thanks again for your email!

Links and Resources:

American Bonanza Society: https://www.bonanza.org/

Twin Cessna Flyer: https://www.twincessna.org/

Bob Ripley’s maintenance shop in Georgia: http://soaero.com/

Tony Saxton’s twin Cessna shop: https://tas-aviation.com/

“Rig it Right” twin Cessna landing gear rigging instructions: https://www.twincessna.org/OnLineStore.asp?p_num=P016

Baron and Bonanza landing gear inspection checklist and repair guide:http://www.flyabonanza.com/Resources_files/abs%20landing%20gear%20guide%20copy.pdf

127 – No Oil Pressure in a Cessna 150

My friend Matt and I had a plan, and it was going to be an awesome adventure. The crisp, clear morning was as nice as we could hope for on a November day in Virginia. The half hour drive from my house to the small town New Market Airport was absolutely refreshing… exhilarating even.

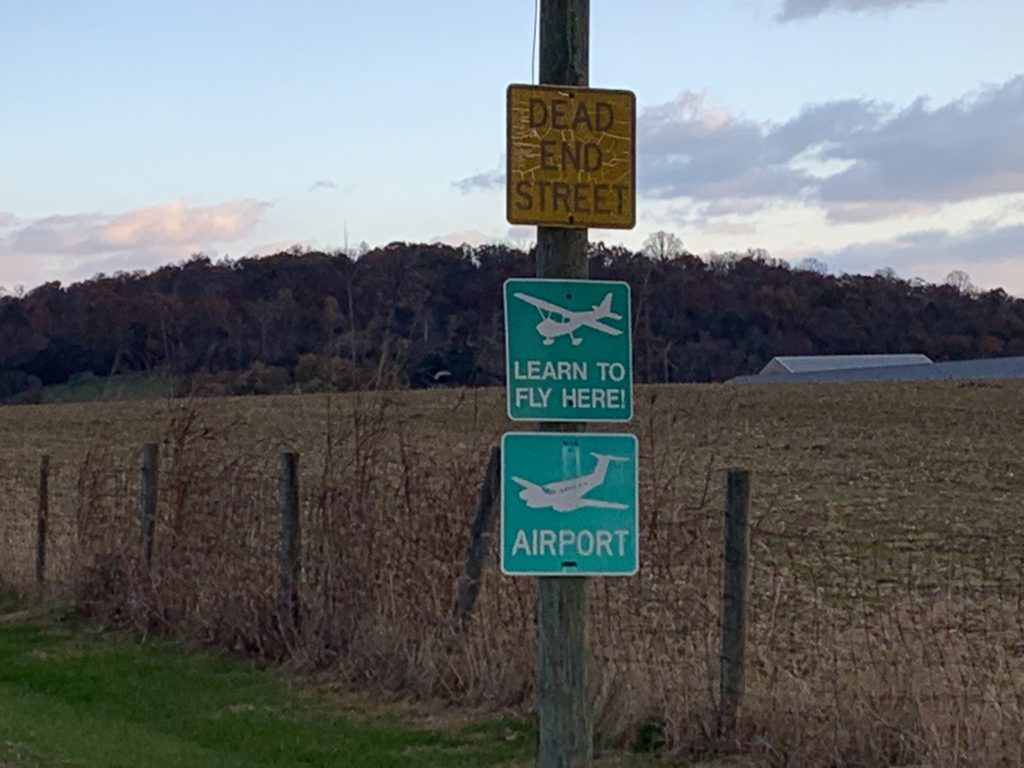
As I pulled onto the airport drive, I didn’t go far before I was compelled to back up and take a picture of the signs that arrested my attention. “DEAD END STREET” AND “LEARN TO FLY HERE” just did not seem to fit together in my mind. As I think about it, I wish I could replace that top sign with “PATHWAY TO POSSIBILITIES!”

For me, and for my friend Matt, we had far more in mind that day than any dead end street. If our planned adventure came together, we would be flying a little Cessna 150 to Tangier Island (KTGI) and maybe having a crab cake sandwich for lunch. But first, we had to solve a problem… a report of “No oil pressure.”

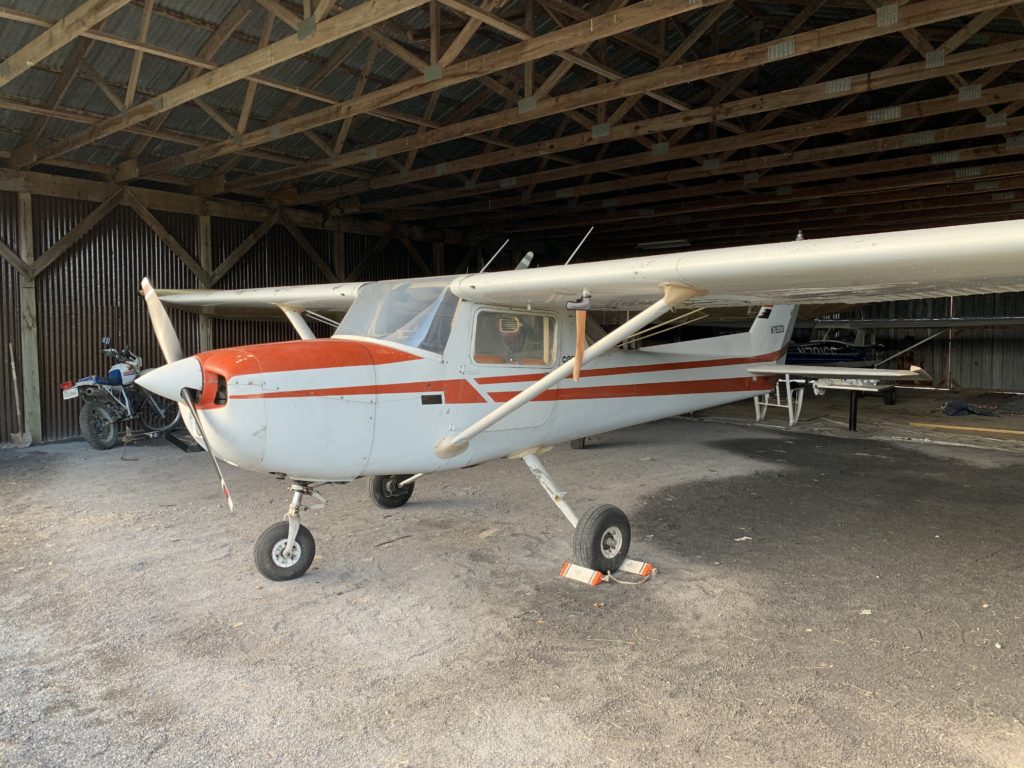
We struggled to get the “barn doors” open in the old rustic hangar, and the site looked so familiar for these old airports, complete with gravel floor, a motorcycle off to the side, as well as a Cessna 120 and another Cessna 150. I was actually pleasantly surprised when I saw the good condition of the airplane we’d be working on.

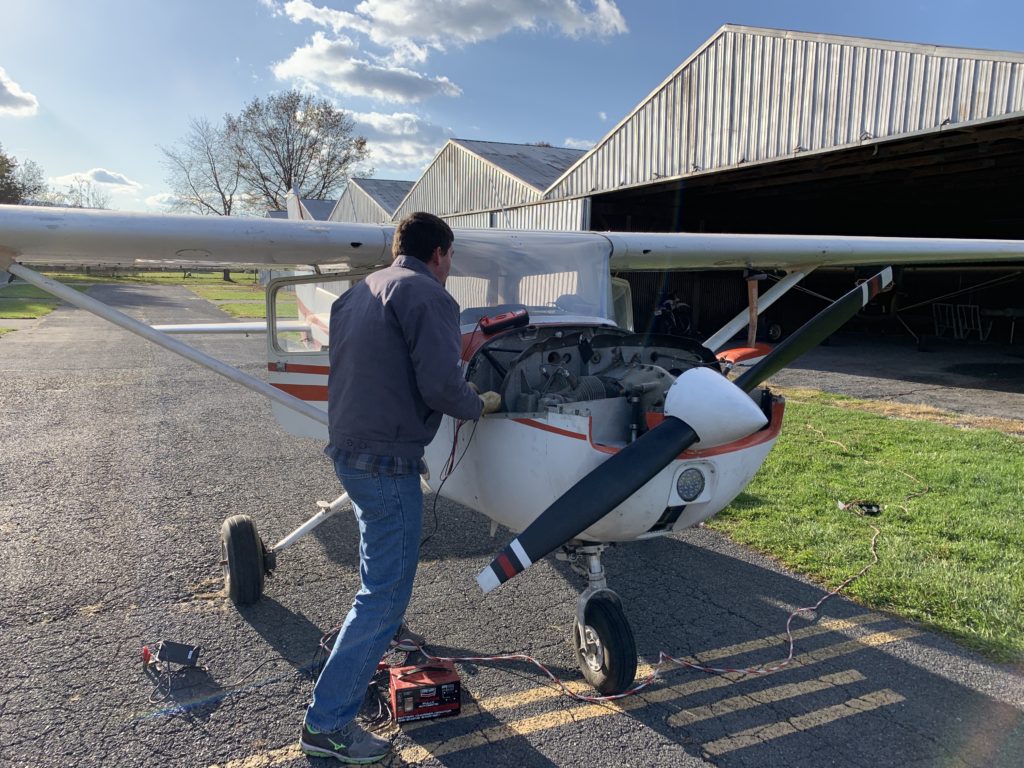
We decided to go ahead and start the engine and see if we got any oil pressure within 30 seconds. The engine started nicely and within seconds, we saw the oil pressure needle creeping up… good news indeed. However, after some warm-up time, we noticed the oil pressure needle went back down, and was approaching the red line at the bottom of the gauge. (It had never made it up to the green arc.)

So we shut down, and decided to see if the oil pressure line had any air in it. Thankfully, the gauge was very accessible at the bottom of the pilot instrument panel. After loosening the nut for the oil pressure line behind the gauge, there was not even a drop of oil there. So we attempted to motor the engine with the starter to get the air out of the line.

Now we had another problem… low battery power! The engine wouldn’t even turn over more than a turn or so. Back to troubleshooting, except now in the electrical system.

Matt suspected the alternator was not working, and this proved to be true when we discovered no voltage at the field terminal on the back of the alternator when we turned the master switch on.

Then something jumped out at me… I was standing over on the left side of the engine, and I noticed the whole wiring harness plug was disconnected from the voltage regulator at the firewall. Take a look.

Amazing how well things work when all the wiring is connected properly!

So after charging the battery, we tried again to purge the air out of the oil pressure line. Matt motored the engine with the starter for maybe 30 seconds, and just as he let off the starter, I saw oil seeping out at the gauge connection… success, finally!

This time, after starting, the oil pressure climbed up in the green arc, and stayed there during the runup.

Now, how about Tangier Island? Could we still go?

Nope… I noticed the maintenance records were in the back of the airplane, and the airplane was still in annual… sort of. The main thing is there was some lacking documentation that made it unwise to fly the airplane until it was resolved. Mechanically, I totally would have been confident to go flying in that airplane with Matt. But paperwork-wise, the issue needed to be resolved.

That’s ok… instead of lunch at Tangier Island, Matt and I had breakfast at Dunkin Donuts. And… we’re not giving up on the Tangier Island idea. In fact, after thinking about the whole thing, I did some research, and discovered a young man named Swayne Martin, who gave me even more motivation to visit Tangier Island. He and his brother flew their mom there in a Cessna 172 several years ago as a mother’s day gift! If you’re interested, his post is very interesting.

You may recognize Swayne from his involvement with the Boldmethod online flight training resources. He also has an excellent YouTube channel. I also found out he has gone on to become a first officer with one of the regional airlines. Well done Swayne!

Now back to Tangier Island… Matt and I are not giving up, and I’m confident we’ll still get there one of these days… very possibly in that very Cessna 150 we worked on. And when we do, you’ll hear about it, because it will no-doubt be an excellent adventure for another podcast episode!

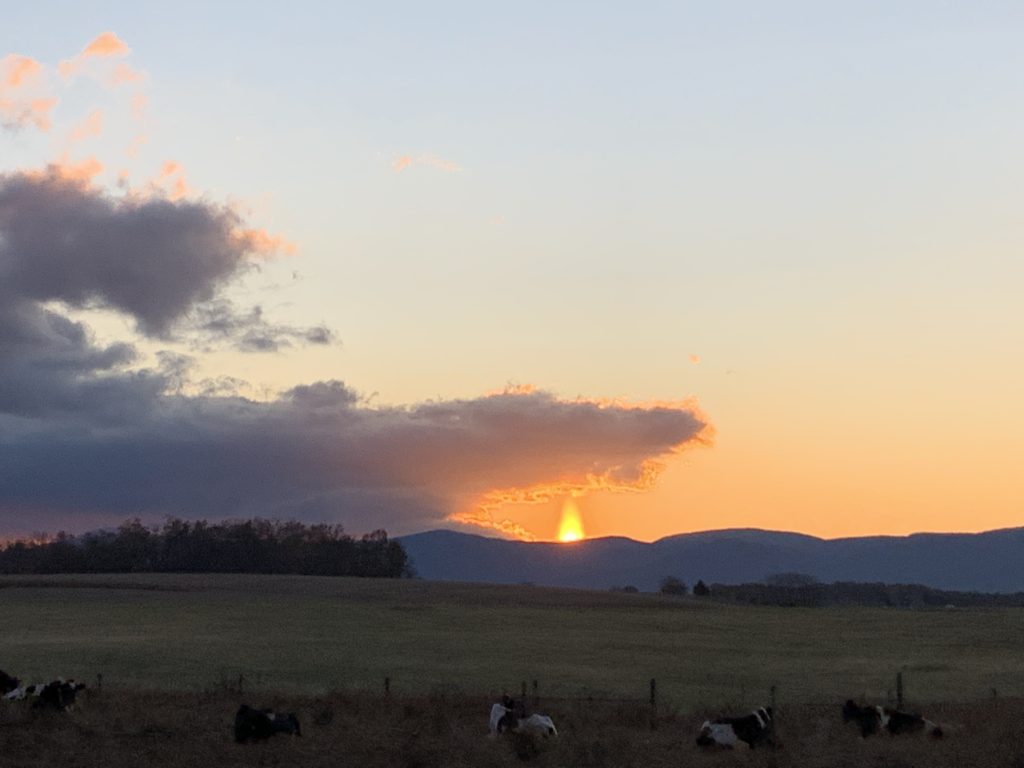
It really was a great day, and the sunset view of my neighbor’s field from my back yard, was just as fantastic as the sunrise view on the way to the New Market Airport.

Days like this make me say, “Thank you Lord, it’s good to be alive!”

126 – Magneto Trouble at Higher Altitudes

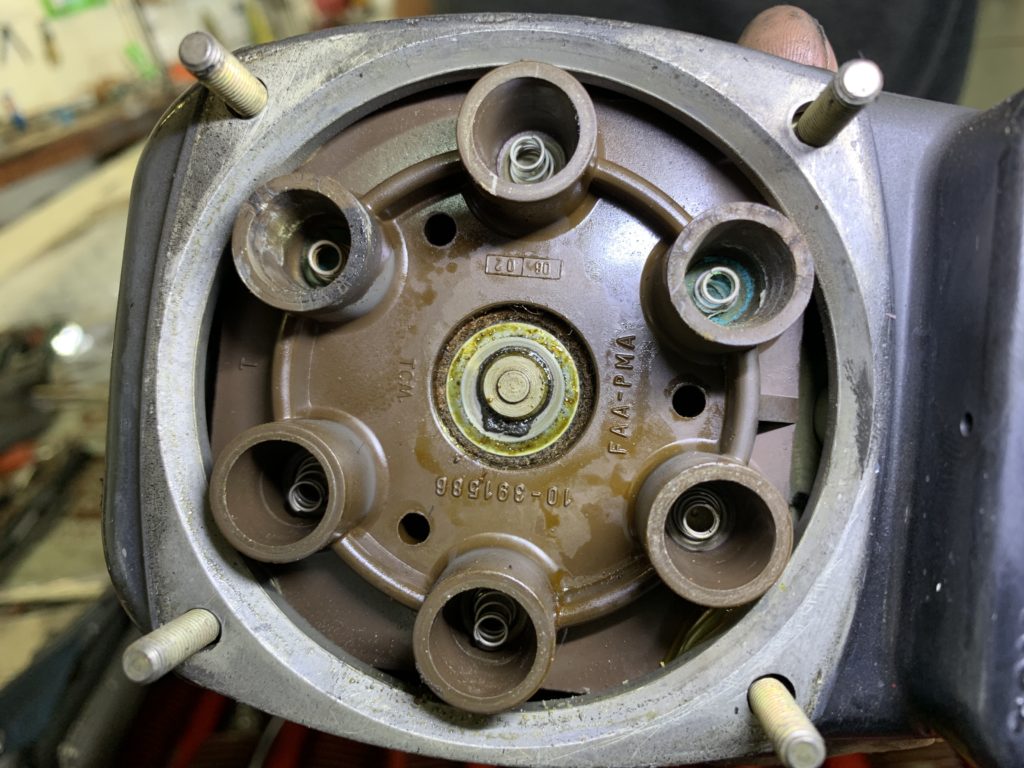
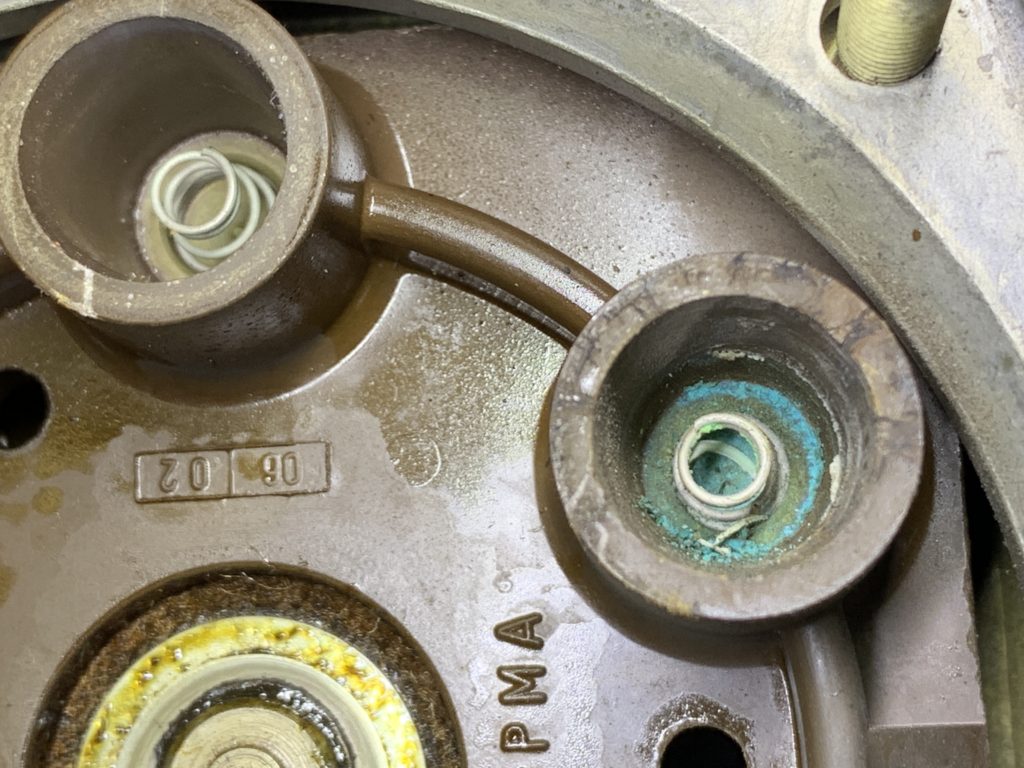
Corrosion in the towers of a magneto can cause high resistance, and the problem will be magnified as you go up in altitude.

This green corrosion could likely be cleaned up and it may improve some, but it may also indicate a good time to perform either a 500 hour inspection or an overhaul on the magneto.

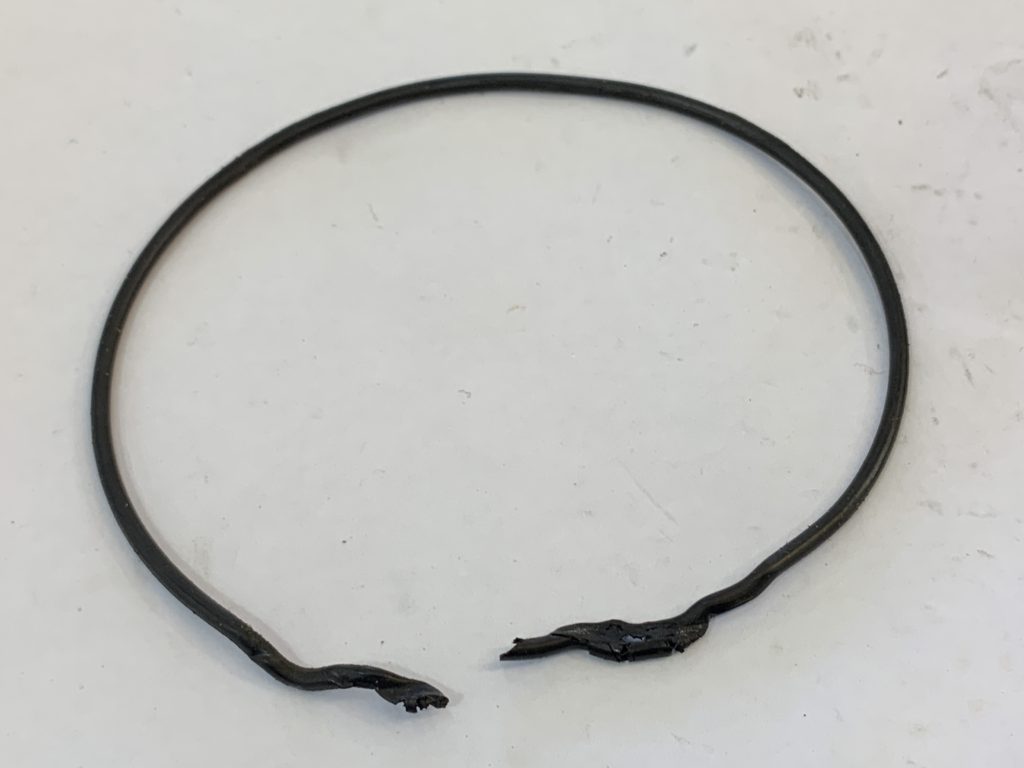
Pressurized magnetos have an o-ring that seals the connection where the wiring harness attaches to the magneto. I found this one on a twin Cessna last week, while changing one of the magnetos.

Listen to today’s episode to hear about the details of this issue, and some things to think about for optimal magneto performance.

Thankfully, we got the twin Cessna running again, and the owner made 4 flights the very next day!

Have a great week friends!

125 – Engine Failure – What Would You Do In A Moment’s Notice?

Not long ago, there was an unusual engine failure in a Cessna 182 at Shenandoah Valley Regional Airport.

Cindy Ferek was the flight instructor on board that day, and she landed the airplane safely on the runway. Before we get into that story, I’d like to introduce Cindy. (The Cessna 172 in the following picture is not the airplane that had the engine failure.)

Cindy taught high school physical education for 21 years at Turner Ashby High School, which gave her an excellent teaching foundation that she uses today as she skillfully works with students in the cockpit of airplanes. Not only is Cindy an excellent flight instructor, but she’s also just an inspiring person to be around! I hope you’ll listen to the podcast to hear about more of Cindy’s story, both in and out of the airplane.
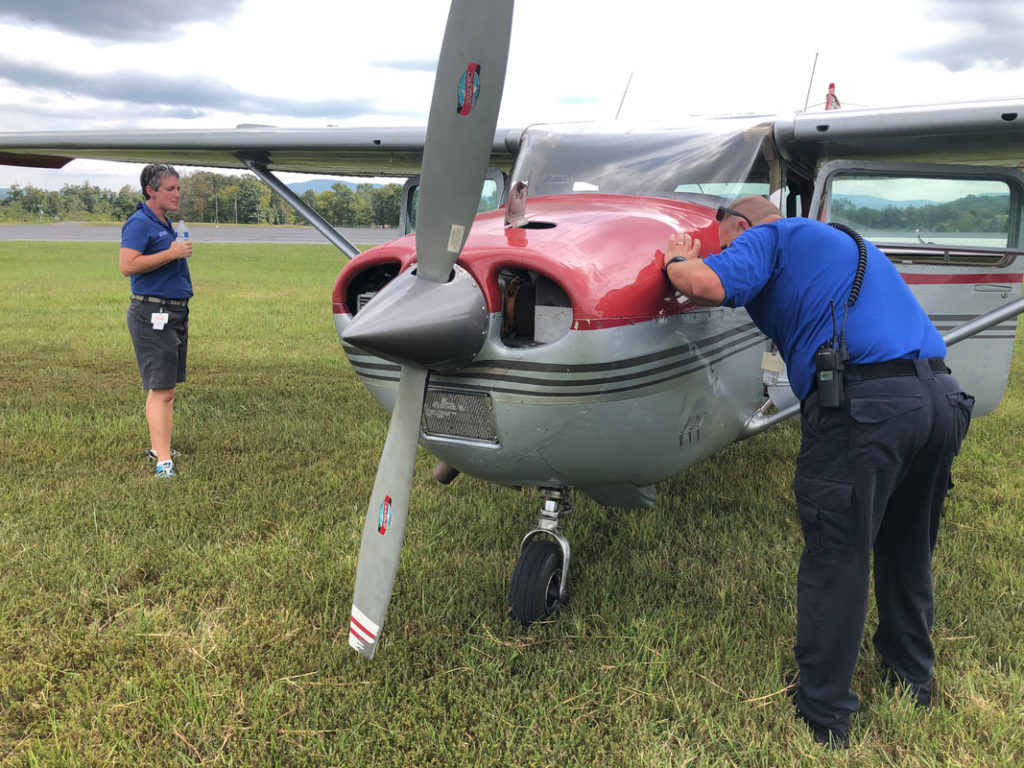
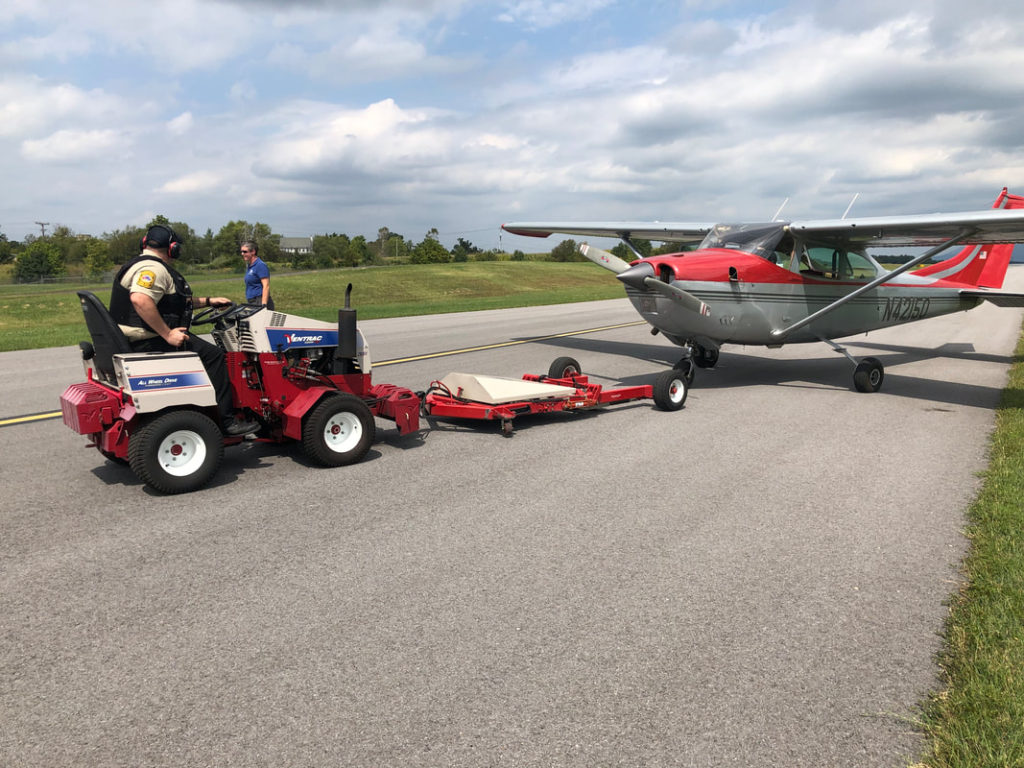
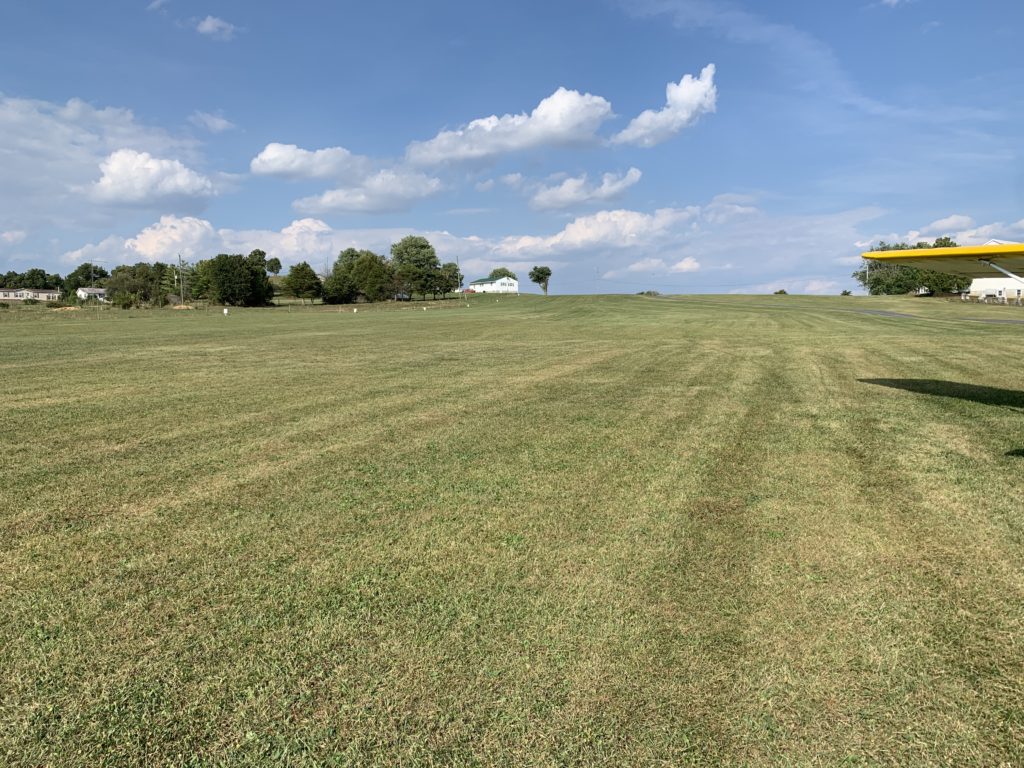
The engine failure we talked about in today’s episode, happened in the traffic pattern, thankfully. Here’s the airplane after they landed safely and parked it in the grass to save the engine:

Shortly after their successful landing, one of the line guys tugged the airplane up to the maintenance shop.


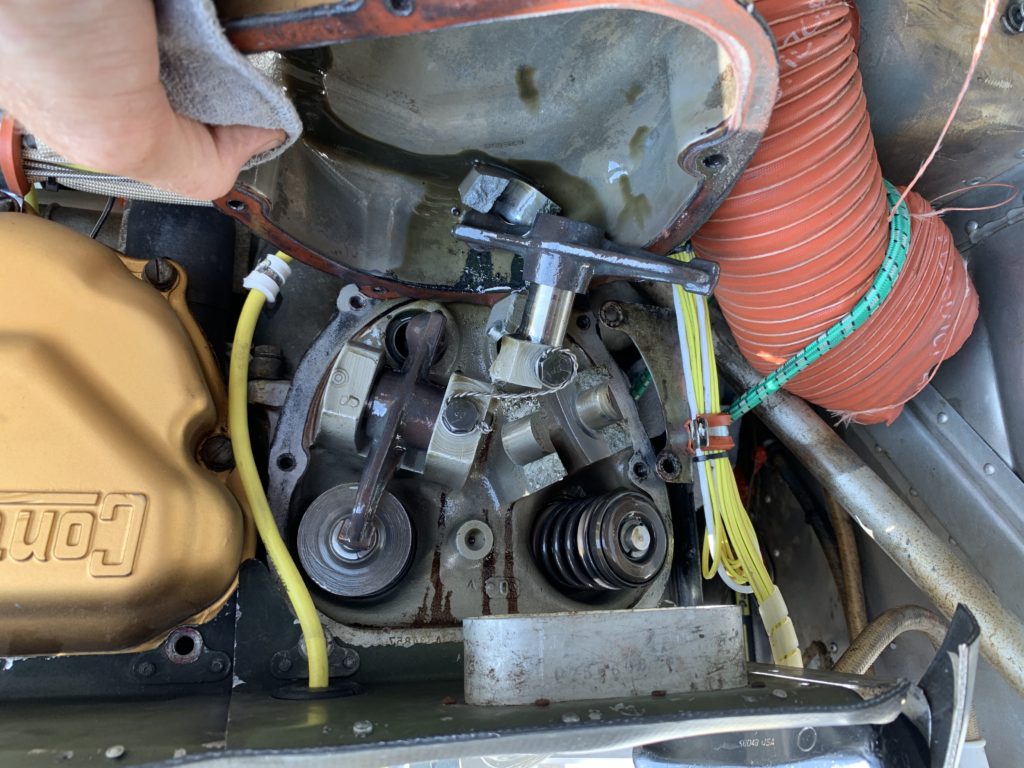
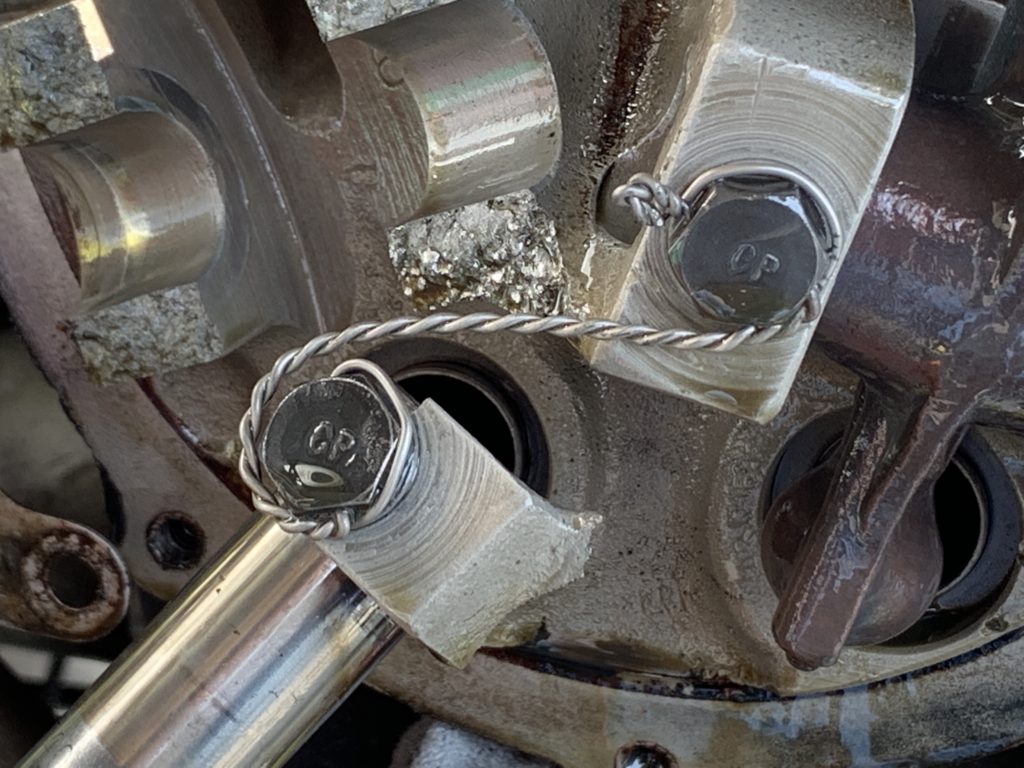
At first it was challenging to figure out what actually happened to the engine, because there was no external evidence of any problems. But a borescope inspection revealed the exhaust valve in cylinder #1 was not opening at all. And after removing the rocker cover, it became really obvious. The rocker arm shaft boss had broken apart and the rocker arm could not operate the exhaust valve.

Thank you Cindy, for sharing a bit of your aviation journey and your engine failure story with us, and for all the excellent work you do to make aviation such an inspiring endeavor to pursue!

For those of you who would like to contact Cindy, there are multiple ways to get in touch with her. (And she would love to hear from you.)

Blog: CindyFerek.Weebly.com

Email: pilotcferek@gmail.com

Cell: 540-607-0251


P.S. One last reminder:

If you work on your airplane, and need to learn to perform excellent safety wiring, check out the “Safety Wire Like A Pro” video tutorial course… It will show you in great detail how to do an excellent job, whether it’s safety wiring an oil filter, a fuel strainer, a brake caliper, or any other item an airplane owner is approved to perform.

Click the following link and check it out:

https://airplane-owner-maintenance.teachable.com/p/safetywiring

124 – Owner Maintenance and Cessna Fuel Strainers

Before we get to the fuel strainers, here are some highlights from the past couple weeks:

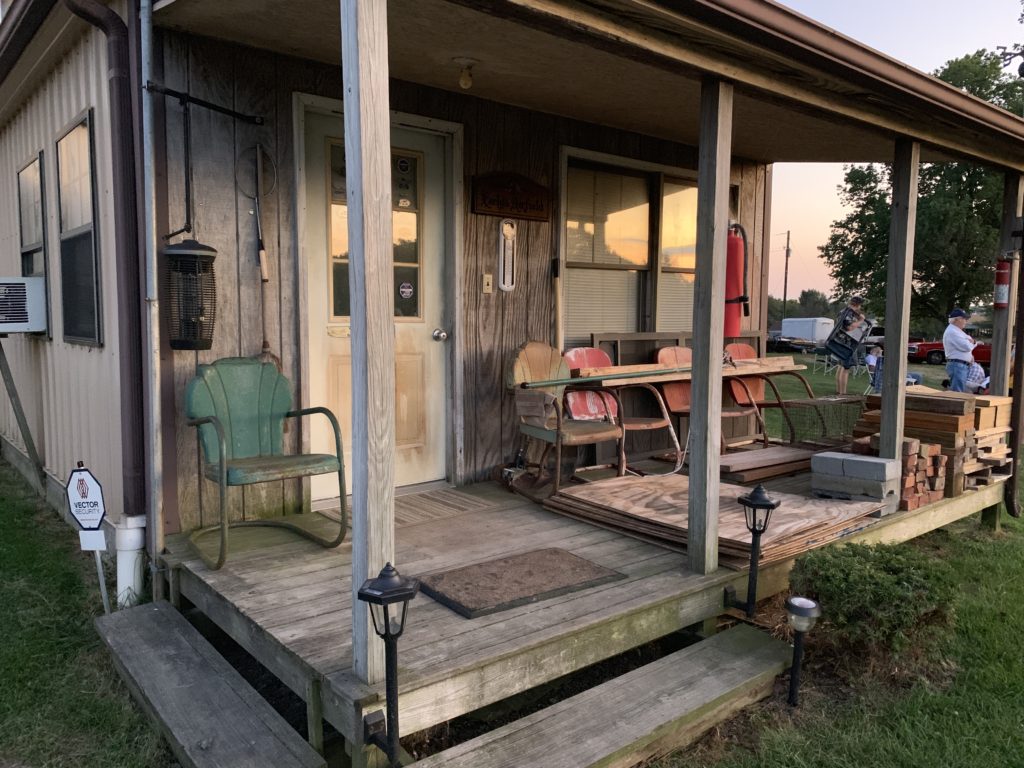
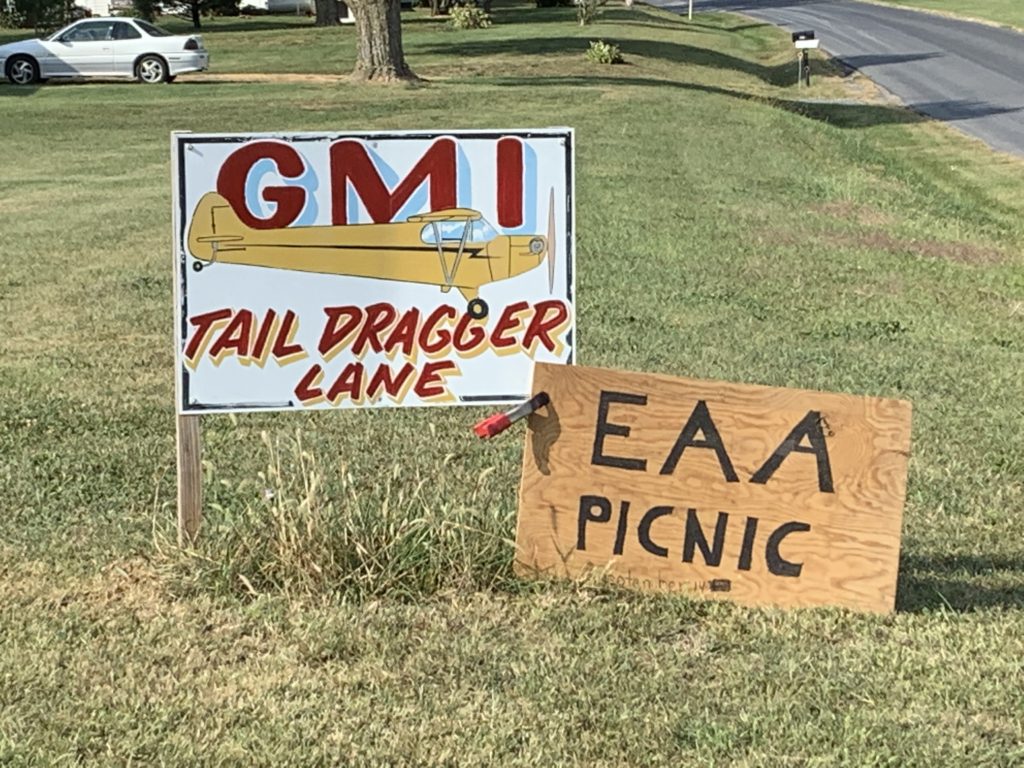
Our local EAA chapter had its annual pig roast / fly-in / picnic at Sheldon Early’s “GMI” Greenmount International – a fun name for a country grass runway. It was a perfect evening with a bunch of great people.


There’s even a quaint old porch area for watching airplanes!

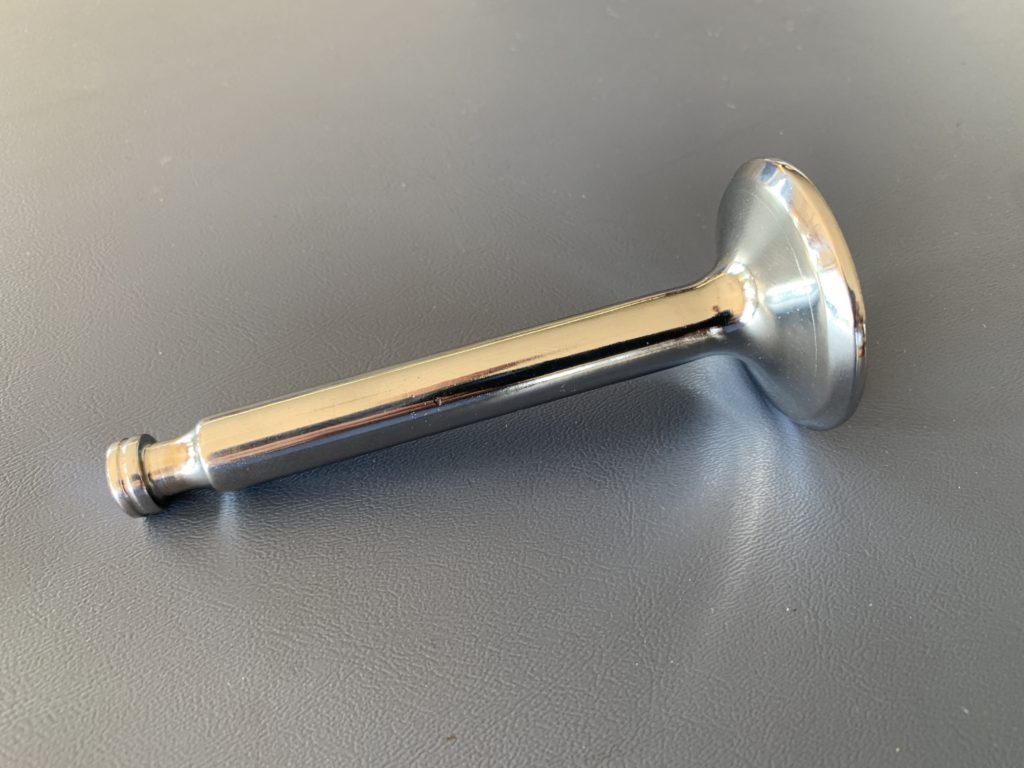
One of the members brought a chromed exhaust valve to show me… check it out:


Also, I want to say a big congratulations to John and Leslie Caubble… they both passed their instrument check rides this past Monday, September 30, 2019! Well done friends! You can keep up with their Hawaii flying endeavors by listening to their podcast “Fly Maui.” FlyMauiHI.com

Image may contain: 2 people, including Leslie Caubble, people smiling, closeup

Now for fuel strainers. In today’s episode, we talk about the proper torque value for single engine Cessna fuel strainers, or gascolators. This is one of those “special torques,” and it’s worth checking the maintenance manual for the proper torque value… otherwise, it’s so easy to overtorque the base nut that holds the fuel strainer in place.

Listen to this episode for some ideas on how to avoid common pitfalls.

Remember, 25-30 inch pounds is not very much at all!


Finally, I want to say a huge thank you to Jodey Smith – JodeySmith.com

Joday helped me solve a problem I’ve had for quite some time… only the last 100 podcast episodes were showing up in the podcast apps.

But this past weekend, Maria and I attended a speaker training conference by Kent Julian in Georgia, and Jodey Smith was there running the sound, video, and camera equipment… Jodey told me in about 2 minutes what I should try… and it worked! Thanks Jodey!

So… if you want to access the early episodes of the Airplane Owner Maintenance podcast, you can now find all 124 episodes in the podcast apps and directories.

That’s all for this episode… have a great weekend!
123 – Upside Down in an RV7!

An outstanding pilot gave me a ride in his RV7 this week, but before we get to that, here are a few things we’re talking about in this episode:

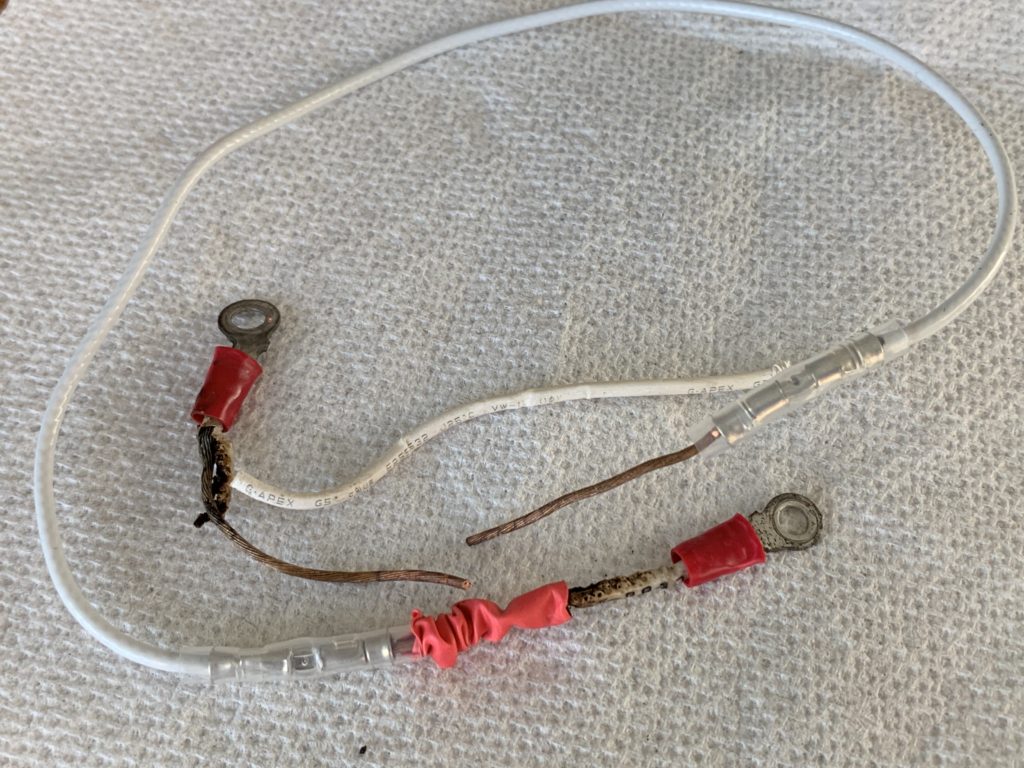
  1. A crazy wiring situation in a Cessna 180. Check out the wiring pieces I saved after installing a new wire under the instrument panel…

2. Replacing some heat / air ducts and hose clamps in a Cessna 414.

3. One of the most encouraging and inspiring emails I’ve ever received from a podcast listener… listen to today’s episode to hear the email… I think you’ll be inspired also… thanks Joe!

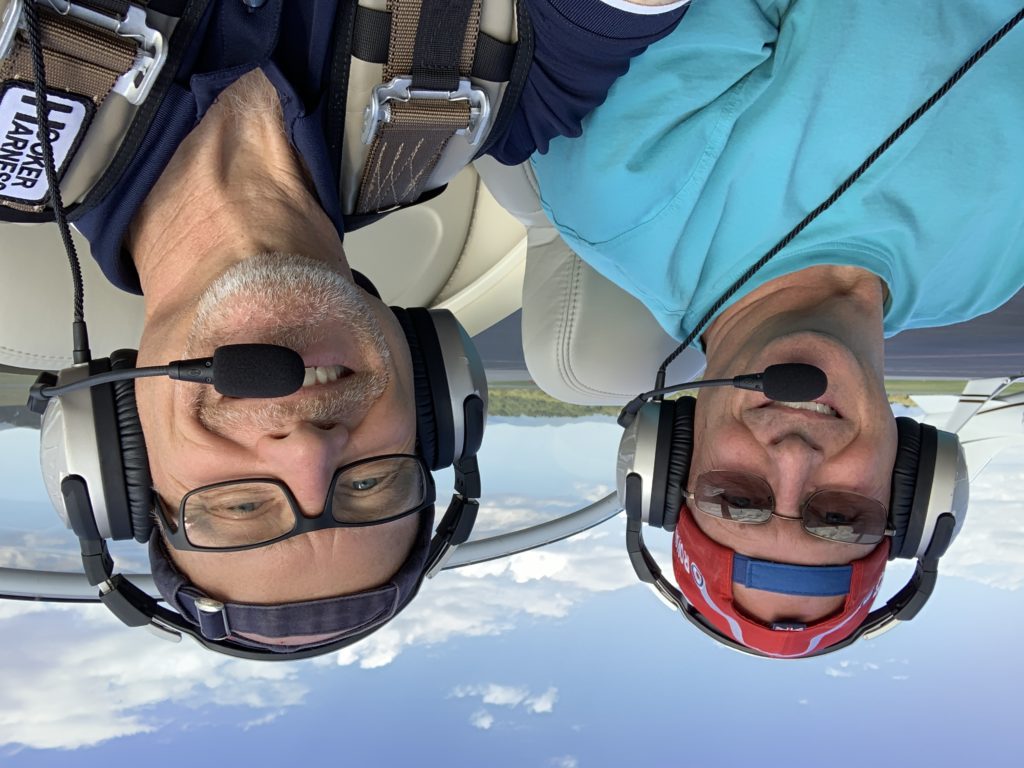
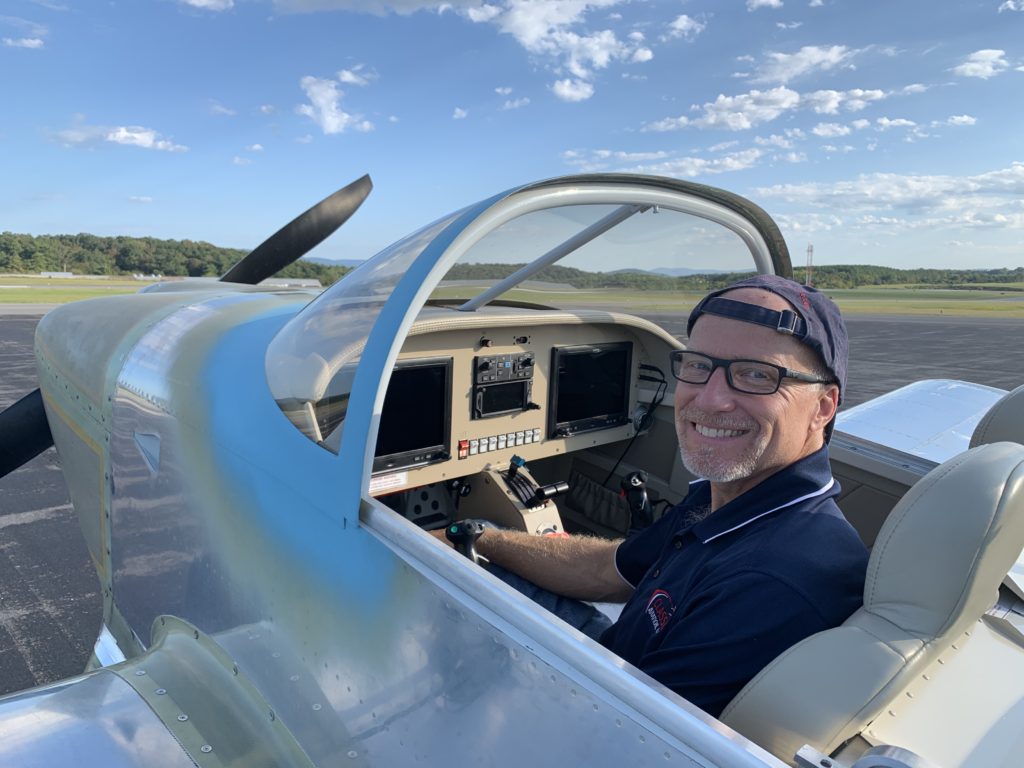
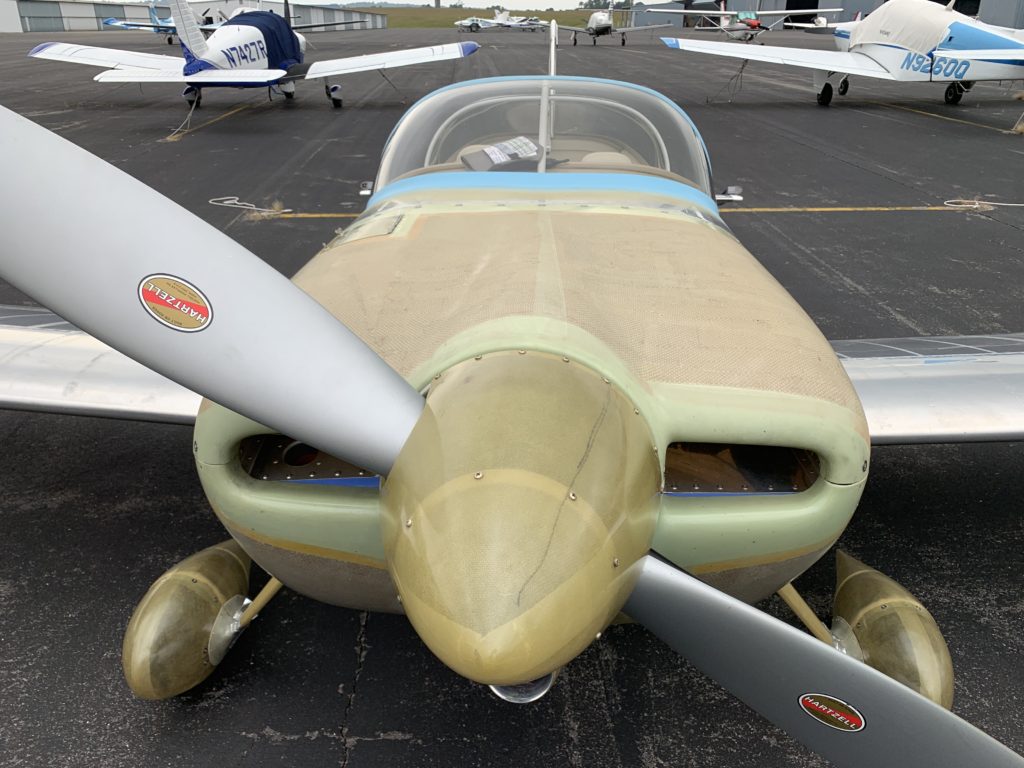
4. A super fun ride in an RV7 with builder / owner/ F16 pilot / Boeing 767 captain / Oshkosh formation flyer, J.R. Pigg. What an absolutely incredible experience! We did aileron rolls, loops, a figure 8, and more… thank you J.R.! You made my week!

J. R. flies with a group of RV’s
This was an unforgettable flight!
This cool airplane is now at the paint shop!


122 – THAT scared me! (A Wheel Story)

I saw something not long ago while changing an aircraft tire, and it startled me for a bit, until one of my co-workers helped me remove the danger.

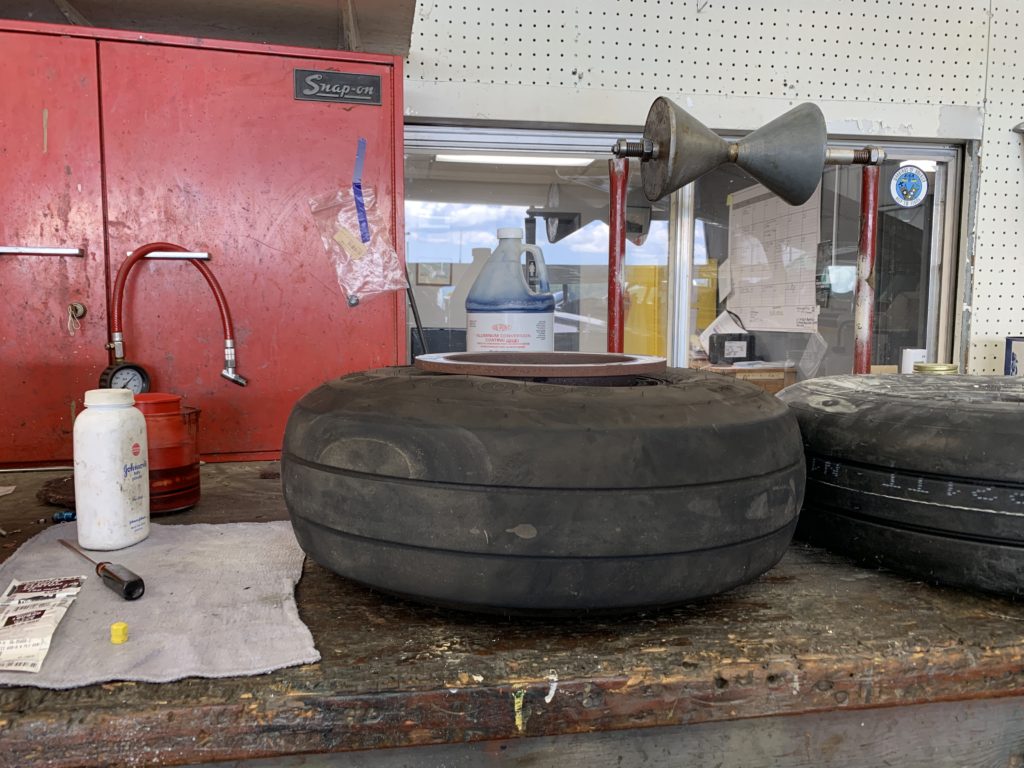
Here’s what I saw:

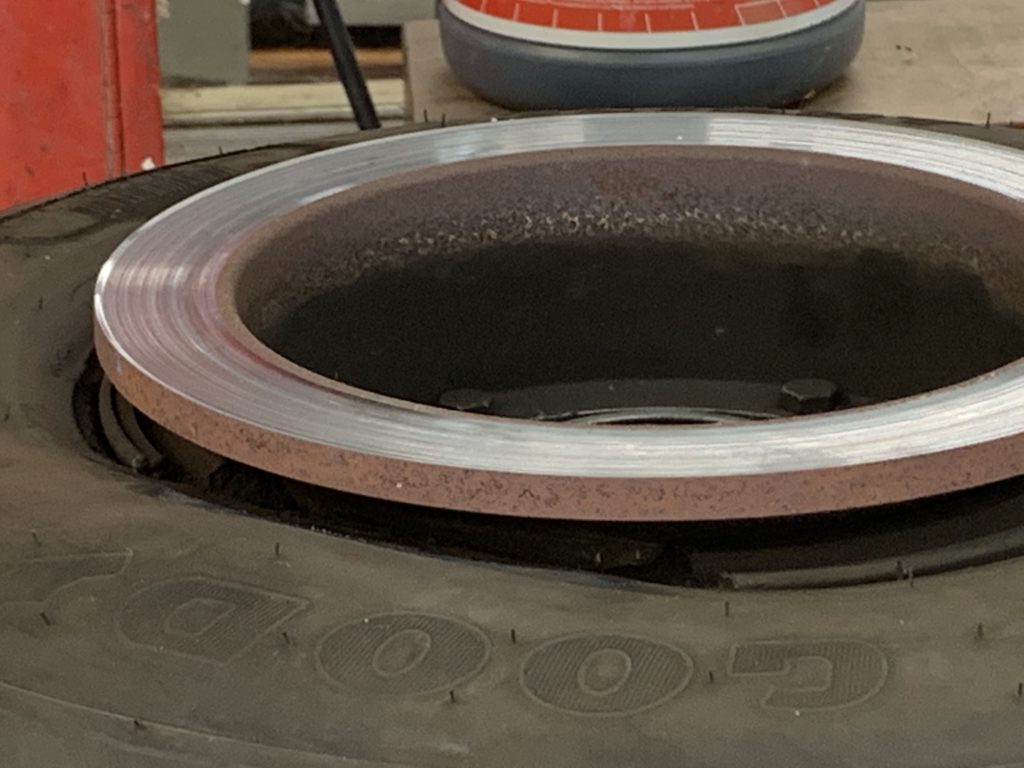
The picture above might look fairly normal, until you notice the bulge up near the brake disc. Take a closer look in the next picture:

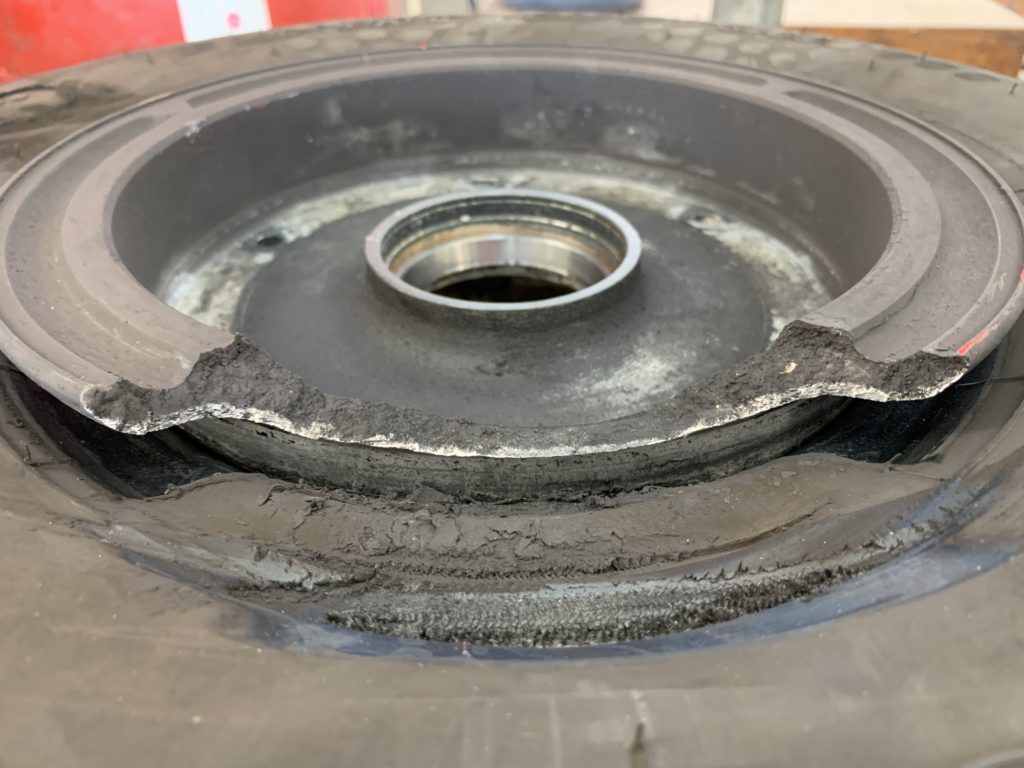
There’s a chunk missing from the edge of the wheel! After carefully removing the valve core and letting the pressure out of the tire, I was able to take a close look:

I’ve never seen an airplane wheel quite like that, and I hope I never see one again.


I also included a few other items in this episode, including some information about ICA (Instructions for Continued Airworthiness,) and some information about ferry permits.

Stay in touch: you can email me dean{at}airplaneownermaintenance{dot}com

Or, leave me a voice message by clicking the tab, recording a message, and send it to me. I always love to hear from you guys!

Have a great week!

« Older posts