Podcast: Play in new window | Download
This experience was a good one! (At least looking back in 2020 hindsight.)

We had to dig deep to fix this one!
I was about to give up and started thinking it might be time to take the airplane somewhere else for troubleshooting and repair.
Thankfully Richard, our chief pilot, didn’t give up so easy and he encouraged us to dig deeper before giving up.
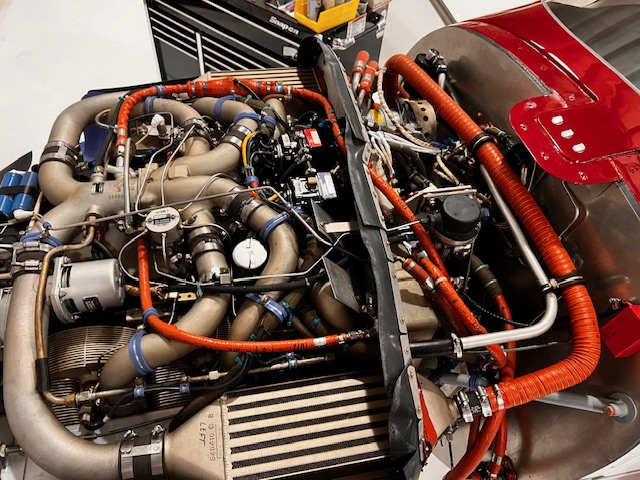
With the guidance of “Smitty,” an air conditioning expert at Stevens Aerospace in Greenville, South Carolina, we troubleshot and fixed a problem with our King Air 350 air conditioning system.
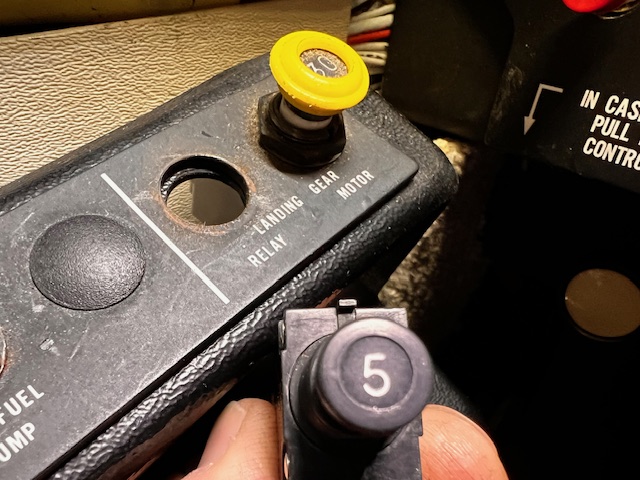
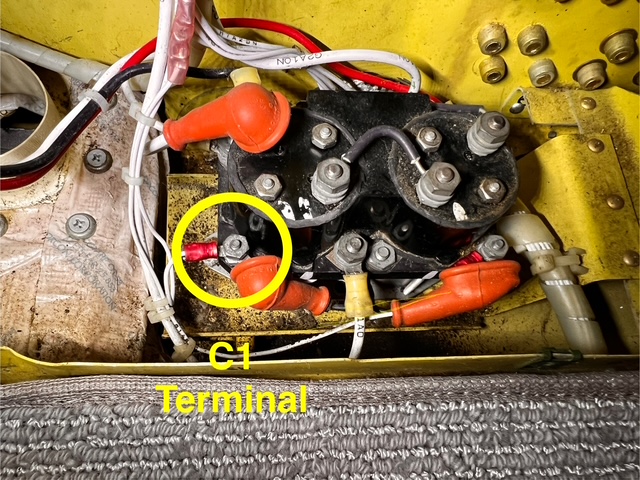
He told us we could access the center floor area just aft of the cockpit and ground pin #25 in the circuit board labeled “N1 SPEED / R ICE VANE SENSE” and this would fool the airplane into thinking the right engine was operating, so that we could troubleshoot the air conditioning compressor on the right engine.

We followed Smitty’s directions.
But after grounding pin 25 and powering up the system with the GPU, we found no voltage at the air conditioning compressor wiring plug. (We disconnected the red plug above the compressor to check for power to the plug.)

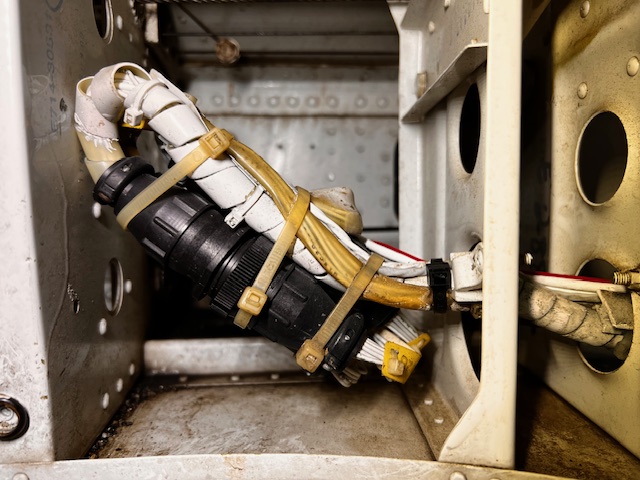
He then had us remove the right inboard wing leading edge to check the pressure switch in the high pressure line.
This was not the problem.
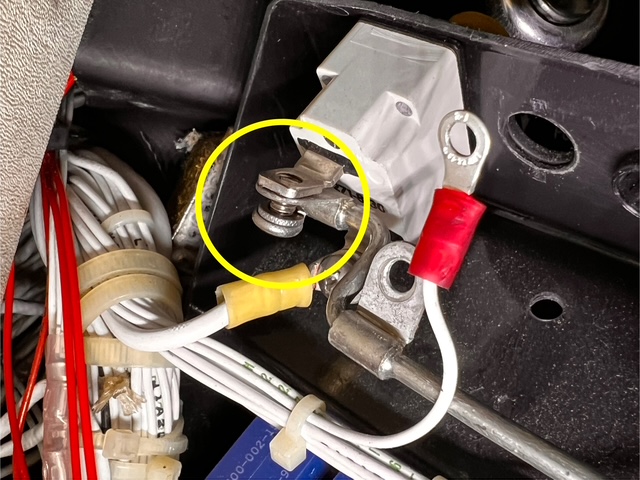
Smitty also told us there was a resistor and also a zener diode in the circuit.
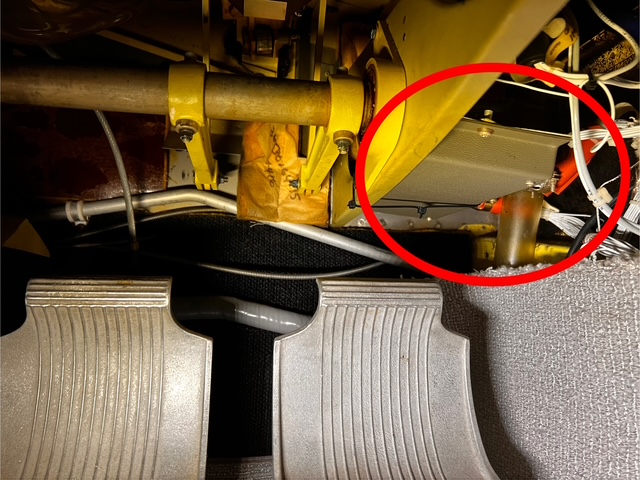
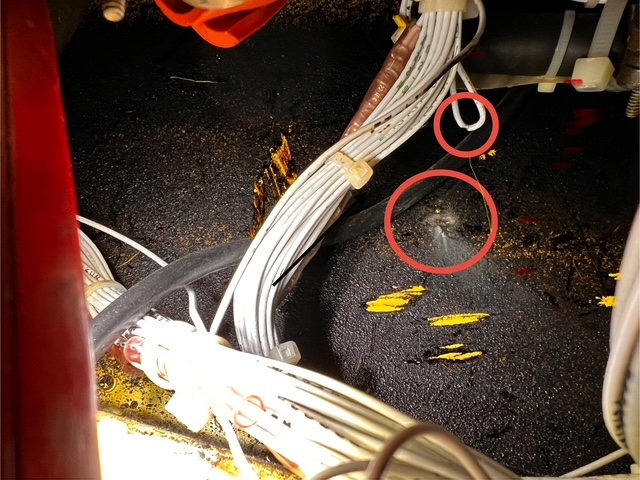
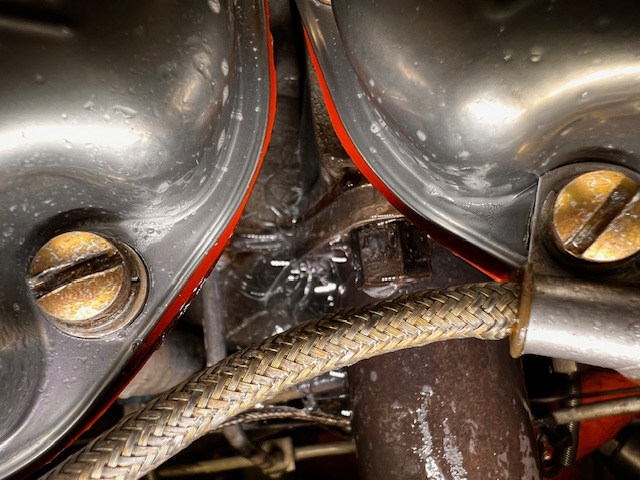
During the process, my friend and coworker at Classic Aviation, David Kihlmire, said, “I think we should remove “that panel” referring to the side cowling panel on the right engine, just forward of the area where the air conditioning compressor was located.
And I’m glad he said that!
Here’s what we found:

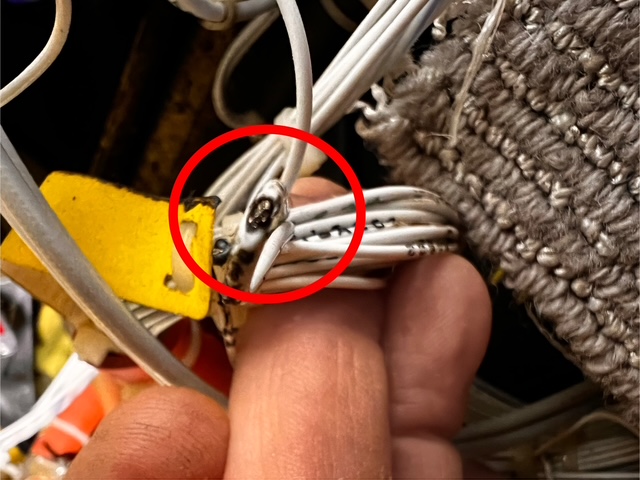
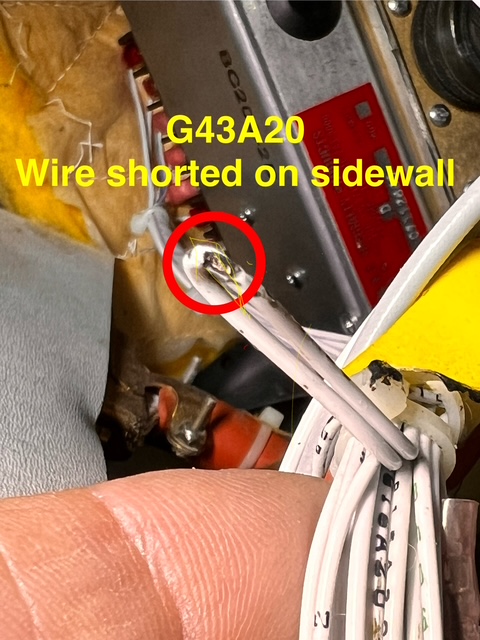
The bottom wire was broken off the resistor!
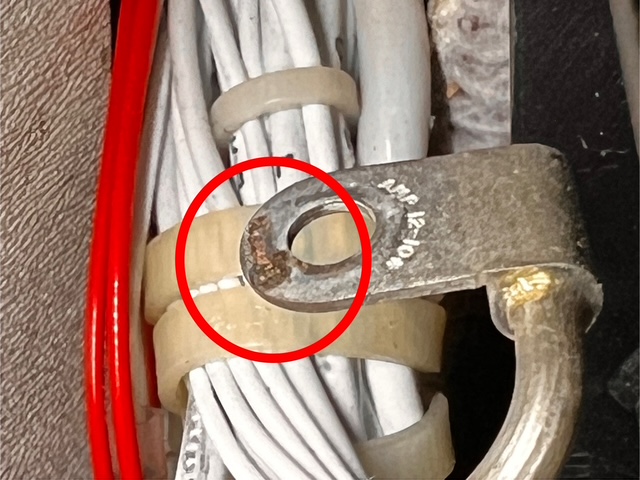
Take a closer look:

After soldering the wire back onto the resistor, there was now power to the air conditioning compressor clutch, and we were confident the system was fixed.
David attached the gauges to the servicing ports in the nose gear well, and we ran the right engine… and YES!
The system operated normally.
When it was all said and done, it was truly a team effort, and a great learning experience.
And it was perfect timing to get the air conditioning fixed, because Summer time and warm temps are right around the corner!
Be sure to listen to the audio for this episode to hear the air conditioning story, and also my story about playing “Banana Grams” with my wife and daughter, as well as a story about repairing an oil leak on my Grasshopper lawnmower.
I wasn’t sure I wanted to tackle this oil leak myself, but after calling around and discovering all the lawnmower repair shops are backed up for weeks, I decided to go to YouTube University and face the challenge.
It was a 2 1/2 day project, among other things, but I got it fixed!
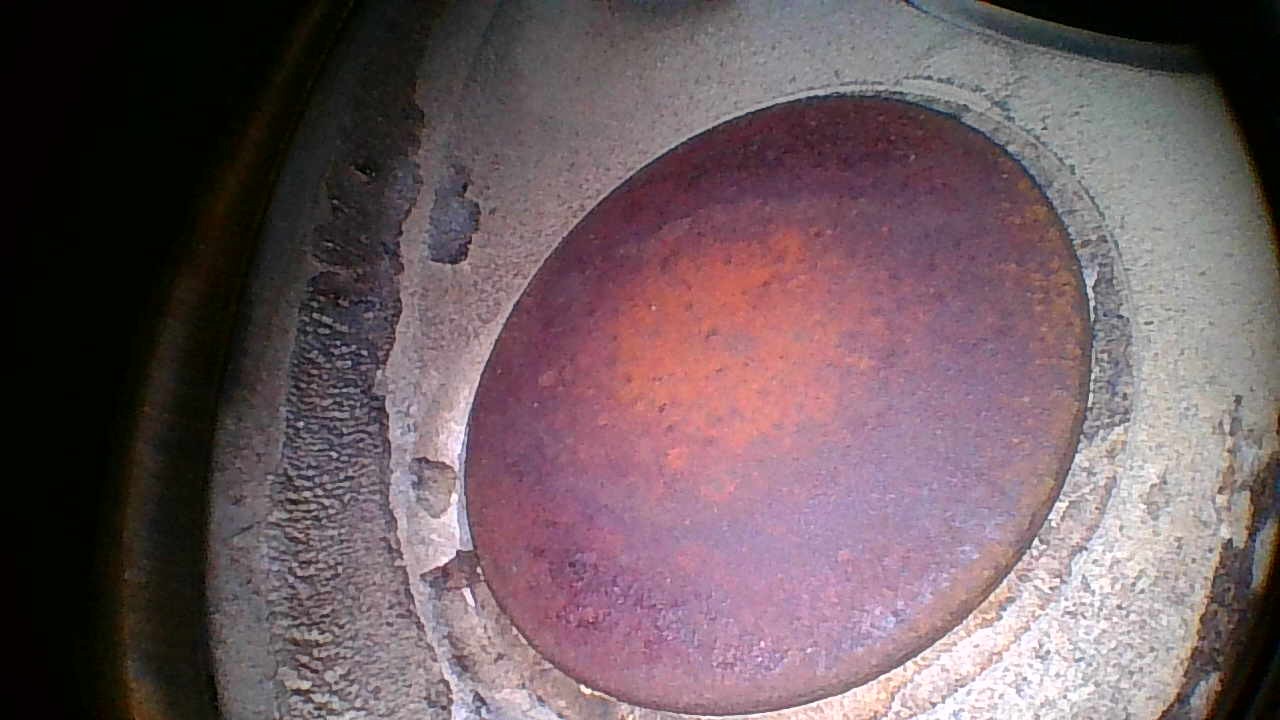
I had to remove the engine and disassemble it to replace the front crankshaft seal:

It was a mess behind the flywheel:

Lots of cleaning and a new crankshaft seal did the trick, and it’s back in business!
I’m grateful because one time mowing with the push mower was enough for me to realize I don’t want to do that every time!
All these experiences reminded me once again how worthwhile it is to take on challenging projects, even if they are difficult.
I hope you are encouraged to tackle something difficult in your life, if it’s something you’re interested in but might feel overwhelming.
Go for it!
The post “254 – Solving an Air Conditioning Mystery and Learning New Things!” appeared first at AirplaneOwnerMaintenance.com


Recent Comments