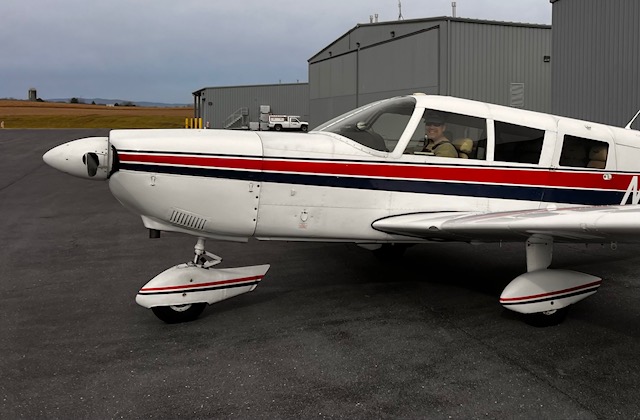
If you look closely in the photo above, you can see my friend Chris, smiling.
It was the day he arrived at Classic Aviation (KSHD) to begin his annual inspection with me.
Chris is not only an airplane owner and pilot, but he’s also a certified airplane mechanic as well.
I was very happy to have him help with the process as much as possible.
As I worked through the inspection, I found the control cable tensions needed some adjustment, including the rudder cable tensions.
As I began to tighten the left and right rudder cable tensions evenly so as not to disturb the rigging, I encountered a problem.
The left cable turnbuckle bottomed out in the turnbuckle barrel, and there was no more ability to tighten the cable, but I had not yet reached the cable tension spec in the maintenance manual of 85 pounds, plus or minus 5.
Yes, this is a high tension, but it is what the manual says.
You can listen to the audio for details of how we resolved the issue, and how I got help from my friend Kenneth who previously worked at Classic Aviation.
The short story is that we went through extensive rigging of the nose gear steering system, the rudder pedal bars, and the rudder cables, and finally got things set, with 80 pounds on the rudder cables.
When the annual was completed, we had fixed a bunch of other items as well, and hopefully Chris will be good to go for another year with no maintenance interruptions, as much as possible.
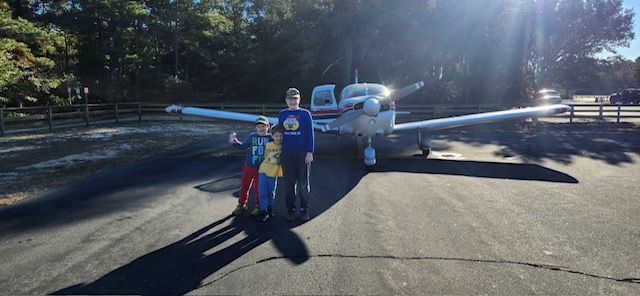
He even sent me some photos of the day he flew his sons down to the Outer Banks of North Carolina and visited the Wright Brothers Memorial! Thanks Chris!
The post “Frustrations with Piper Rudder Cable Tension – Episode 250” appeared first at AirplaneOwnerMaintenance.com
Today’s episode is about Pat’s Mooney, and how we sealed up some exhaust leaks.
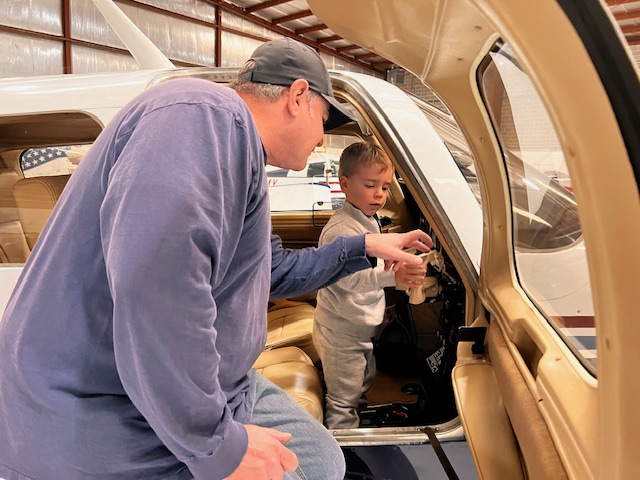
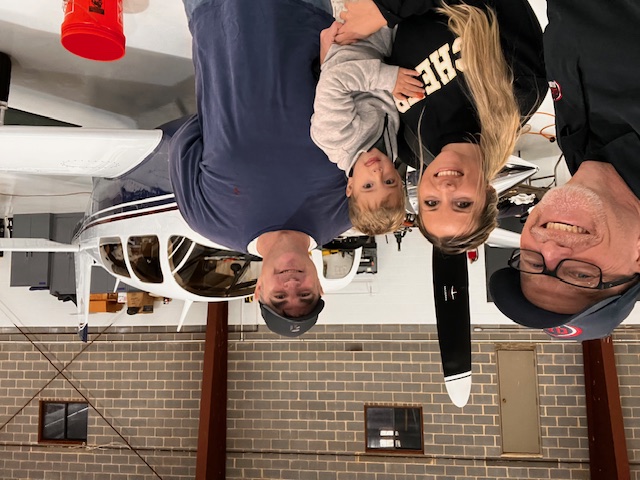
And it’s a fun story because Pat has become a good friend… check out the above photo where he’s showing his airplane to my grandson Spencer 🙂
Spencer and my daughter McKenzie stopped by the shop one day when Pat and I were working on his Mooney 252 (M20K.)
And if you’ve listened to the Airplane Owner Maintenance Podcast, you’ll likely remember that it’s McKenzie’s voice in the podcast intro and outro… thanks McKenzie!
Pat flew his Mooney from Wisconsin to Virginia for his annual inspection, and he hung around for several days to work with me on his airplane… I love airplane owners like Pat!
I love working with the “Pats” of general aviation because they tend to have some or all of the following traits:
They love aviation as a whole.
They are interested in the maintenance side of things.
They want things fixed and working properly.
They are easy to work with and fun to be around.
They care about people and relationships.
And that pretty well describes Pat, so we got off to a good start on his inspection.
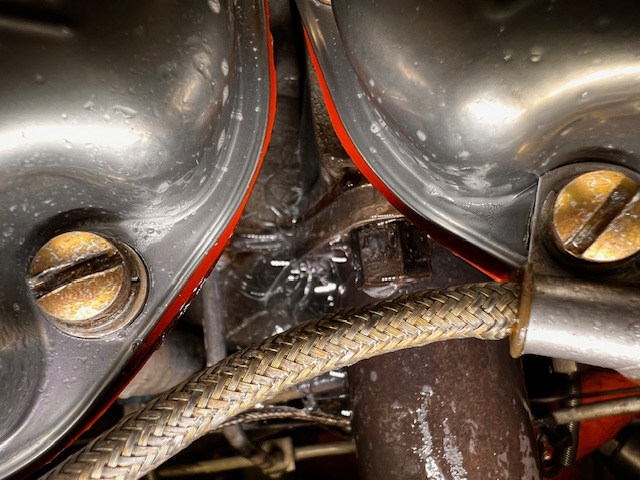
One of the squawks I discovered was 5 of the 6 exhaust flanges had small leaks at the gasket area… we found this while doing a pressure test on the exhaust system. Here’s one of the flanges that was leaking:
This engine is a Continental TSIO-360 and has 2 thin stainless steel gaskets P/N 630365 on each cylinder.
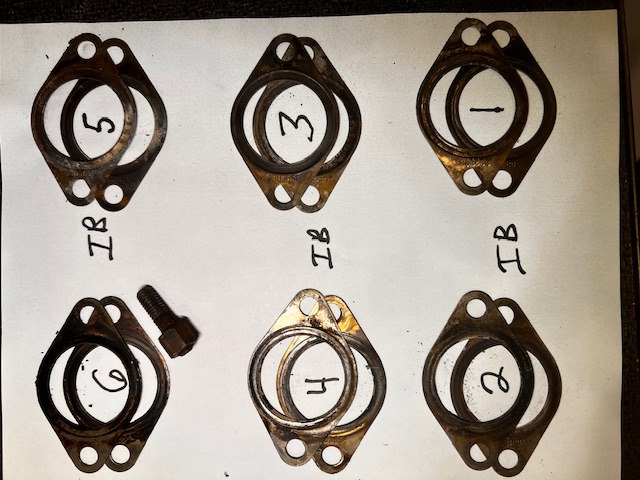
Here are the old gaskets I removed, along with one stud that backed out and had to be replaced with a new one:
I’ve found there is significant confusion out there about how these gaskets should be installed.
One side has a raised area, or a bump on it, and the other side has a recessed, or concave area.
As I’ve researched the internet (sometimes a not-so-good place to get good information,) it seems a fair number of people think these gaskets should be “nested” together for installation.
That is, put both gaskets in the same direction to they fit together, and then install them.
I wanted a definitive answer, so I called Continental.
Vadin was very helpful and explained it to me this way:
“You want to create an air pocket between the two gaskets.”
This means put the concave or recessed side of the two gaskets toward each other and this creates the air pocket.
Then, as you torque the exhaust nuts and squeeze the gaskets together, the bump on the top gasket is up against the cylinder flange, and the bump on the bottom gasket is down against the exhaust riser flange, and in this way you can hopefully seal up any small imperfections on the surfaces and get a perfect (or nearly perfect) seal.
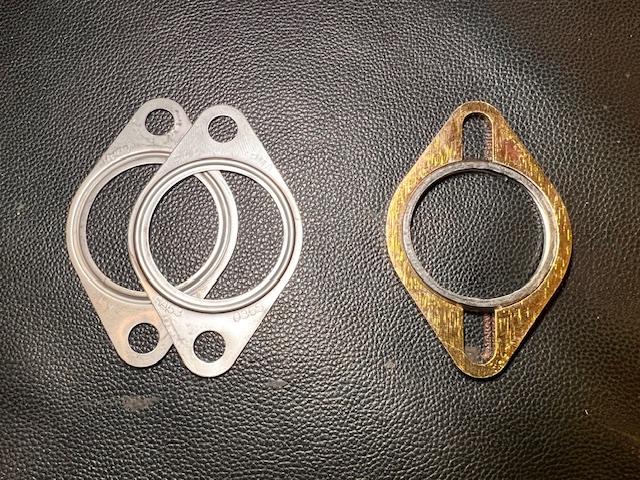
Also, there is another type of gasket that can be installed on this engine… it’s the “blow proof” gasket made my Rapco, P/N RA970.
Here’s the visual difference between the two types of gaskets (the thin ones on the top and the thick, blow proof one on the bottom):
I asked Vadin at Continental about these, and he could not officially endorse them, but he also acknowledged that some people seem to have good success with these thicker gaskets.
So, after discussing the situation with Pat, we decided to go with the thicker, blow proof, RA970 gaskets.
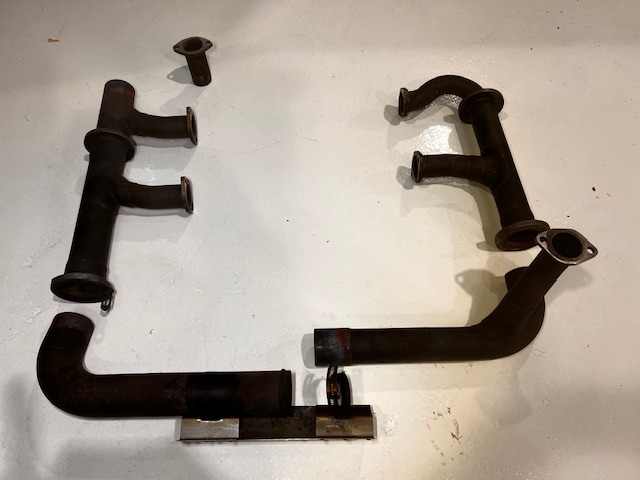
Prior to installing the gaskets, I had carefully sanded all 6 exhaust riser flanges flat and smooth so as to get the best seal possible. Here’s a photo of the exhaust system before sanding the flanges:
I carefully installed the new gaskets, and torqued all the nuts with the studs properly lubed with engine oil.
I was excited to do another pressure test and was confident about the results.
I was sorely disappointed.
Five of the six flanges still had small leaks.
Back to the drawing board.
I texted Pat and notified him that I thought we should try the other type gaskets and see if we could get a better seal.
He agreed.
So, I reluctantly removed the thick RA970 gaskets and installed two each 630365 thin gaskets (properly positioned) on each flange and retorqued everything.
Time for another pressure test.
It wasn’t perfect as I had hoped, but it was very acceptable.
Three of the flanges were perfect with zero leakage.
The other three were nearly perfect with only very small bubbles forming slowly at one side of the flange during the pressure test.
I’m satisfied with this… and as I thought about the whole situation, I suppose you could buy a whole new exhaust system for the engine in hopes of getting a 100% perfect seal, but I don’t think that’s necessary in this situation.
I also realized that if this was my personal airplane, I would feel the same about it, and I would fly my family in it with great confidence.
Be sure to listen to the audio for this episode to hear the whole storyl
And after all that, I’m EXHAUSTED!
But it’s been totally worthwhile, because Pat is such a great guy to work with!
Thanks Pat, and I look forward to returning your airplane to you real soon!

Recent Comments