A Maintenance Oriented Podcast For Airplane Owners, Pilots, and Mechanics

Author: Dean Showalter (Page 18 of 26)

081 – One Simple But Powerful Idea for a More Efficient Annual Inspection

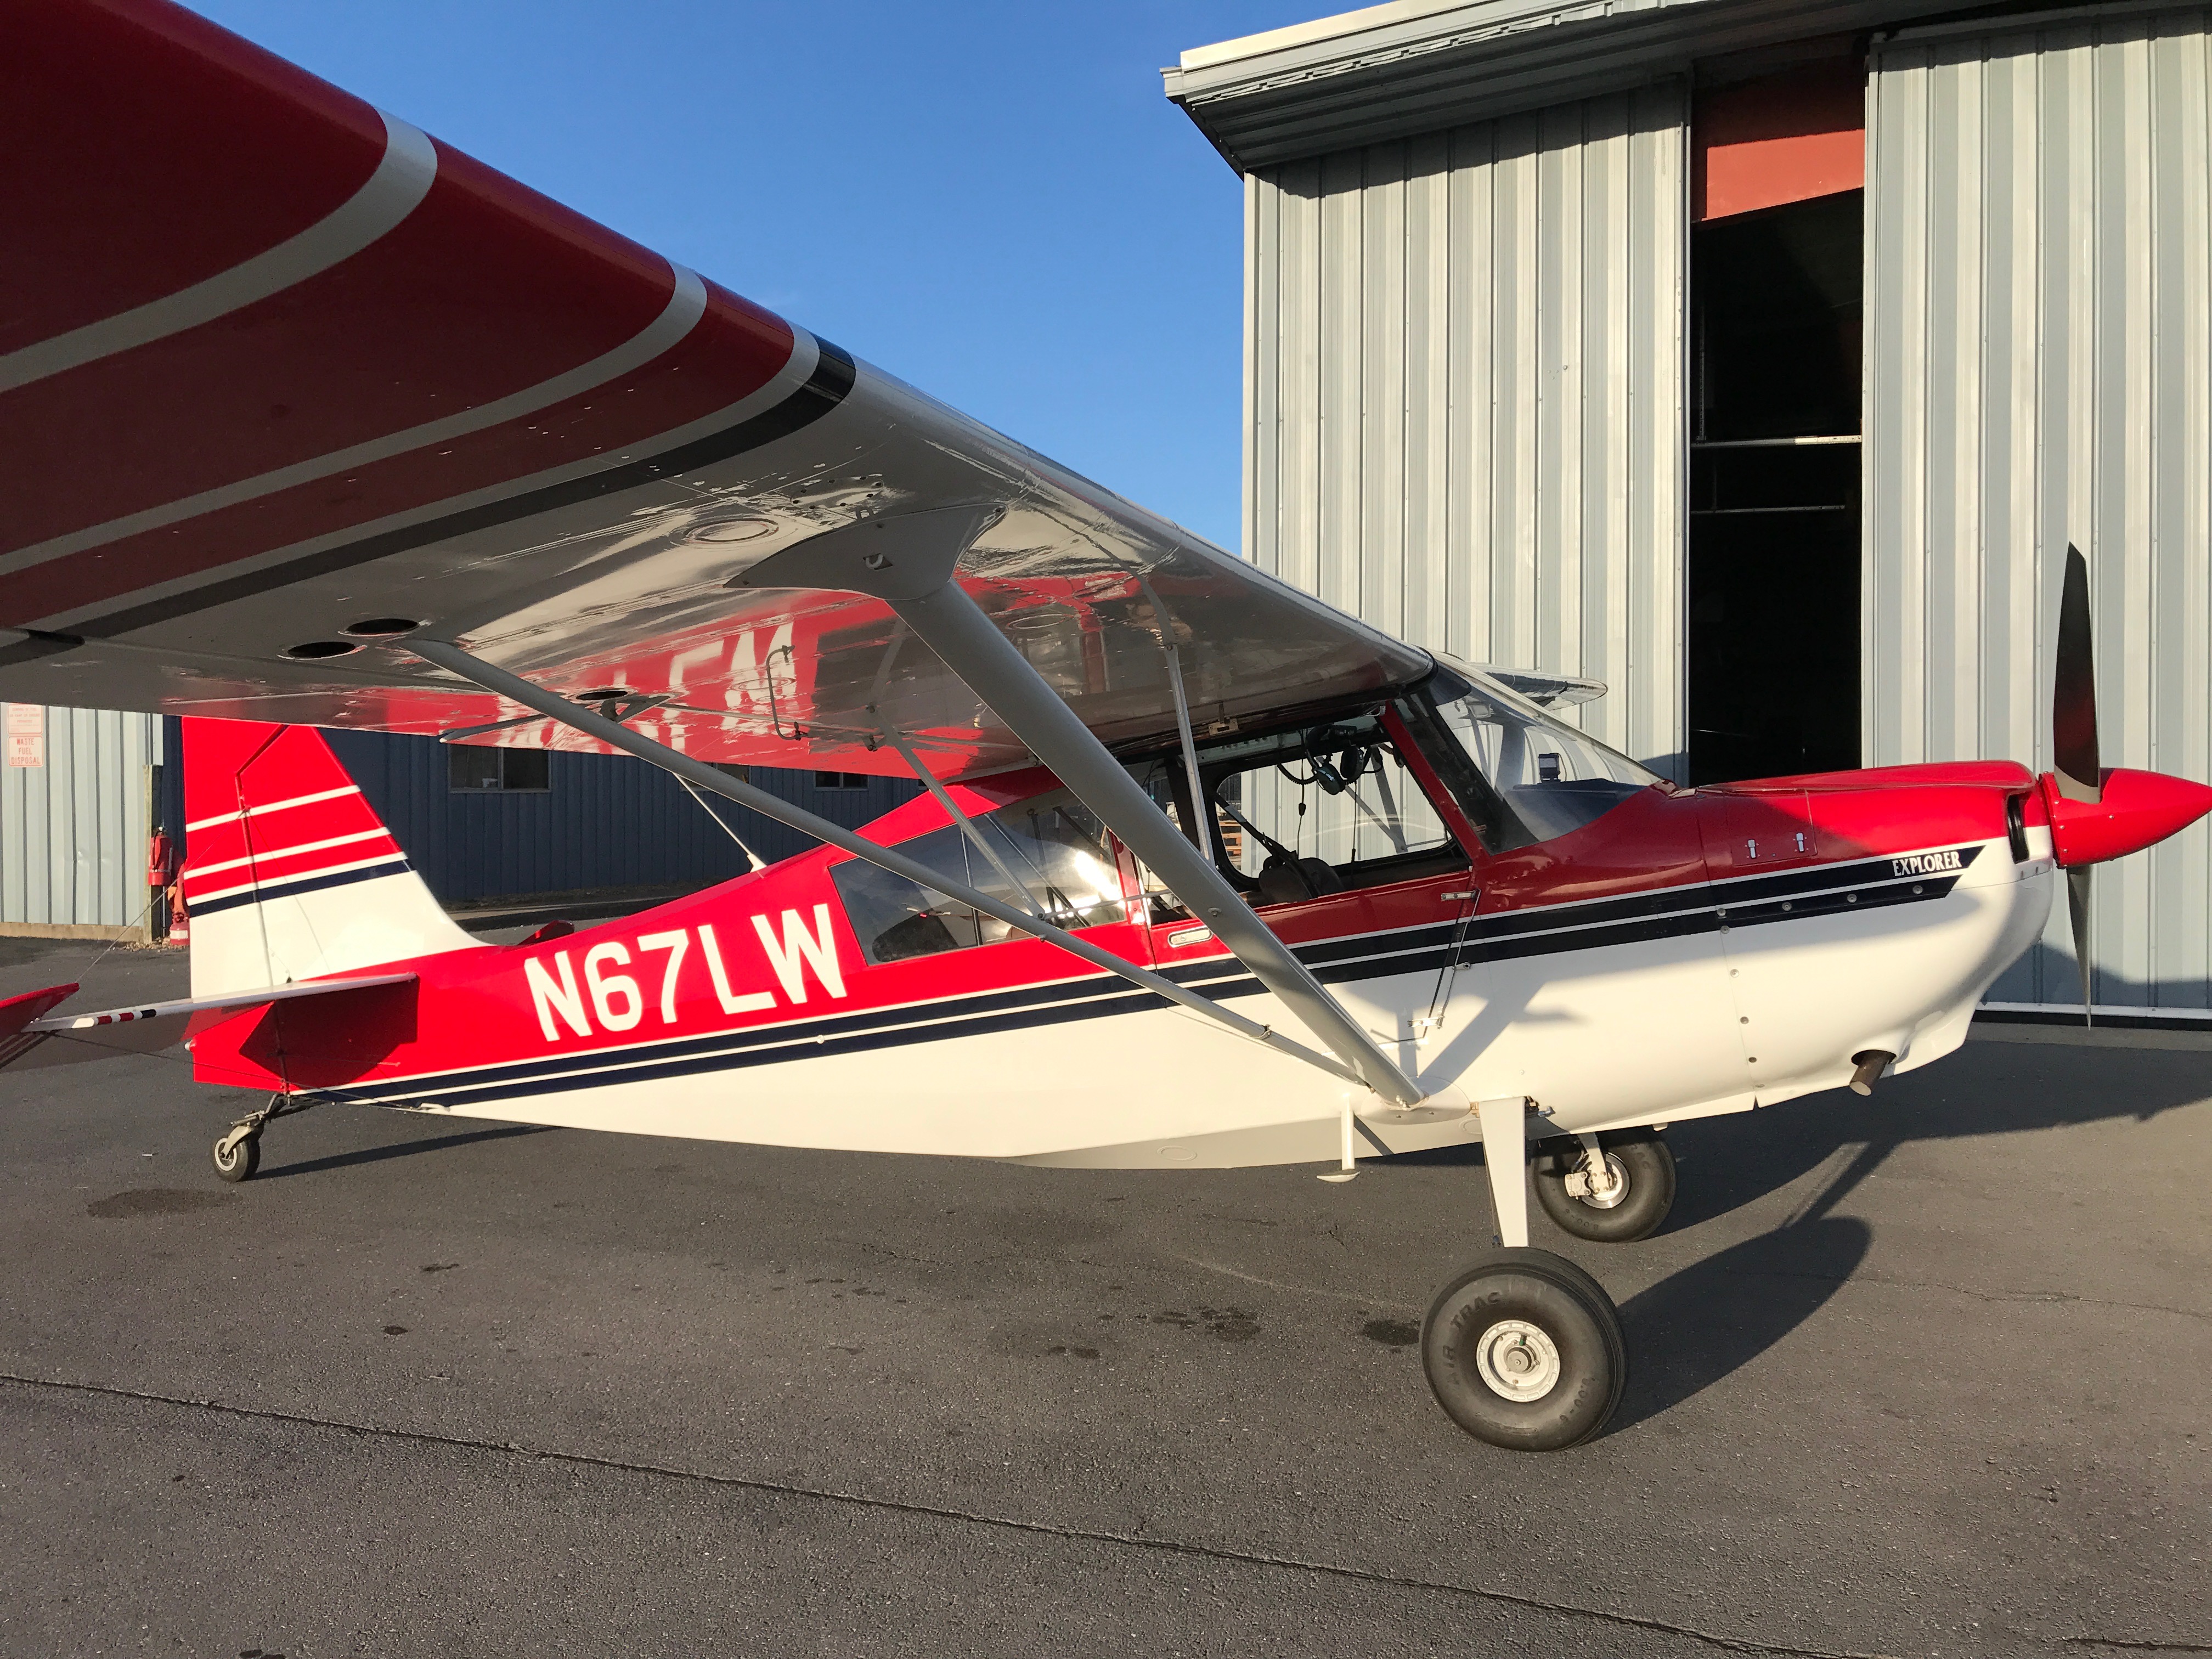
I had a situation last week at Classic Aviation that made me think about this topic… cable tensions and how easy it is for confusion to creep in around this topic.  Listen to today’s episode to hear about a situation on a Piper Saratoga that took some digging to get to the bottom of it.

But first, I want to say thanks to Matt Reedy for his feedback about a gear down light in his Piper Arrow.  He referred to episode 058, and if you have not listened to it, you can find it here:  Airplane OwnerMaintenance.com/058

If you have a gear down light in your airplane that is slow to illuminate after you extend the landing gear, you might find that episode helpful as one idea to consider.

Matt also shared with me something about safety wiring.  Here is what he said:

“I watched your YouTube video on safety wiring a brake caliper several times.  It really helped me figure out how to safety wire the oil filter and oil sump suction screen on my Lycoming engine.  I’ve now changed my own oil several times.”

Thank you Matt!

The safety wiring video course will soon be available.  More information to come on that.

In the mean time, if you’d like to watch the video Matt was talking about, here it is:

The upcoming safety wiring course, “Safety Wire Like A Pro,” will go far beyond what you see in this video.  I

Also in this episode, I mentioned a very special Christmas gift I received from my daughter.  Here’s a picture of that 🙂

(You’ll have to listen to the audio to find out why in the world she wrote “#bestbananaever” on that banana…  I loved this gift!

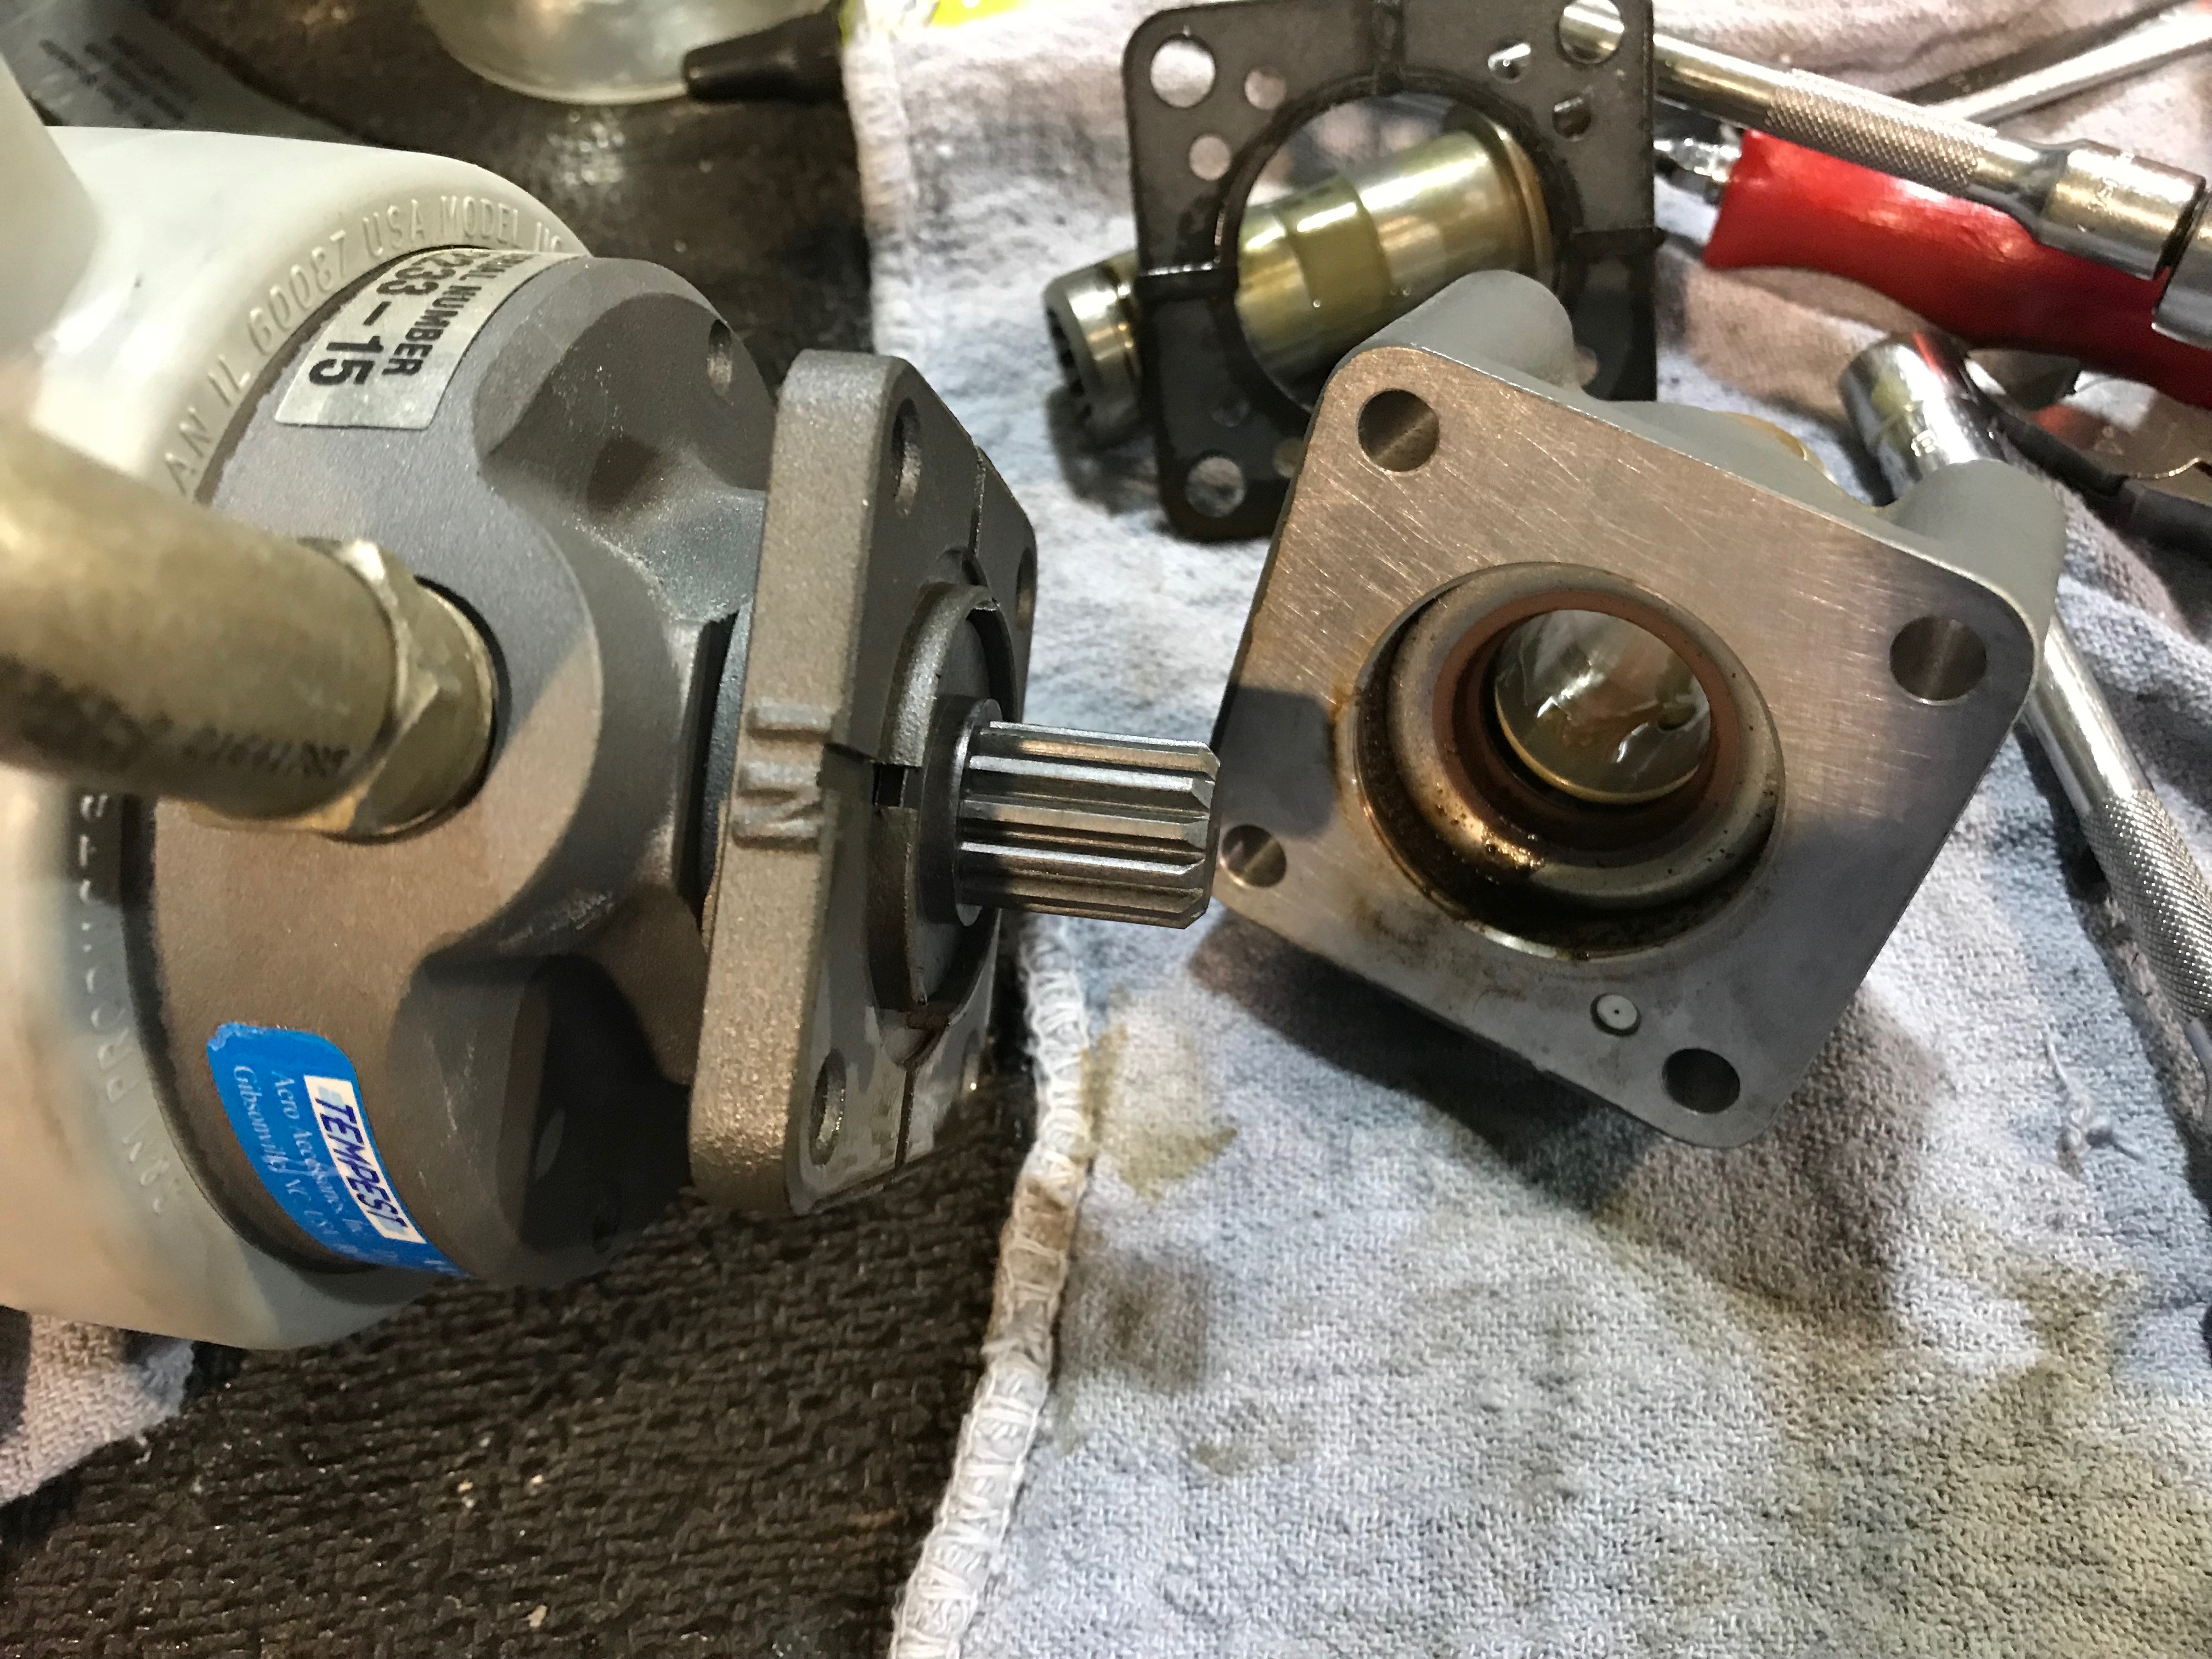
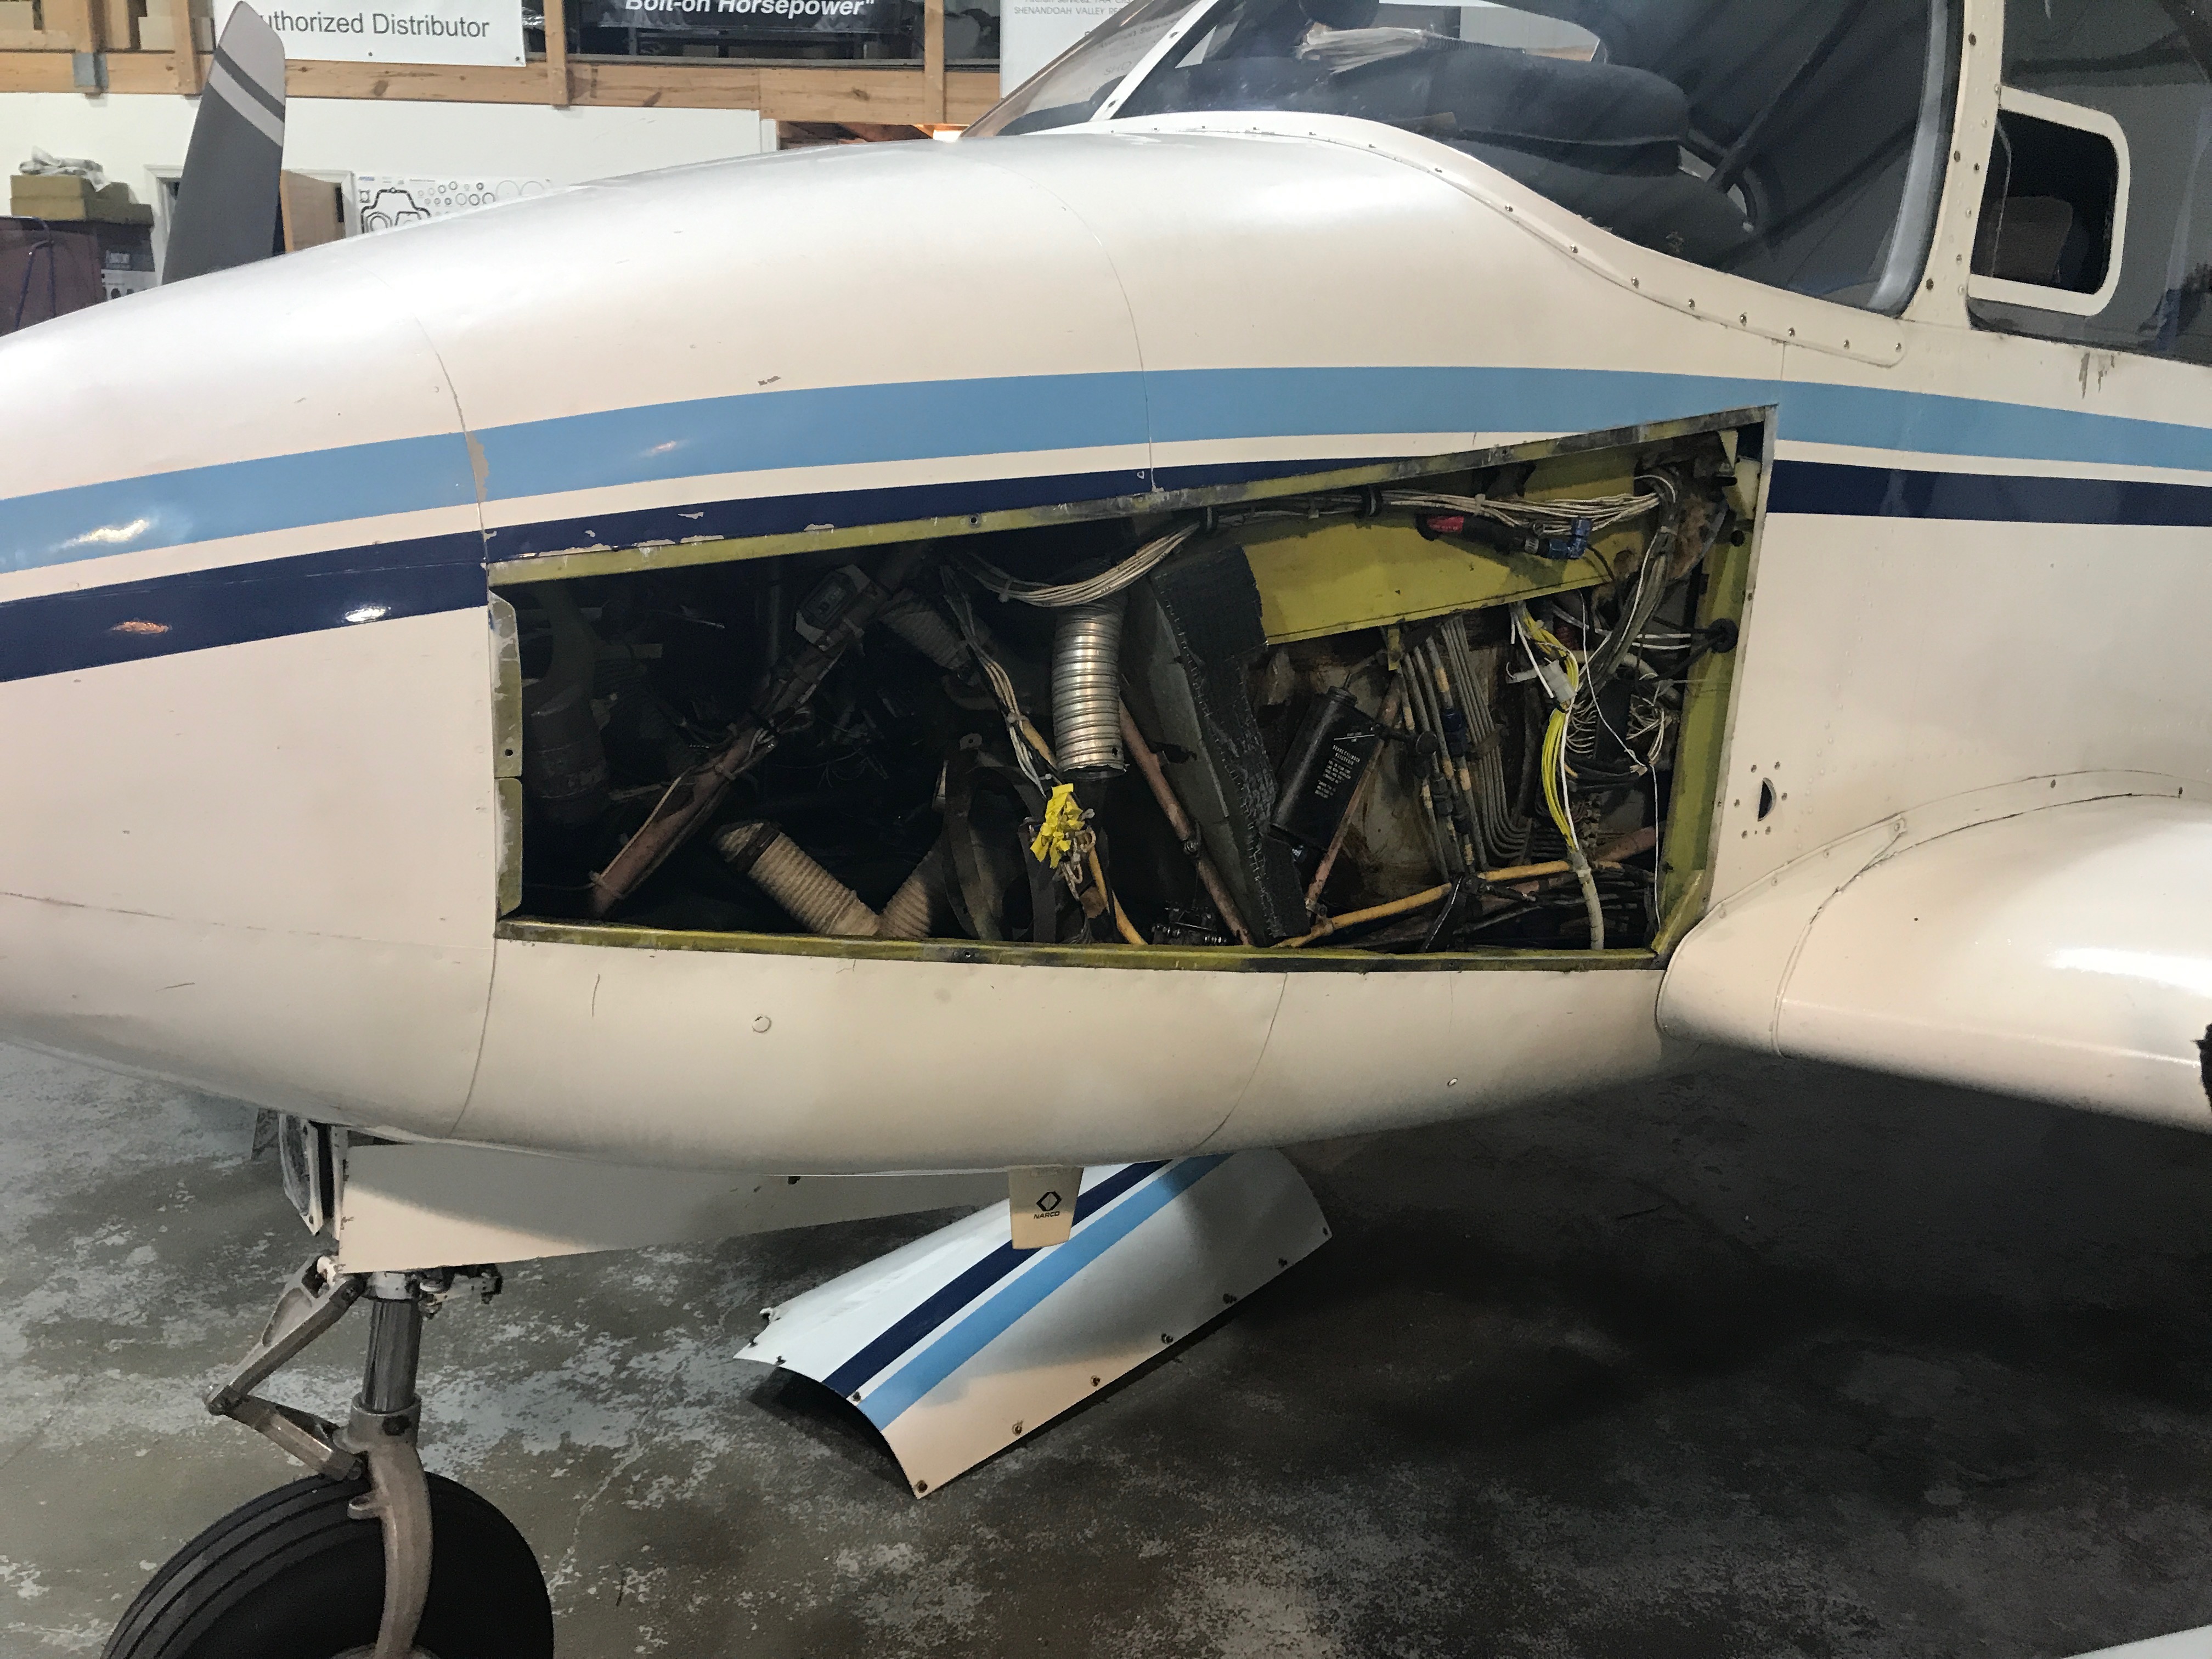
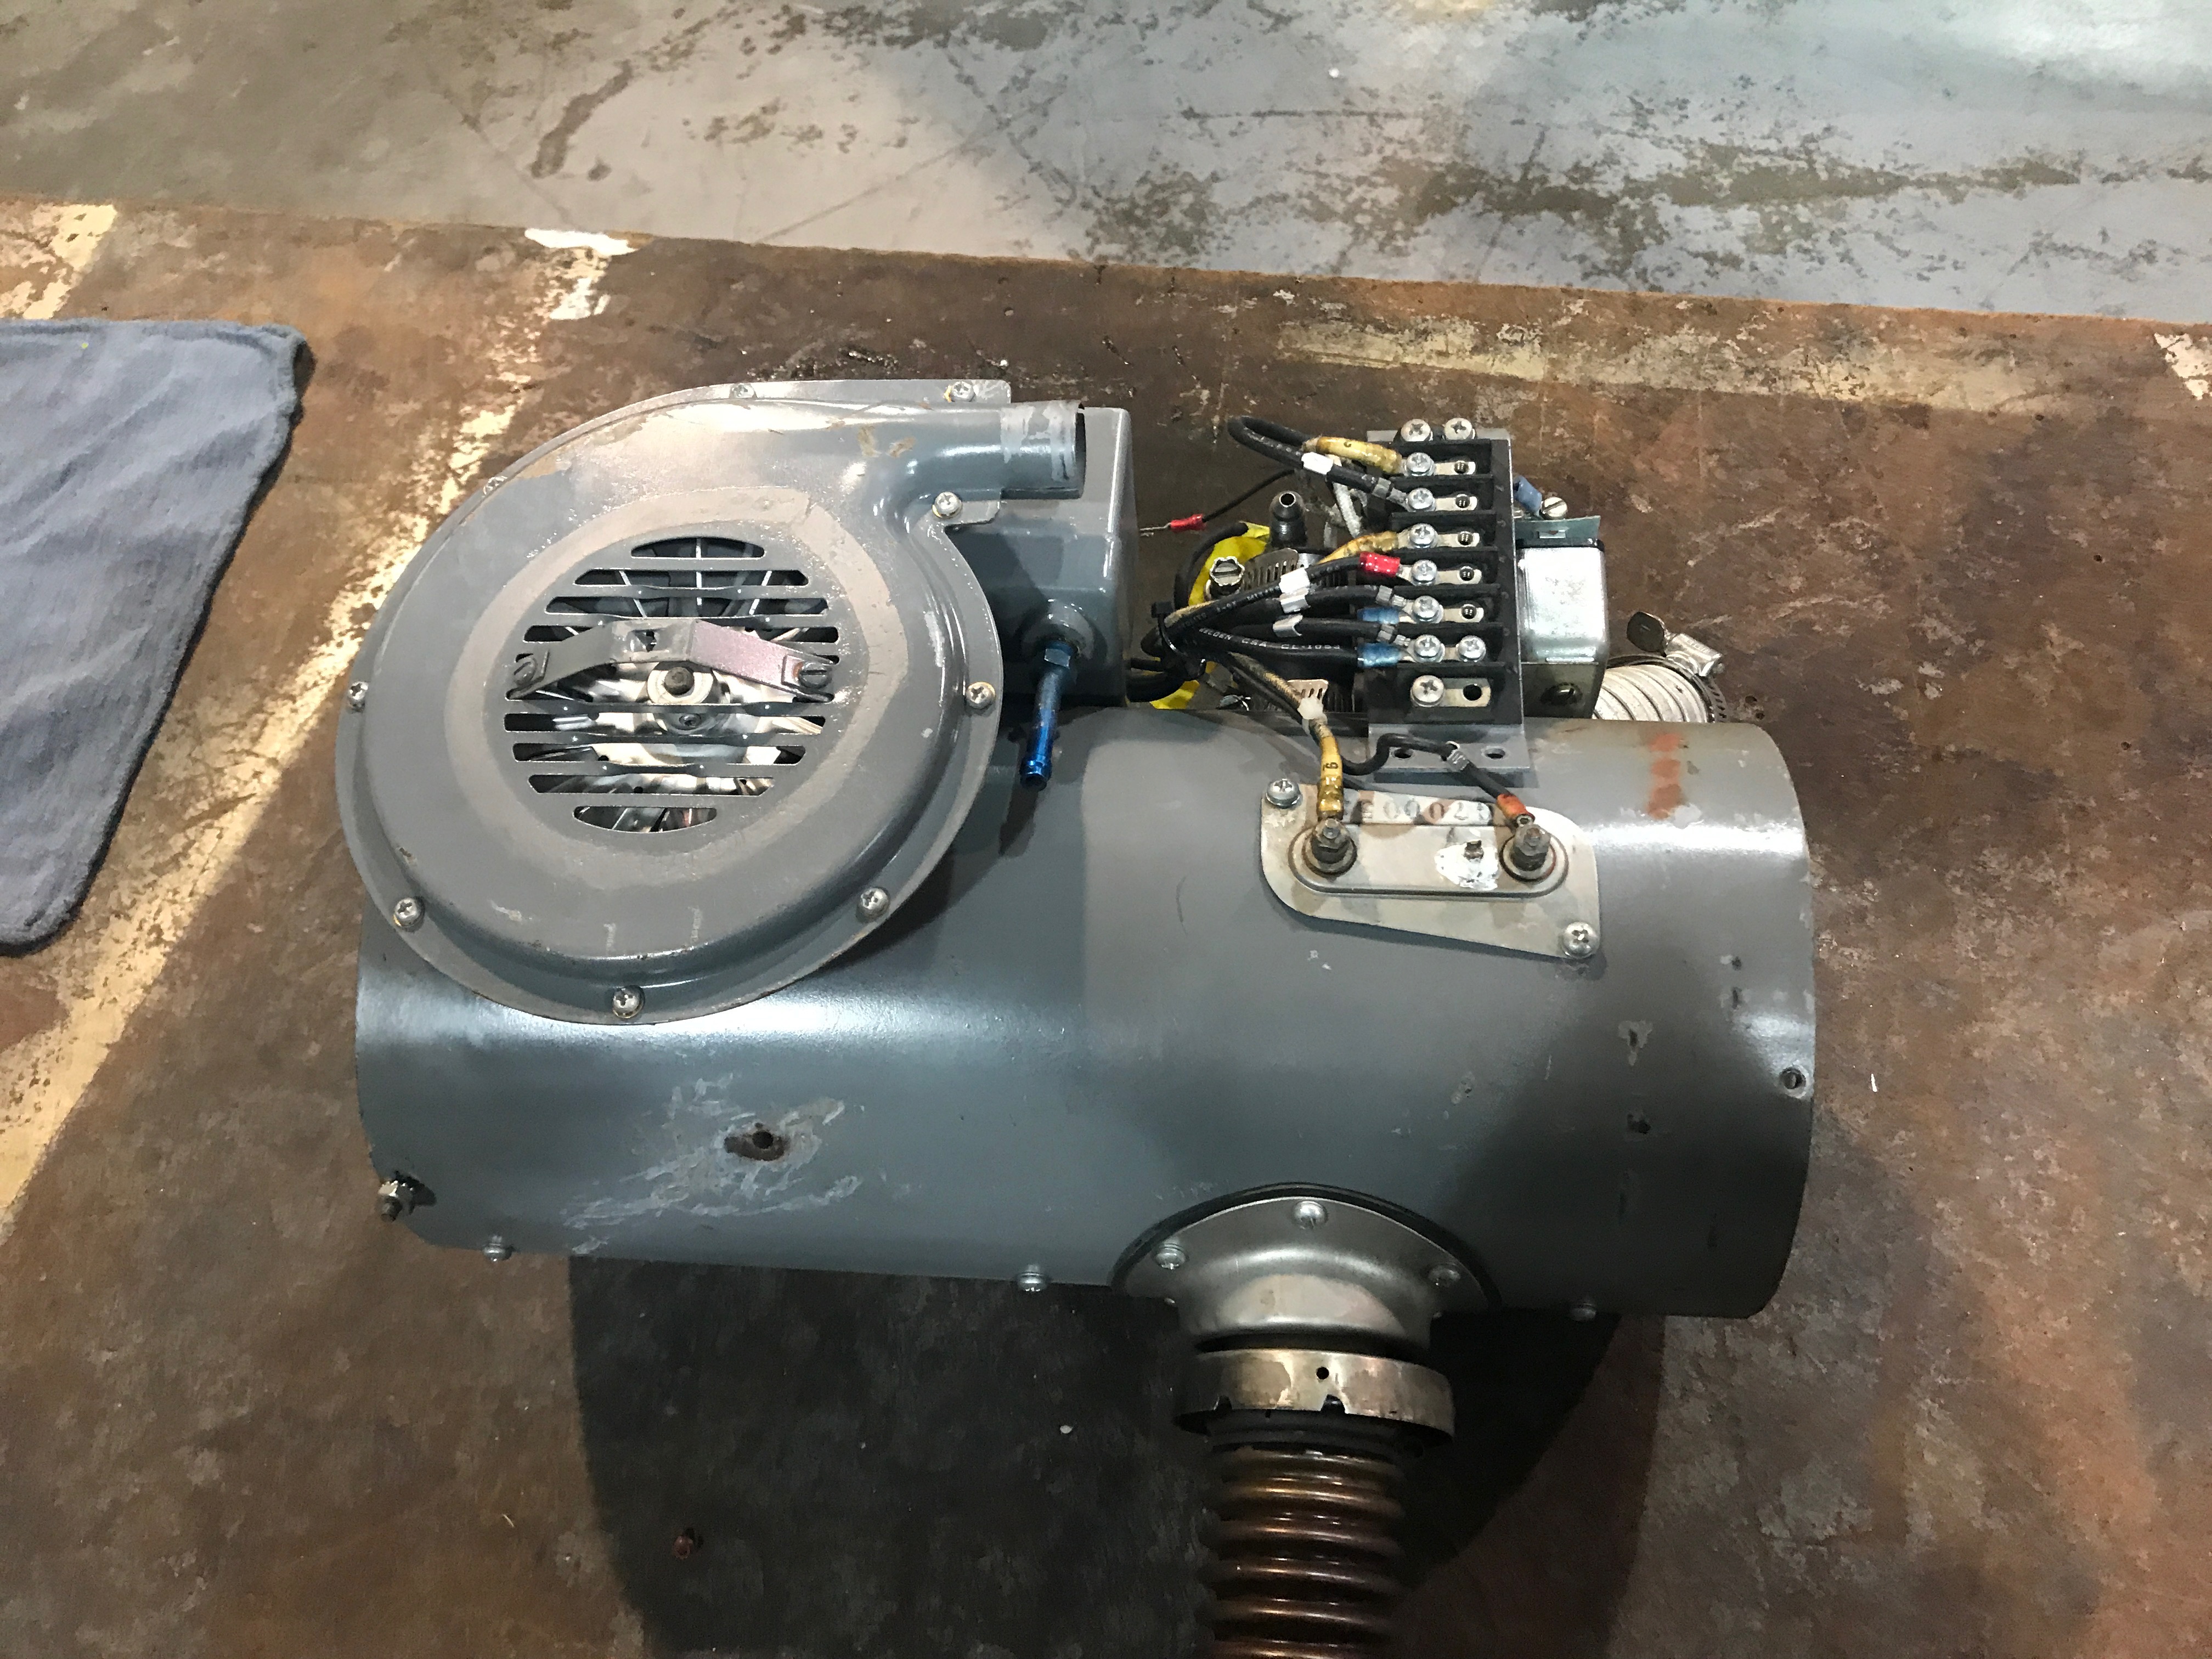
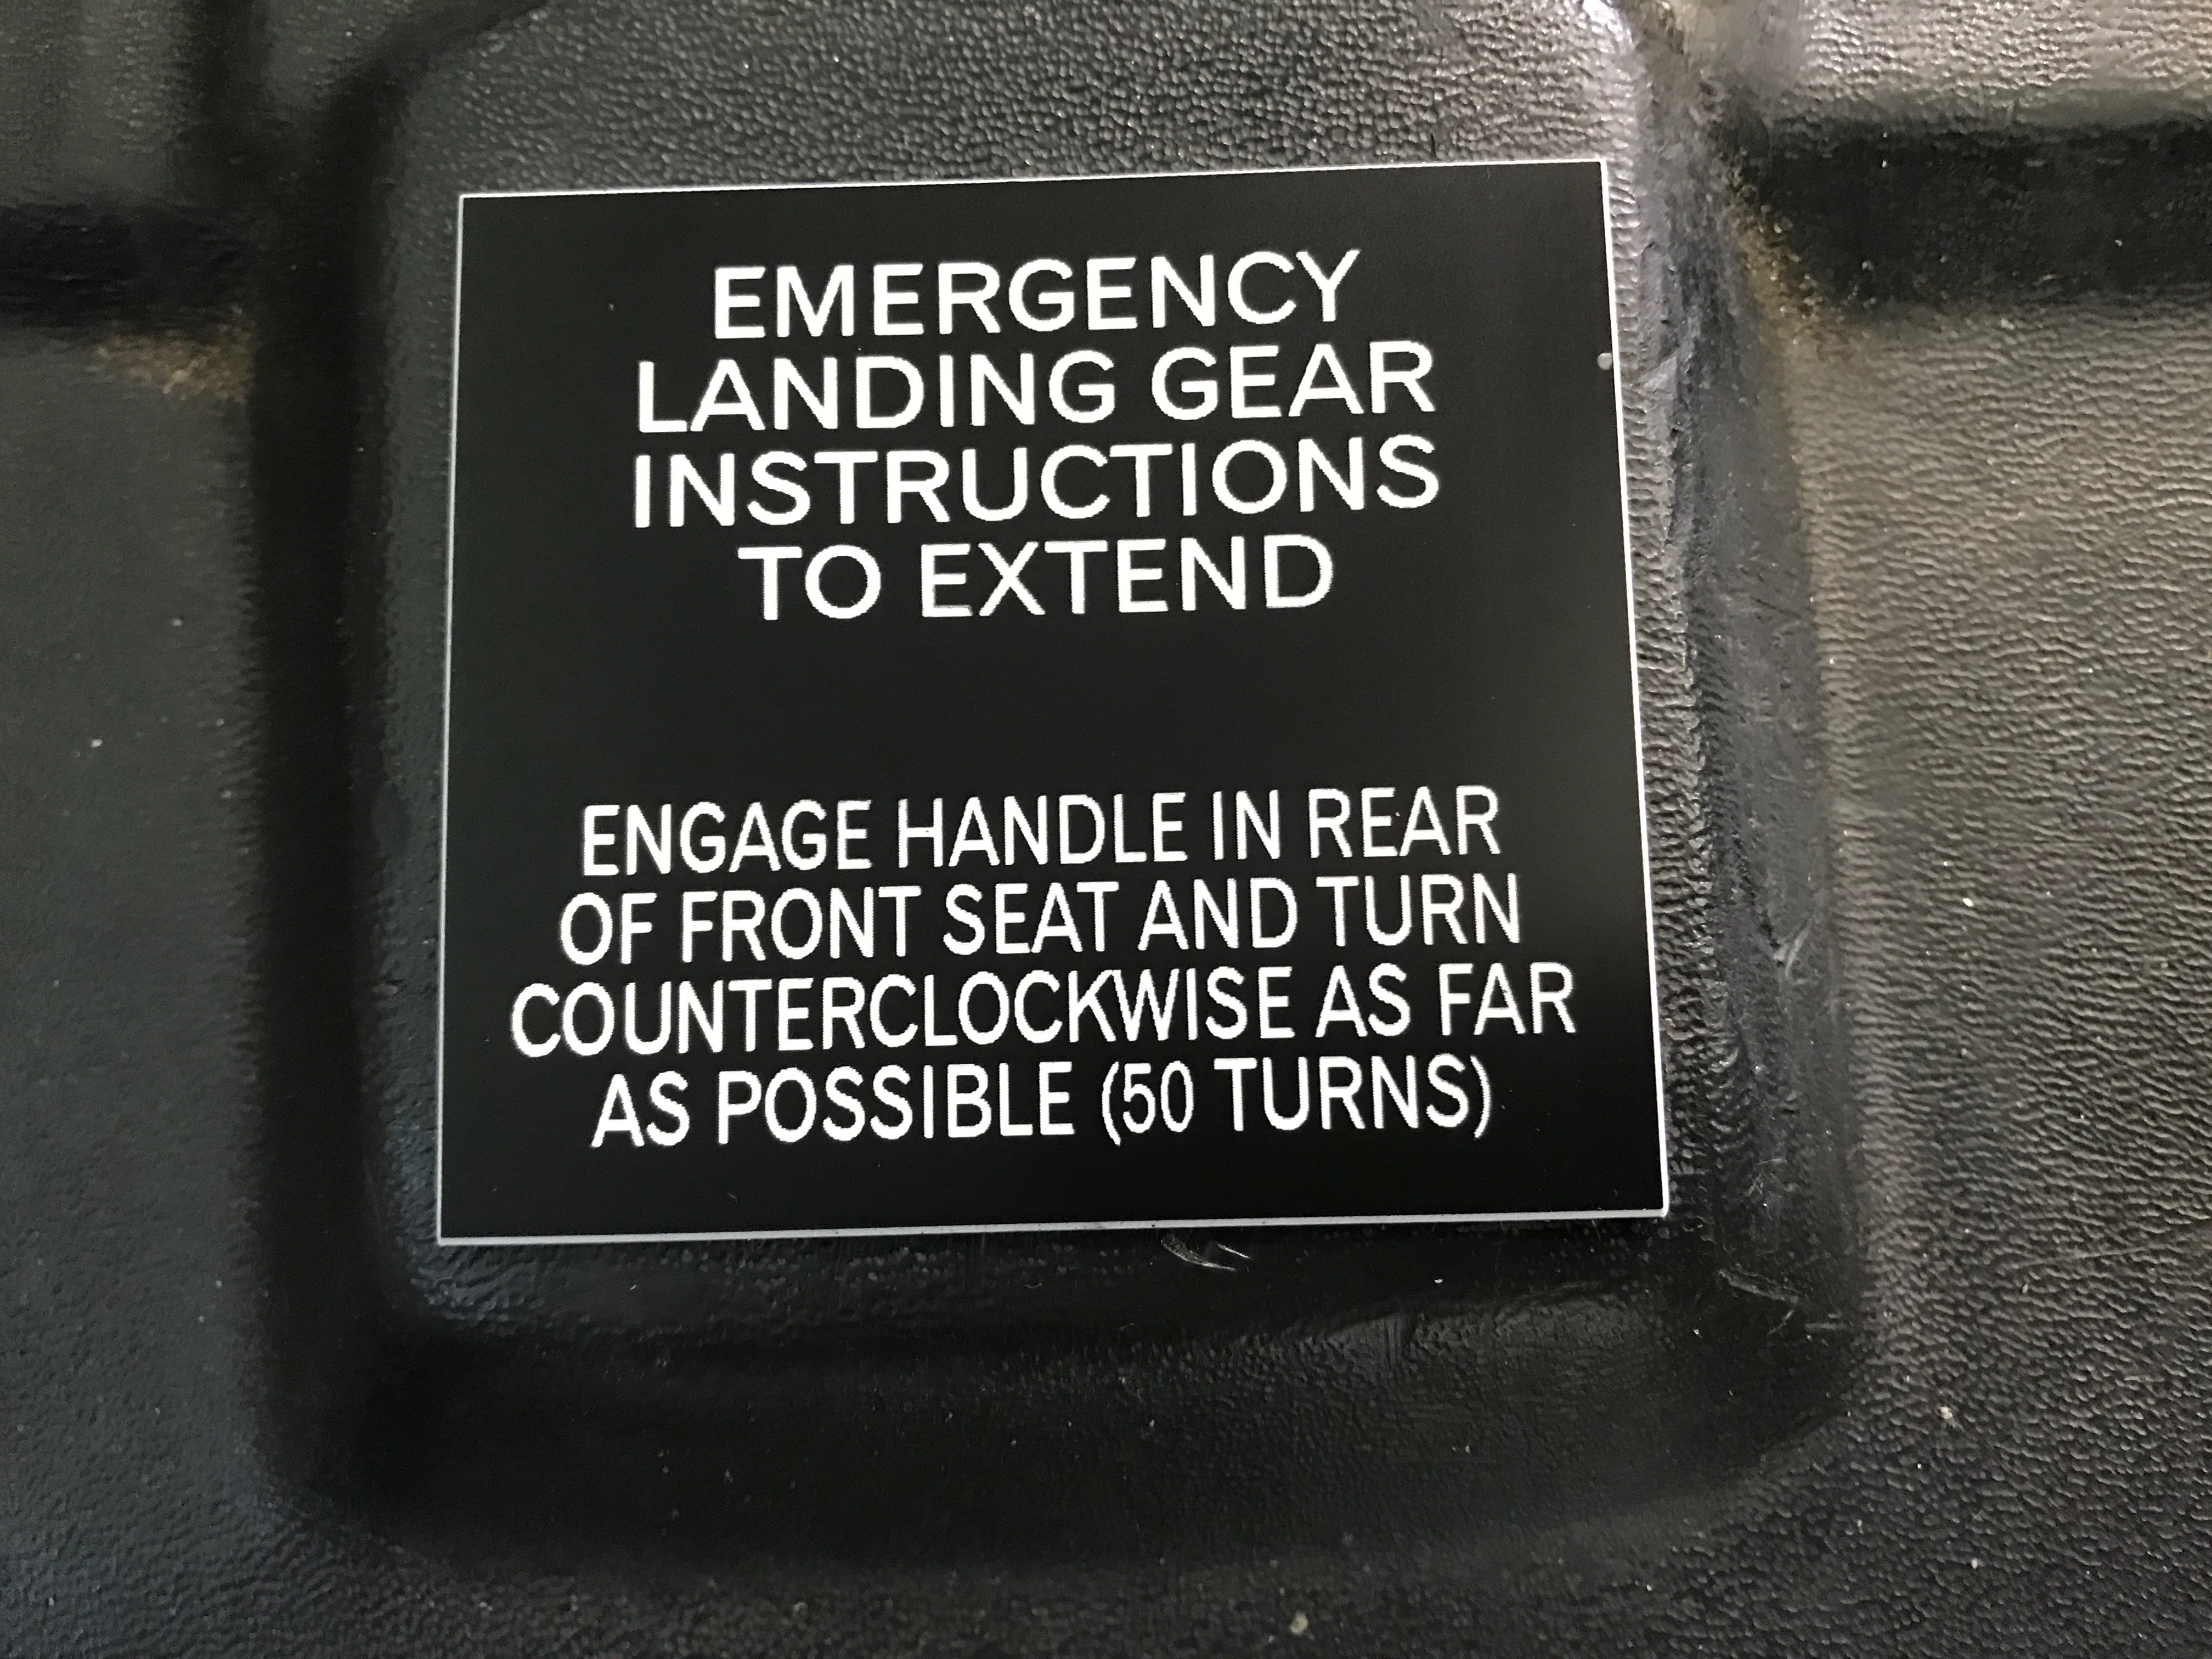
Today’s main feature:  Airplane cable tensions.  Find out what it took to get all the cable tensions up to proper specs, including the primary cables, trim cables, and autopilot servo cables.

And after this experience, I’m more convinced than ever, that it would be a really good idea for every airplane owner to put together some sort of maintenance file that can be used as a reference when it comes time for the annual inspection.  It could include things like:

  • Cable tensions
  • Tire pressures
  • Strut extension levels
  • Engine oil type
  • Common part numbers
  • Recurring AD’s
  • Acomplete AD compliance record
  • And more

And, if you have other great ideas about what to include in a maintenance file like this please let me know… leave a voice message here on the website, or send me an email.  dean{at}airplaneownermaintenance{dot}com

Thanks everyone, and have a great weekend!

080 – Citabria Annual Inspection Review

Do you know where the name “Citabria came from?  Check this out:  The name “Citabria” is actually “Airbatic” spelled backwards.  Interesting trivia.

Today, we cover a quick review of the annual inspection checklist for the Citabria.  Thank you to Dan Frankel for requesting this topic.

Also, I’d like to thank Brian Schober for his kind words in a recent iTunes review, and also in an email he sent me.  In that email, he mentioned how the podcast “allows us to identify concerns before they become actual issues.”  Yes!  That is precisely one of the things I love to see happen… airplane owners identifying possible concerns, and taking action to keep them from developing into dangerous situations.  So thank you Brian, for sharing that.  If anyone wants to hear the rest of what Brian said, just listen to today’s episode.

Finally, I’d like to thank Leon and Wynne Johenning, owners of a pristine 1997 Citabria, model 7GCBC.  I’ve mentioned them in some previous episodes, including the very first episode.  If you’re interested you can listen to that one at AirplaneOwnerMaintenance.com/001

I’ve enjoyed working with Leon and Wynne so much, and they’ve become great friends.

Thank you, Leon and Wynne!


Reminder:  The new video course, “Safety Wire Like A Pro!” will soon be available.  Watch for more details coming soon.  Even if you have zero experience in safety wiring, this course can help you learn to perform the task with excellence and make it look like it was done by a pro!

079 – YOU Can Check Your Exhaust System for Leaks With This Simple Technique!

This is the final episode for 2017!  Thank you everyone, for all your emails, messages, ideas, and encouragement.  You all mean so much to me!

A recent email I received, included this link for an article that is worth reading, about exhaust system issues, and carbon monoxide.  There are also a couple videos worth watching as well.

http://www.safetyandhealthmagazine.com/articles/16253-ntsb-warns-pilots-and-airline-mechanics-about-carbon-monoxide-poisoning

Thank you Steve, for providing that information!

As an airplane owner, there is a very simple technique you can use to detect exhaust leaks that might be a problem.  All it takes is a clean shop vac with the capability to BLOW air, a clean spray bottle, and some dish detergent.  (Oh, and maybe some duct tape and some pieces of sponge, or something to seal around the vacuum hose when you put it in the exhaust tailpipe.)

Here are some pictures from a Piper Turbo-Saratoga I’ve been working on at Classic Aviation recently.  The cylinder #3 exhaust flange was leaking at the gasket area, and blowing dust back onto the intake pipe.  This was one issue I needed to fix.  AND, it became really obvious when I did the shop vac pressure test… listen to today’s episode for more details about how to do this.

Here’s another thing I found.  The forward V-band clamp in this picture was loose.  Also, the transition flange going into the exhaust pipe behind the clamp, was seized at the slip joint, and caused the gasket to be loose, and leak exhaust dust.  It took some heat to free up the slip joint, and put some anti-seize on it to allow it to be drawn into proper position for torquing.

Also, the V-band clamp second from the top left, in the picture above, was leaking exhaust dust for a big reason… the gasket was missing!  Here’s a closer look:

Another indicator is how the two ends of the clamp are almost touching… after the gasket was installed, they were farther apart, as they should be.

And here’s  how the final installation looks after everything has been reassembled, torqued and safetied:

In light of all this, here are some ideas of what you can do on your airplane engine, to help ensure the exhaust system is safe:

During the oil change, or any time the cowling is removed:

  1. Check for exhaust leaks.
    1. Visual – look for dust.
    2. Pressure test – not complicated – use shop vac, but be careful!
  2. Note any discrepancies and report to your A&P.  How cool if you can say, “I have a little exhaust leak at Cylinder #4 attach flange… please fix it.”
  3. If turbocharged, do a visual check and “wiggle test” on all exhaust clamps… most are V-band clamps.  If there is any play at all, it needs to be retorqued.
  4. If you’re not comfortable doing the pressure test, ask your A&P to do it, including, and especially inside the muffler cover where the cabin heat is picked up.
  5. If you are having exhaust work done, ask your A&P to make sure all slip joints are free to move. 

If you do this and find any leaks, I’d be very interested in hearing about your experience – email me or leave a voice message.  (Click the button on the right side of the page.)

Coming in 2018:  Be looking for information on the new course, “Safety Wire Like A Pro!”  Owner performed preventive maintenance often requires some safety wiring, so if you need to learn how to safety wire oil filters, screens, brake calipers, and other items, OR, you’d like to get better at it, consider taking this video course… it can absolutely help you to make your safety wiring look like it was done by a professional!  More information coming soon.

Merry Christmas everyone!  I’d like to wish you the love, joy, peace, and abundant life of Jesus, as we celebrate Christmas and look forward to a brand new year in 2018.  God bless you all, my friends!


078 – A Cylinder Blow-Out, a Blue Fuel Stain, and a Leaking Vacuum Pump Seal

This cylinder definitely has a problem!  And I can’t help but think, could there have been a way to detect what was going on before it got this severe?  I’m not sure, but I do wonder what might have been detected if a borescope inspection had been done at the last annual.  (Perhaps that was done, and nothing showed up at that time.)

Whatever the case, this cylinder is not healthy.  Thankfully, it was found, and removed from that engine.  One complicating factor on this airplane, was that the #1 and #5 EGT probes were swapped, which could  have caused some confusion.


Another thing I saw in the shop this past week, was an area of blue fuel stain below one of the induction couplings on this Cessna 182.  (This is NOT the airplane that had the cylinder problem.)

The induction coupling clamps on this engine needed a little tightening… It’s always a good idea to check these clamps during the annual inspection, both on Lycoming, and Continental engines.

Another good way to check for induction leaks is to do an in-flight induction leak test using different power settings and analyzing information on the engine monitor.  (Thank you Steve, for pointing that out.)  You can google “Mike Busch induction leak test” for more information on that.


The third item in this week’s episode is about leaking vacuum pump drive seals, commonly known as Garloc seals.  This is the seal that keeps engine oil from leaking past the rotating shaft that drives the vacuum pump.  When this seal leaks, one indicator can be small oil droplets that are slung around in the area surrounding the vacuum pump.

Here is what this seal looked like when the vacuum pump was removed.


Remember, from last week’s episode, make sure your heating system is in good, safe, working condition.  If you have a combustion heater, make sure all checks are up to date, and consider having a pressure test done, even if it’s not “required.”

If your heat is collected from your engine’s exhaust system, make sure it has been thoroughly inspected for any defects that could allow carbon monoxide to enter the cabin.  Use a good quality carbon monoxide detector (Not the spot detectors.)  Get one that has a visual and audible warning.


Reminder:  More information coming soon about Dean’s safety wiring video course, to help airplane owners learn how to do excellent safety wiring, or to help them get better at it.

Fly safely!

077 – Is Your Airplane’s Heater About to Kill You? I Hope Not!


Check out this picture… any idea what’s going on here?

Now that we are into cold weather seasons, it’s a good time to talk about aircraft heaters.  They can be a necessary source of in-flight comfort, but if something goes wrong, they can also be surprising source of in-flight danger.

If your airplane has a combustion heater, make sure it’s maintained in a way that maximizes safety and reliability.  Some heaters have AD’s that mandate certain inspections.  Regardless of the AD’s, aircraft combustion heaters need regular and specific maintenance, to ensure proper and safe operation.

Two new AD’s have recently been issued on Southwind / Stewart Warner heaters.  In the past, these heaters were not required by AD’s to have a pressure test at regular intervals, but one of the new AD’s  DOES require a pressure test.  And it’s a good thing, as you will find out when you listen to this episode.

The new AD’s are these:

AD 2017-15-05 (Replaces AD 69-13-03.)  This AD is a one-time AD as long as the heater exhaust extension is stainless steel.

AD 2017-06-03 (Replaces AD 81-09-09.)  This AD requires fairly extensive inspection, and pressure testing of the old Southwind / Stewart Warner aircraft combustion heaters.  While it could be considered a cumbersome requirement, it really is a good thing, because if these heaters are not in good, safe, working condition, they can be flat-out dangerous!  This is the AD that caused me to pressure test that heater in the picture above.  And those bubbles are because the heater combustion tube has small holes in it, that can allow carbon monoxide gases to flow right into the airplane’s cabin during heater operation.

The interesting thing about this heater, is that unlike other heaters I’ve seen with cracks in them, this one ALMOST passed the pressure test.  It was a slow leak, but I could not get it to meet the requirements of pressurizing the combustion tube with 6 pounds of air pressure, and having it maintain at least 4 pounds after 45 seconds.

So, it was a very good thing the heater was removed from this Piper Apache.

There are three options for complying with this AD.  The first option is to do the required inspections and have the heater pass.  The second option is to disable the heater in accordance with the AD requirements.  The third option is to remove the heater in accordance with the AD requirements.  We did the third option on this one, which meant revising the weight and balance also.  Time will tell what the owner decides about overhauling the old heater, or buying a new one, or some other option.  I’m just thankful that dangerous heater is out of that airplane!

Here’s what that Southwind heater, model 940D, looks like out of the airplane.

How about your airplane?  Does it have a combustion heater?  If so, PLEASE do whatever you need to, to make sure it is safe.  Here is a sad accident report of a Cessna 402 crash back in May of 2012, that was caused by a malfunctioning combustion heater.

https://www.ntsb.gov/_layouts/ntsb.aviation/brief2.aspx?ev_id=20120511X83220&ntsbno=CEN12FA290&akey=1

If you have a combustion heater in your airplane, whether it’s a Janitrol, Southwind / Stewart Warner, or something else, verify that all AD’s are up to date.  In addition, consider having a pressure test done, even if it’s not required by AD.  It just might prevent a very dangerous situation some day.

If you’re just not sure about all this, take a look at the Harold Haskins website, and give Hal a call.  He’s very knowledgeable, helpful, and easy to talk with.

http://www.haroldhaskinsinc.com/

Stay warm, be safe, and keep those aircraft combustion heaters in top-notch condition!

Thank you, Hal Haskins, for all your help and counsel you provided to me in this whole deal!


076 – Thanksgiving Edition: I Want You To Meet Brian Holmes

Happy Thanksgiving!

I hope you’re able to take some time to celebrate today, with people who are important to you.

I’m grateful to God for many people… my wife Maria, my kids, and many others.

Today, I’d like to introduce to you my good friend, Brian Holmes.  He’s a long-time multi-engine rated, commercial pilot of lots of different kinds of airplanes ranging from single engine Cessnas, to twins, to turboprops, and even some jets!  Something we have in common, is that we both love planes and people!  The thing we don’t have in common, is that Brian has no interest in turning wrenches 🙂  We won’t hold that against him 🙂

One of Brian’s favorite passions is helping people get past the things that have kept them stuck, and launching them into the places they were created for.

Brian also talks about the “Four Cornerstones For Strategic Living,” a concept he has developed for many years and has written a book about.  Be sure to listen to the episode today.

Thank you Brian, for recording this conversation, and for sharing your life with us!

Be sure to check out everything Brian has to offer at his website:

BrianHolmes.com


075 – Your Airplane’s Induction System Might Need Some Attention

Induction system couplings and clamps.  They are often overlooked… until they become an issue!

But why let it go that long?  Why risk having a problem somewhere away from home, where there might be limited tools and any necessary help.  It’s much better to do a little preventive maintenance on your airplane’s induction system, to guard against any unwelcome surprises.

Listen to today’s episode to hear about some stories about airplanes that had induction system issues that became challenging to figure out what was going on, including a recent one with Bret Chilcott and his 1947 Stinson.  Find out how Bret discovered the real problem during a Facetime call we had a few weeks ago.  Good eye Bret!

It’s a good idea to tighten induction coupling clamps at the annual inspection.  The following coupling is on a Continental turbocharged engine with the induction system on the top.

 It’s actually on this Cessna 337 that we did some work on awhile back at Classic Aviation.

The following Lycoming induction coupling clamps can be tightened with a straight blade screwdriver, or a 5/16 wrench or socket.

It’s also a good idea to check the torque on the induction flange bolts.  Induction leaks can be a minor nuisance, until something falls apart… then they become a major nuisance.

Take a look at your induction system, or have your A&P take a look, to make sure you don’t have any issues.  You just might prevent a really frustrating situation, (or a dangerous situation,) someday.

Check back next week, for a special episode featuring a conversation with my very good friend, Brian Holmes!  You can look for that one next Thursday, Thanksgiving Day!


074 – Help! I Flooded My Airplane Engine

Before we get started, I want to thank two people for today’s episode.

First, my very good friend, Brian Holmes.  Brian absolutely loves aviation and all kinds of airplanes, but he has no interest in turning wrenches.  So I was curious about what kind of topics would be appealing to airplane owners and pilots, like Brian, who love aviation, but who don’t care to get involved in maintenance in a hands-on way.  And very quickly, Brian suggested the topic of, “What to do when I flood the engine on startup.”  Thank you Brian, for this idea!  We can all use this one, whether we are pilots, mechanics, or both.

Second, I received an email awhile back from the Honorable Arthur Rosen, suggesting it would be good to have an episode on hot starts.  Thank you Arthur!

So we will attempt to combine these two in this episode, since they are sometimes related, and one of the times that flooding an airplane engine happens, is during a hot start.

As pilots and mechanics, we’ve all seen it… that guy out there on the ramp who just cranks and cranks and cranks away on his airplane’s engine, and just can’t seem to get it started.

And if we’re honest, if we’ve done very much flying and ground running of airplanes, there’s a good chance WE’VE been that guy!

And you always hate to be that guy, because it’s flat out embarrassing!

You start to imagine that everyone around is staring at you, imagining what an idiot you are, but not acknowledging that they’ve also found themselves in the very same situation at one time or another.

That scenario is bad enough.

Now imagine, you’ve arranged to take some family, friends, or other important people for an airplane ride…

You’re so excited about this.

Your passengers are a little nervous…

And you flood the engine…

If you don’t get this right, your passengers can quickly start to question your ability.

The last thing you want is for your passengers to wonder if you can actually fly this airplane.

So what do yo do, when you flood your airplane’s engine?

Here’s my short answer:  Whatever it takes to clear out the excess fuel, until the mixture of fuel and air is just right, so the engine can fire.

But before we talk about how to do that, let’s back up.

And let’s also give a couple disclaimers:

This episode is for information and inspiration only.  Don’t just take my word for it.

Check all this with your local A&P and your flight instructor.

In other words, don’t come back and say, “Dean said on the podcast that I could do this dumb thing I did”… YOU are responsible to take all this and check it out for your own personal situation!

Listen to today’s episode, and hopefully you will find something helpful when it comes to starting an airplane engine that is flooded, or hot, or both.

Here are a few ideas we cover:

  1. Keep your engine well-maintained… it’s one way you might PREVENT flooding your engine, or having an engine that’s hard to start.
  2. Be sure your magnetos are well-maintained (500 hour inspections,) and your spark plugs are serviced regularly, (I recommend every 50 hours.)
  3. Get some one-on-one training with your favorite option… it could be a flight instructor, an A&P, or just a very experienced pilot-friend.
  4. Don’t pump the throttle in a carbureted engine… use the primer instead.  Pumping the throttle increases the chance of a fire in the induction system.
  5. Become familiar with your POH procedures for flooded starts and hot starts.
  6. Don’t run your starter too long.
  7. Discover YOUR engine’s characteristics for flooded starts and hot starts, both in summer and winter.

And if you end up in a different airplane sometime, and you’re pretty sure it’s flooded, here are a few things you can try.  This is what I do:

  1. Mixture – idle cutoff.
  2. Starter – crank.
  3. Throttle – advance to full.
  4. When the engine fires – reduce throttle to idle (important!)
  5. Advance mixture.

Once again, check this out with someone locally, whom you trust.

I also mentioned the procedure Bill Eubanks uses in his A36 Bonanza for hot starts.  Here it is:

  1. Mixture lean.
  2. Throttle full.
  3. Purge any vapor lock by running fuel boost pump 15-20 seconds.
  4. Mixture rich.
  5. Fuel boost pump on until fuel flow peaks.
  6. Turn fuel pump off.
  7. Throttle:  close, then open about 4 twists.
  8. Start engine, and be prepared to turn fuel boost pump on for about one second once engine first begins to fire.

I was amazed how well this procedure worked when I saw Bill do it.

You may also be interested in a couple of past episodes that are related, but also very different:

Episode 019 “Ladies and Gentlemen, Start Your Airplane Engines, But Please, Take it Easy On Them!”

Episode 067 “The Zero-Throttle Starting Challenge.”  (Only for cold starts.)

One final note, I’m currently working on a video-based safety wiring course, so you can be watching for that in the future.


073 – BFR in a Cessna 310 with an Airline Captain CFI

When was YOUR last BFR?  Who was it with?  What was it like?  If you’ve been getting the same ‘ol BFR for many years, perhaps it’s time to shake things up a bit!

That’s what I did recently, and I’d like to share a few of the take-aways with you today. 

After my BFR last Saturday, I realized there are some things that would be worthwhile to talk about from that experience. 

Today, I’d like to share my experience from my BFR on Saturday, September 23, 2017, and then discuss some things that might be worth considering about BFR’s in general, and also about flying twin engine airplanes.

Rock’s Cessna 310 made for a fantastic learning experience!  Listen to today’s episode for the details.

And just for fun, here’s another airplane Rock flies… it’s a Wilga!  How about that for a different, interesting airplane?!  Reminds me of an overgrown grasshopper!

After my BFR that day in the Cessna 310, I collected some thoughts together, and maybe one or more of them will be helpful to you as well… here are some of my take-aways:

  1. Be honest with your own strengths and weaknesses.
    1. I was a little over-confident that day.
    2. Looking back, I realize I was struggling with the dangerous attitude of “resignation.”
  2. If possible get your next BFR with a different flight instructor than you’ve ever flown with before.
  3. Give your flight instructor a brief description of your experience, and the type of flying you currently do, so the experience can be tailor-made for you.  
  4. Don’t cut corners!  The regulation of 1 hour of ground and 1 hour of flight, is there for a reason – safety!  Always be learning!
  5. If you fly a twin, be very sure you are staying current with your training, especially single engine training.
  6. Get some dual on VFR charts… good to know, and rarely reviewed.
  7. Then, understand the value of an instrument rating… makes you safer, AND, you don’t need to worry so much about all the things that can trip you up as a VFR pilot.

Bottom line:  Make the most of your BFR!

072 – Beechcraft Bonanza Inspection Checklist, Part 2

In the last episode, we covered the engine portion of the inspection checklist.

This week, we cover the rest of the checklist, which is the airframe portion of the inspection.

One item on the inspection checklist that may be overlooked, is to check and make sure all the required POH placards are present and legible.  These required placards are listed in the back of the Limitations section of the POH.

In one recent A36 Bonanza I inspected, the emergency landing gear placard appeared to be a fabricated paper version.  The main problem with this one, is that it said “150 turns,” instead of “50 turns.”  This is an important piece of information that needs to be accurate.

Check out the difference between the old, improper placard, and the new, proper one:


This emergency exit window placard needs to be replaced with one that is legible.


Be sure to check back for the next episode, where I’ll share about my recent BFR in a Cessna 310.


« Older posts Newer posts »