Podcast: Play in new window | Download
Hello from the Outer Banks of North Carolina!
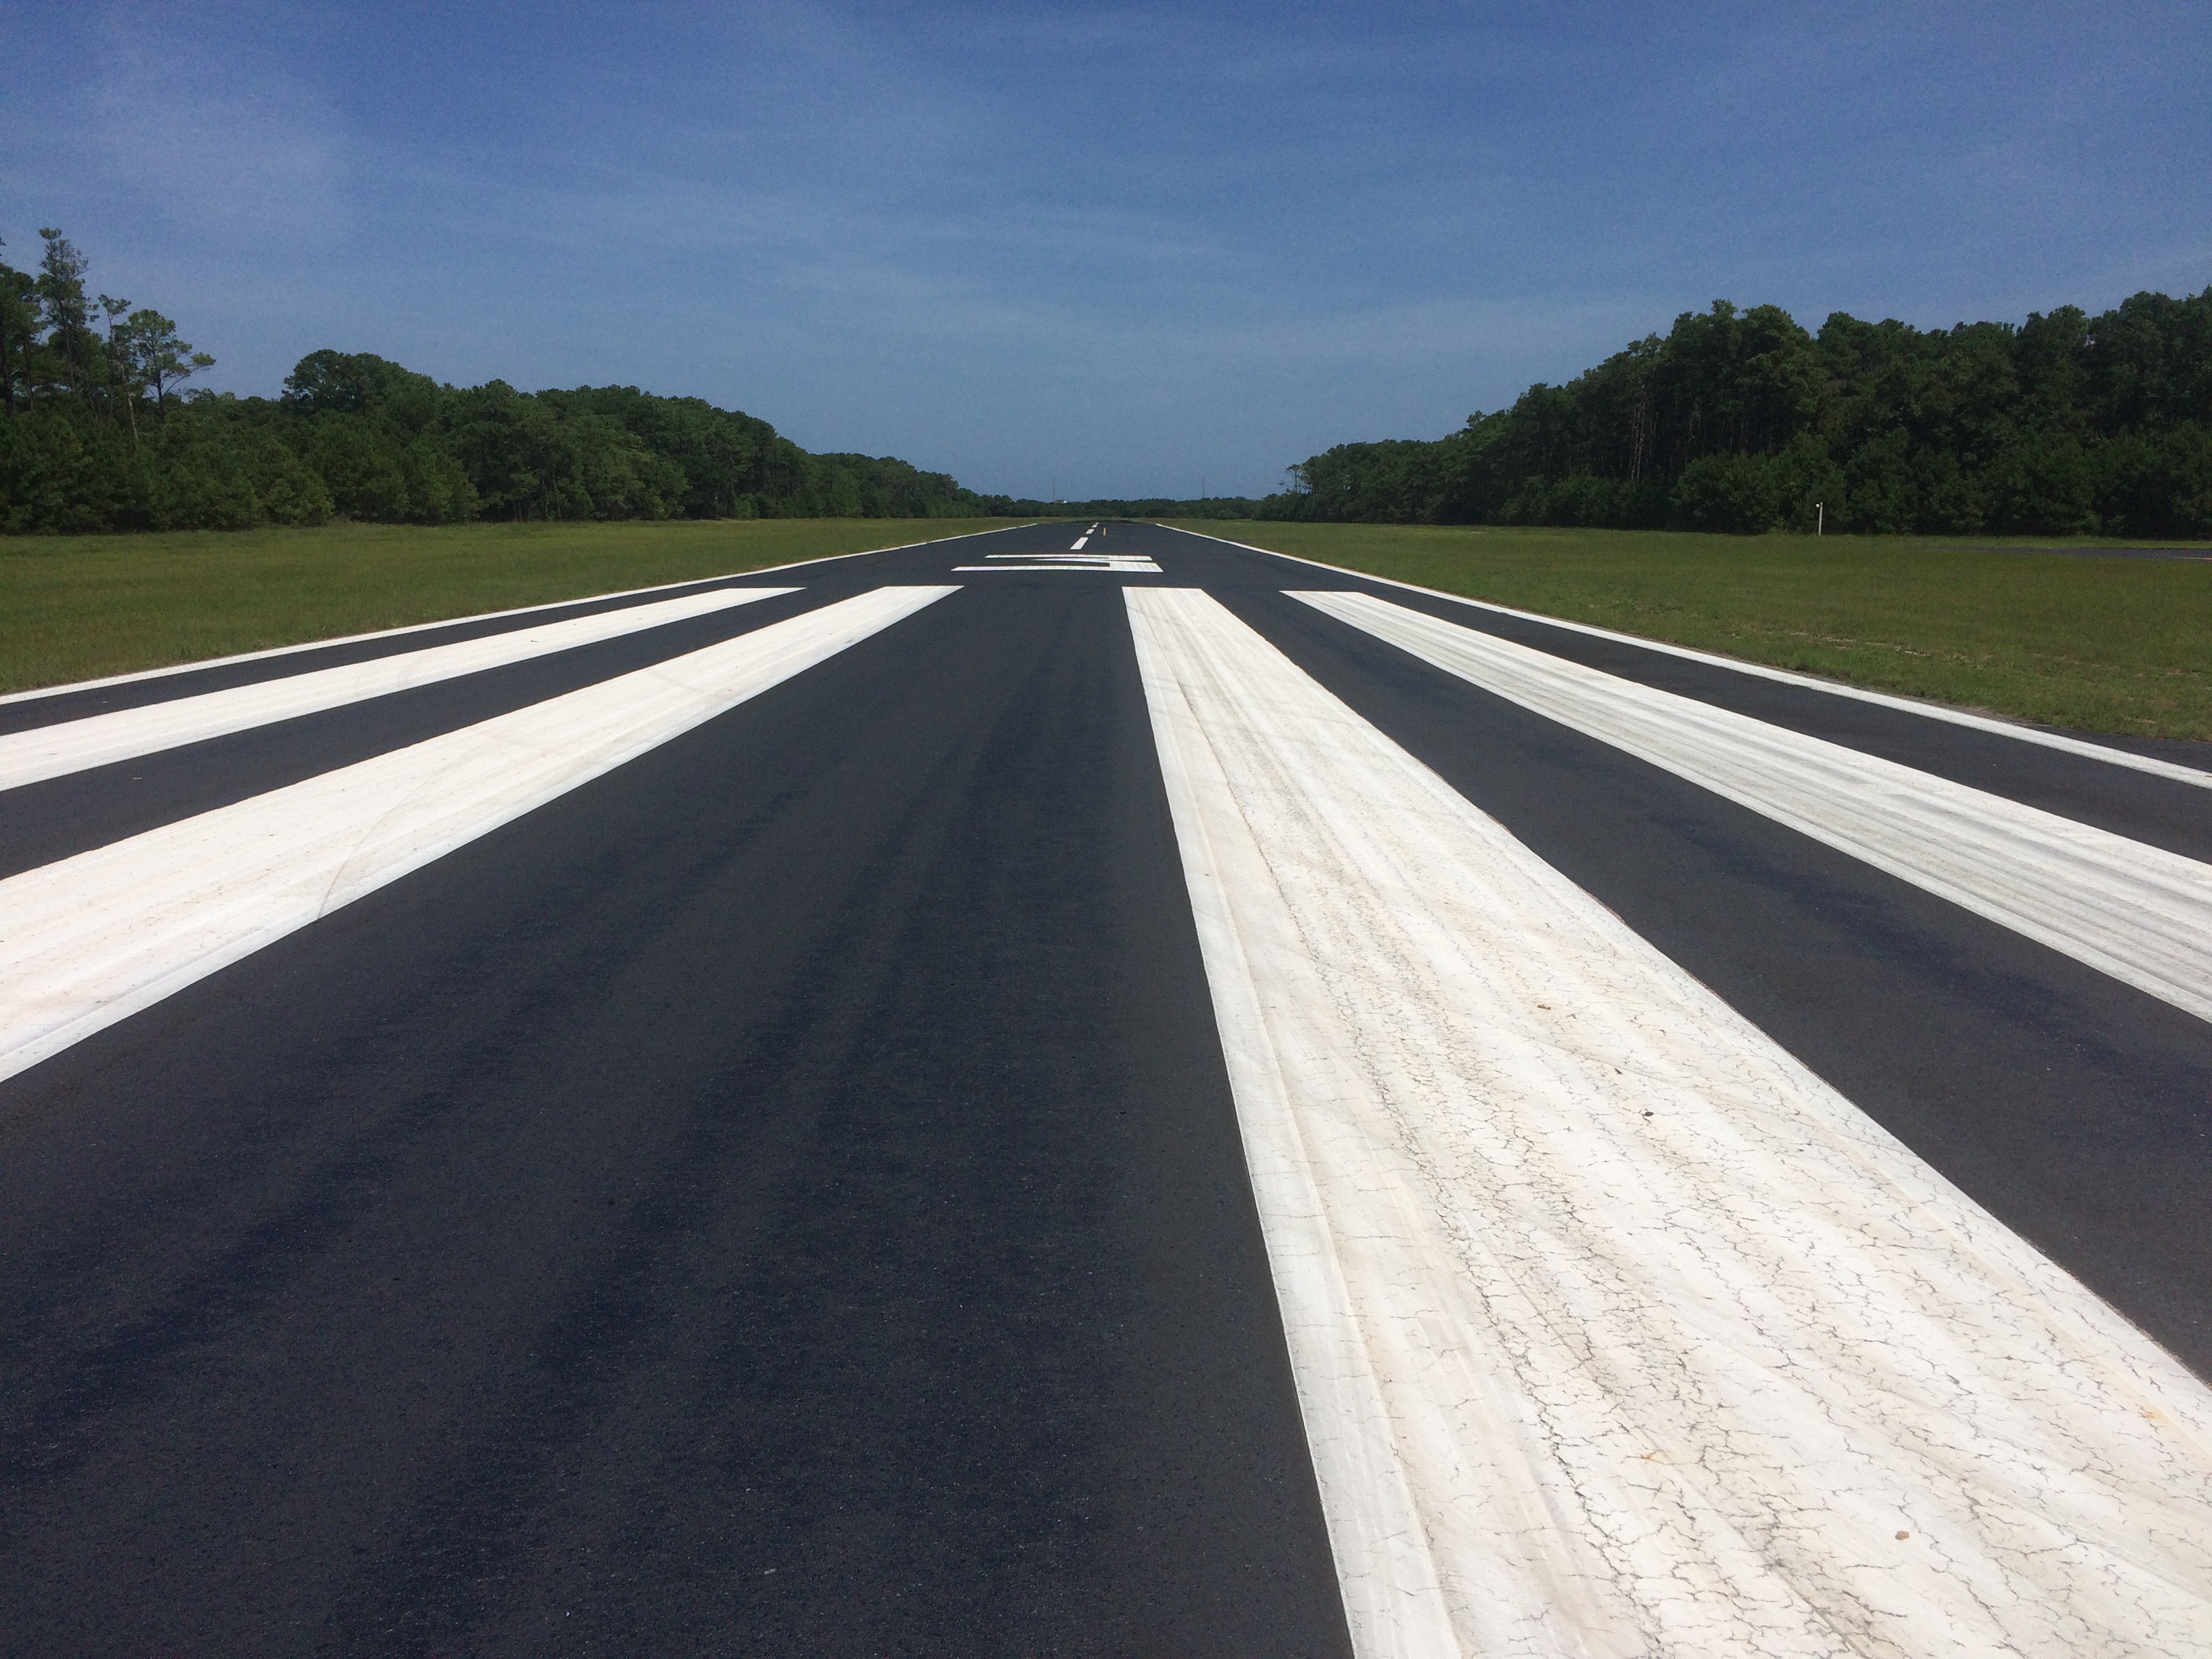
Yesterday, I stood on the end of runway 2 and took a picture at the First Flight Airport on the Outer Banks… if you stick with me today, I’ll share with you some of my personal aviation memories from the Outer Banks.
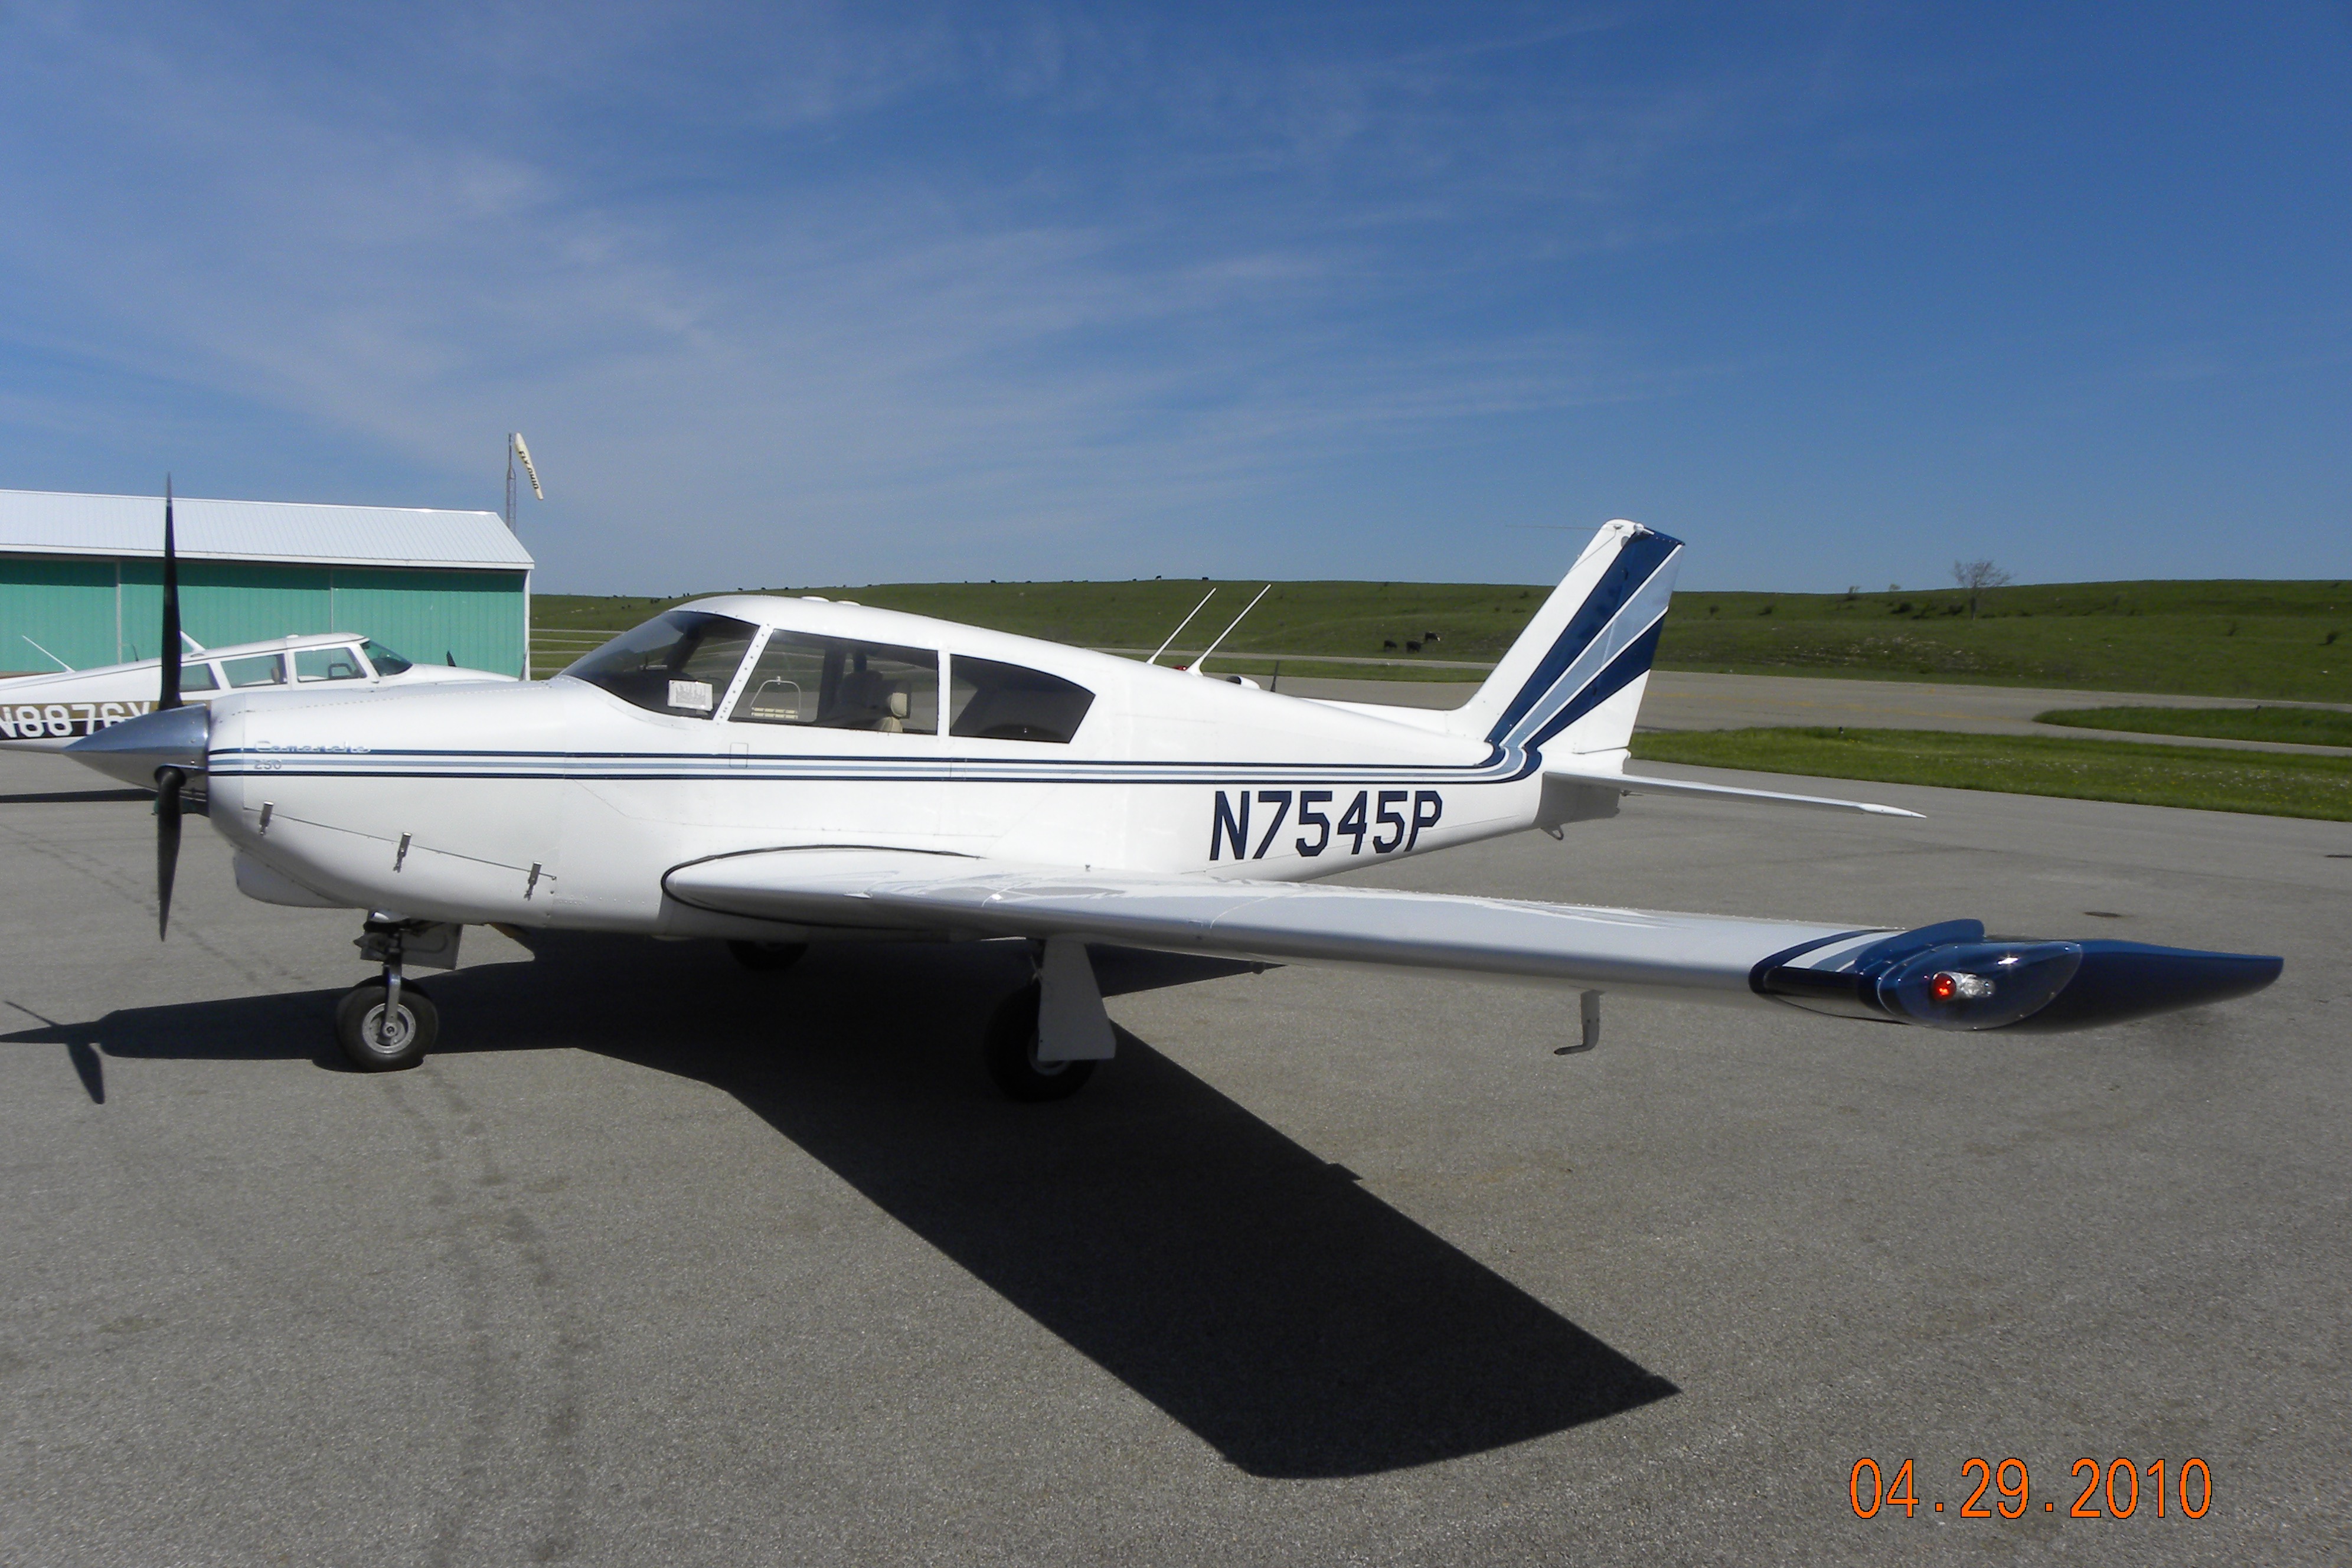
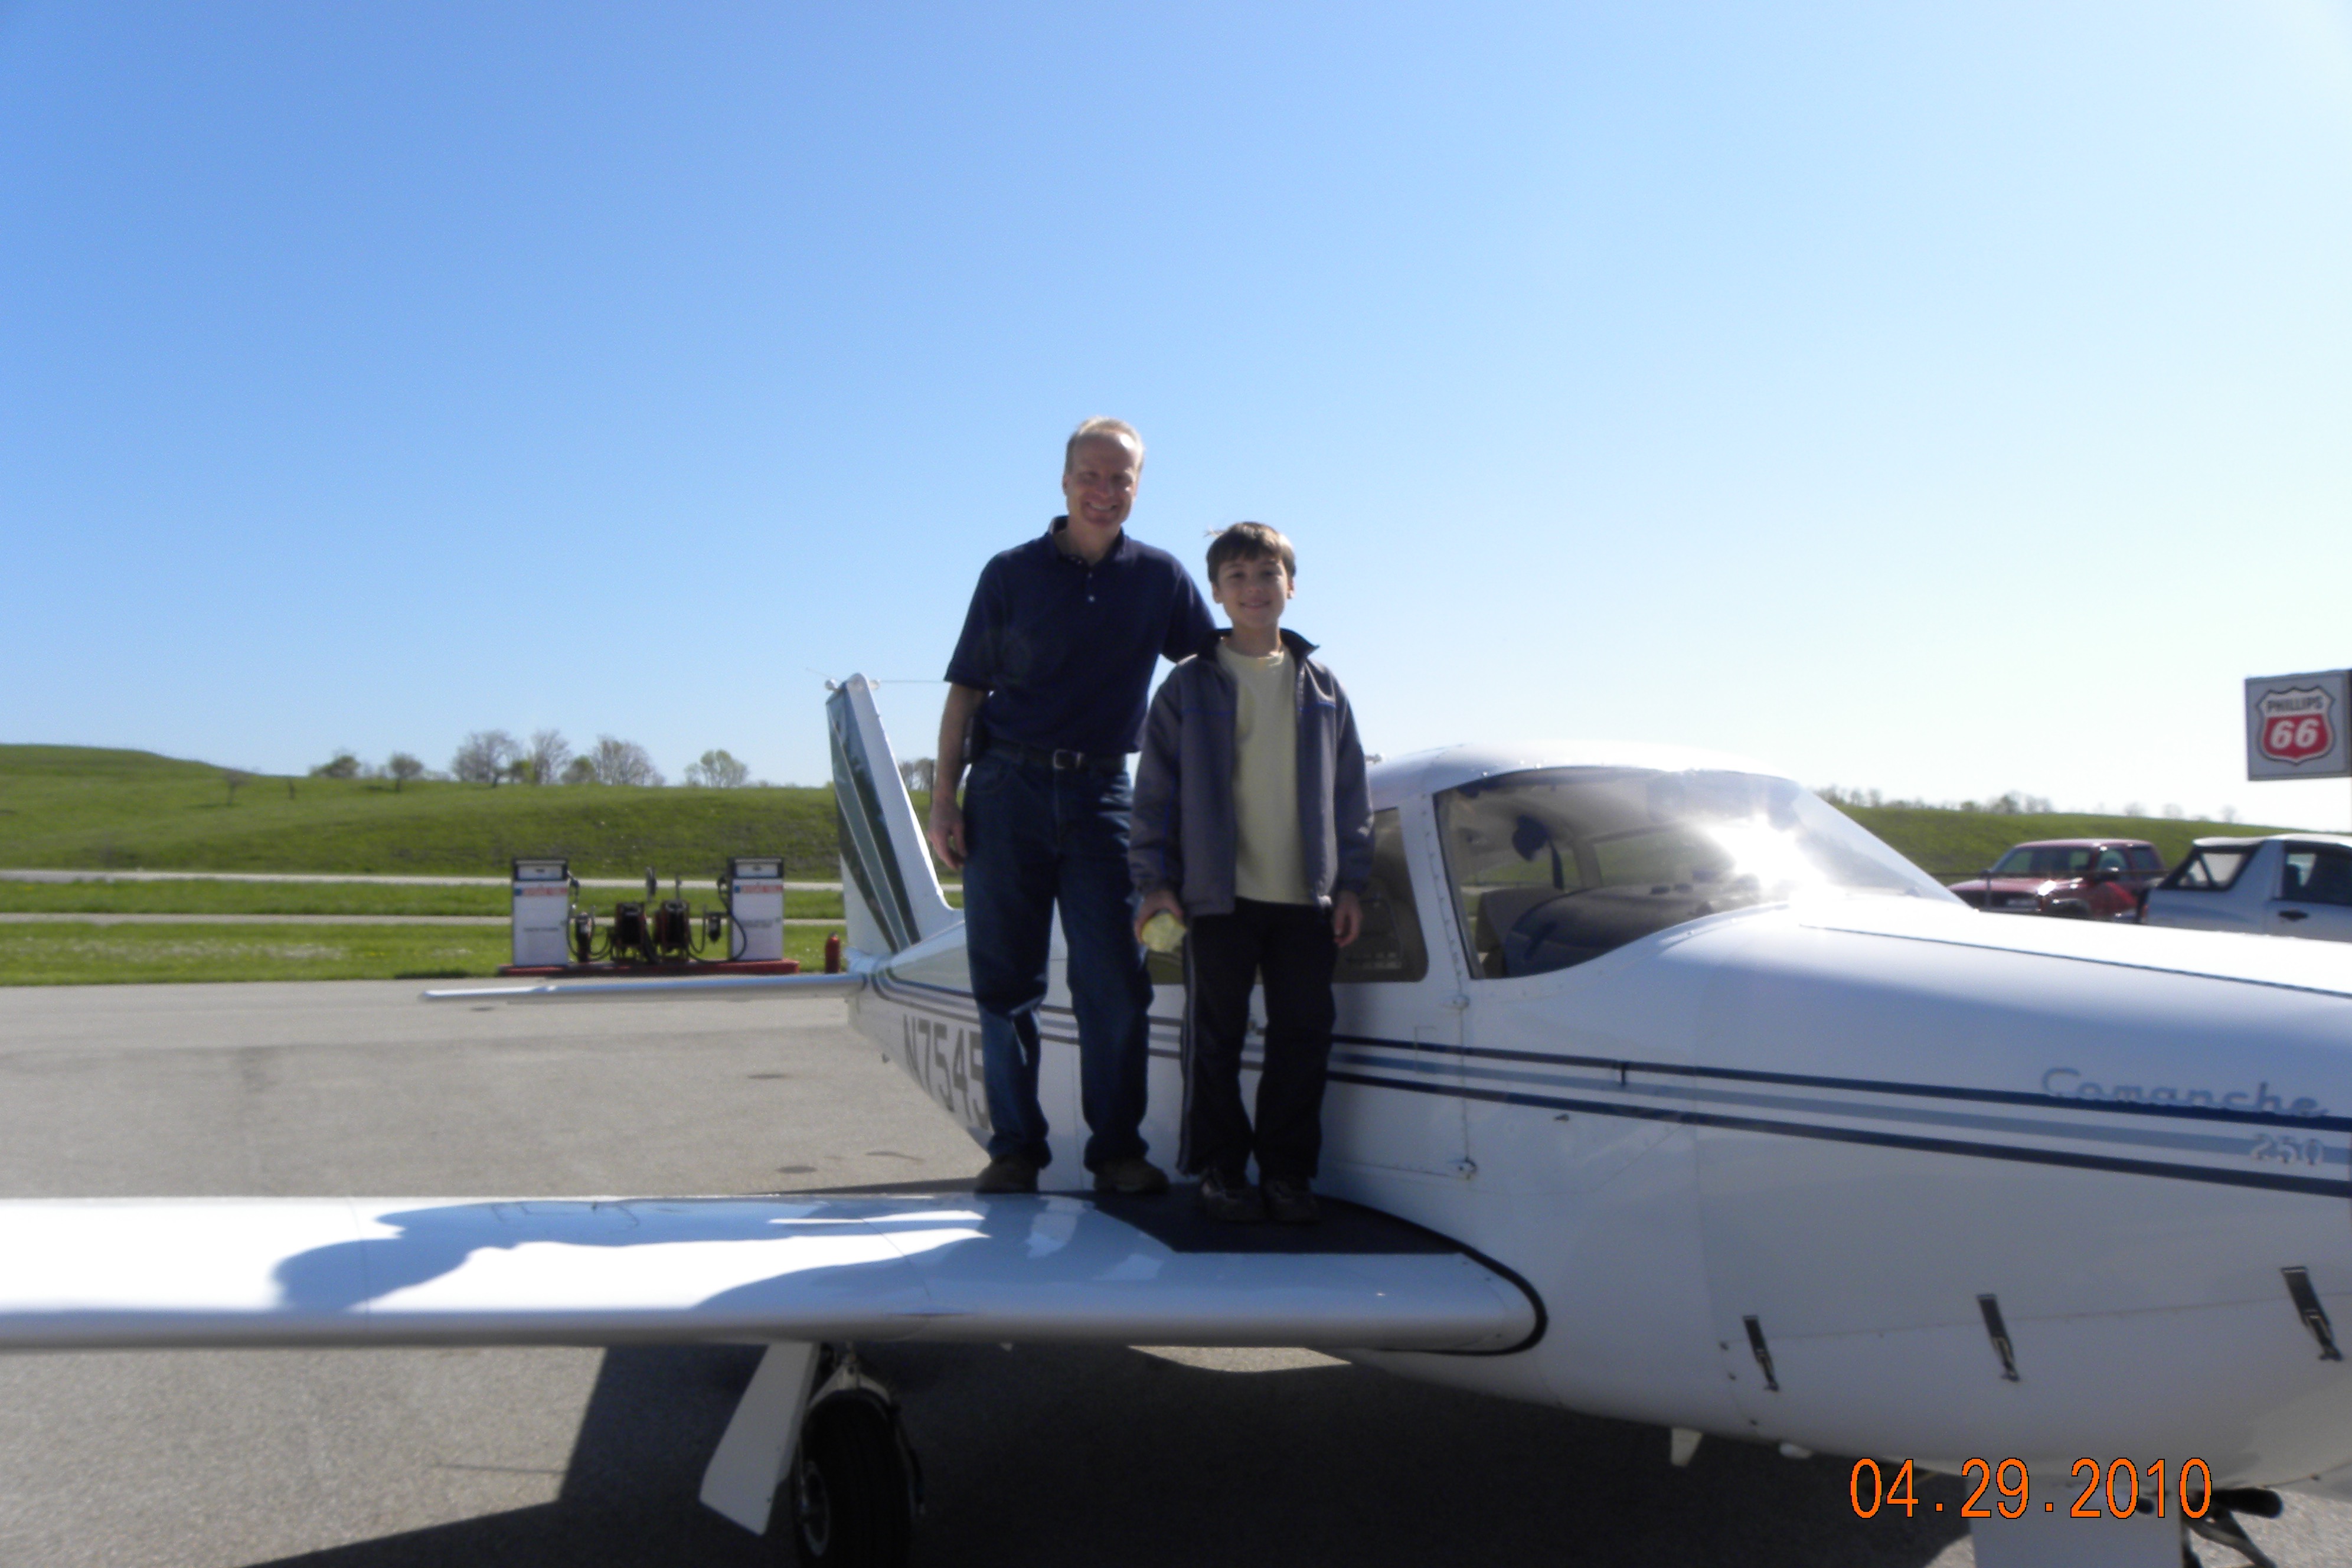
My family is on vacation here this week, and I thought I’d share with you some of my personal thoughts about general aviation here on the Outer Banks.
As I reflected on my personal situation, I realized that I’ve had a fair number of aviation experiences that are somehow related to the Outer Banks.
I share some of those stories in today’s episode.
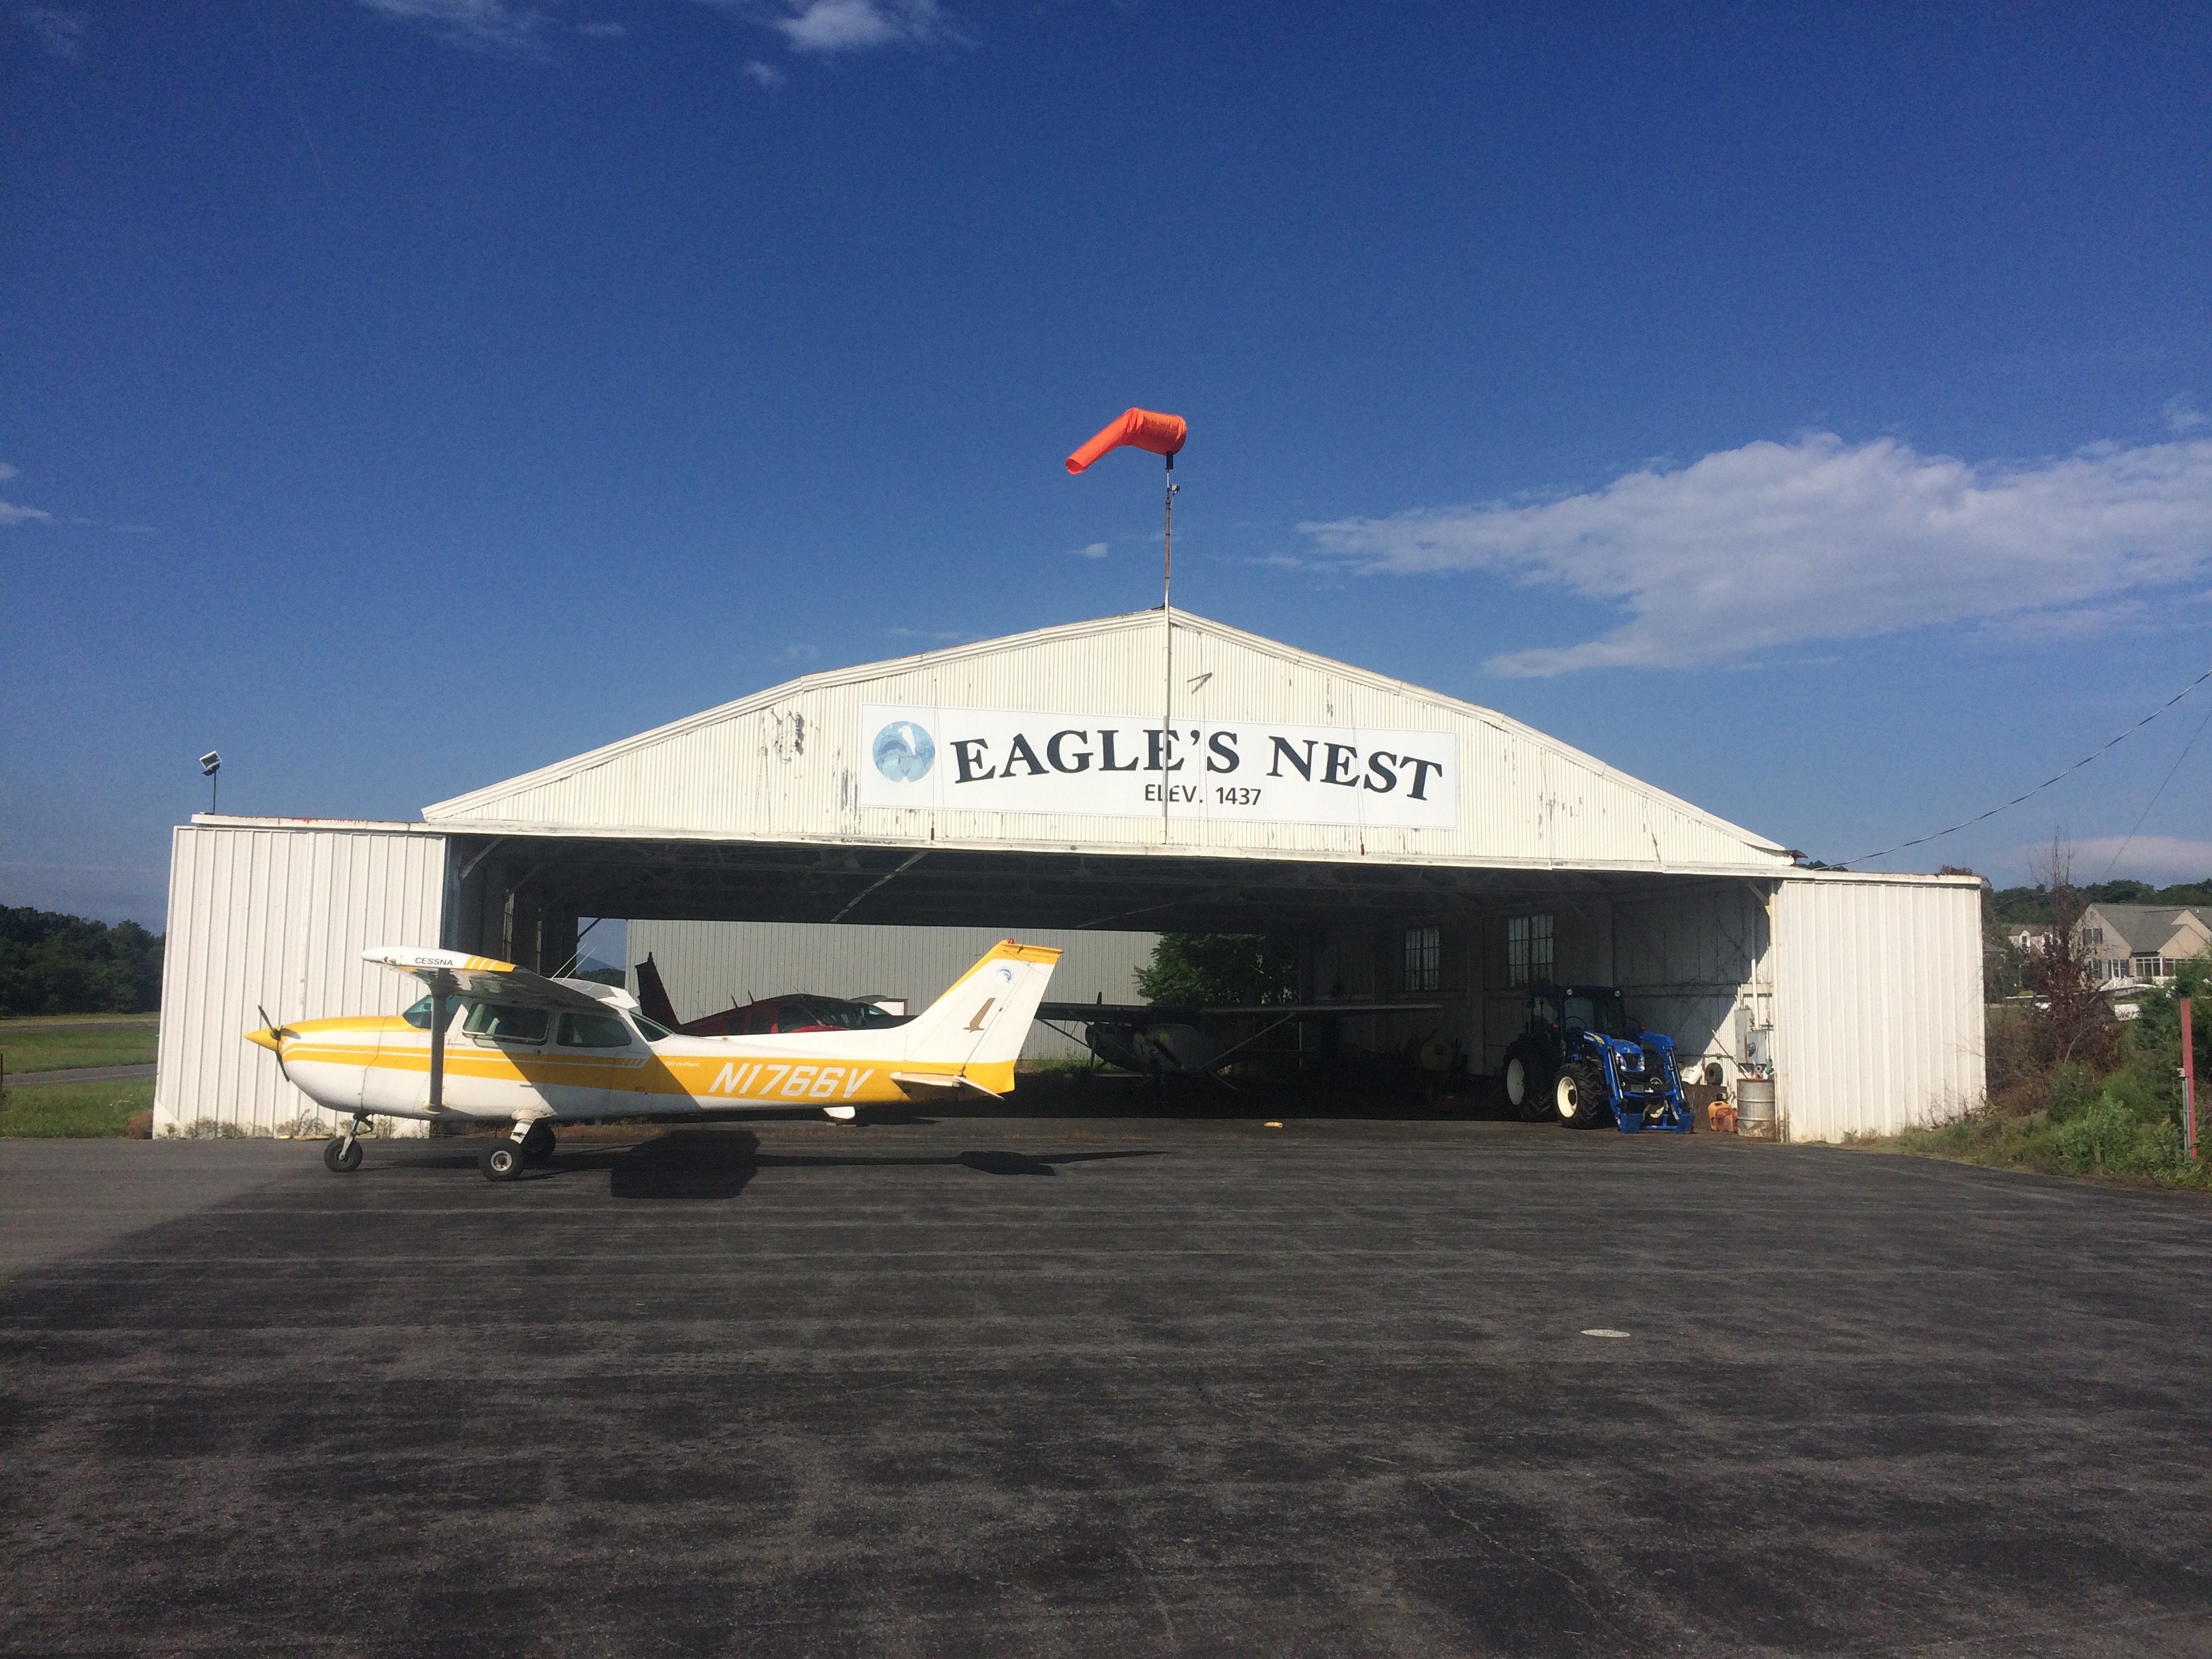
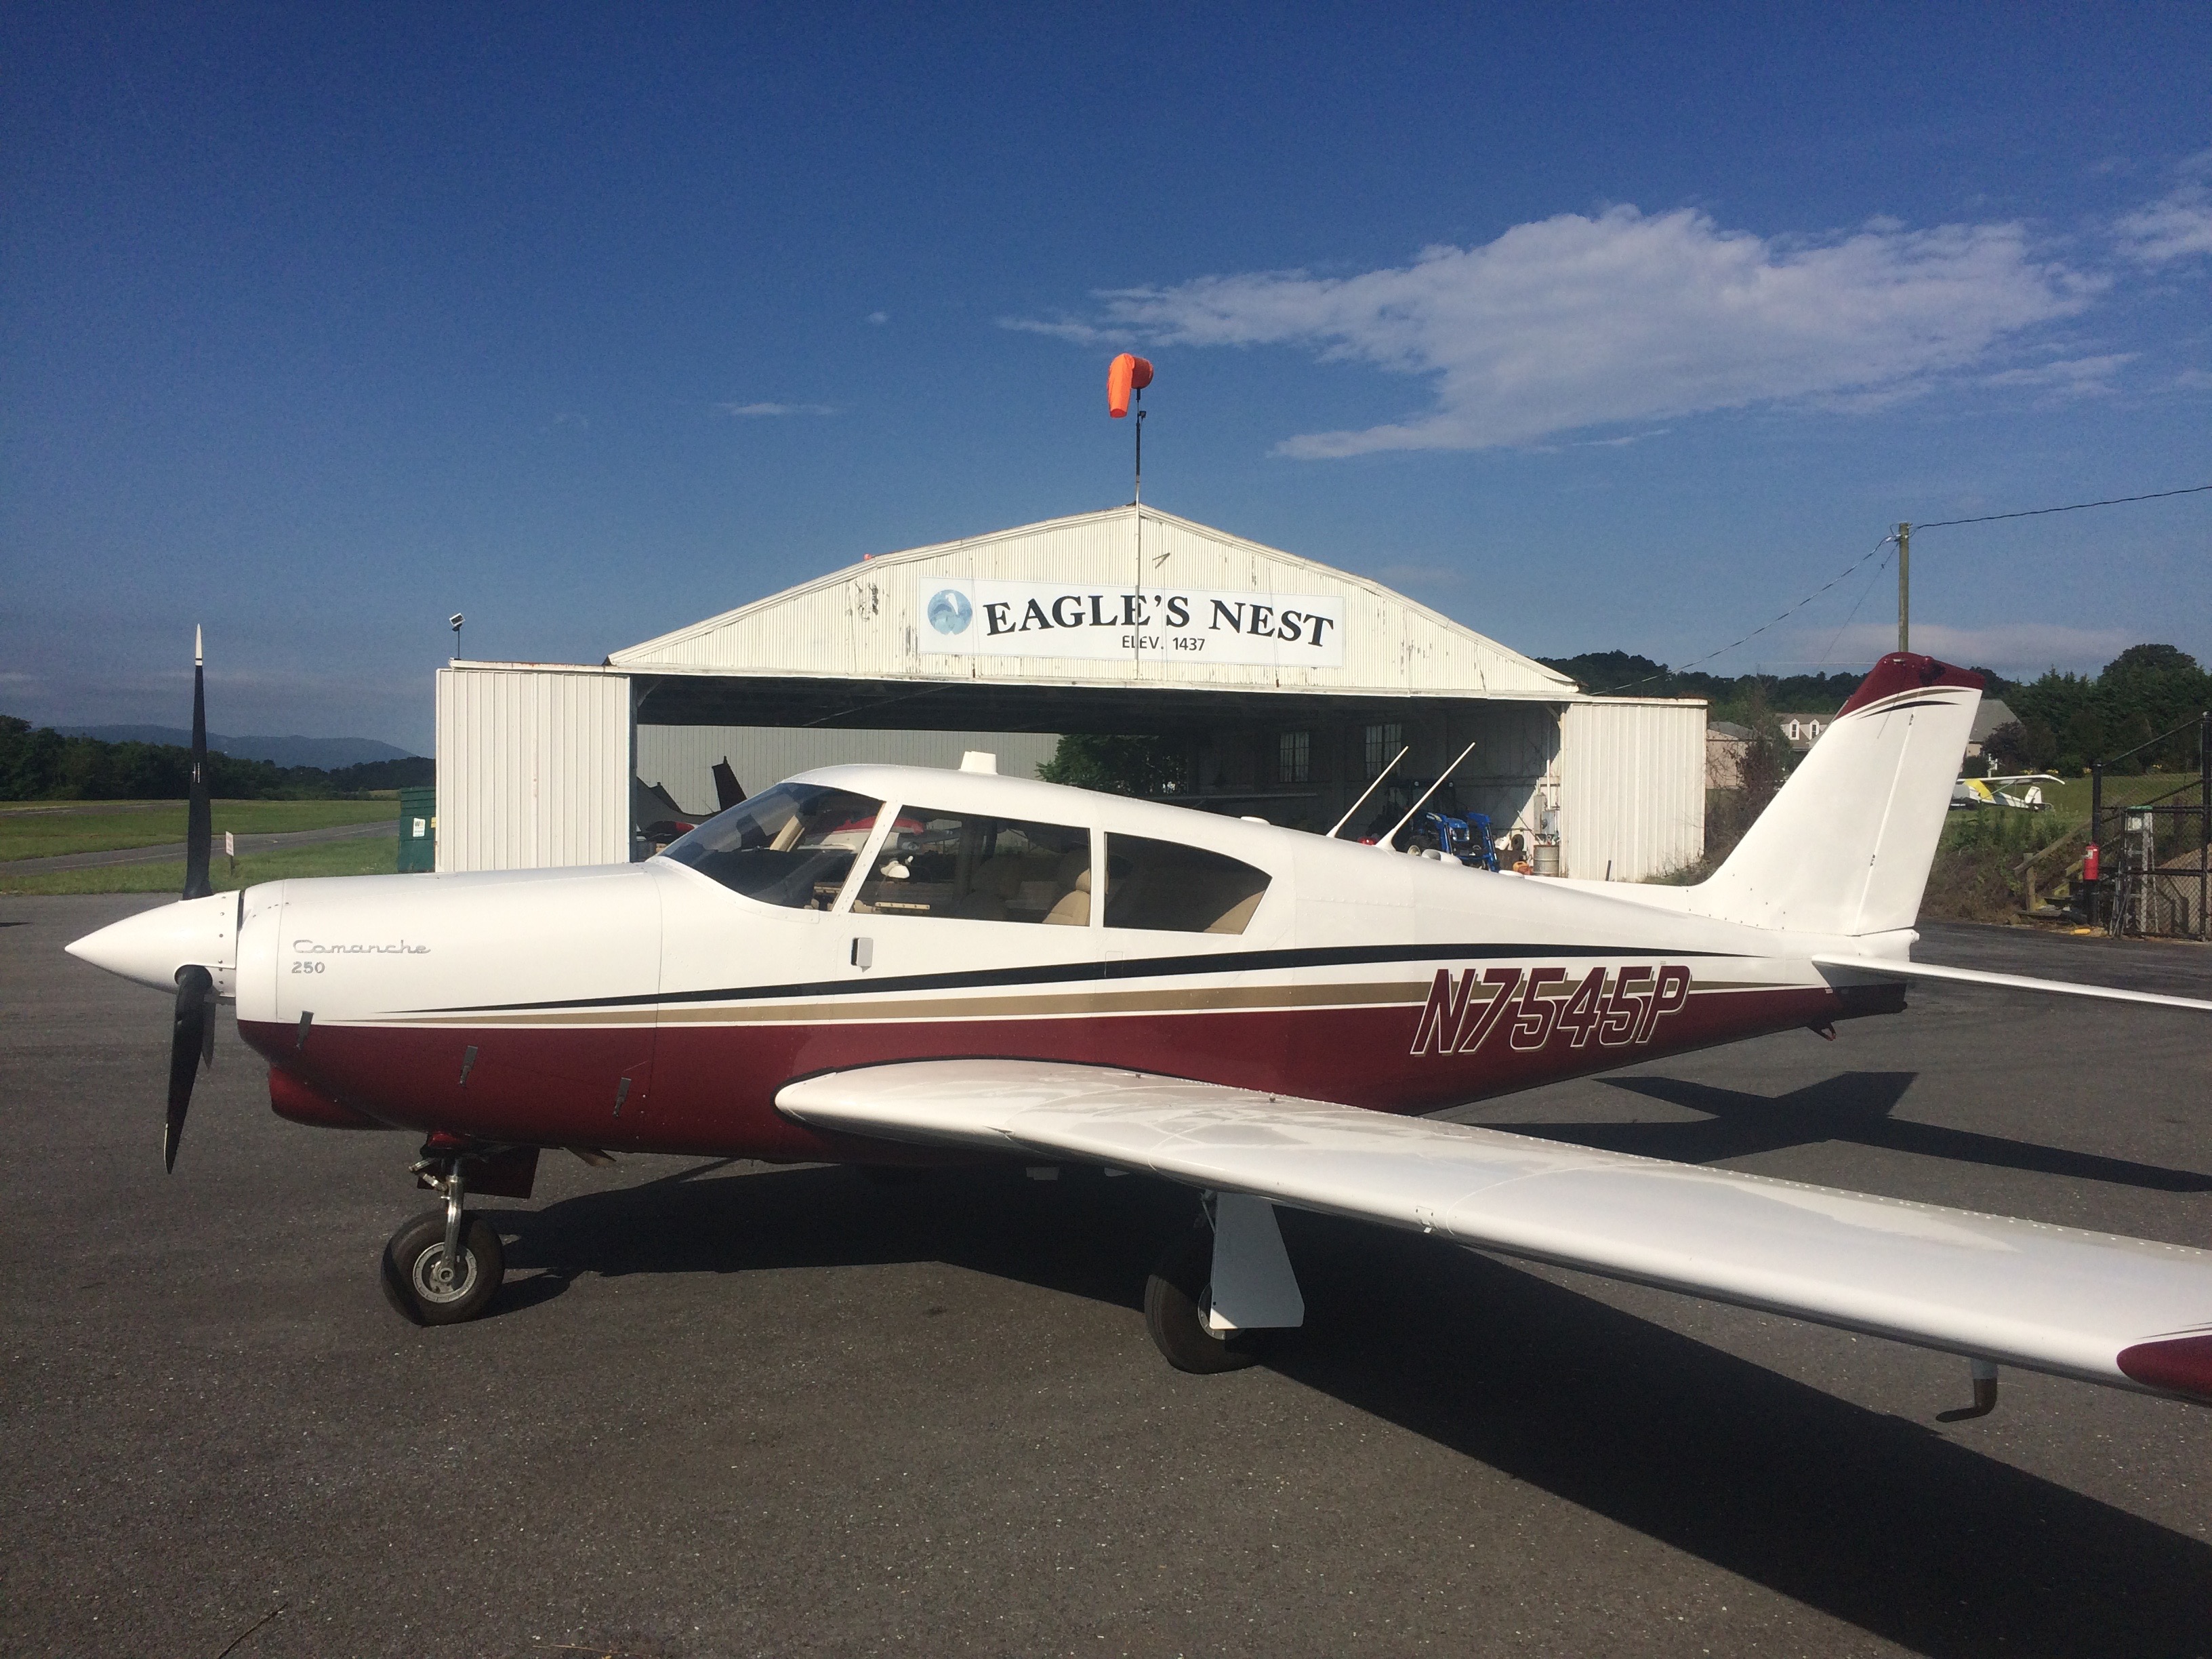
First Flight Airport is a worthwhile stop for aviators who make it to the Outer Banks.
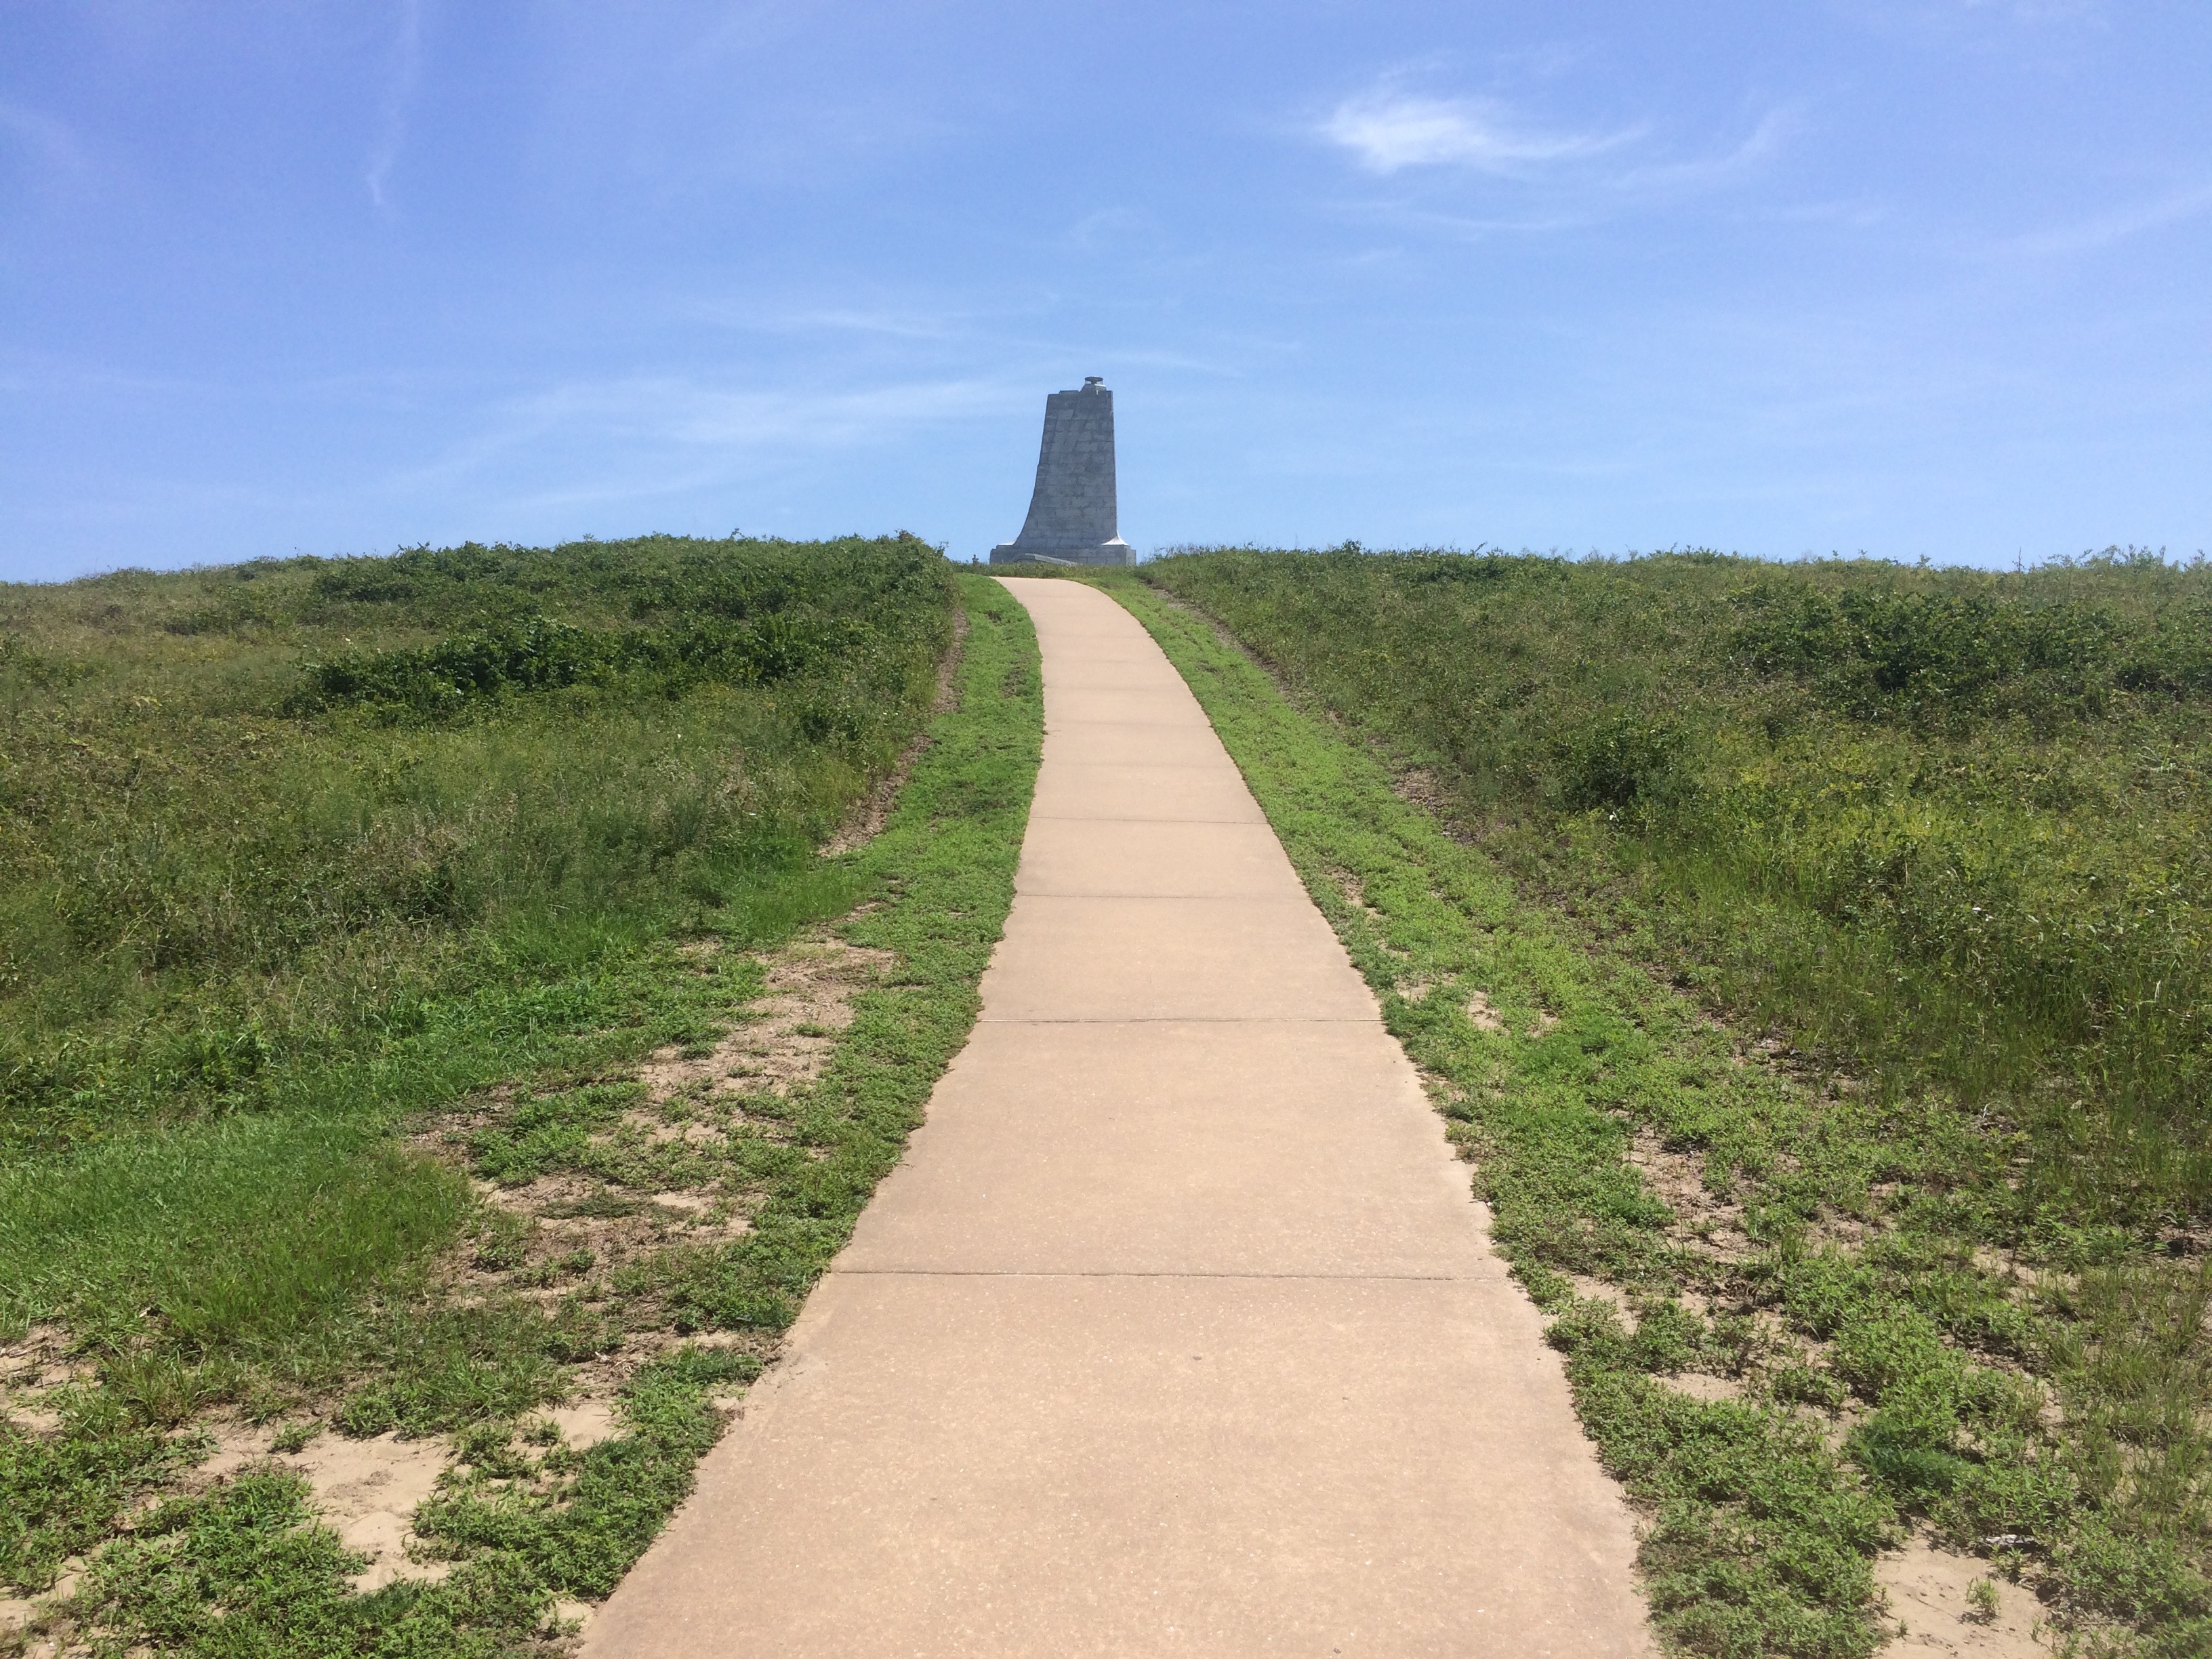
It’s a fairly short, but steep hike to the Wright Brothers Memorial at First Flight Airport.
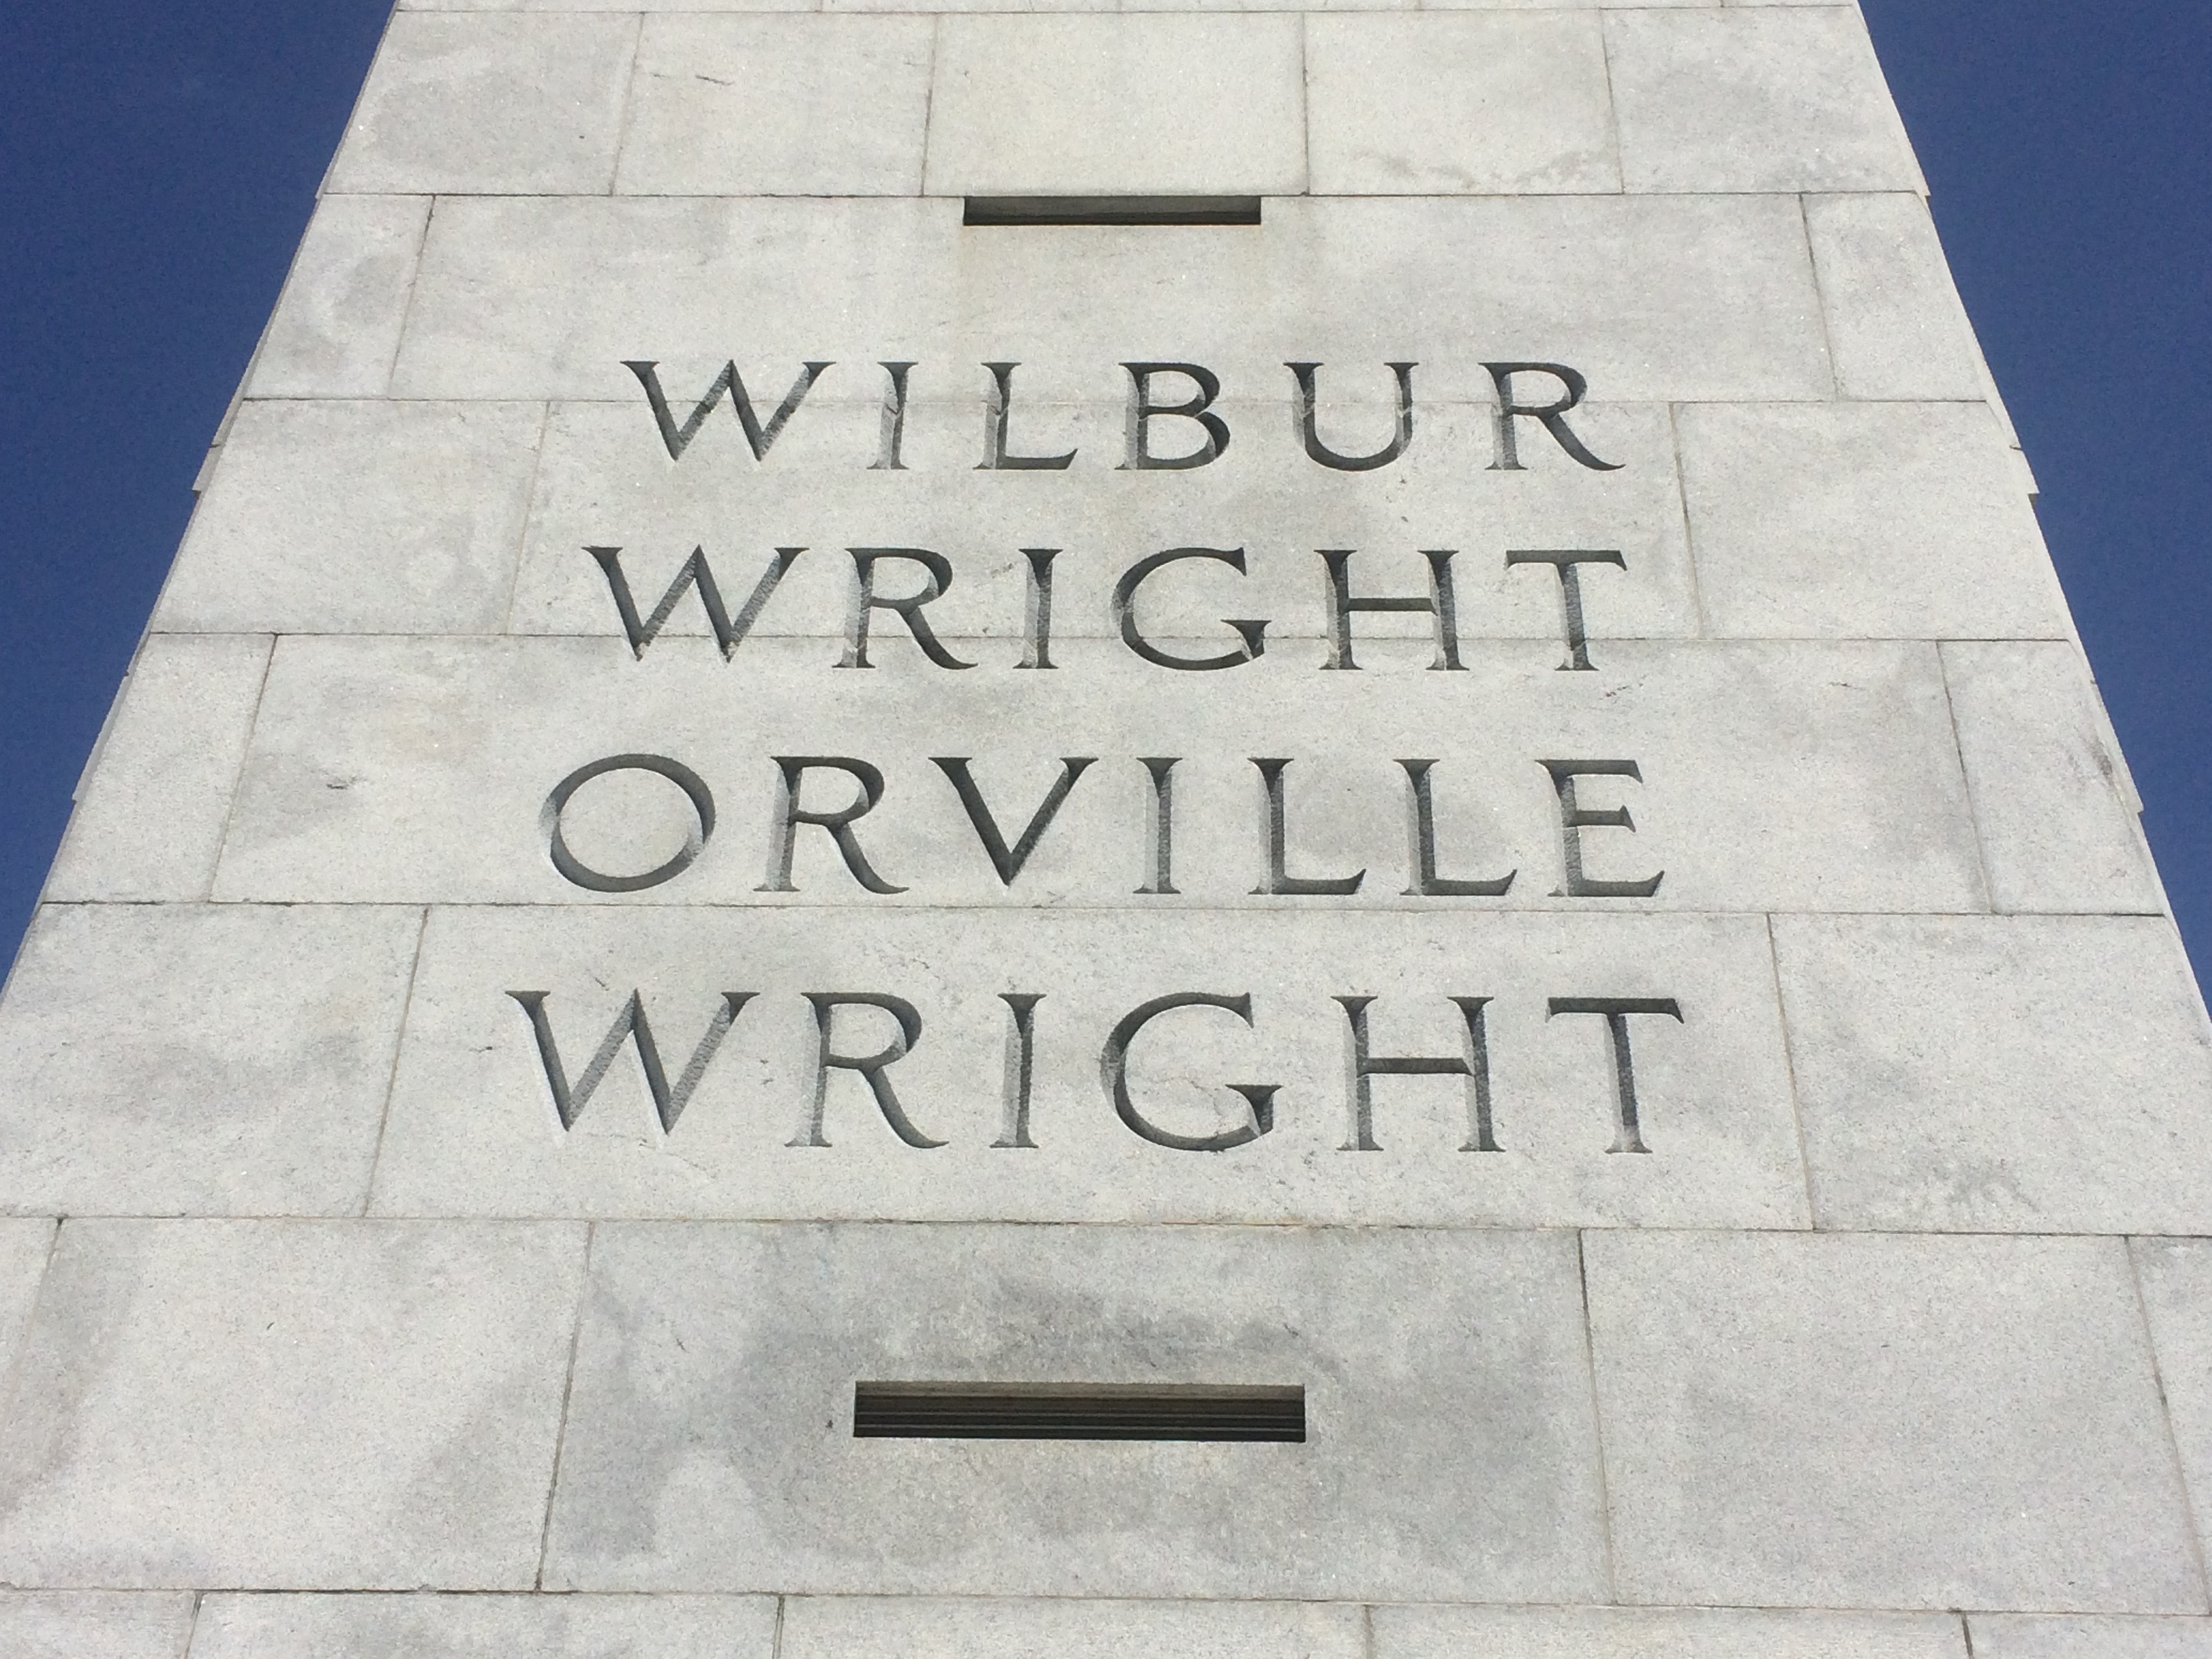
We really owe a lot to Orville and Wilbur for their extreme perseverance.
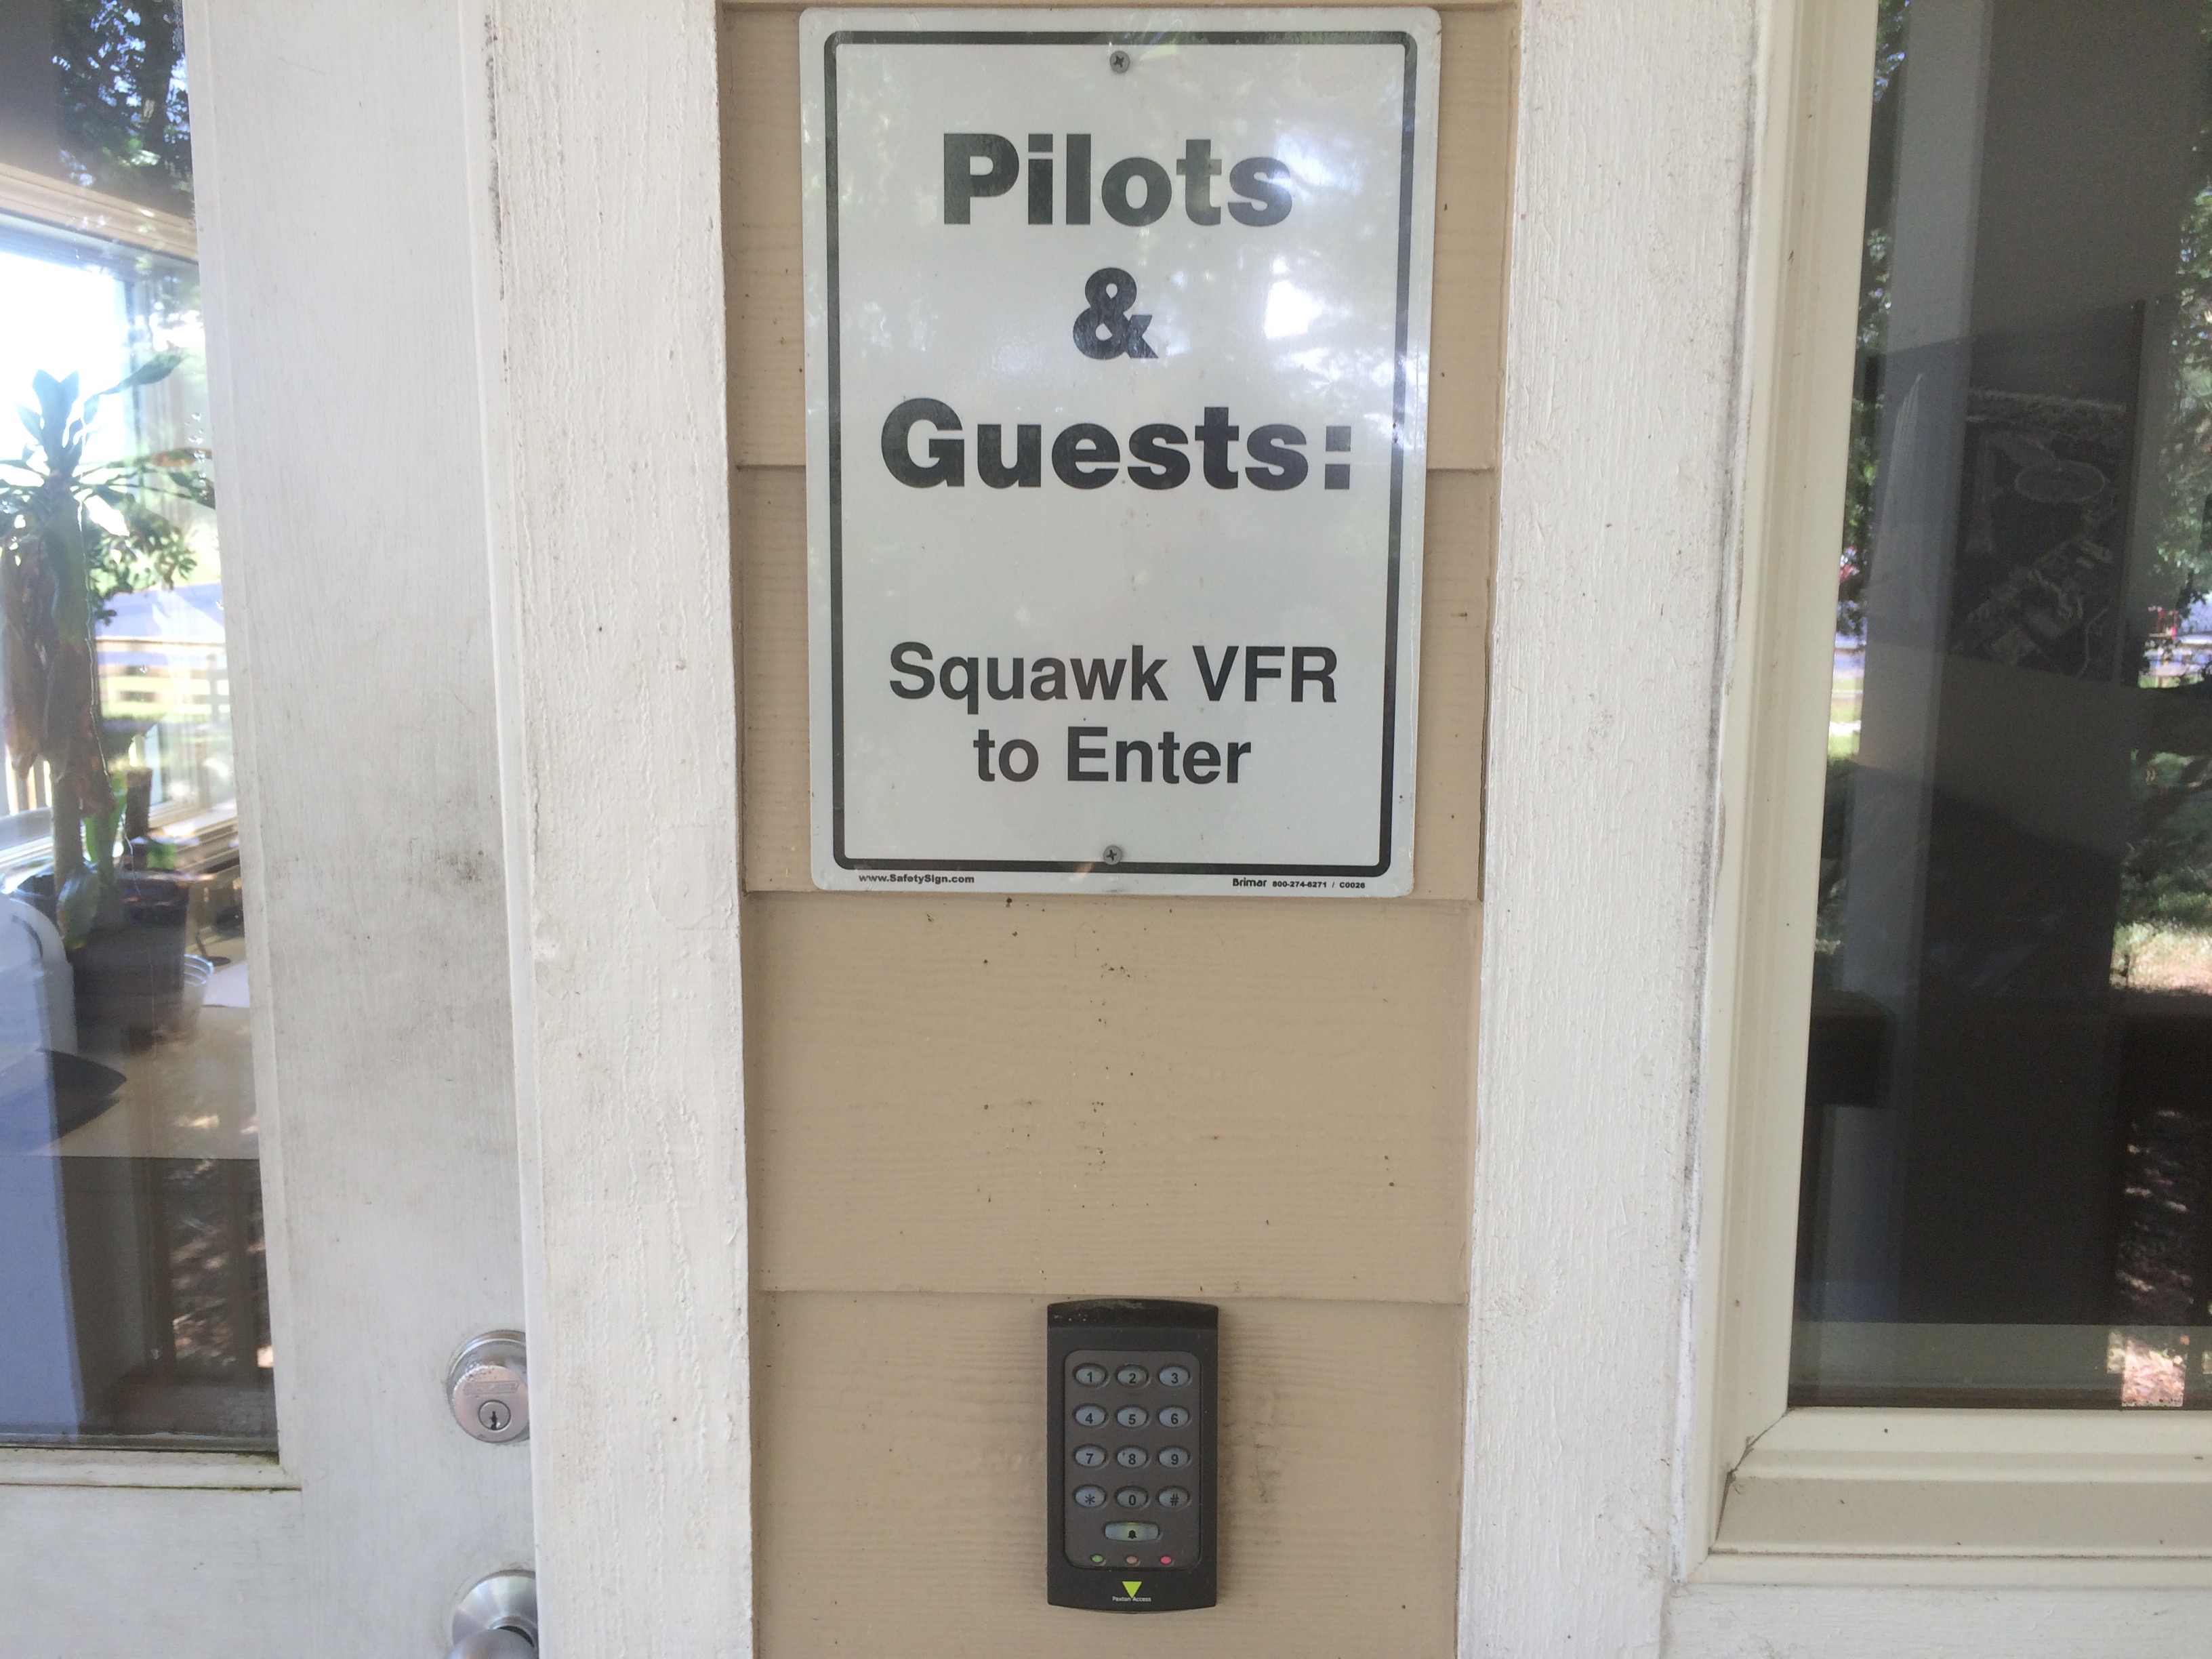
This clever entry code is used at First Flight Airport, and at Ocracoke Airport, to gain entry into the flight planning facilities.
Check out this video of a flying replica of the original Wright Flyer. What a crazy adventure!
https://www.youtube.com/watch?v=o1mscspl-VU
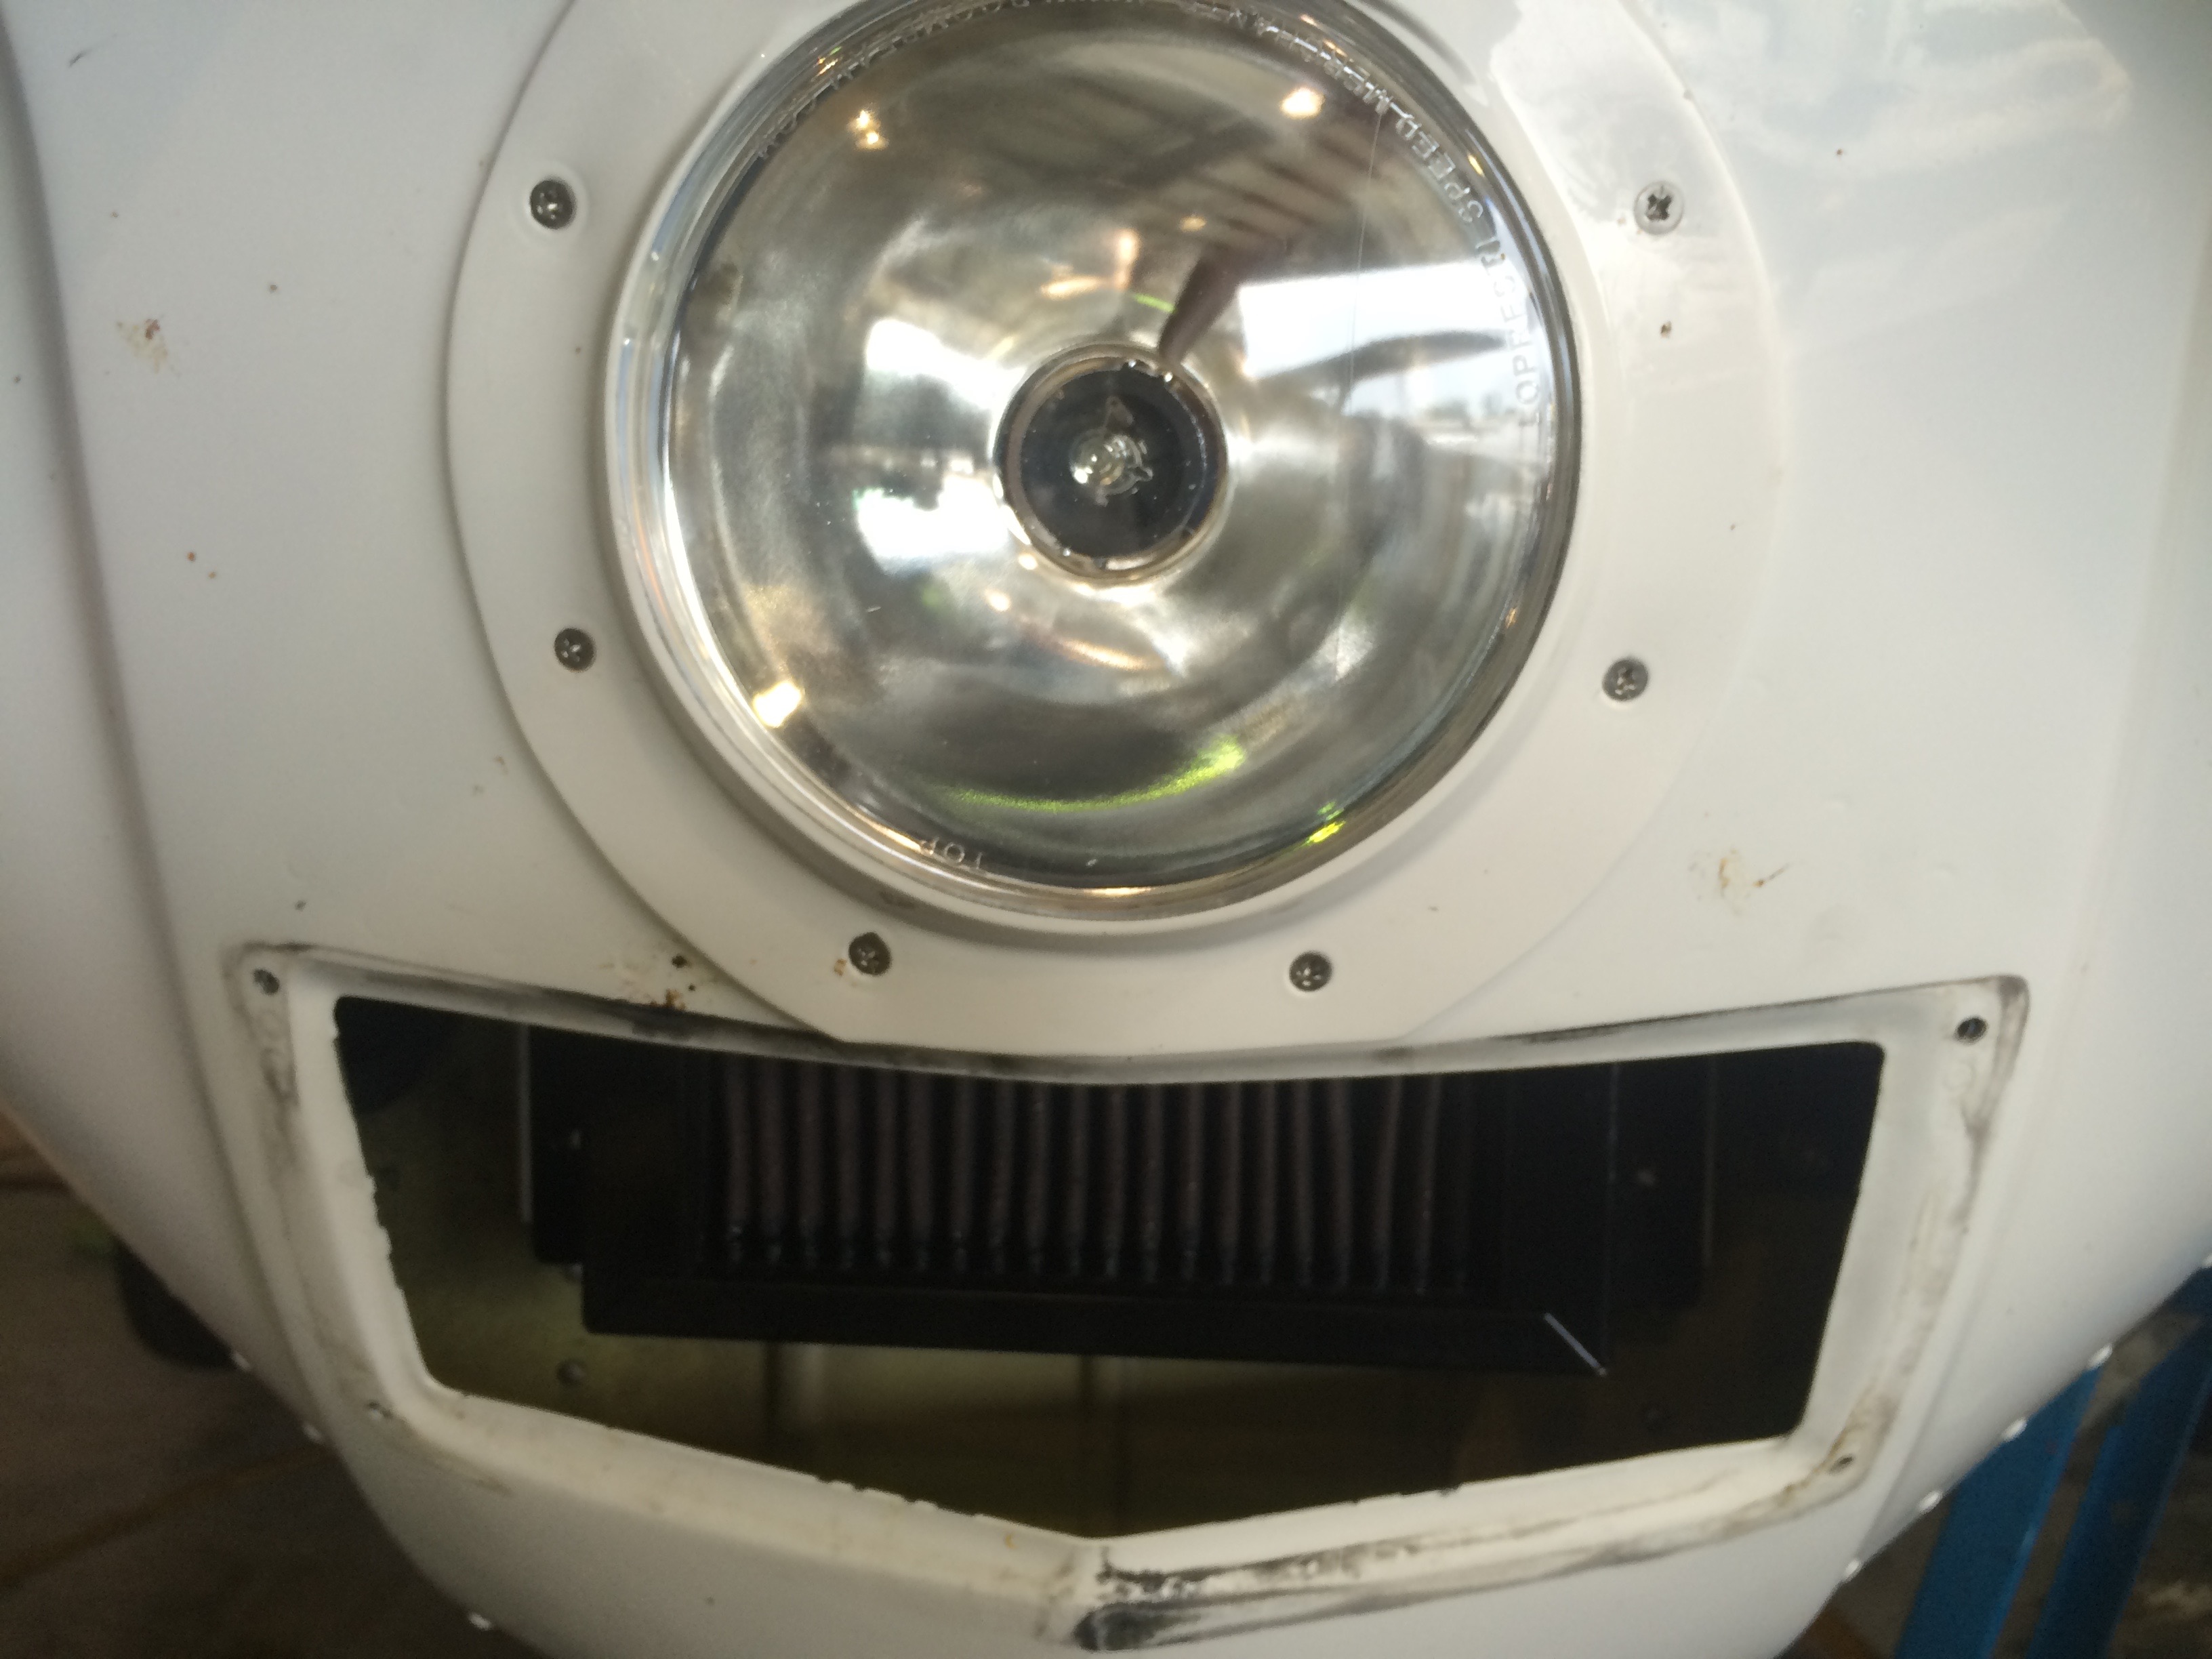
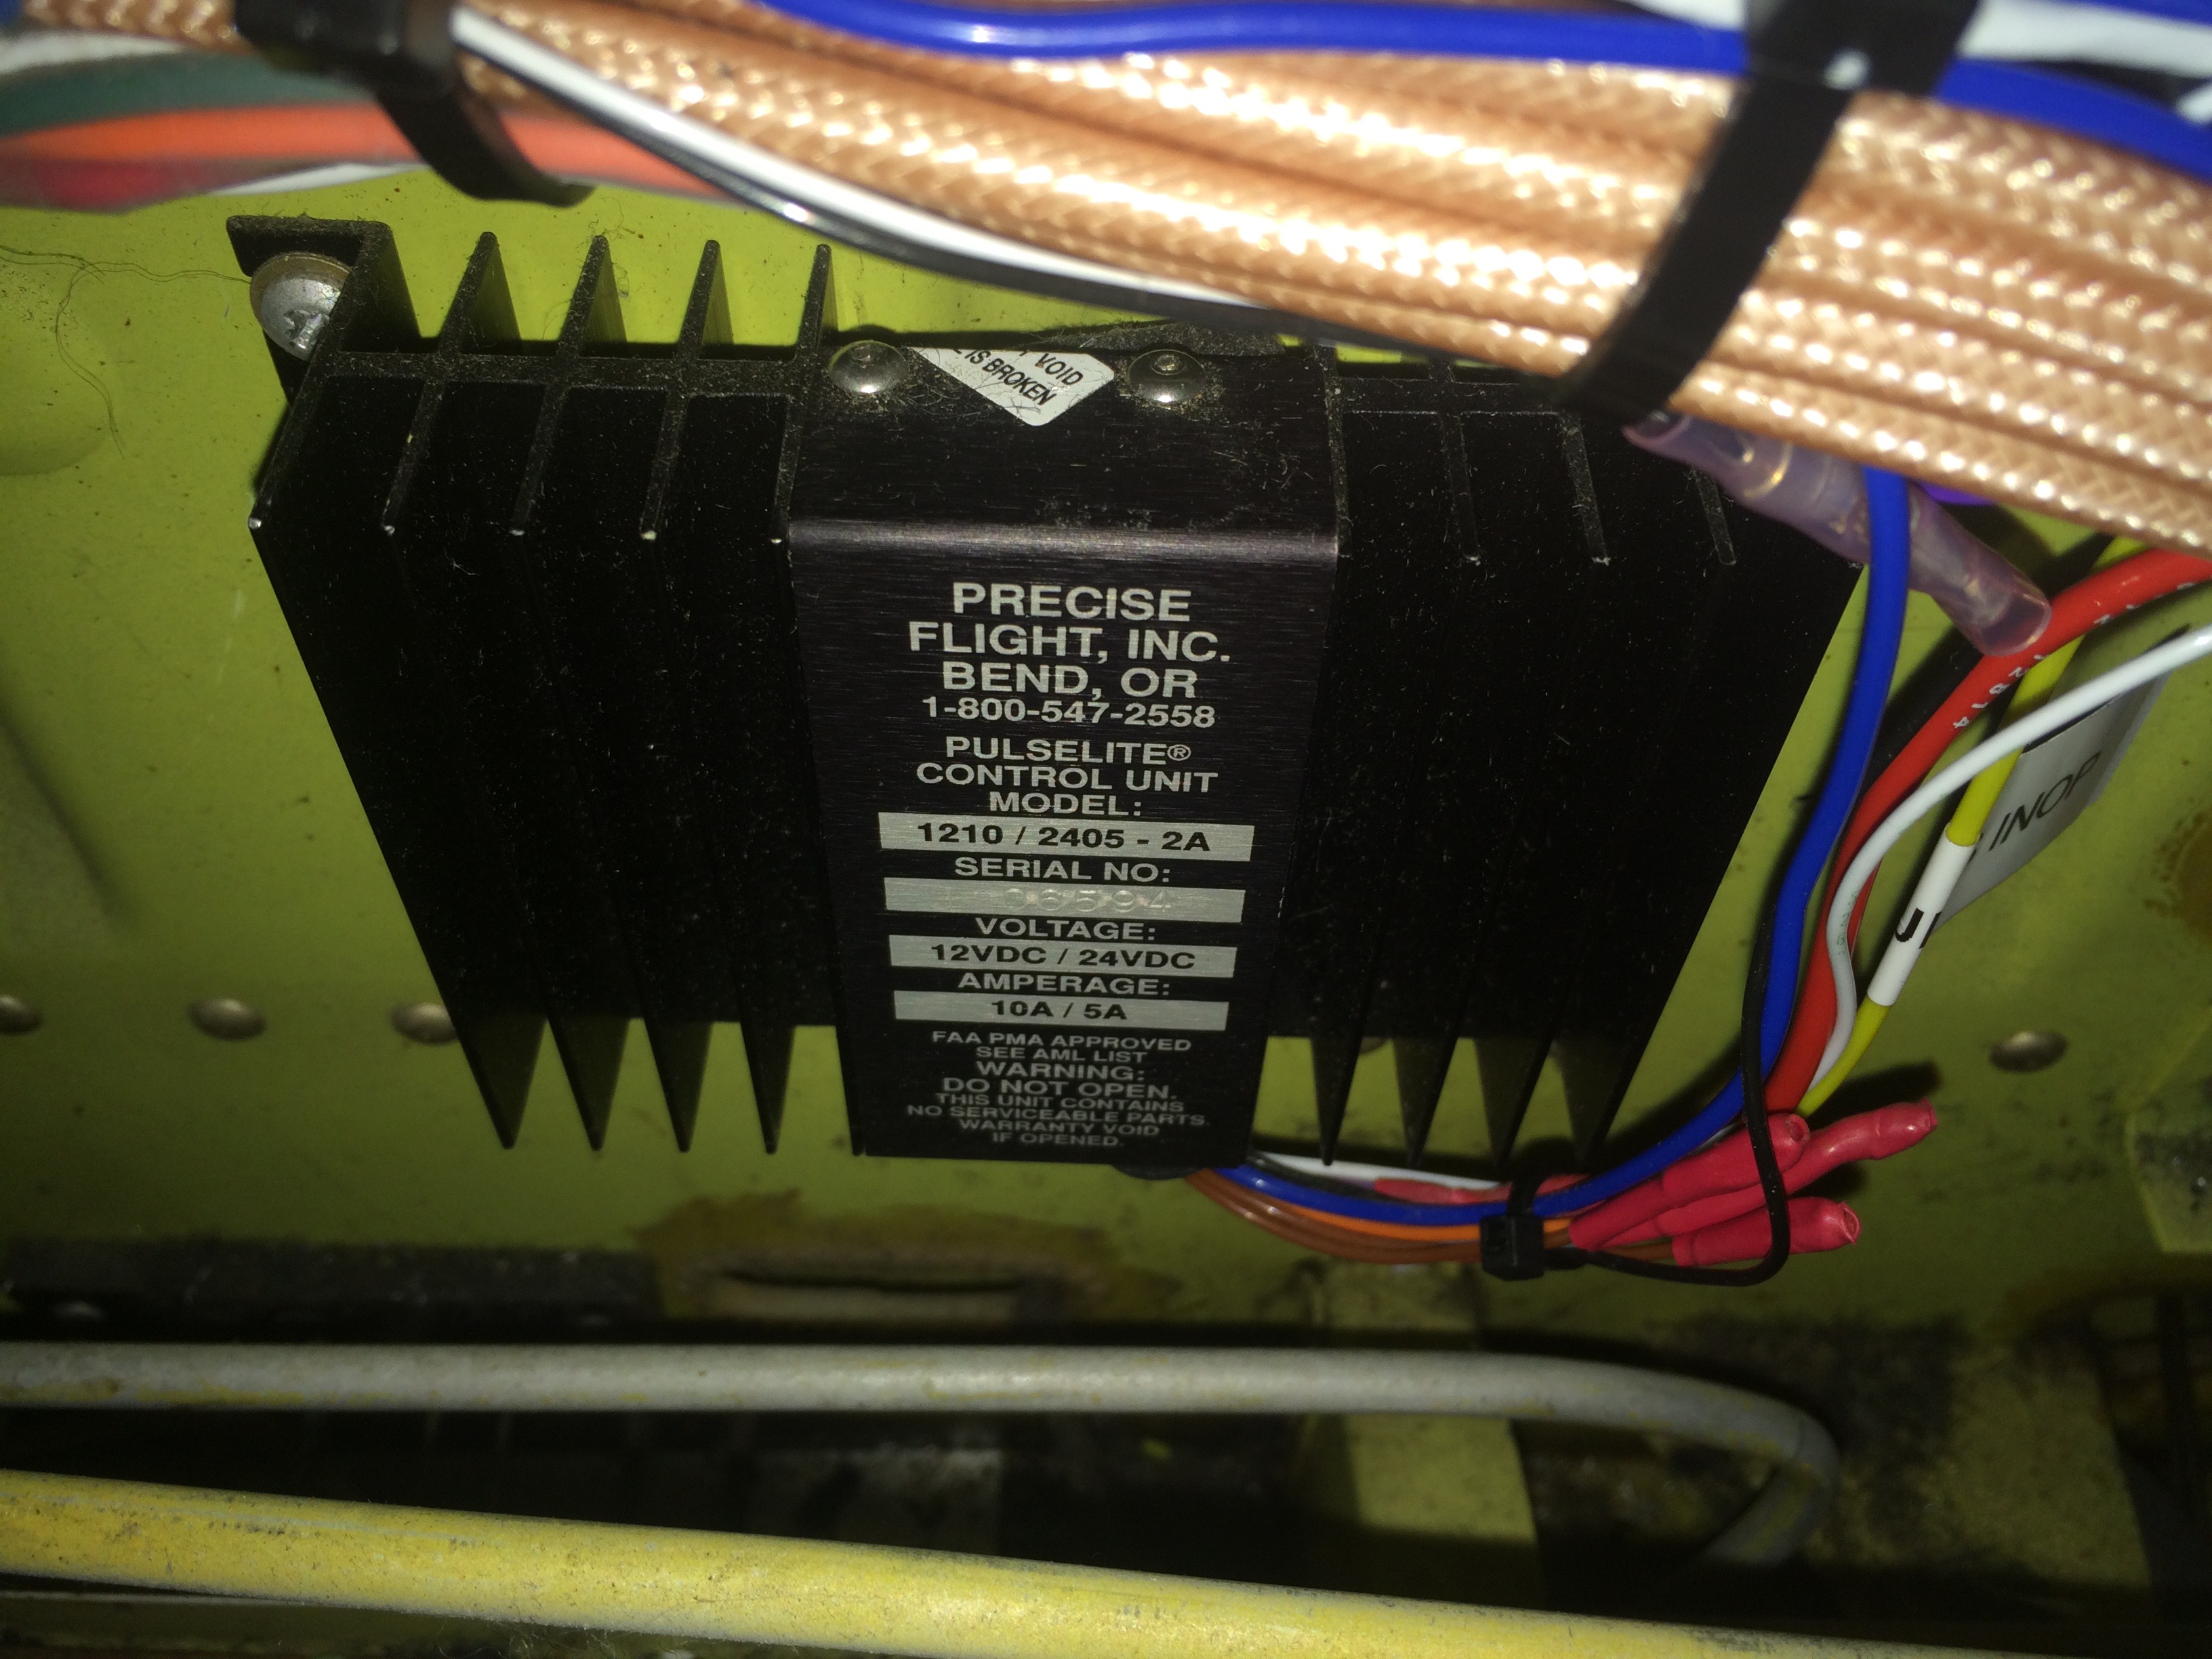
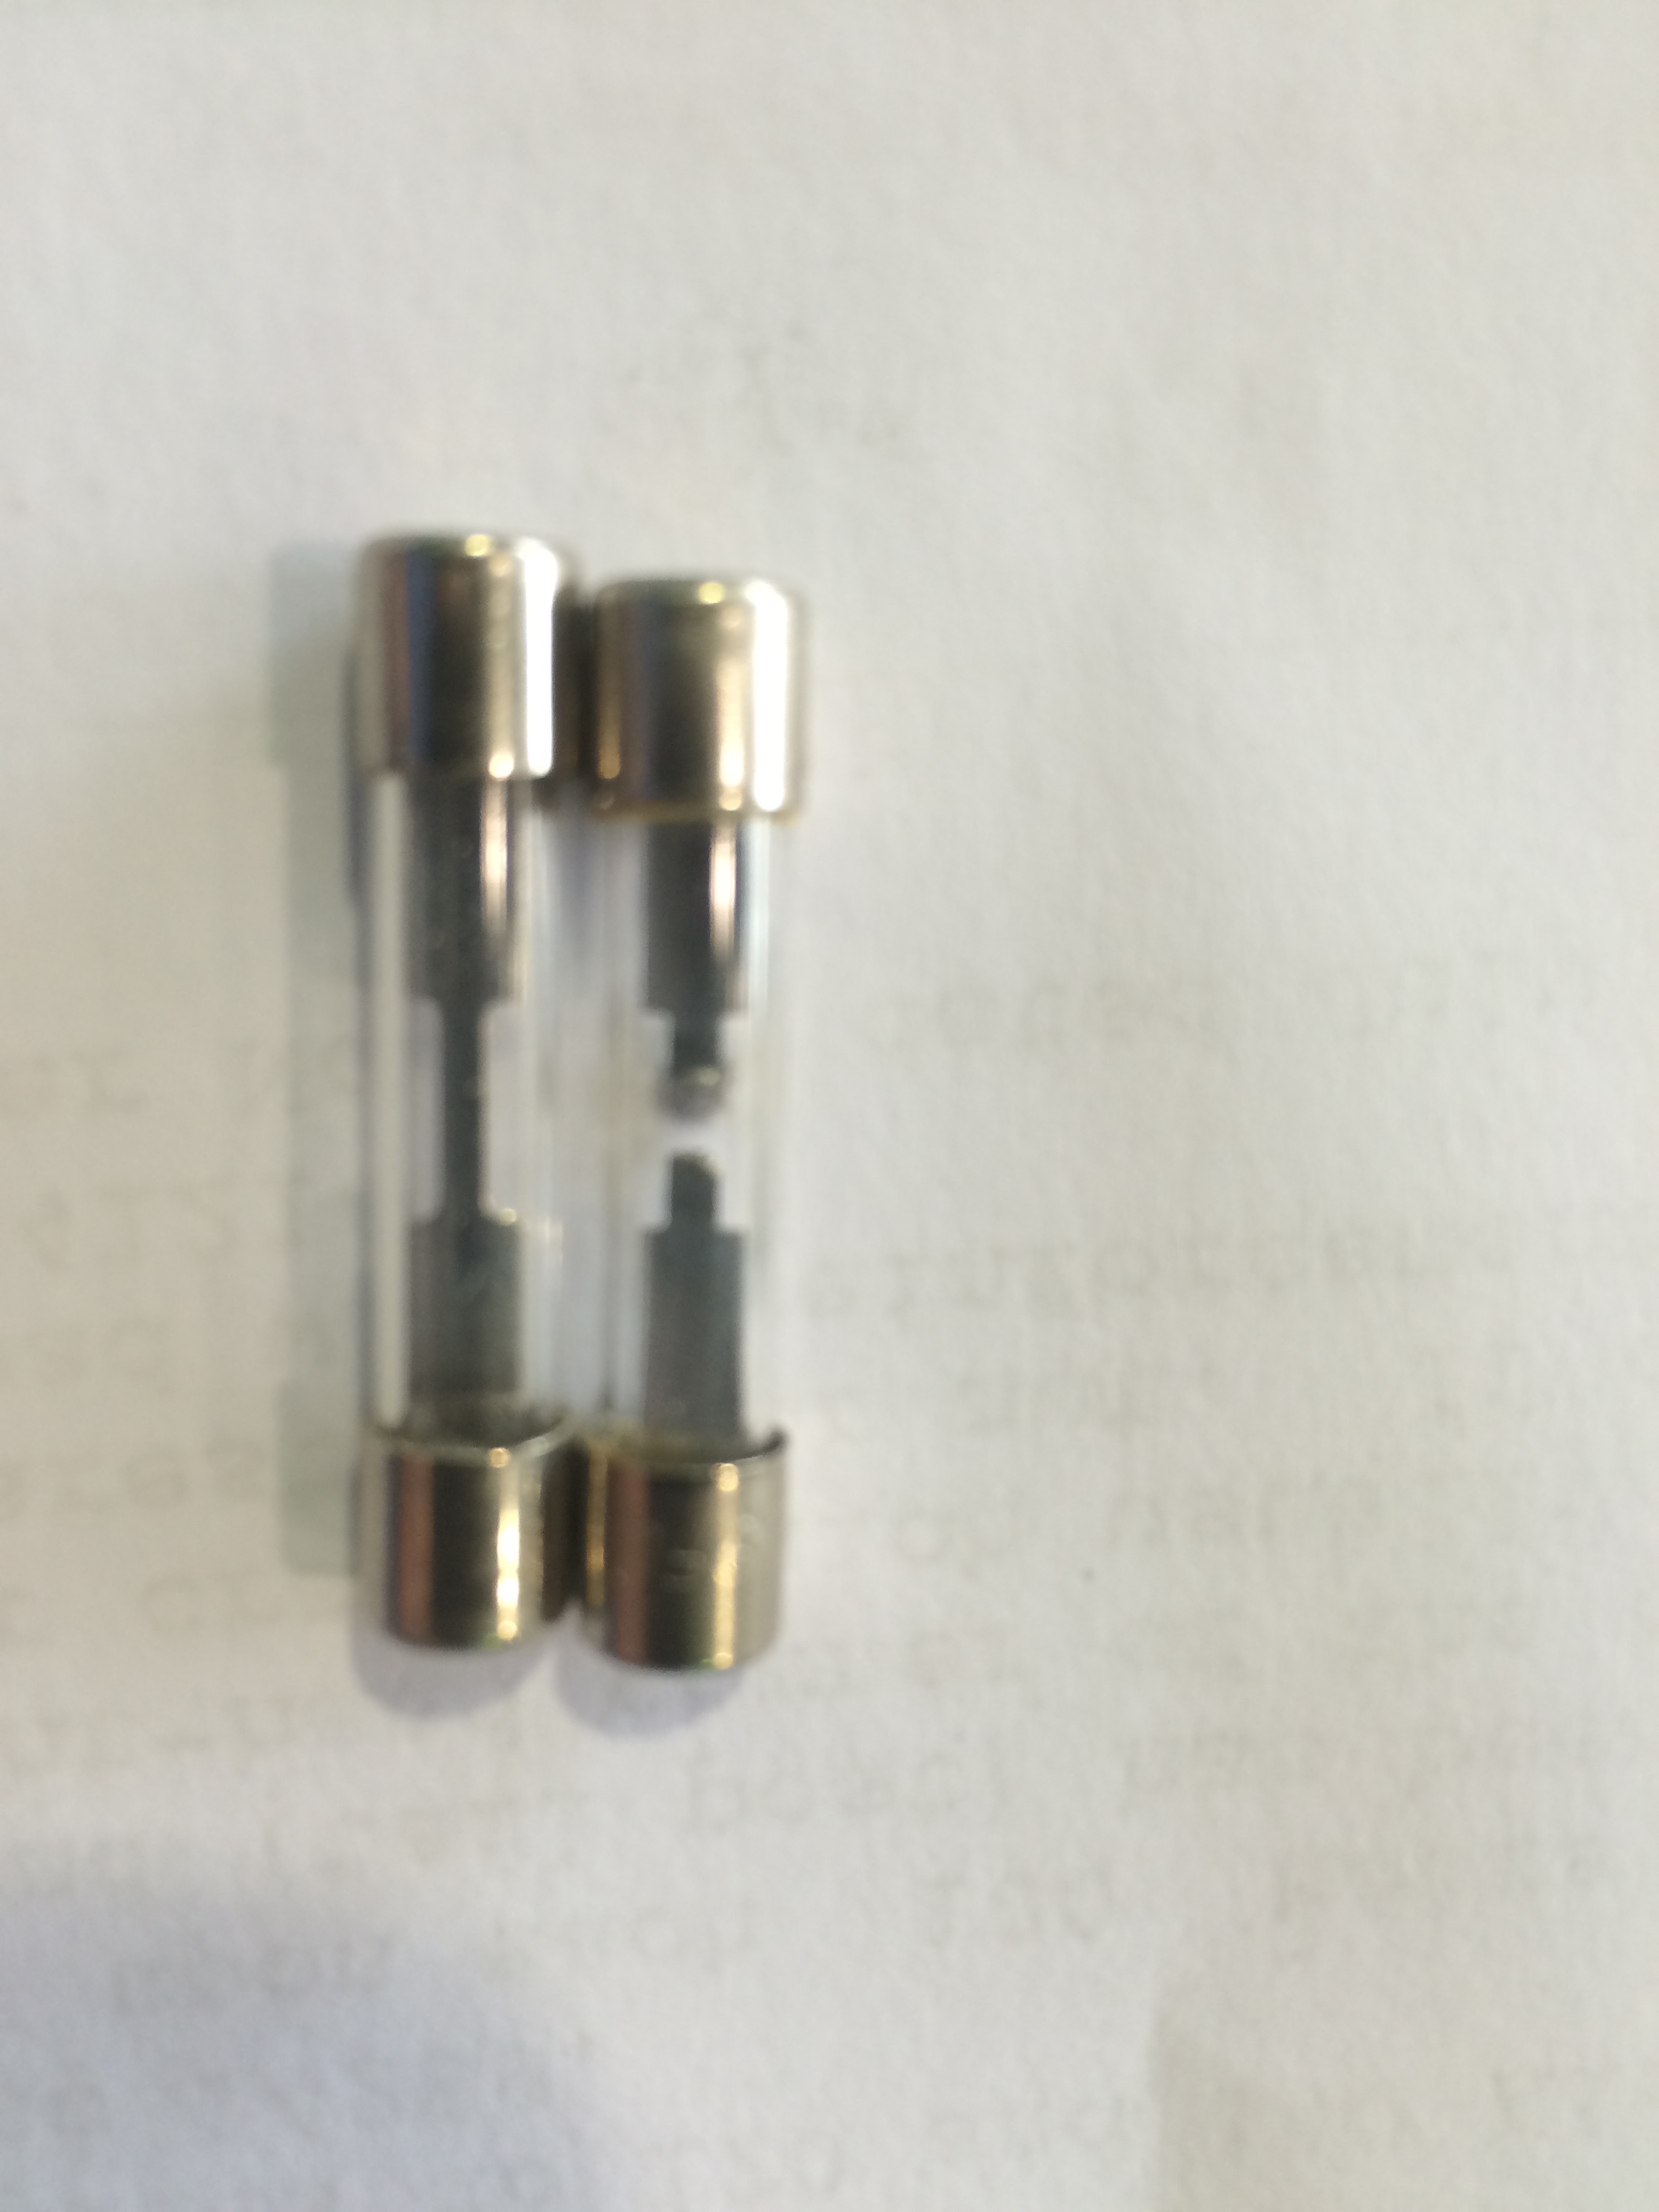
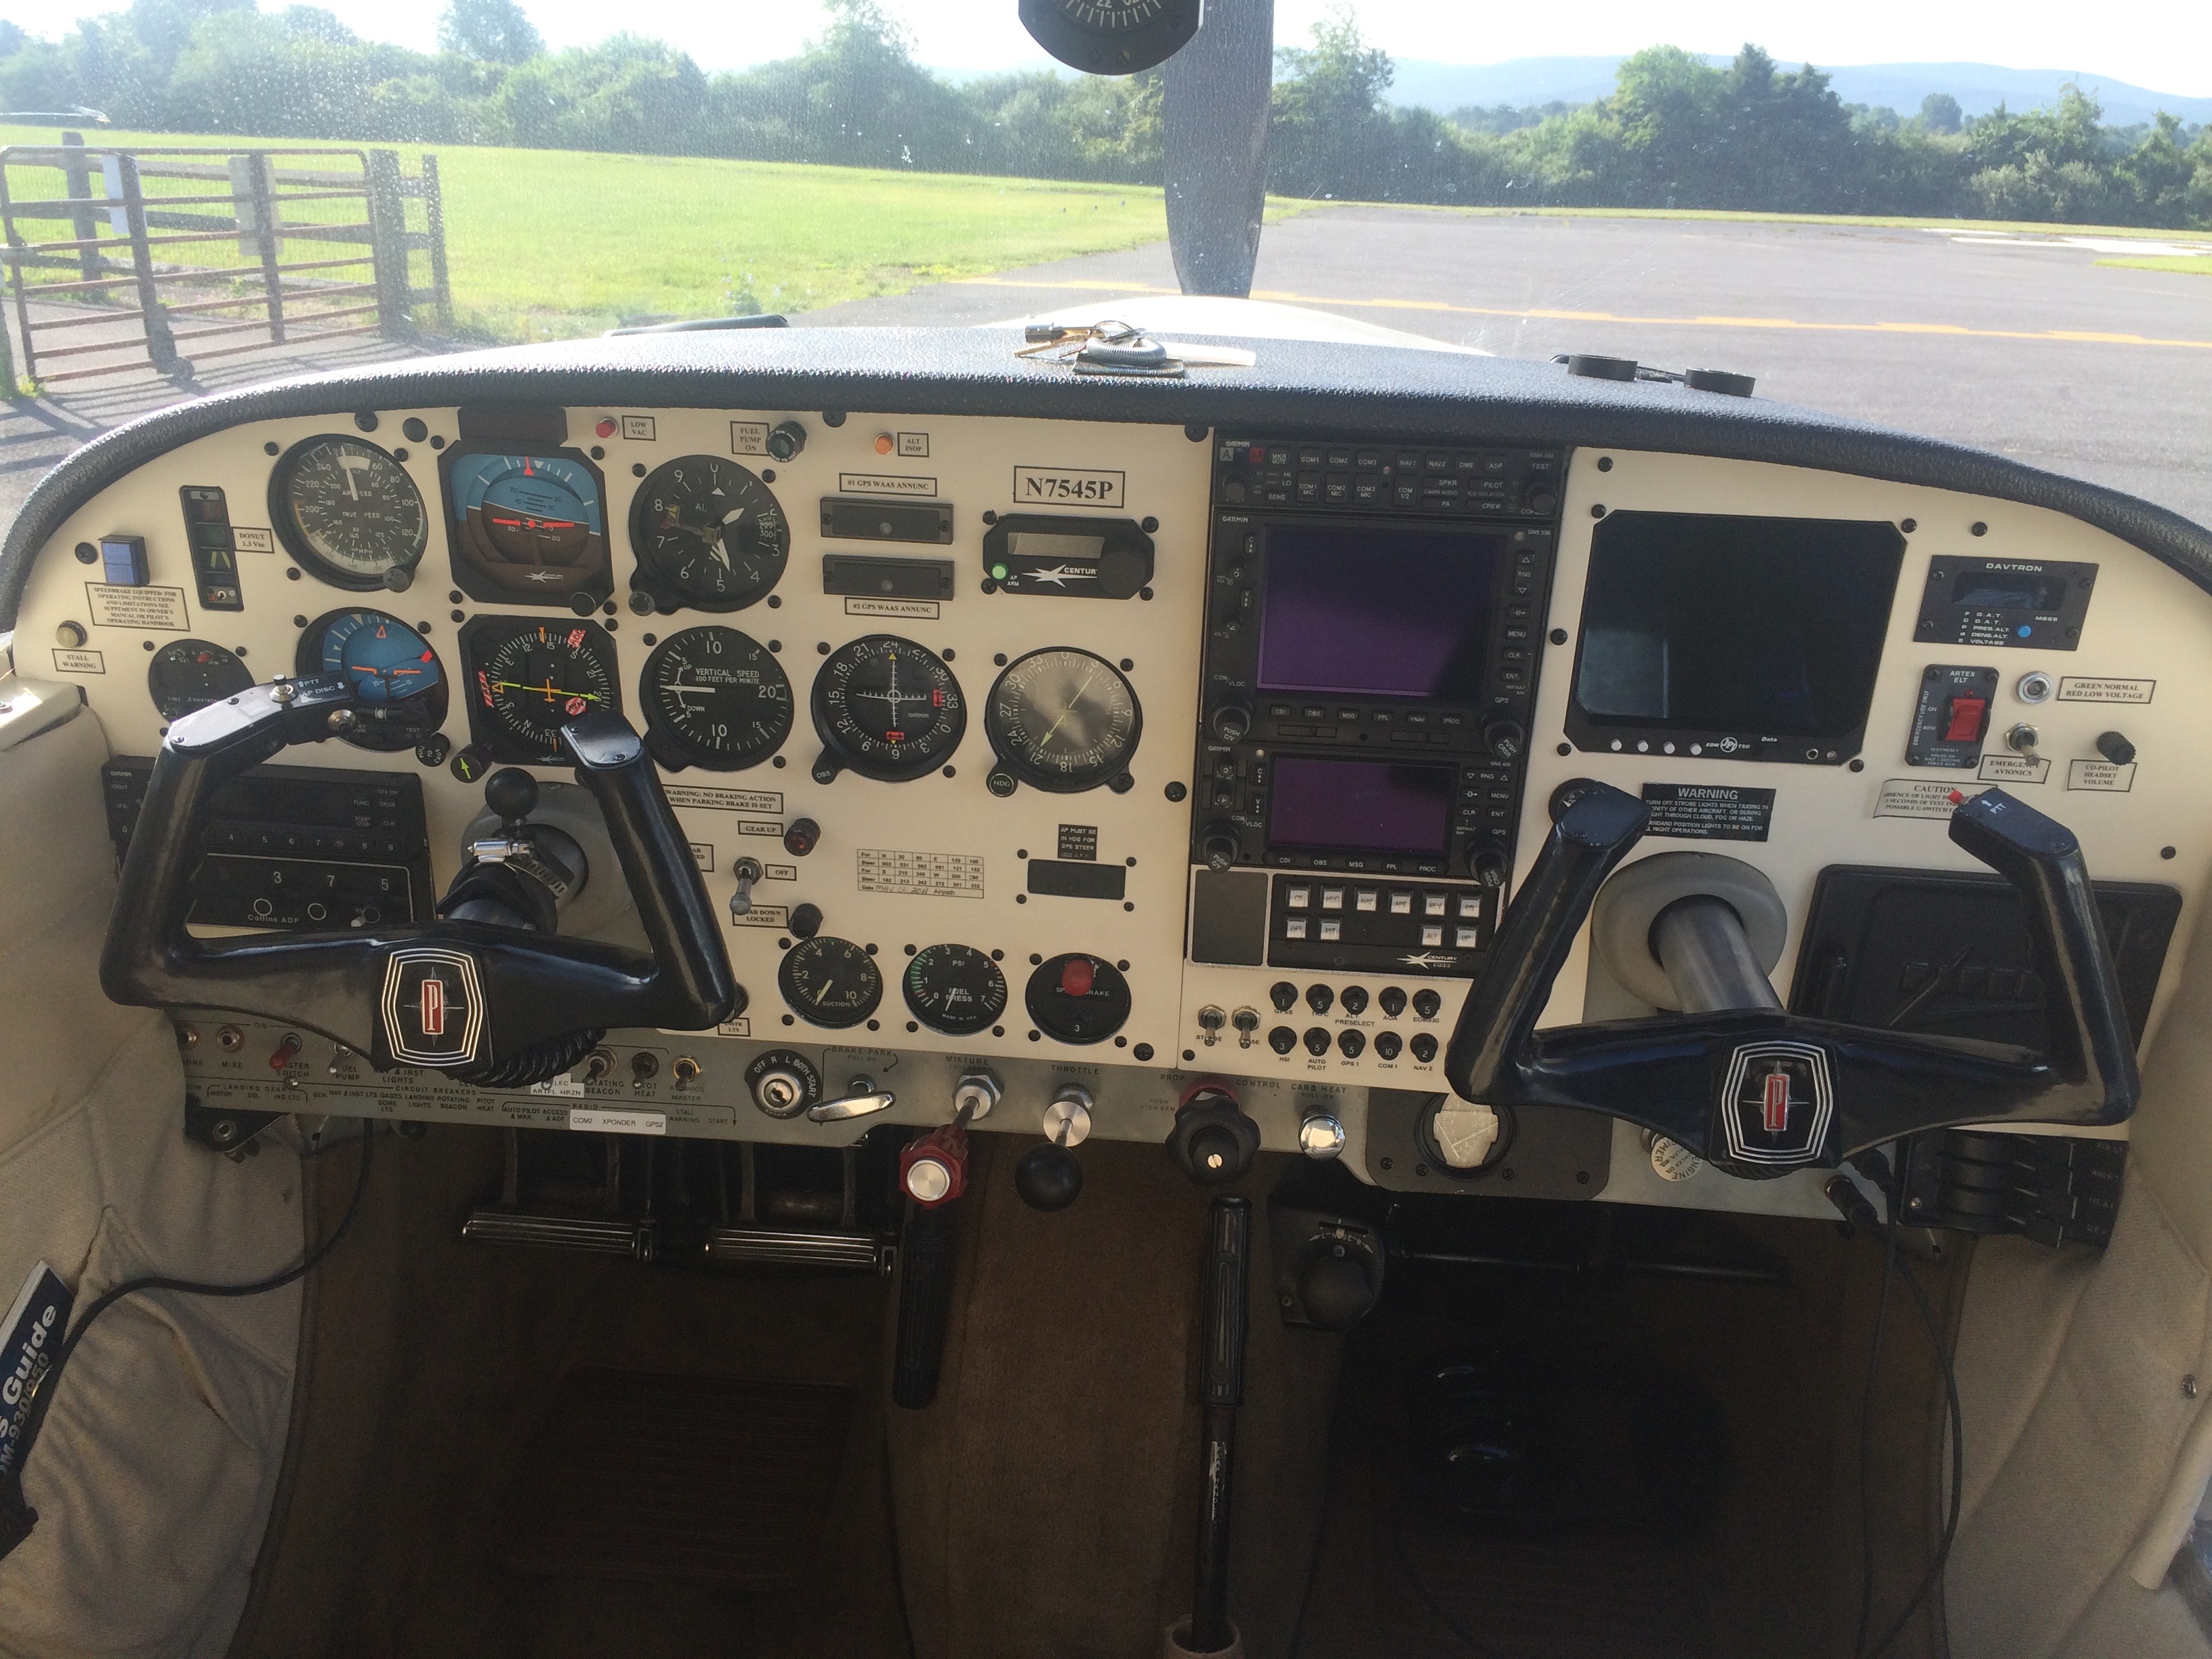
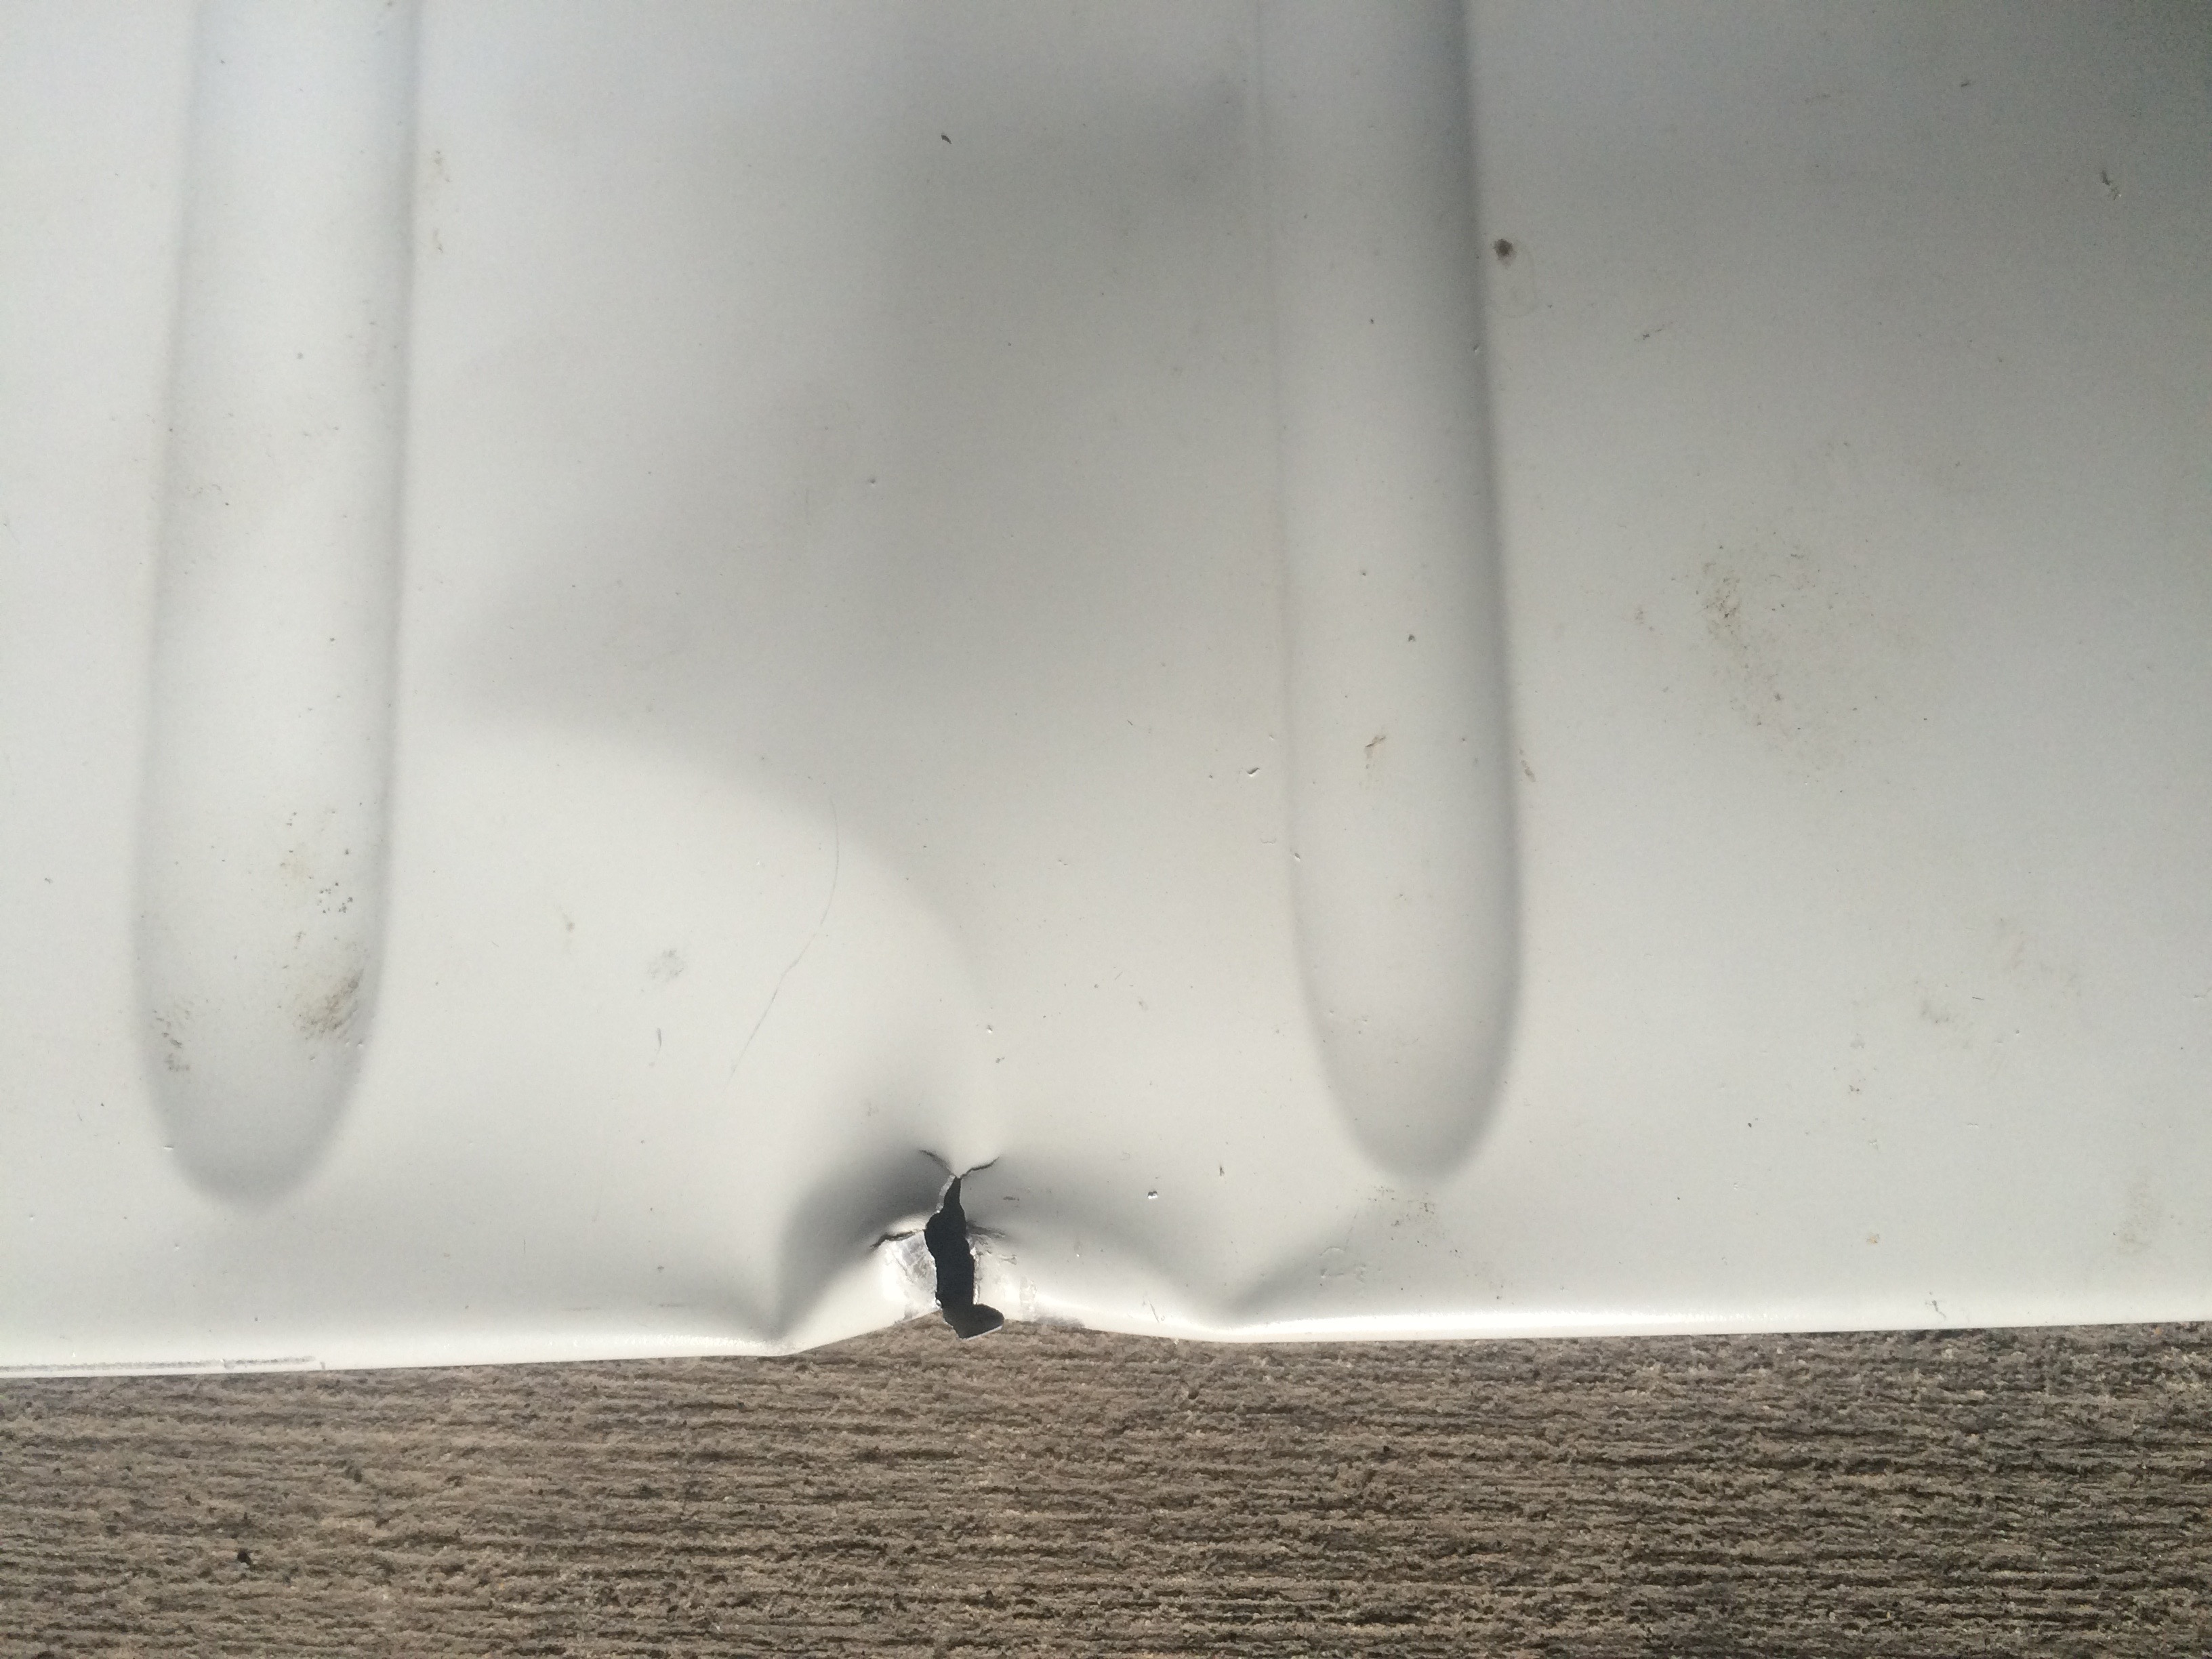
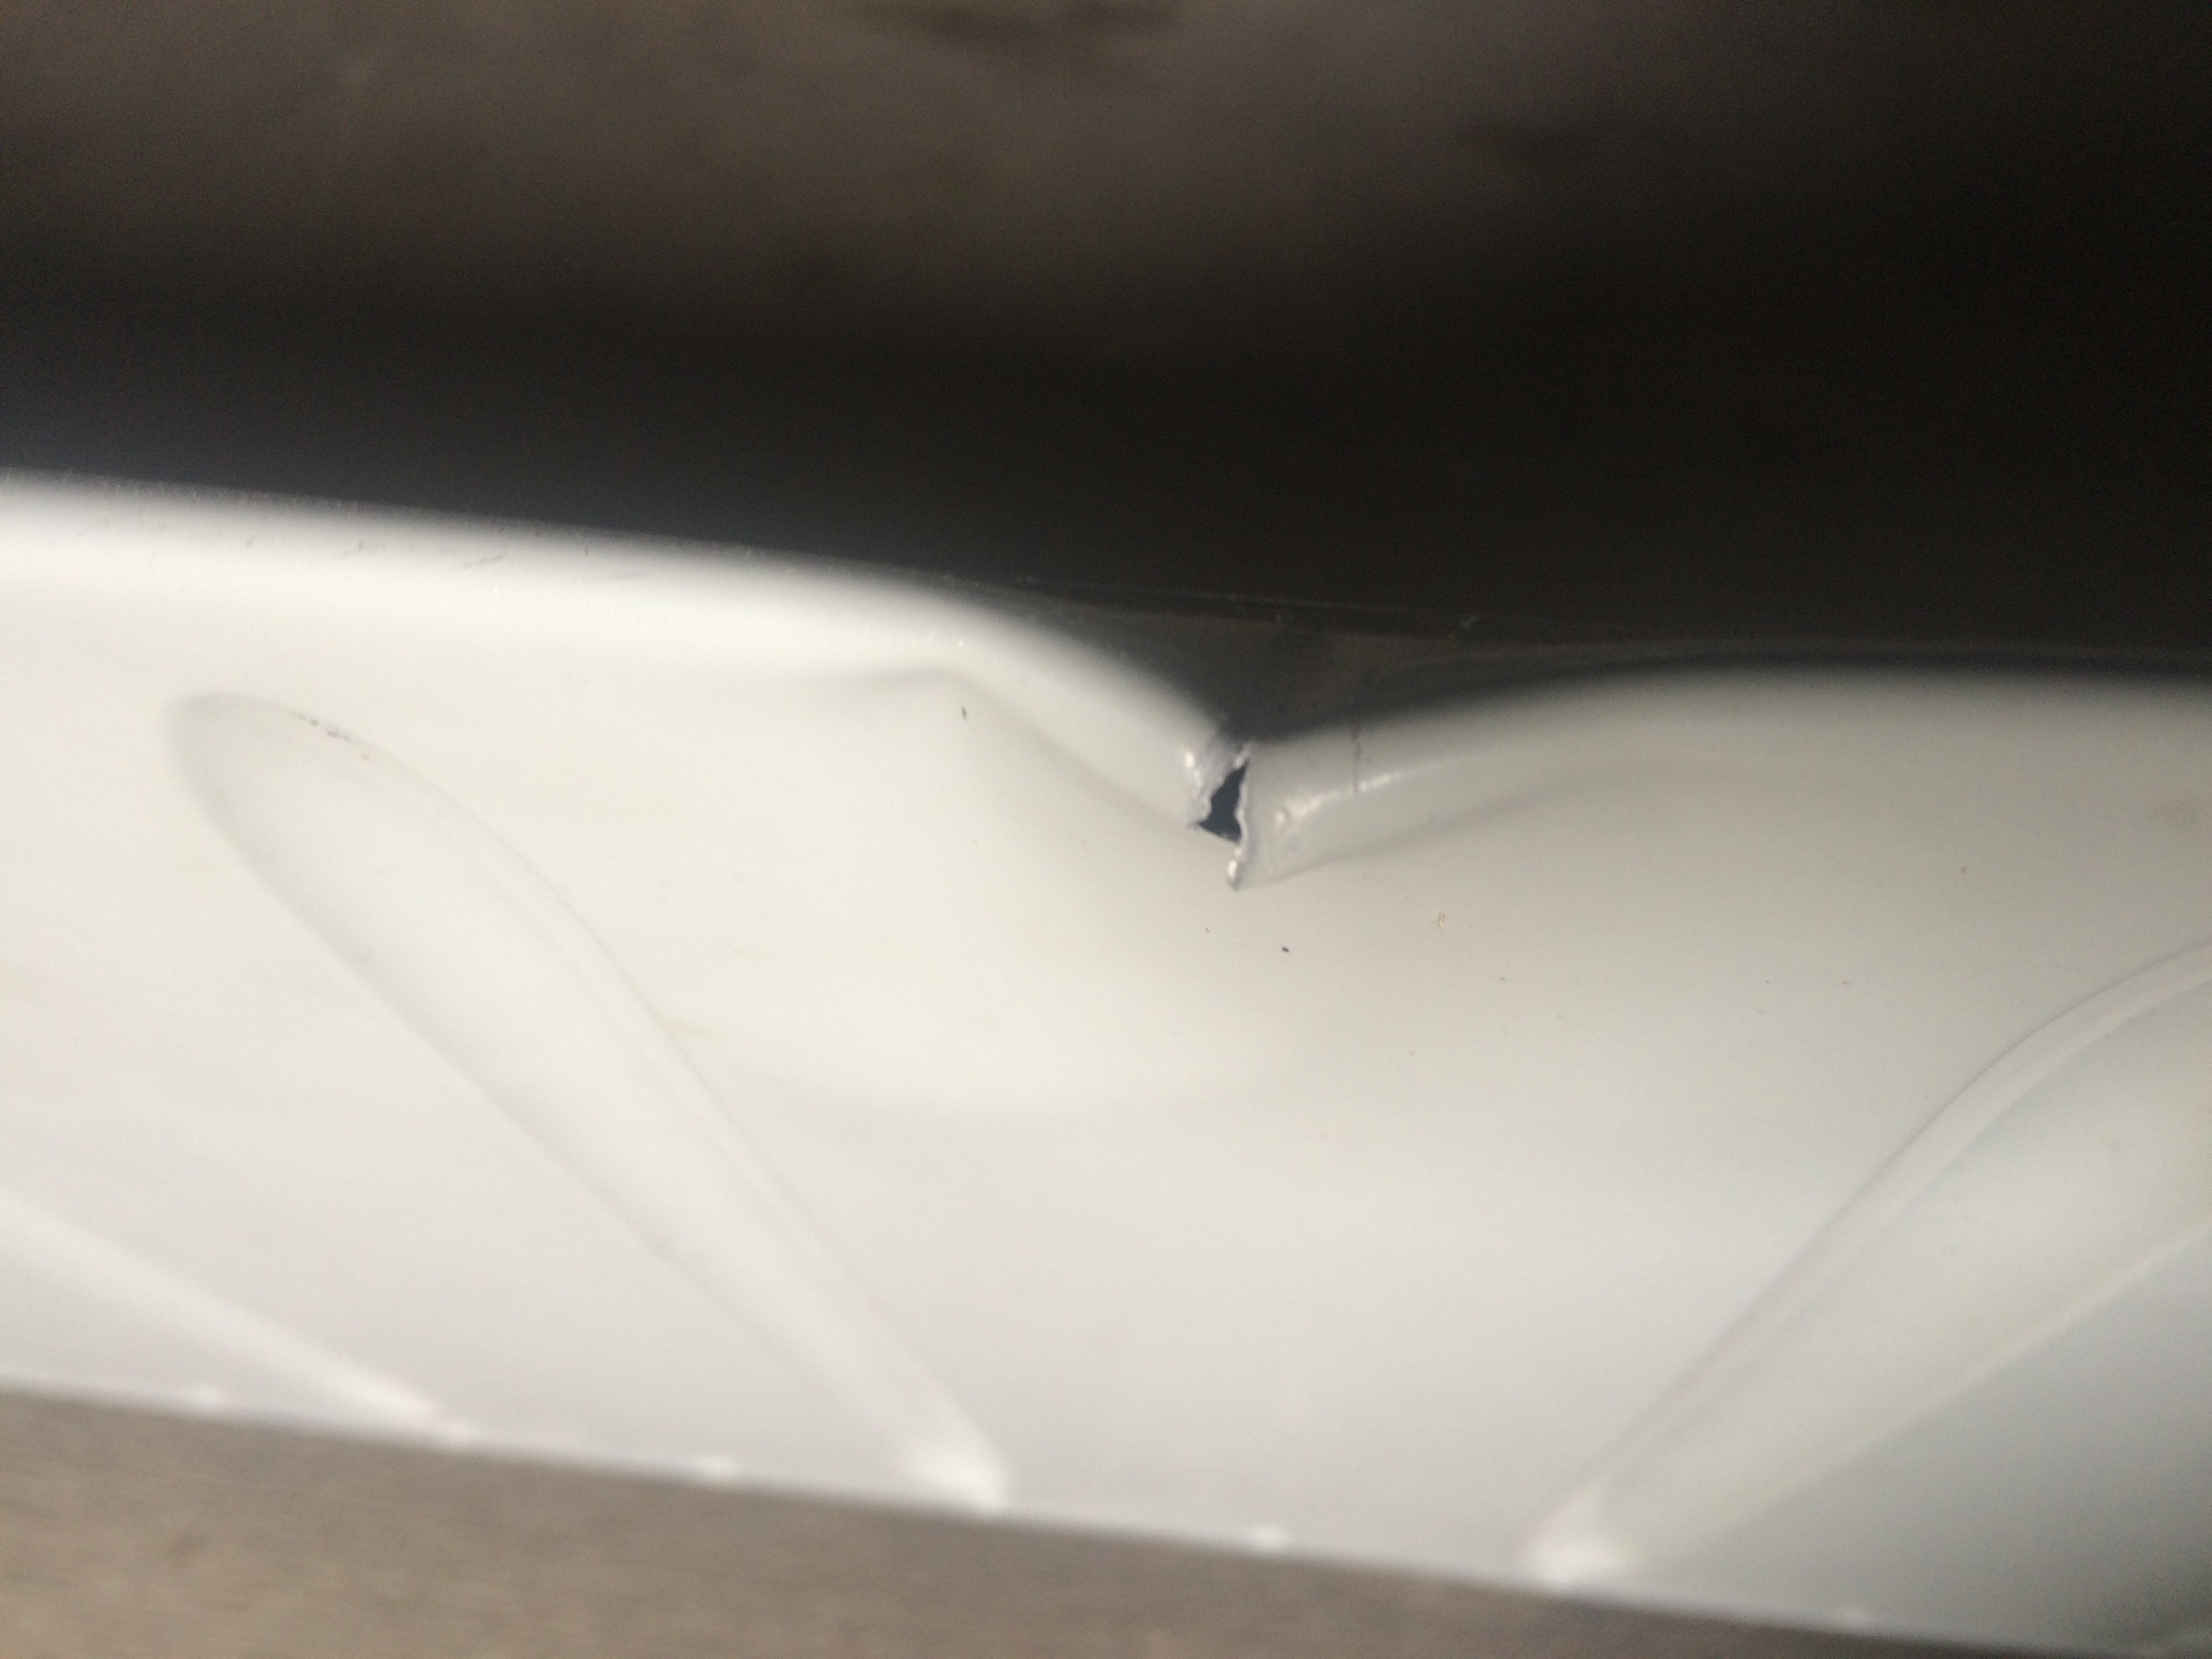
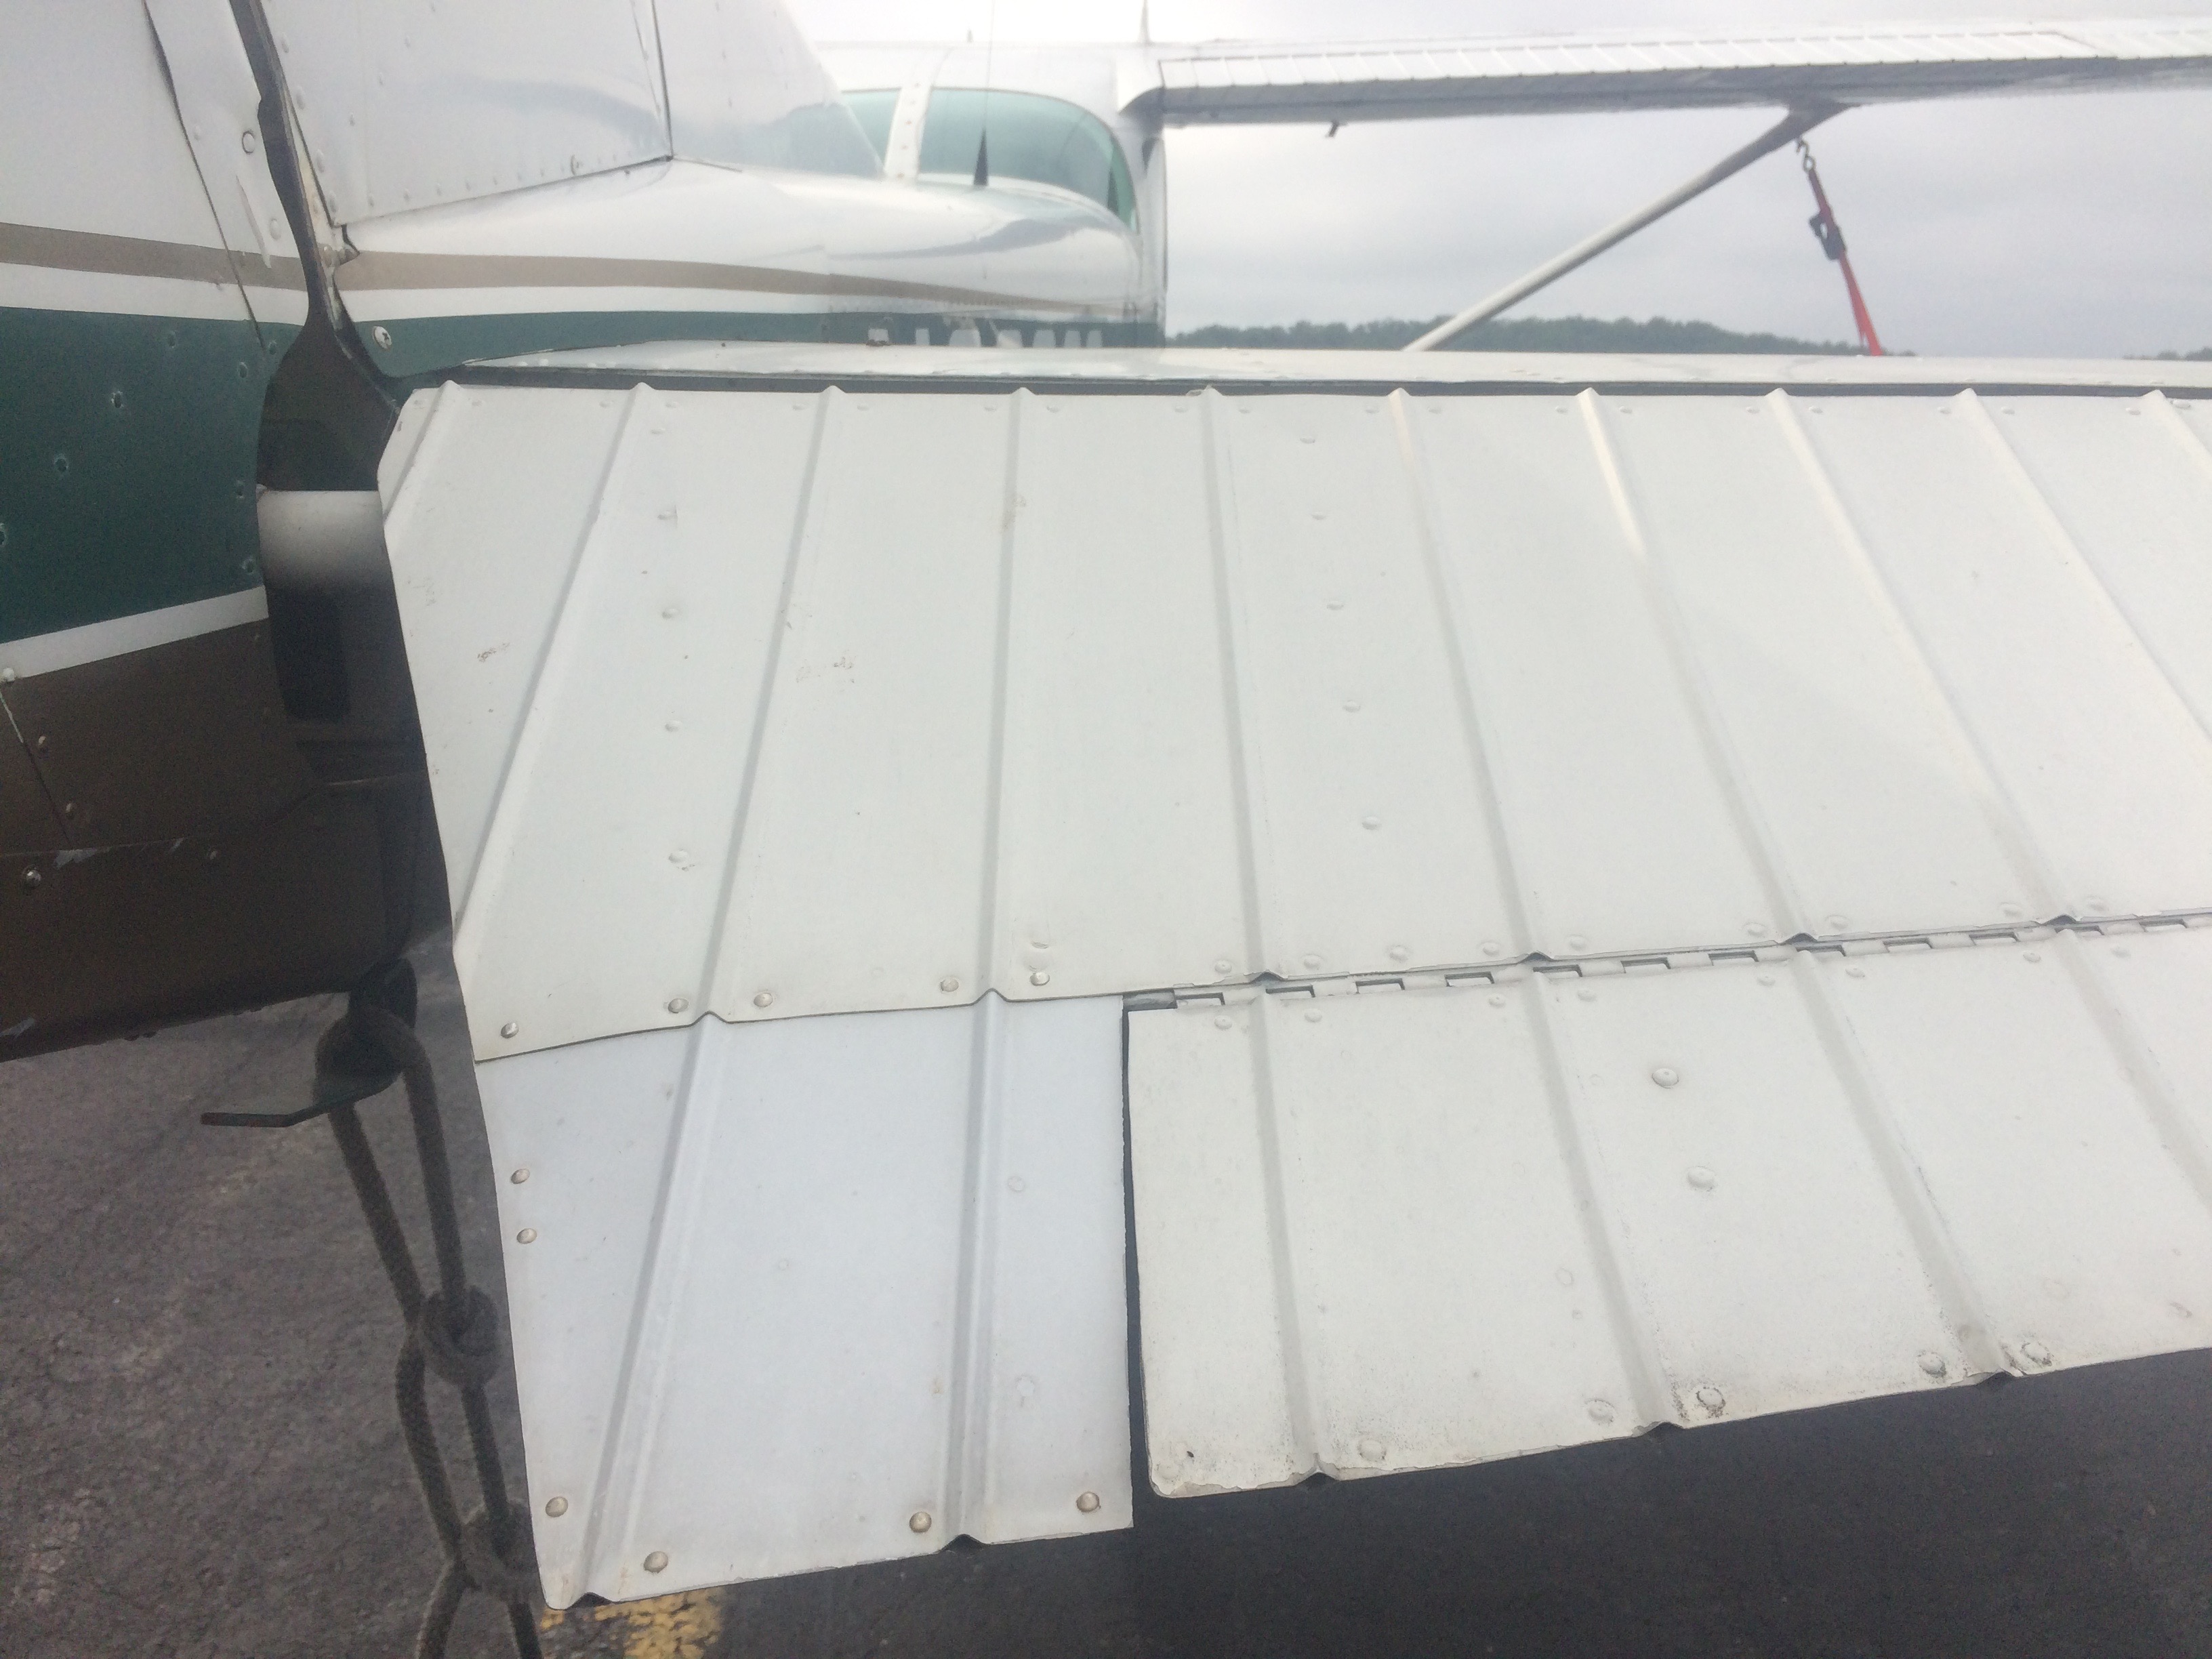
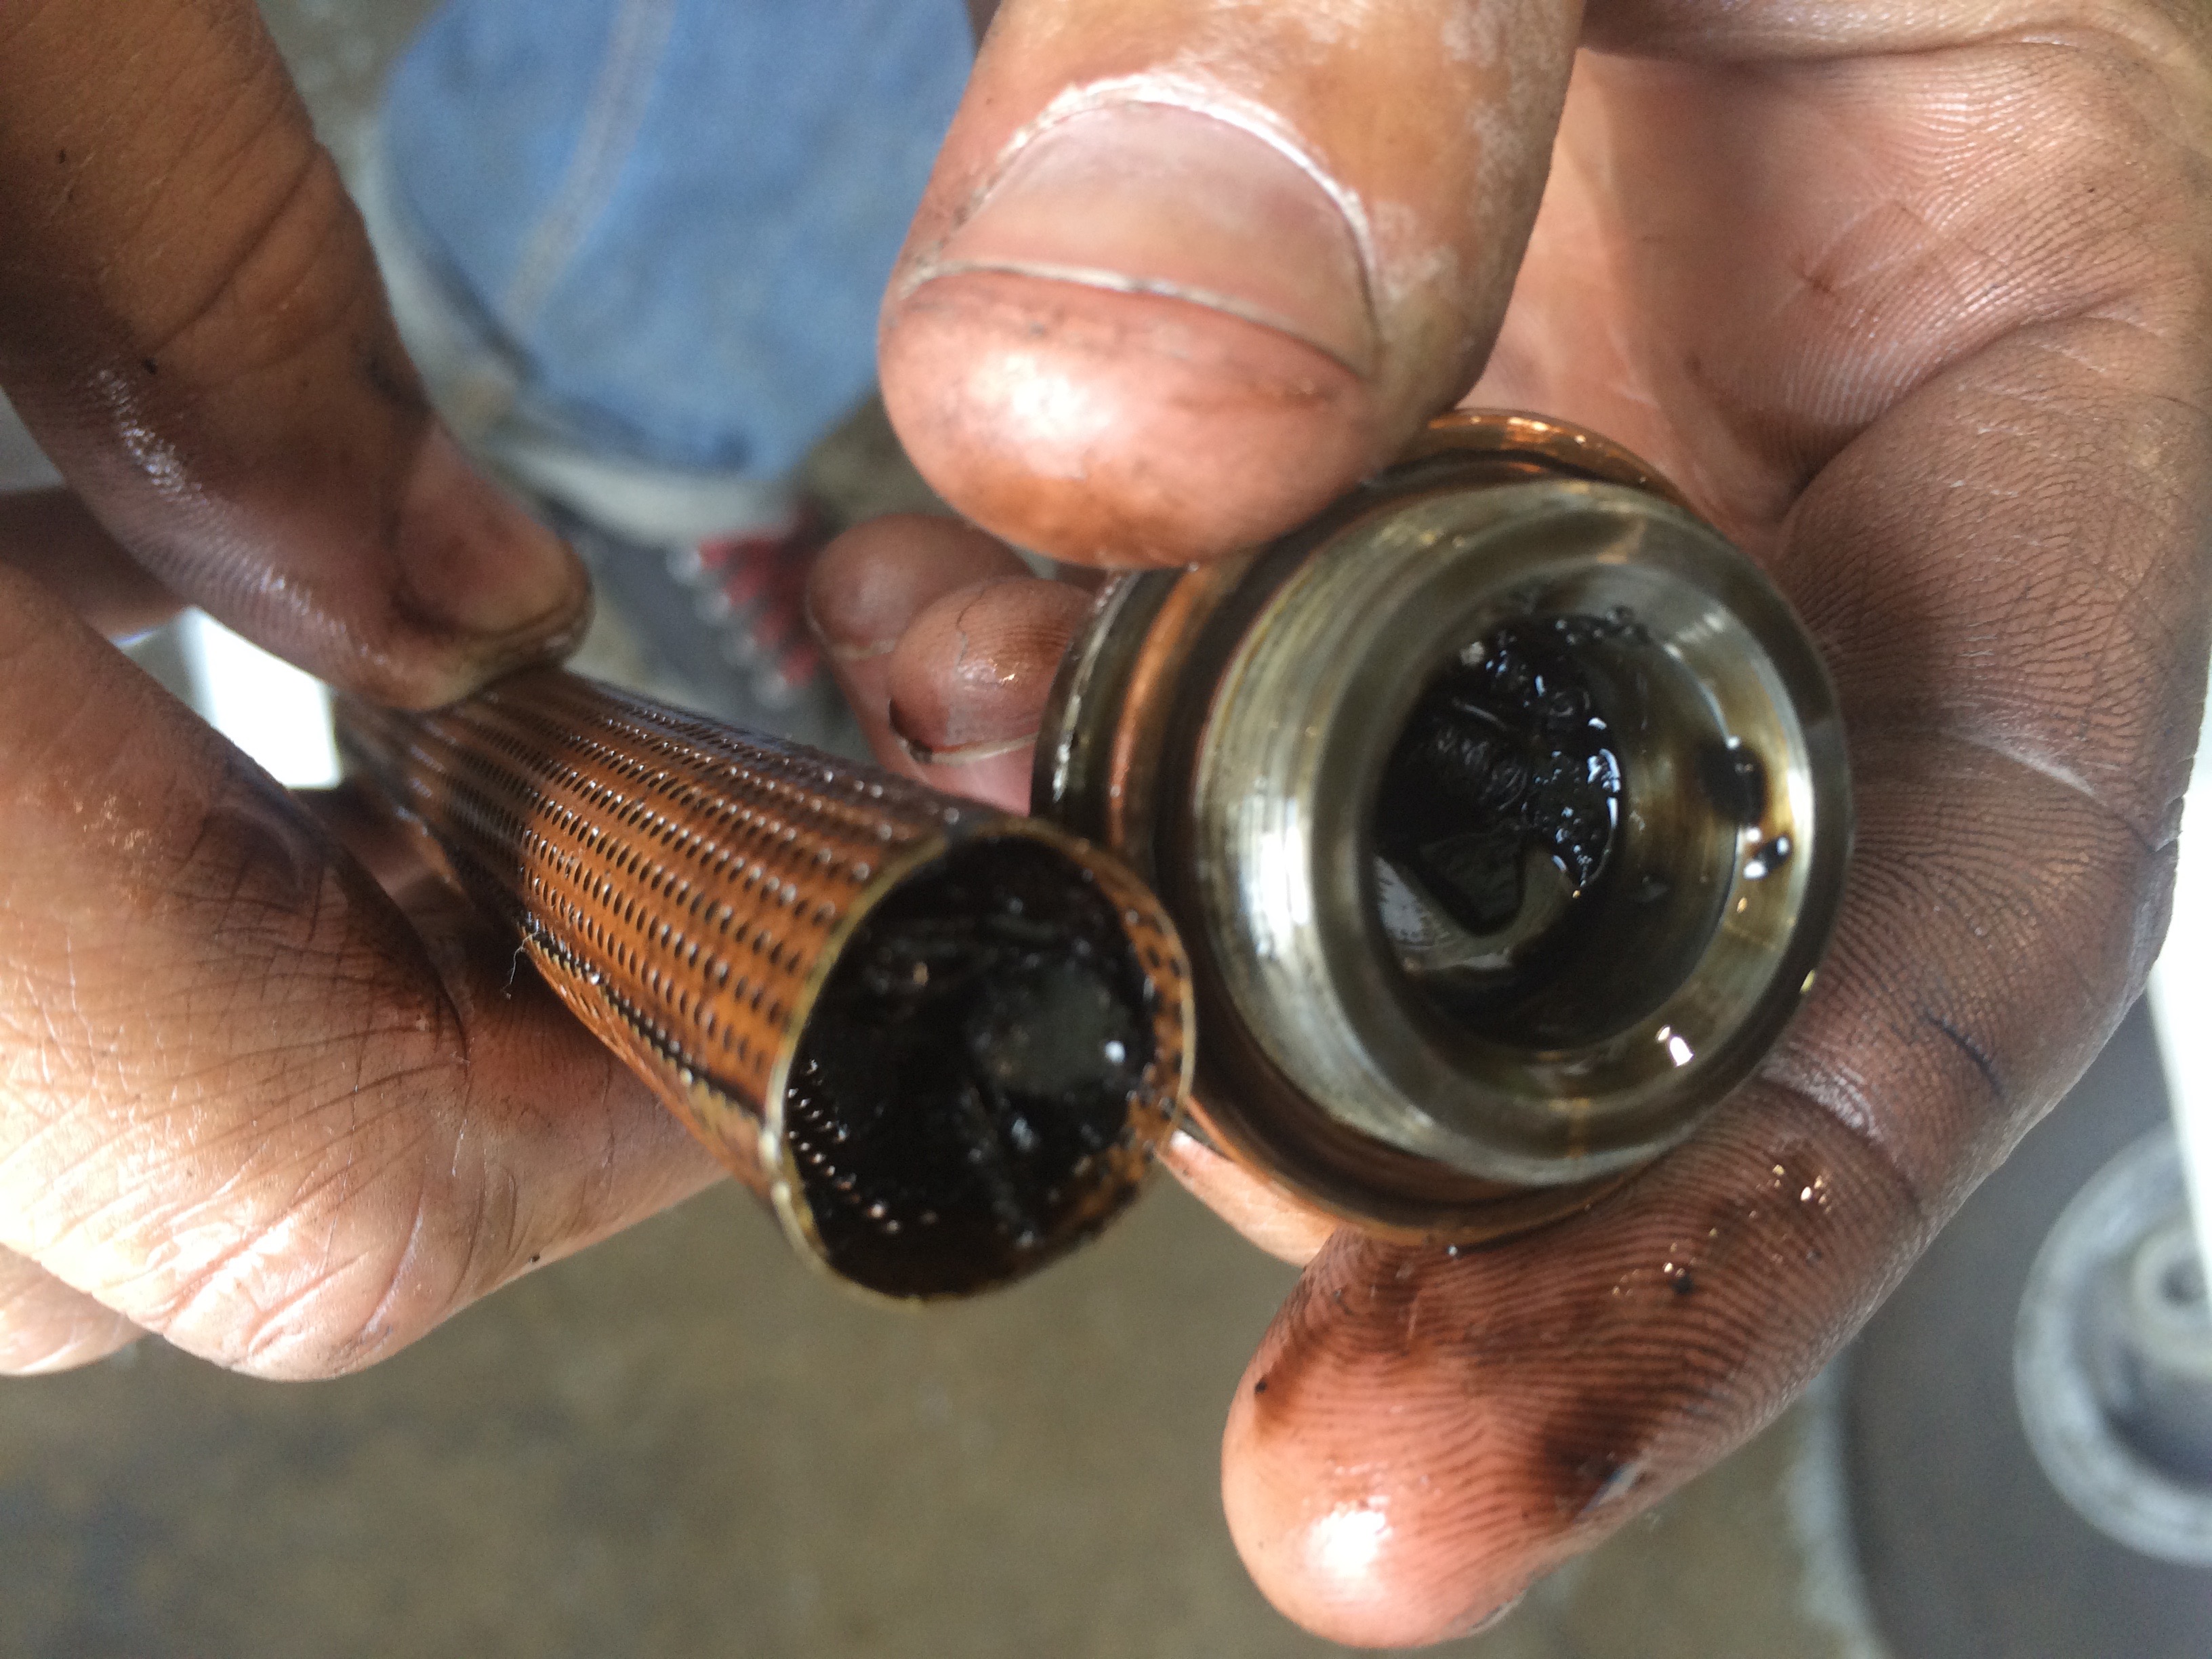
I was thinking about all this as it relates to mx, and being a mechanic, it hit me that visiting a place like the Outer Banks is an especially good time to make sure you have at least some sort of tool kit and a few spare parts like a couple spark plugs and tools to change them… there is no maintenance at 3 of the 4 airports we talked about today.
So… if you don’t have a small aviation toolkit that you carry with you, consider putting one together… it just might save the day for you sometime!
And please… send me your ideas that could be shared with your fellow aviators…if you do have a toolkit with a few spare parts that you carry with you, I would be interested to know what is in your kit… also any times you had to use the kit, and how it helped you.
The better prepared we are when we go flying, the better!
Thanks so much for joining me today for this special Outer Banks episode.
Have a great week!


 Send Voicemail
Recent Comments