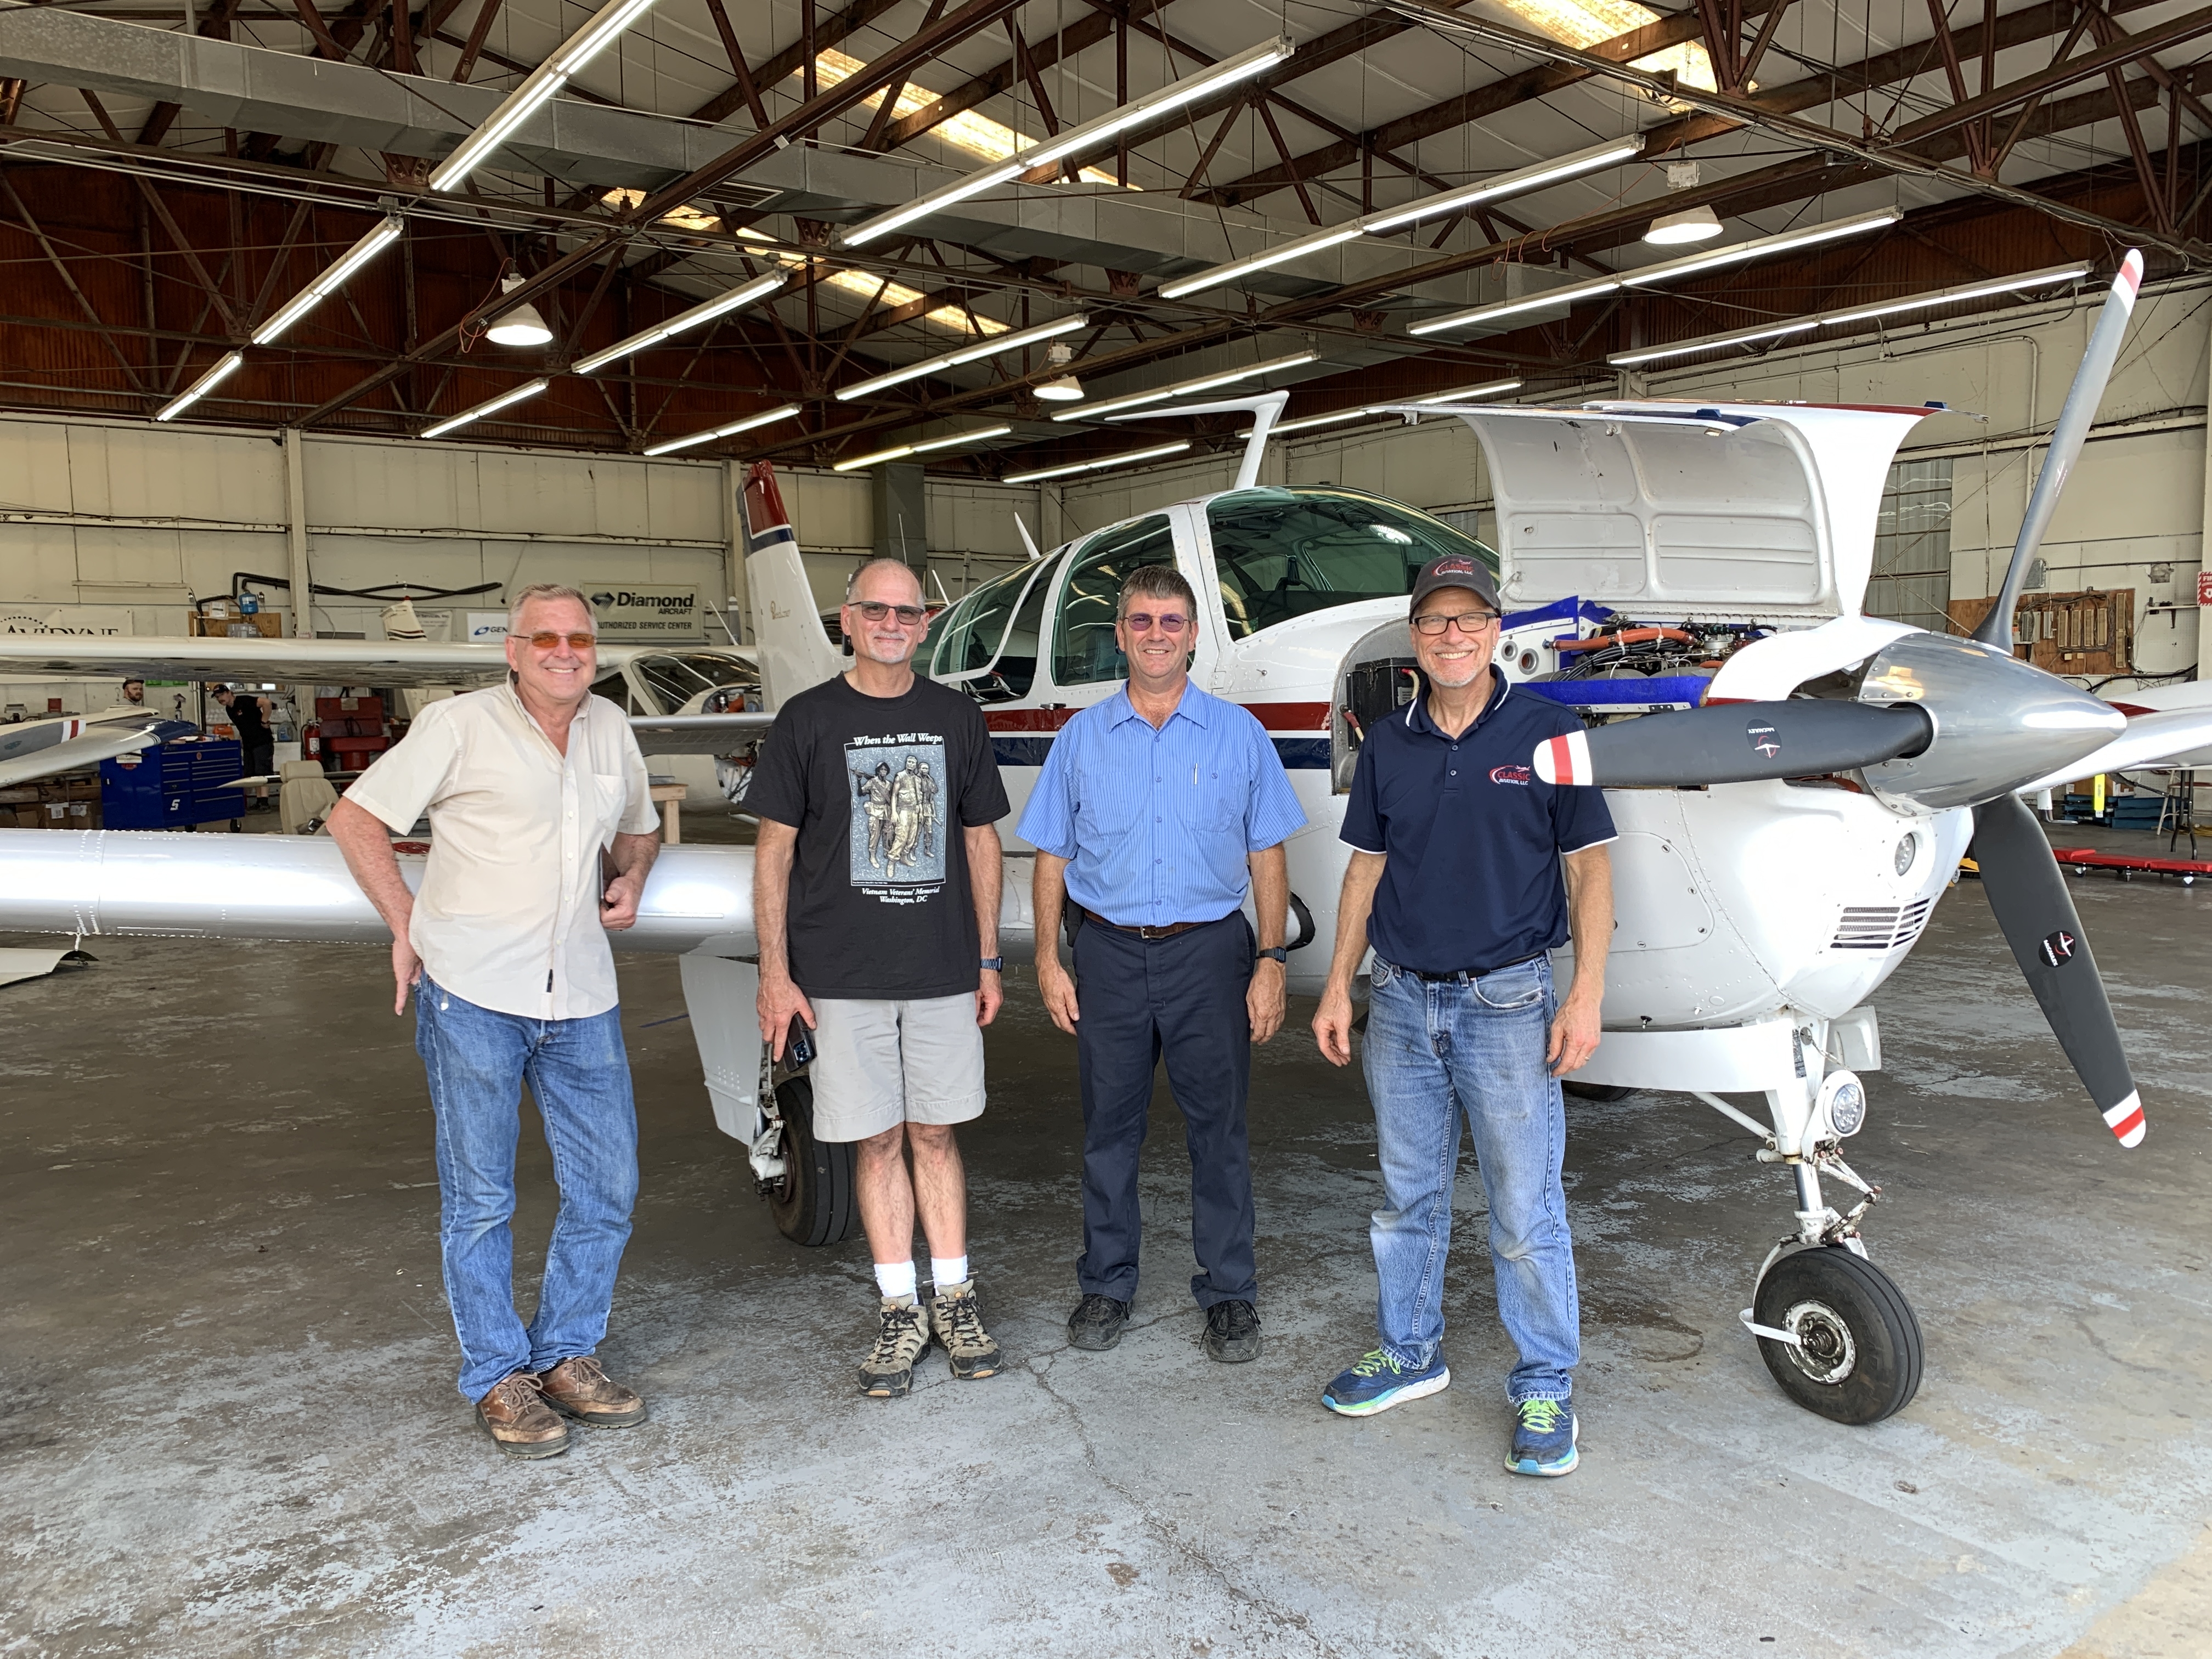
From left: Arthur, Dave, Mervin, Dean (I got to work with these guys last Monday at Classic Aviation., when Dave had me lap the exhaust valves in cylinders 3 and 5.)
Scroll down for more info about this valve lapping adventure.
Diamond DA40 annual inspection – here are some squawks we discuss in this episode:
Electroair ignition leads.
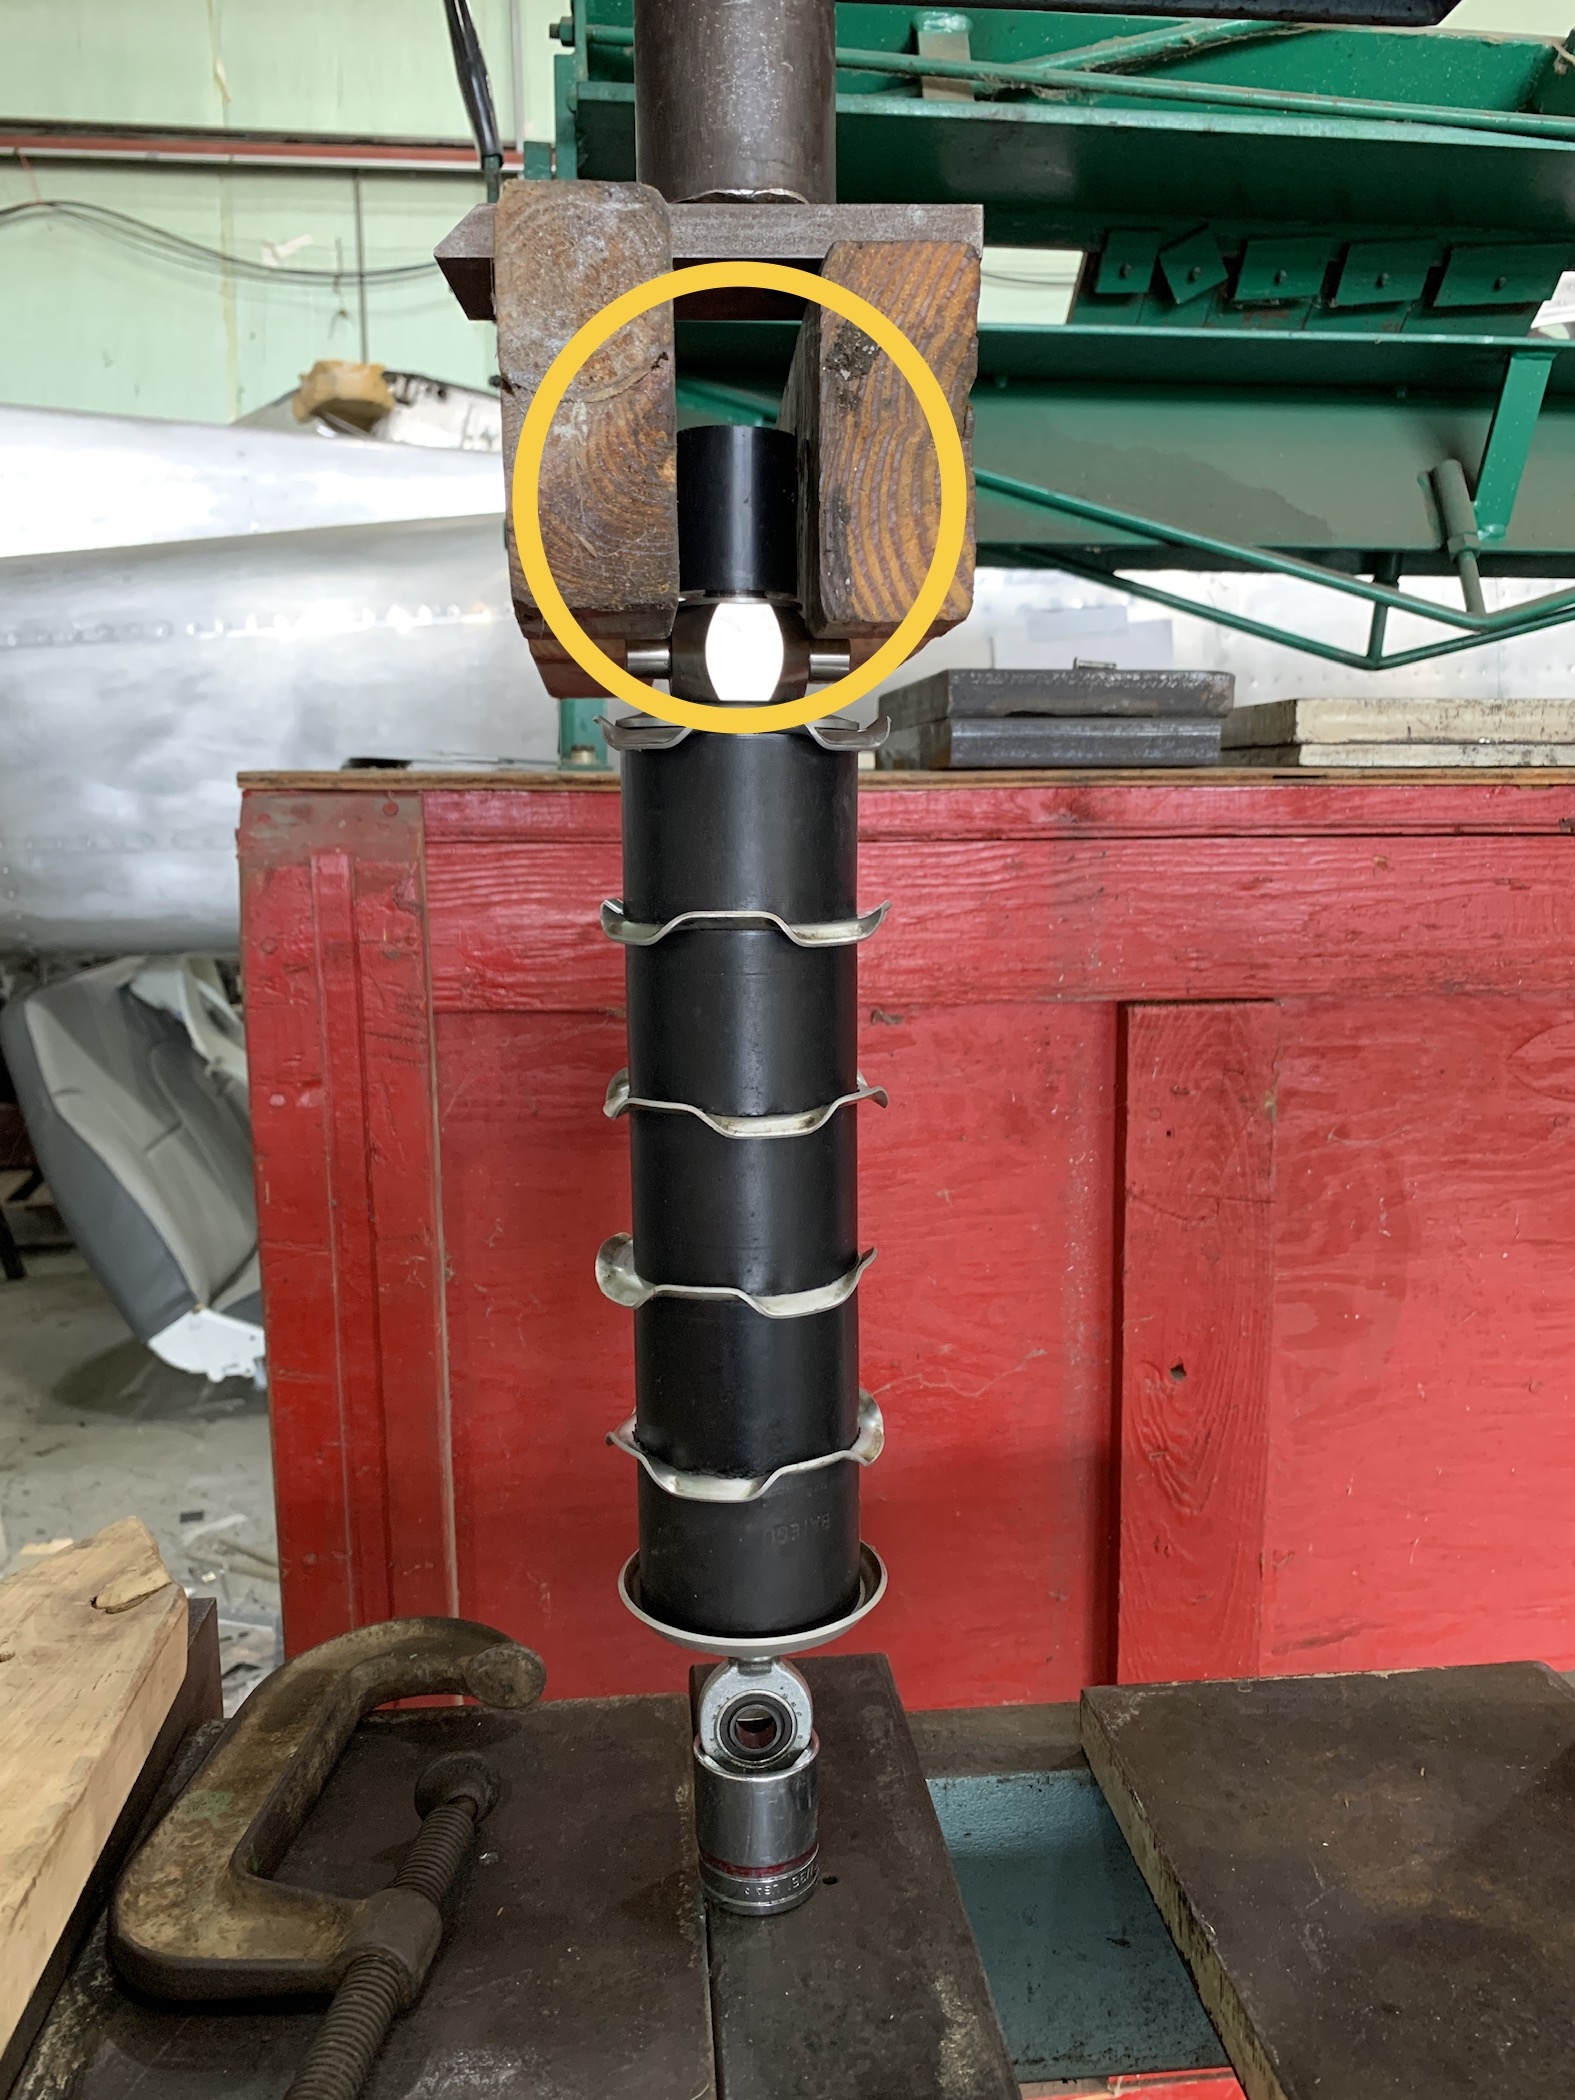
Nose gear issues, including a missing elastomer element:
This is the elastomer pack for the nose gear. The small elastomer element in the yellow circle is the one that we replaced since the old one had split and fallen out of position. The hydraulic press was very helpful in compressing the stack to get the nut started. The end in the yellow circle goes on the bottom end when installed on the airplane, and the rod end bearing at the bottom of the photo is actually the top of the stack, and attaches to the engine mount at the firewall.
AmSafe seatbelts
RG24-15M aircraft battery
Alternator 500 hour brush inspection
Alternator aux. wire terminal loose
Aft door warning light inop.
Prop governor nuts under-torqued
Bolt dangling from the induction airbox
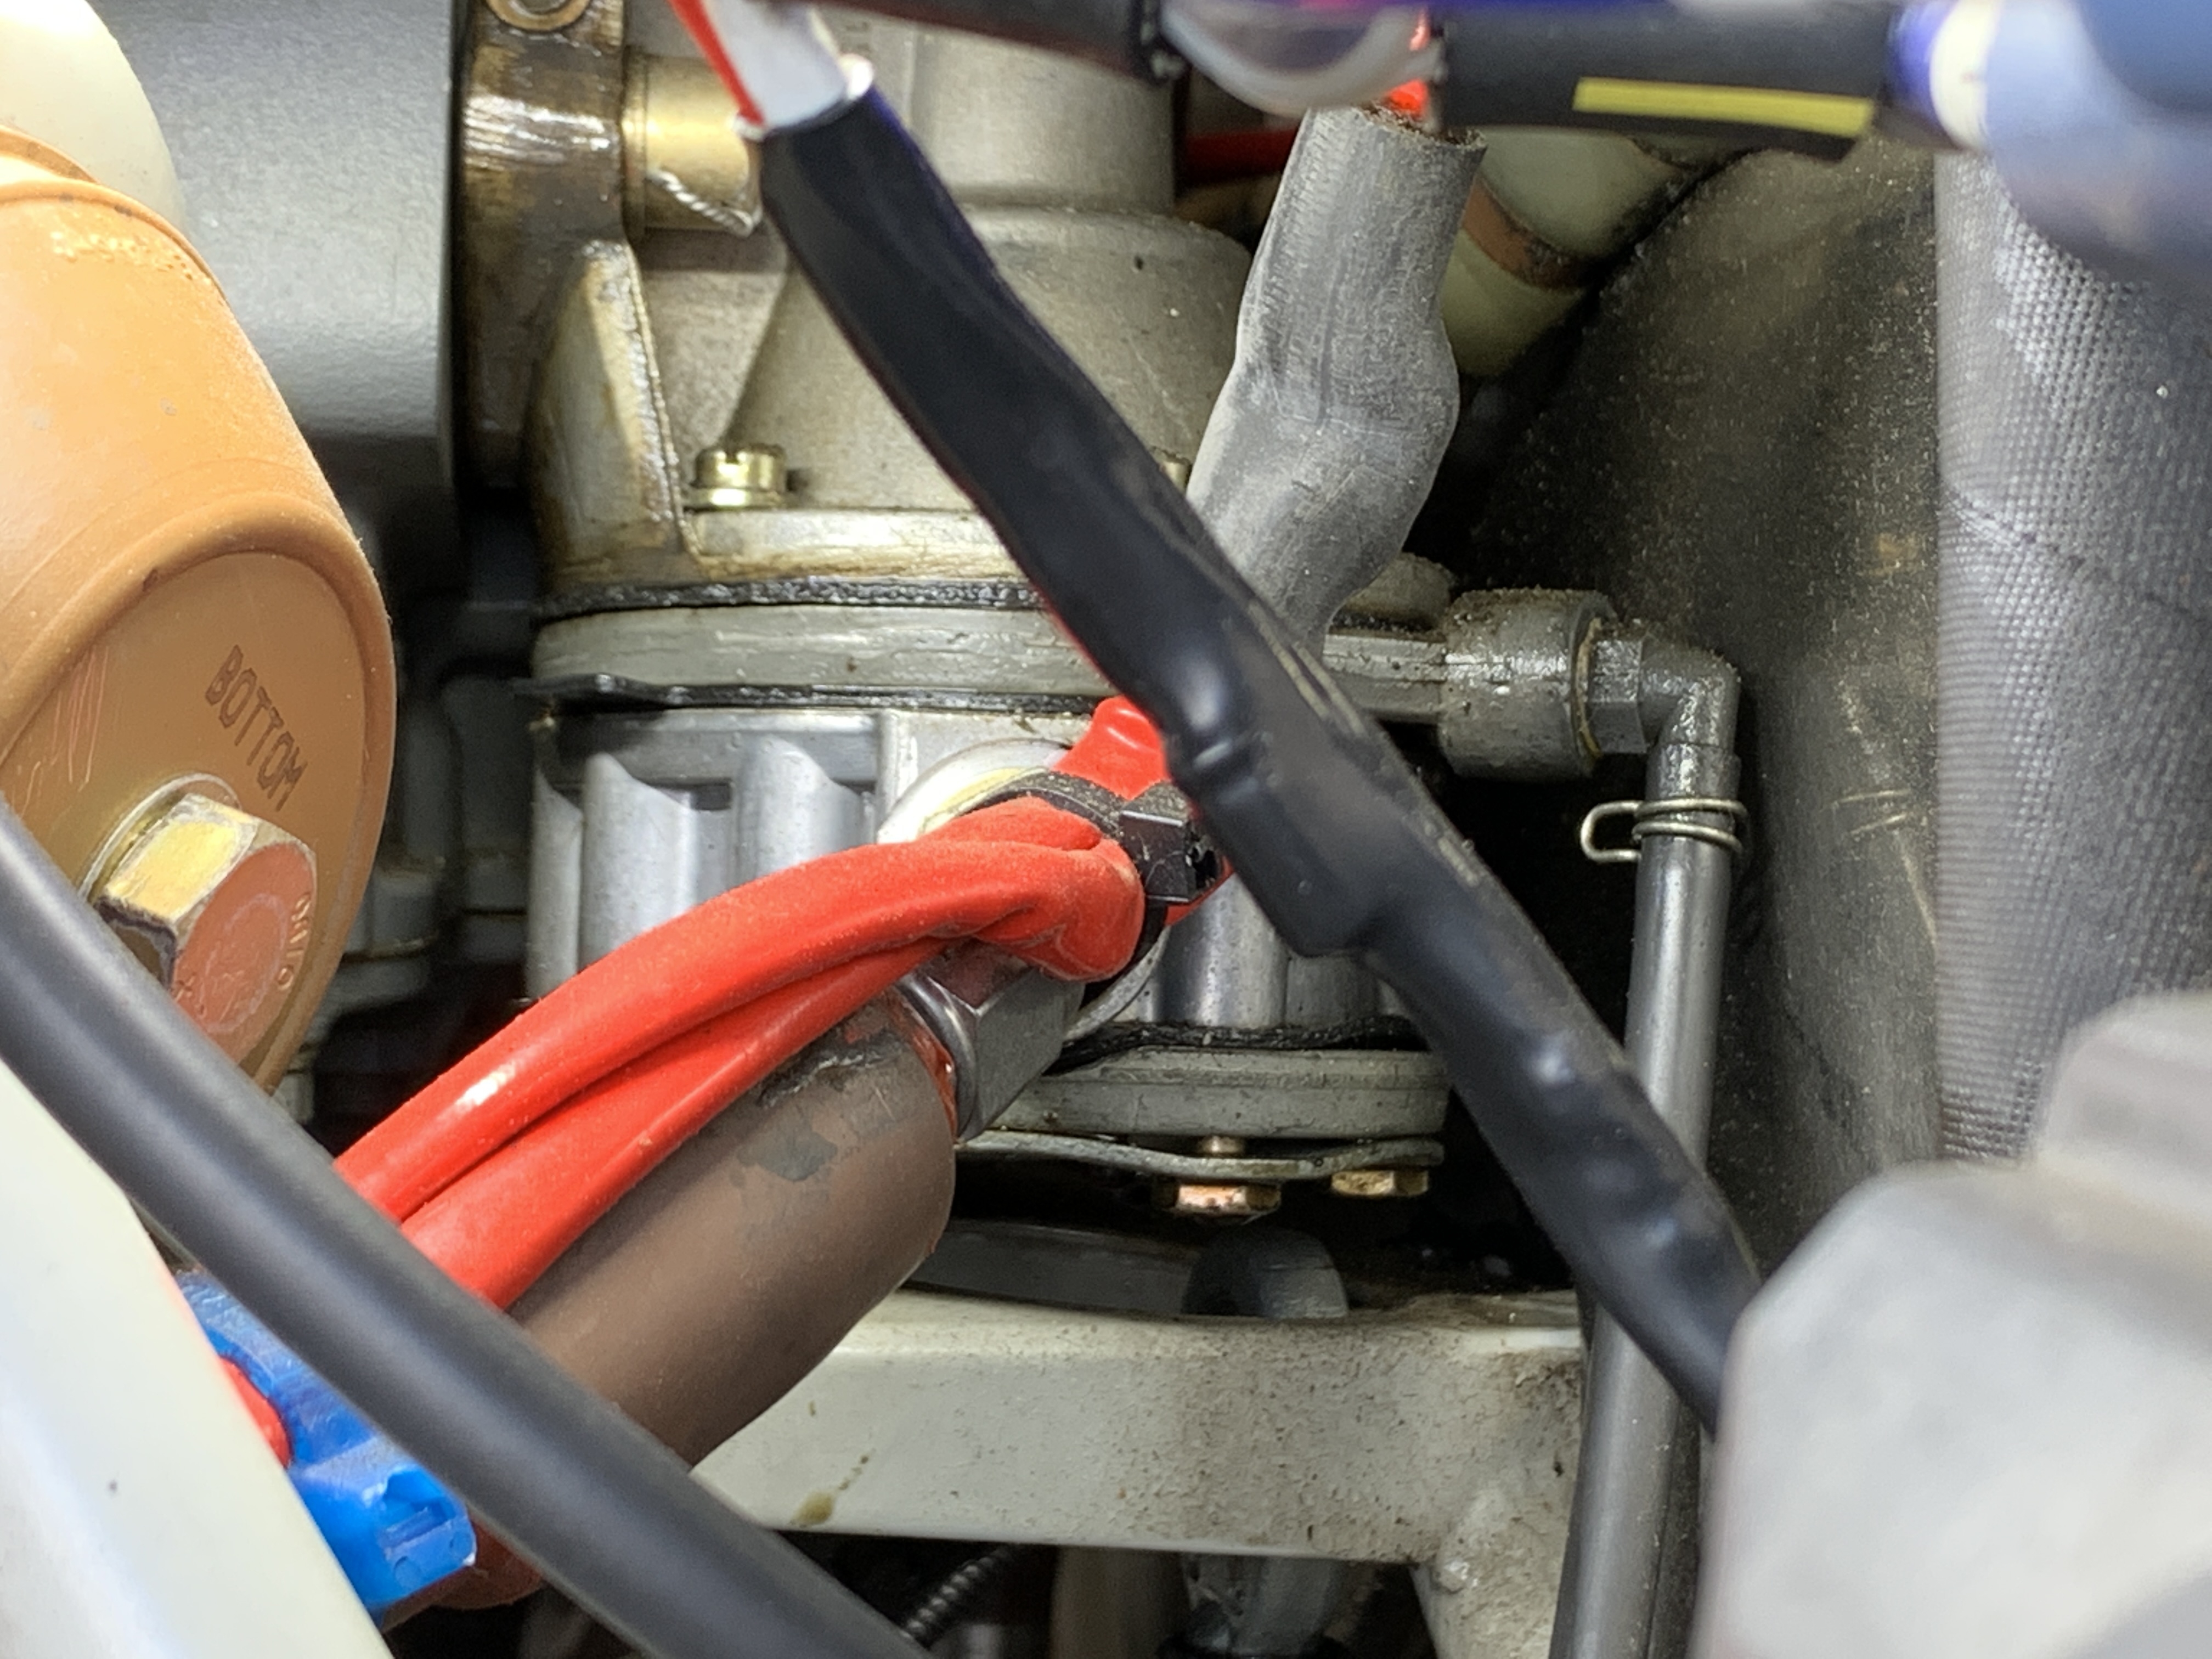
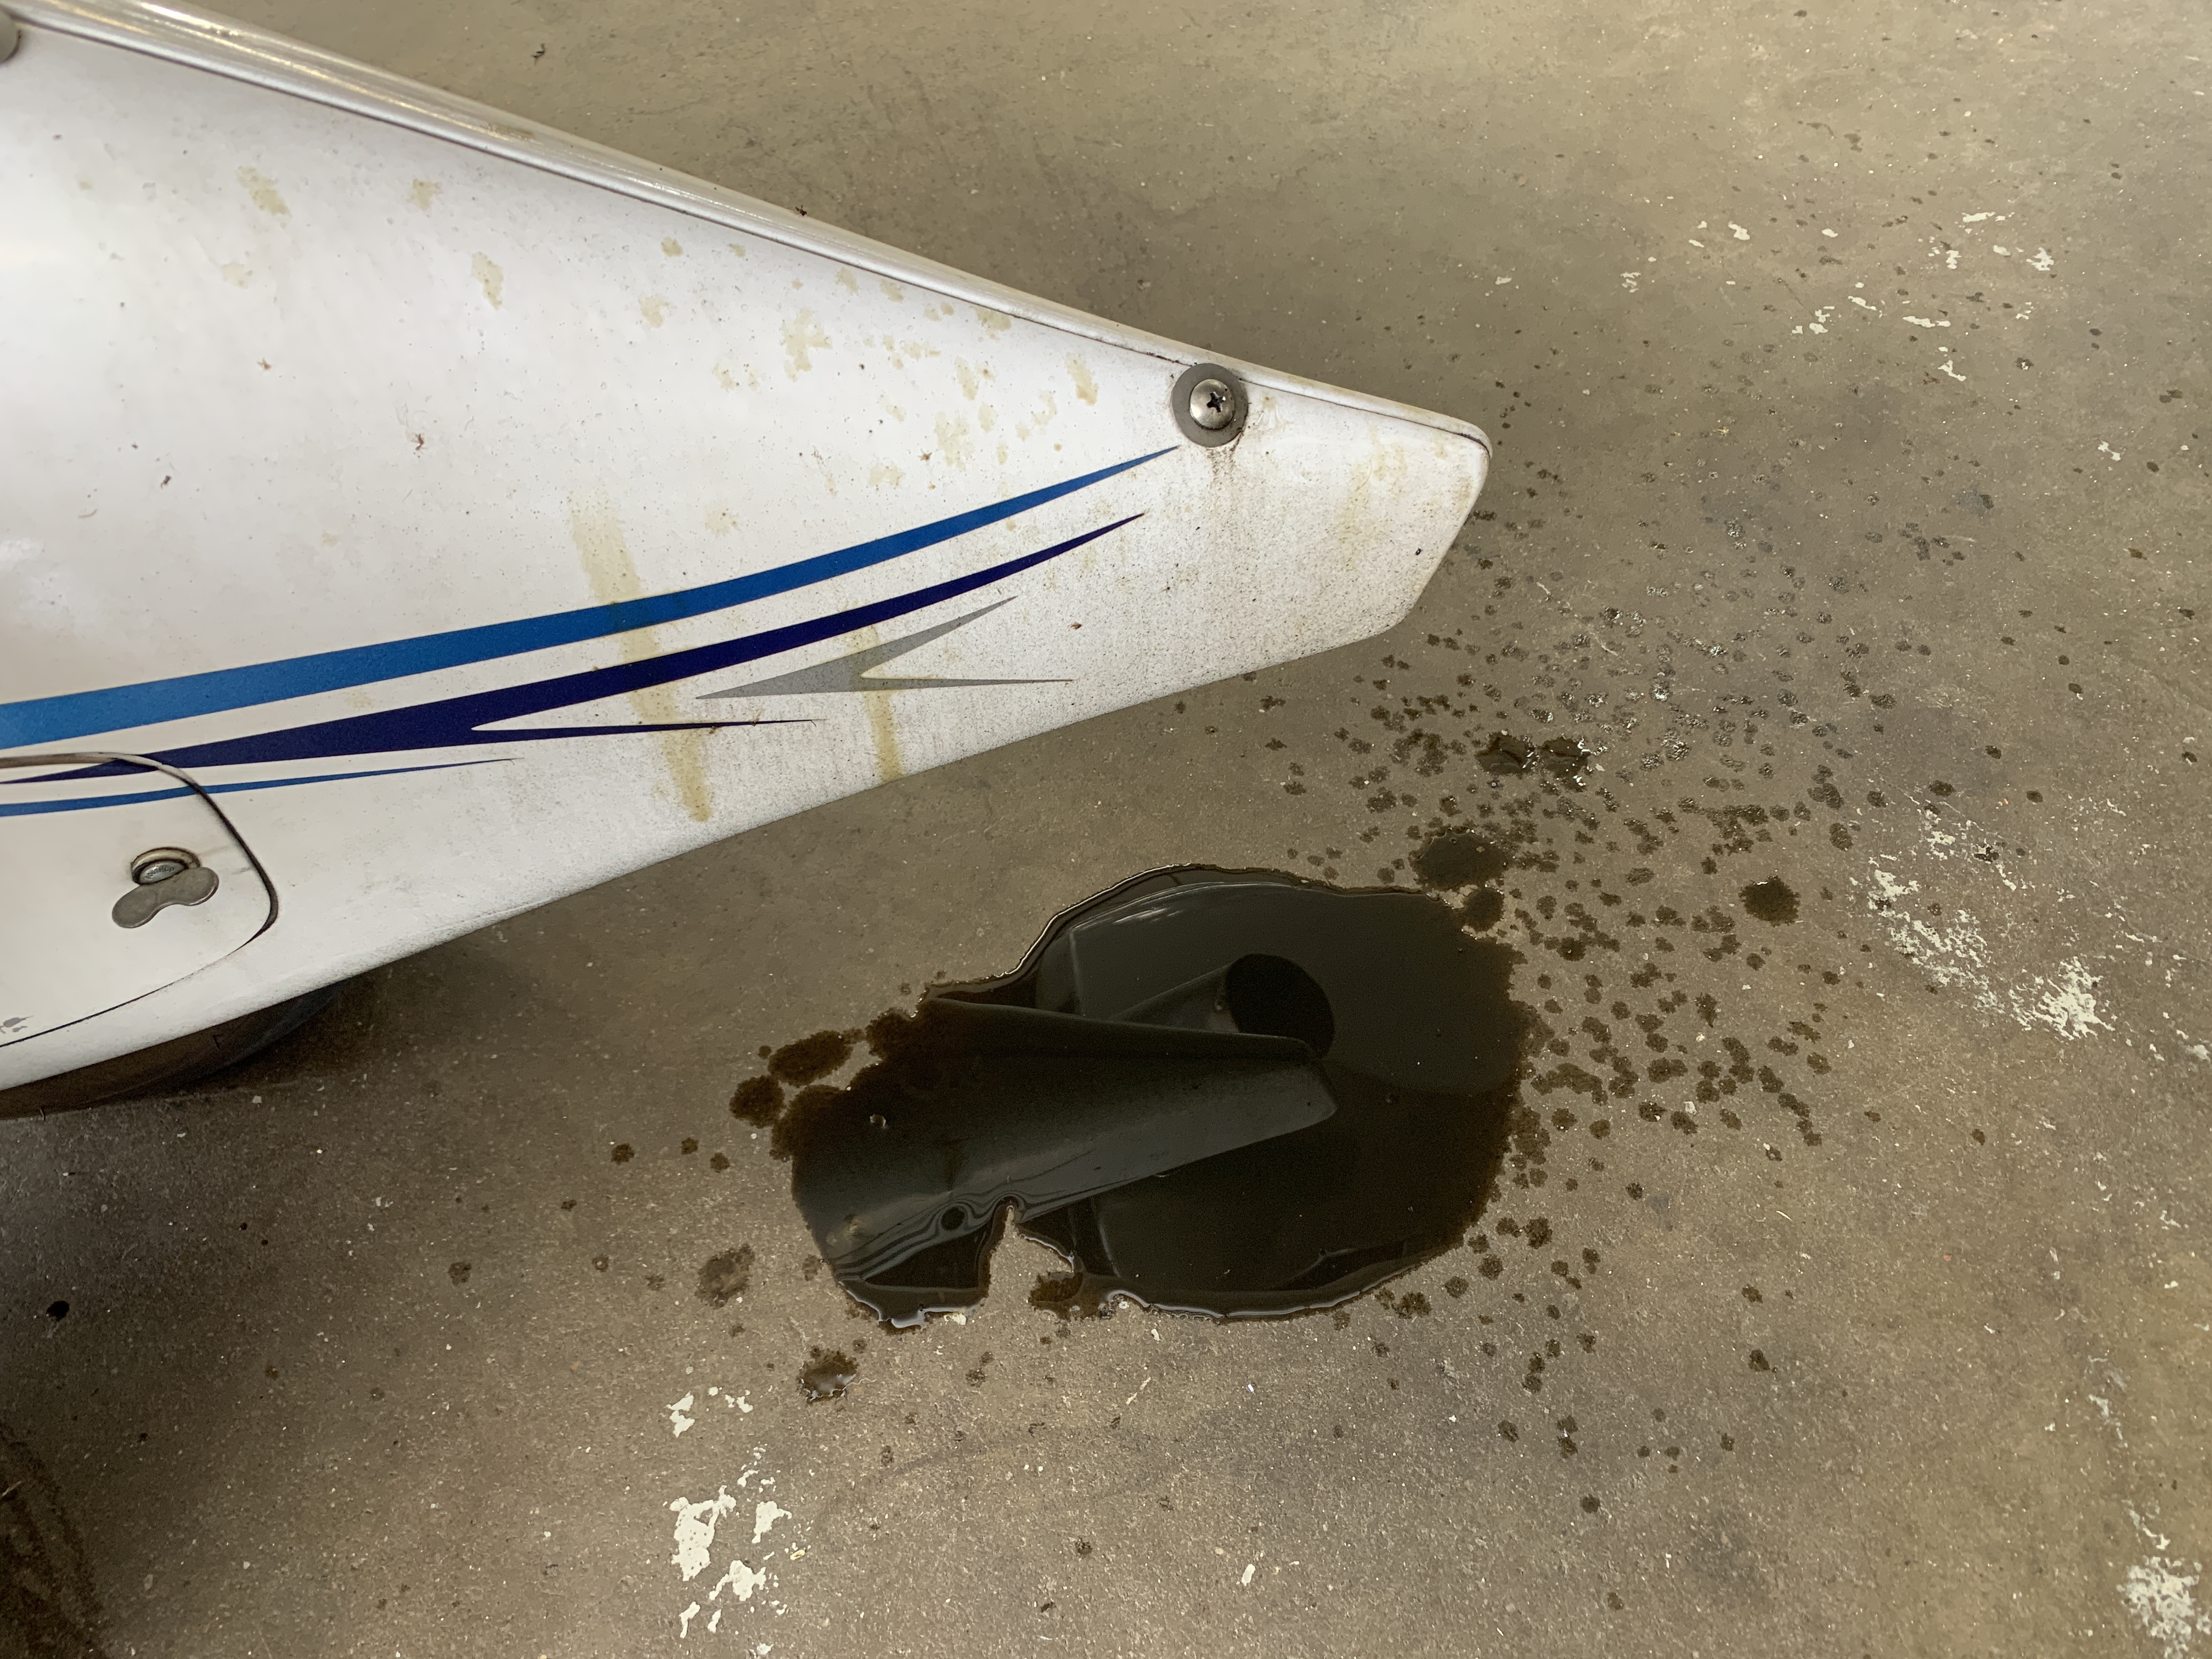
Oil leak caused by the engine driven fuel pump:
Engine baffling issues
Loose brake caliper bolts
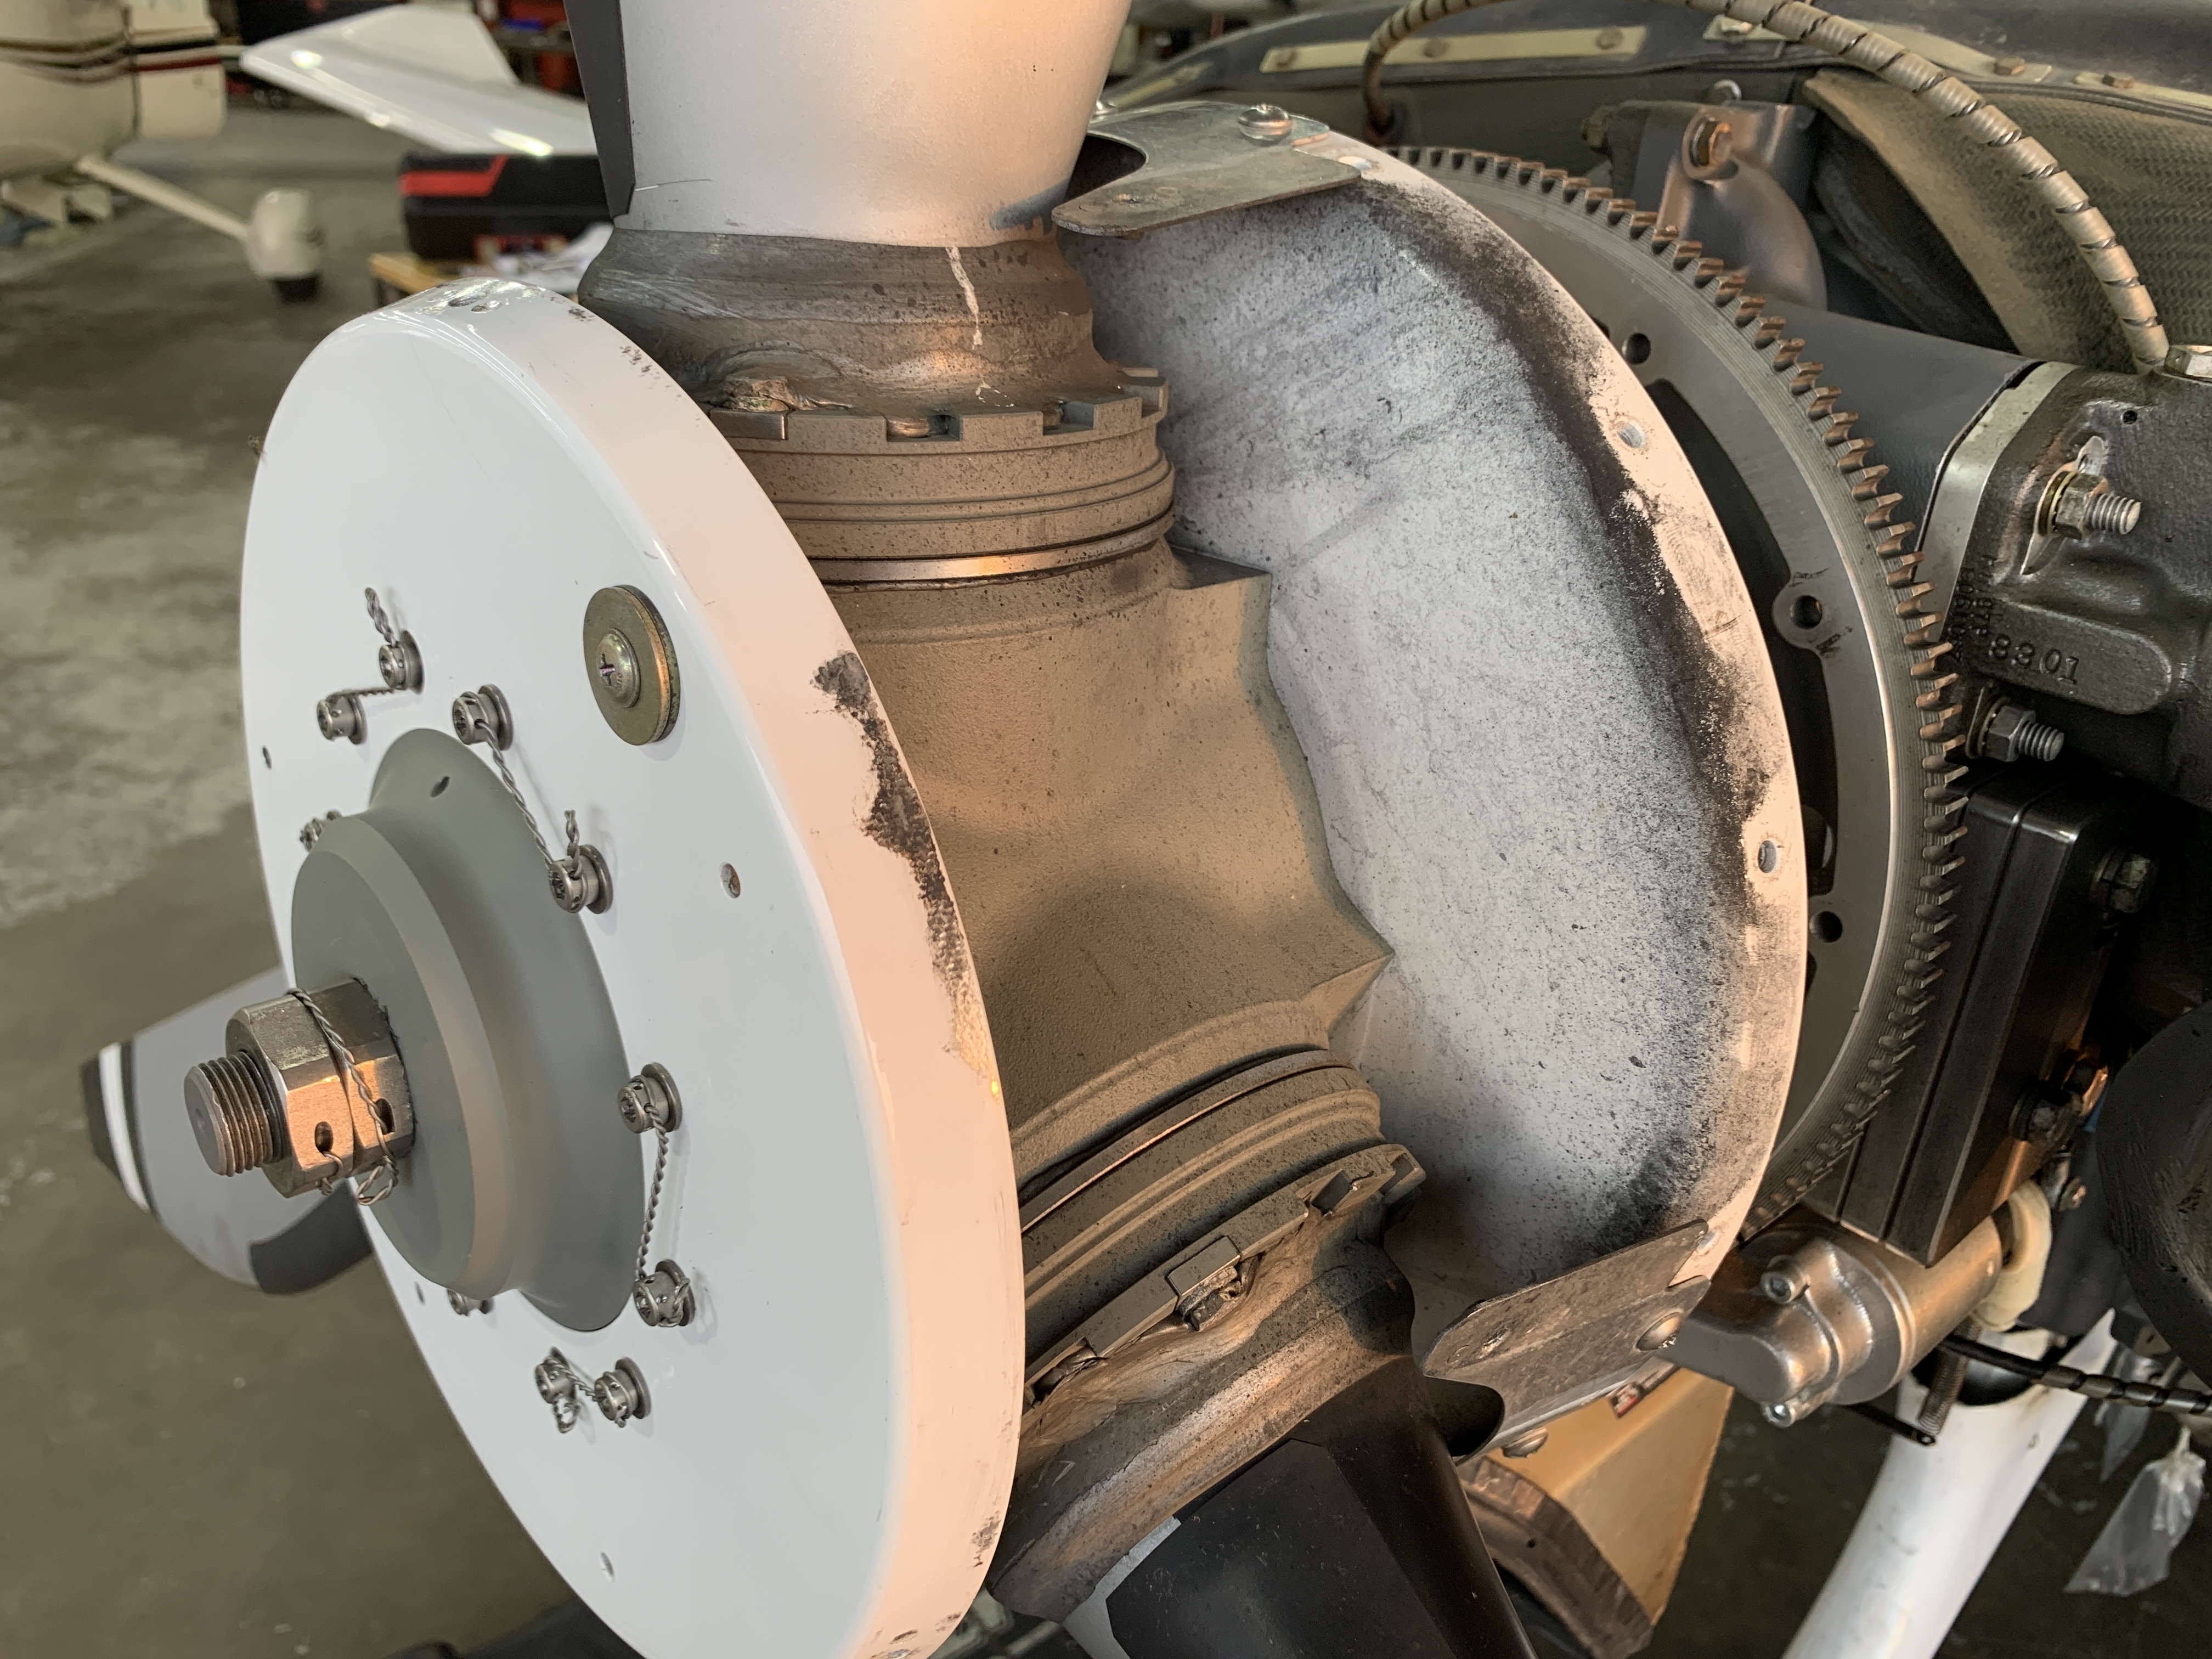
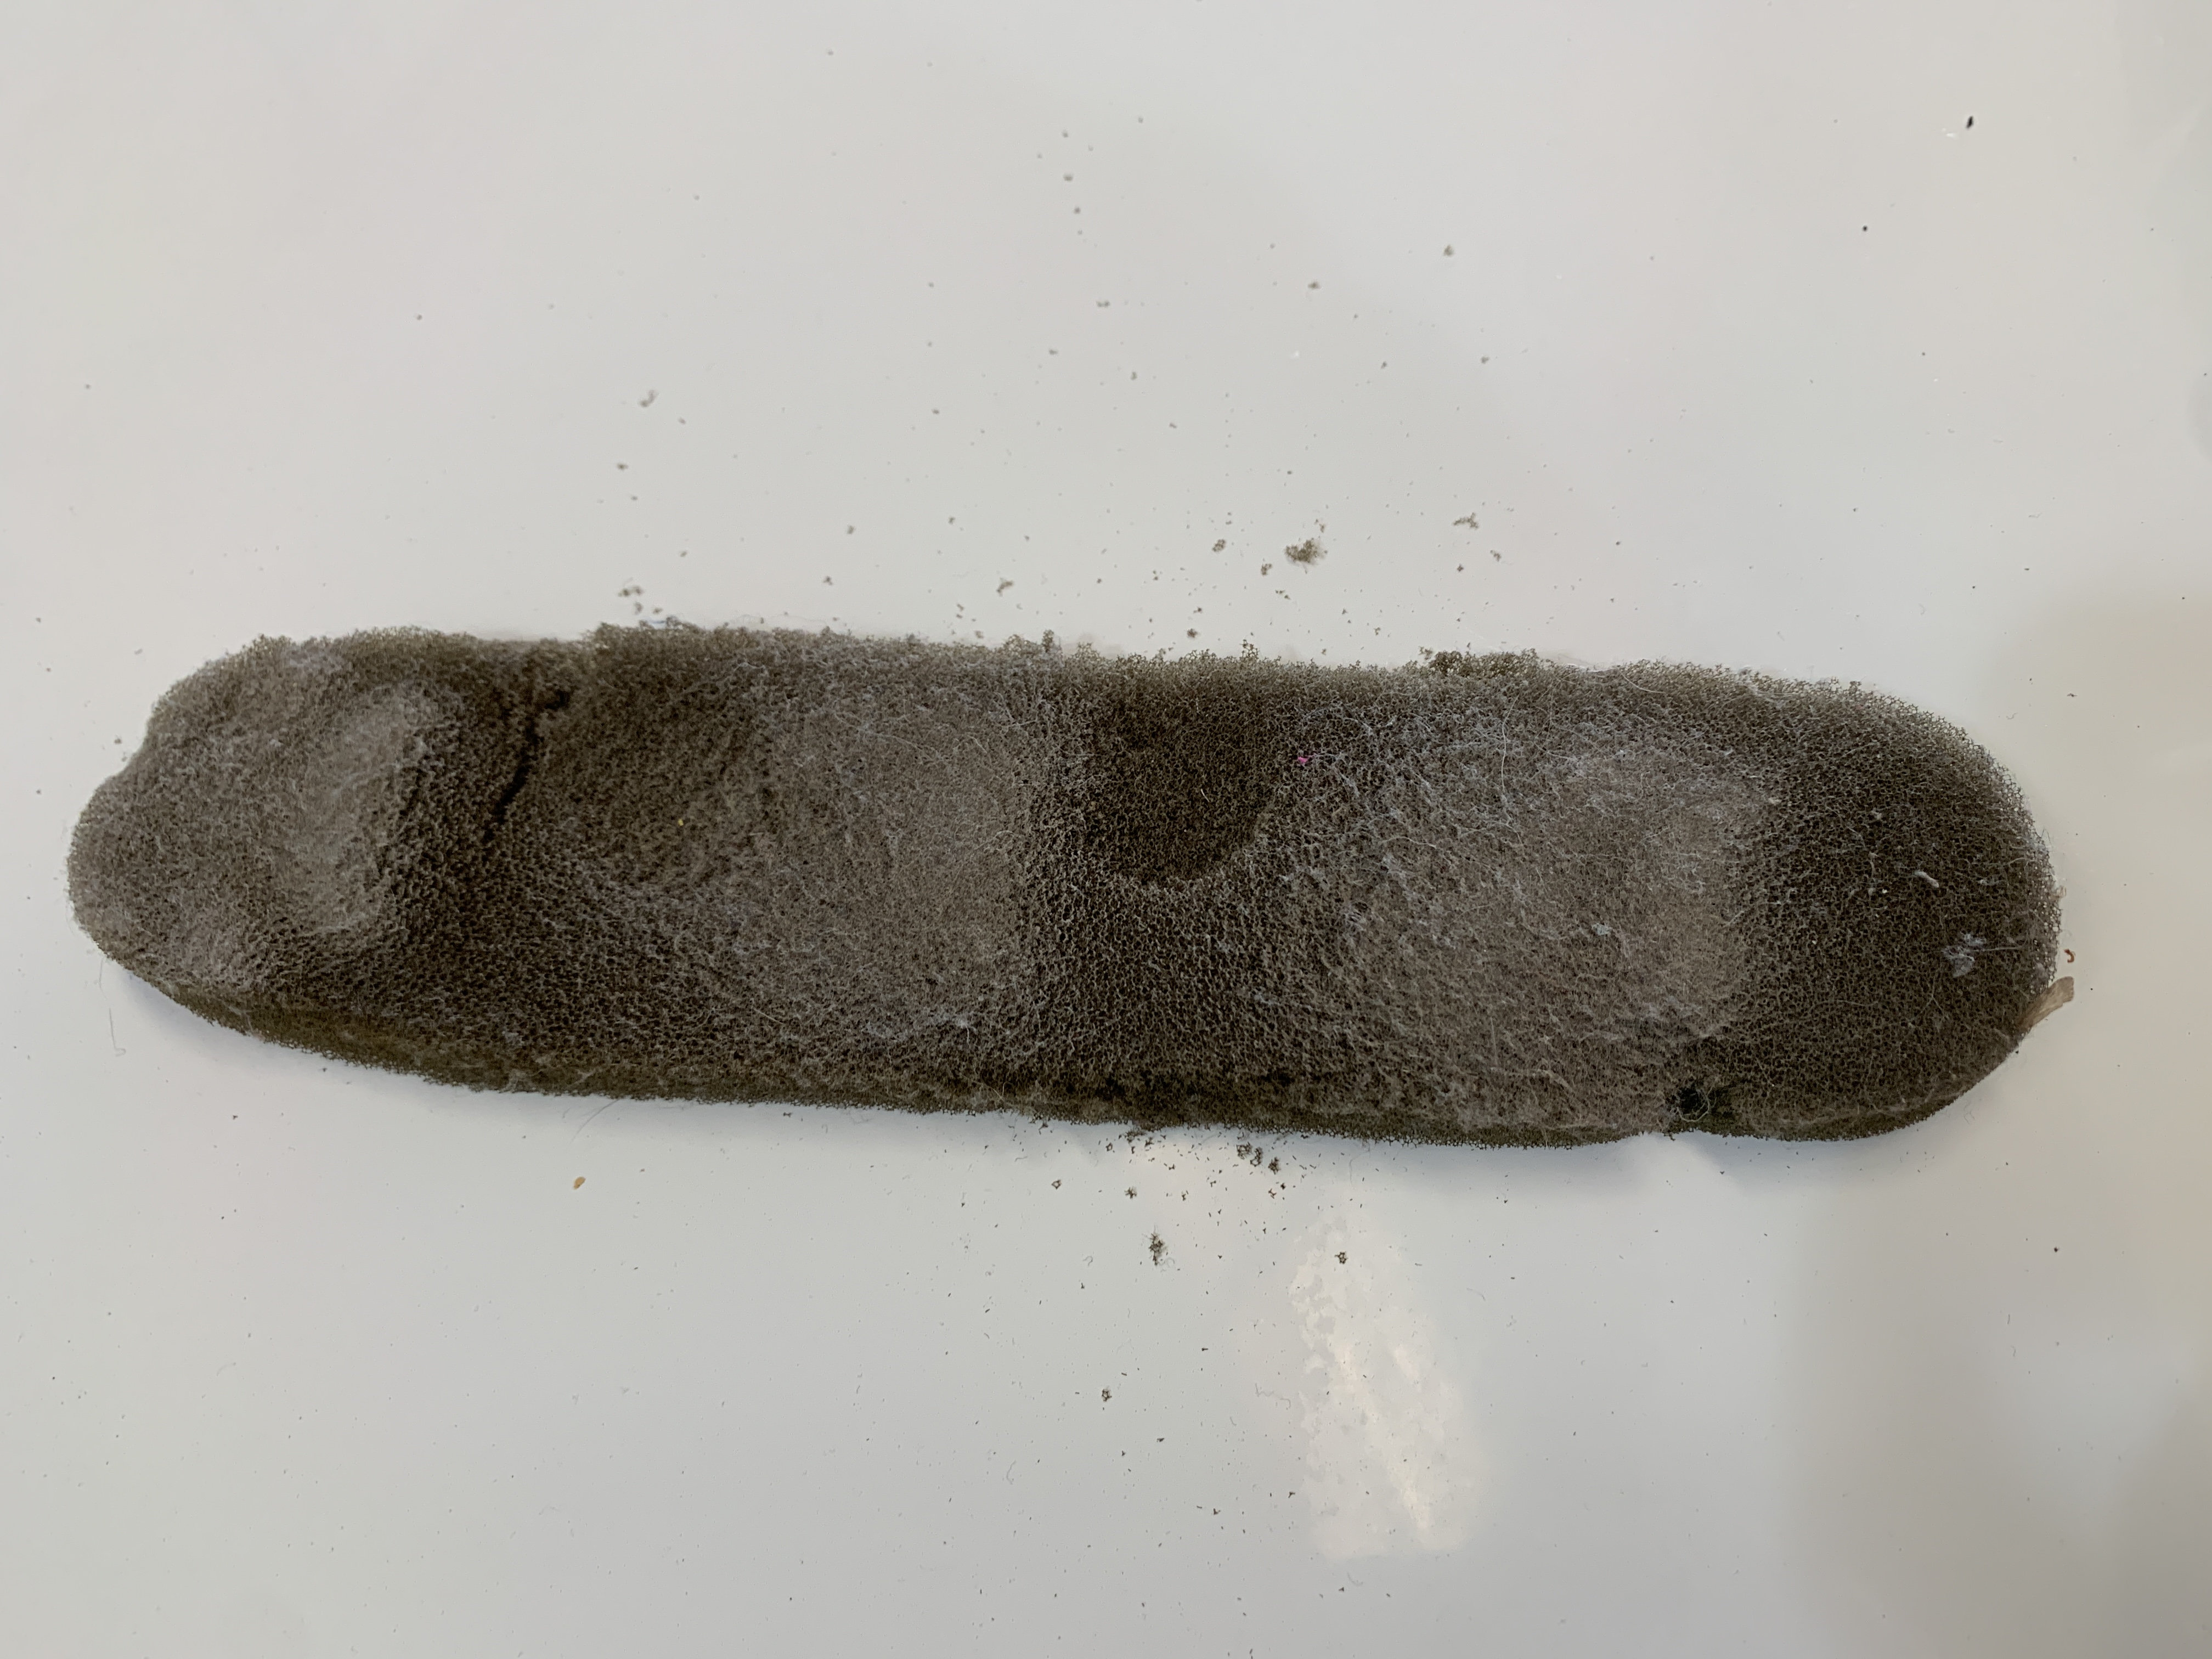
Aluminum dust on prop spinner bulkheads:
Aft avionics fan inlet filter badly deteriorated and filthy:
Rudder cable tension low
Wiring and baffle rod under right side of engine
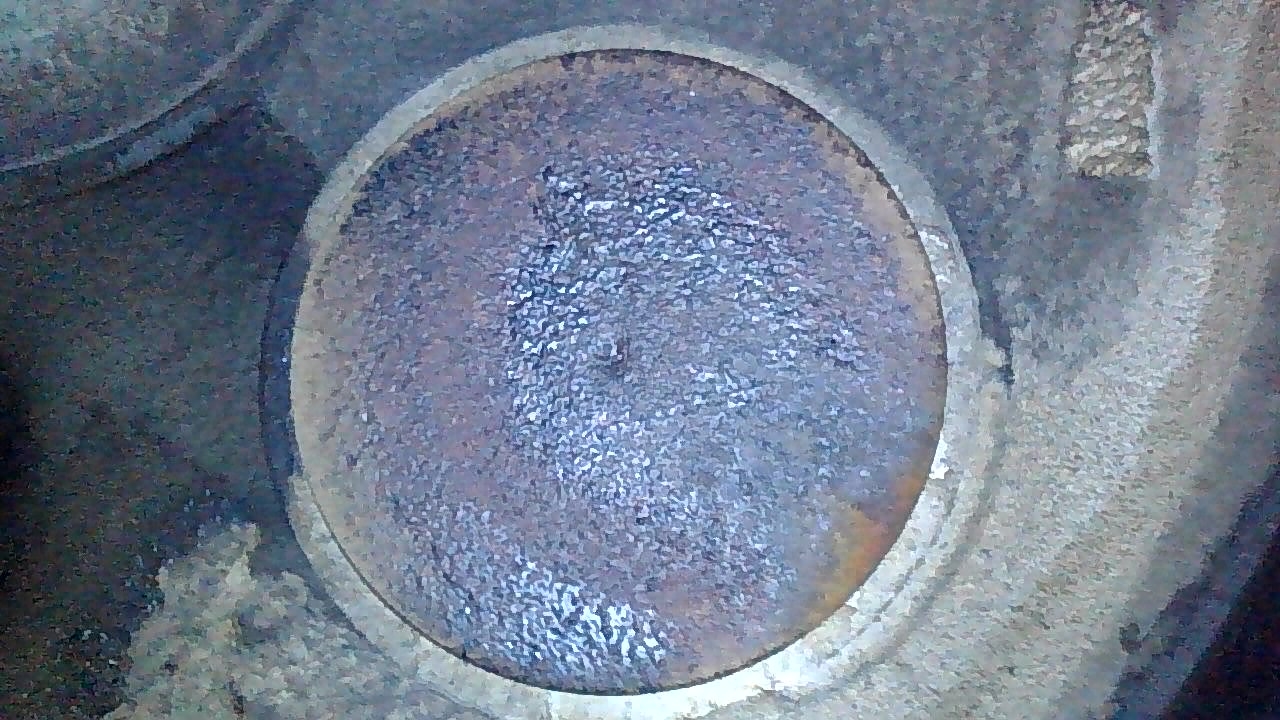
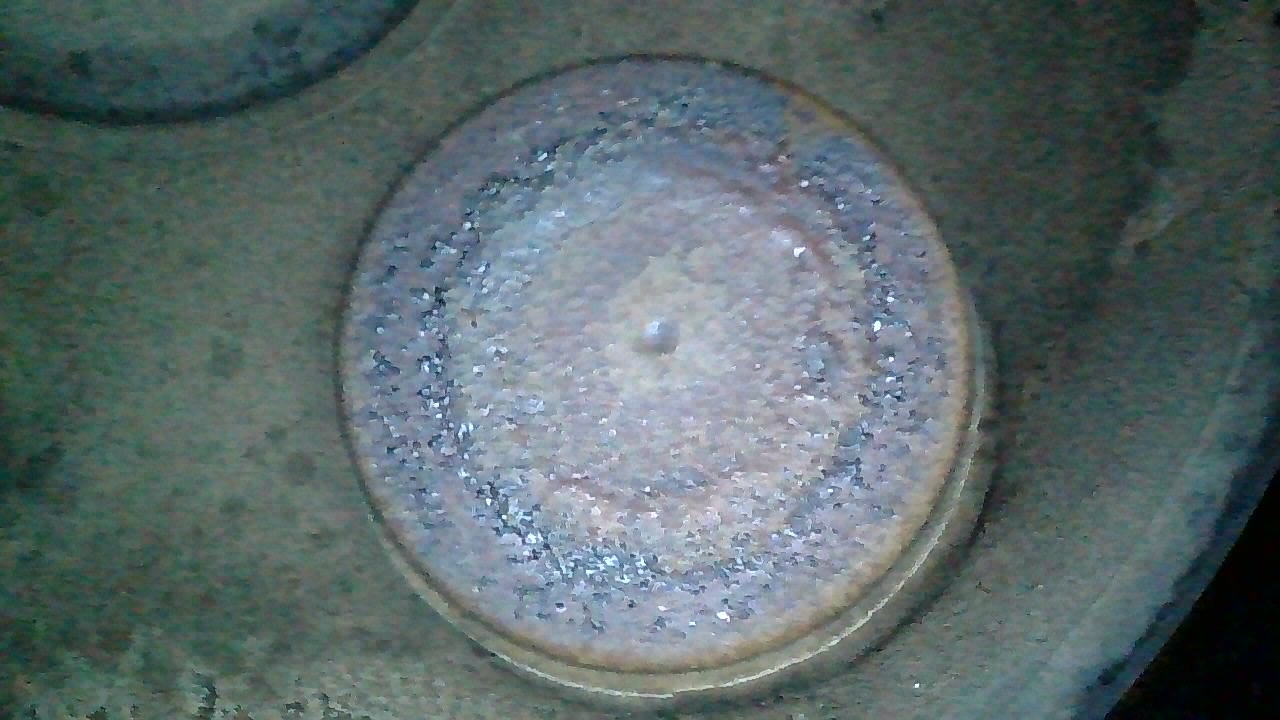
Now back to the valve lapping project with the Bonanza – here are the exhaust valves from cylinder 3 and cylinder 5… #3 compression improved from 60/80 to 62/80, and #5 compression improved from 55/80 to 69/80. The real test will be when we see the results after another 25, 50, and 100 hours of operation.
The #3 exhaust valve definitely has some irregularities; hopefully it will return to a normal appearance in several hours of operation after lapping and installing a new rotocoil.The #5 exhaust valve looks quite healthy overall, with a very small questionable area at about the 1 o’clock position. We also lapped this one and installed a new rotocoil as a proactive measure.
By the way, these photos were taken with my new Vividia VA-400 borescope… I was very impressed with the photo resolution compared with my older borescope from a couple years ago.
There are various options, and if you want to display the images on your iPhone or iPad, I recommend the VA-400 WiFi Bundle #1: VA-400 and W01 wifi box (Model: VA-400W1)
When you purchase from Oasis Scientific and use the code “Dean” you will receive a 10% discount, and you’ll be supporting the podcast at the same time.
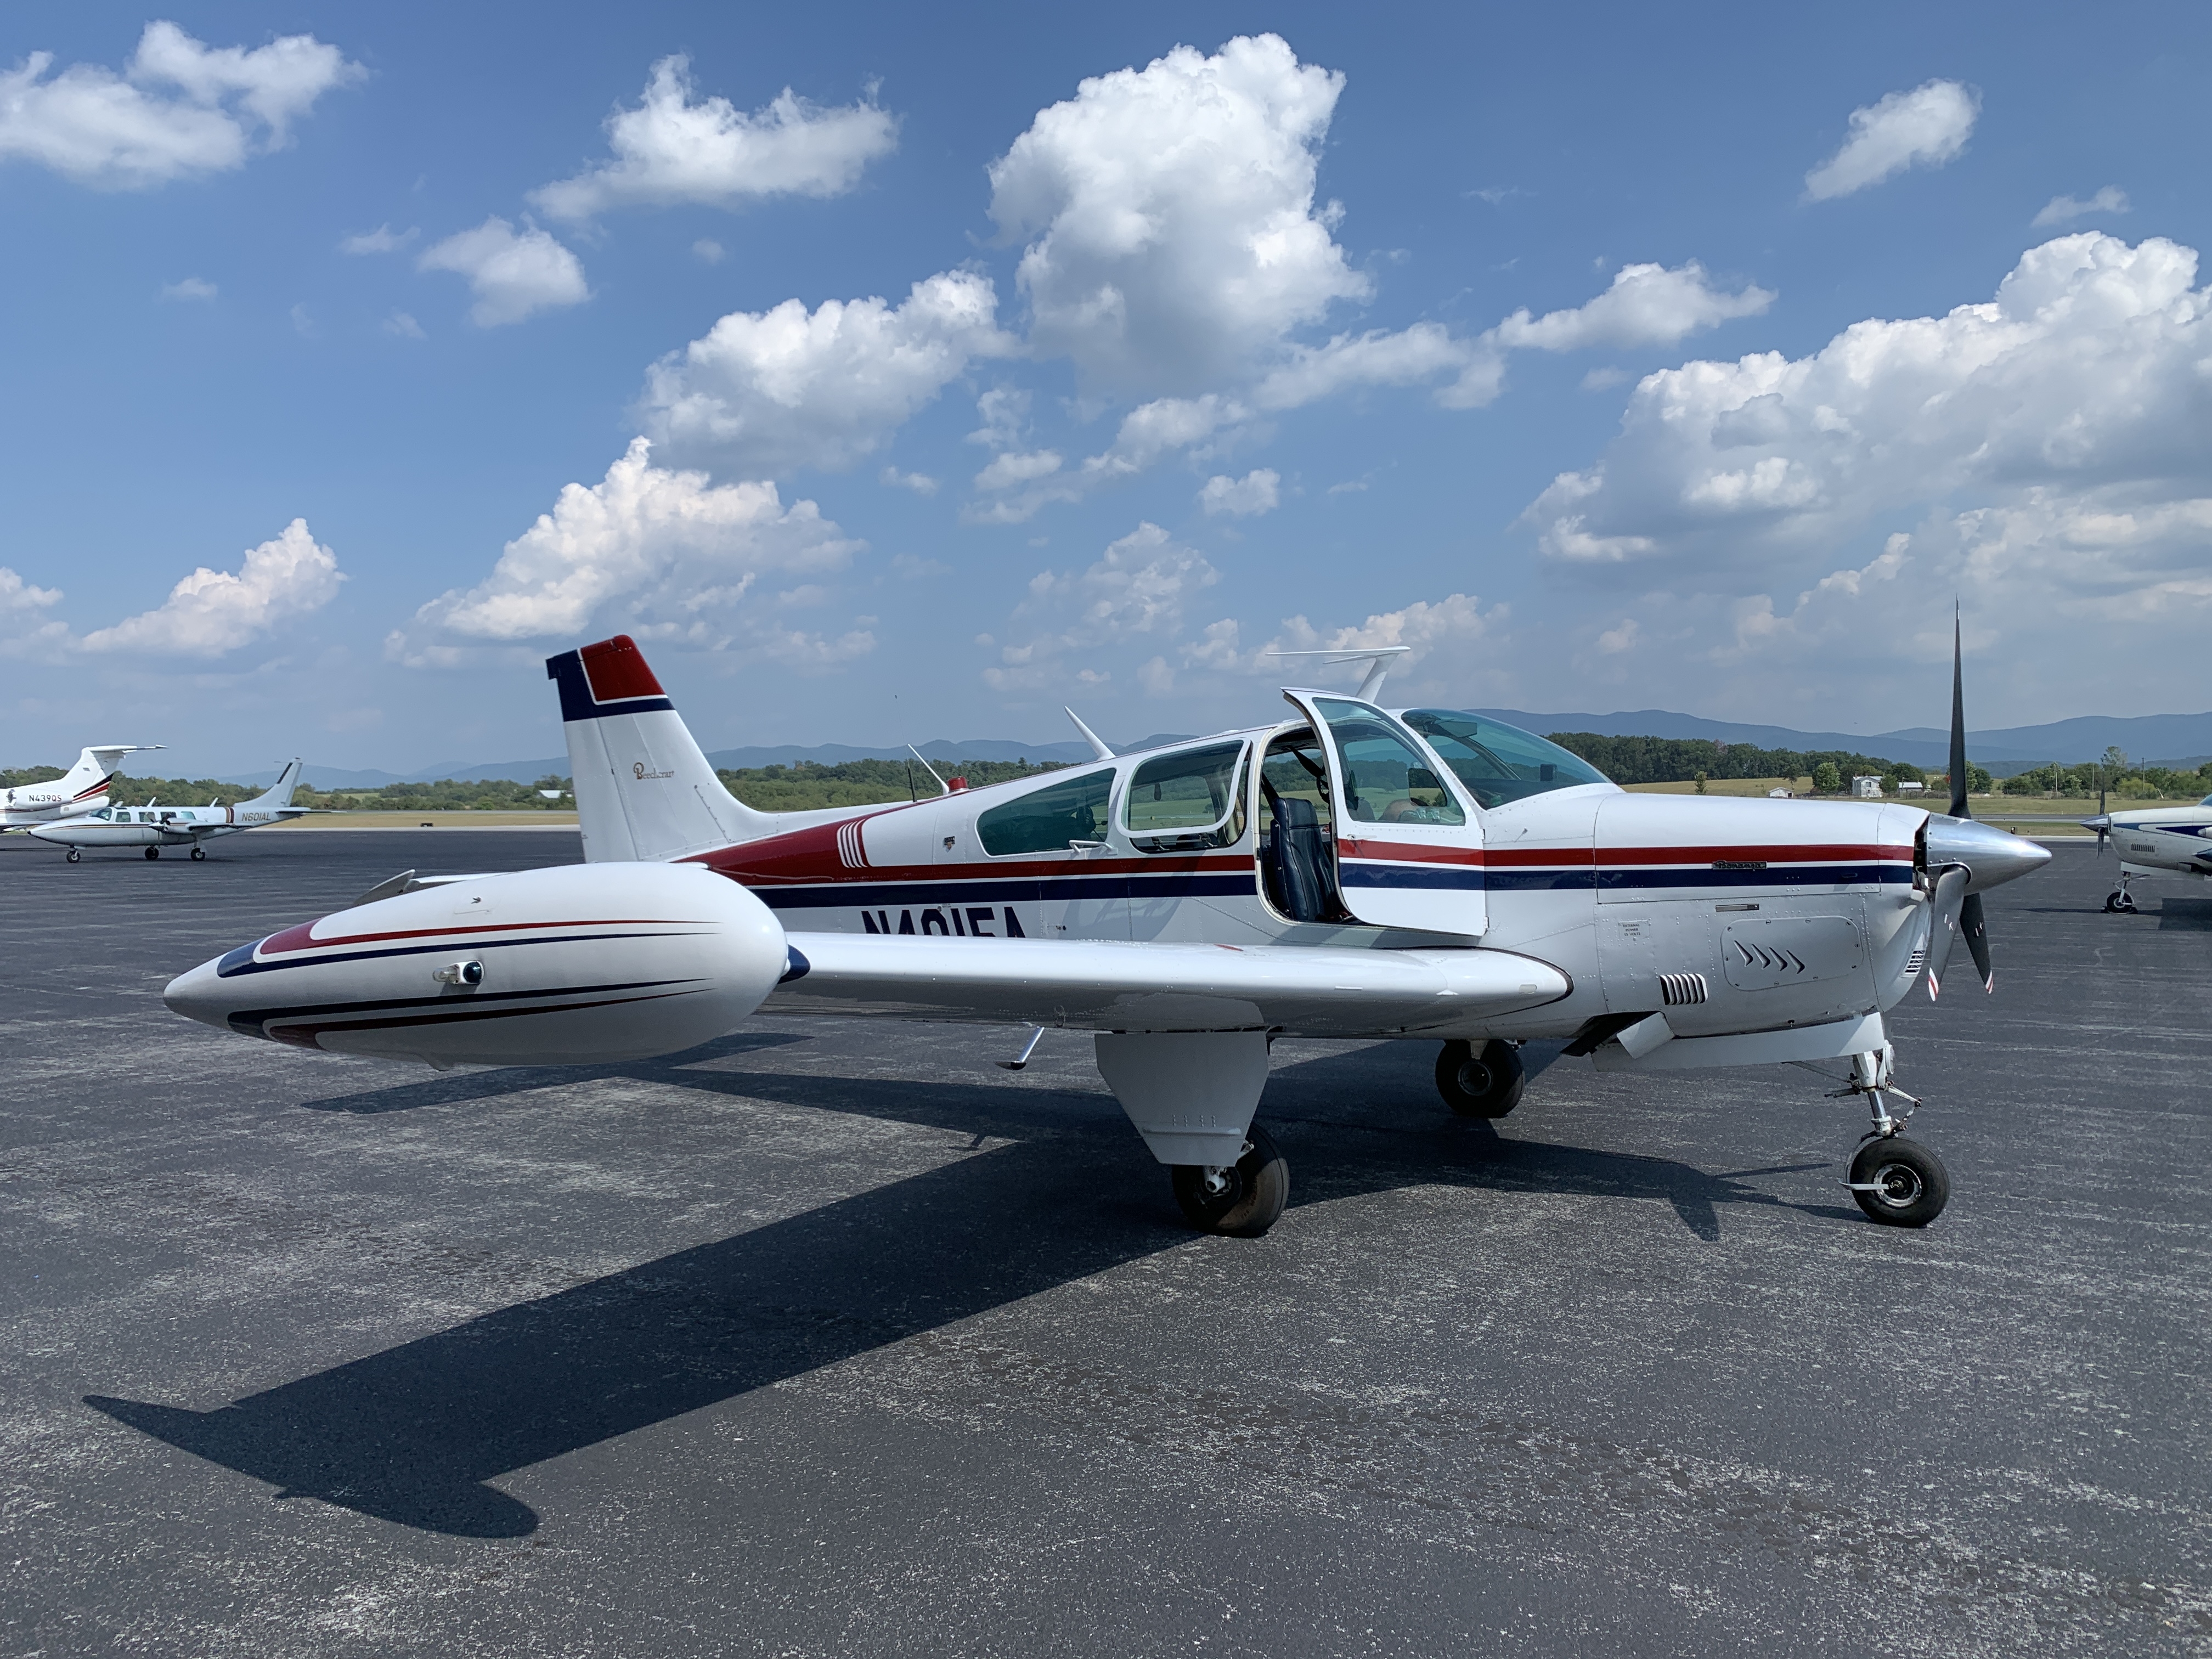
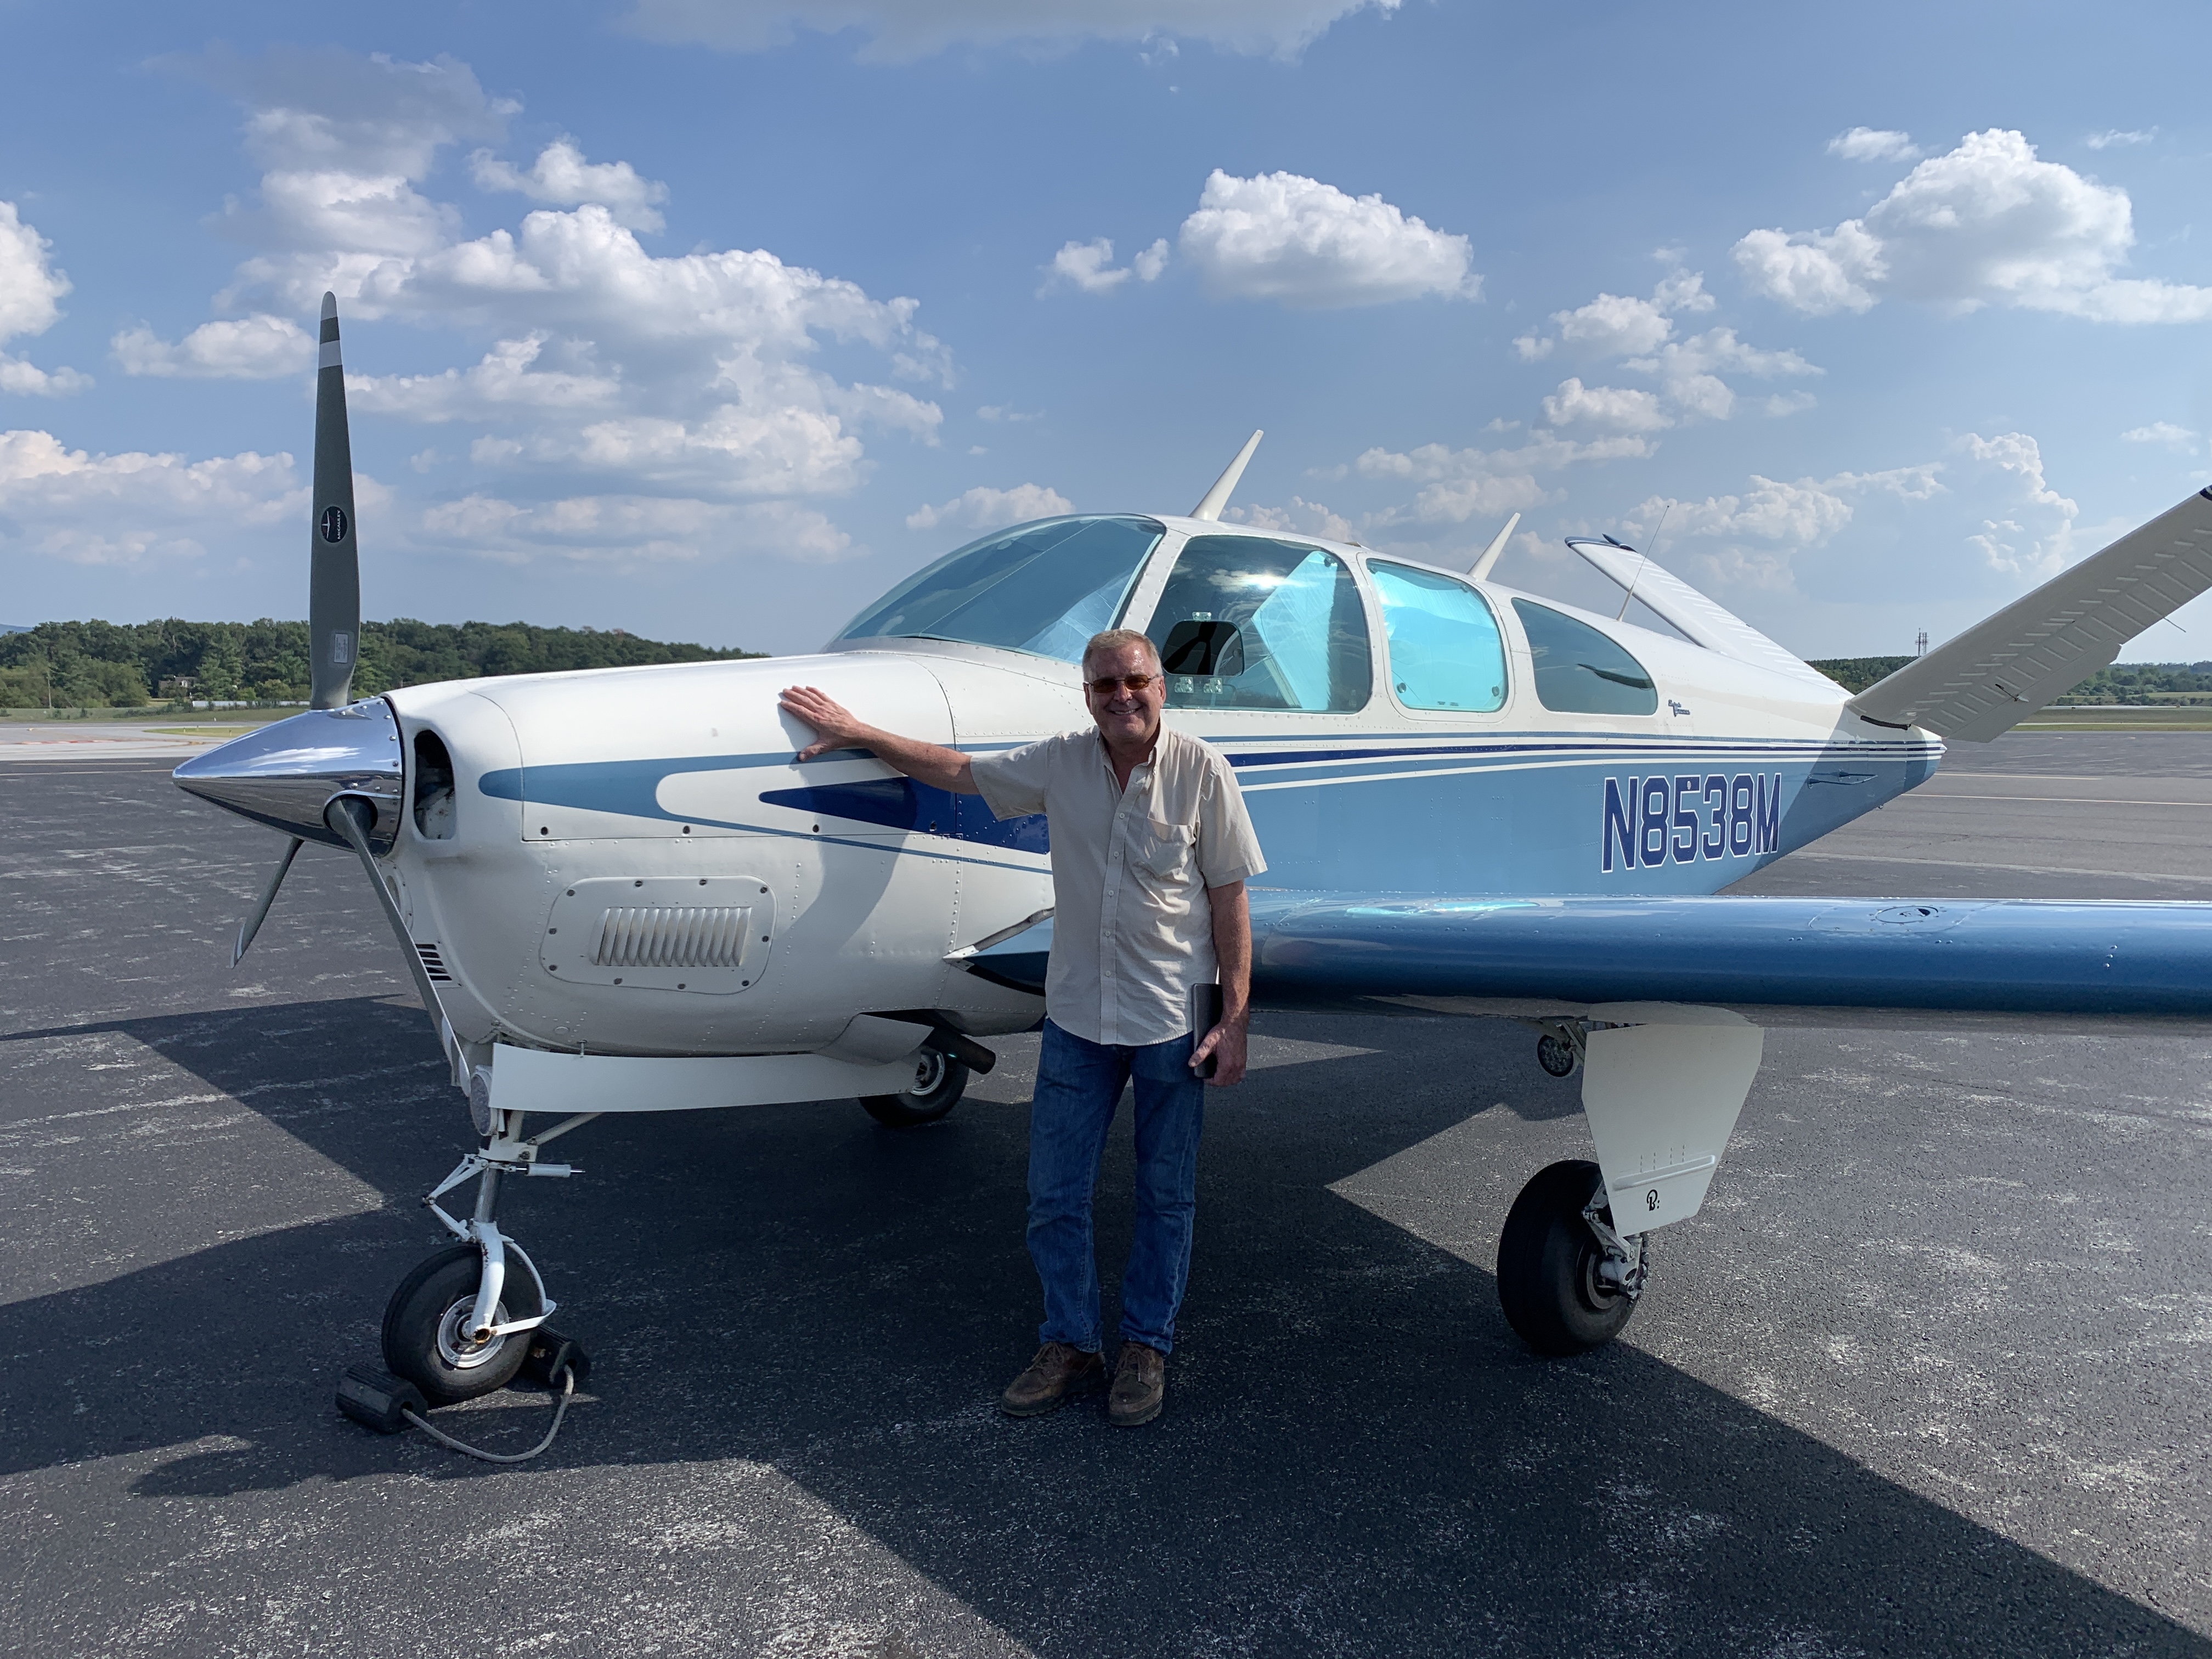
It was a great experience meeting Dave Ovad and working on his F33A Bonanza along with Mervin and Arthur.
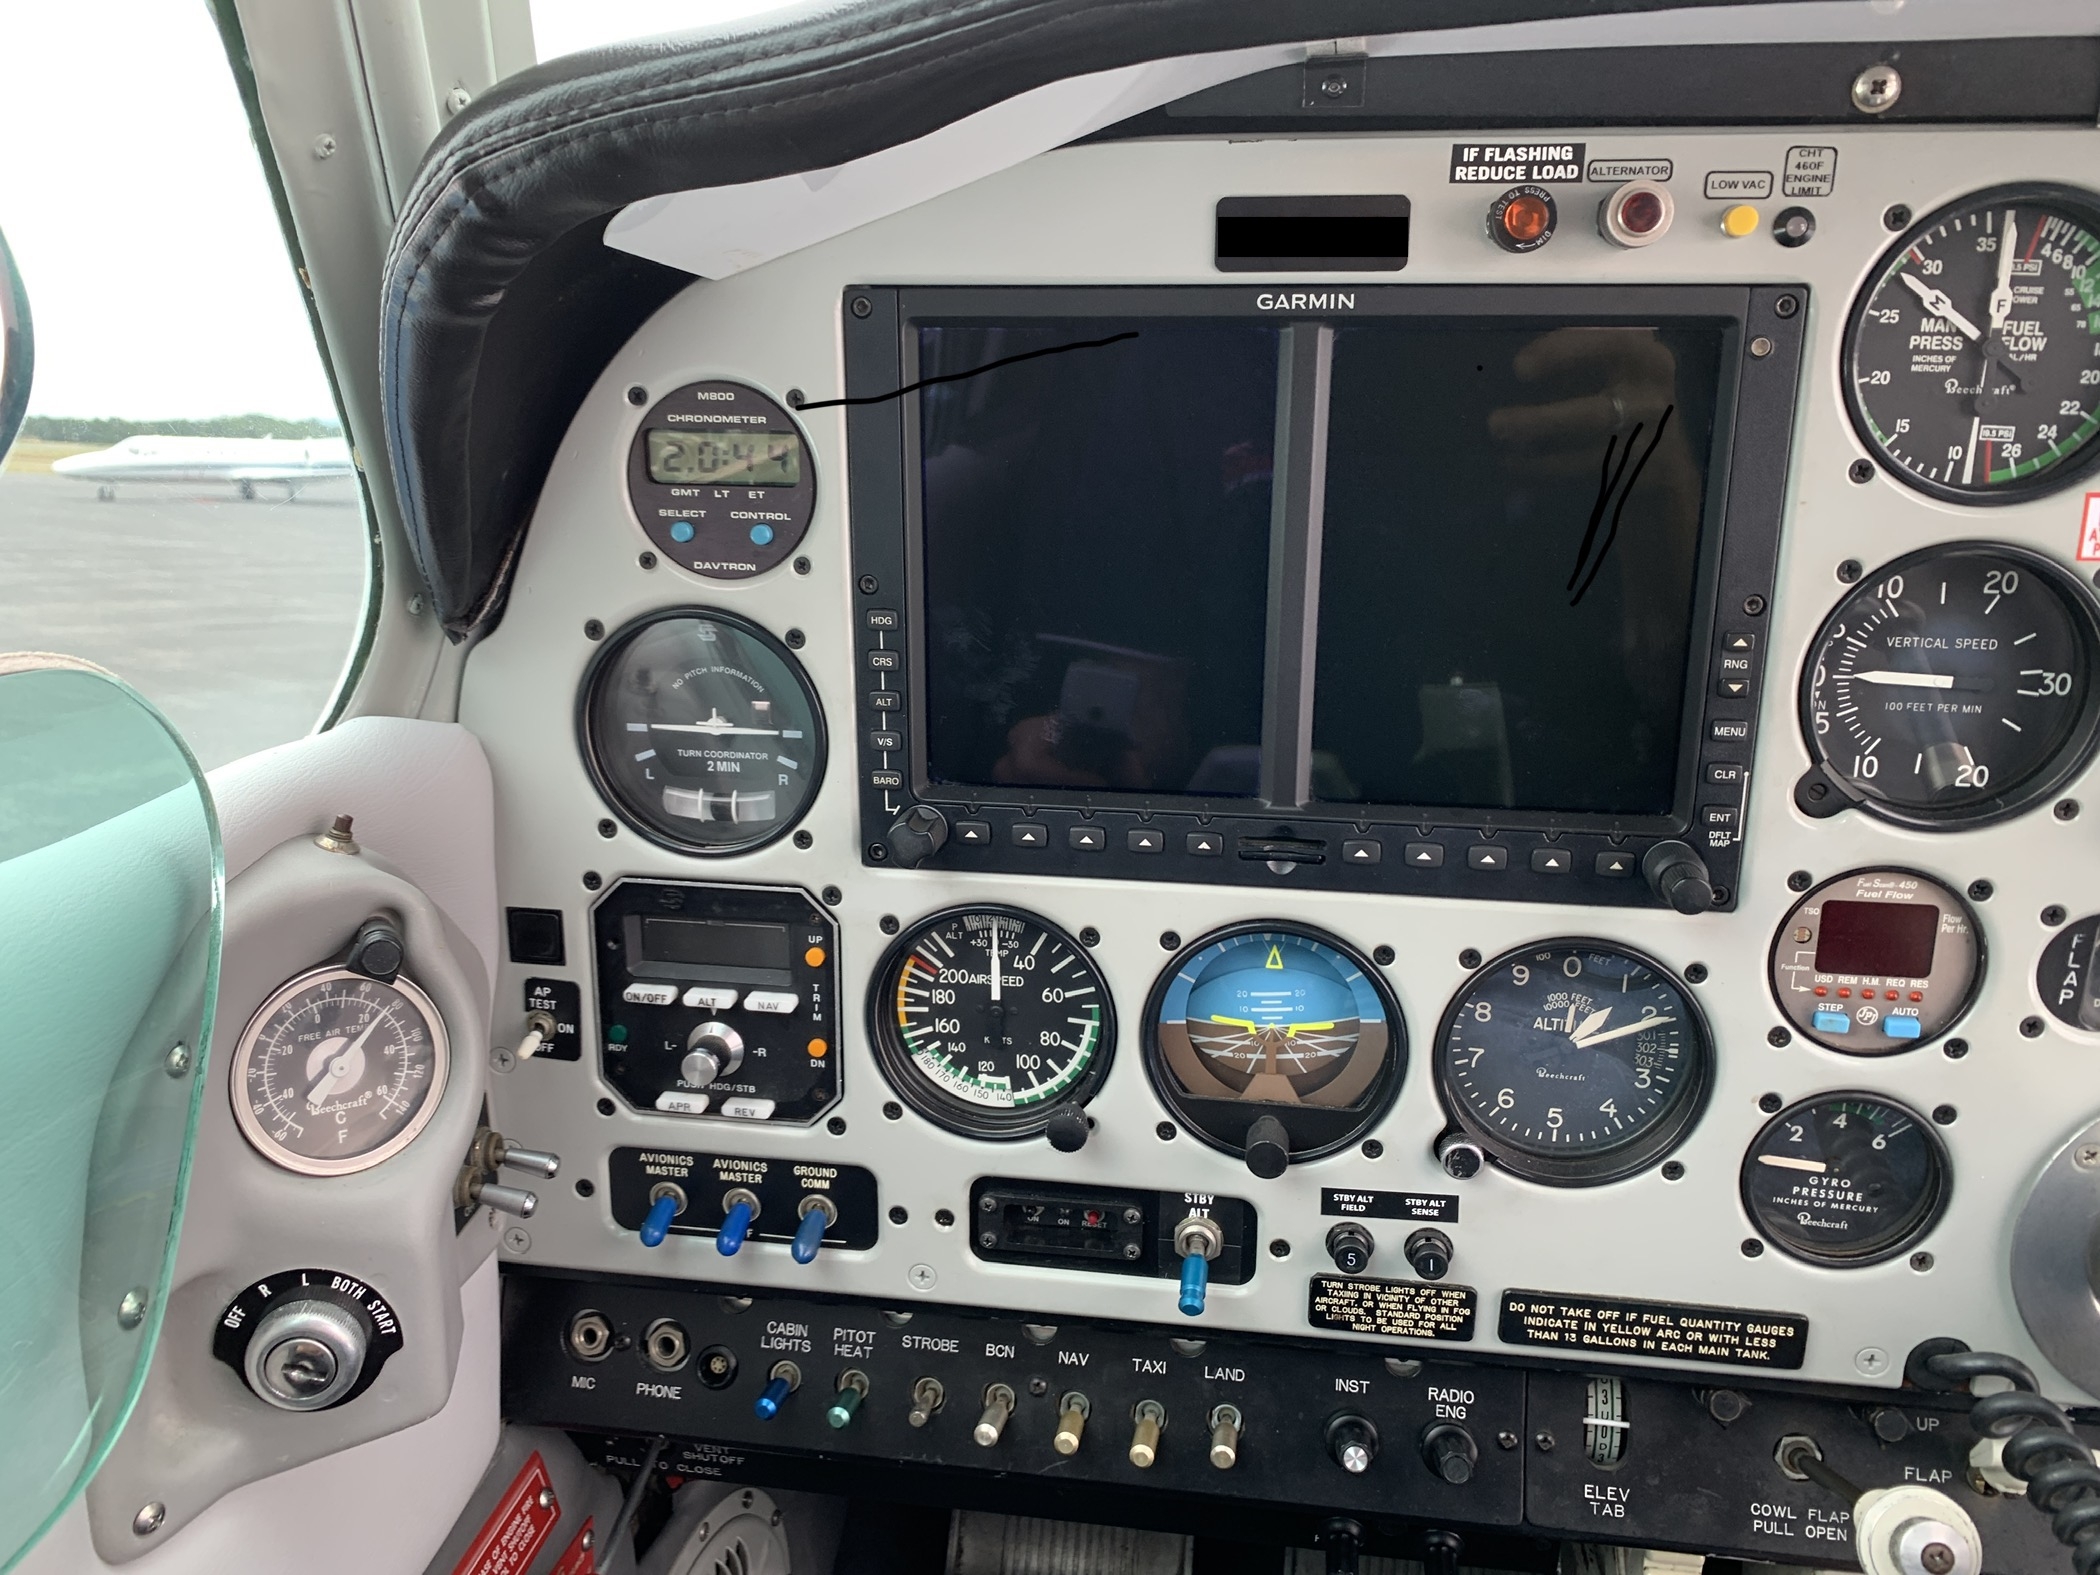
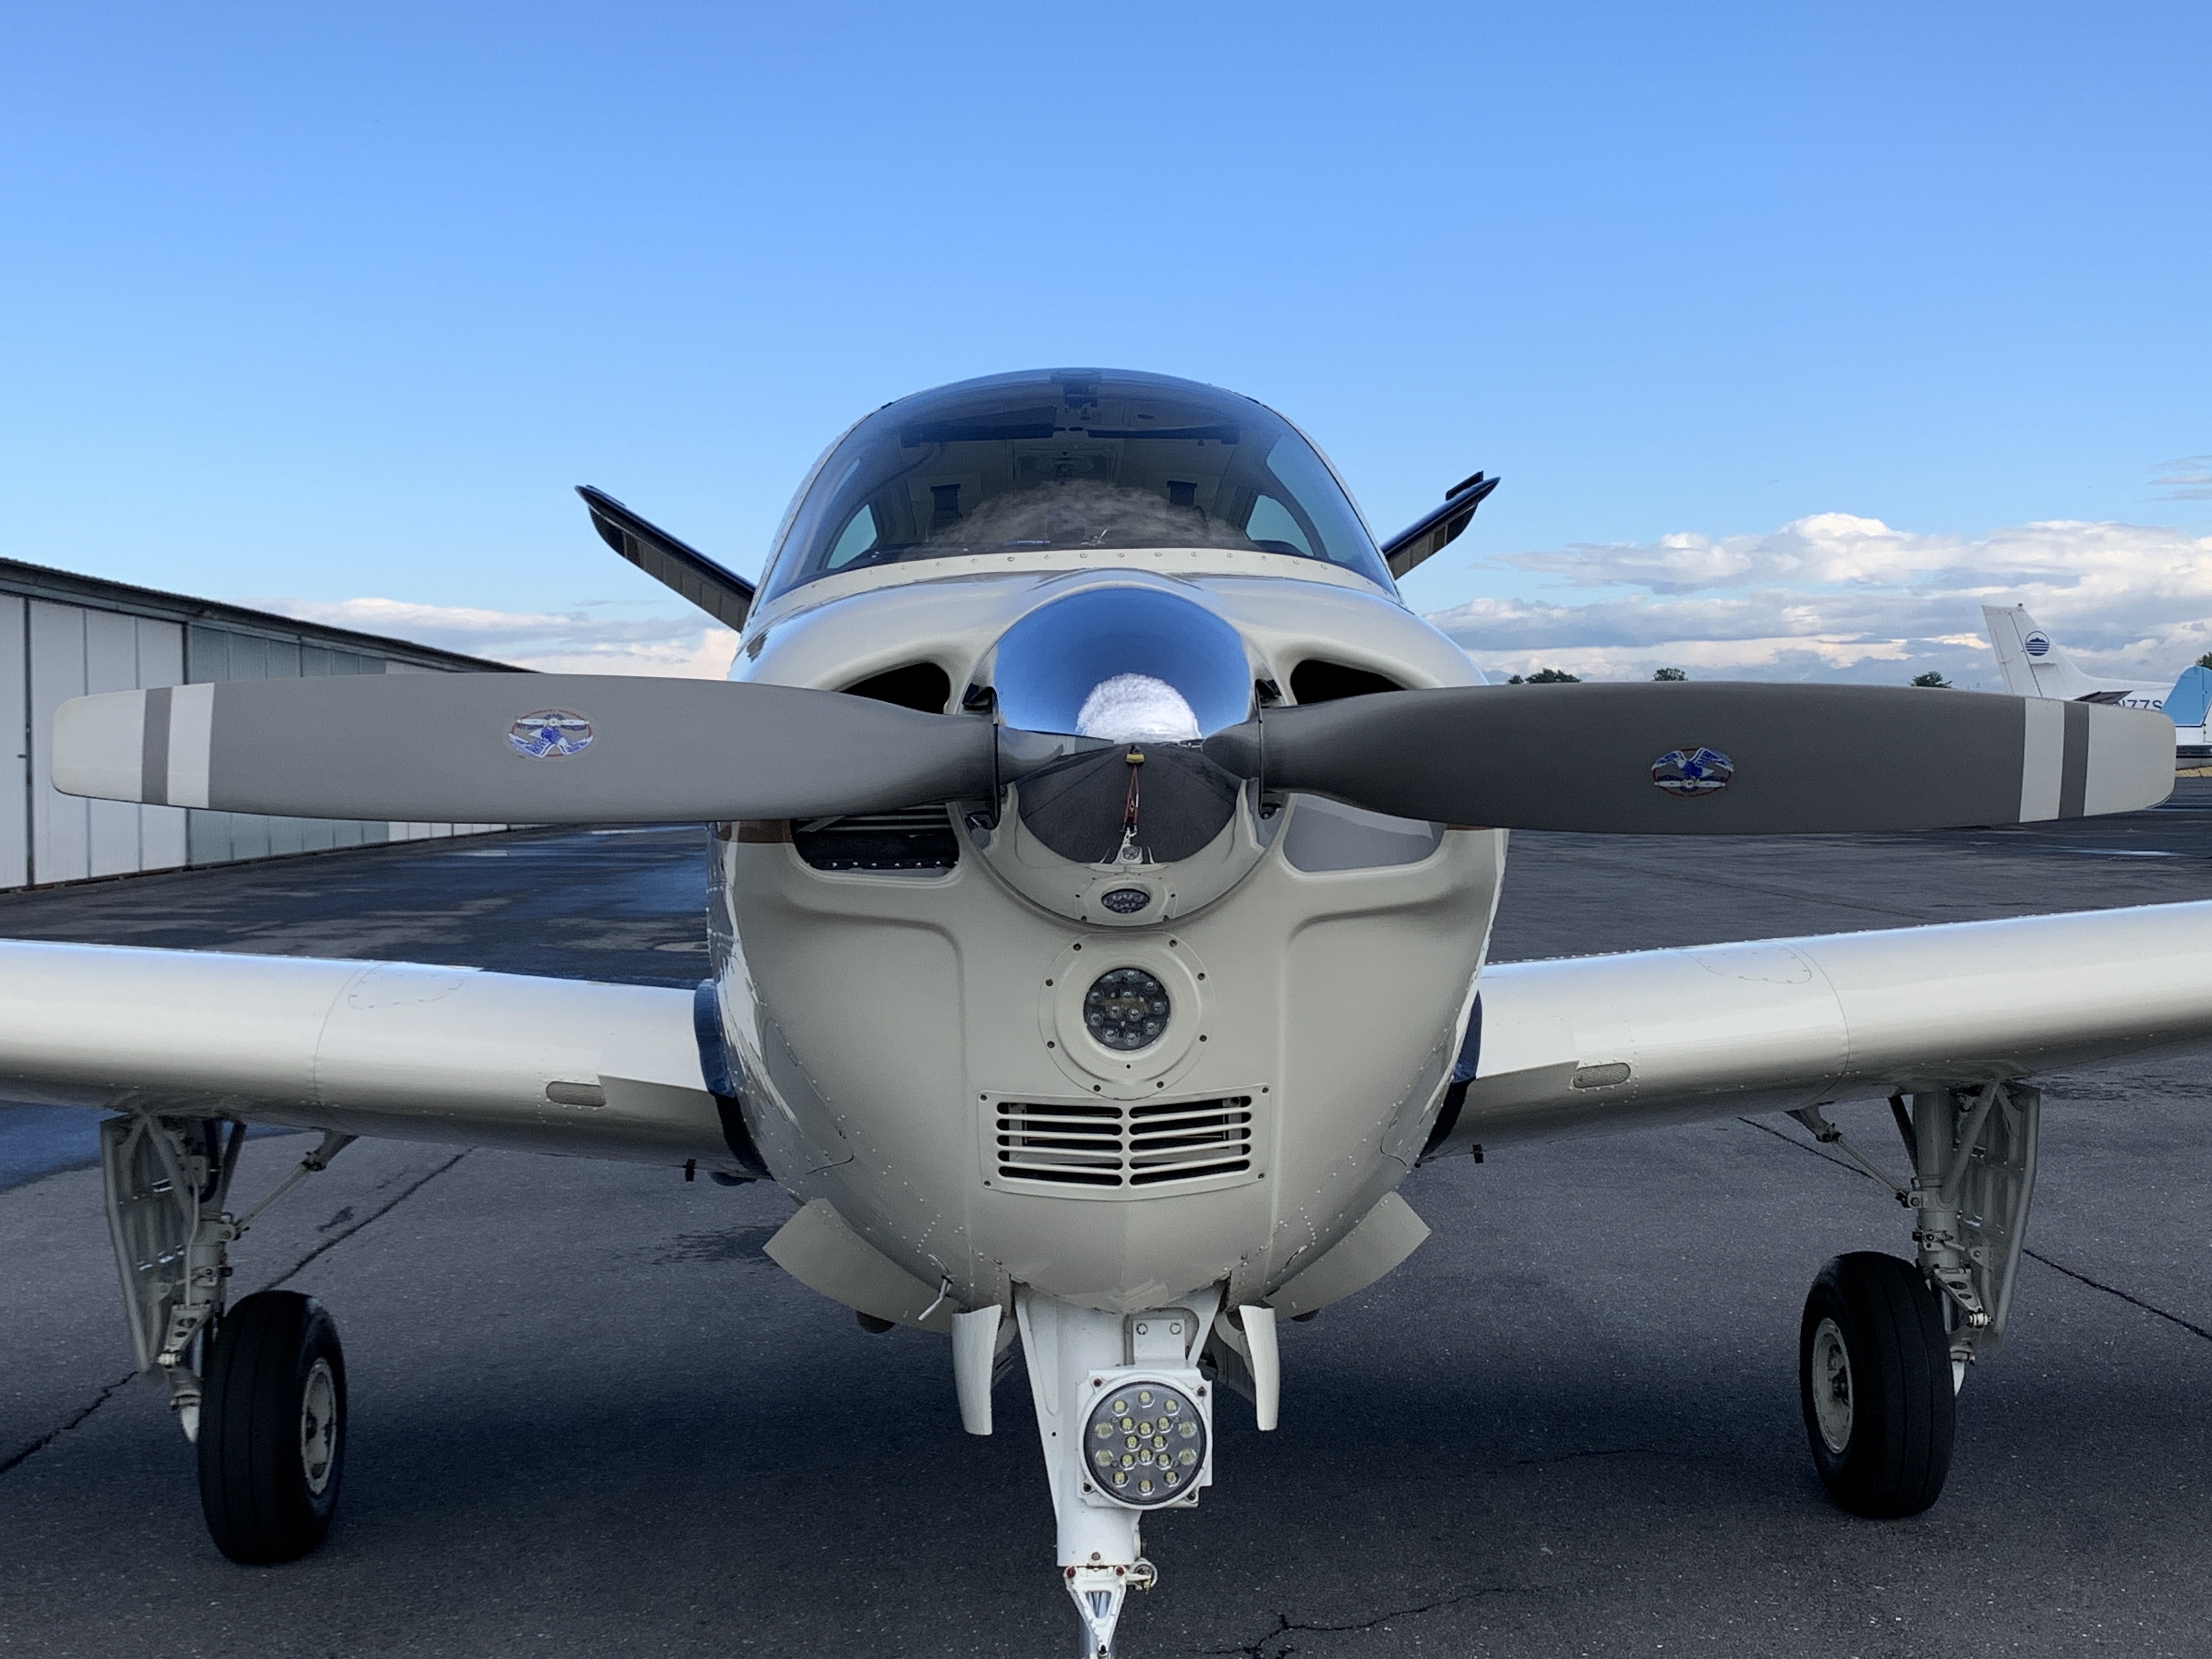
It was also a pleasure to see Arthur’s P35 Bonanza that day:
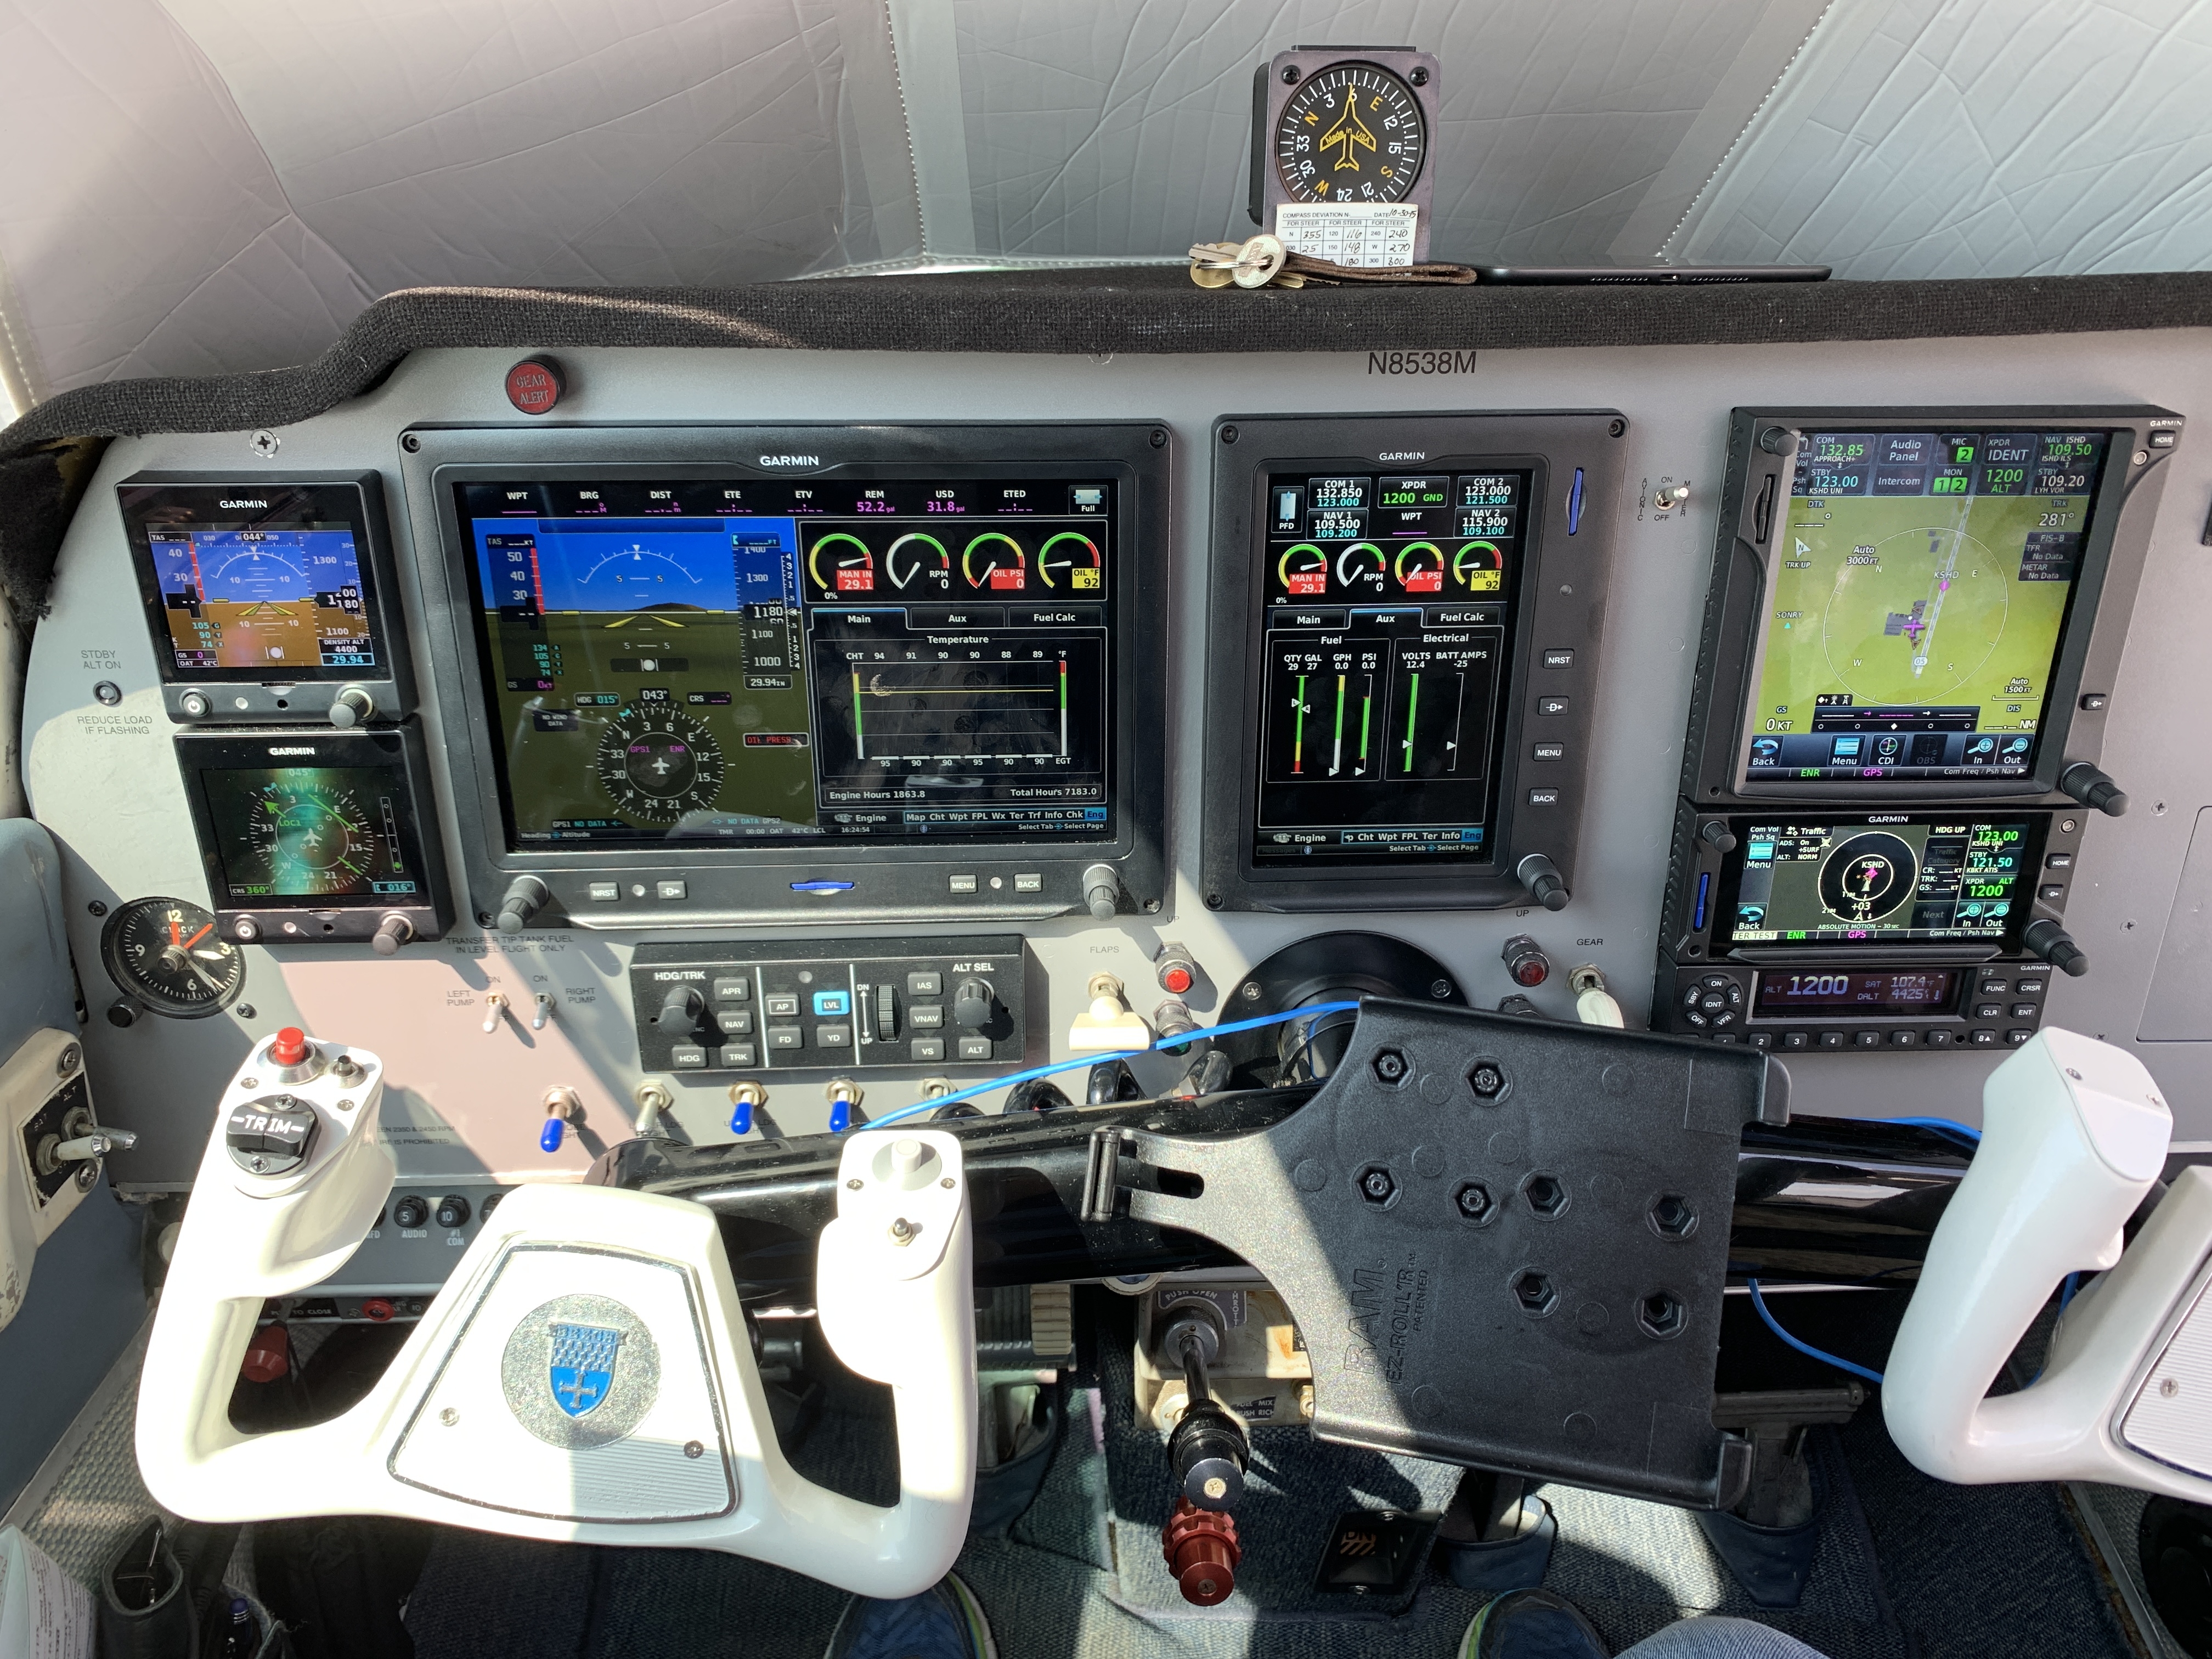
Arthur has a really nice panel in his airplane as well… check it out:
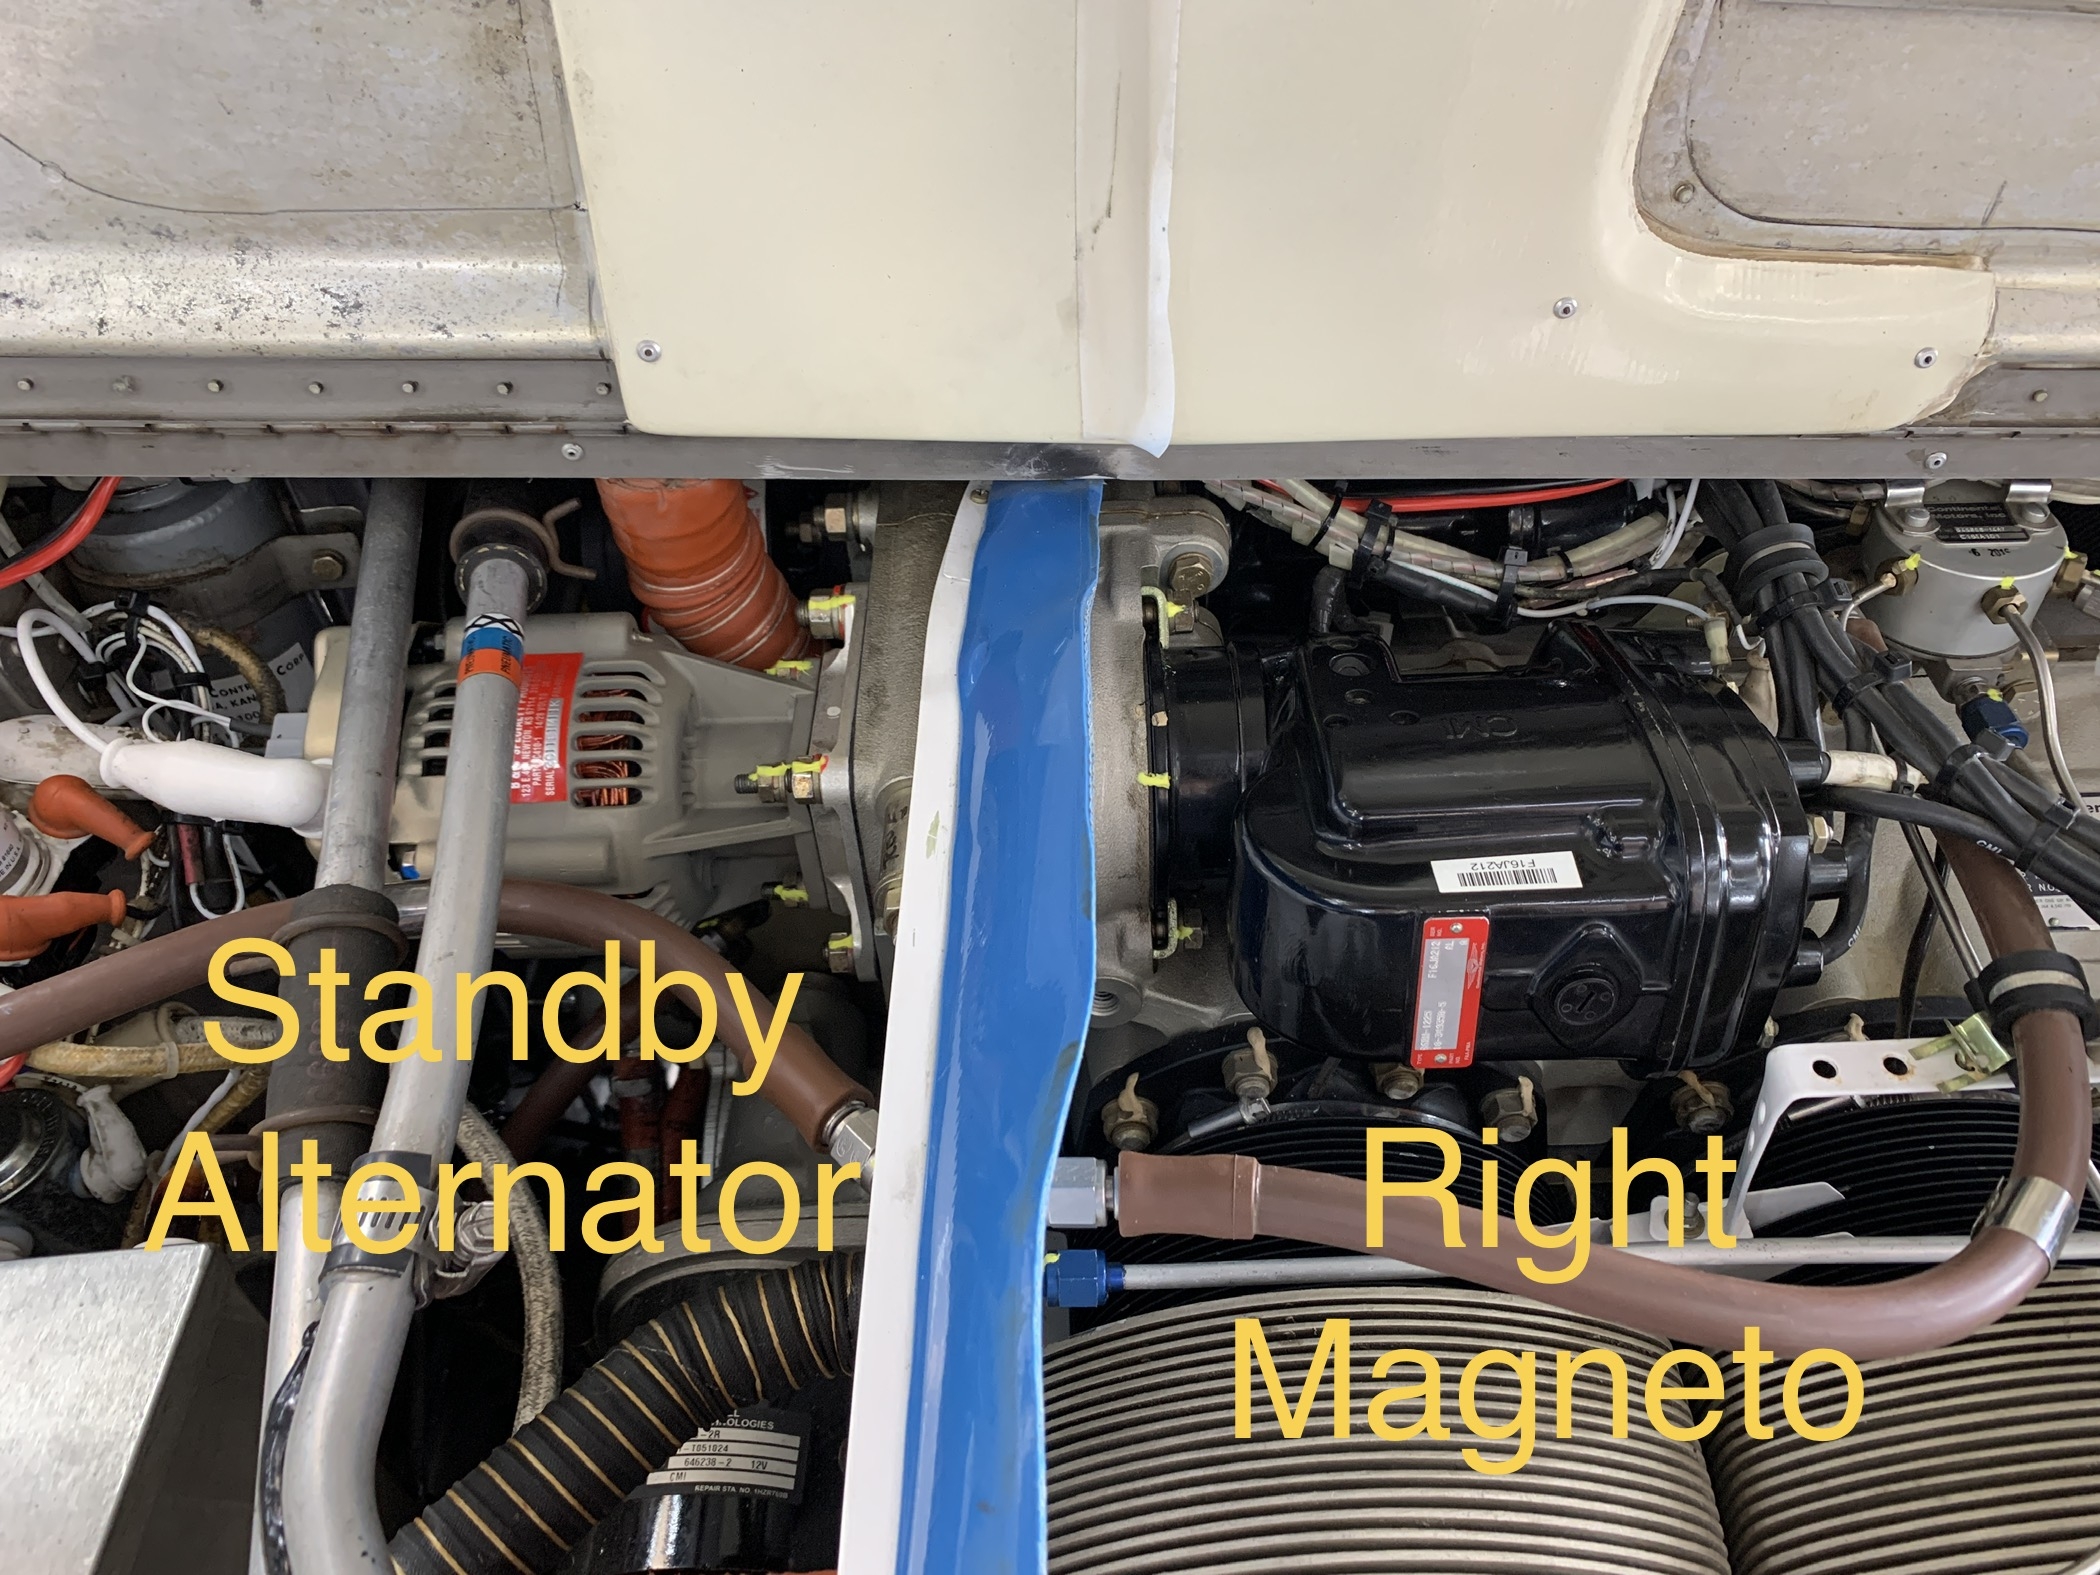
I’ve just completed the installation for a B&C Specialties standby alternator system on an E33A Bonanza. It’s a fantastic system, and I talked about it in today’s podcast episode. Be sure to listen for a caution about the right magneto when installing a new oil seal in the drive adapter for the standby alternator.
Here are some other items mentioned in this episode:
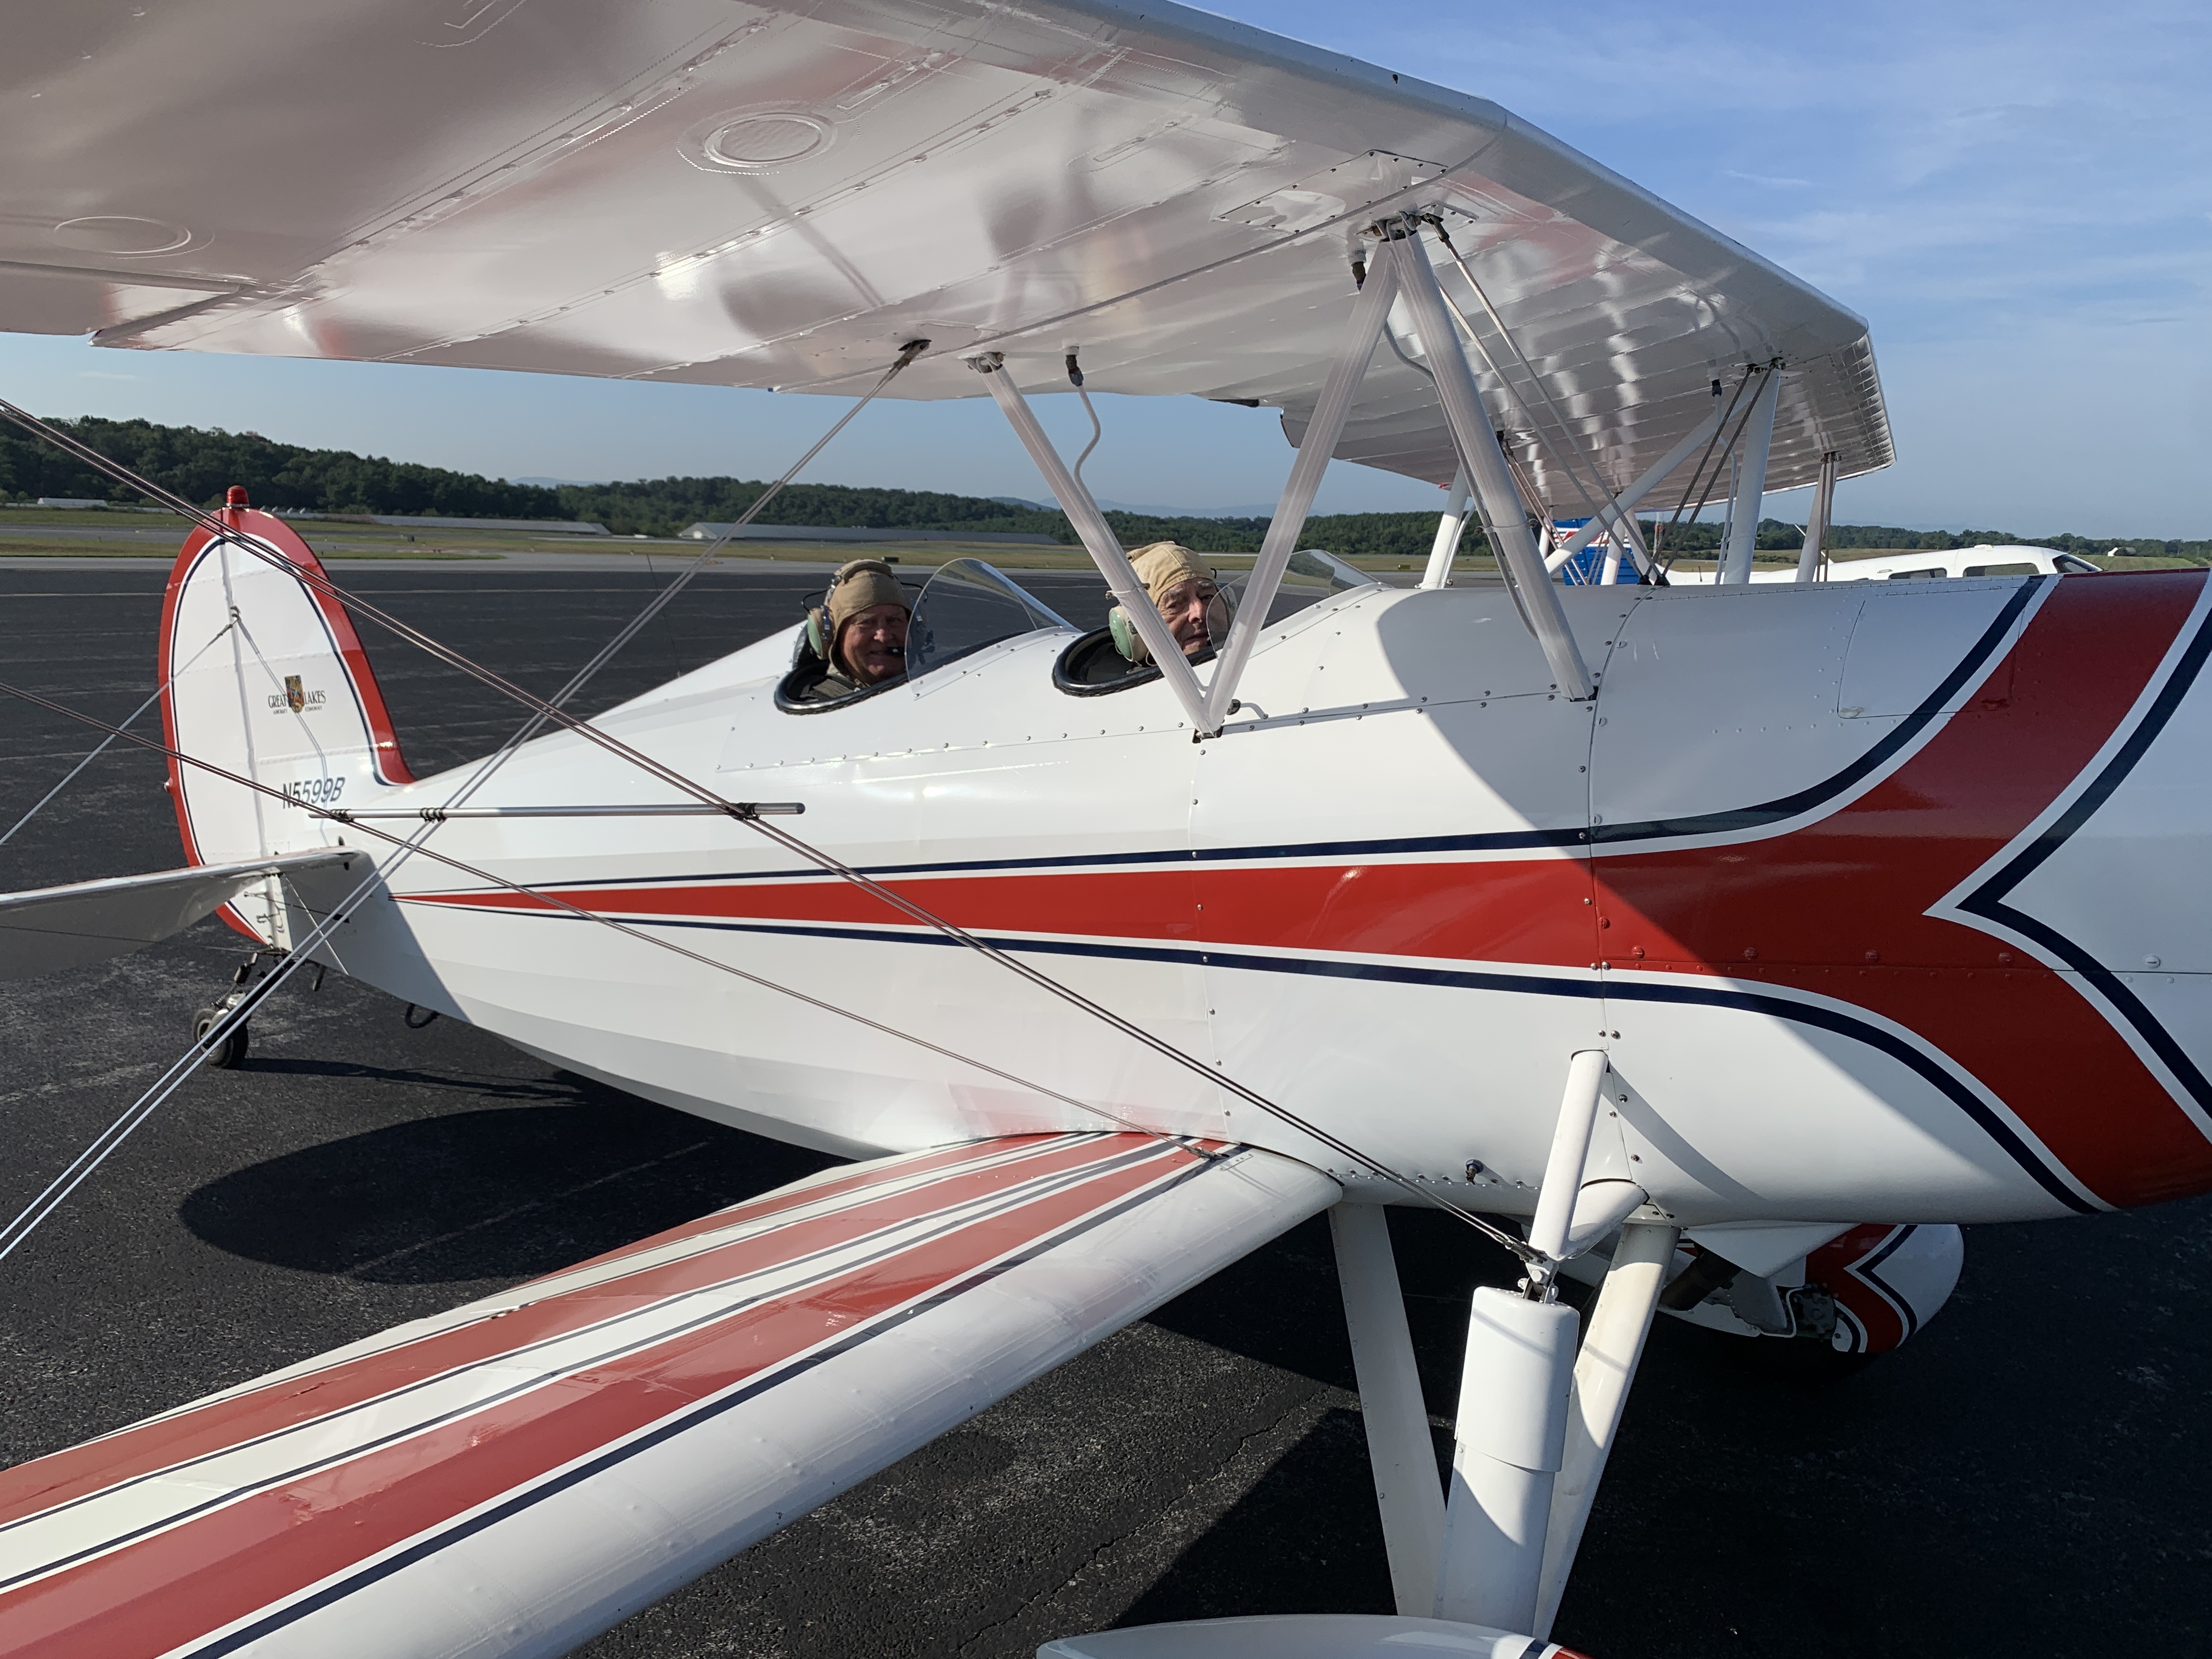
Jim Lanning (92 years old!) and David McCain, stopped at KSHD yesterday in a beautiful Great Lakes aircraft. Jim is in the front seat. Check it out:
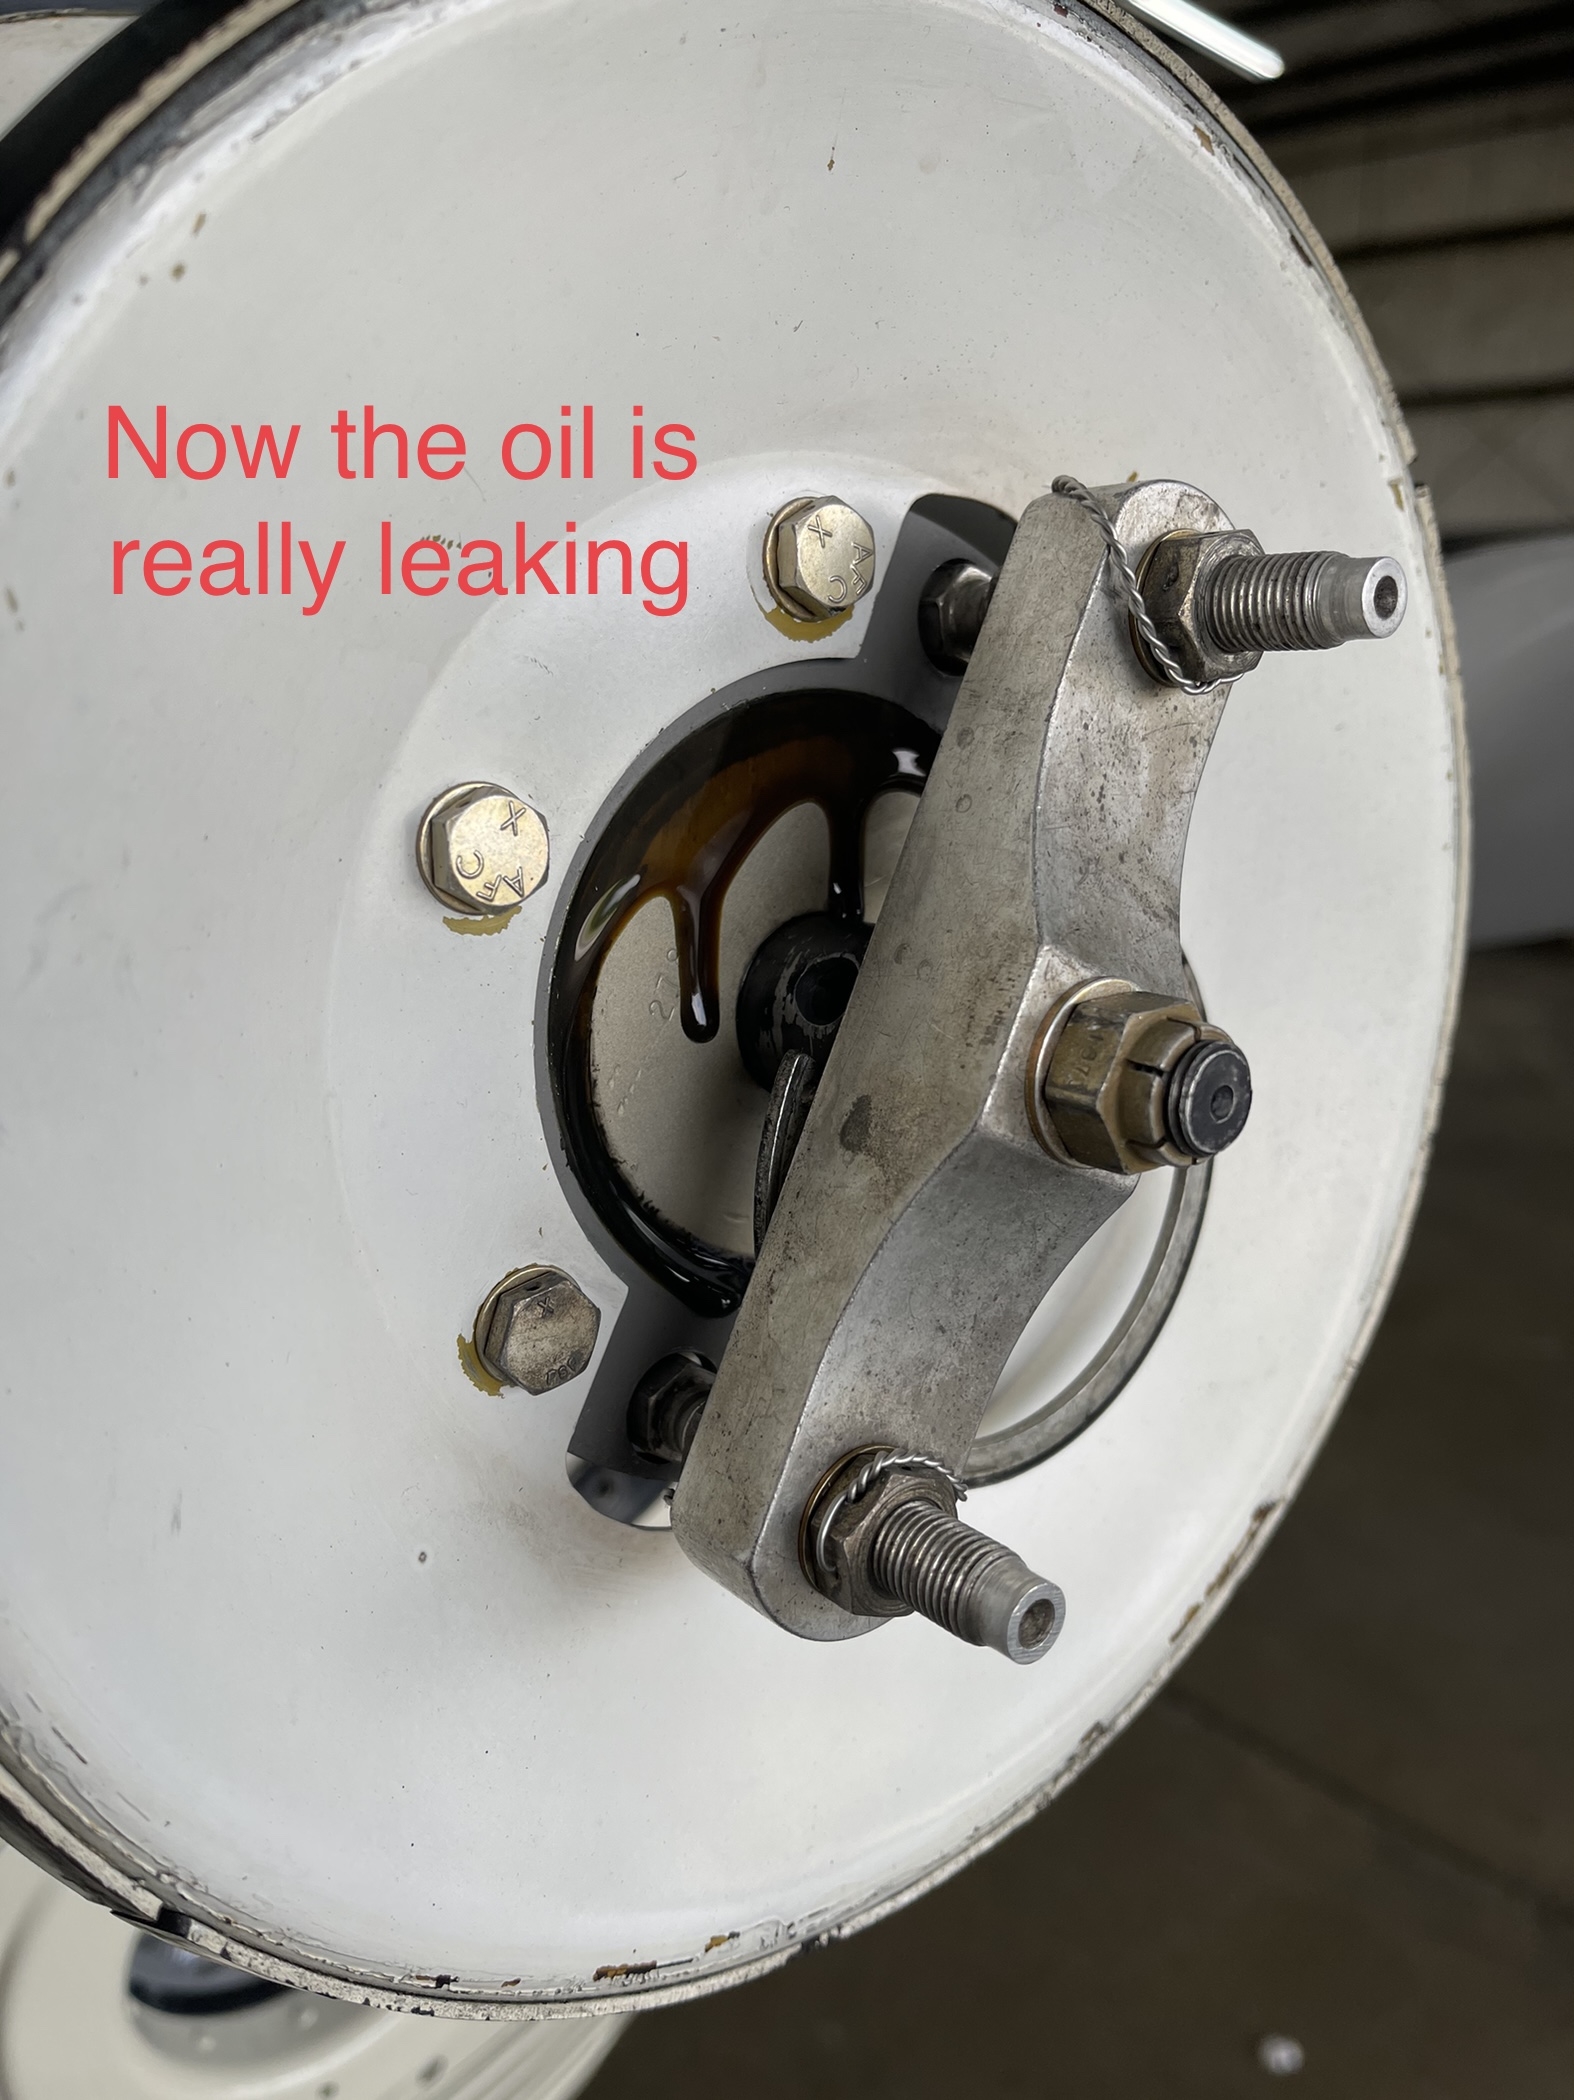
A weird oil leak on a Diamond DA-40 I’m hoping we can fix and tell the rest of the story in a future episode.
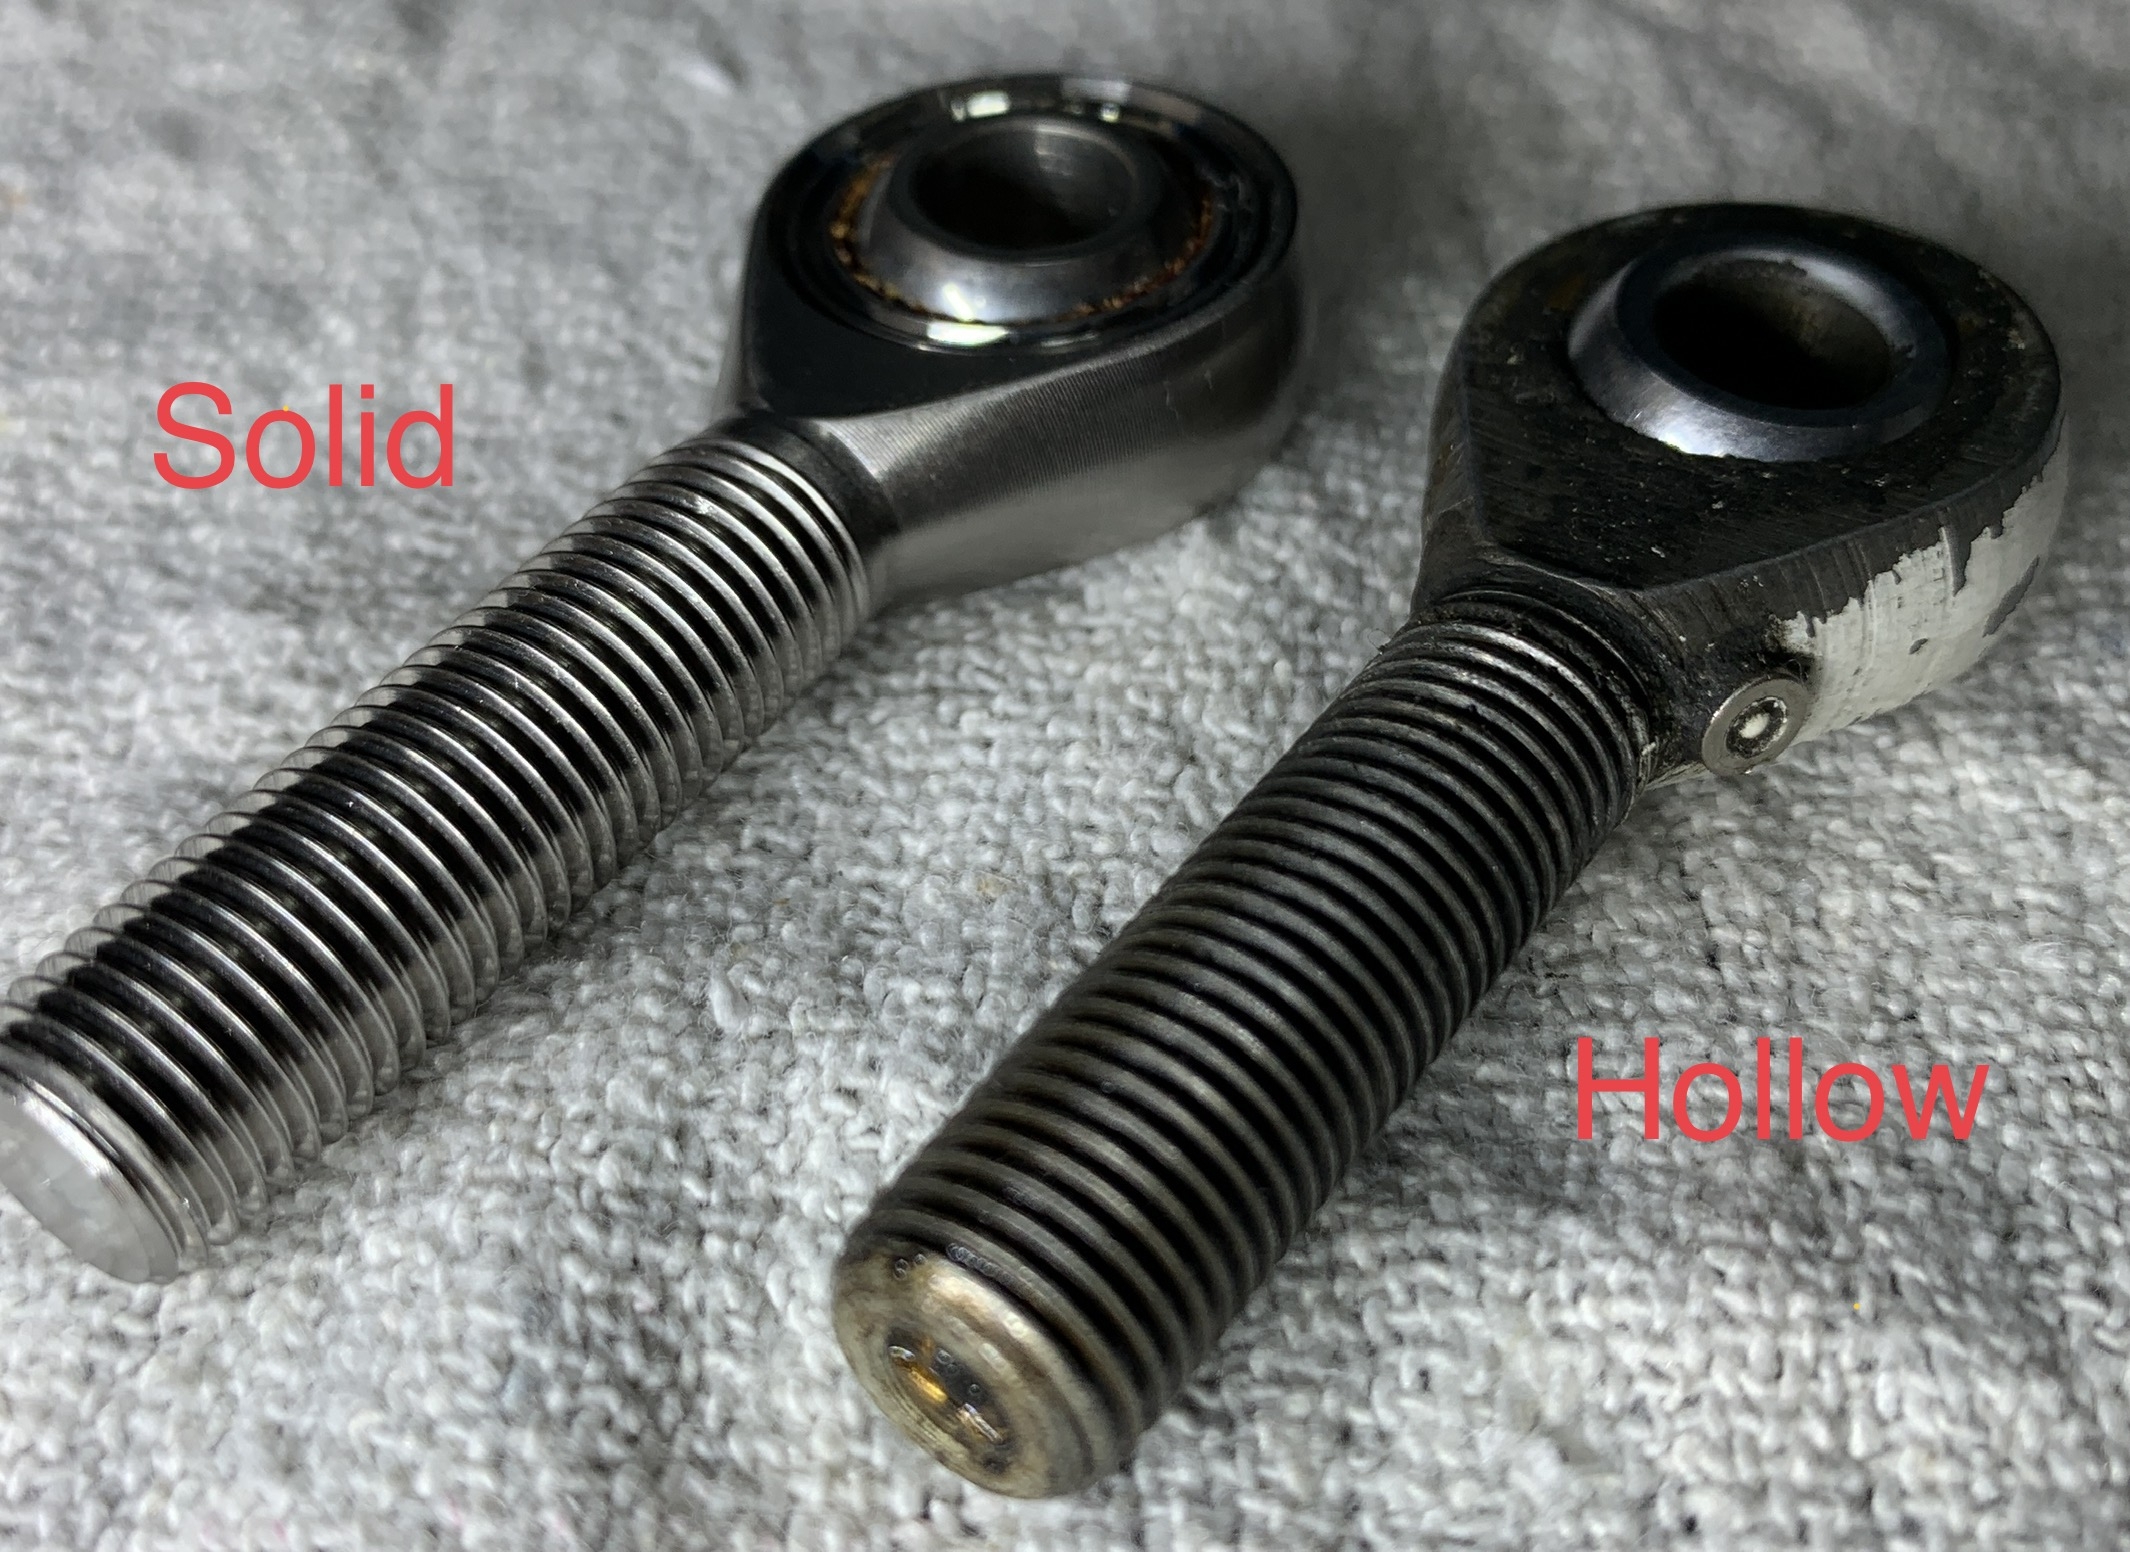
Now back to the Bonanza with the standby alternator system. We also installed new nose gear rod ends and some other parts on the airplane as well. The old rod ends are hollow and have a grease fitting on the side, which has been seen as a factor in these old rod ends breaking and causing prop strikes and other damage. Check out the difference between the old hollow type rod ends and the new solid type:
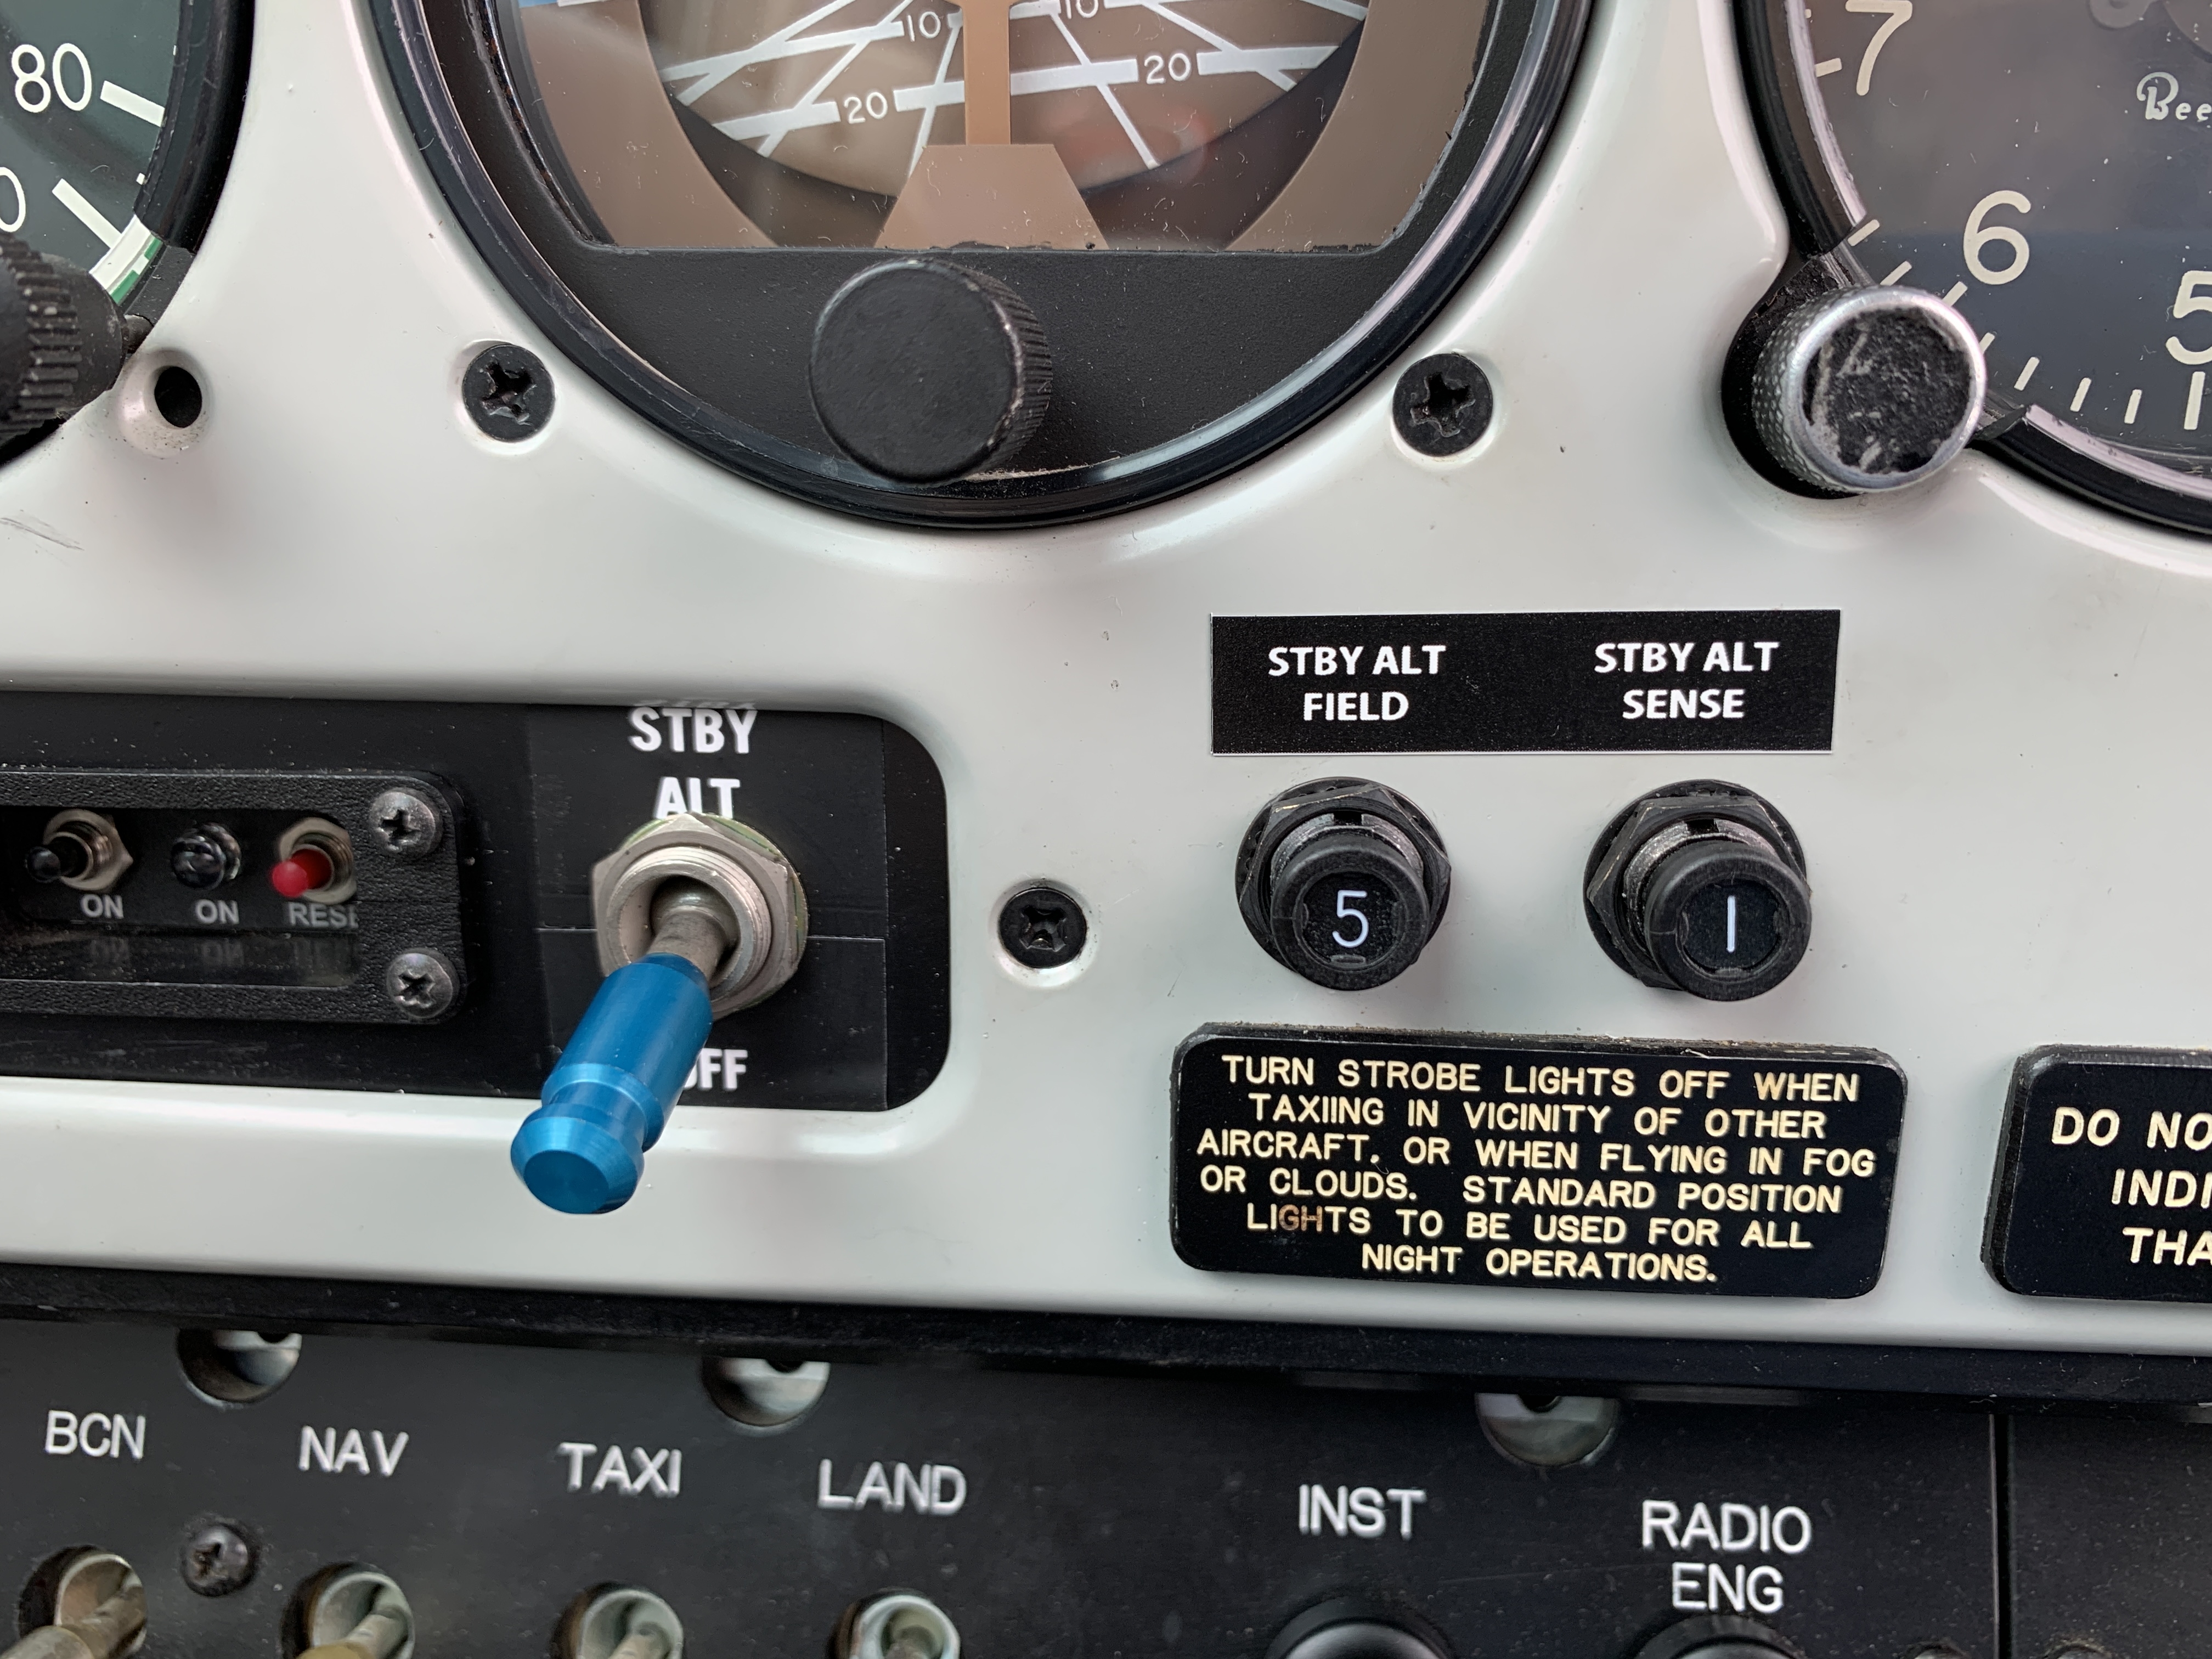
The standby alternator system turned out very well… I installed the switch and the 2 circuit breakers in the pilot’s instrument panel:
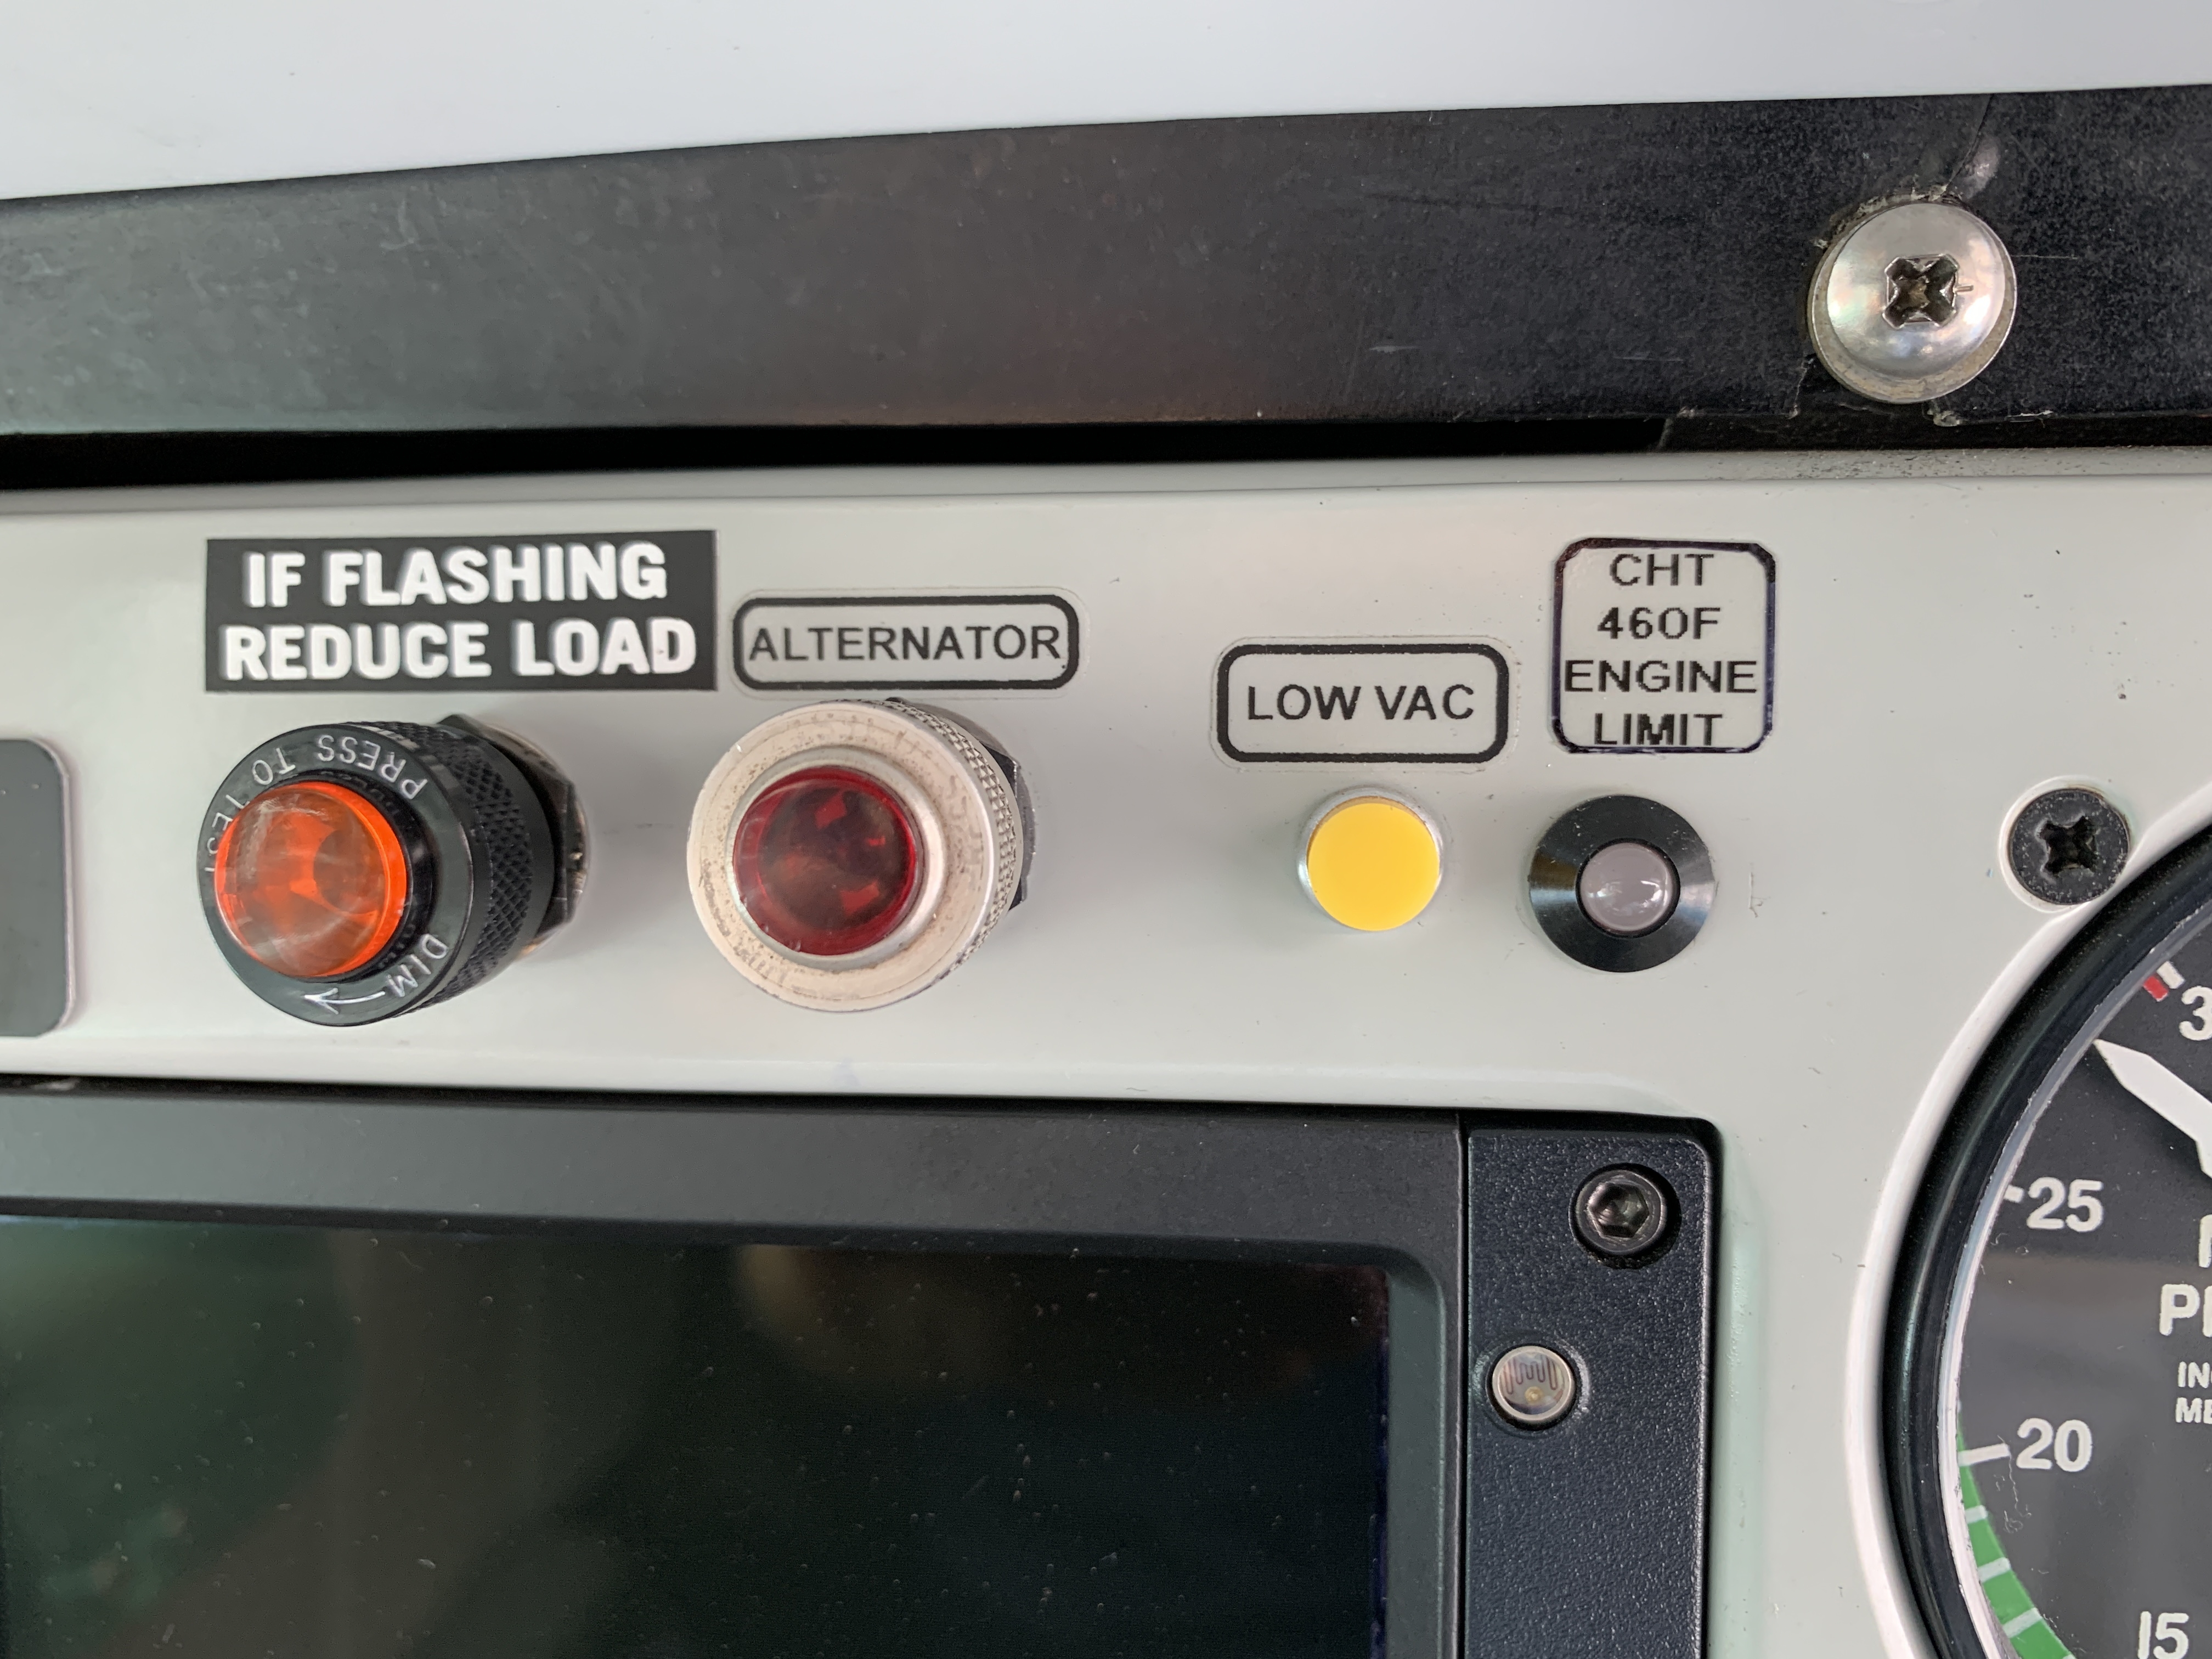
There was an ideal location for the indicator light just to the left of the already existing warning light for the main alternator system:
The final product is going to work very well:
Be sure to check out all the resources on the “Store” page at AirplaneOwnerMaintenance.com
Don’t forget to click the “Store” tab above and check out the resources there. If you have any questions, click the button that says “Send Voicemail” and leave me a message.
Note: I’m offering a 30% discount on the new shock strut servicing video course from now until Monday night, July 12 at midnight Eastern Daylight time.
Use the code “STRUT” for a 30% discount and pay only $67 instead of the normal price of $97.
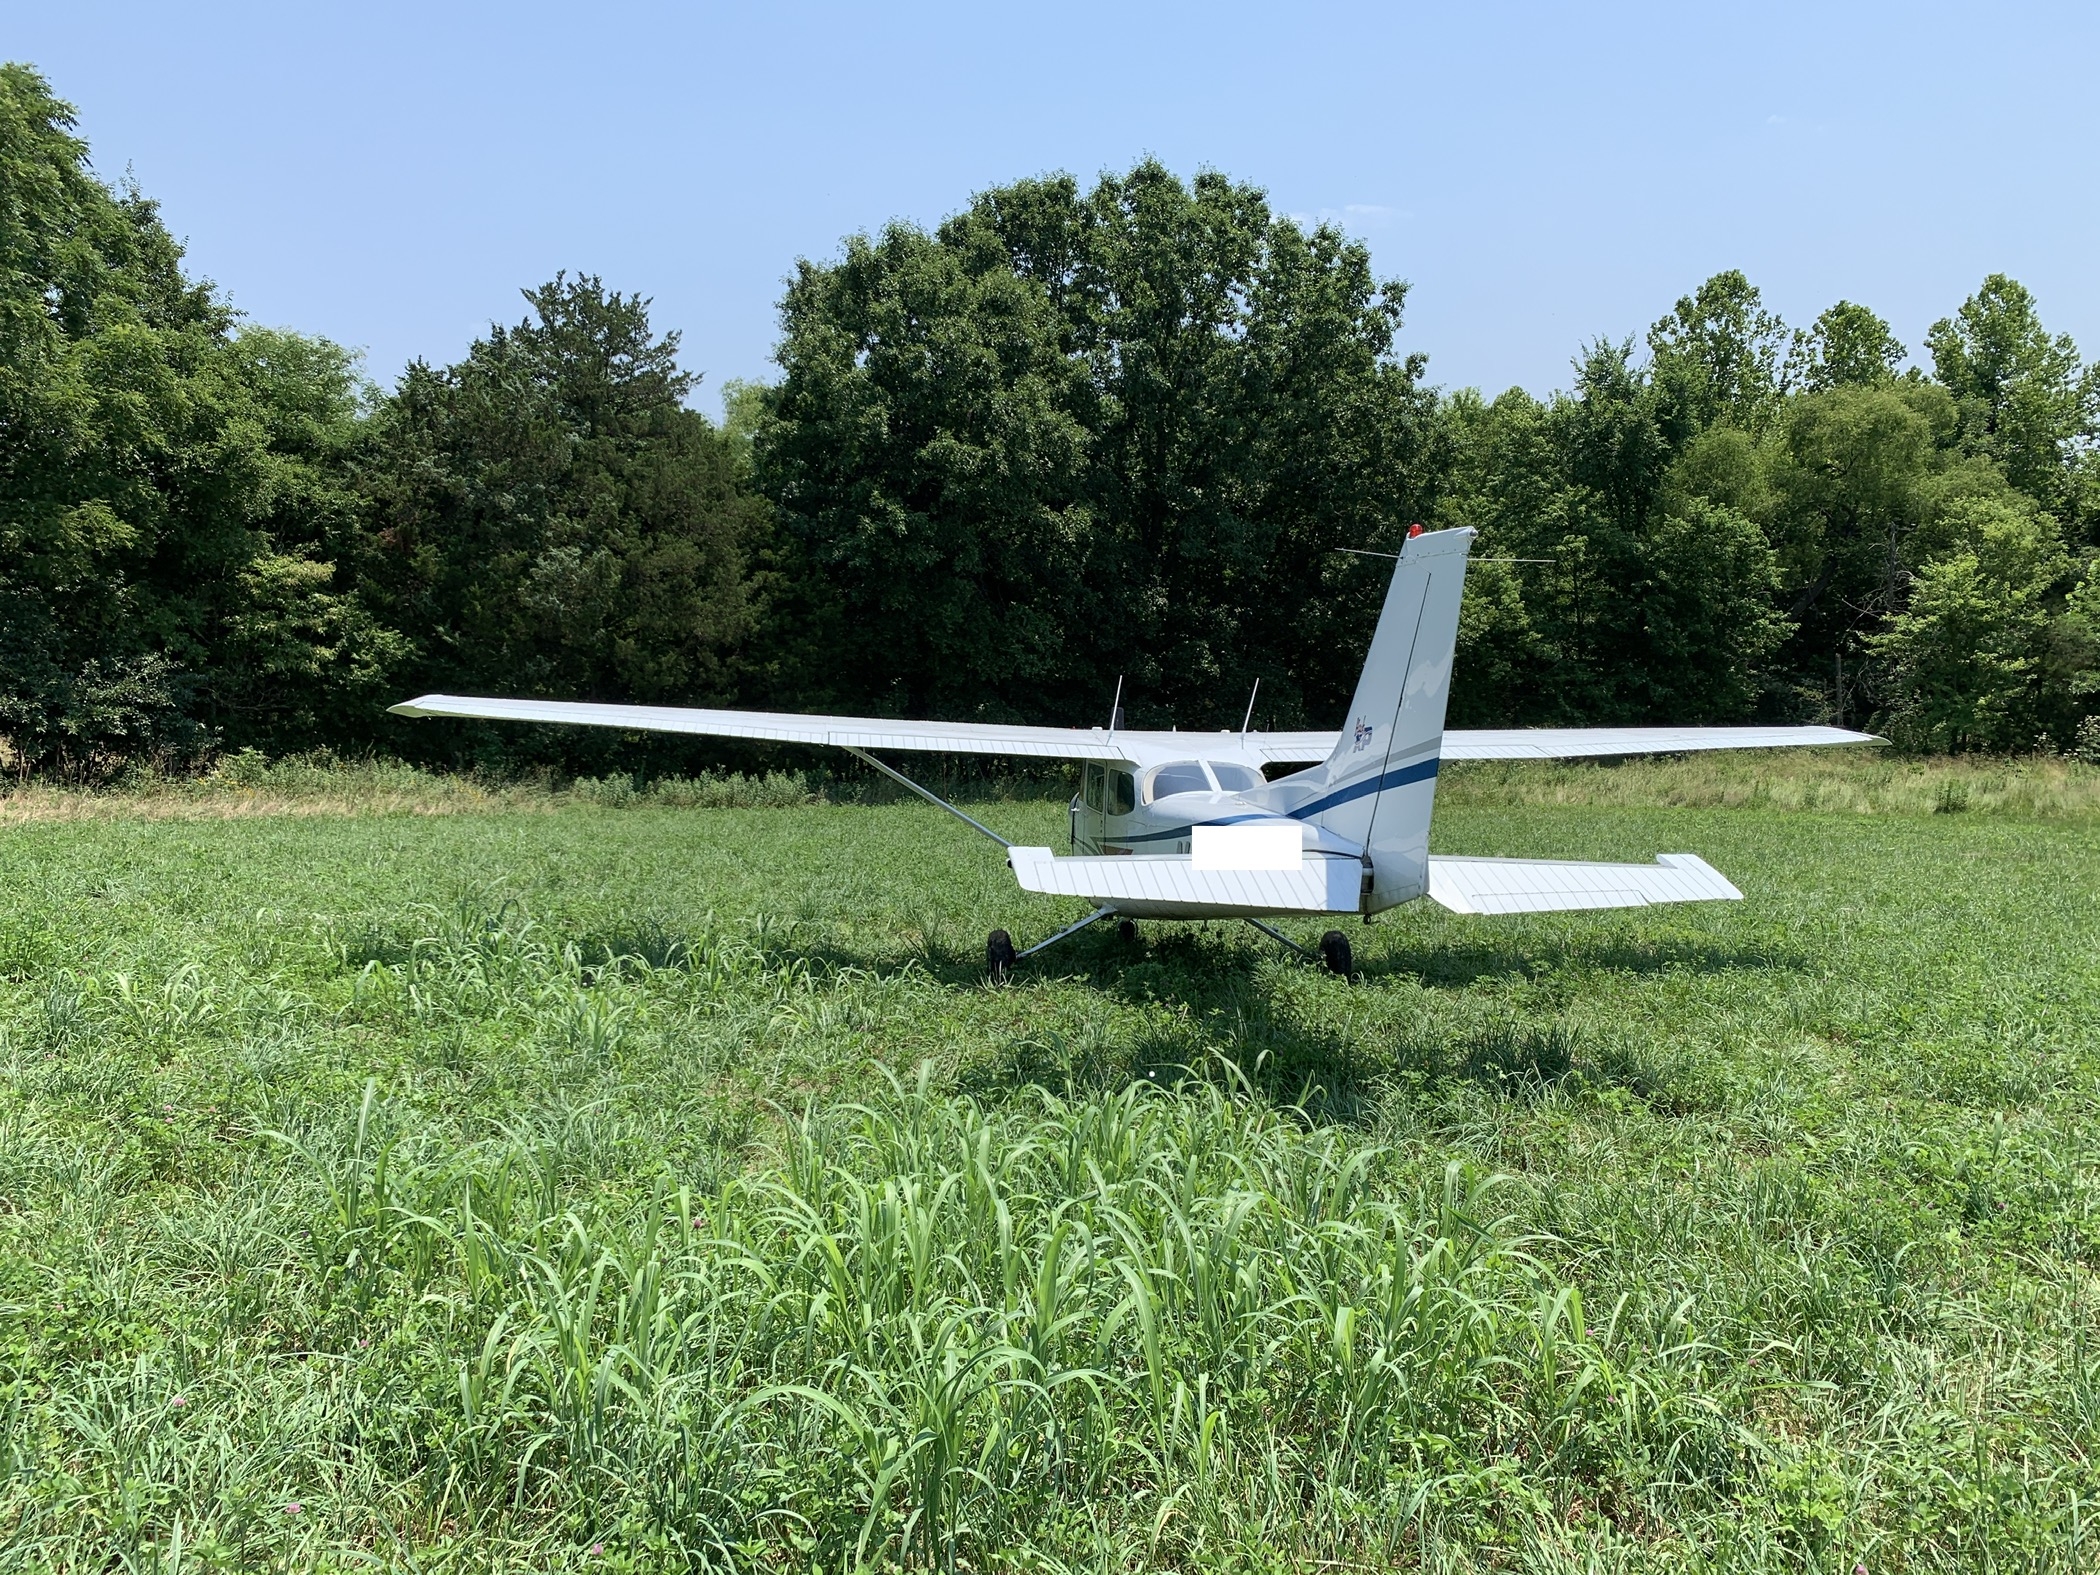
It appears they kept flying the airplane with an oil pressure problem, and the engine finally failed catastrophically.
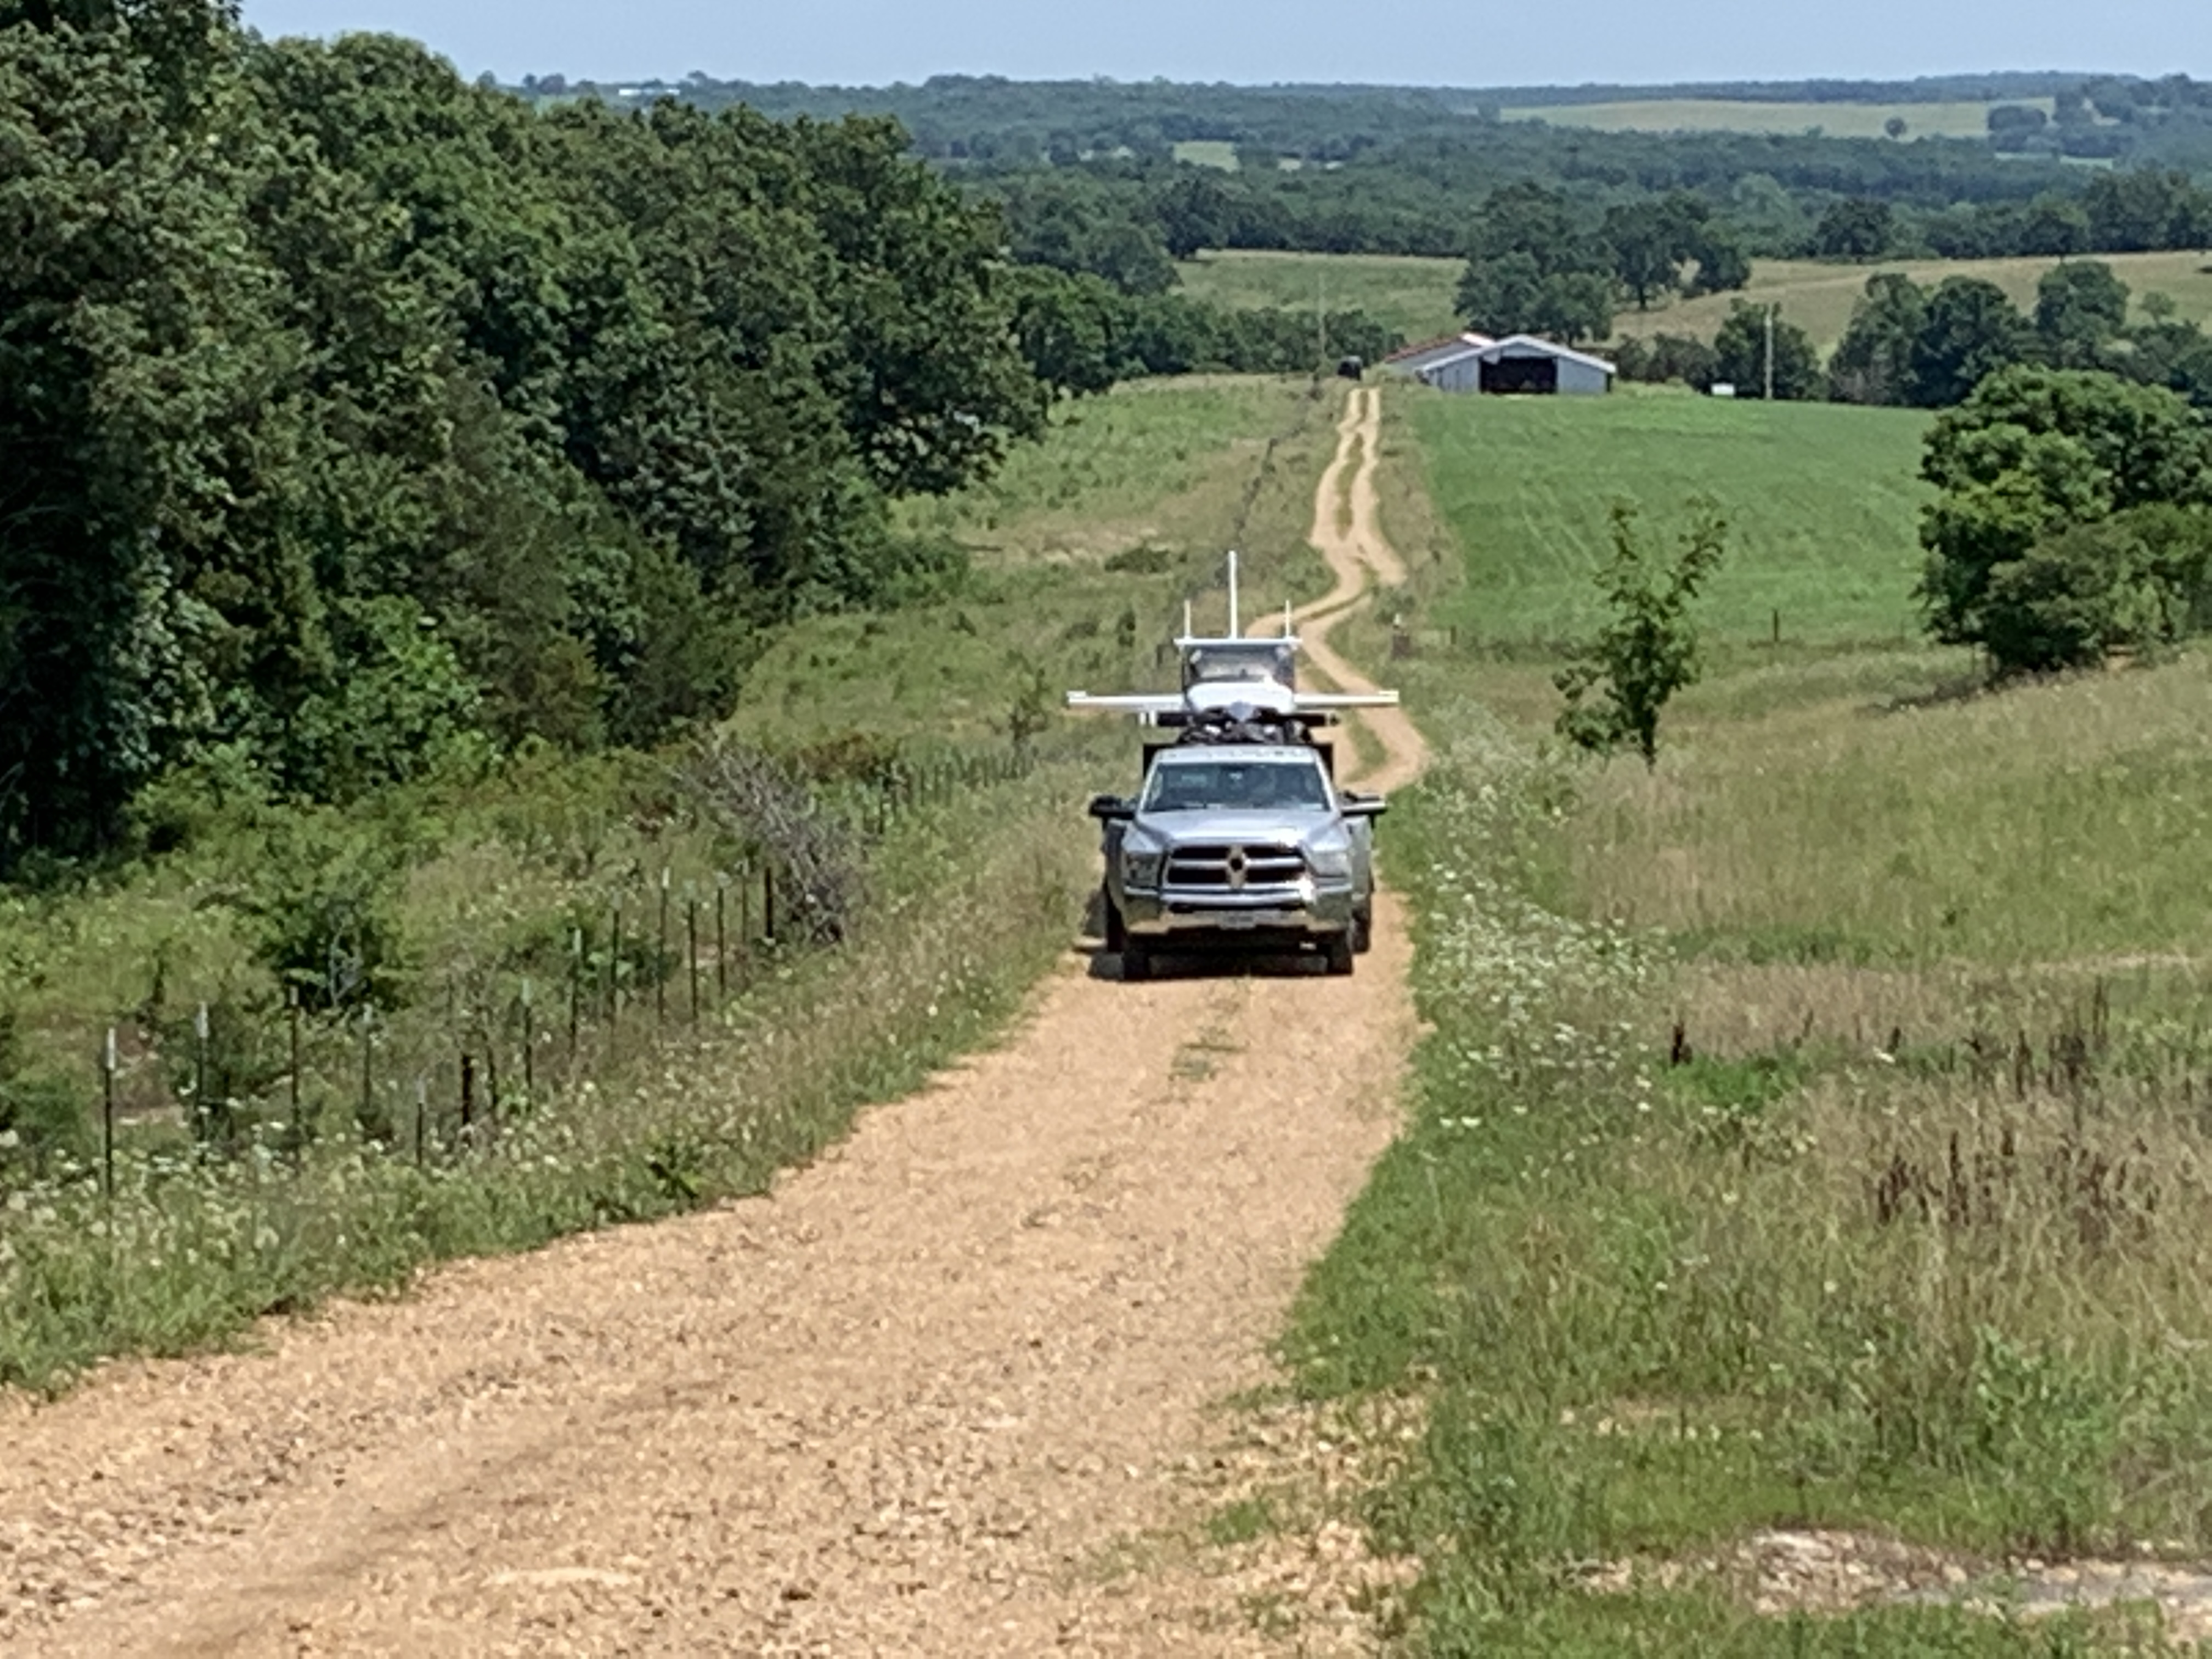
I took a trip with my fellow A&P, Kenneth, and we ended up removing the wings and sending the airplane home to Virginia on a trailer. Check it out:
Before we removed the wings, we drained a little more than 1 quart of oil from the sump (it’s an 8 quart engine,) and we removed the oil suction screen, which had A LOT of metal in it. Kenneth also noted that the #1 piston was not moving in the cylinder when we rotated the prop… oh, and the first time we rotated the prop, we could hear metal pieces falling down through the engine… not a good thing!
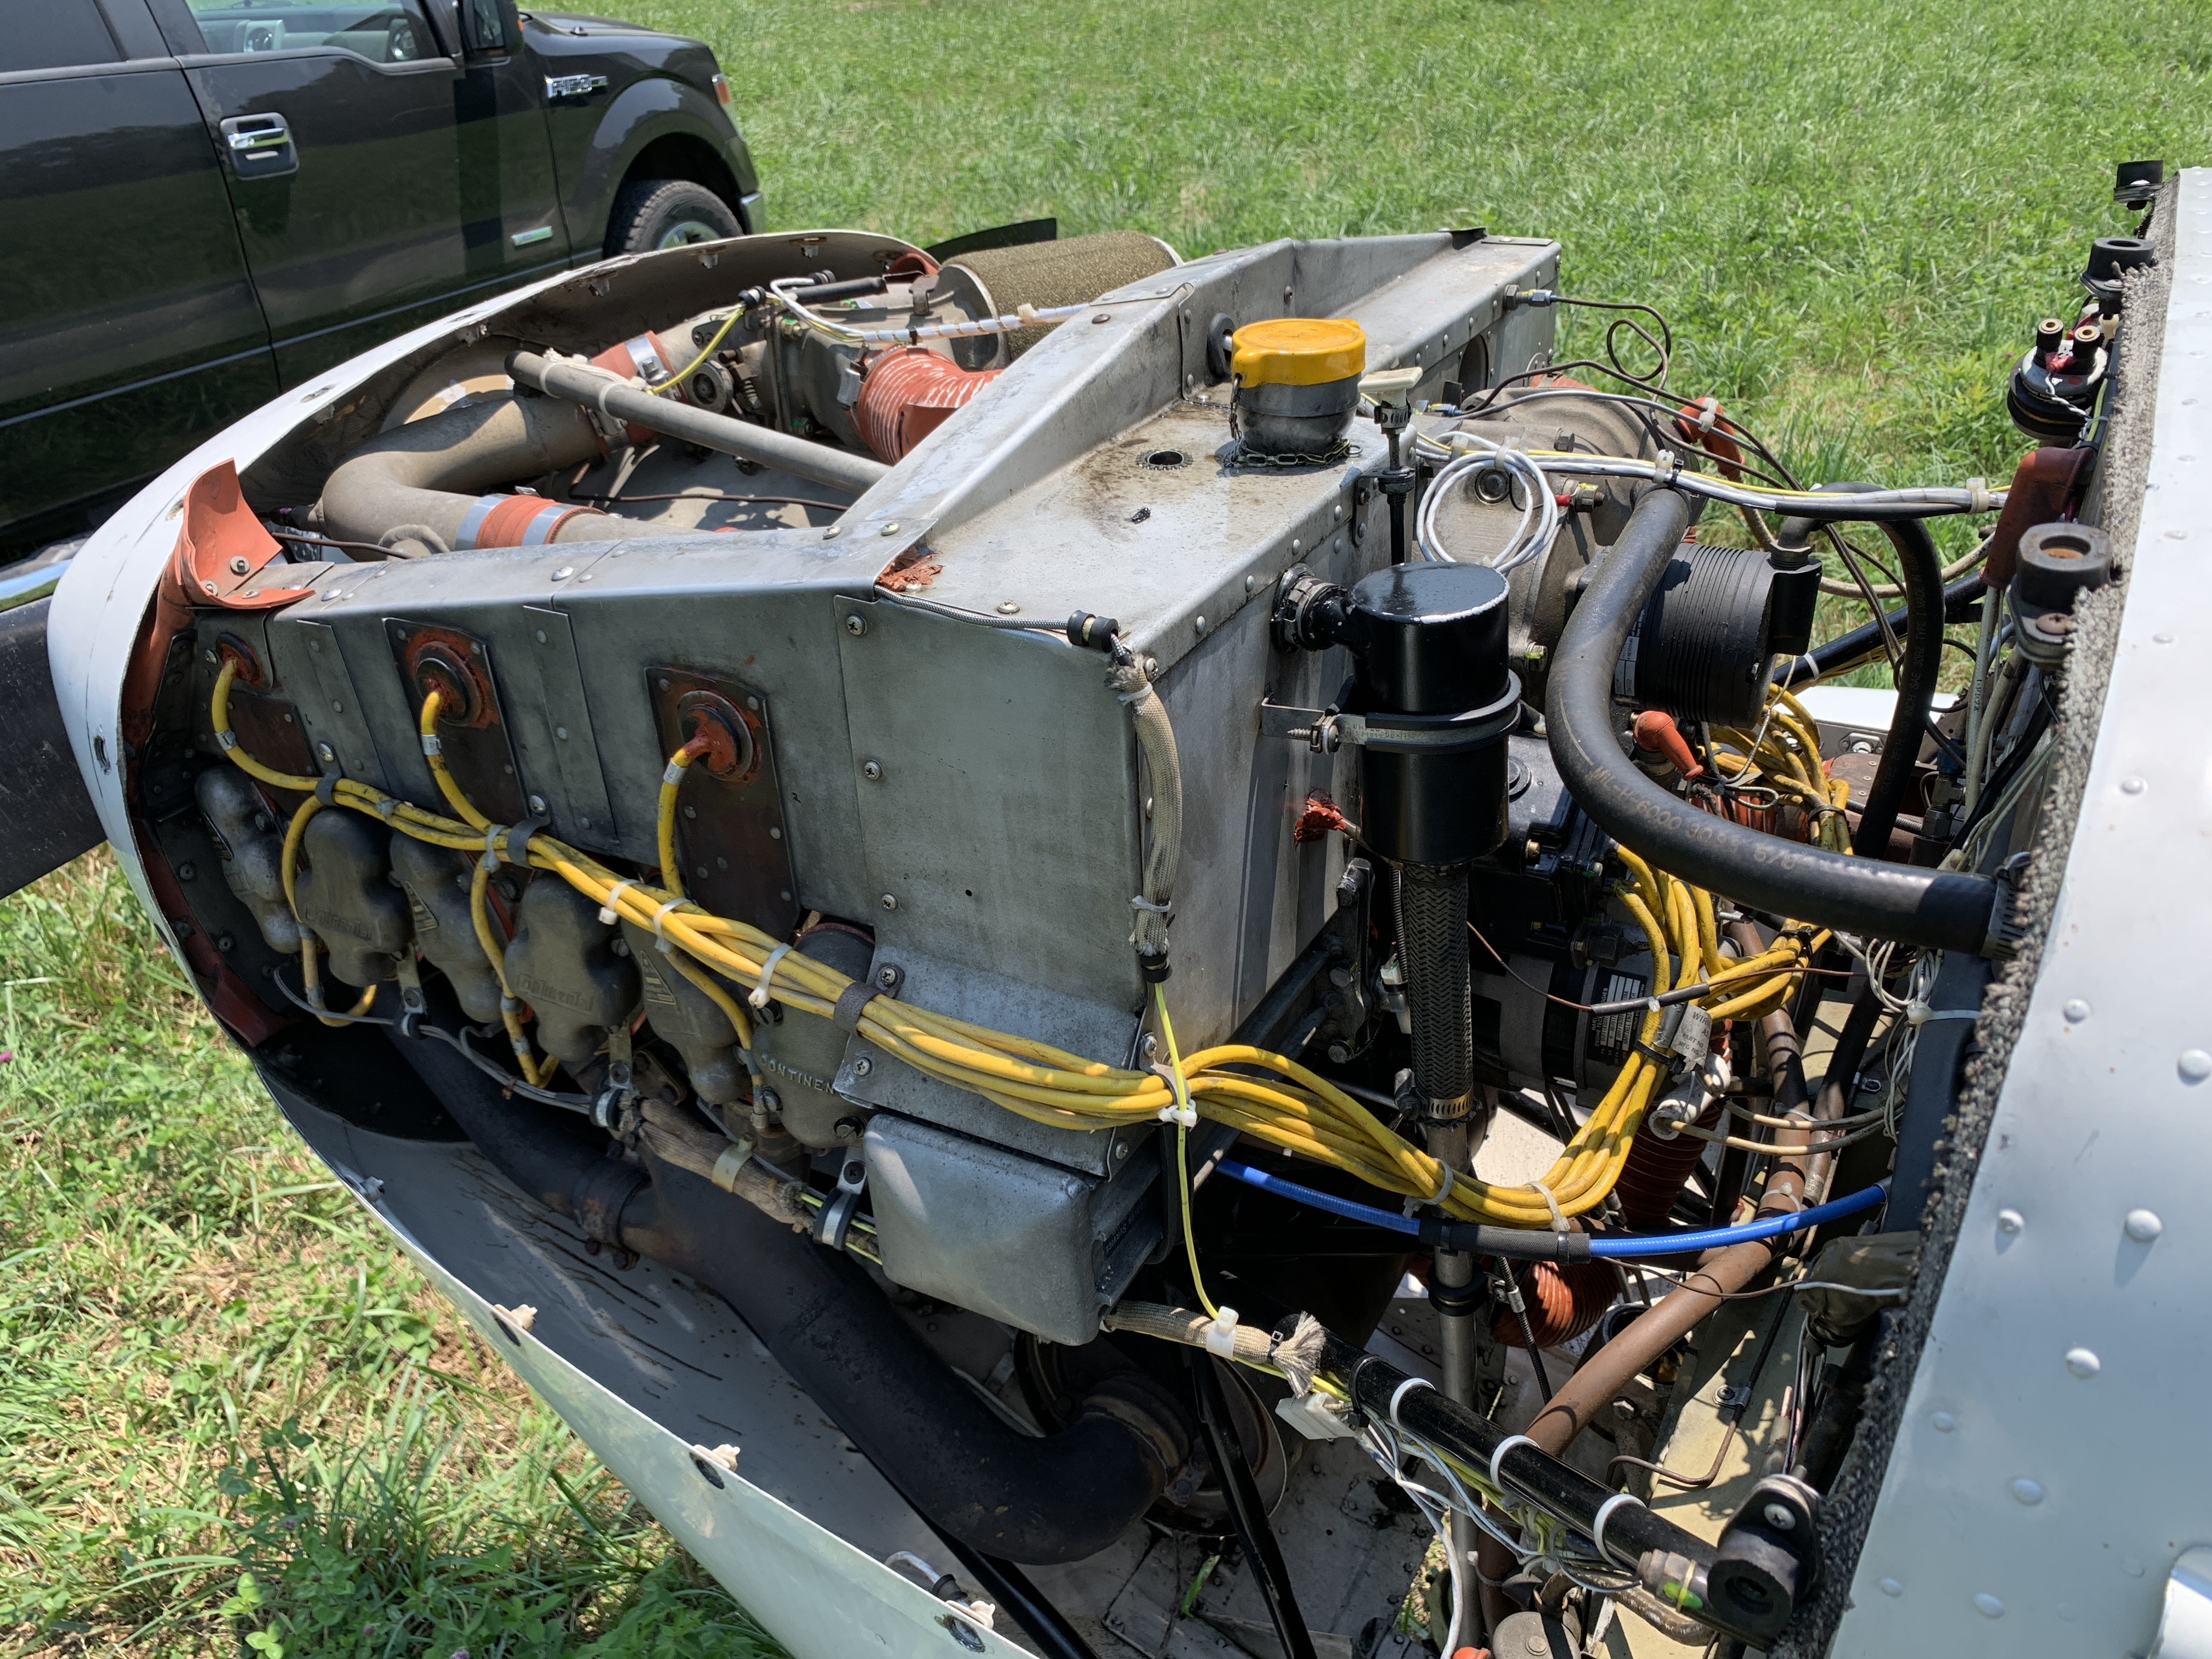
There was no obvious external damage visible on the engine… the internal damage was a whole different story! (The only strange thing was the oil dipstick was missing.)
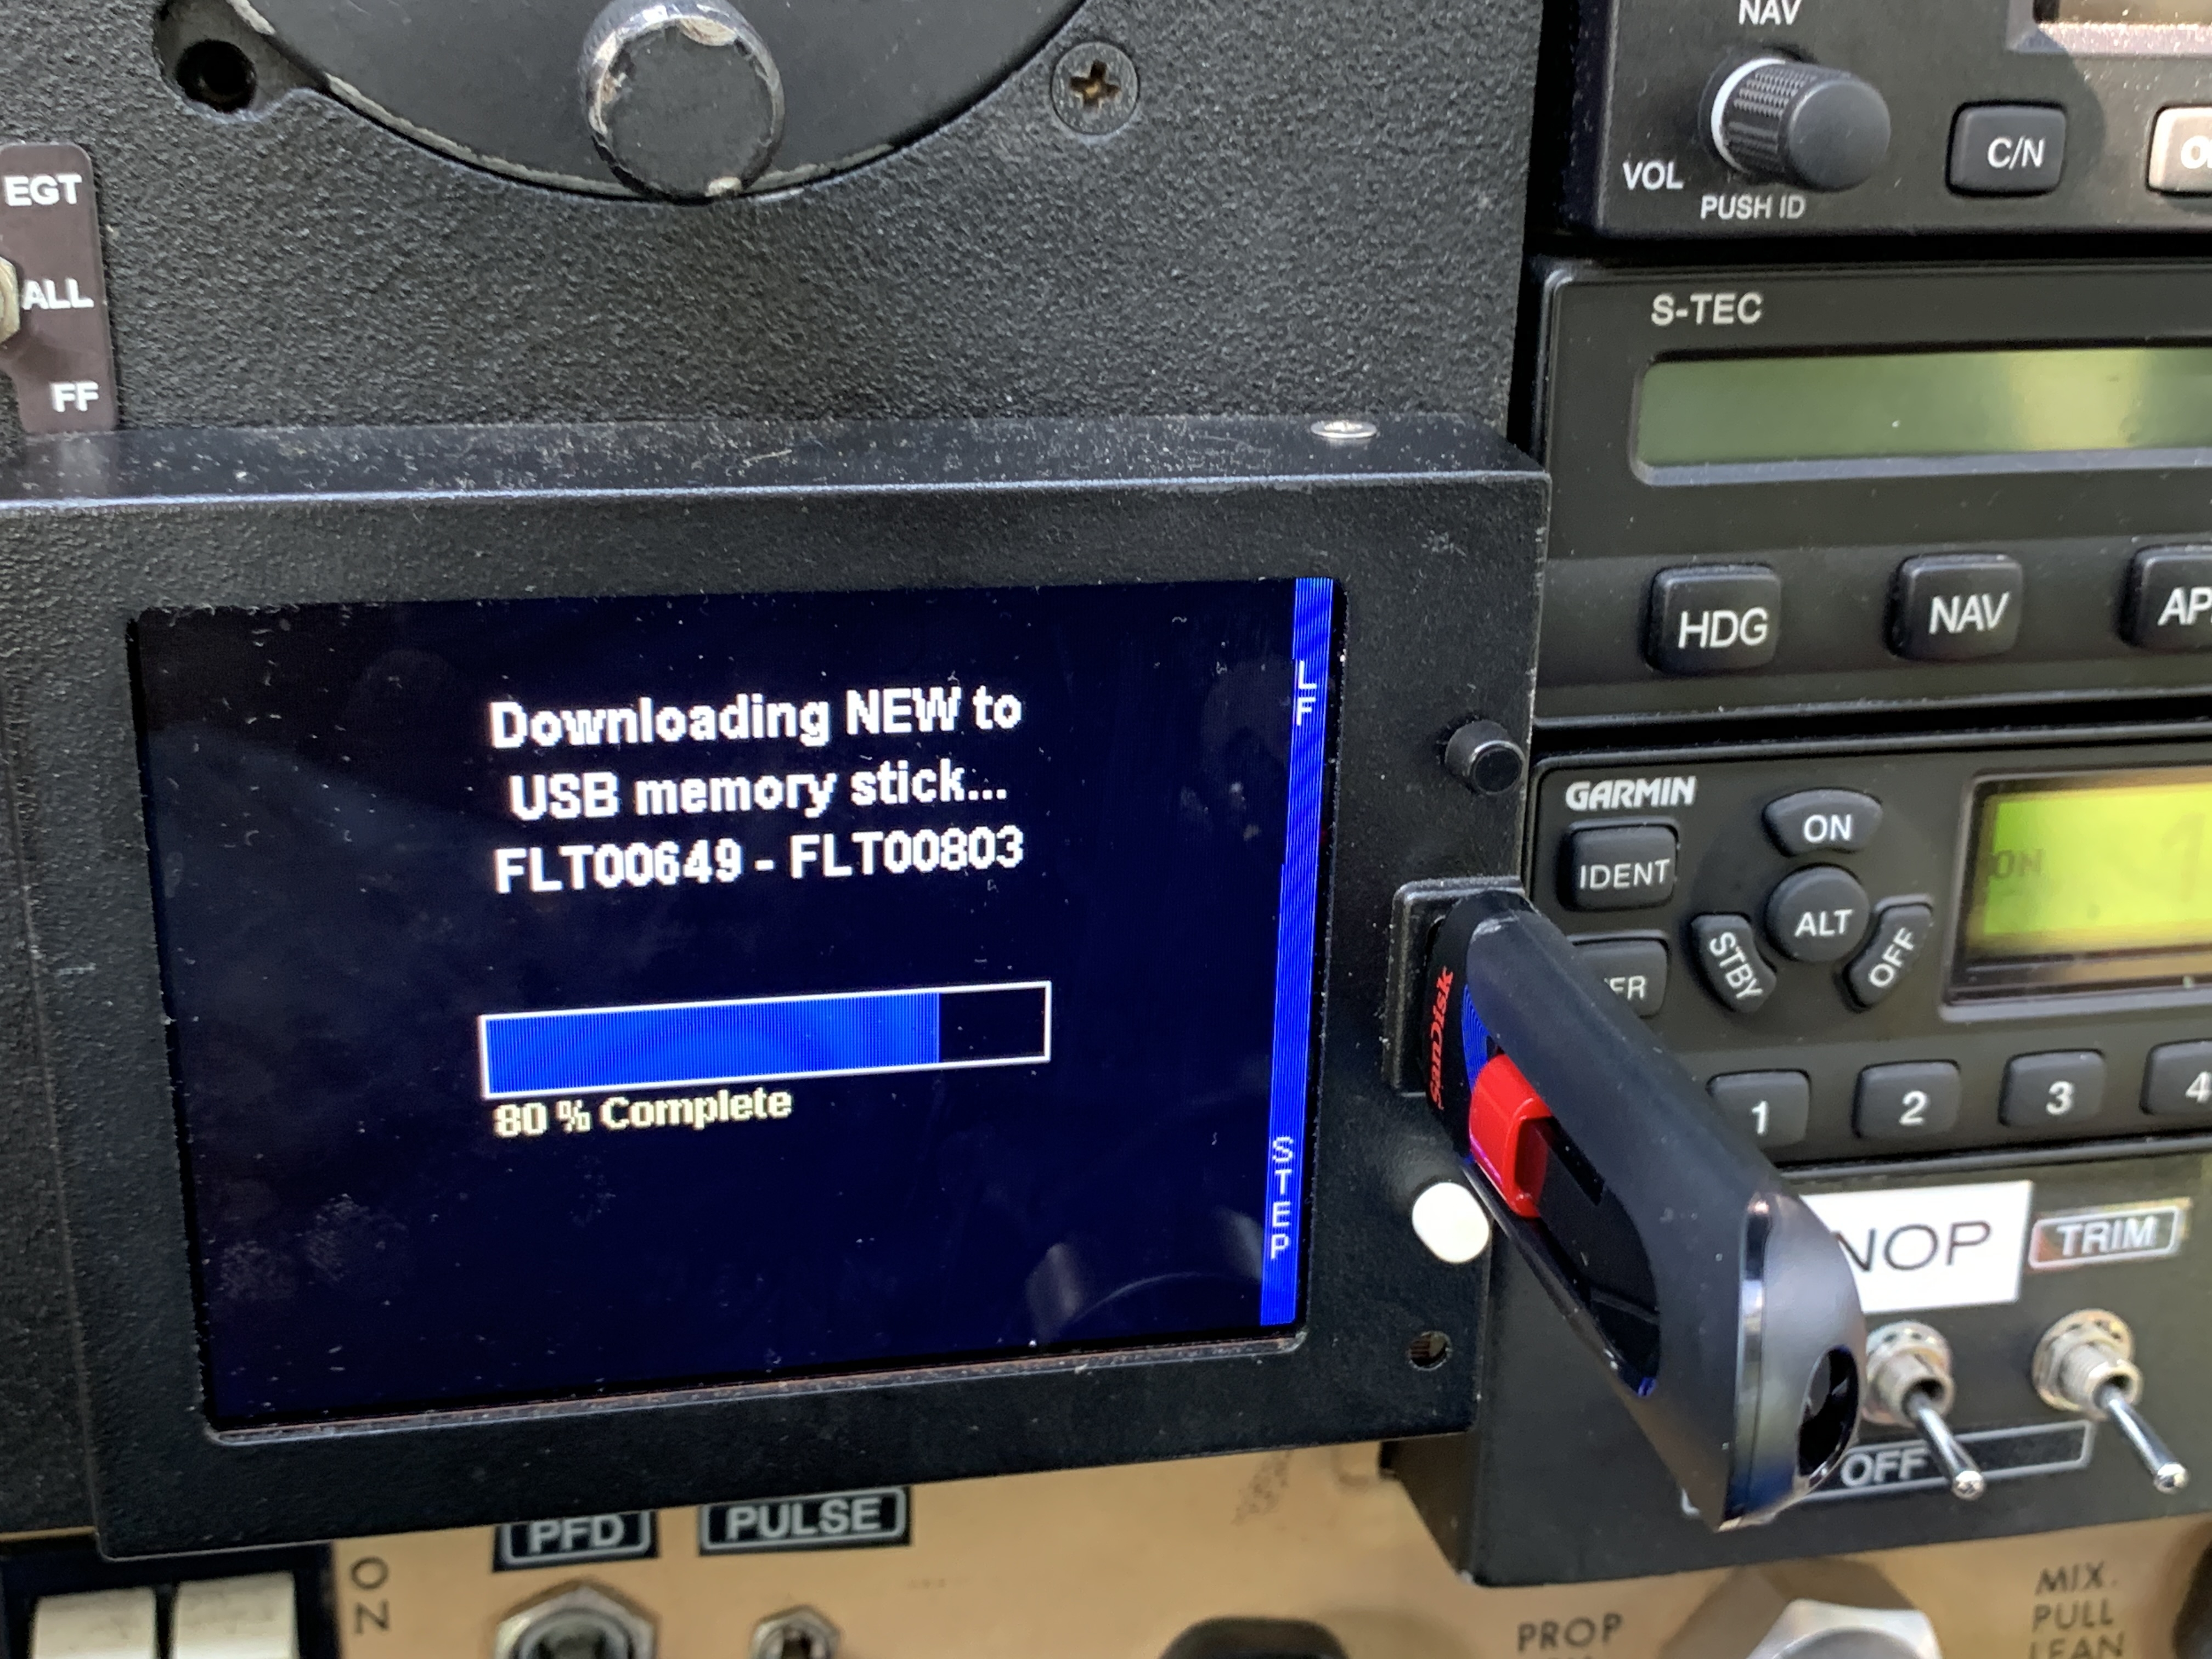
The whole ordeal has been challenging to figure out, but the engine data from the JPI-830 engine monitor has been helpful.
After observing the engine data on a computer screen, it’s obvious there was a big problem with low oil pressure when the aircraft departed on the flight that would end in a farm field.
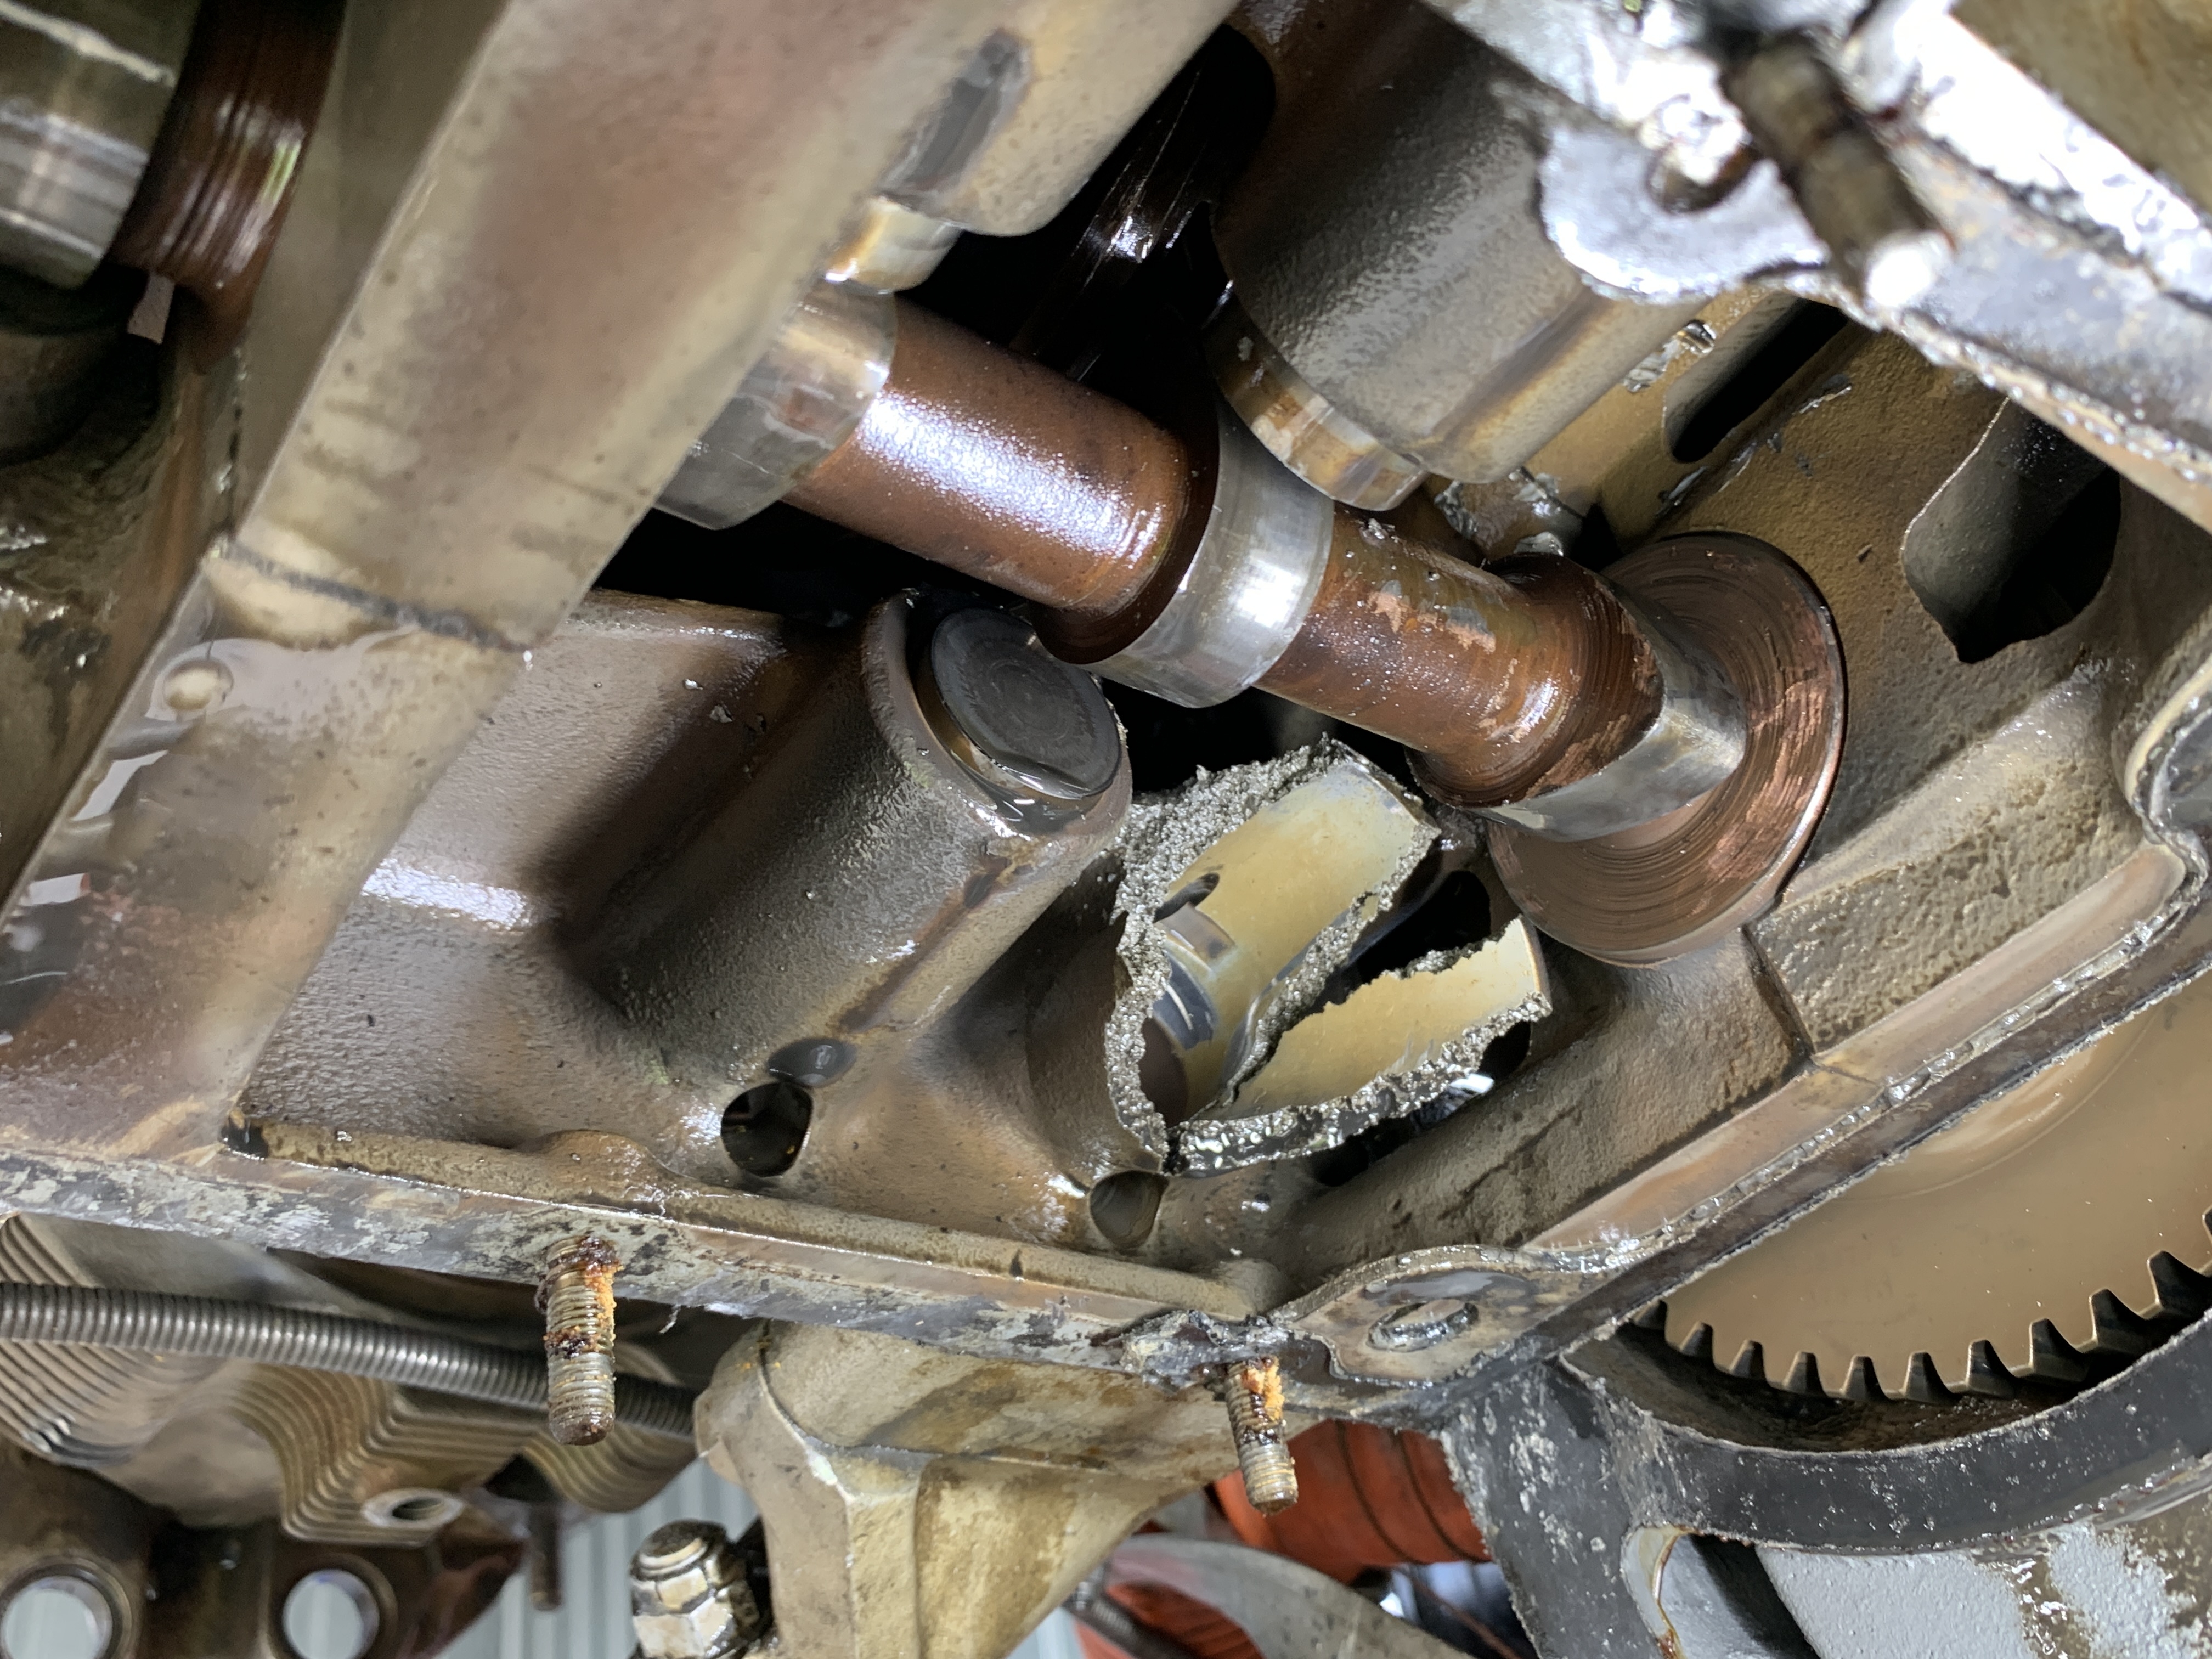
It’s been a crazy busy week after returning home, and yesterday, I finally had time to remove cylinder #1 from the engine, but it would not come off! How frustrating!
We think the steel cylinder barrel was peened and deformed inside the crankcase, which won’t let it come out.
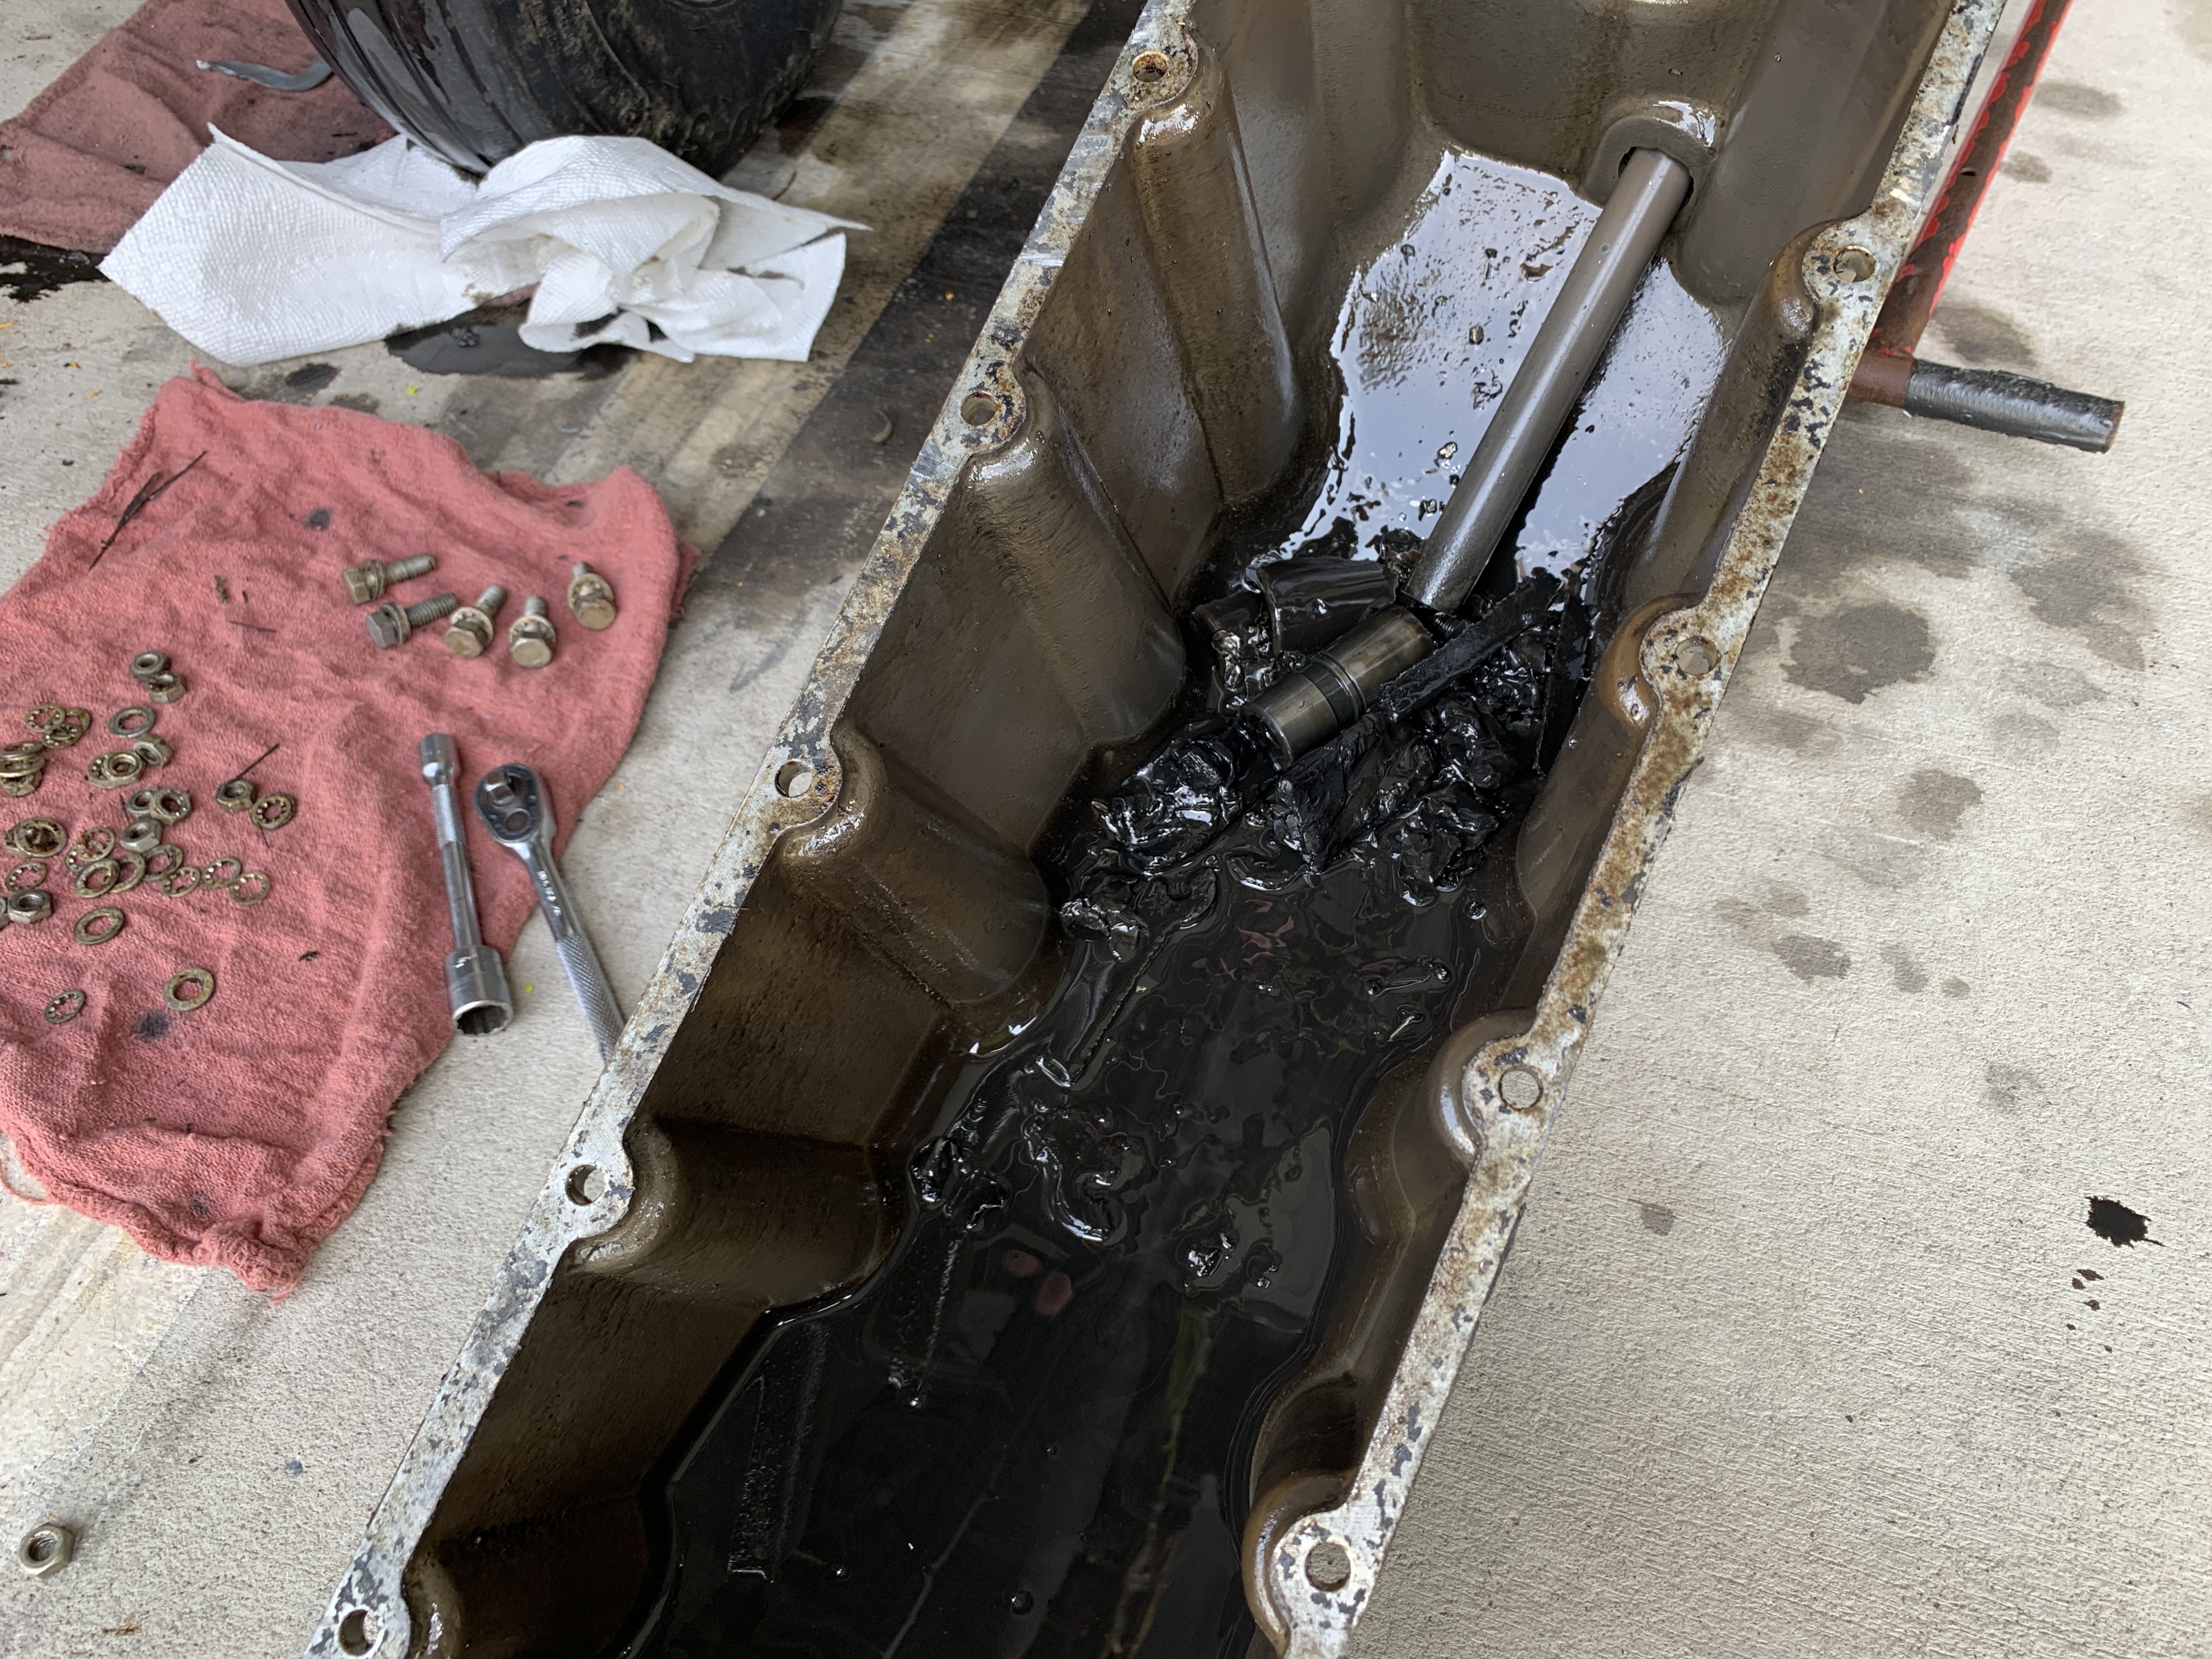
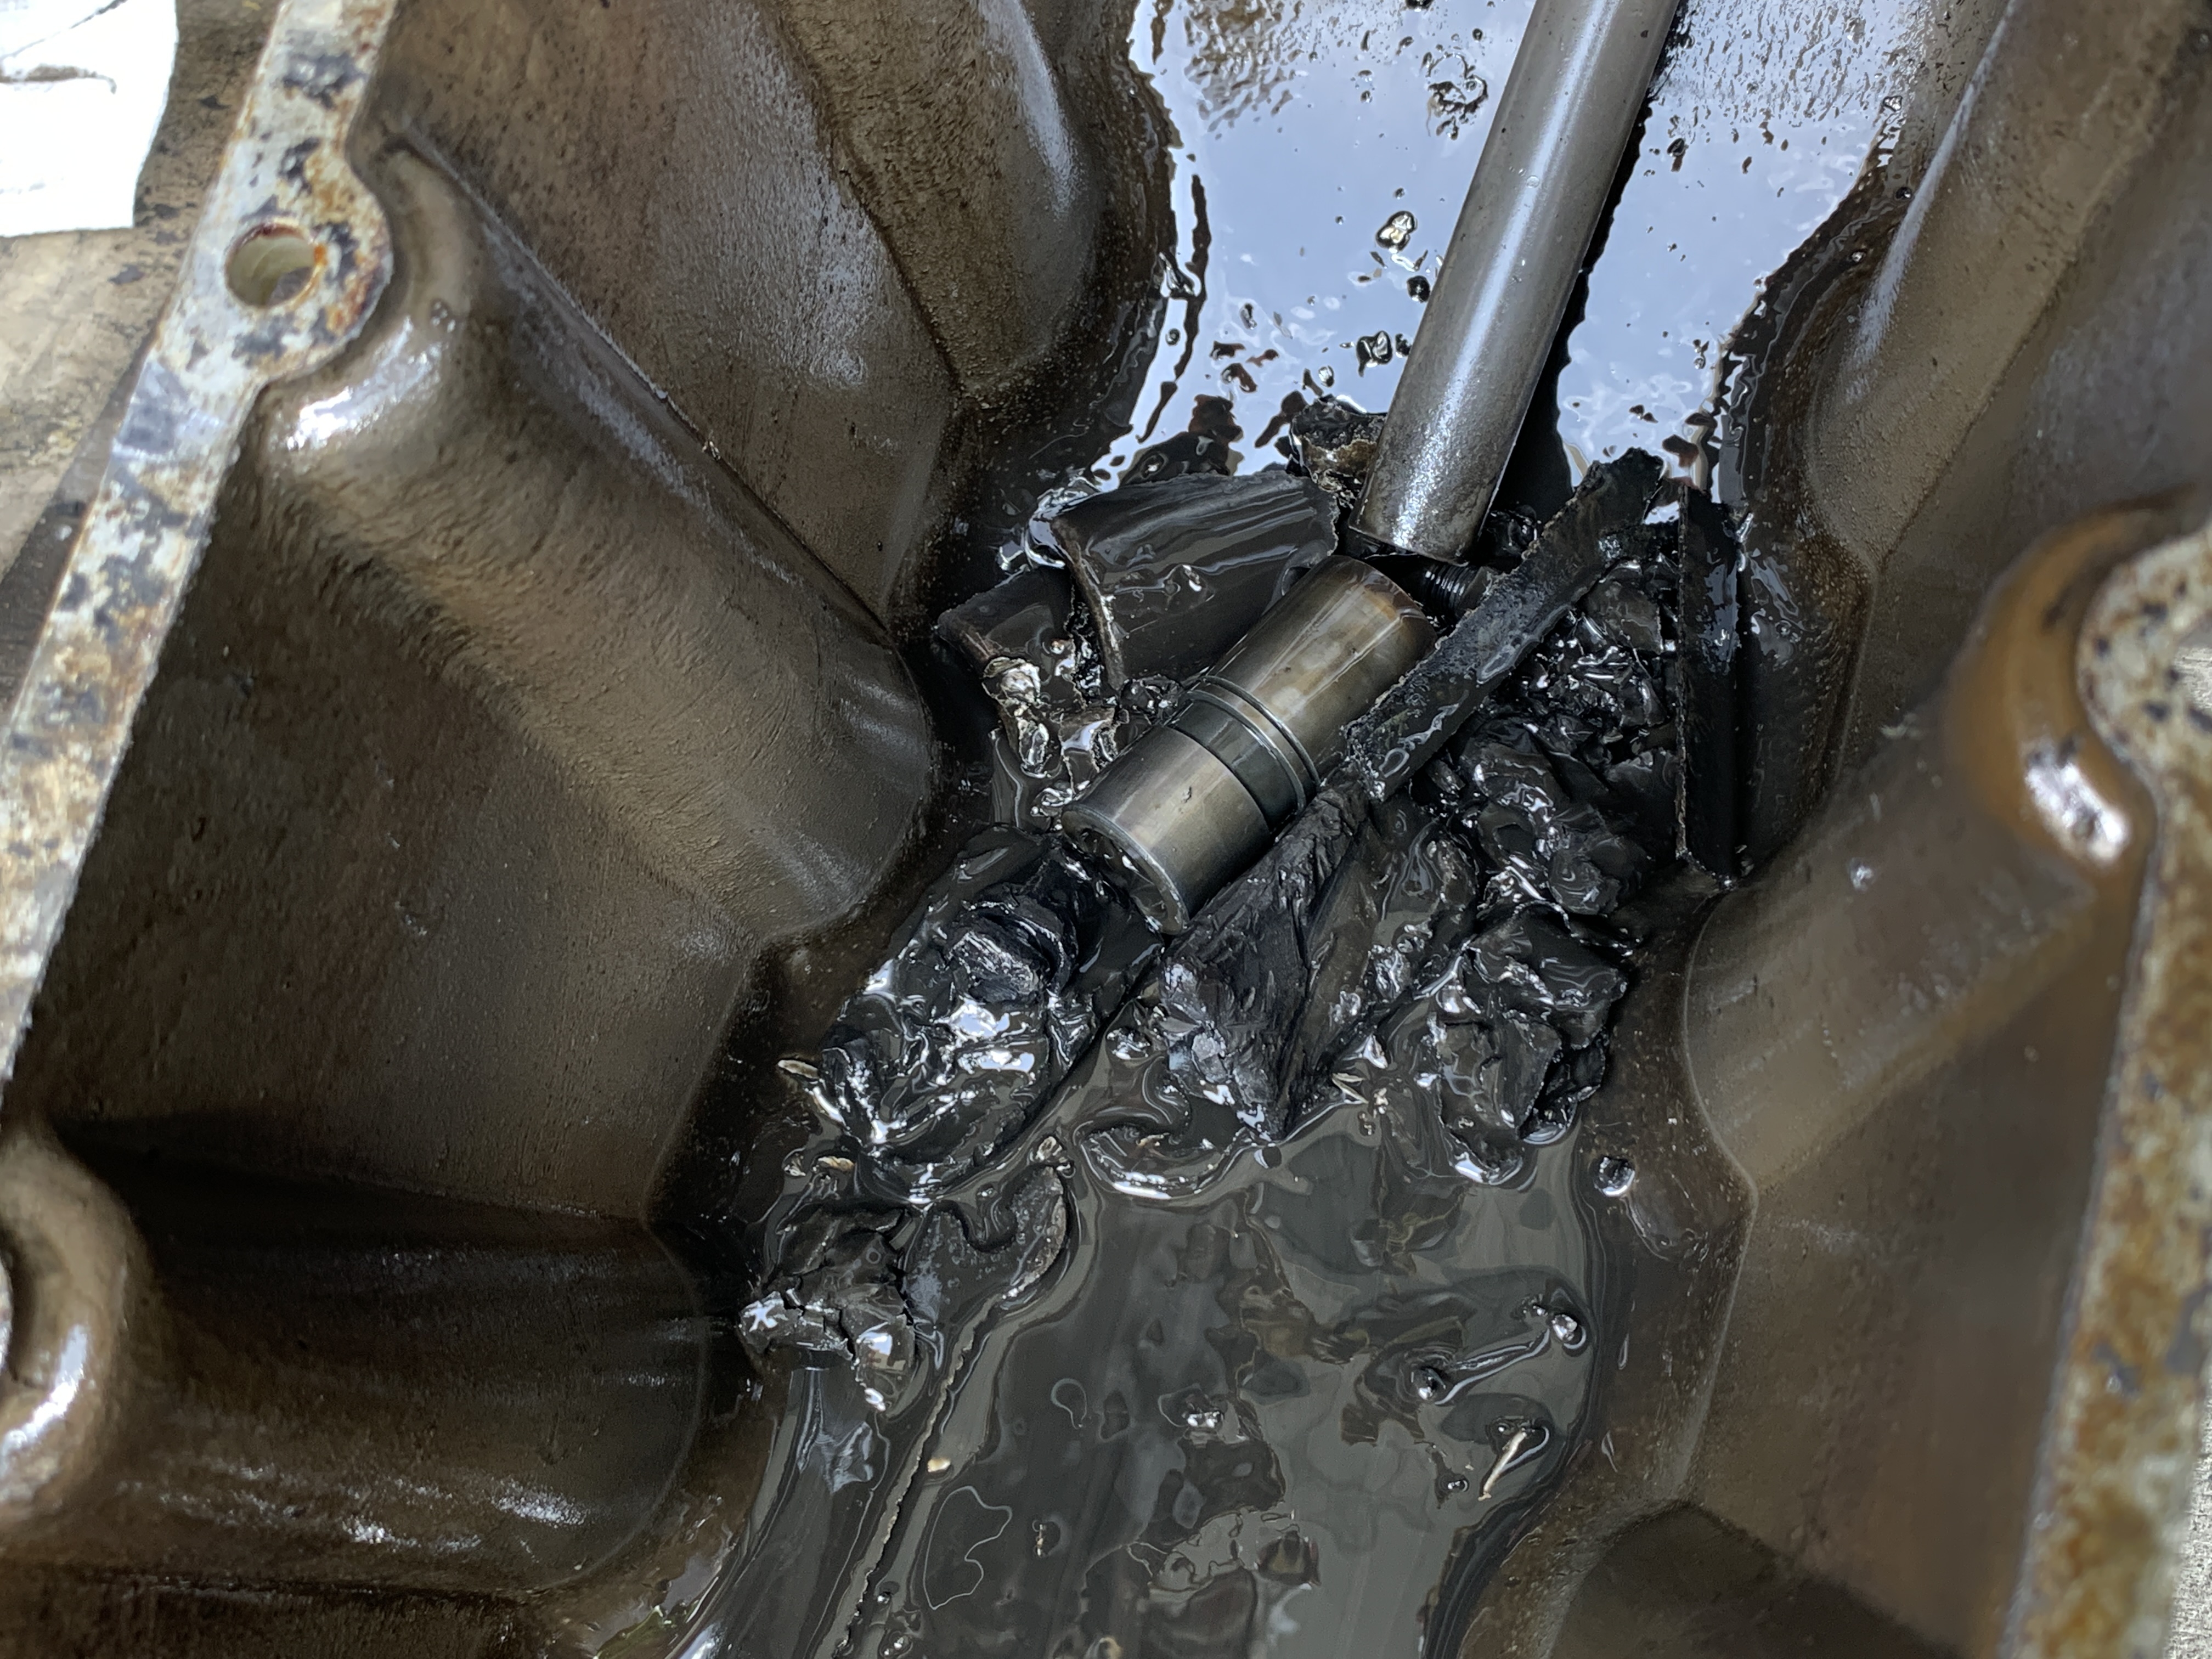
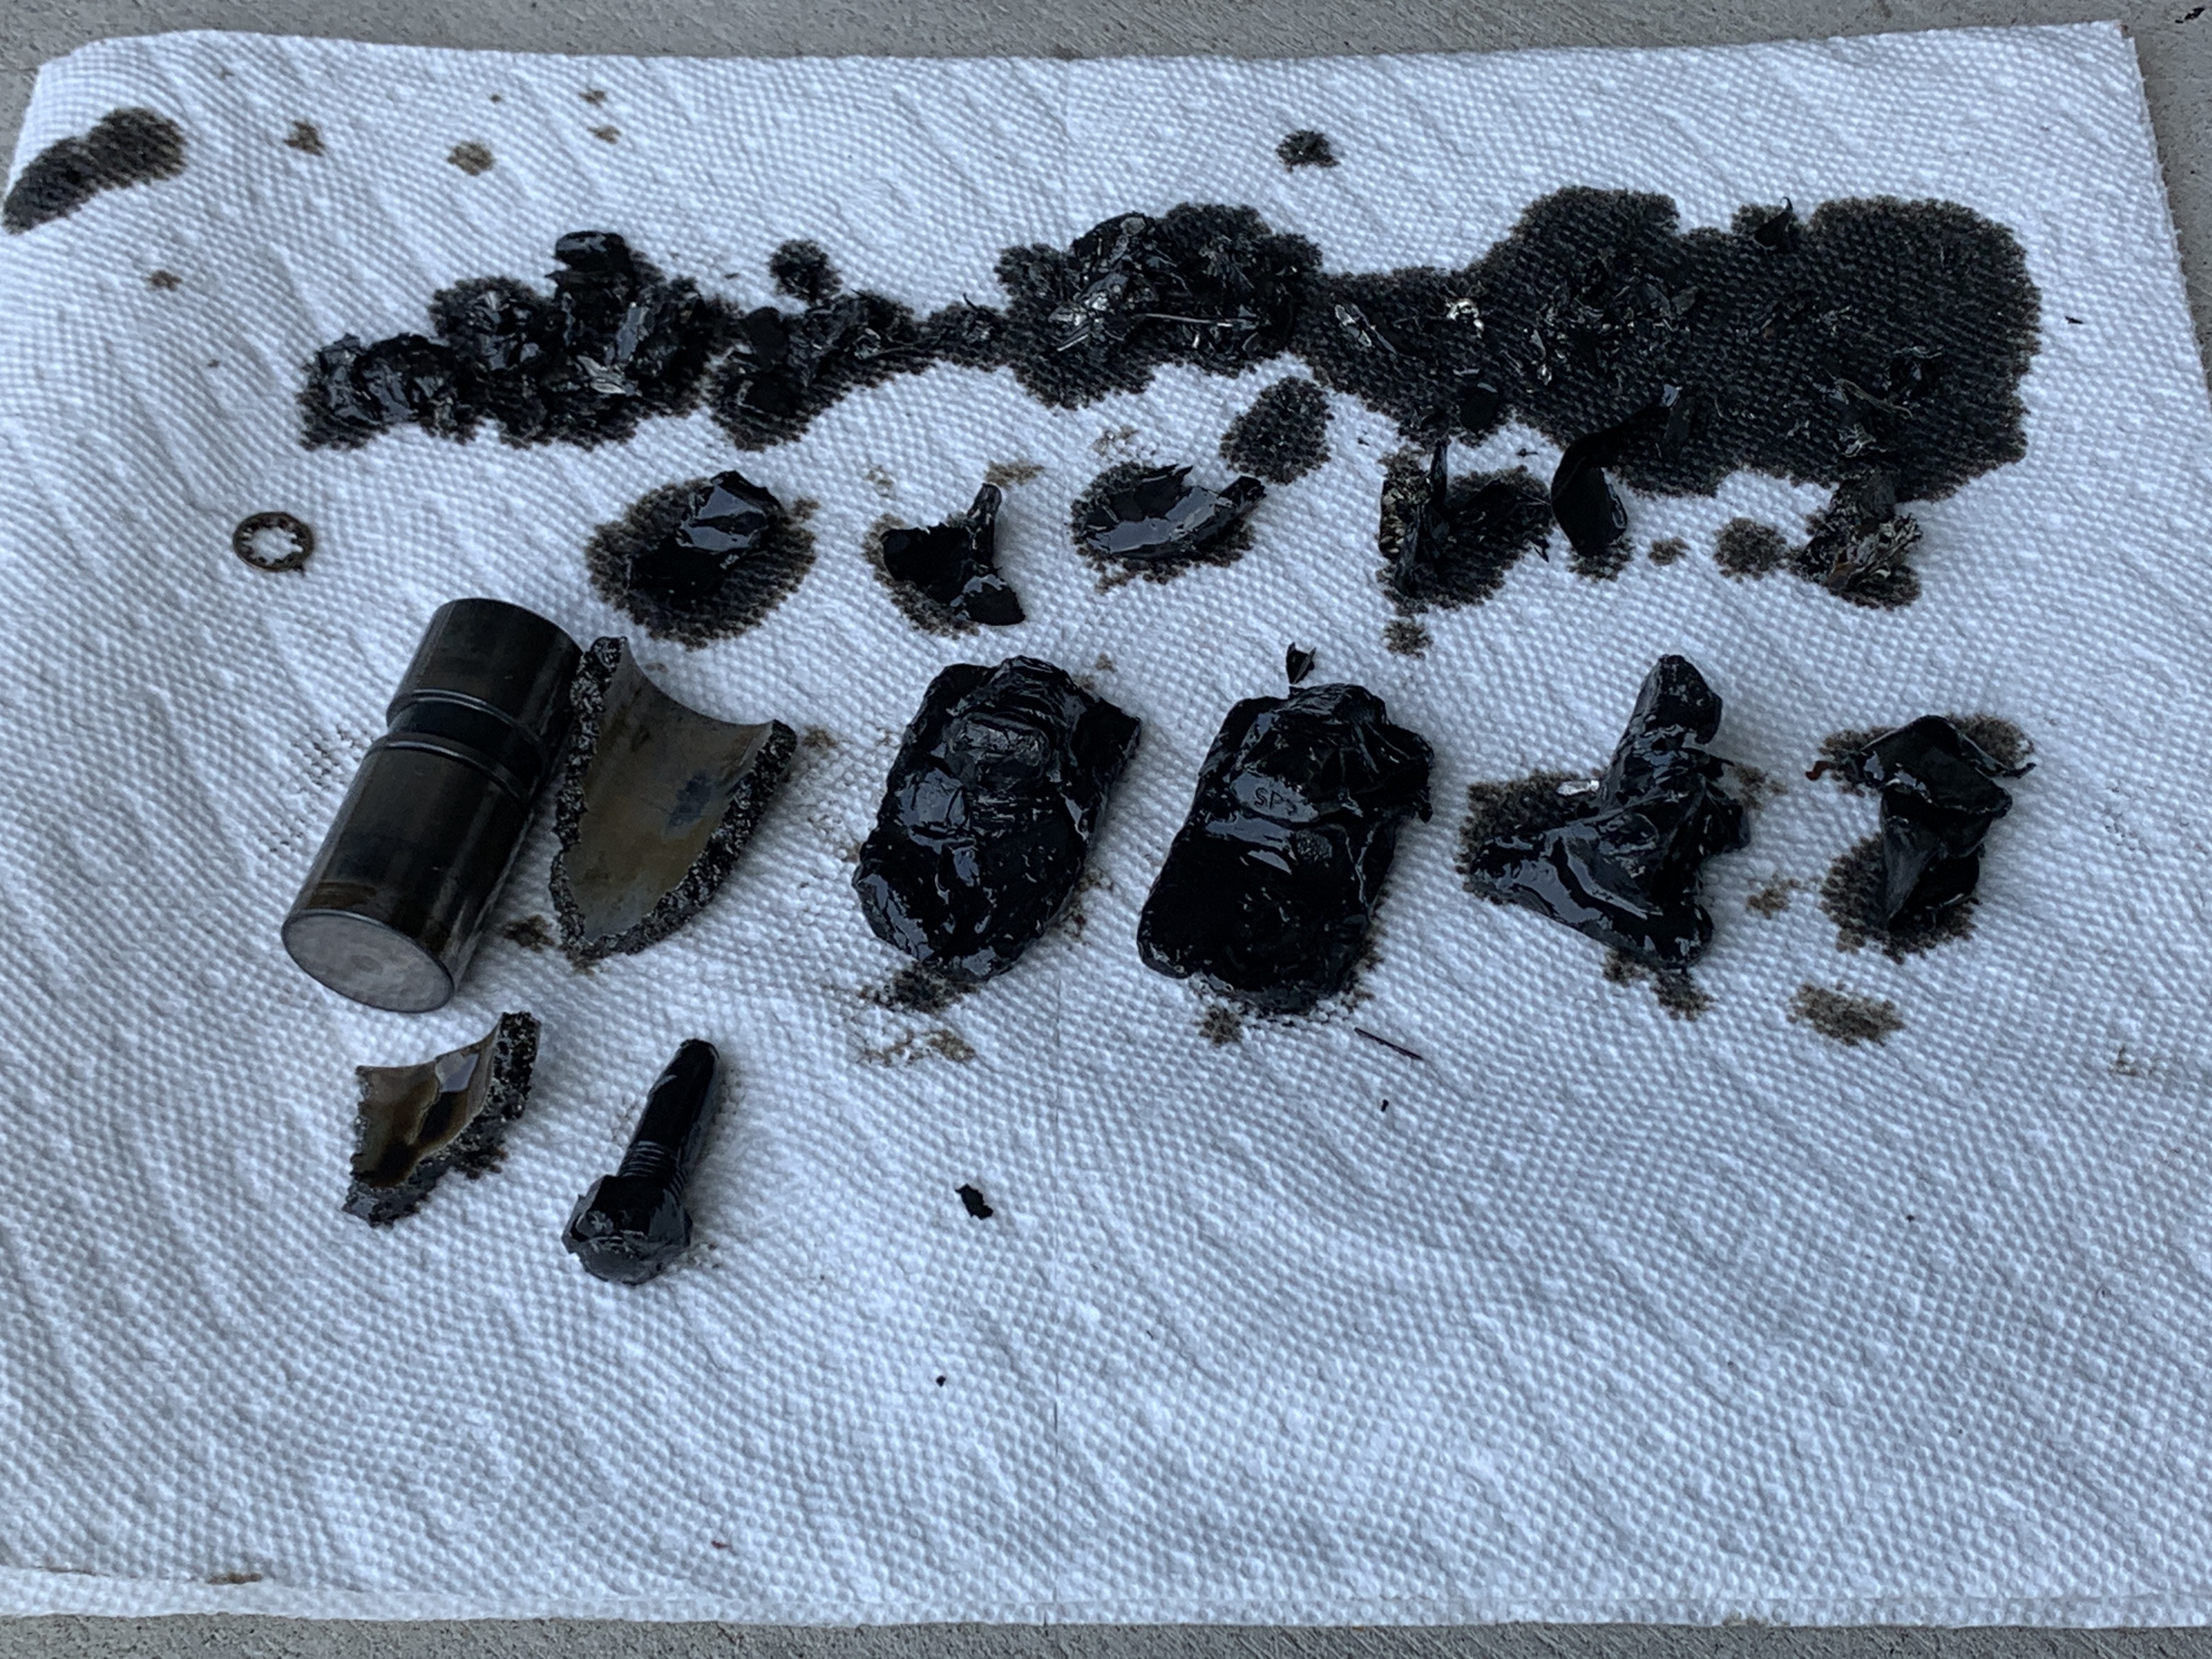
So this morning, I removed the oil sump, and it was full of all kinds of interesting stuff… the exhaust lifter, which was in amazingly good condition… pieces of the connecting rod that came off the crankshaft journal… and other pieces of debris.
That tube at the end of the lifter is the oil suction tube that goes up to the oil suction screen and from there to the oil filter.
So there’s the story… so far.
Also mentioned in this episode:
Troy Schlote sent me an encouraging email and let me know he’s trying to get the word out about the new location of AeroSport, LLC in Florida.
If any of you need light sport maintenance, Rotax maintenance, or GA maintenance in the Deland, Florida area, be sure to stop in and meet Troy.
Troy Schlote Director of Maintenance A&P / IA AeroSport, LLC www.fly-aerosport.com T: (888) 444-1970
Special bonus until Monday, July 5th at 12 midnight Eastern Daylight Time:
If you purchase the “Landing Gear Shock Strut Servicing” video course by that time, you’ll be included in two Q&A calls later in August, where you can ask me anything about shock struts or any related topics. I’d love to see you in those calls!
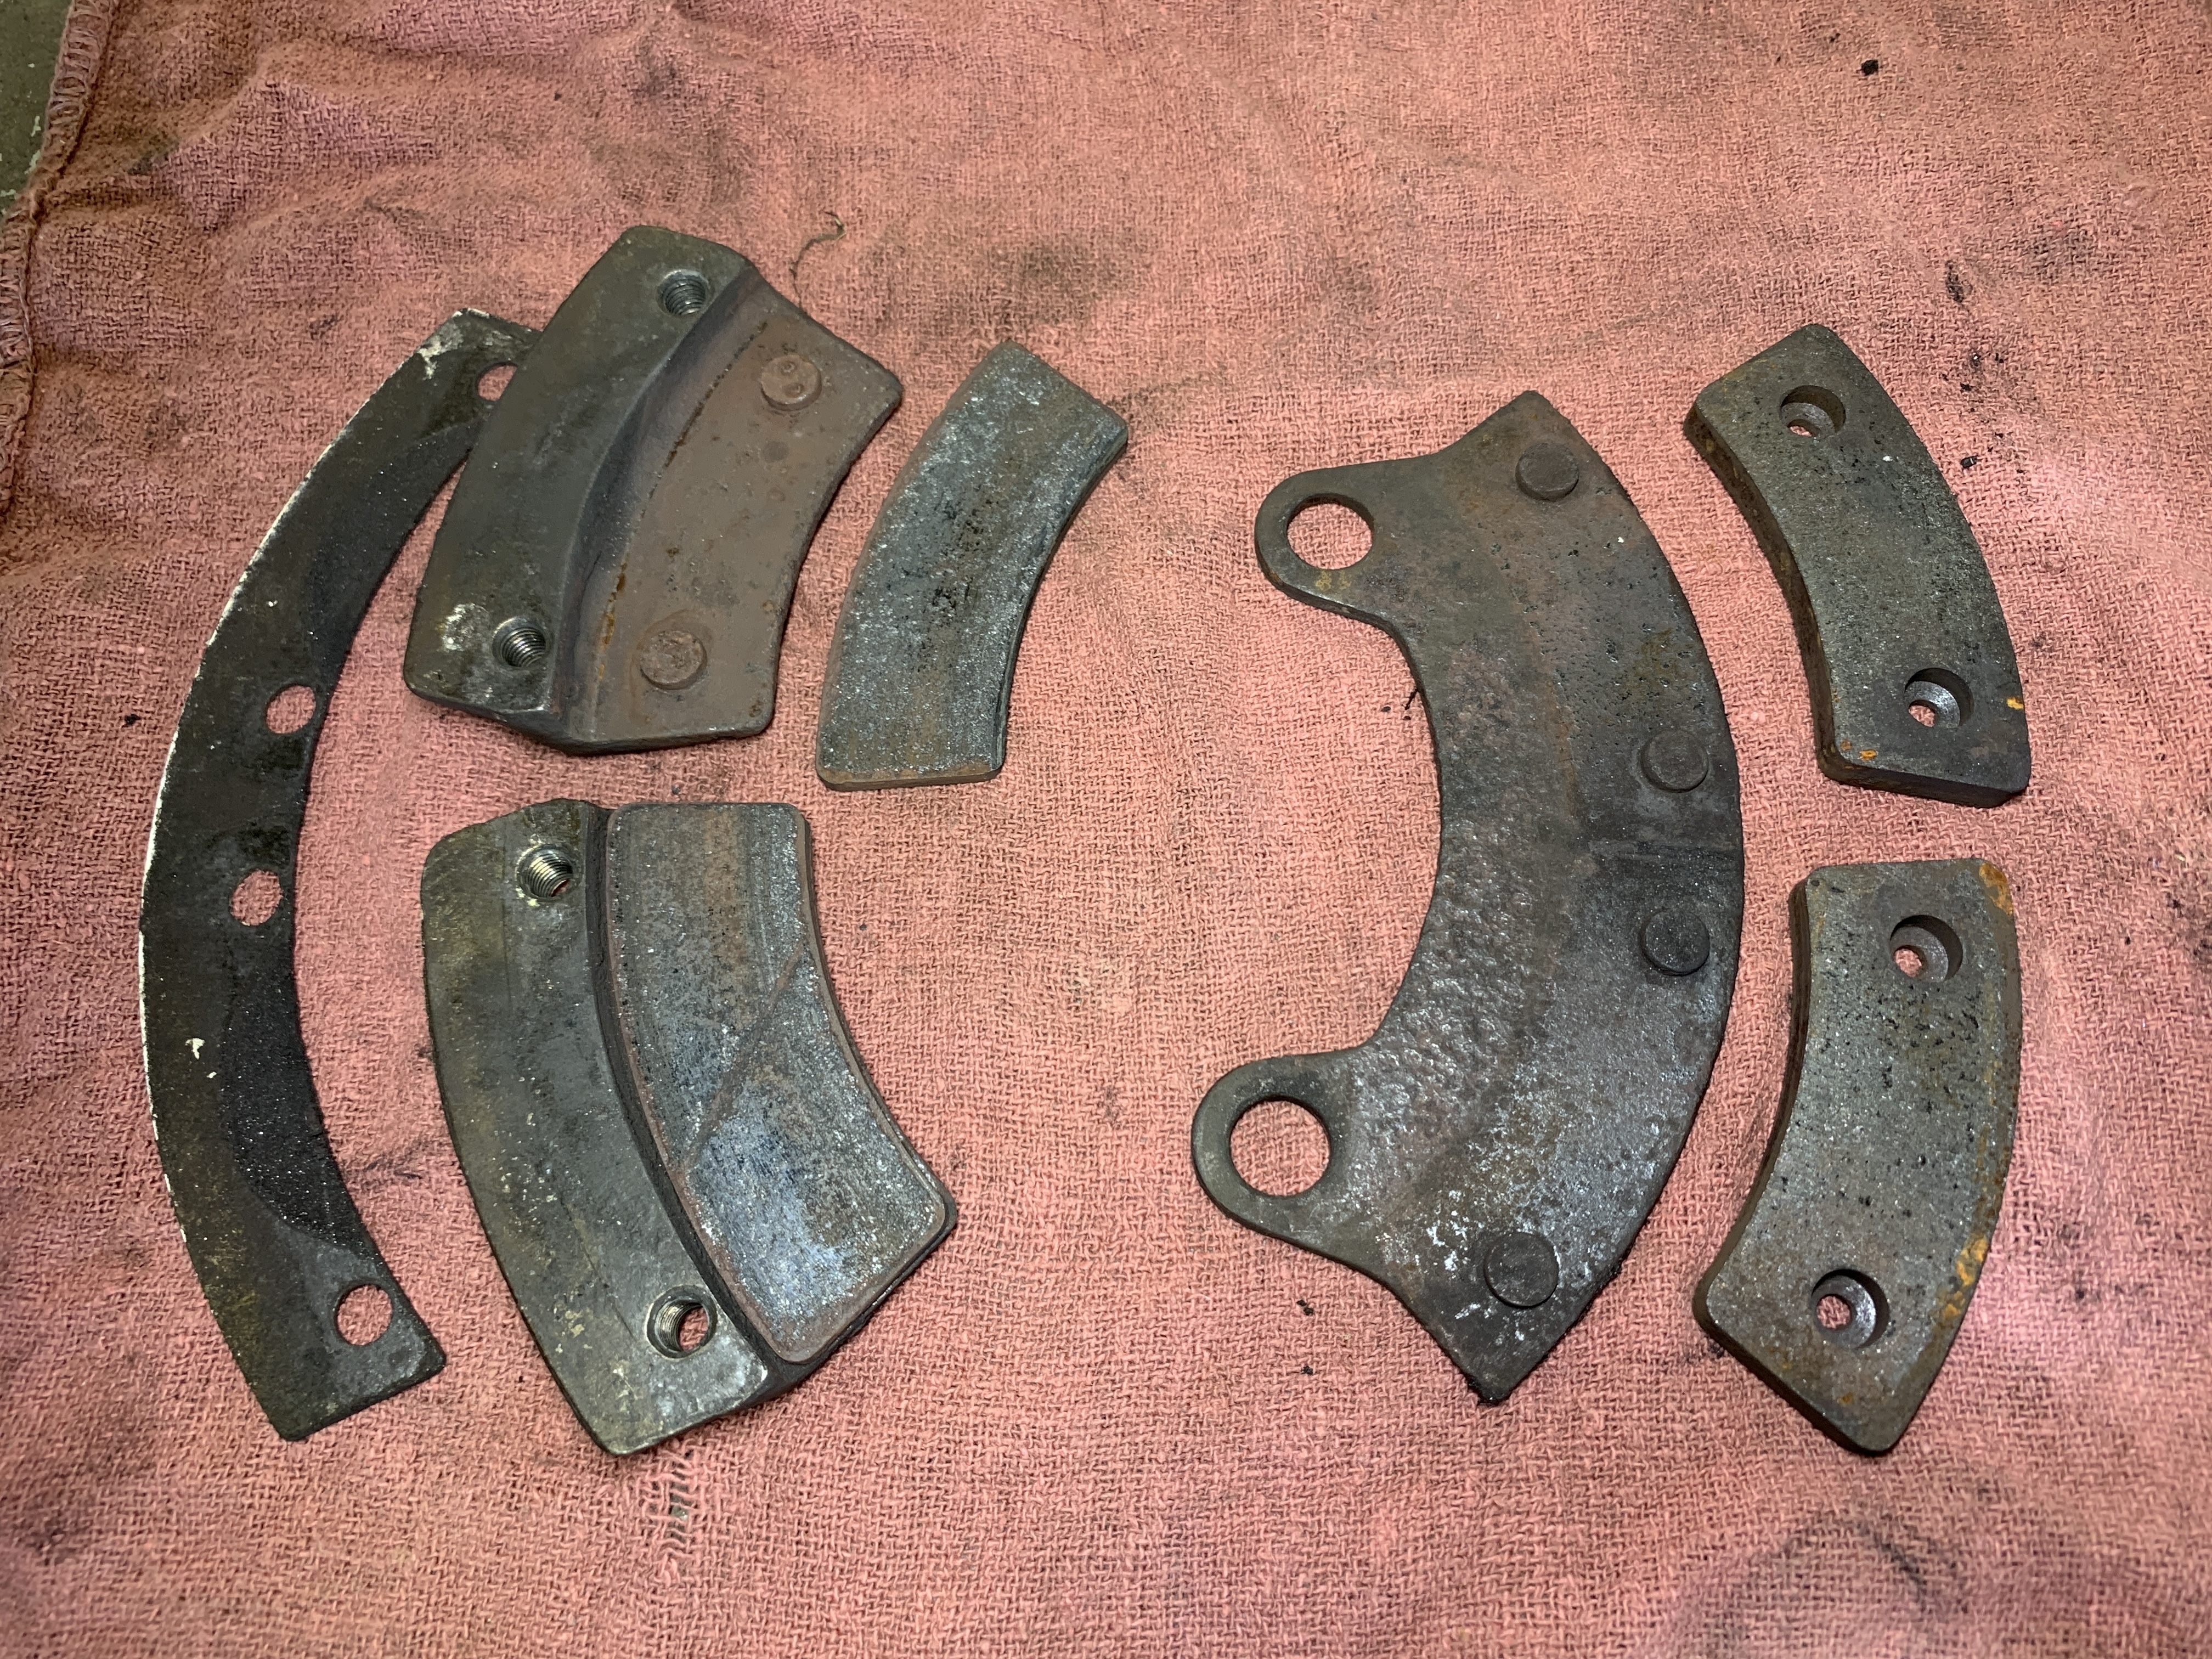
As promised, here’s a photo of the mix-matched brake parts I discovered this past week on a Piper Saratoga:
The metallic linings on the left are the correct ones; the organic linings on the right are the wrong parts! They were just sort of “riding free” on the pins of the backplate… it’s a good thing they didn’t fall out!
I think all my fellow A&P’s and IA’s out there will get a big kick out of this one… we see some crazy things in airplane maintenance!
One of my favorite memories from the 2019 show was on Saturday evening when Julie Clark gave her final Oshkosh performance in her T34 Mentor, as she was planning to retire.
The performance was absolutely incredible… so peaceful and smooth… the weather was perfect, and I also remember one of the songs that was playing during her performance… “God Bless America.”
In researching for this episode, I found a video of portions of Julie’s performance, as well as a phenomenal recording (not from Oshkosh) of the song, God Bless America. Perhaps you’ll enjoy these… I sure did!
Many of you have registered for the shock strut webinar coming up on Friday, July 2, 2021 at 8pm Eastern time. If not, you can learn more by clicking the button:
So far we have 72 people registered, so there’s space for 28 more.
I’ve got helpful photos and tips to share, but I also want to reserve plenty of time for questions as well.
If you know of someone who might want to learn about landing gear shock struts and keeping them serviced properly, I’d be grateful if you’d share this link with them:
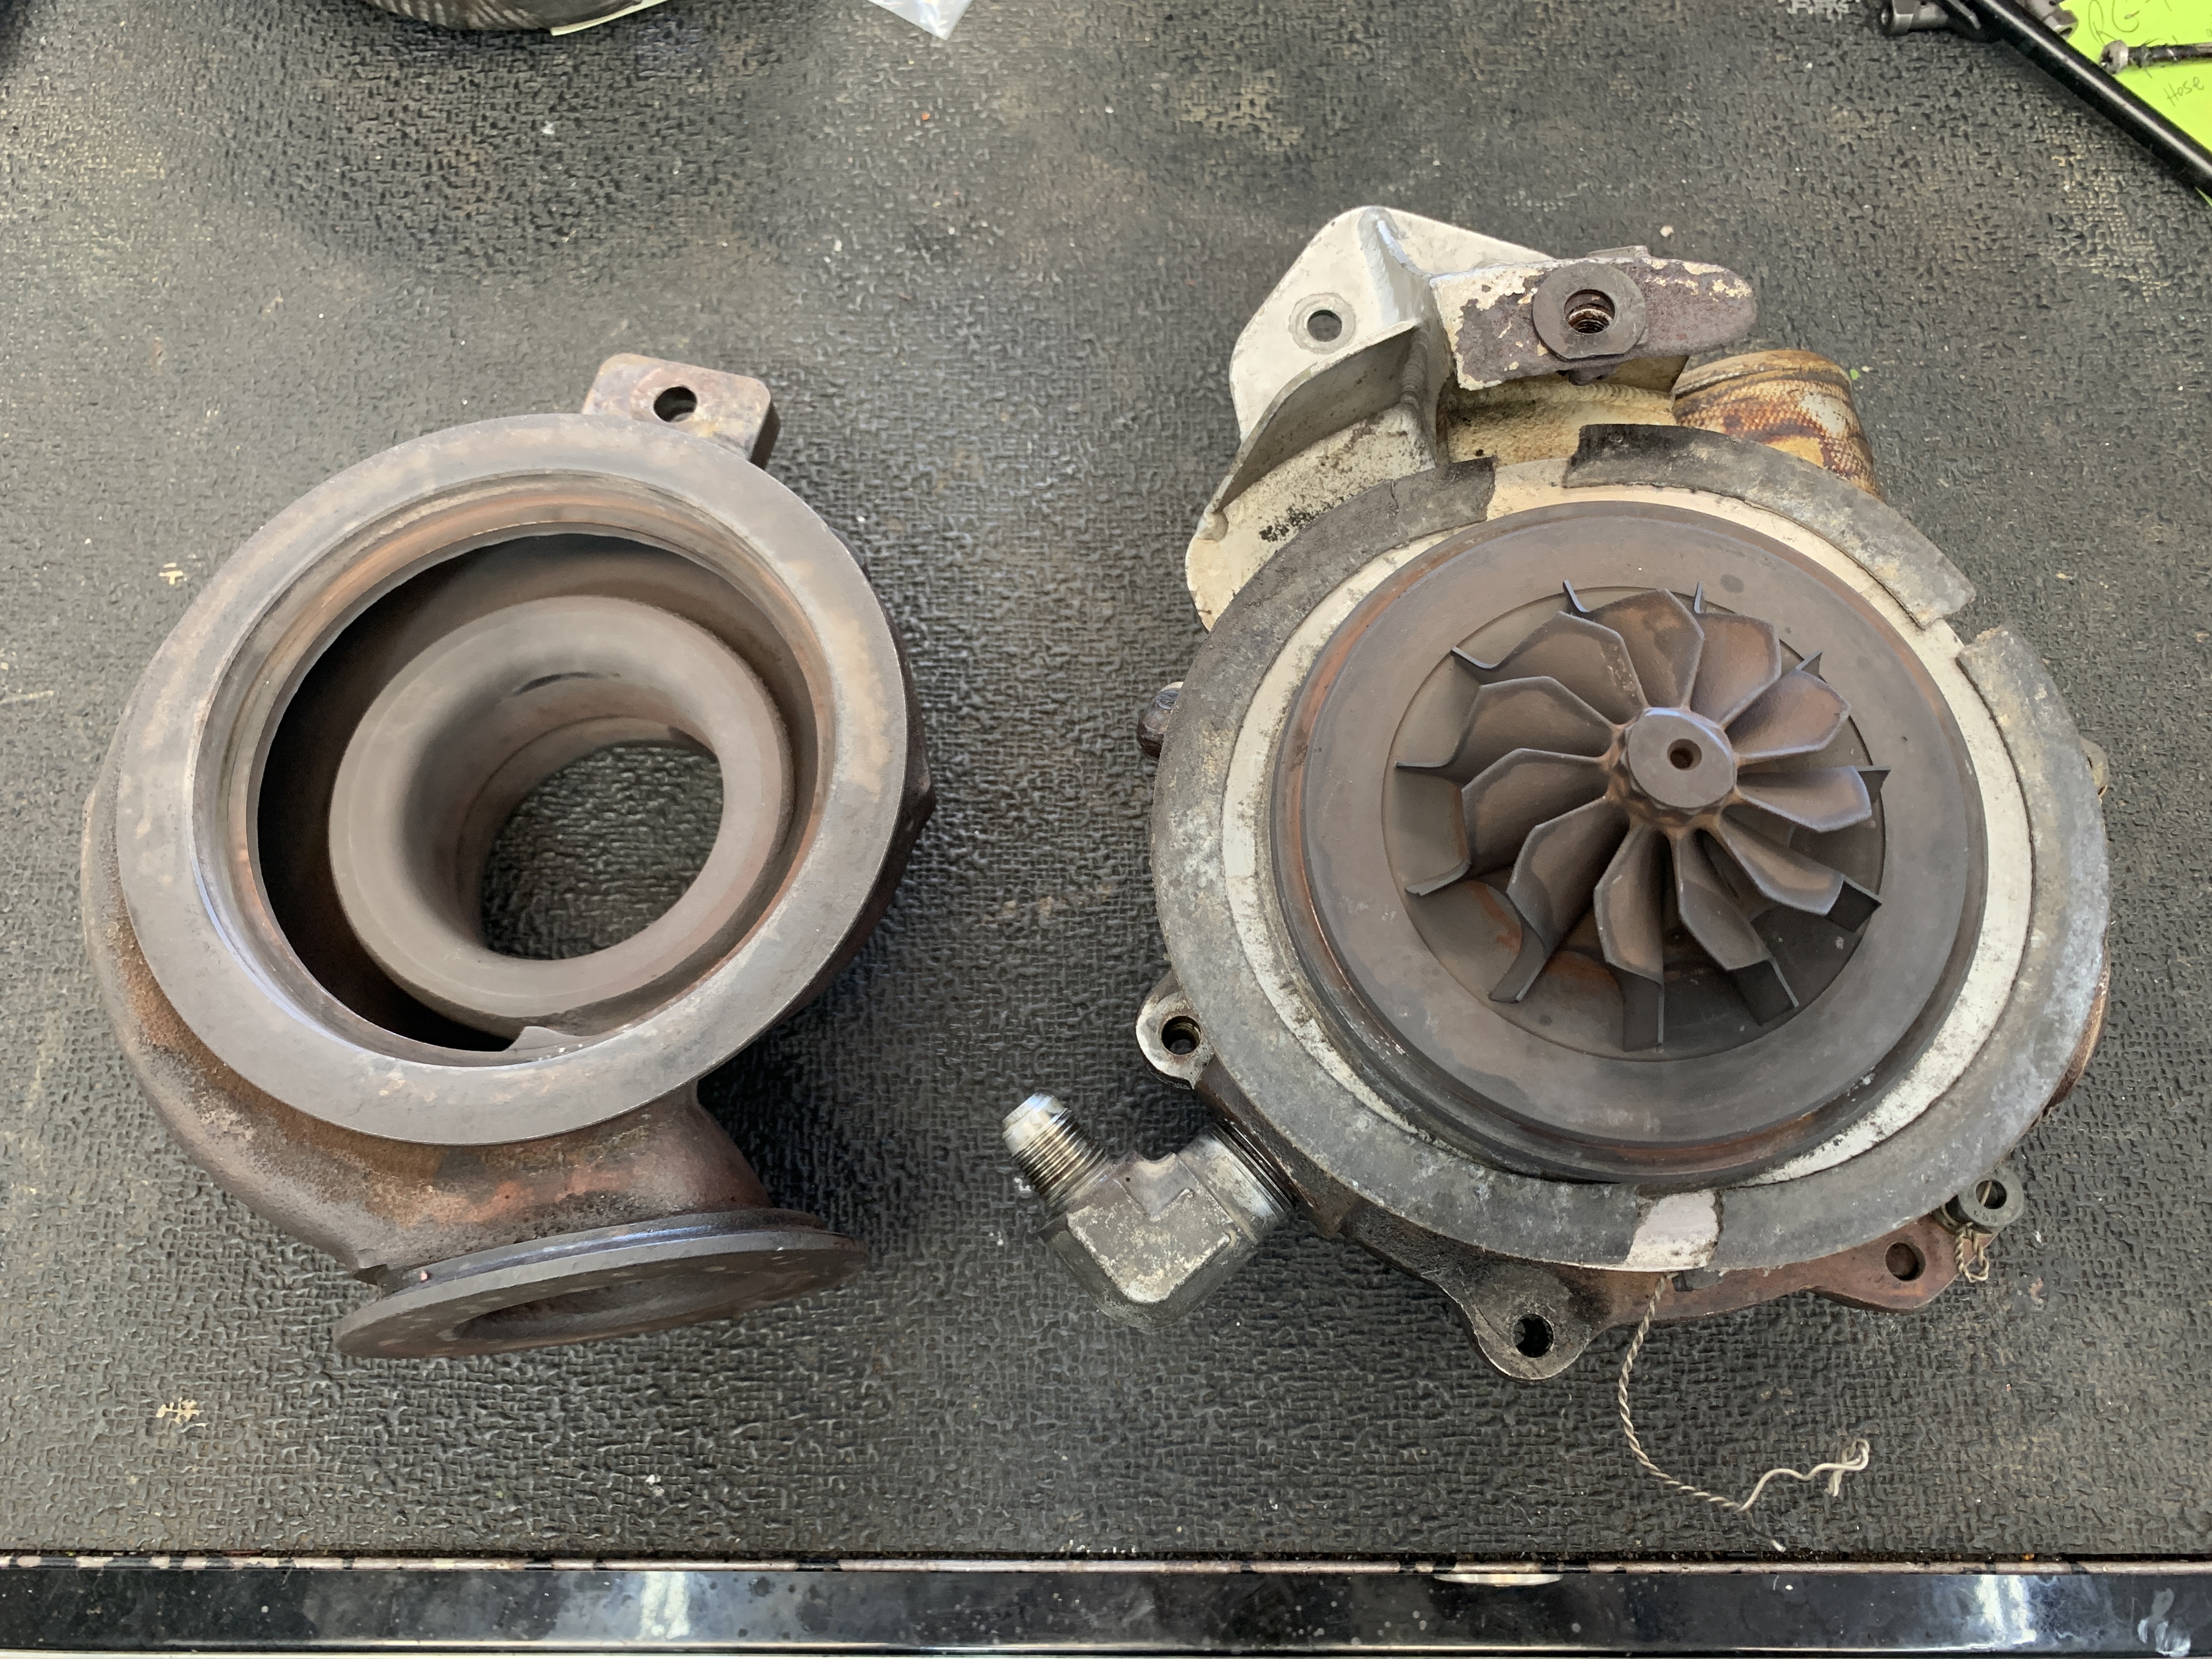
Listen to the podcast episode to hear how Jeff bailed me out on this one! (The gasket between the halves of the turbo broke as I was trying to rotate the halves to reseal an oil fitting.)
We also talked in this episode about two upcoming opportunities:
I’ll be presenting a Zoom webinar on Friday, July 2. The topic is “Best tips for servicing an airplane shock strut.” You can sign up and register here: AirplaneOwnerMaintenance.com/shockstruts (There are only 100 spots for this presentation.)
Also on that same day, July 2, we will be launching the Shock Strut Servicing Video Training Course. There will be information during and after the webinar for how to take advantage of the video training.
We’ll talk about these photos in this week’s podcast episode, and how they explain the problem Aram was having with his propeller. (Photos courtesy of Dave Pasquale of Pasquale Aviation LLC.) Dave is removing the prop to be sent out for repair, and will reinstall it when the repair is finished.
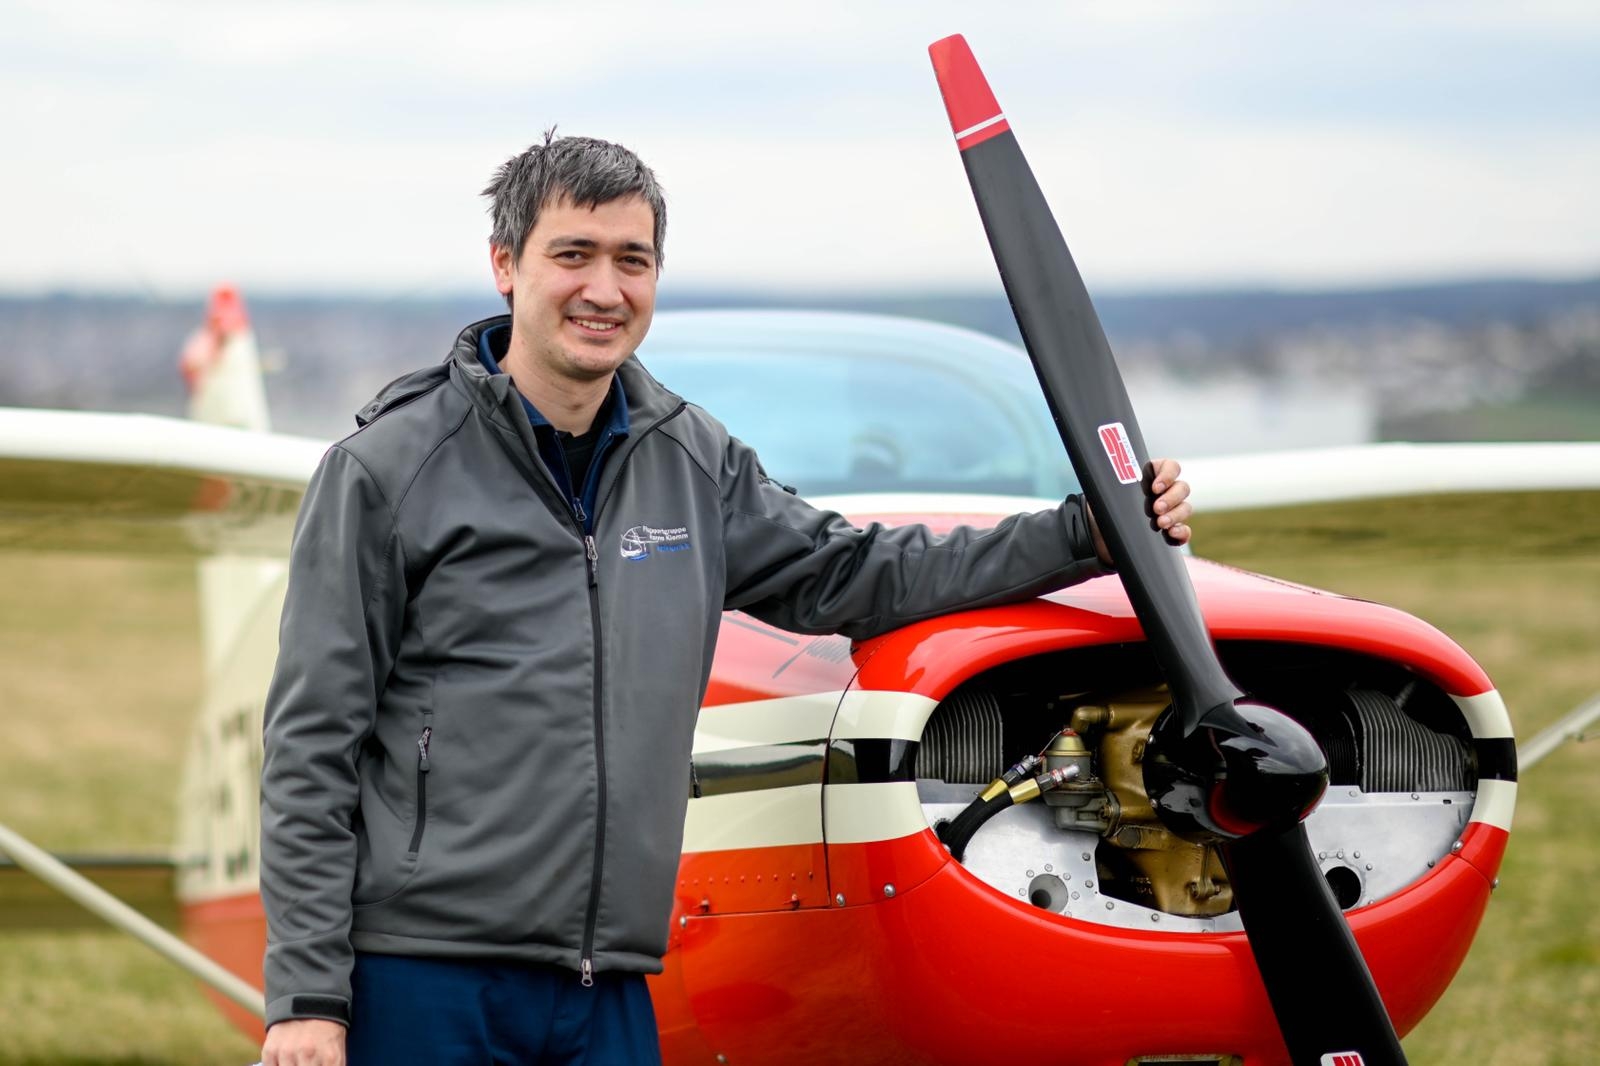
But first, I want to introduce a podcast listener in Germany.
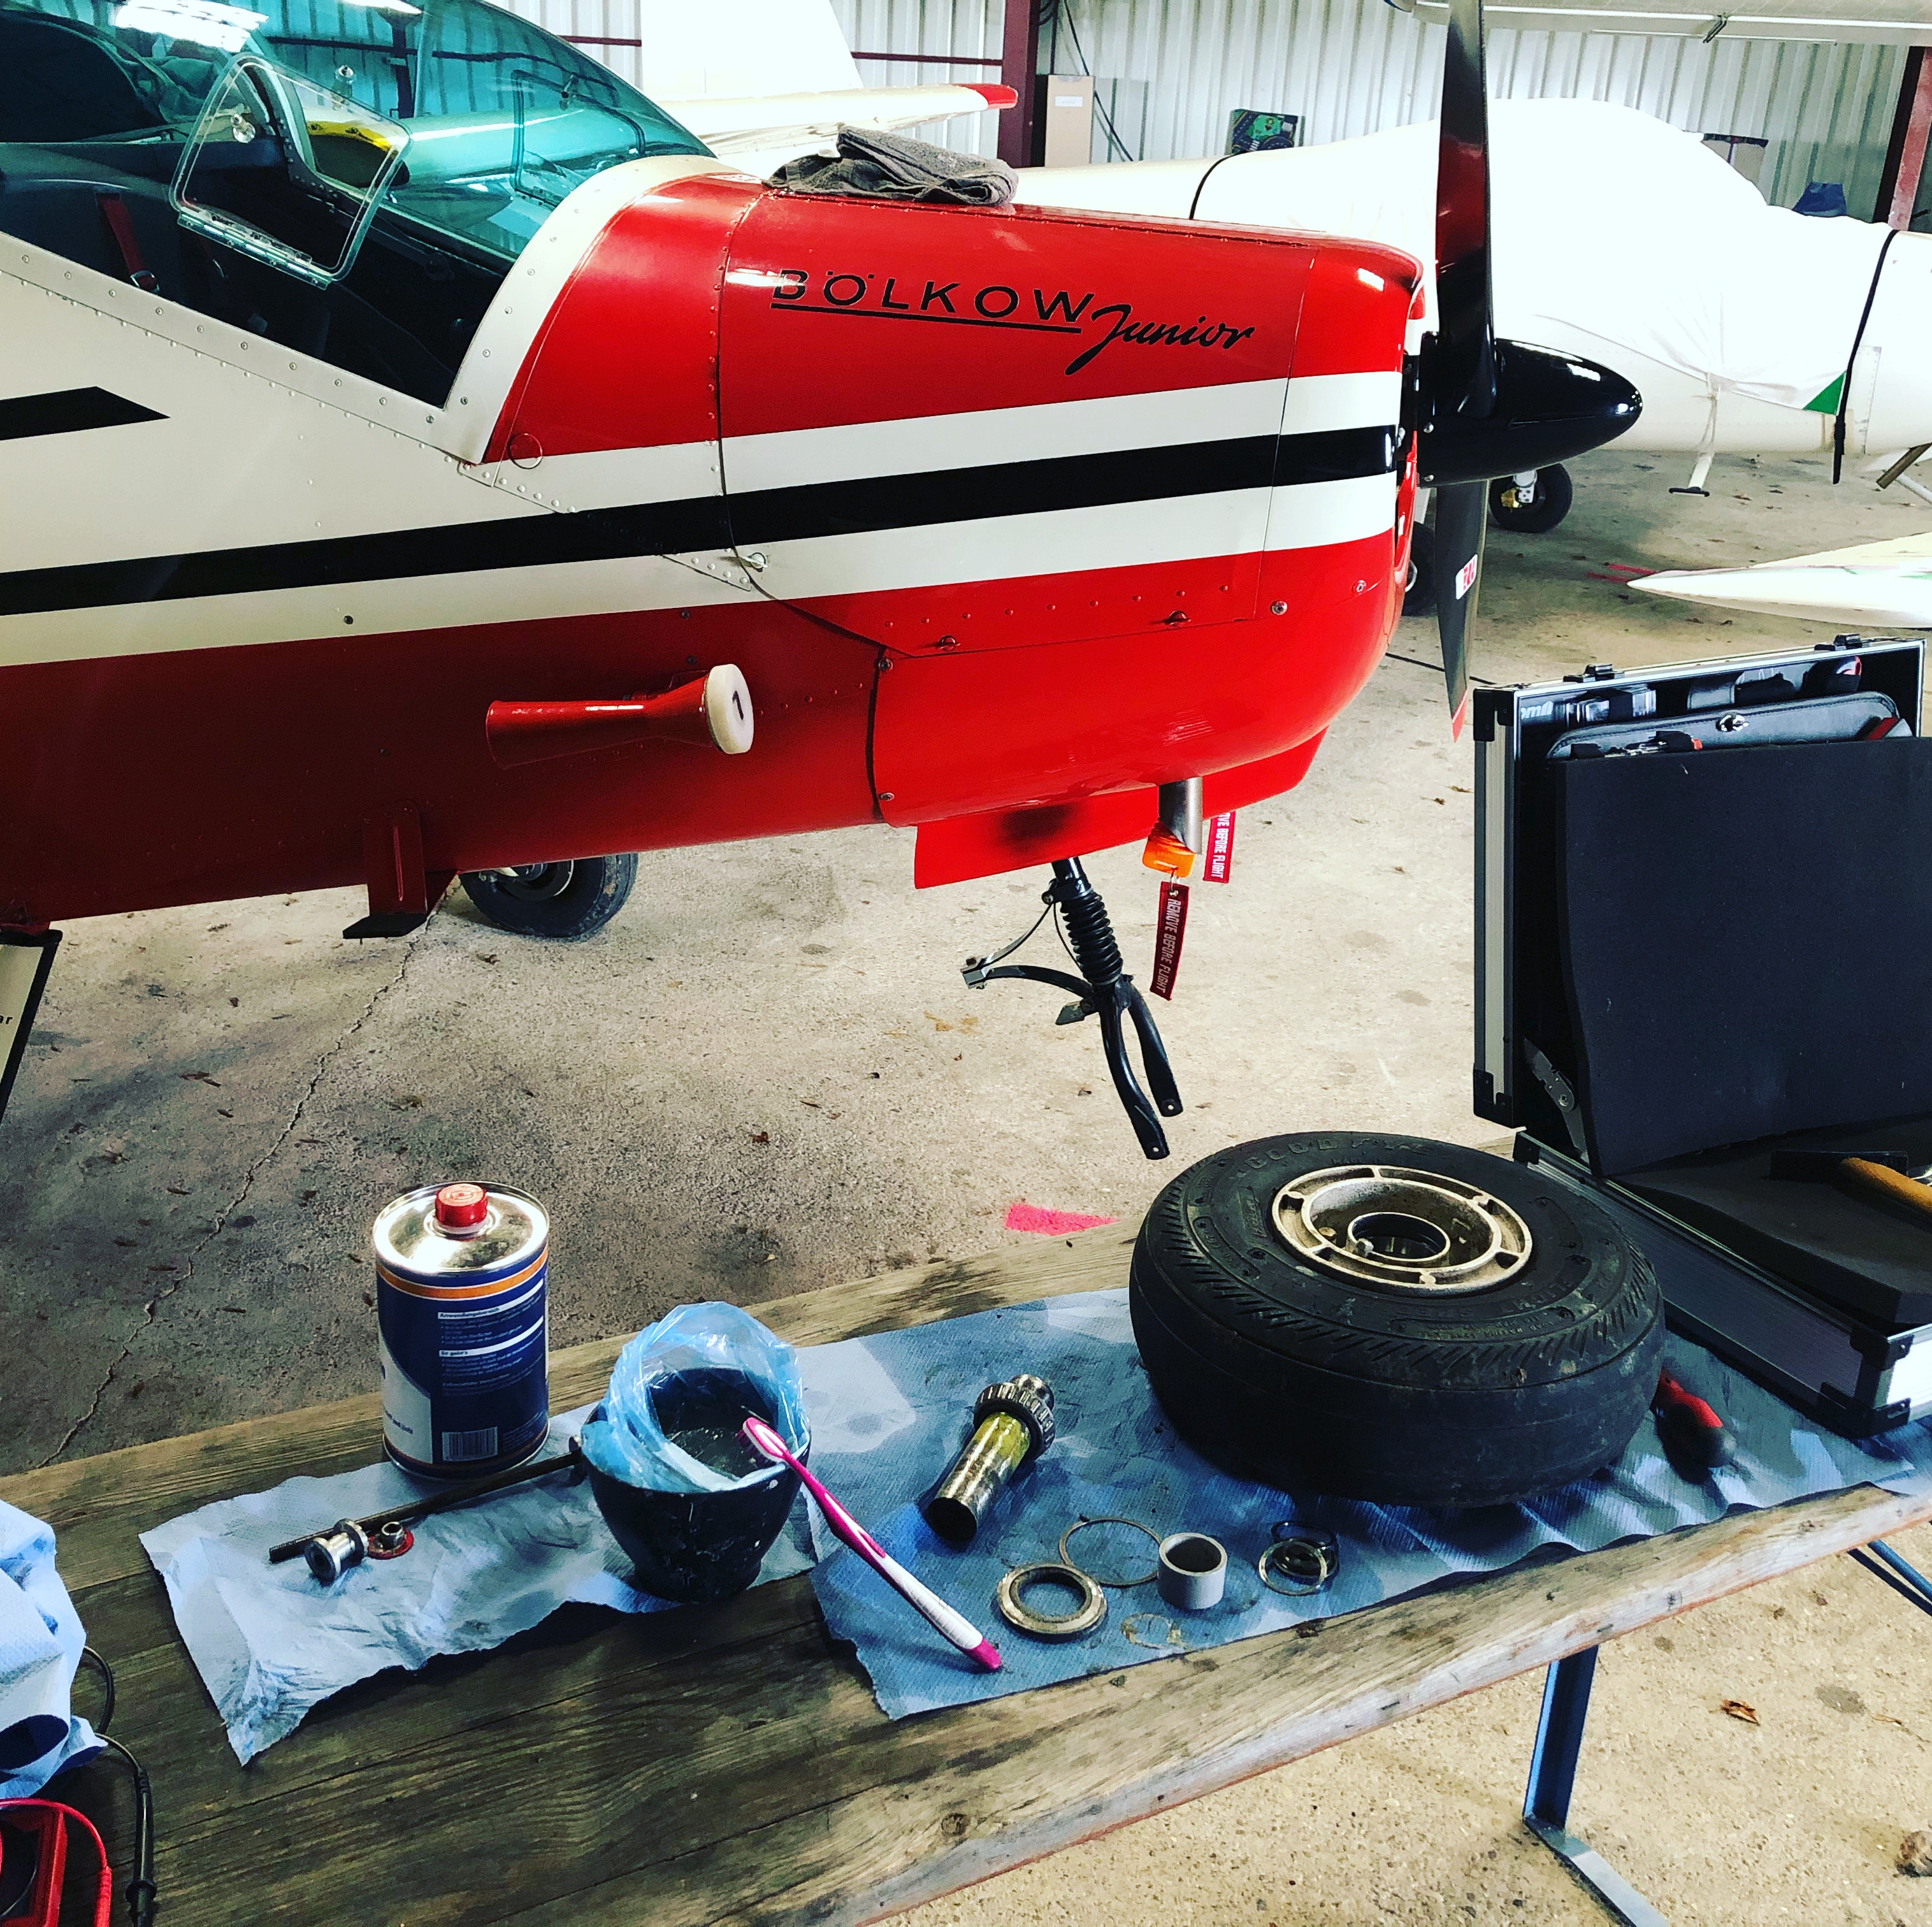
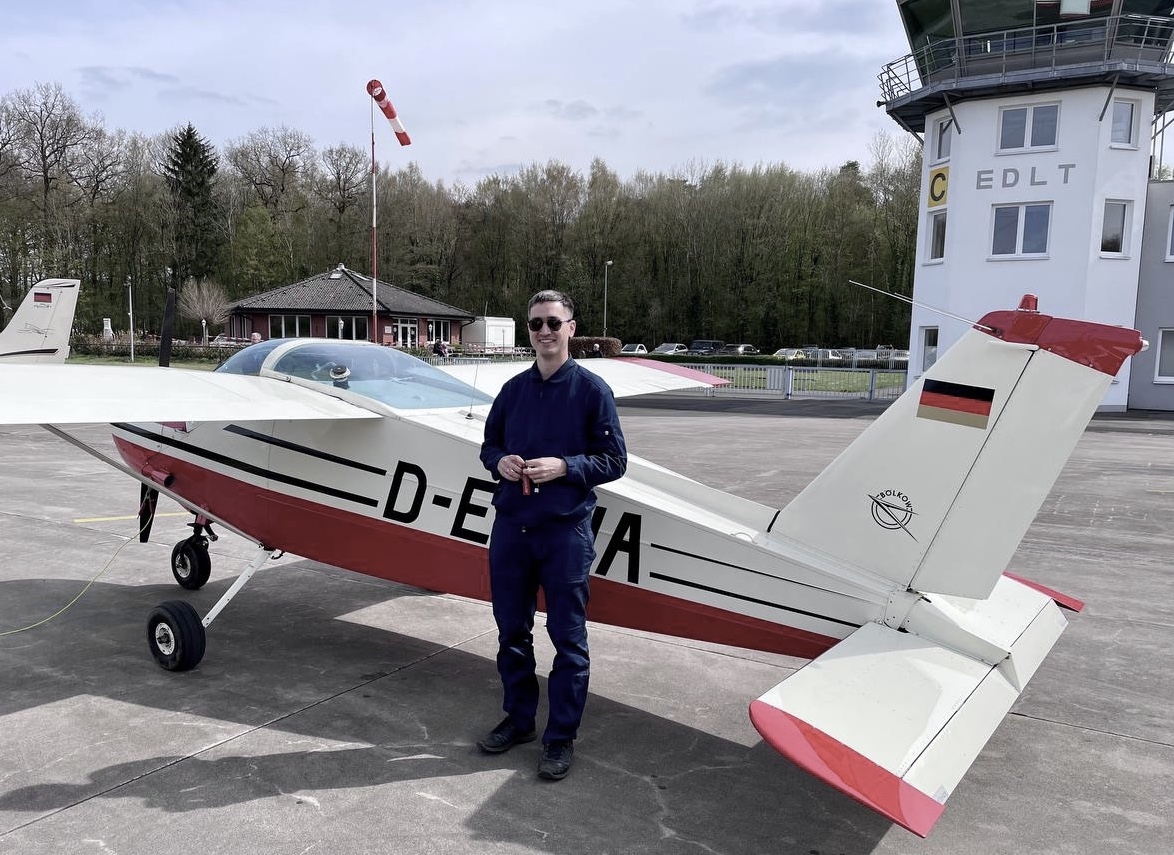
Dmitry is the owner of a 1965 Bolkow 208C Junior. He sent me an email last week along with some photos. He’s the kind of airplane owner we love around here at Airplane Owner Maintenance! He’s very involved in the maintenance of his airplane. Thanks Dmitri, for sharing a bit of your story with us!
Now back to Aram’s Beech 278 prop on his P35 Bonanza… here’s the bottom line answer to the mystery:
Due to a leaking o-ring seal around the piston inside the prop hub, oil was pushed into the forward end of the prop hub which caused a hydraulic lock and prevented the prop blades from rotating. This condition would not allow the governing system to function.
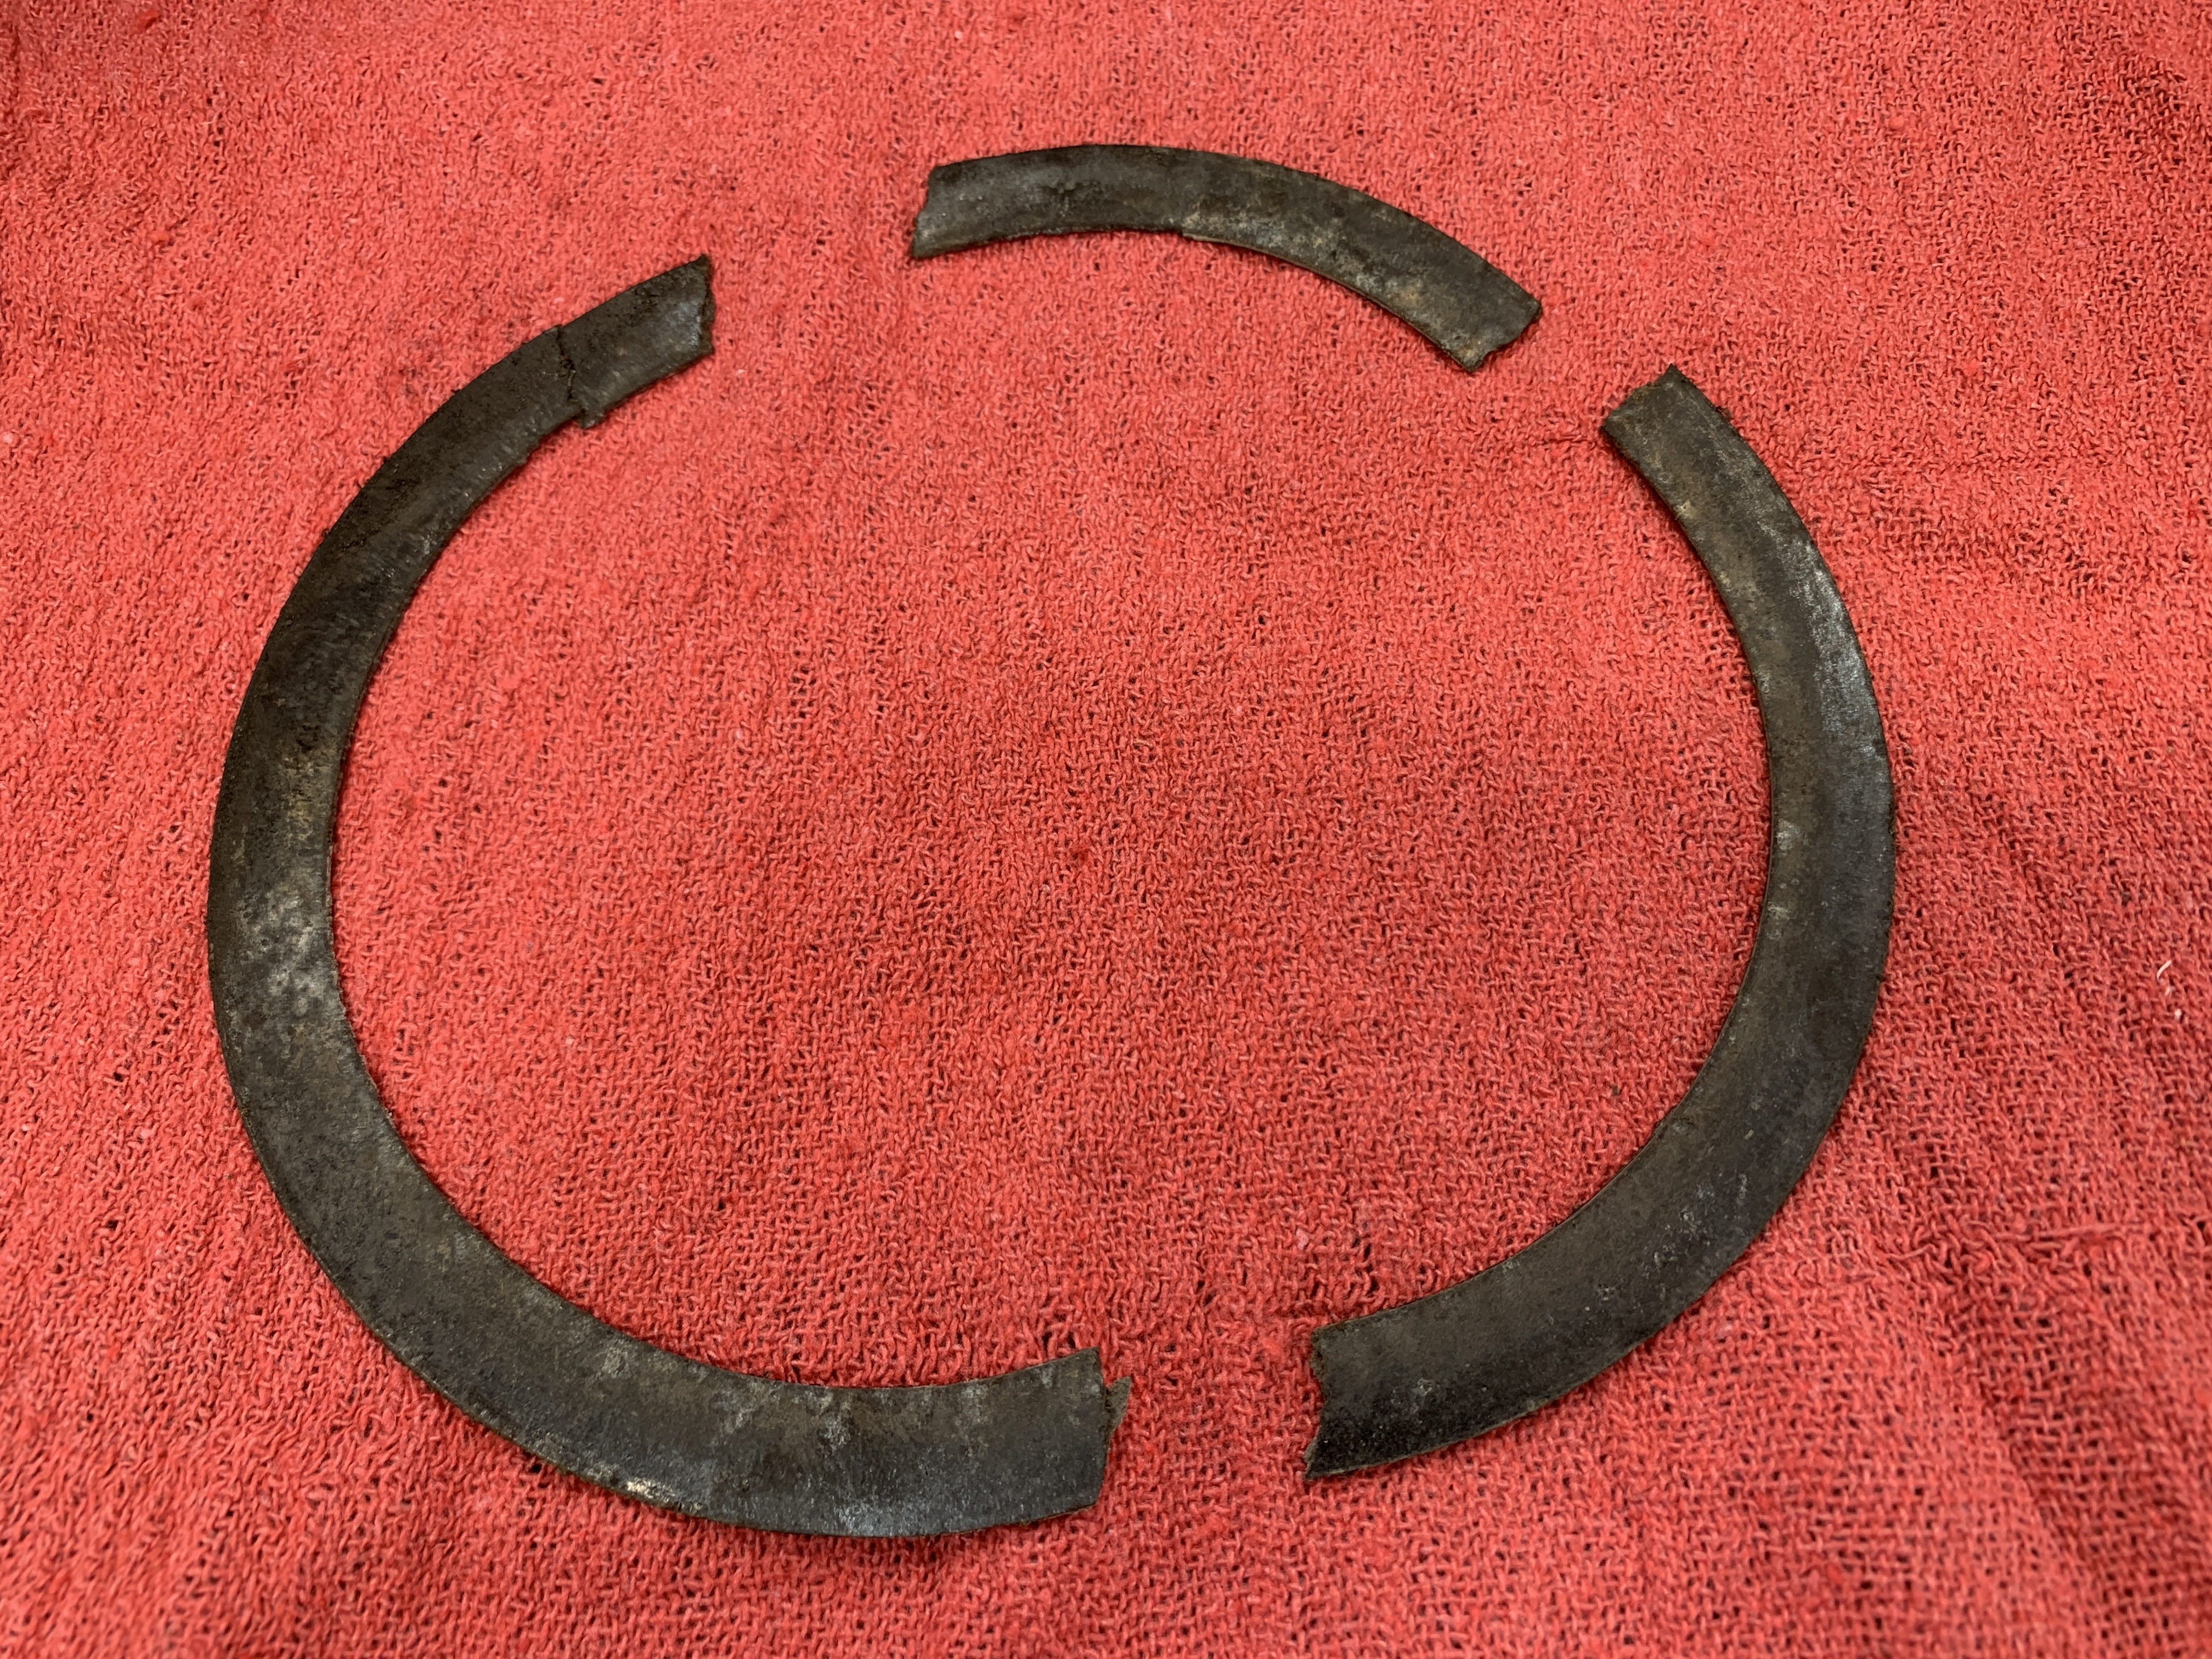
Dave Pasquale got a great video of turning the prop blades after removing the snap ring, which pushed the plug forward and let the unwanted oil out of the air cavity in the prop hub.
The bright side of all this is that Aram’s engine does not need to be disassembled, (which would have been the case if there was a problem with the engine transfer collar near the prop governor.)
The propeller will go to H&H Propeller Service in Burlington, North Carolina for an IRAN (Inspect and Repair As Necessary,) and then be reinstalled on the airplane.
Thanks to all of you who contacted me about this issue with email and voice messages. I appreciate all the ideas and feedback!
He departed KSHD yesterday in his super-nice P35 Bonanza, headed for his home airport in Pennsylvania. The ground runup was normal, and things were looking good as he approached his cruising altitude of 7000 feet.
But as he leveled off, Aram discovered he could not control his propeller / engine RPM… it was overspeeding regardless of the position of the prop control. There was only one choice… reduce manifold pressure to a point low enough to keep the prop below red line RPM.
So that’s what he did… the trip home was much slower than normal, but the bright side was that he burned a lot less gas 🙂
Since I had just completed Aram’s annual inspection at Classic Aviation LLC, and since Aram is my good friend, I was especially interested in him having a safe flight home, so I was watching his progress on FlightAware. When I noticed he was diverting to Pottstown, PA instead of his home airport, I wondered what was up.
Pottstown is where Dave Pasquale runs an excellent maintenance shop, and Dave is one of Aram’s most trusted A&P/IA’s. I could only assume there must have been some mechanical issue for Aram to divert there, instead of his home airport.
Sure enough, after Aram landed, I received a text… “We have a problem. Prop not governing at cruise.” He had to reduce manifold pressure to 16″ to keep it below red line.
The weird thing was that after landing at Pottstown, Dave got in the airplane and did a ground run with Aram, and everything was normal… but apparently when the airplane is flying, the prop is out of control. We were perplexed.
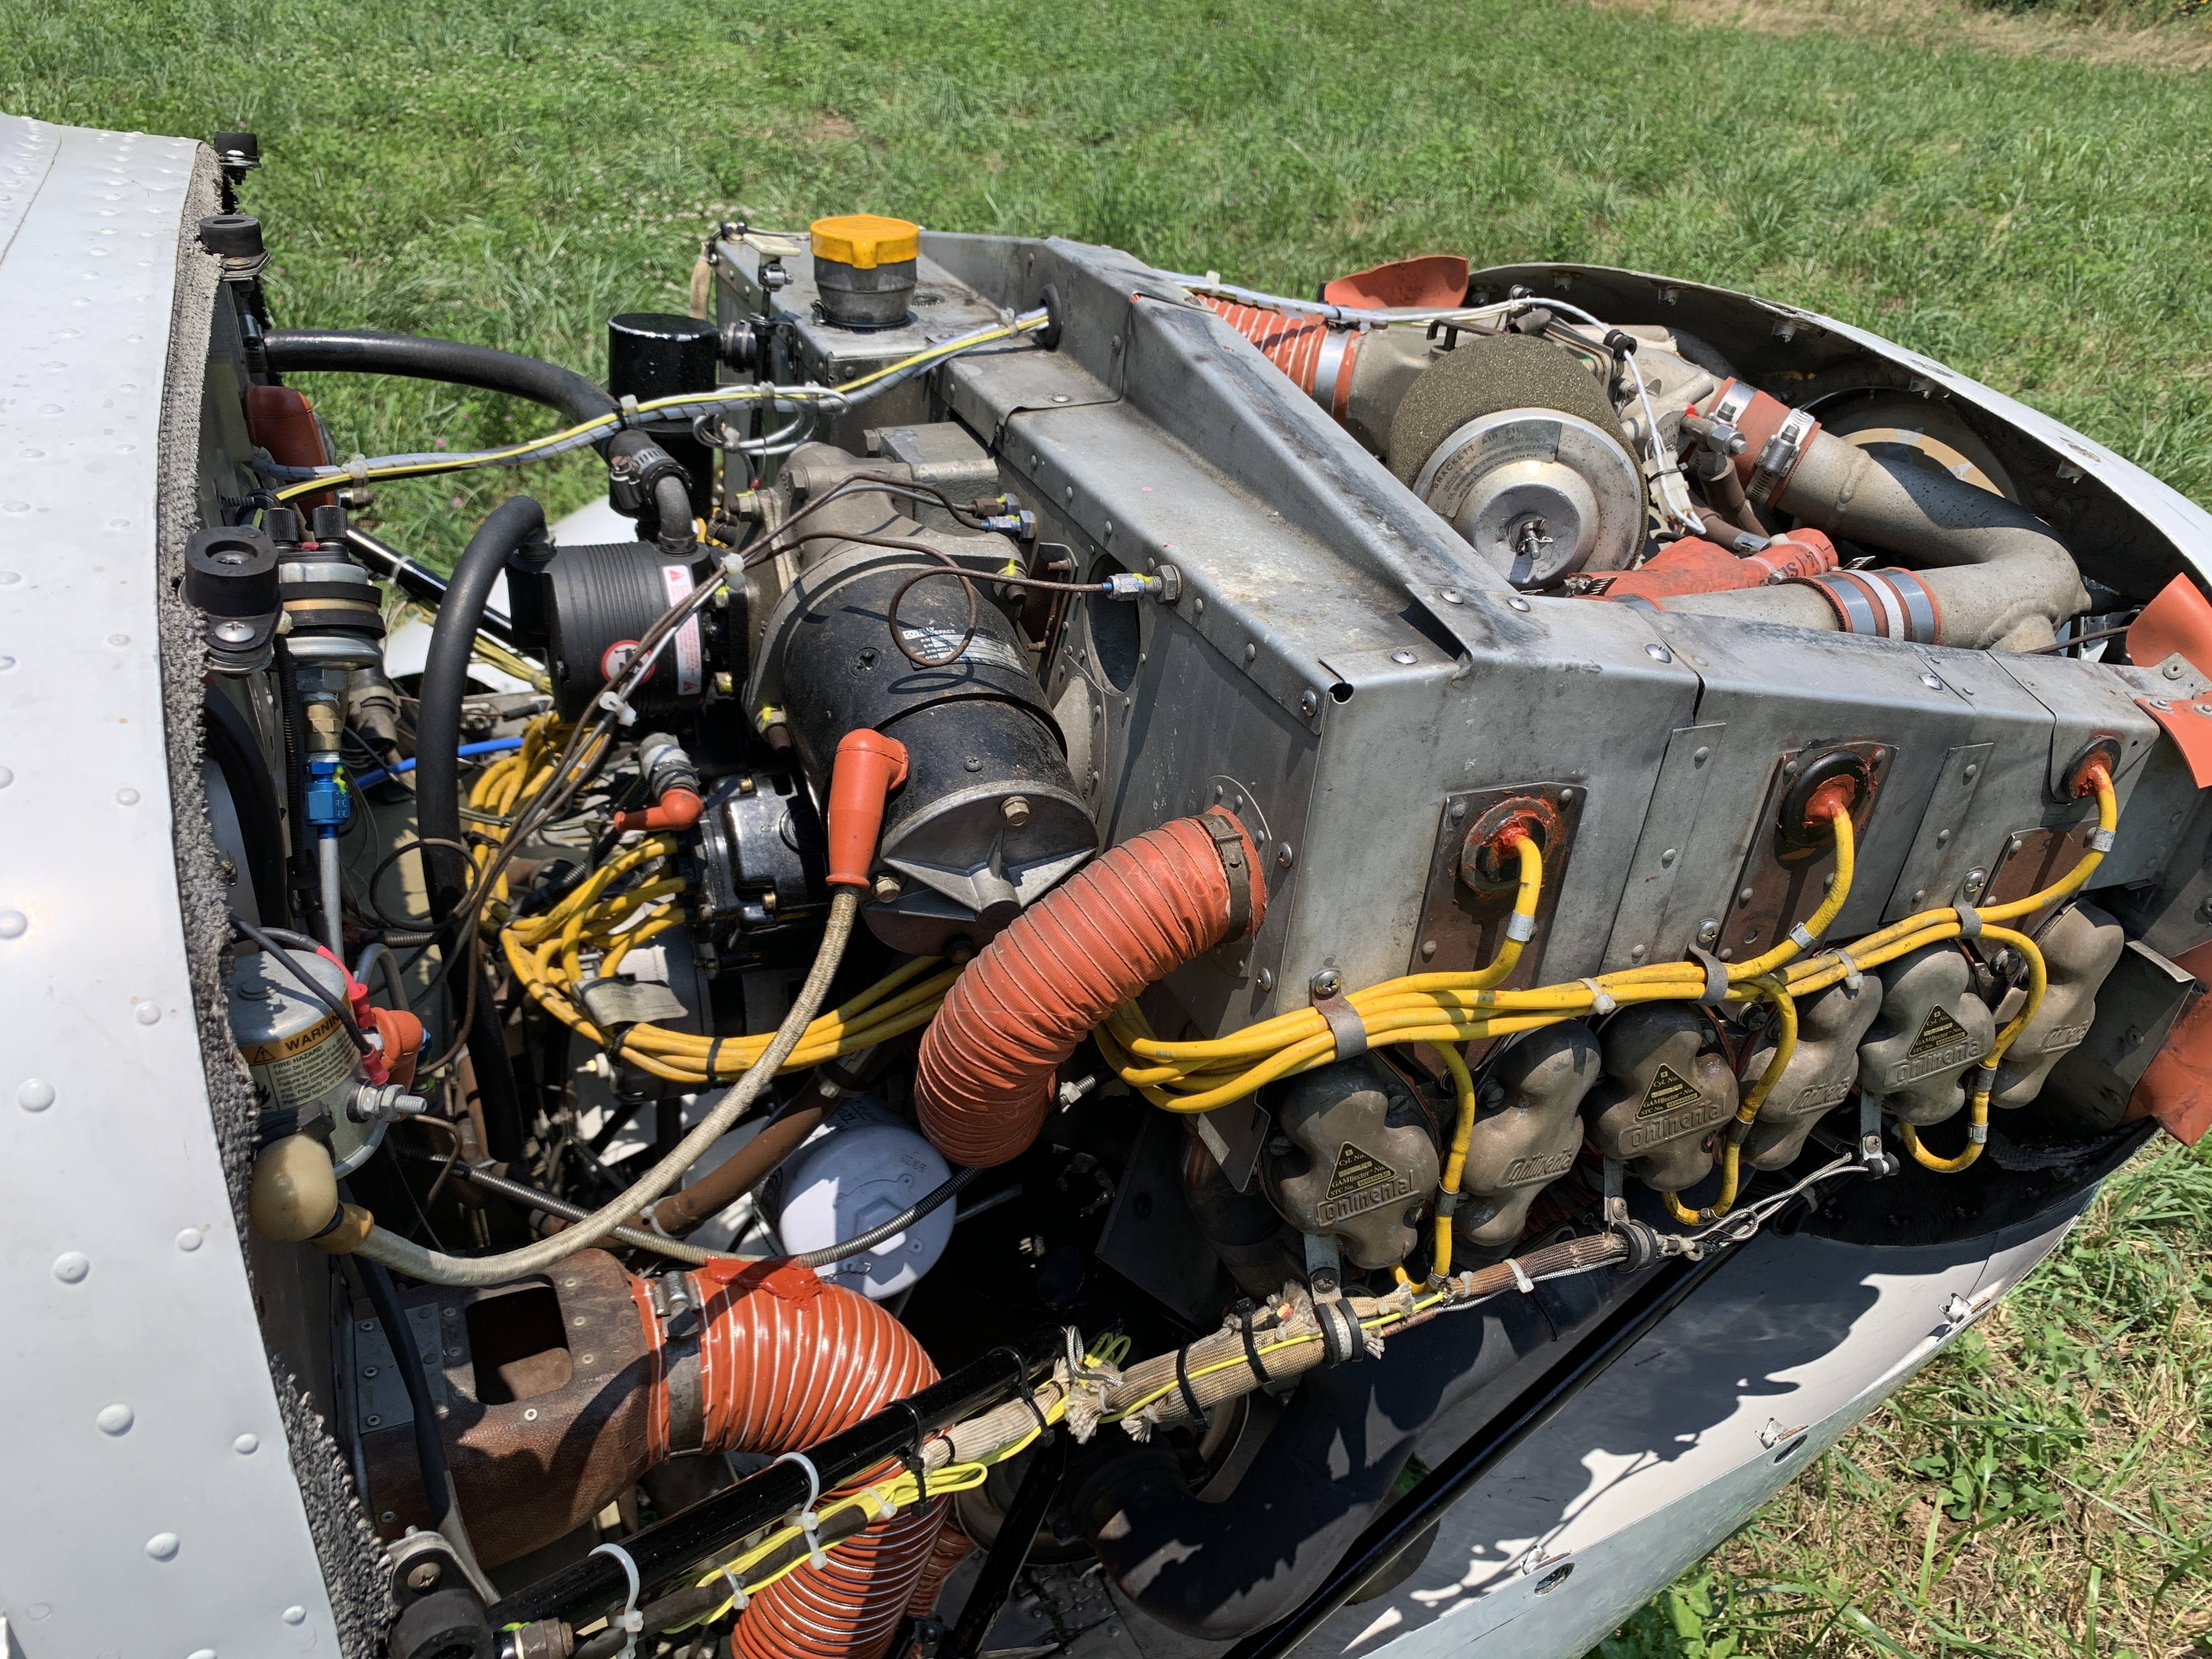
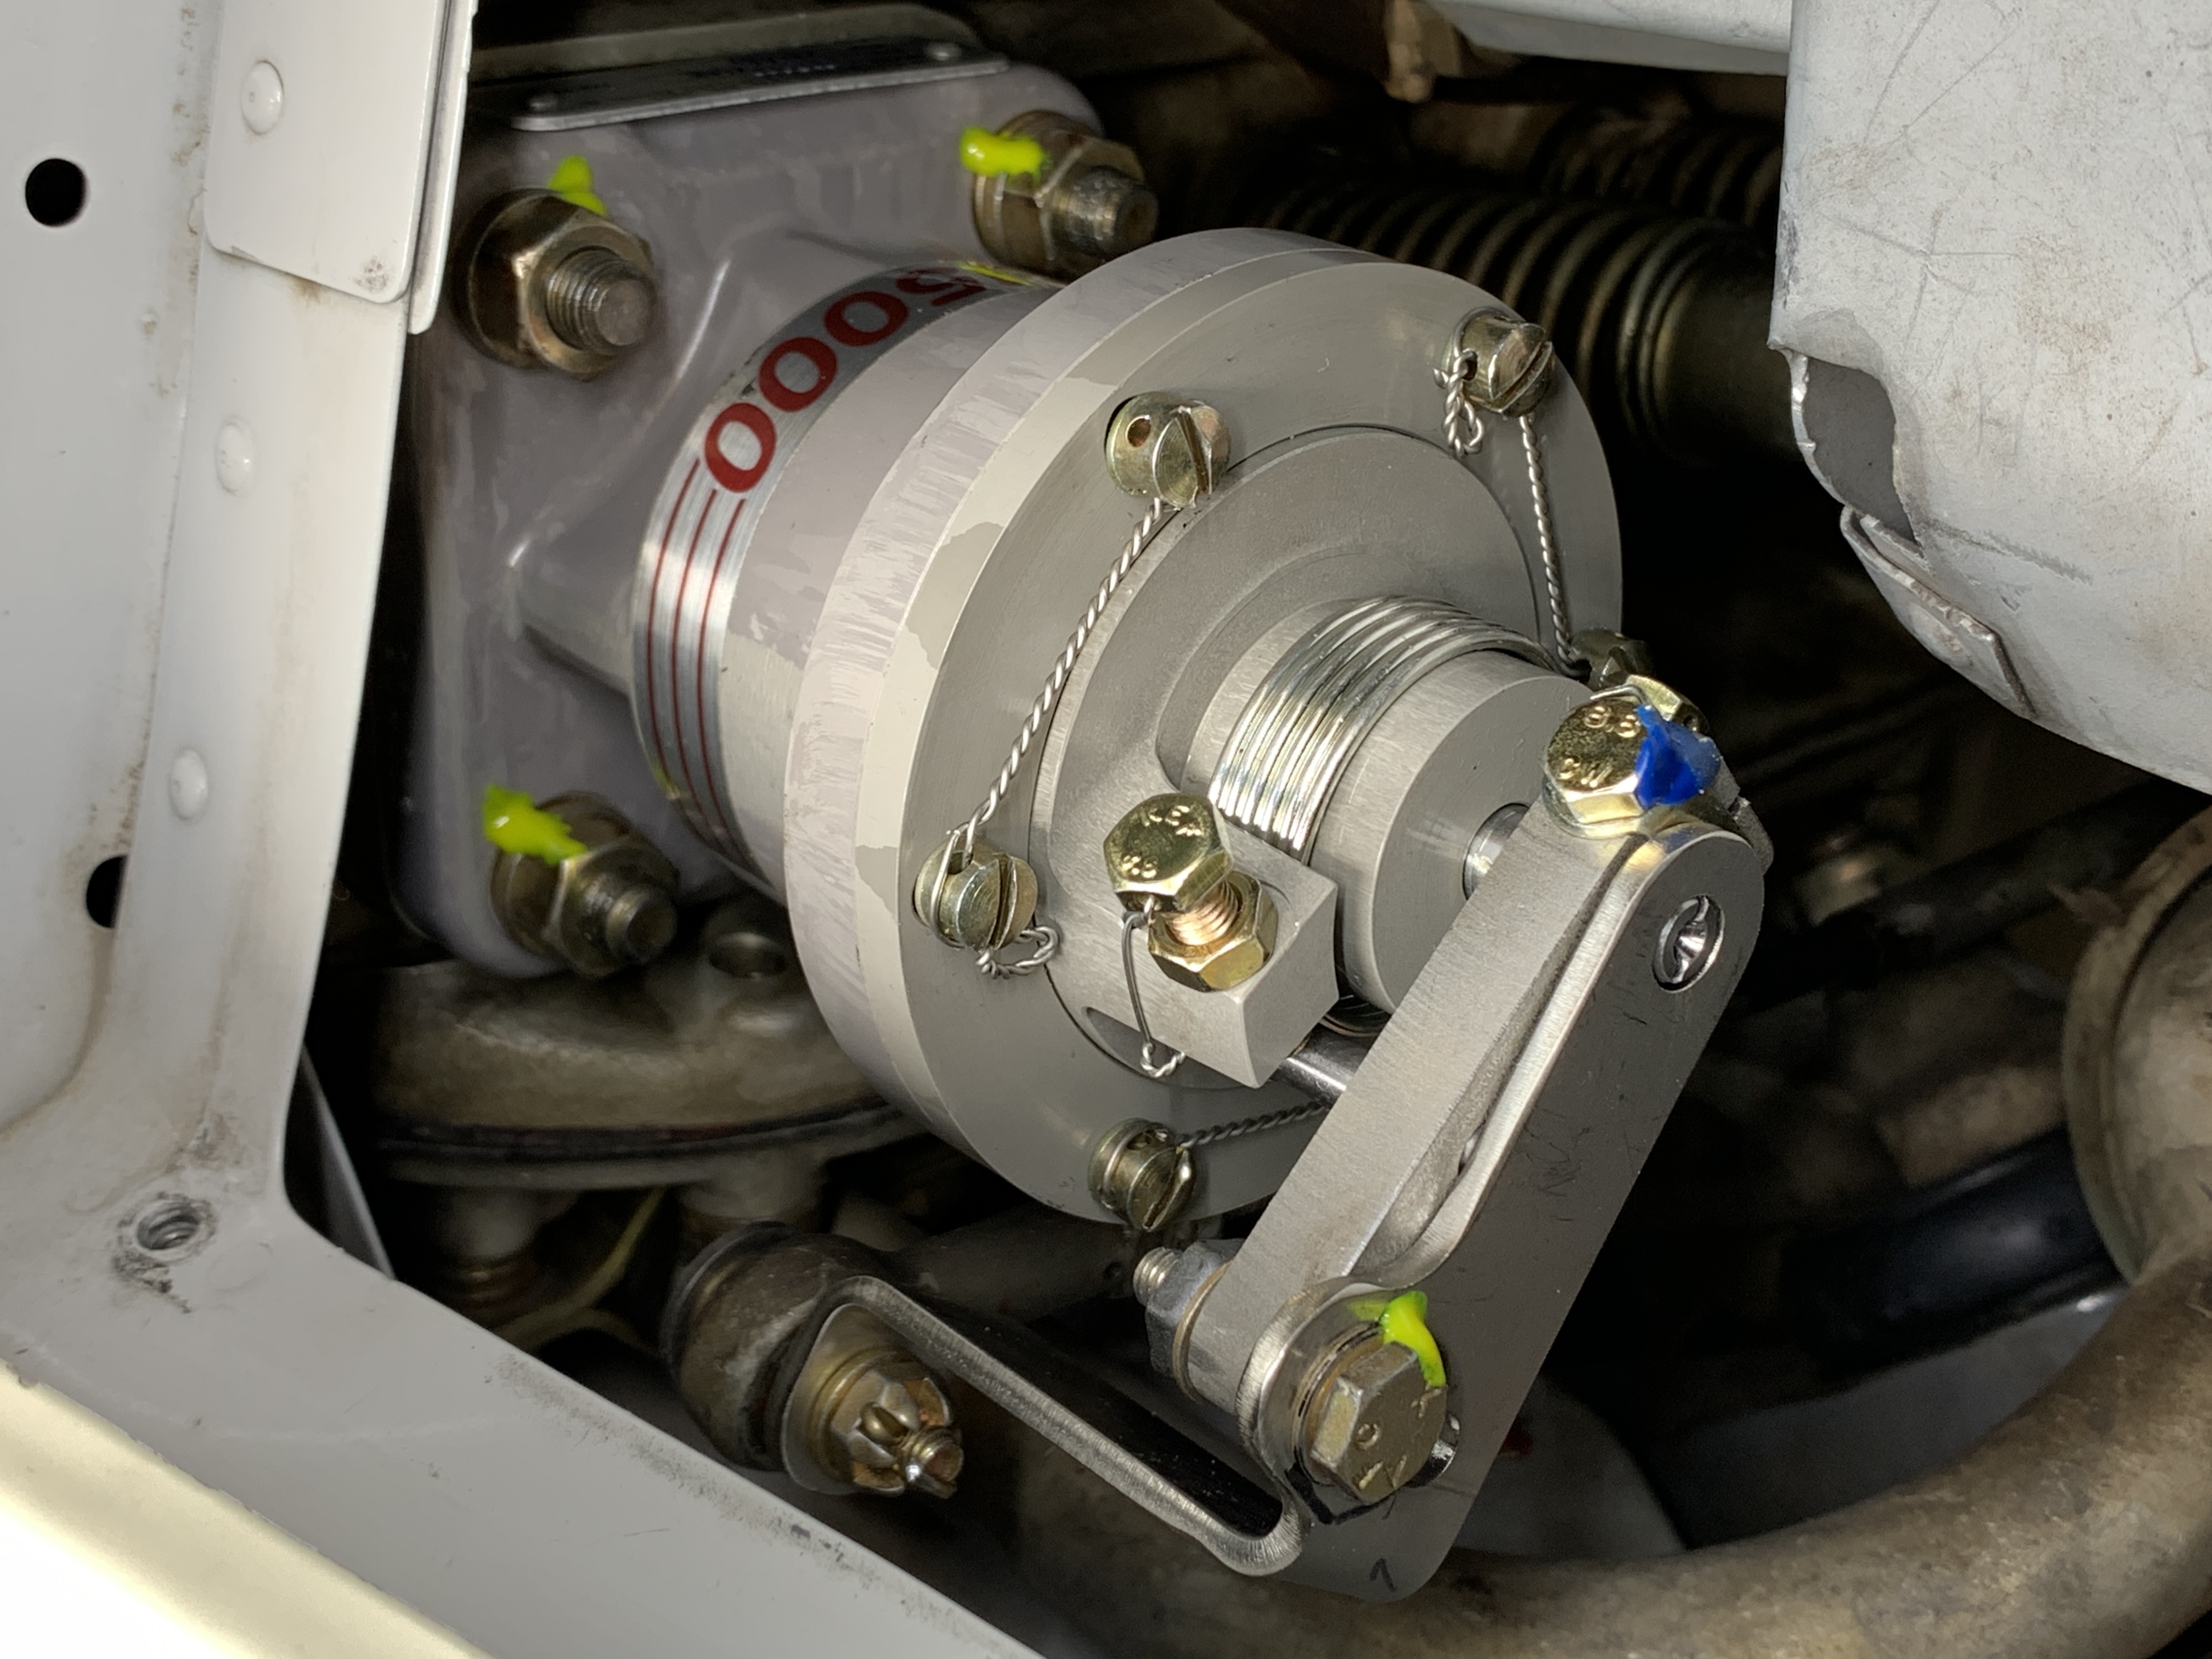
Bummer! I was so hopeful the new PCU5000 prop governor Aram had us install, was going to solve the developing issue he was having just prior to the annual inspection. The governor manufacturer had even made a special adjustment for the correct pressure necessary for the Beech 278 propeller. Unfortunately, there was something else going on. (By the way, I’m very impressed with the PCU5000 prop governor… scroll to the bottom to see a photo after installation on Aram’s IO-470 engine.)
Now it was time for some research, phone calls, and troubleshooting.
Aram and Dave Pasquale got work on that, and I tried to do my part as well.
There’s a prop shop in California that is known for working on these Beech 278 props, but California is a LONG way from Virginia! Surely it would cost a small fortune to ship a prop across the country and back.
Another option was H&H Propeller Services in Burlington, North Carolina… Yoo Crisp is one of the guys in that shop, and he is also familiar with the Beech 278 props. He was super helpful. I spoke with Yoo, and discovered one option was to perform an IRAN (Inspect and Repair As Necessary) on Aram’s propeller. But before doing that, Yoo suggested I talk with Richard Diamond in the engine shop there at Burlington (Triad Aviation.)
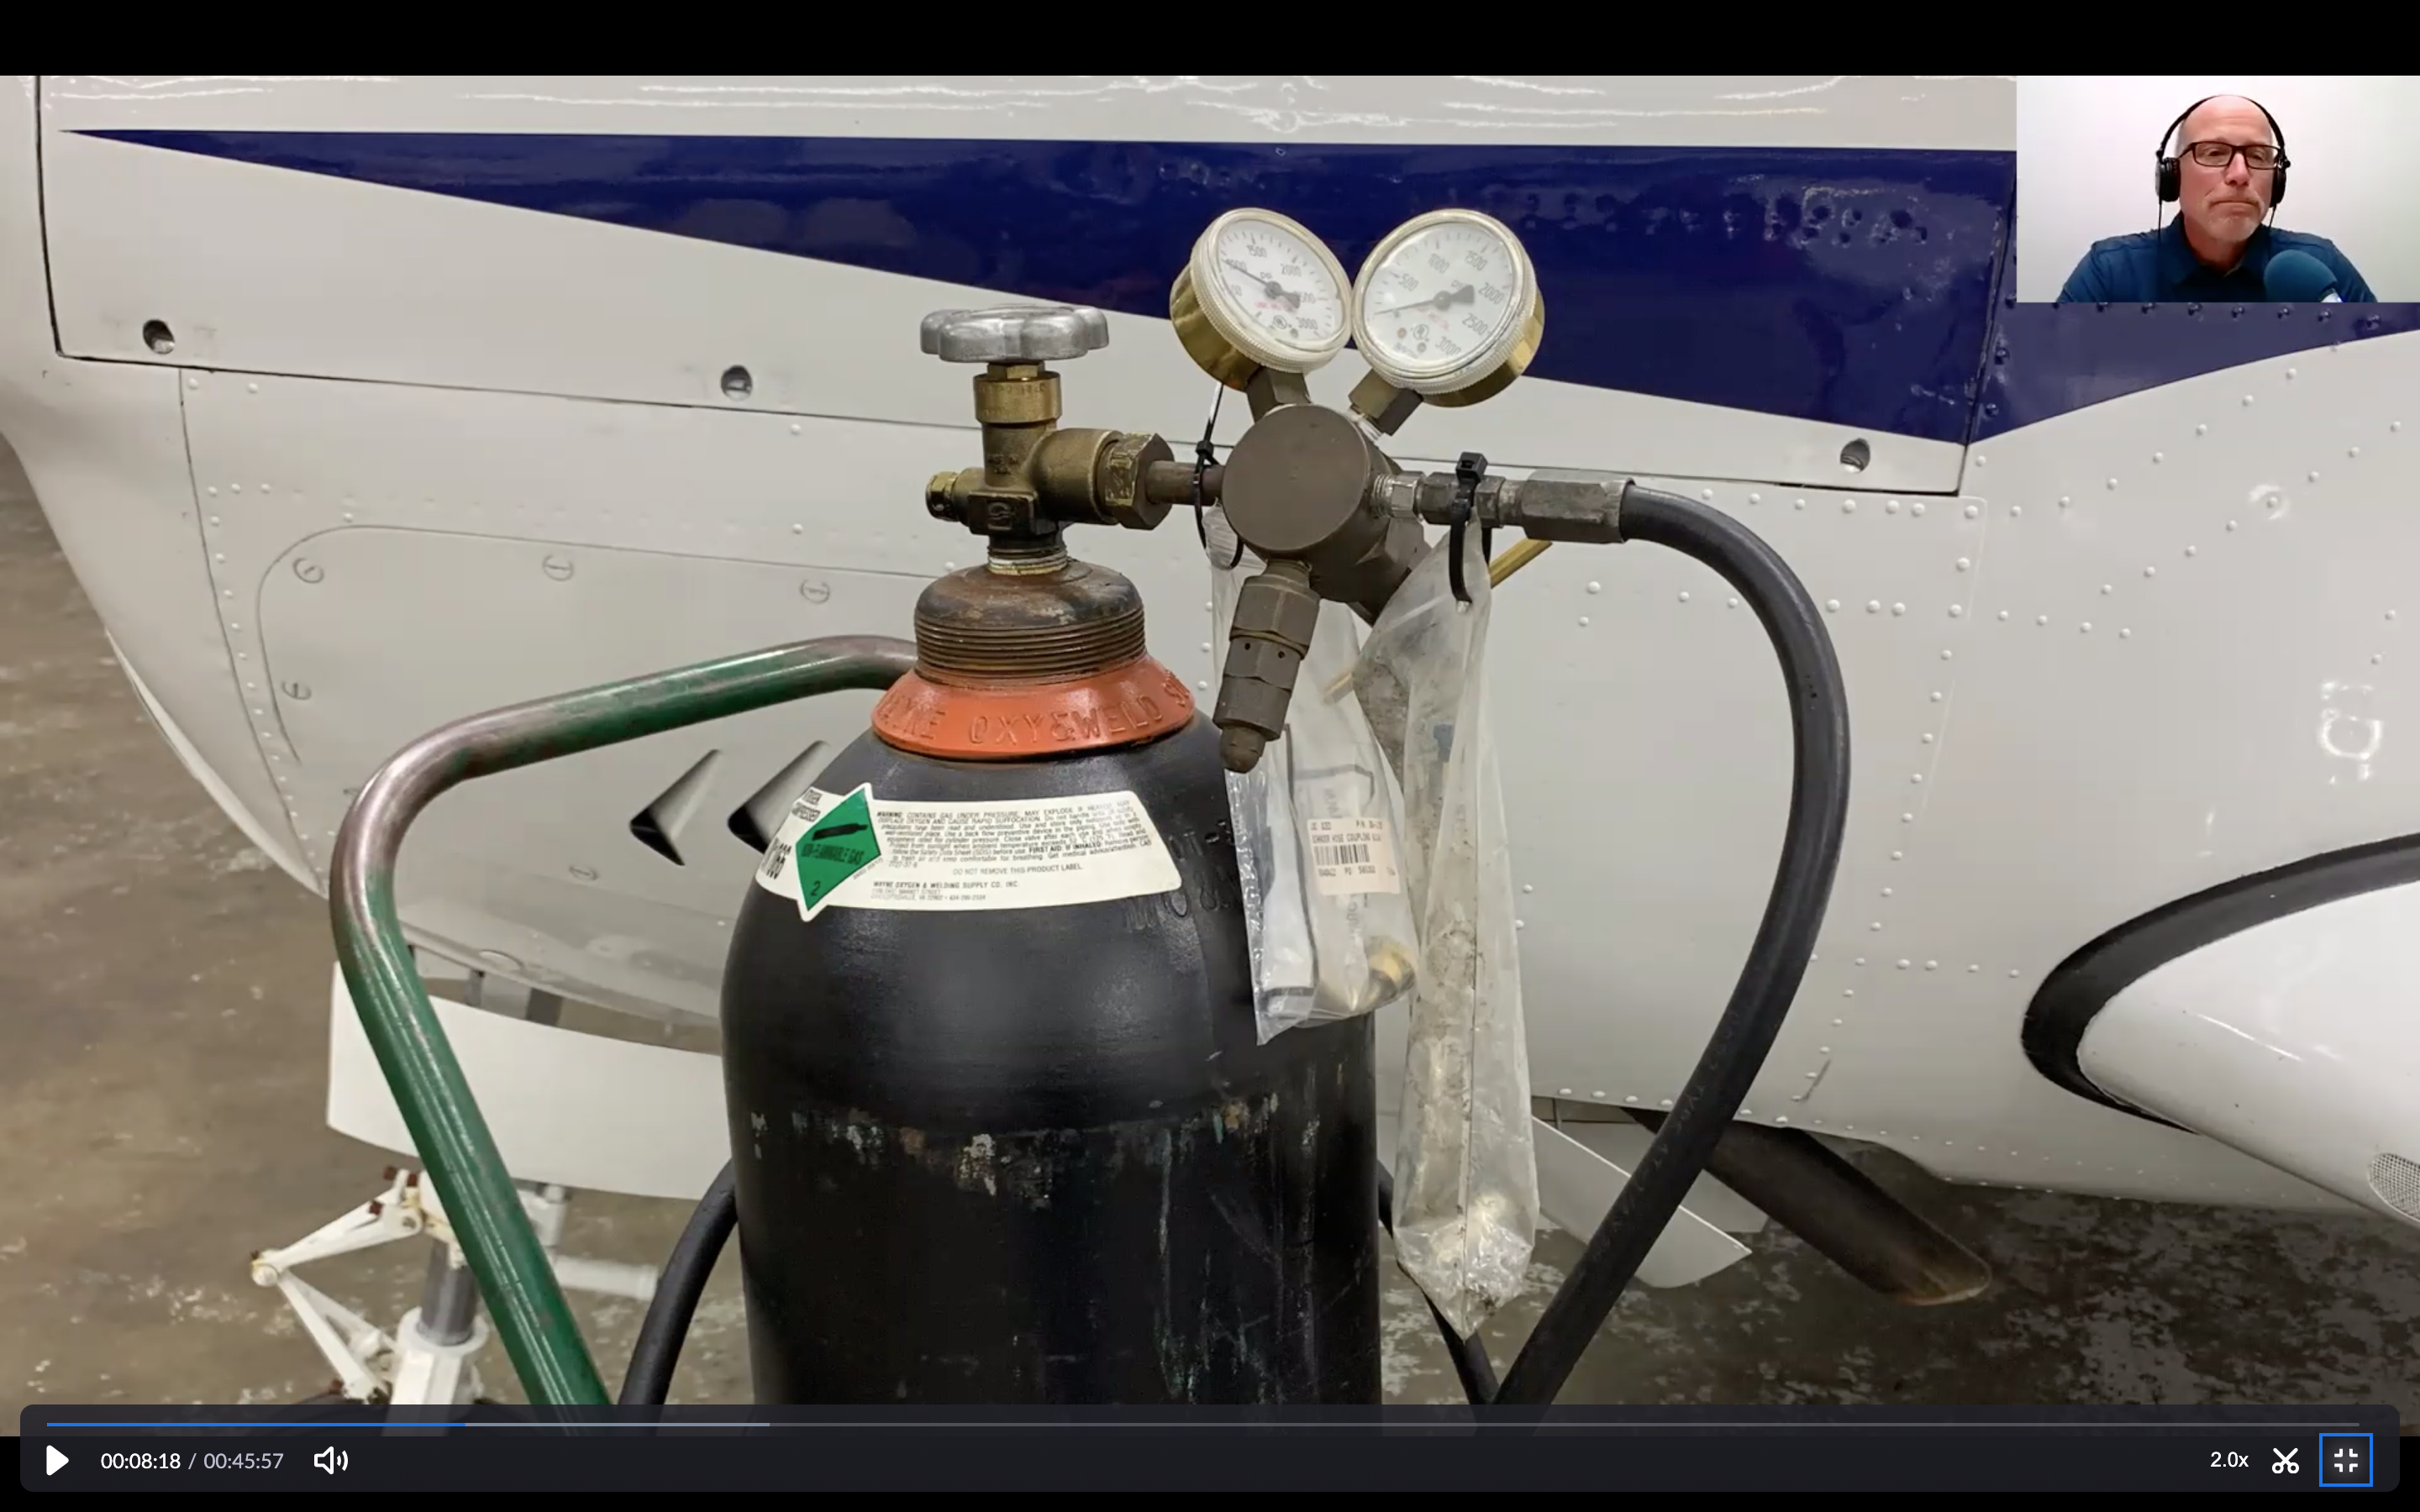
Richard was also super-helpful. He helped me understand a test that can be done to check the transfer collar at the front of the engine. Sometimes, there is oil leakage at the transfer collar which can cause issues with the prop governing system. For all you engine geeks out there, here’s how this test works:
Run the engine and get it hot, as you would for a cylinder compression test.
Remove the prop governor as quickly as possible.
Install a special test pad in that location.
Perform a leak down test on the transfer collar.
If it fails this test, the crankcase must be split open to fix it.
If it passes this test, there is likely something else causing the problem.
A second possibility Richard discussed with me was the plug inside the crankshaft. He knew of another situation where the plug near the forward end of the crankshaft got loose and caused similar problems with prop governing function.
This was also good information.
At that point we had some options to consider, and for Aram’s P35 Bonanza, it seemed that Richard thought the following would be a reasonable order to check things:
Test the engine transfer collar with the special test pad.
If the transfer collar test passes, remove the prop and check to see if the plug inside the crankshaft may be loose.
If the plug is tight, remove the prop and send it for IRAN.
So that’s where we are today in this real life scenario.
If you have any other thoughts that might be helpful, by all means send me an email or leave a voice message here on the website… any helpful advice would be appreciated. Email: dean{at}airplaneownermaintenance{dot}com
I’ll give an update in the podcast after we get this whole thing solved… until then, it’ll have to remain a mystery!
Now, as promised, here’s a photo of that amazing new prop governor:


Recent Comments