Yesterday, I had an opportunity to present a talk at our local IA renewal seminar about exhaust valve borescoping.
I shared some of my favorite pictures – the ones that demonstrate how critically important borescoping is, and that compression testing alone is not sufficient.
The following three examples are especially startling, since they showed a compression test of at least 60/80, but were in imminent danger of in-flight failure:
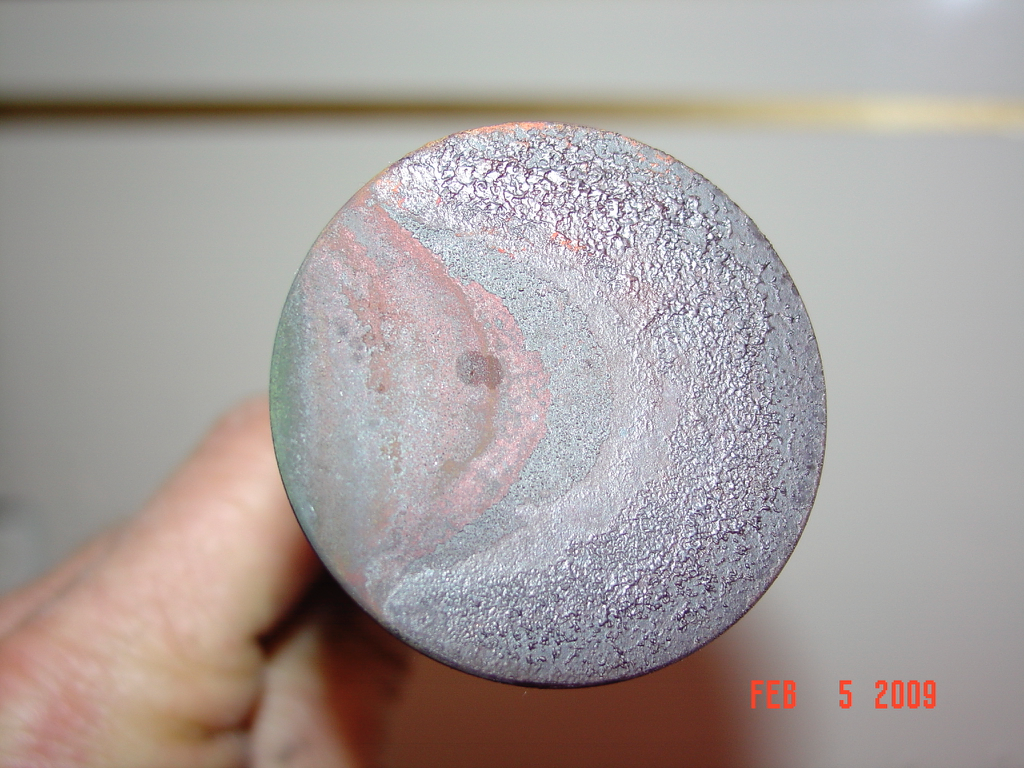
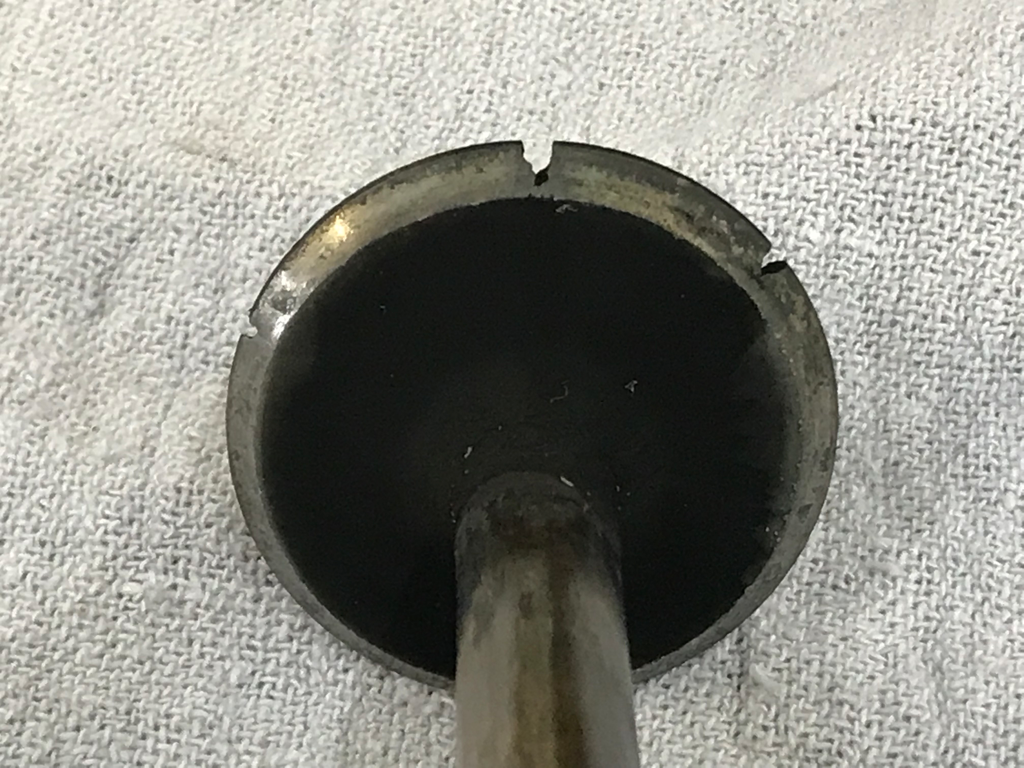
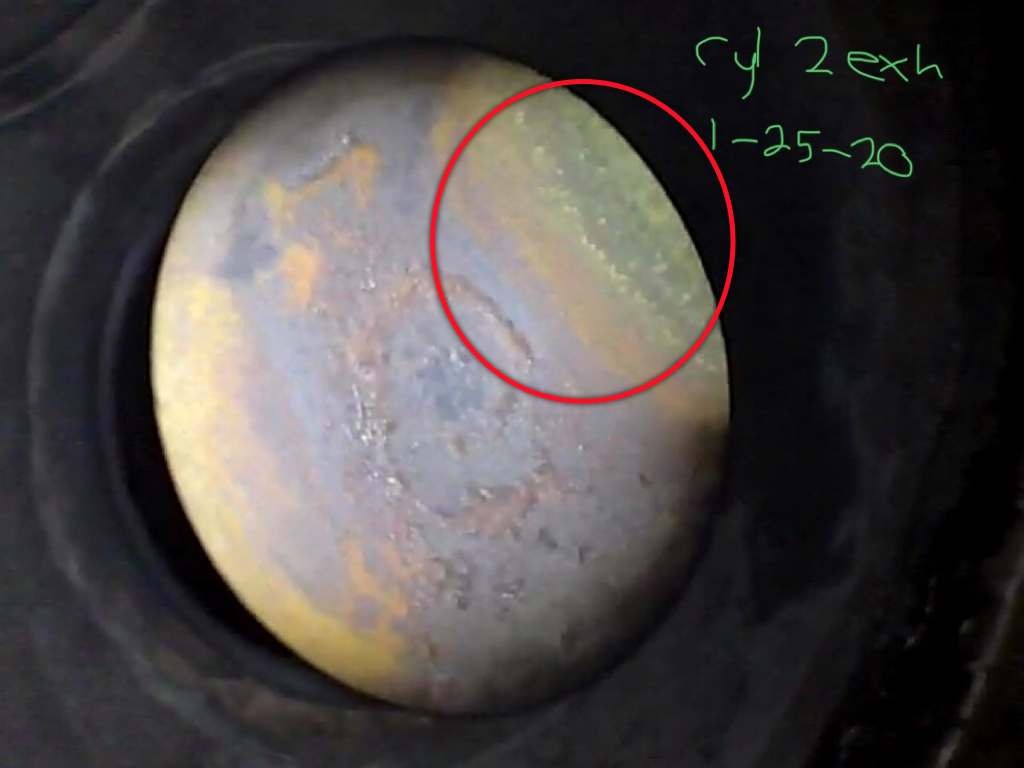
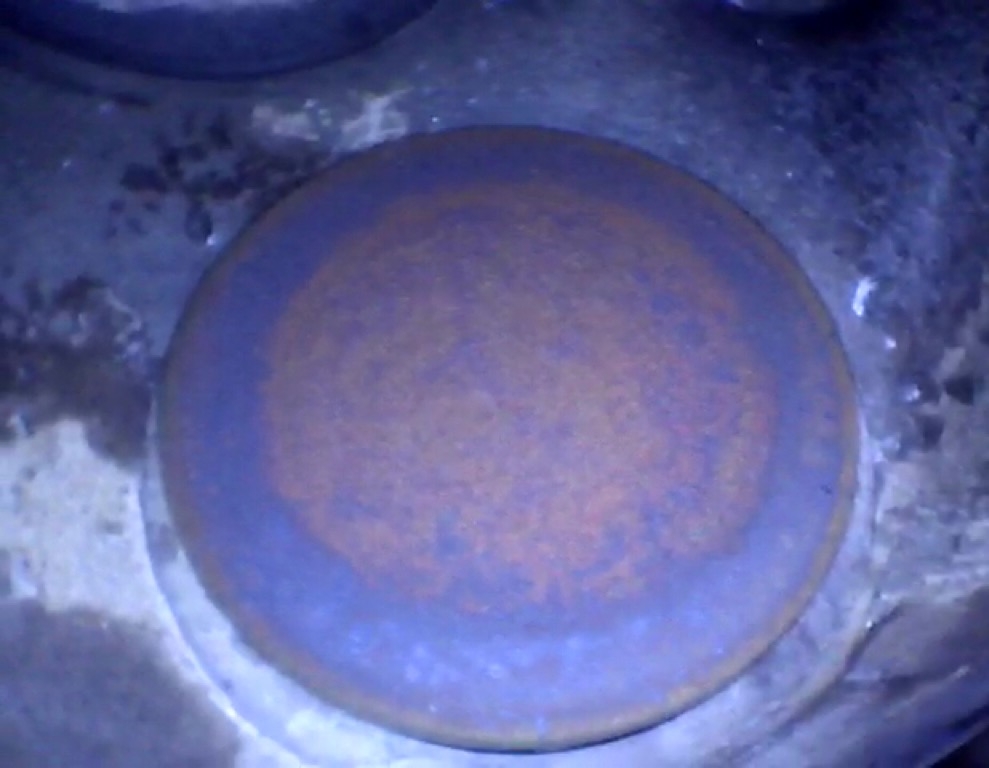
The FIRST ONEis from a Continental engine in an A36 Bonanza. Notice the green area at 9:00, indicating that area was in danger of a piece breaking off the edge.
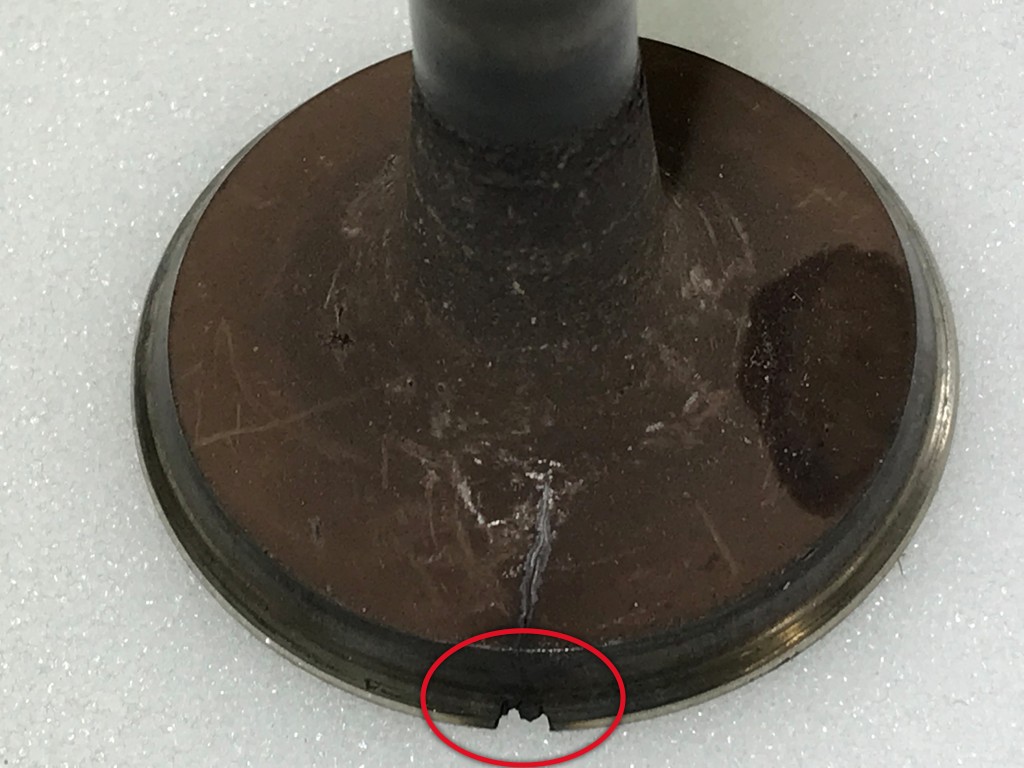
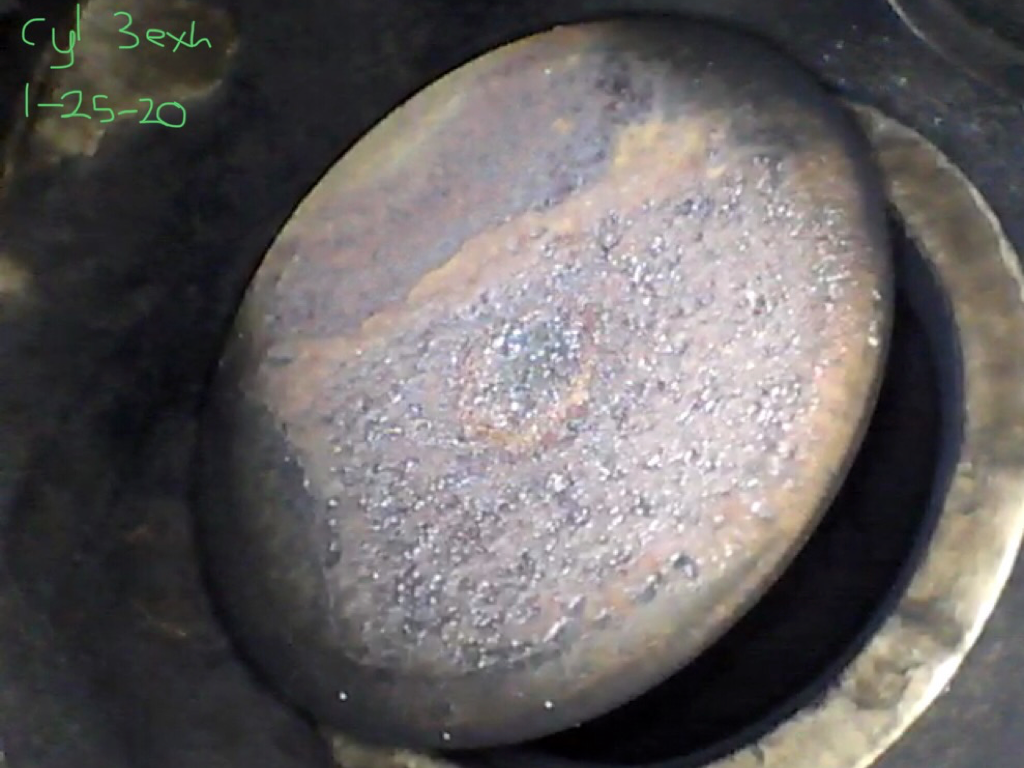
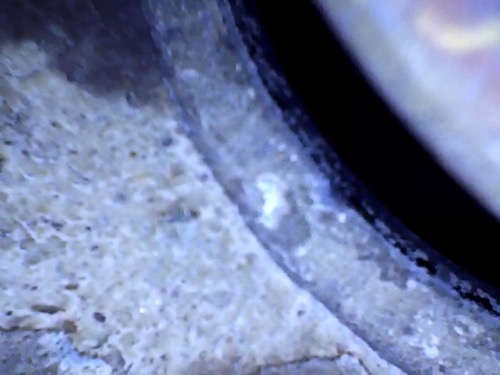
The SECOND ONEis from another Continental engine, also an A36 Bonanza. The compression of this one was 61/80, but there was a chunk missing from the edge, with a crack toward the center of the valve!
The broken edge still had enough area to seal for a compression test:
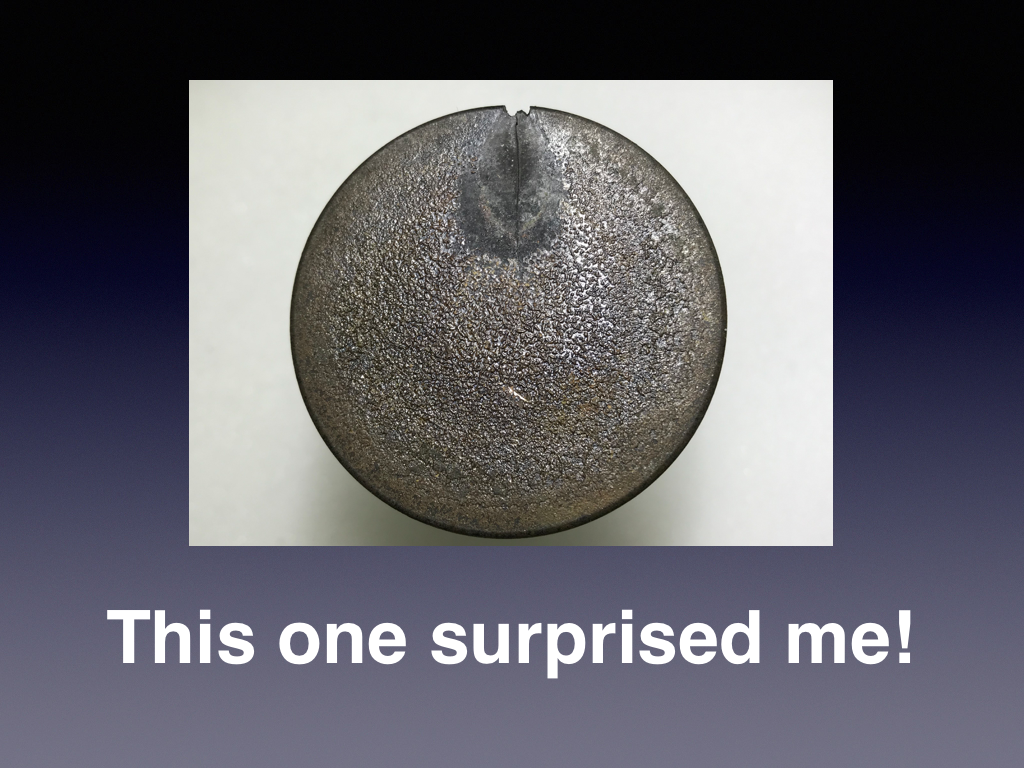
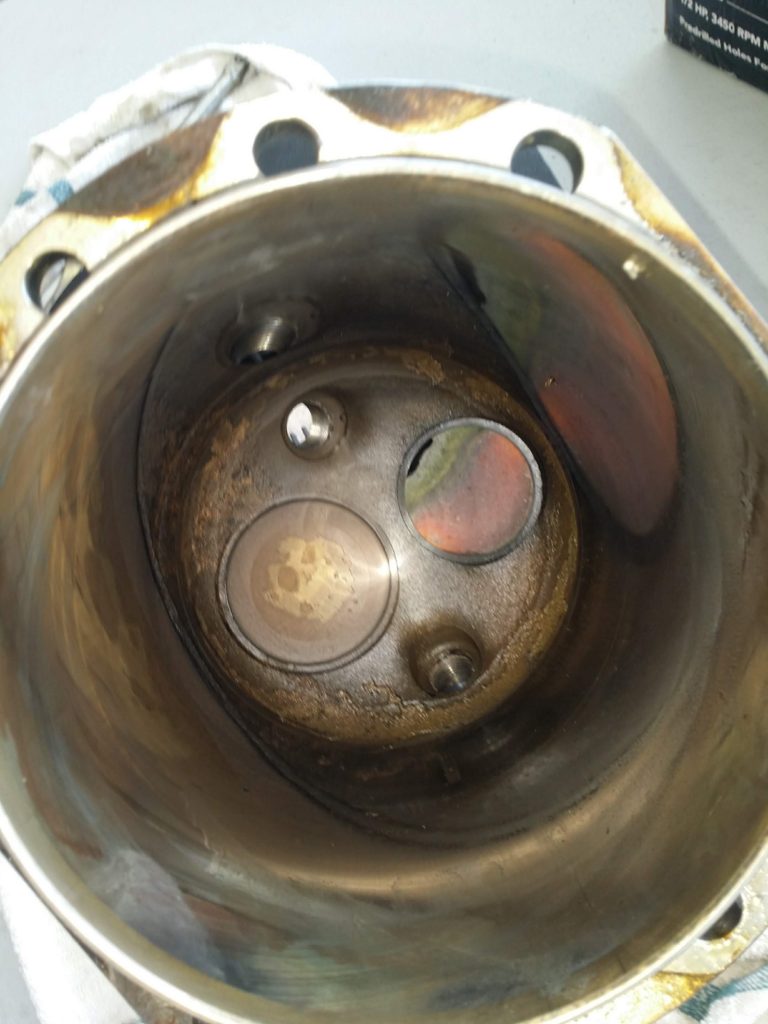
And the THIRD ONE was from a Lycoming engine in a Cessna 152. Take a look:
In the previous three examples, the borescope was absolutely necessary to discover these dangerous and unairworthy exhaust valves.
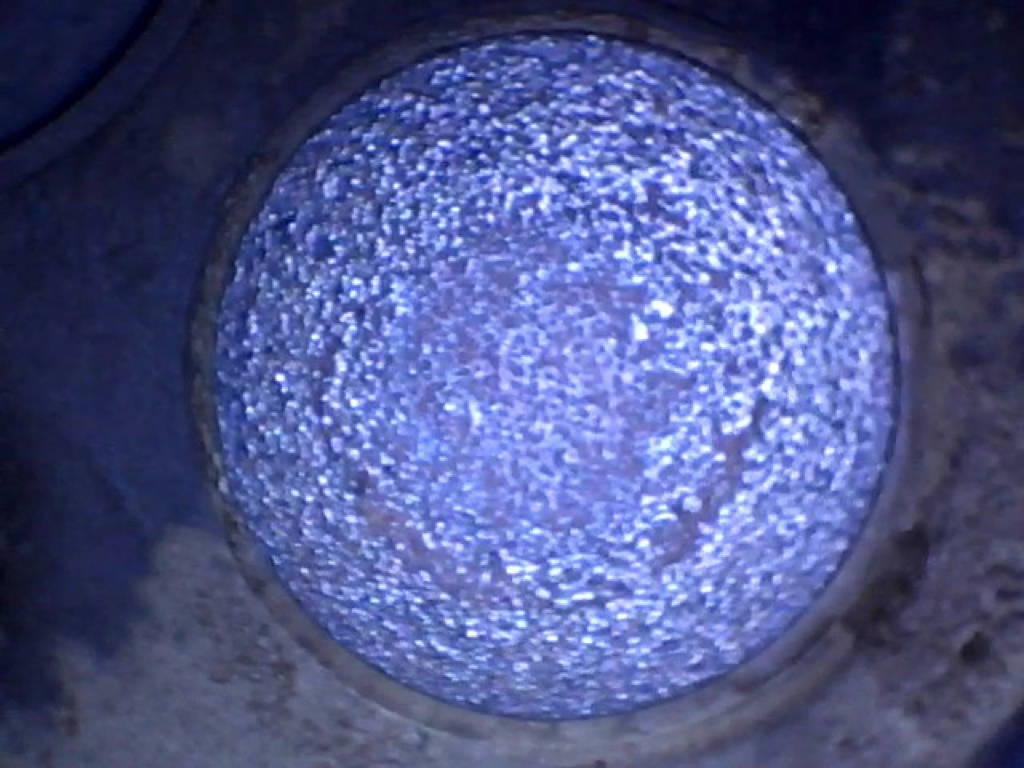
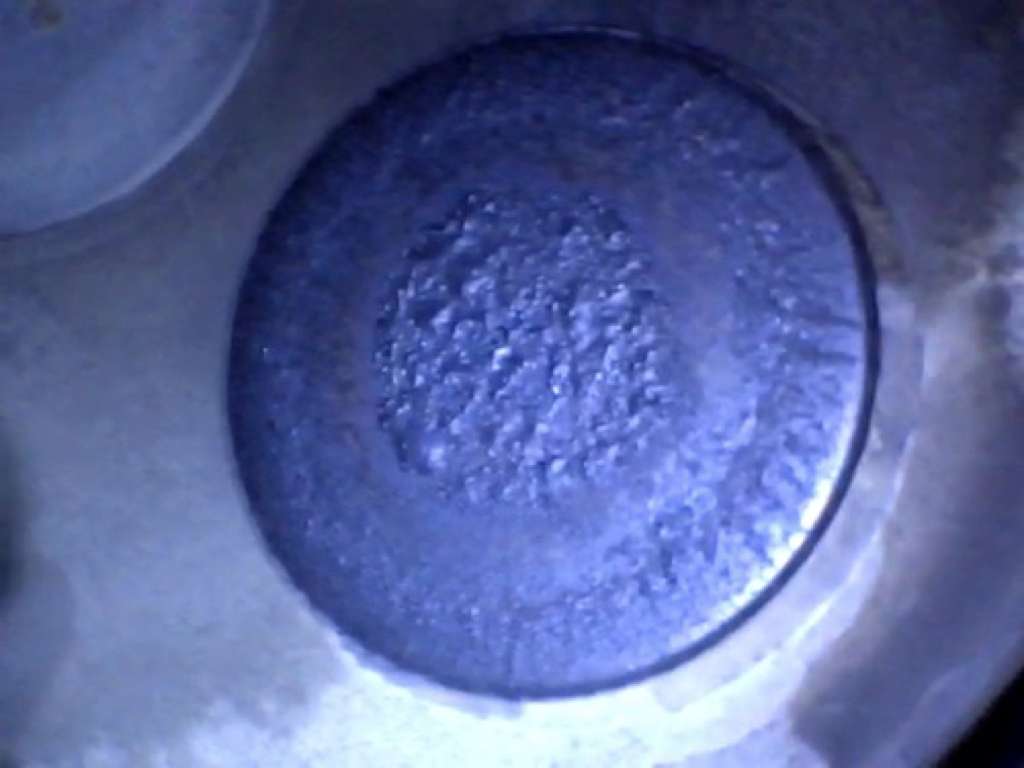
For comparison purposes, the following two pictures are examples of healthy exhaust valves:
I also shared some pictures of valves that other people have removed from their engines.
The following is from Sylvan Martin’s Grumman Tiger with a Lycoming O-360 engine. Sylvan was able to land safely after his engine ran slightly rough. He said, “My opinion is that cylinder 1 would have been noticeable at a minimum of 150 hrs before it deteriorated to the point of cracking that far across the face… Compression check will help w/ ring problems, but our family’s experience in industrial diesels (power generation) is that rings fail slowly/predictably while valves fail suddenly/catastrophically…..”
He later had to change two other cylinders, after the borescope indicated they were burning:
(Previous three photos courtesy of Sylvan Martin.)
Jason Figueroa had to change a cylinder on his Cherokee 235’s Lycoming O-540 engine due to a burning exhaust valve that was found with a borescope.
(Photo courtesy of Jason Figueroa.)
Jason said, “Borescoping told us we had an impending problem, and led to catching it before it failed.”
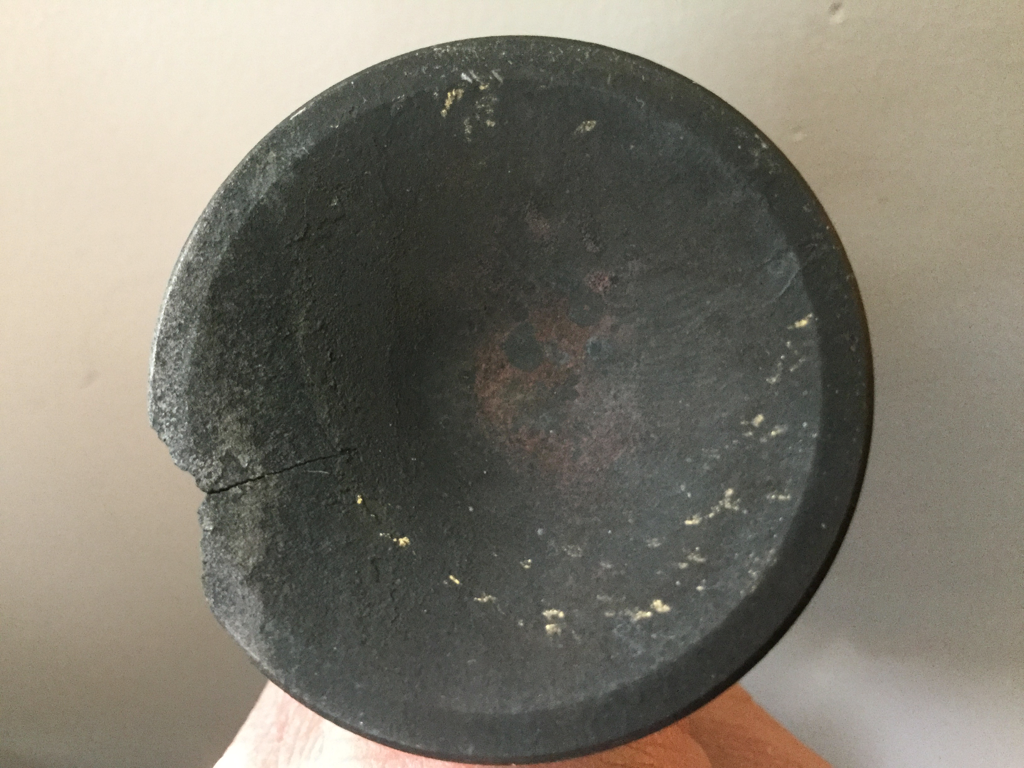
Here are two more exhast valve pictures from an unidentified source:
I’m convinced this broken valve could have been detected with a borescope LONG BEFORE the edge broke off.
My hope is that all of us who have the responsibility of determining the airworthiness of piston engines in airplanes, will use a borescope along with the compression tester for higher levels of safety and reliability.
Do you have a dream to fly? If so, you might be encouraged by the poem I shared at the end of my talk yesterday. My daughter sent it to me one day last Summer… it’s called, “The Dream Does Not Die!” If you’re interested, be sure to listen to the last part of the audio.
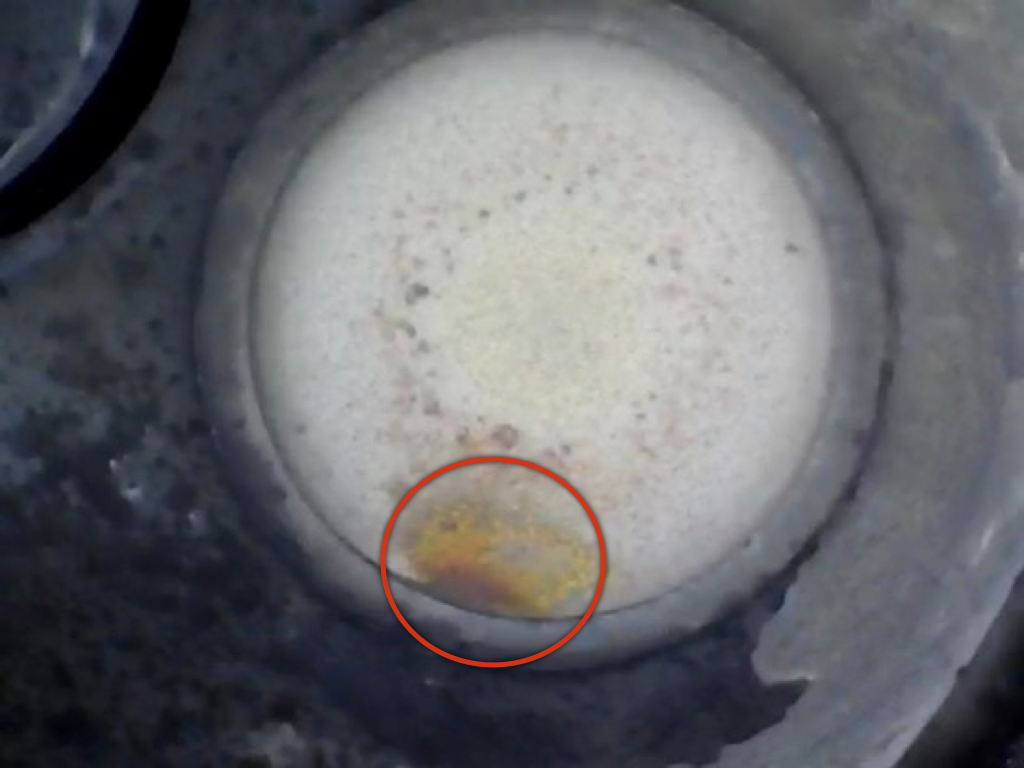
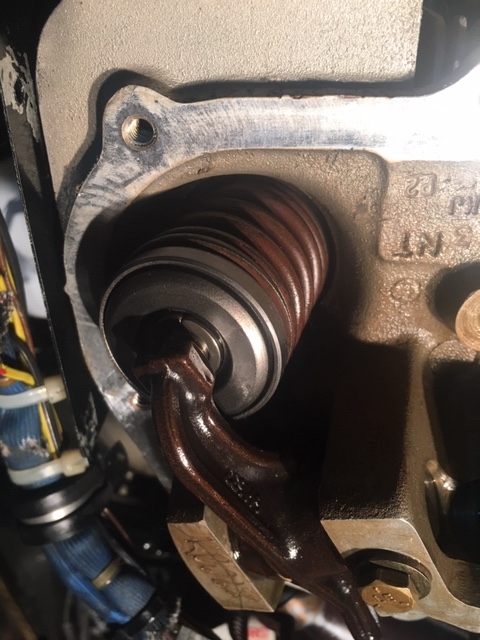
During the recent annual inspection on Drew Wright’s Cessna 182, cylinder #1 had a low compression of 42/80. However, with the amazing technology of borescoping, he was able to take a look inside the cylinder. The nice concentric circle of deposits on the face of the exhaust valve indicates a healthy valve. Drew wondered if perhaps this valve would be a good candidate for lapping in place, without removing the cylinder.
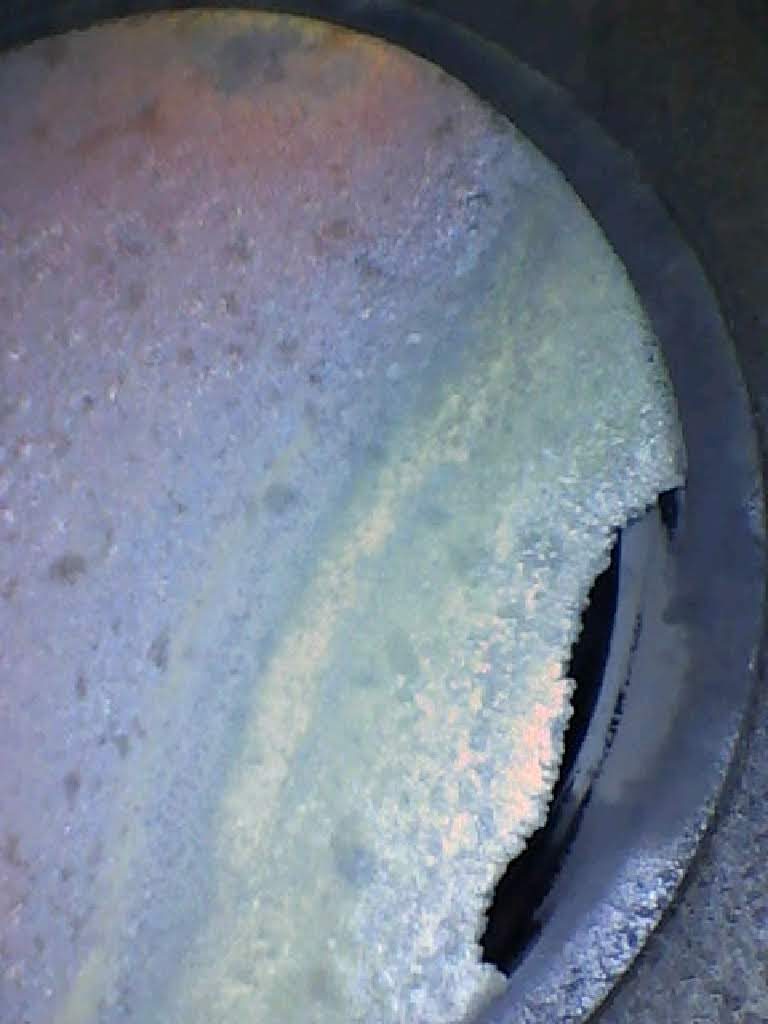
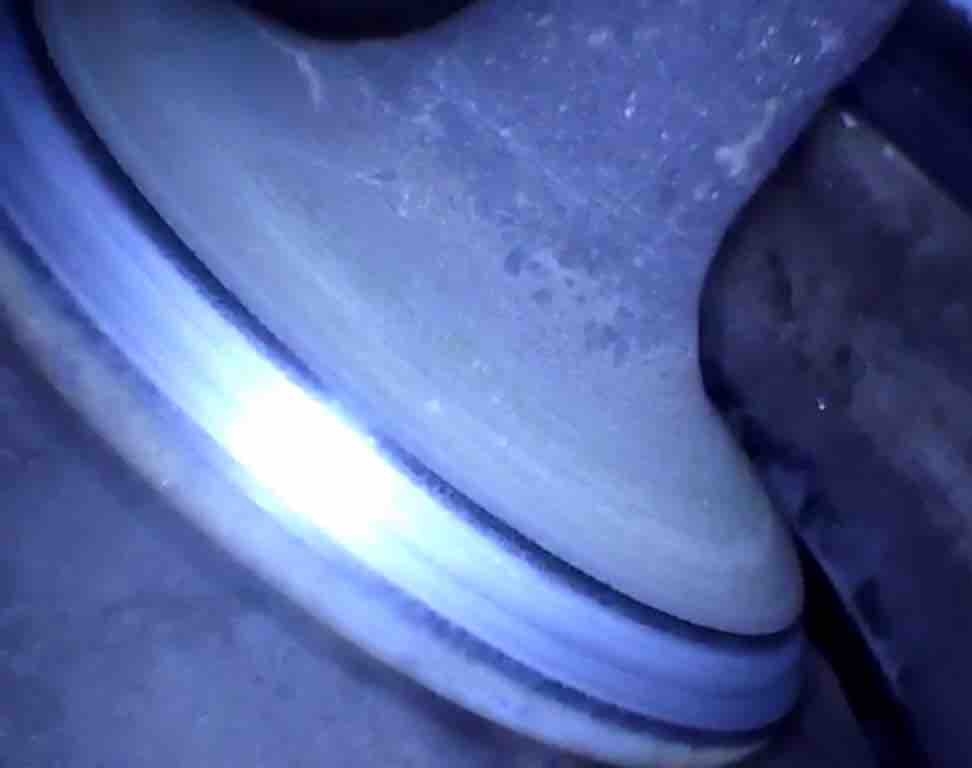
Even though the valve appeared healthy, Drew noticed a significant amount of air leaking out the exhaust during the compression test. Once again, his borescope was very helpful in observing the condition of the exhaust valve and seat area. The valve looks good, except for the rough and uneven seating area.
The seat also looks good, except for the corresponding rough and uneven seating area.
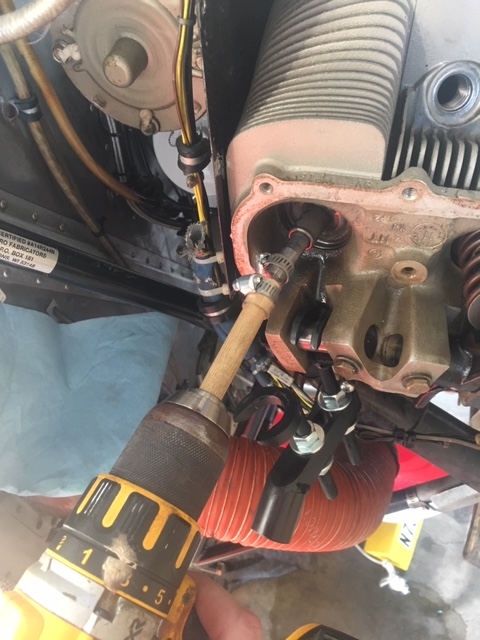
With the supervision of his A&P, Drew was able to remove the rocker cover and the exhaust valve springs. After verifying the valve guide was in good condition with no excessive wear, and the valve was sliding freely in the valve guide, he was ready to “lap” the valve (to apply a small amount of valve grinding compound to the edge of the valve using a long Q-tip through the top spark plug hole, and spinning the valve against the seat to smooth out and improve the seating area.)
Drew used a piece of wood dowel rod, some clear tubing, and some hose clamps, for this task… I like his idea so much, I’m planning to use this technique in the future.
One of the most important parts of the lapping process, is cleaning out the residue after the job is finished. One method is to spray Av-gas into the top spark plug hole to wash the grinding compound off the valve and the surrounding areas, and let it run out the bottom spark plug hole. Multiple washings, along with some compressed air, cleans up the area very well.
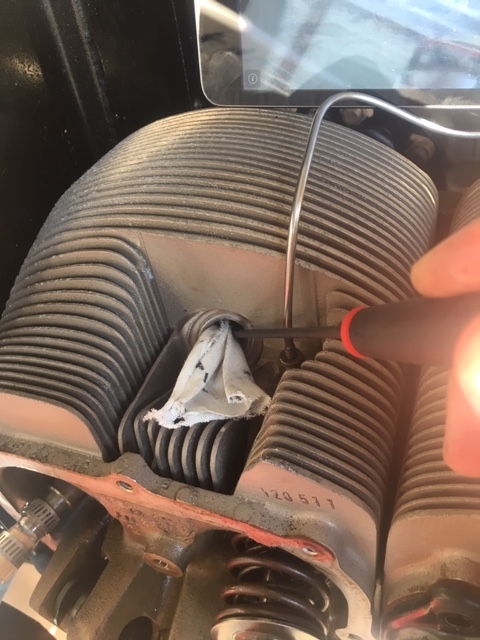
An additional thing Drew did was to push a thin cloth into the top spark plug hole, and pull the valve back to squeeze the cloth between the valve and valve seat. Then, he could turn the valve against the cloth and clean the seating area even better. I’m also going to keep that little tip in mind for my next lapping project. Thanks Drew!
The seating area of the valve showed a nice smooth band after the lapping was done – very impressive!
After the lapping was completed, a new rotator was installed on the exhaust valve, everything was reassembled, and the compression immediately improved!
But the best result was the compression test that was done after running the engine… that same cylinder that was 42/80, now had a compression of 78/80! What a fantastic result, and now, hopefully that cylinder will run reliably for many more hours.
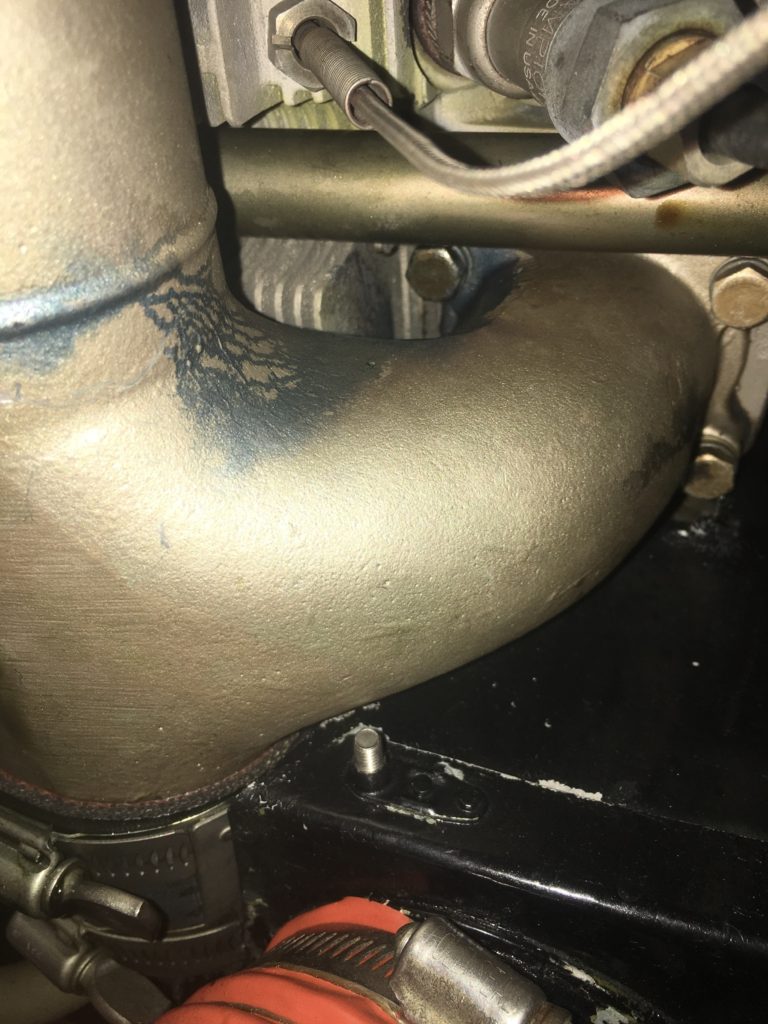
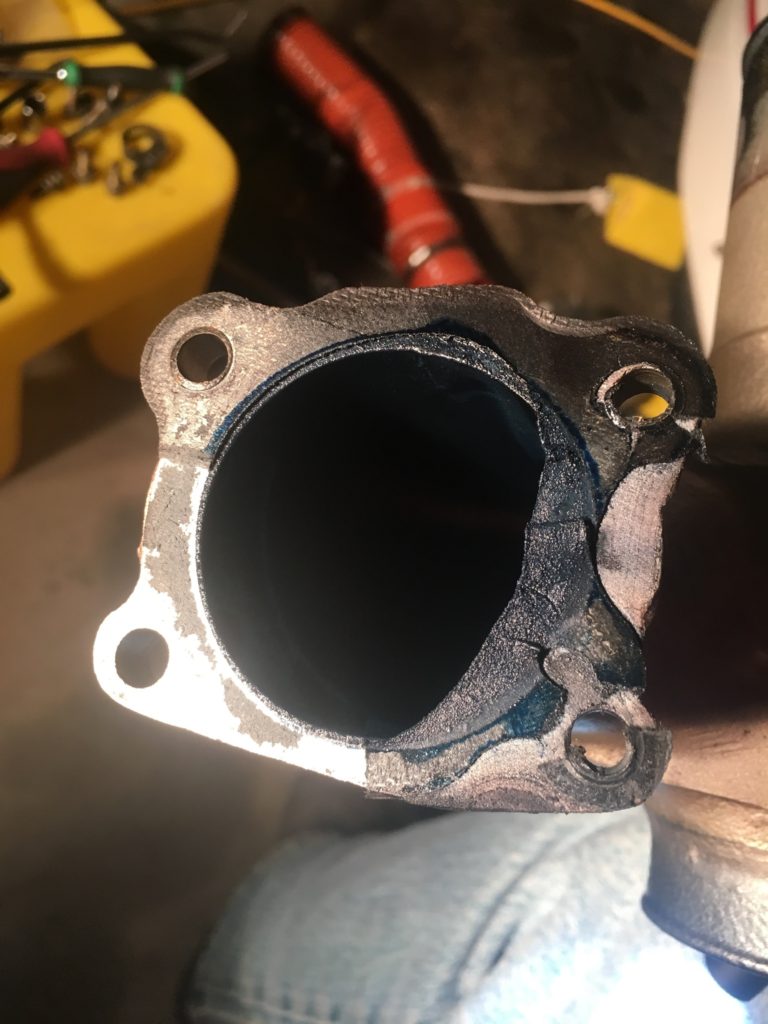
Be sure to listen to the audio for this episode for more details about Drew’s adventure. He also shared about an induction leak that was visible because of some blue fuel staining.
After removing the intake pipe, it was obvious the gasket had shifted out of position during the assembly process many years ago… perhaps this was part of the poor idling problem that was also corrected during the annual inspection. After installing a new intake gasket and adjusting the idle mixture setting, the engine idled much better than before.
Drew’s story is a true inspiration in so many ways.
So, if you, as an airplane owner, have an interest in learning and getting involved in the maintenance, just find an A&P who is willing to give you some supervision to keep things legal, and you’ll have all kinds of possibilities.
Well done Drew, on your exhaust valve lapping project! I’m thrilled with the result you achieved on this one!
Drew has a young family, and it makes me happy to know he’s taking such good care of his airplane… after all, he’s got some precious cargo to haul around!
Note: The Exhaust Valve Borescoping and Lapping Presentation at Oshkosh was so much fun, and I met some fantastic people. If you’re buying the borescope I recommended, go to AirplaneOwnerMaintenance.com/119 and click the links for the borescope of your choice. Use the code “Dean” for a 10% discount.
Now for the trip to Oshkosh:
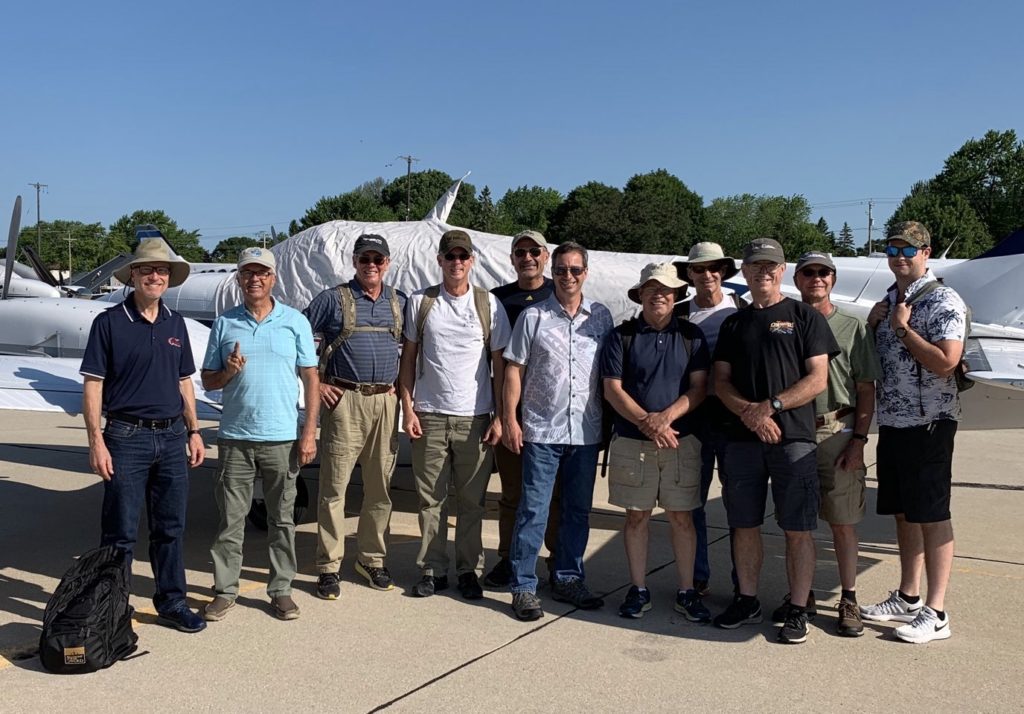
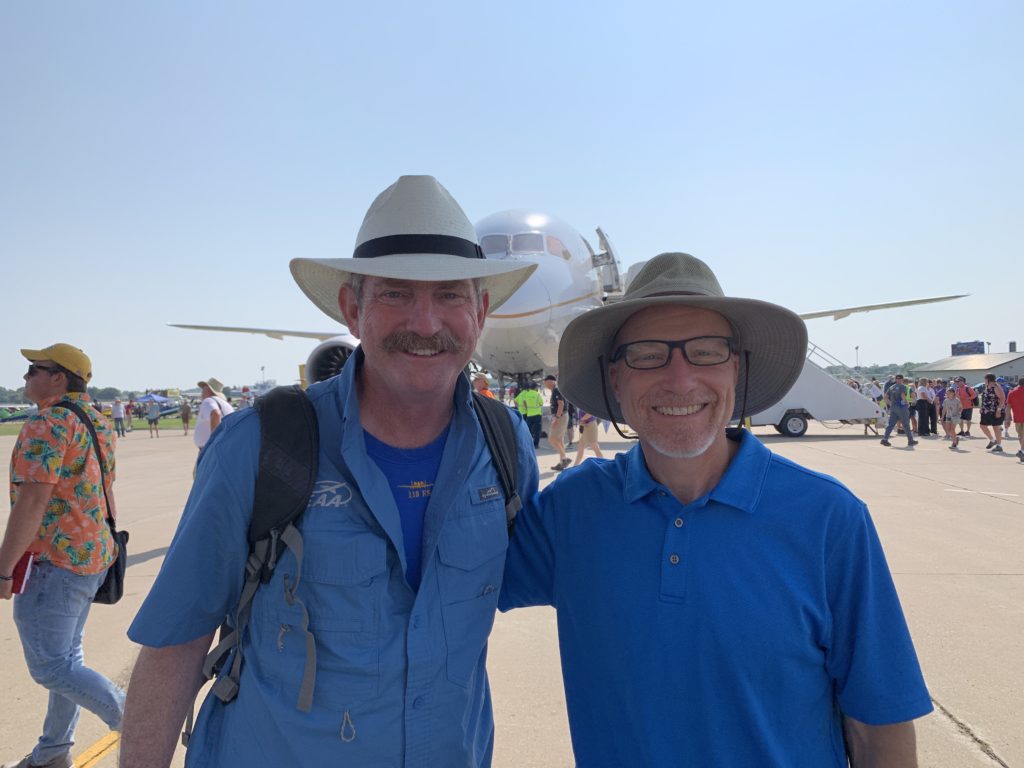
The Luray, Virginia guys!
——————————————————————————————————————–
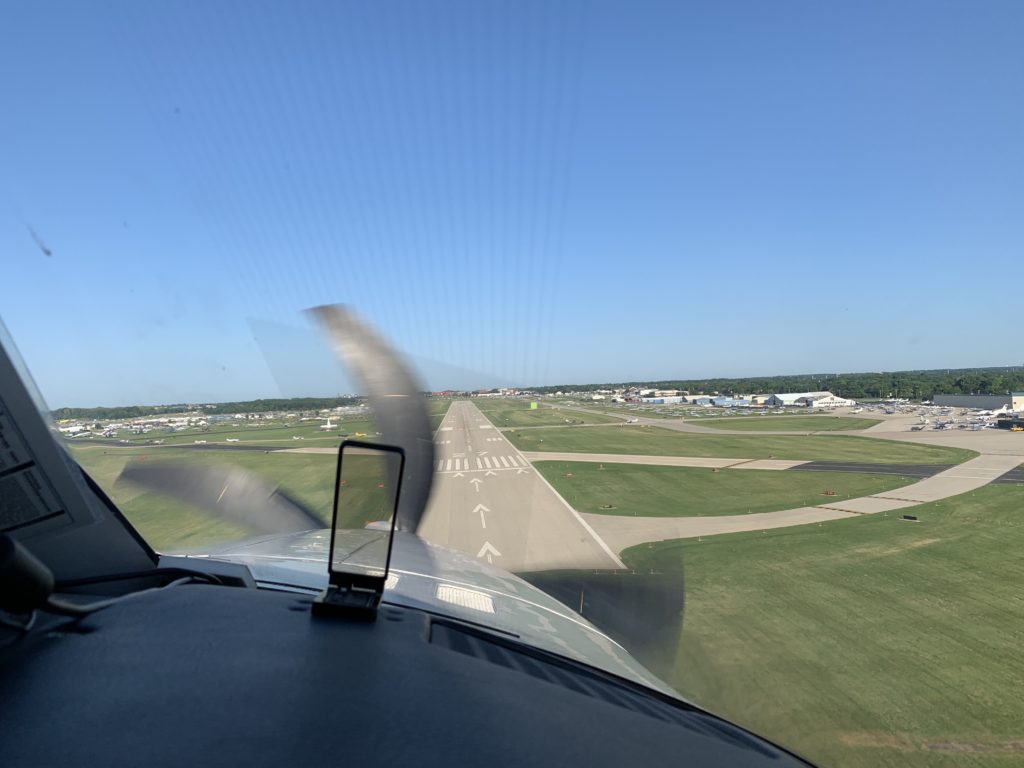
Final approach to runway 27 – Land on the “Green Dot!”
——————————————————————————————————————–
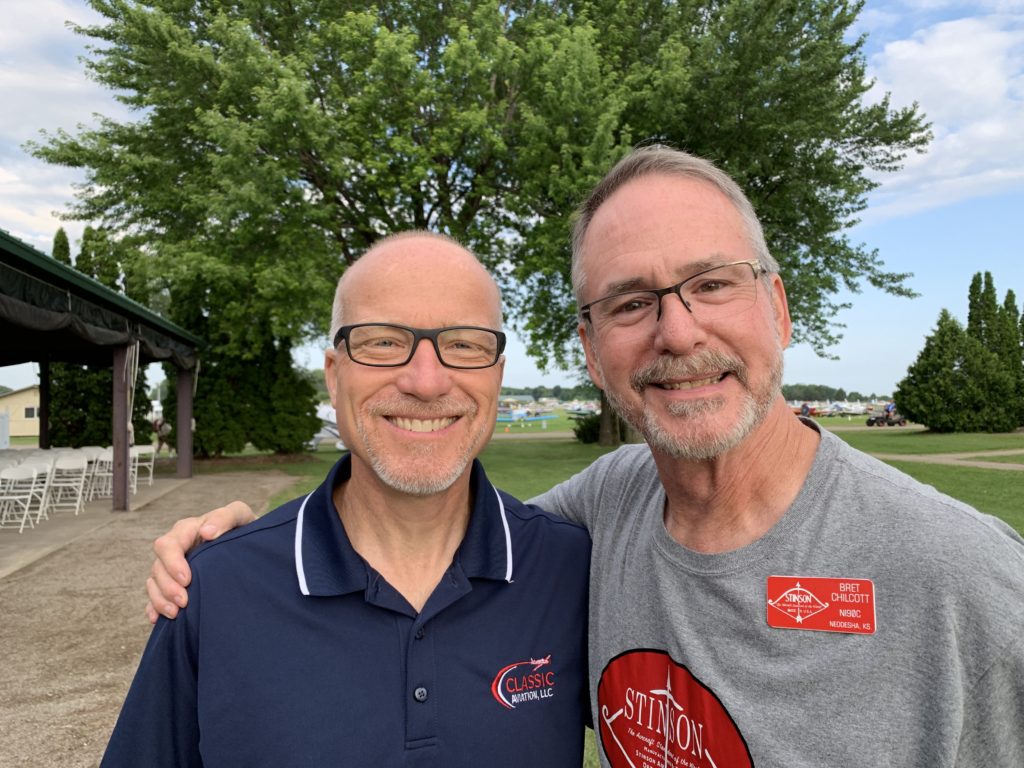
I met Bret Chilcott from Neodesha Kansas, and listened to his excellent presentation about Stinson 108 aircraft, and what a value they are.
——————————————————————————————————————–
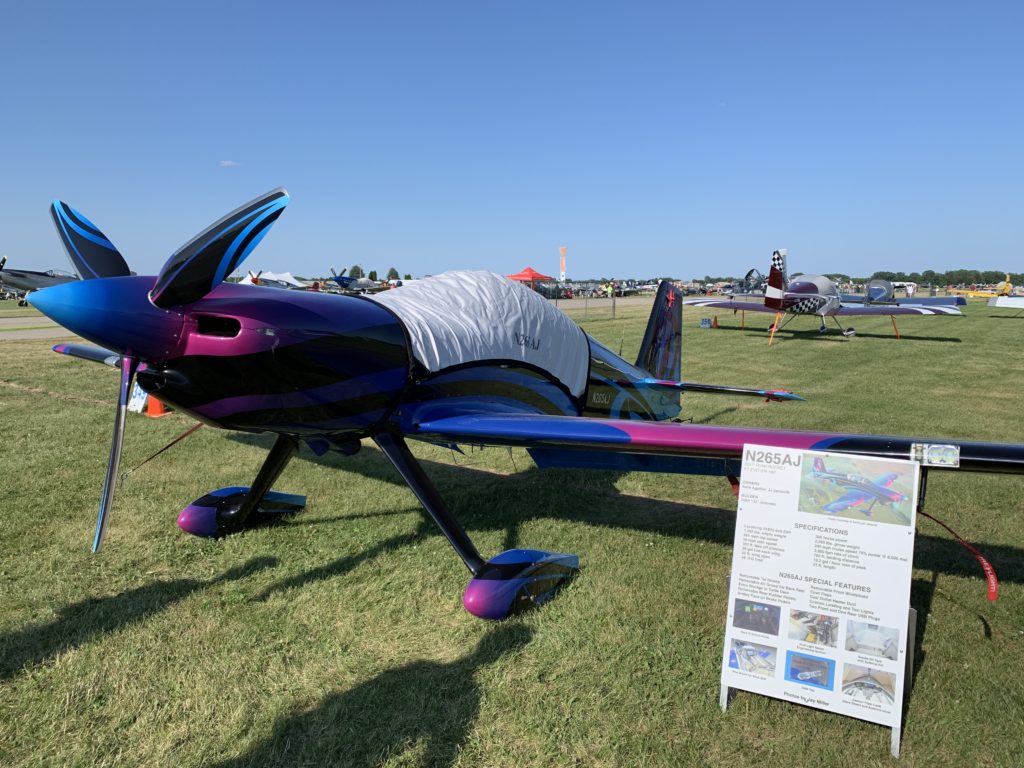
So many sleek and fast airplanes at AirVenture!
——————————————————————————————————————–
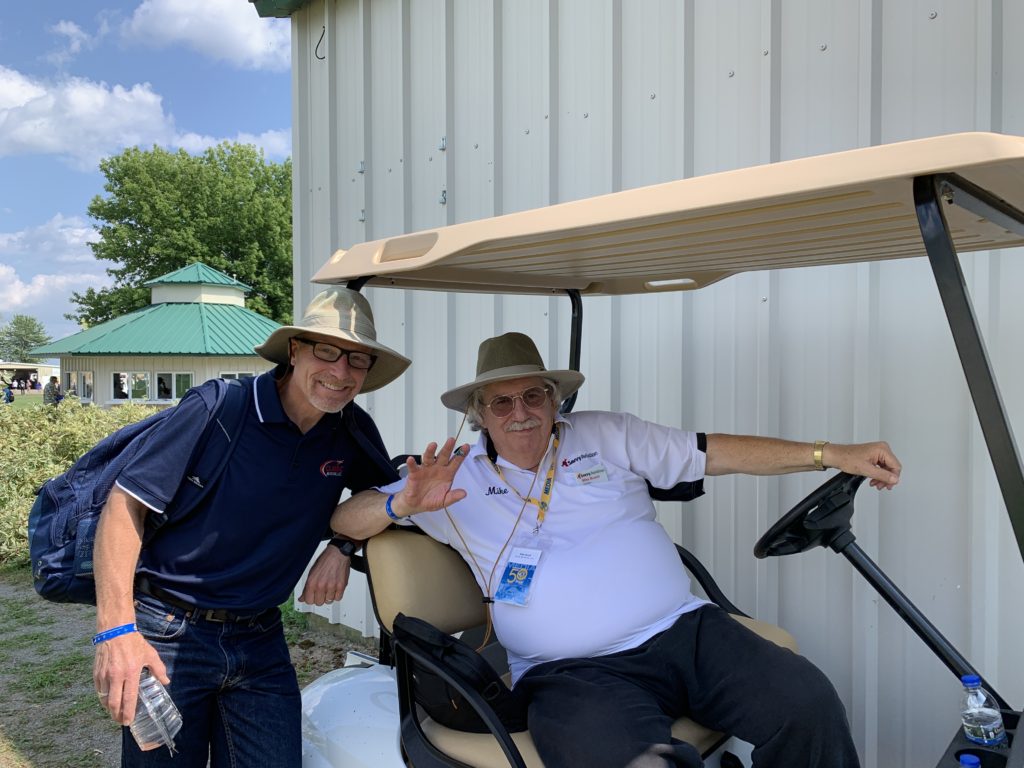
I managed to grab a quick picture with Mike Busch… he did 13 seminars this year!
——————————————————————————————————————–
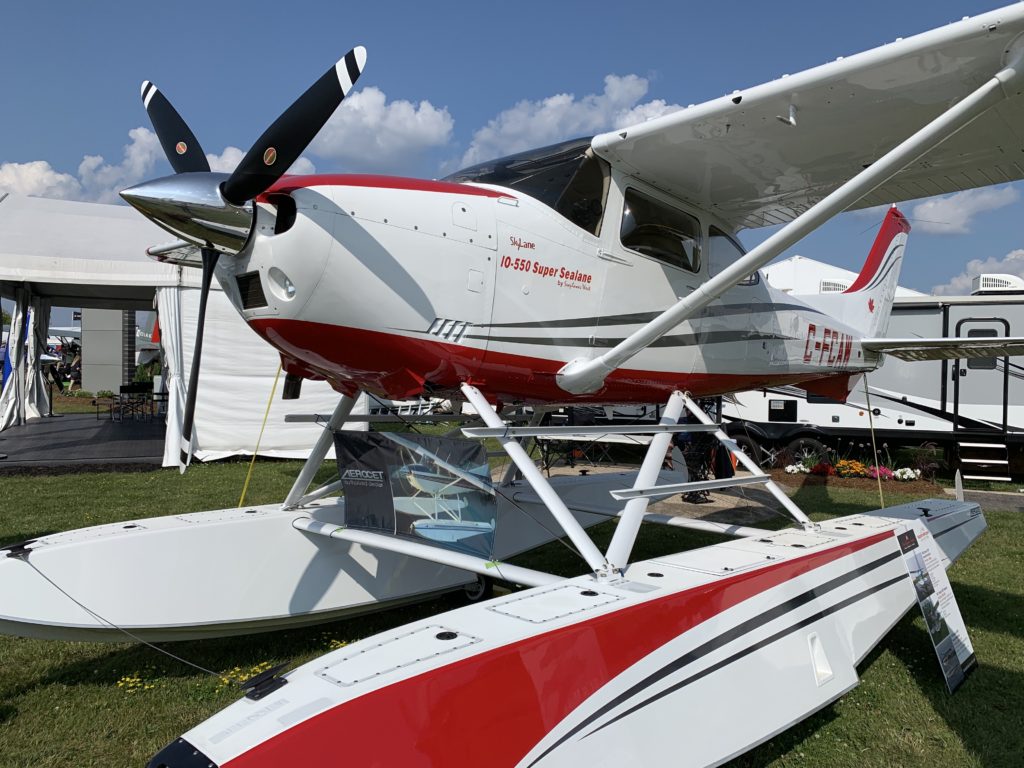
Check out one of the stunningly beautiful float planes there:
——————————————————————————————————————–
Jack Swift was the first person to purchase my video course, “Safety Wire Like A Pro!” I met him at Boeing Plaza, between the Boeing 747 and the 787. What a great guy!
——————————————————————————————————————–
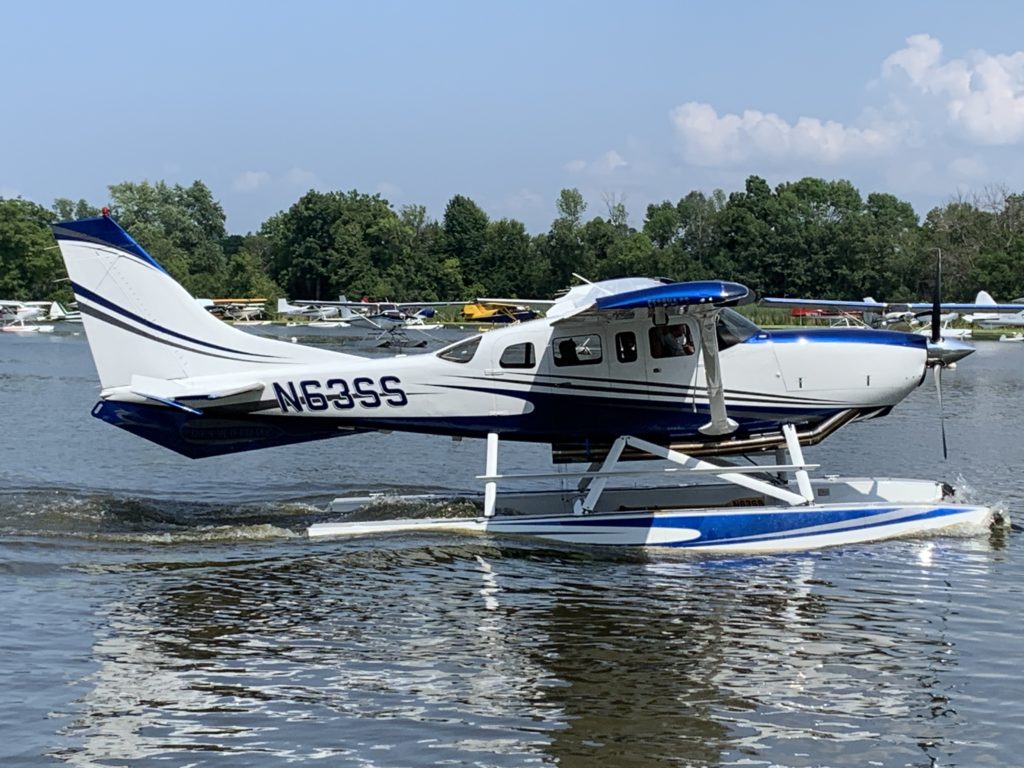
Check out the turbine 206 on floats at the seaplane base:
——————————————————————————————————————–
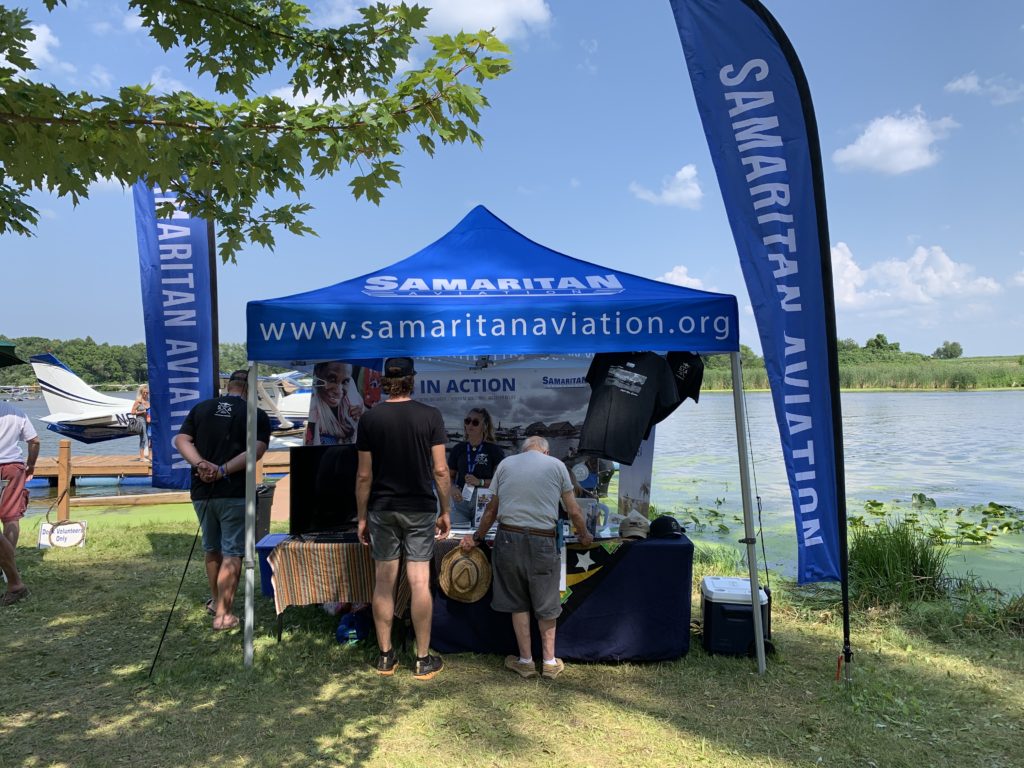
And a mission organization who uses Cessna 206’s in Papua, New Guinea. samaritanaviation.org
——————————————————————————————————————–
Chris Palmer with AviatorTraining.com was there, and it was great to meet him in person! I gotta get a new hat for next year… that thing is ridiculous 🙂 Check out Chris on Instagram @angleofattack – he got a ride in the back seat of one of the Aeroshell Team T-6’s! Well done Chris!
——————————————————————————————————————–
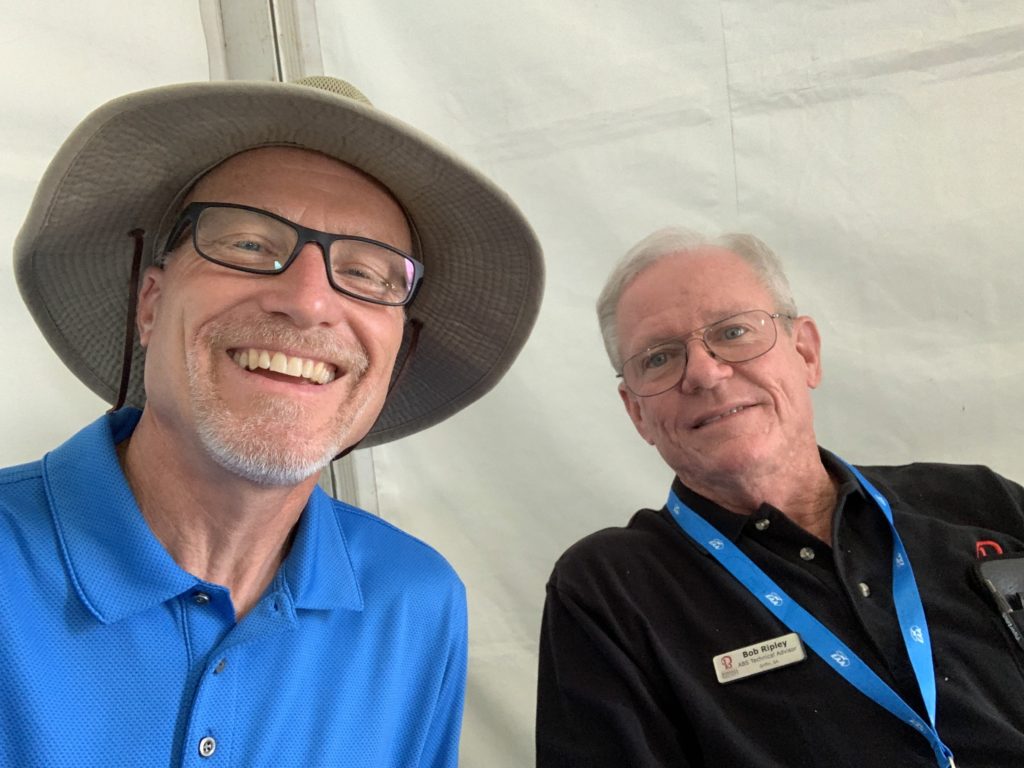
Bob Ripley was in the ABS tent, and I got to thank him for his help… he’s a walking encyclopedia of Bonanza and Baron knowledge! Having access to Bob for technical questions, in my opinion, is one of the best benefits of ABS membership.
——————————————————————————————————————–
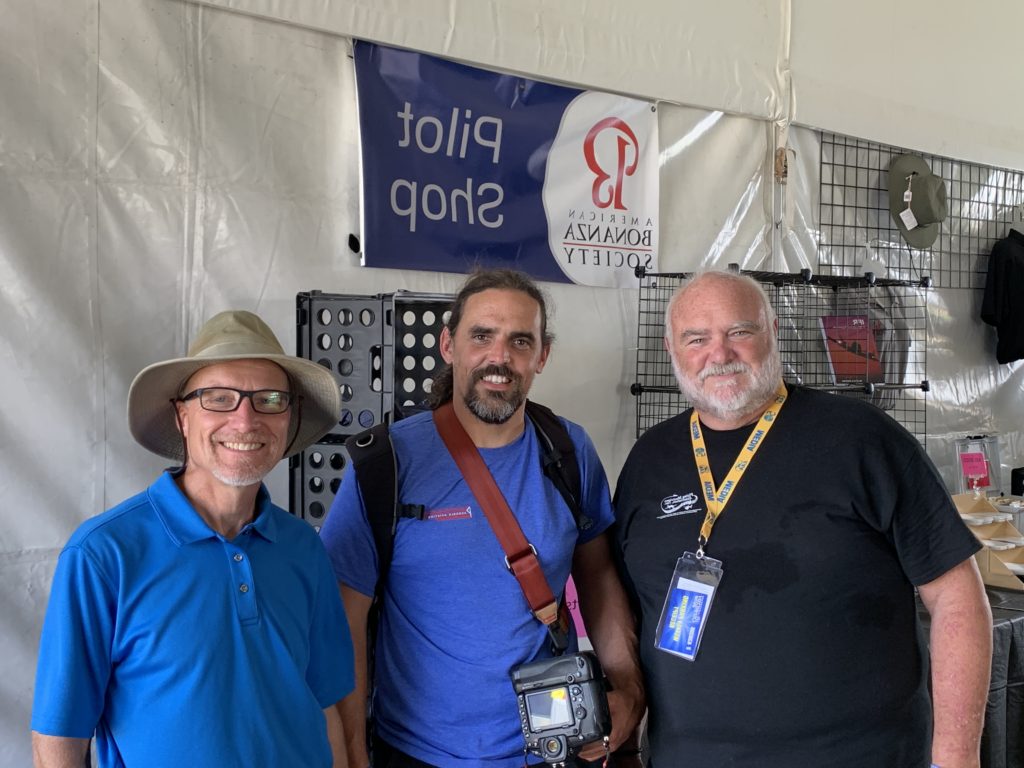
It was also a great privilege to meet Joe Godfrey and Dave Pasquale. Joe is an engine monitor and analysis expert, and Dave is a borescoping and valve lapping expert. Both of these guys work with Savvy Aviation, and Dave also has his own maintenance shop, Pasquale Aviation, LLC, in Pottstown, PA.
——————————————————————————————————————–
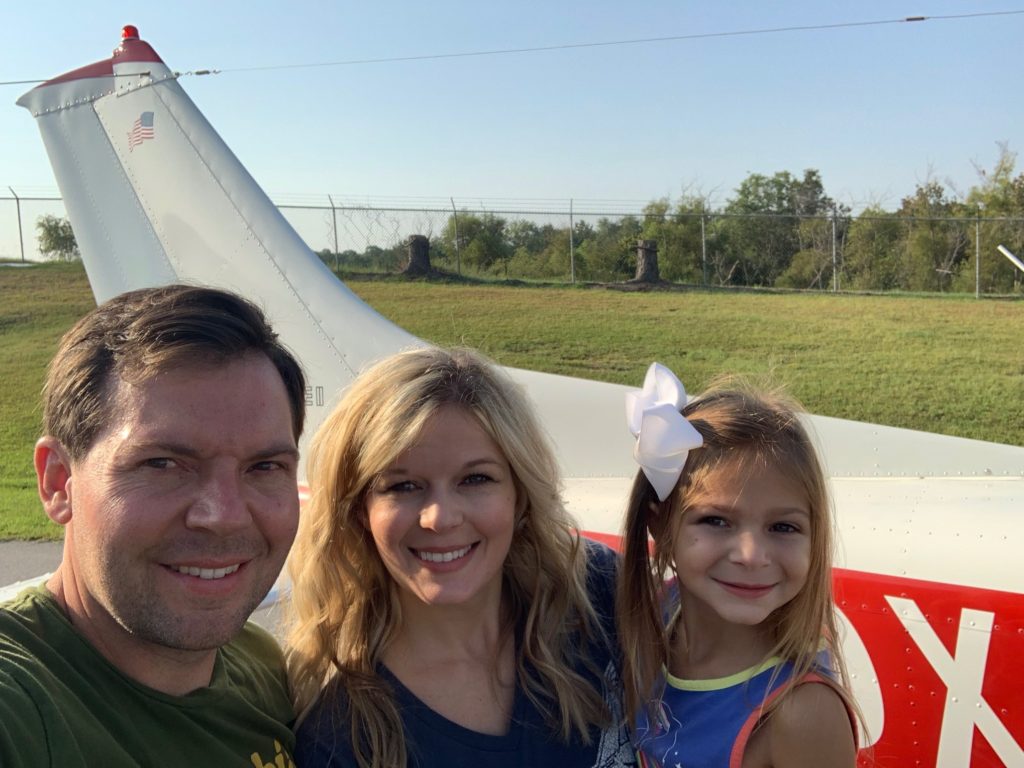
Finally, don’t miss the story behind this picture…
I saw this guy with his young family and decided to take a picture to get his information. I forgot about it until today when I was looking through my photos. His story is absolutely inspiring. Listen to the audio for this episode, and then check out his website:
Scroll down to check out Dean’s favorite borescope.
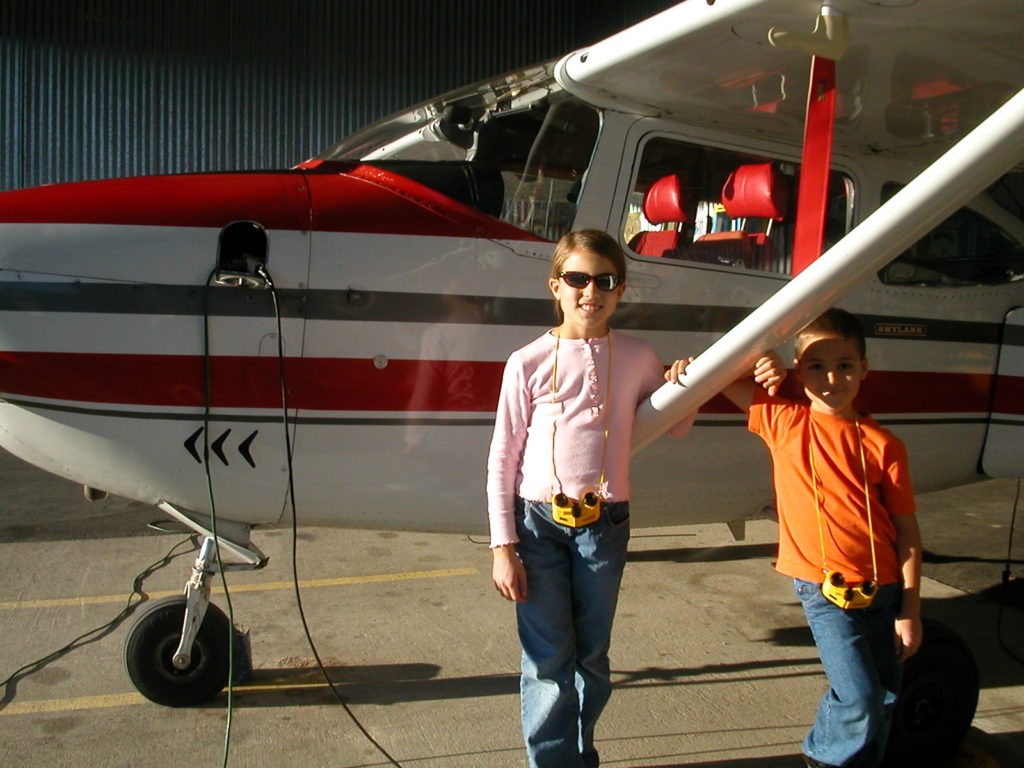
I have three kids, and those are my two oldest… from many years ago 🙂
Morgan, my oldest, is on the left, and Seth is on the right. I’m guessing they were around 9 and 7 years old at that time, and they’re now 22 and 20!
So why am I showing you this picture? Good question. I’m using this picture because it’s deeply meaningful to me, AND this Cessna 182 has turned into my favorite exhaust valve borescoping and lapping story.
I’ll be telling that story in a presentation at Oshkosh on Saturday July 27, at 8:30 am. Hope to see you there!
The whole idea of “lapping” the exhaust valves came out of first borescoping the valves.
A borescope is necessary to determine if an exhaust valve is a good candidate for lapping or not.
And for this purpose, I’m a firm believer that:
Sometimes a borescope is better than a compression tester.
When it comes to viewing the condition of piston engine exhaust valves, a borescope is better than a compression tester. I have three specific story examples of actual airplanes that had an exhaust valve in serious trouble, but all three of those cylinders still had a compression test result of at least 60/80. After seeing these examples, it is EASY to see that “Sometimes, a borescope is better than a compression tester!”
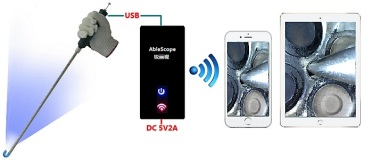
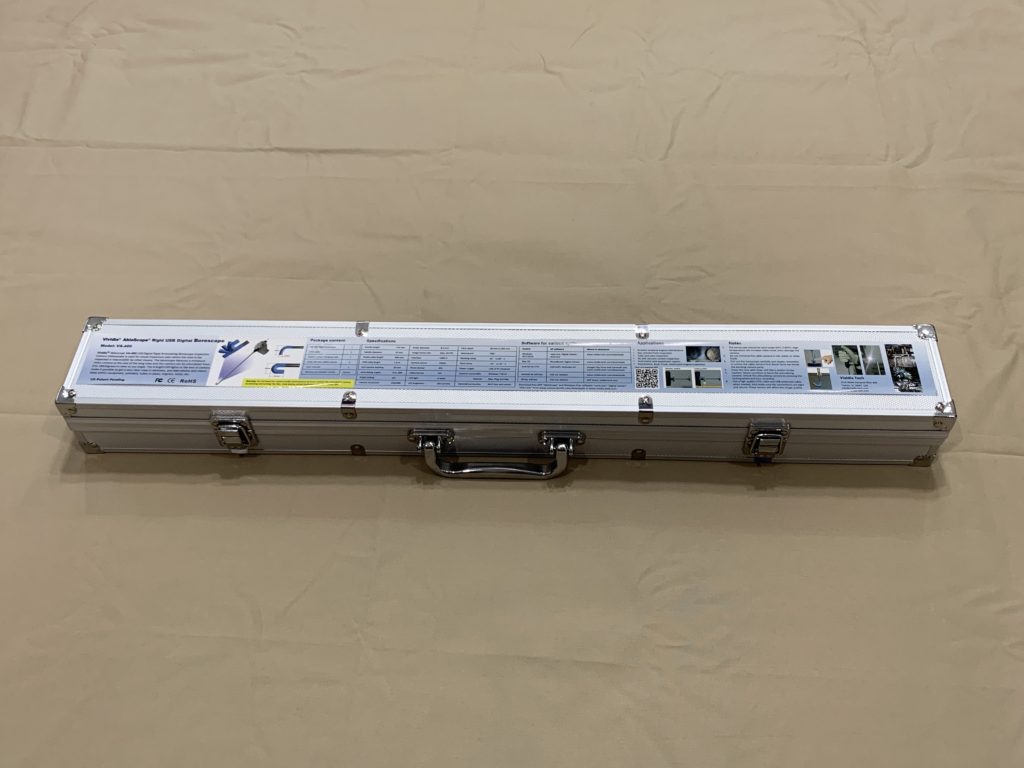
So… I’ll also be talking A LOT about borescoping in my Oshkosh presentation. I’ve actually tracked down the company that produces my favorite borescope and I’m looking forward to meeting these people at Oshkosh. Oasis Scientific will have a booth there.
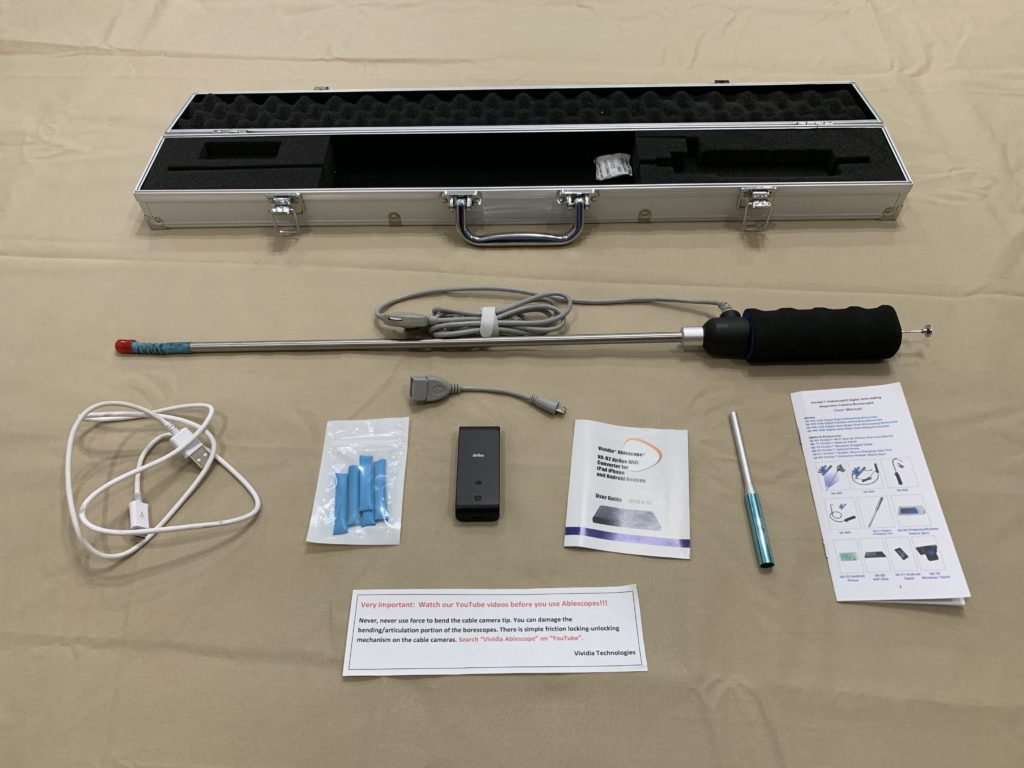
They’ve been great to work with and have set up a code for me to offer you 10% off the purchase price. Just use my code “Dean” at checkout to receive the 10 % discount. Oasis Scientific has many borescoping products, and here are my two favorites to recommend to you: (The first is the borescope alone, and the second is a bundle that includes an adapter to allow you to view and save pictures on your iPhone or iPad.) I bought the bundle and am very happy with it.
If you will be at Oshkosh 2019, you can go to Oasis Scientific’s booth and get their discounted show price PLUS another 10% discount by using my code “Dean”.
The borescope above will connect directly to an Android device or tablet.
Or if you’re like me and want to use your iPhone or iPad, you’ll want to buy the bundle which includes the VA-400 above along with a WiFi adapter to allow viewing on your iPhone or iPad. Here’s the bundle: (This is the one I bought.)
It’s an incredible tool that comes in a really nice metal box.
I’m really happy with this borescope. If you’re looking for a borescope, this one may be a good option for you as well.
Don’t forget to use the code “Dean” at checkout to recieve a 10% discount off the purchase price.
If you have not downloaded my free UPDATED Exhaust Valve Inspection Guide with pictures and descriptions of what to look for, be sure to grab a copy of that as well… it will be super helpful in using your new borescope. You can get access to that free guide here: airplaneownermaintenance.com/exhaustvalves
In the next podcast episode, I’ll give a report on my first time to Oshkosh!
Have a great week, and I hope to see some of you at the big airshow!
My new friend, Brad Flickinger. Brad is a podcast listener from Pennsylvania who stopped in to see me at SHD recently.
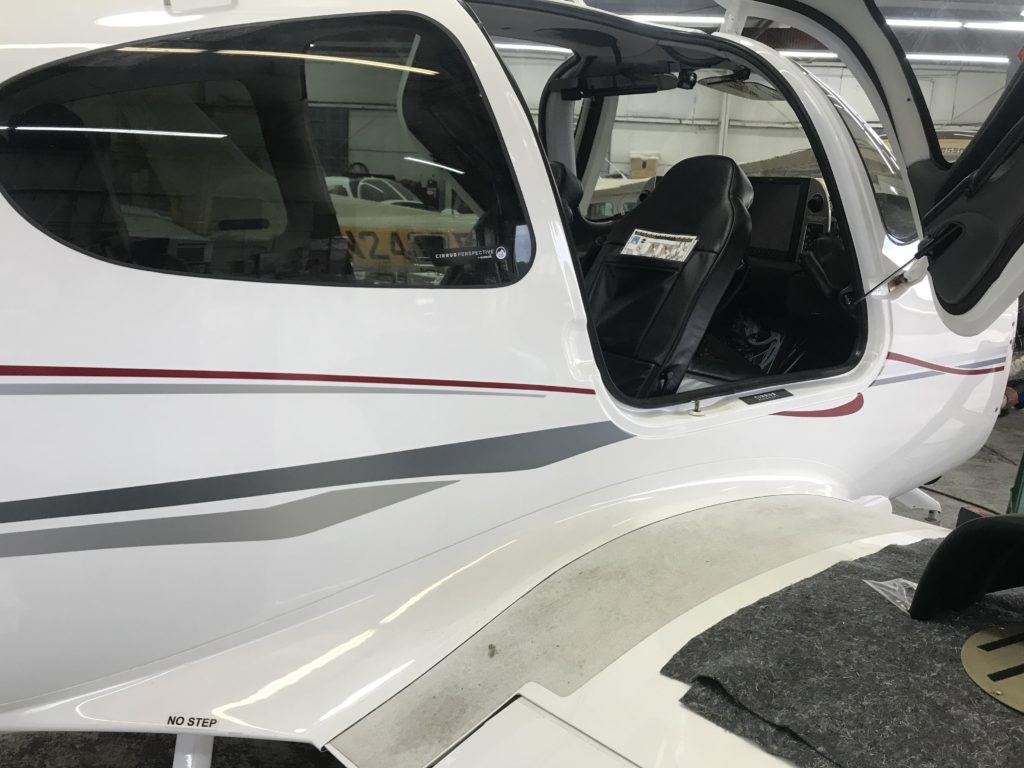
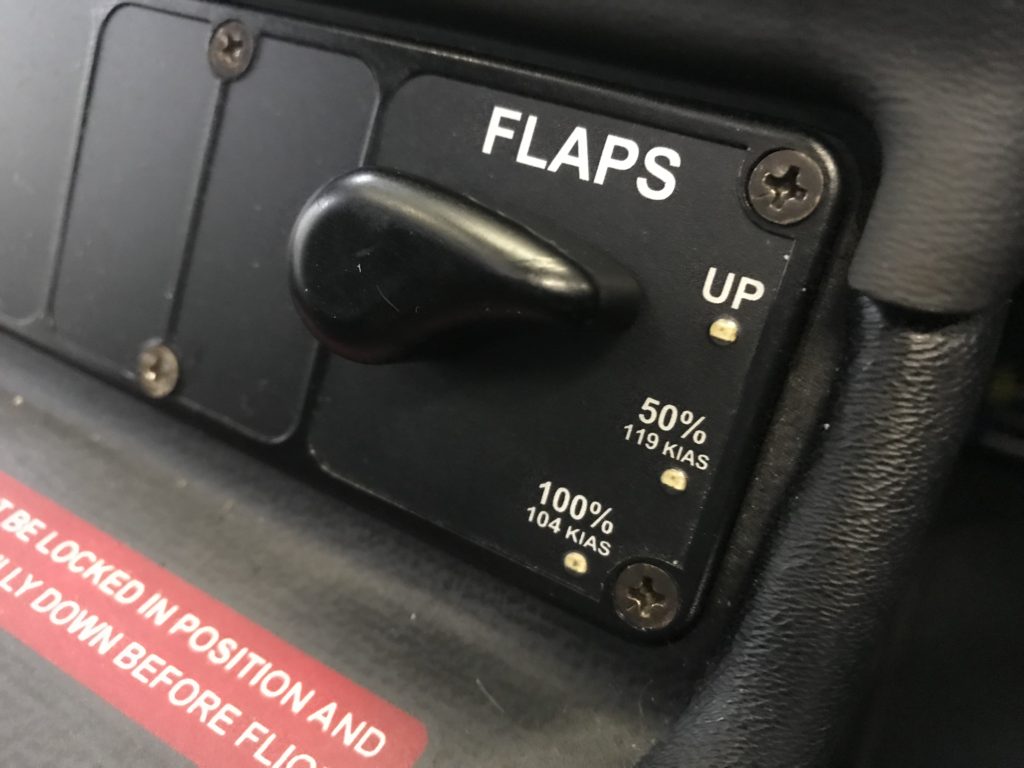
A flap problem on a Cirrus SR22.
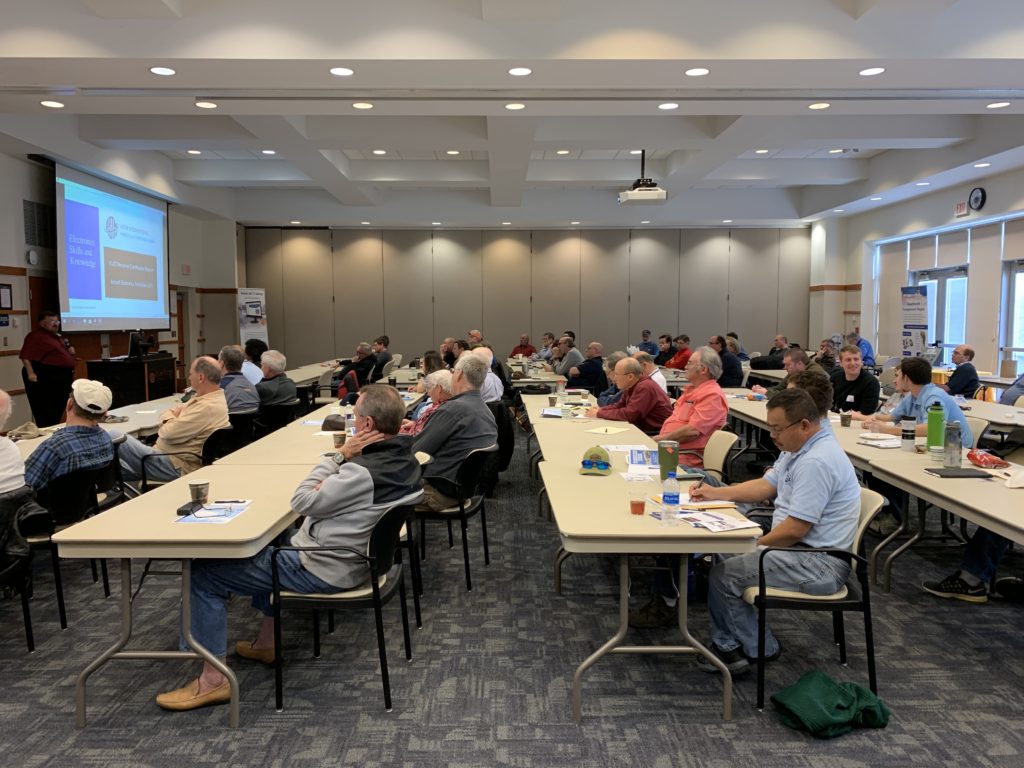
1.Oshkosh Announcement:
I’ve never been to the EAA Airventure Oshkosh Airshow. But this is the year to change that, and I’m planning to go this year! I can’t wait.
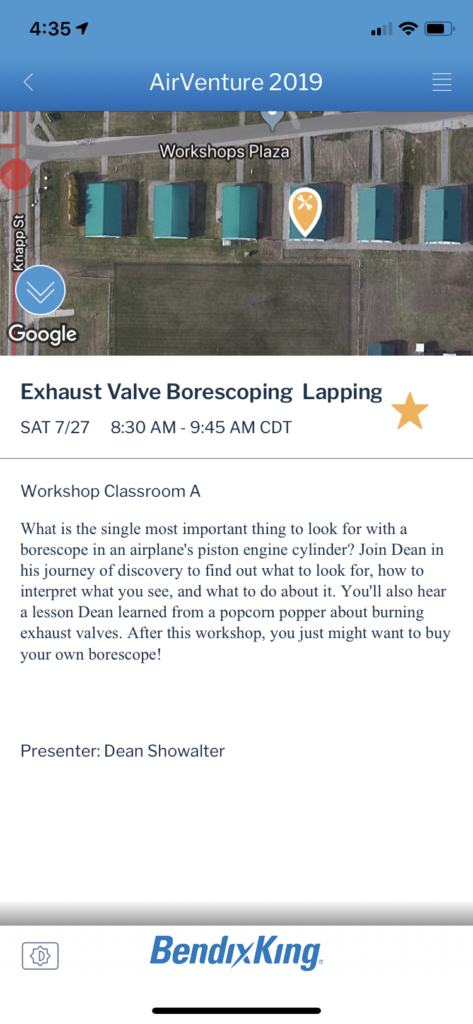
I have been scheduled to give a workshop presentation at Oshkosh this year. The name of my workshop is “Exhaust Valve Borescoping and Lapping,” and you can click this link to get the details:
It will be in Workshop Classroom A, on Saturday, July 27, at 8:30 am.
If you will be at Airventure / Oshkosh this year, please stop by for this presentation… I would love to meet you there.
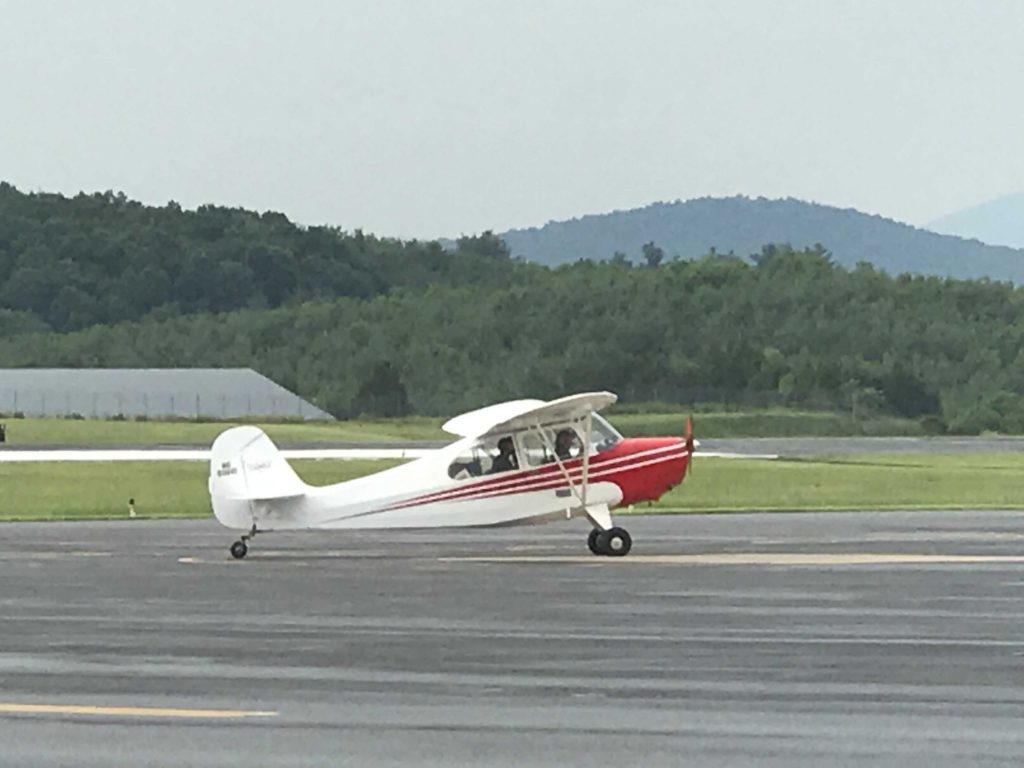
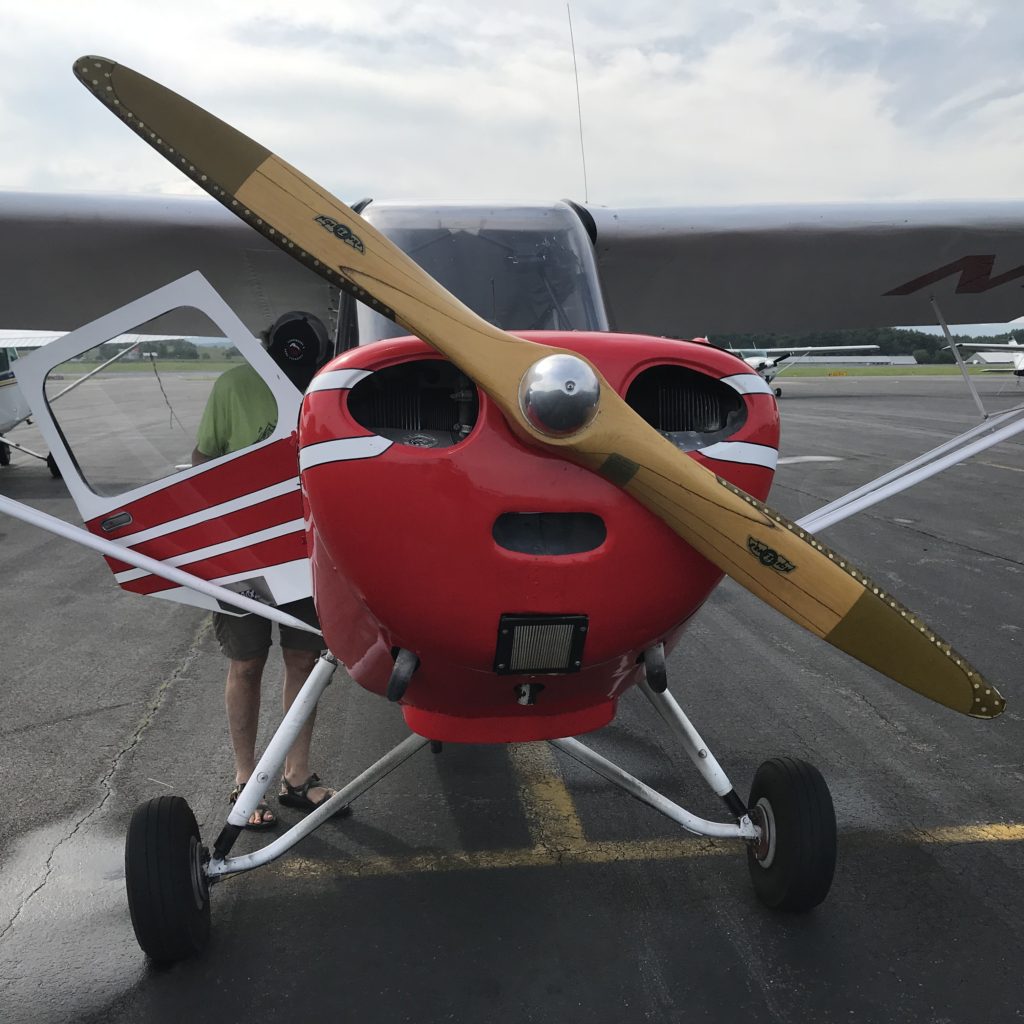
2. The Aeronca Champ that landed at SHD:
Such a classic little airplane!
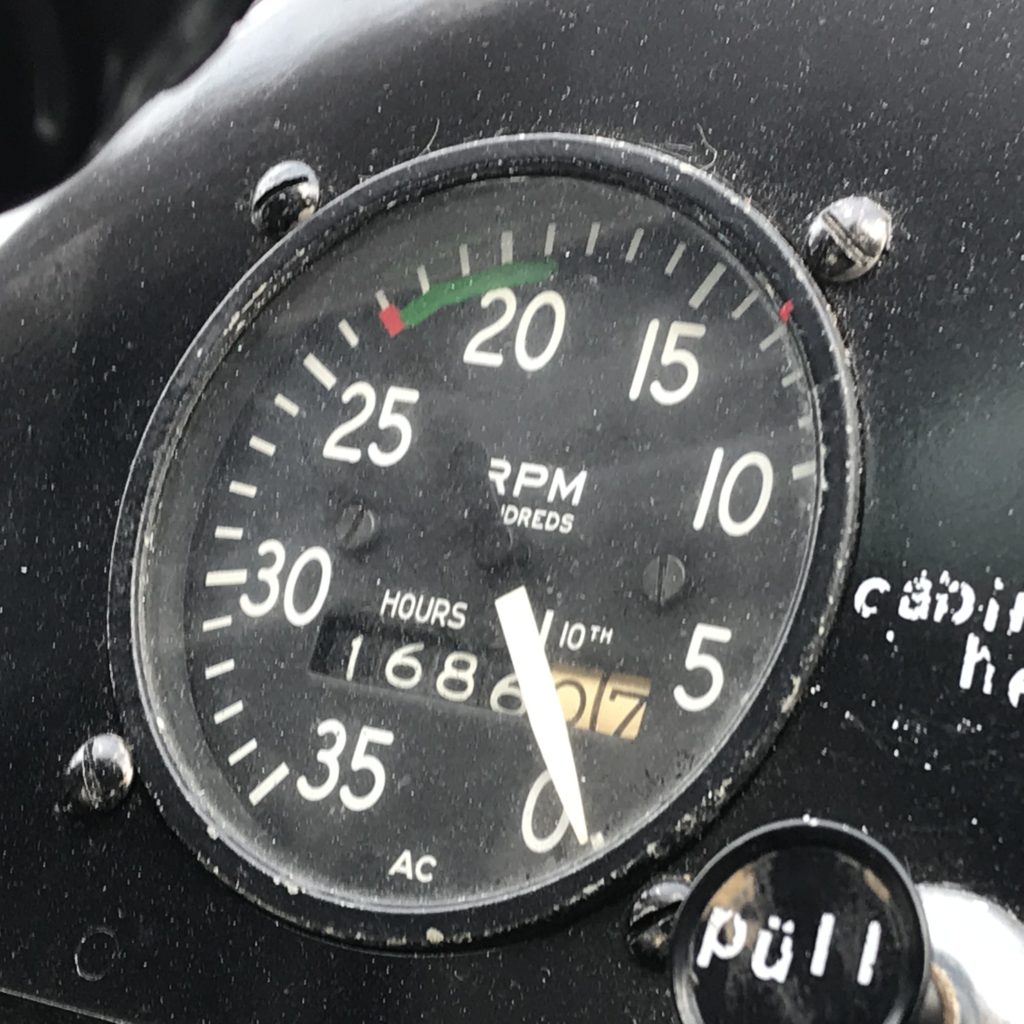
And it even had a backwards tachometer, like the one I flew years ago.
… and with a wooden prop and no electrical system, it’s a really simple airplane.
3. My new friend, Brad Flickinger.
Brad stopped in to see me at Classic Aviation at SHD recently. I found out he’s been listening to the podcast while driving a truck.
Brad owns and flies a Mooney, and we are currently making plans for me to go spend some time with him and some of his airplane friends in PA.
Thanks Brad, for taking the time to stop in for a visit. I always love to meet podcast listeners in person!
4. Cirrus SR22 Flap Problem
I’ve been doing an annual inspection on an SR22, and one of the squawks was that the flaps would not extend all the way.
A call to Cirrus Tech Support turned out to be a fantastic experience!
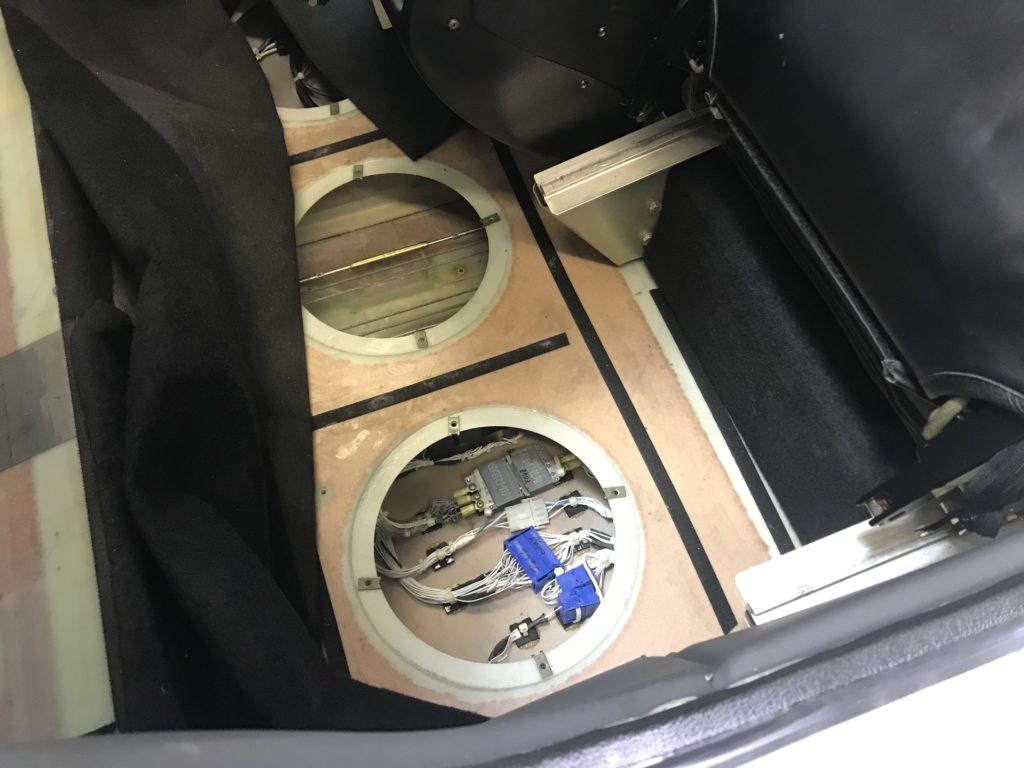
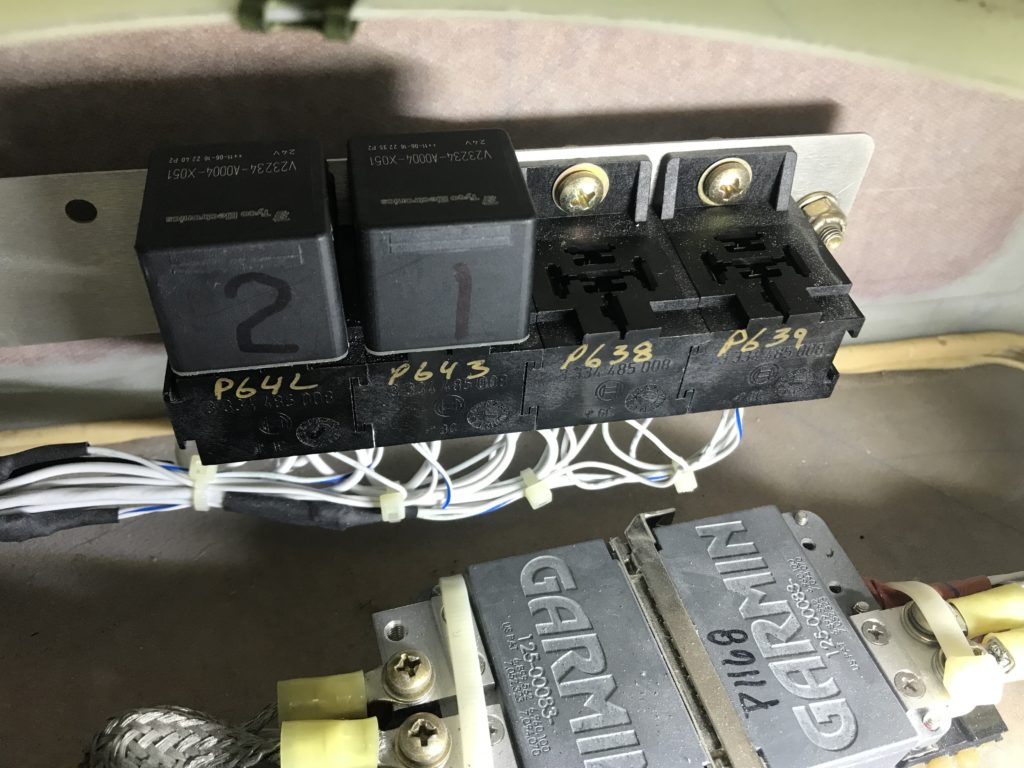
Ben gave me some ideas about what to check, and one thing he suggested checking was the flap system relays under the floor panel behind the copilot seat.
The relays are inside this panel.I numbered the relays so I would not get them mixed up for troubleshooting.
After following Ben’s instructions, I put the forward two relays in the aft two positions, and the flaps worked flawlessly!
I was very grateful for the excellent tech support from Ben at Cirrus Aircraft!
He helped me isolate the problem, and the solution turned out to be two $13 relays, instead of a high dollar flap drive unit. Thanks Ben!
After we get the new relays installed, the flap system will be back in business, ready for reliable operation once again.


Recent Comments