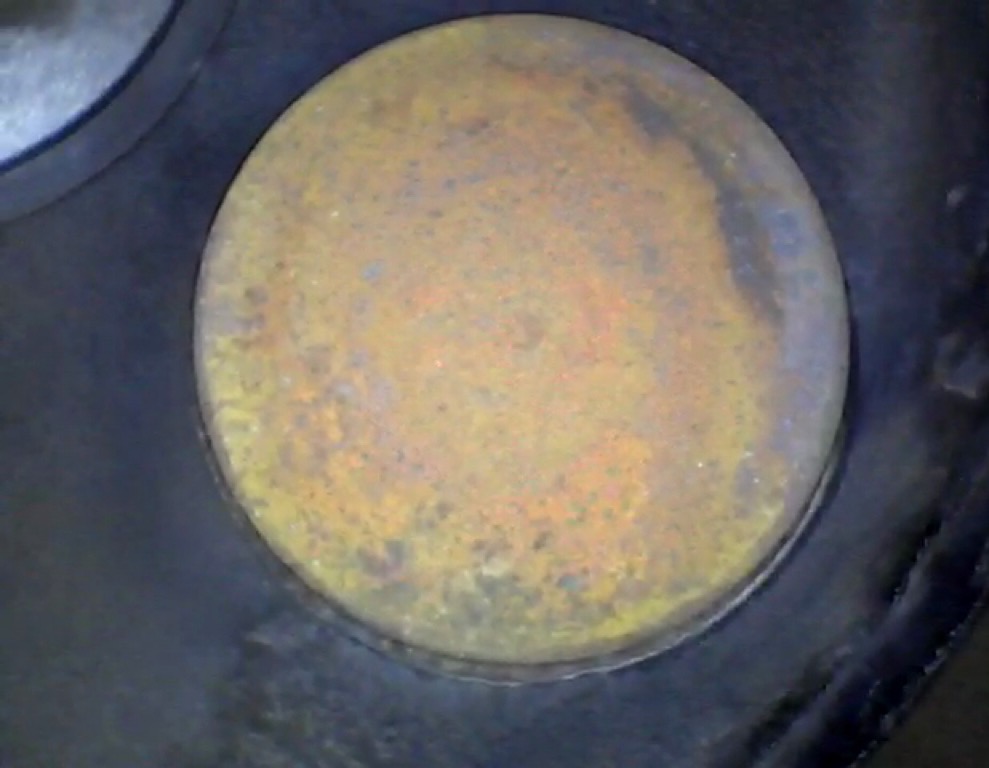
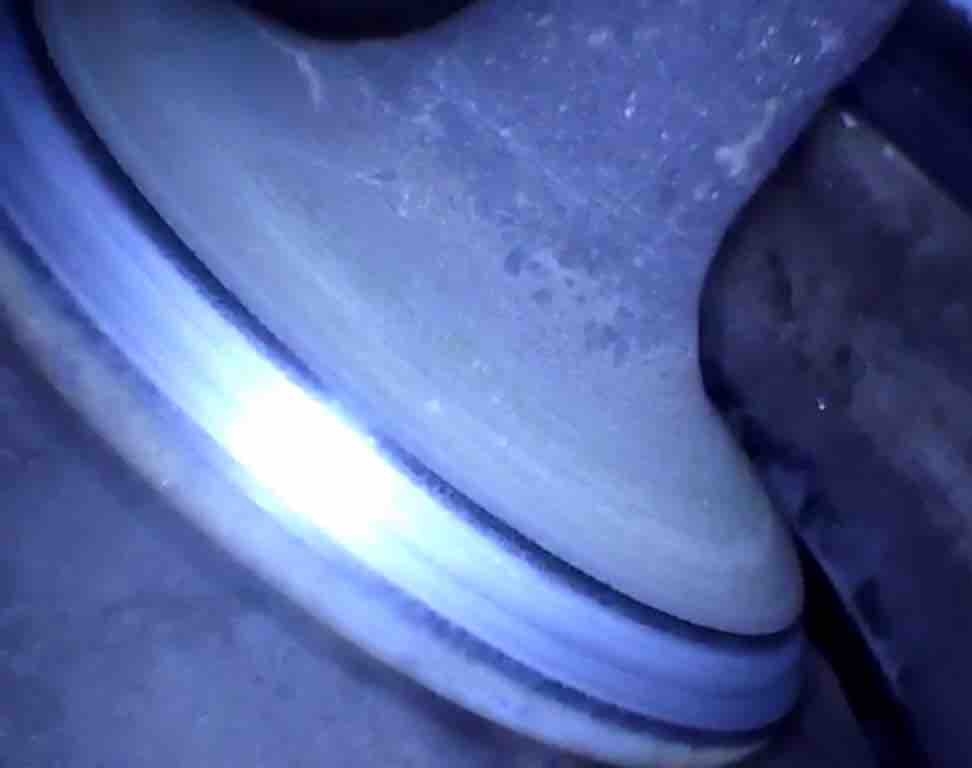
Recently, I received an email from Jim Janaitus, owner of a Cessna 182. He told me the story of lapping an exhaust valve on his engine because the valve showed signs of burning even though the compression was still in the high 60’s. Take a look at the appearance of the valve before lapping:
The area from about 12:00 to about 3:00 is the bad area, indicating the valve is not seating well in that area.
Jim lapped the valve and installed a new rotator. I was super happy when he said, “It went better than I imagined.”
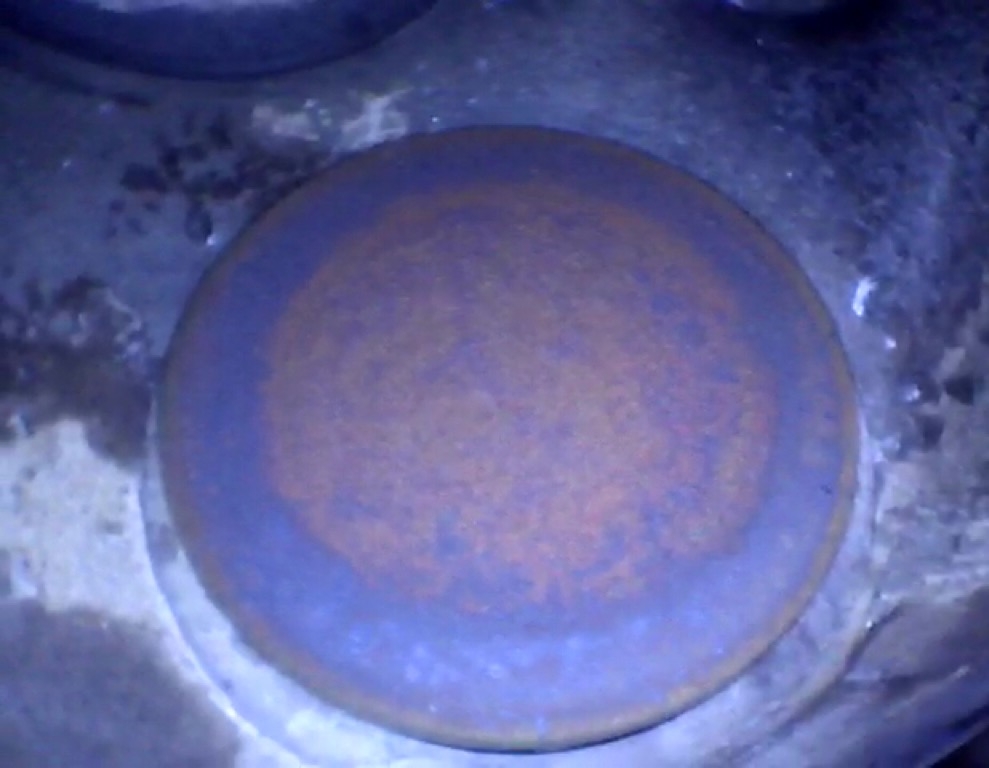
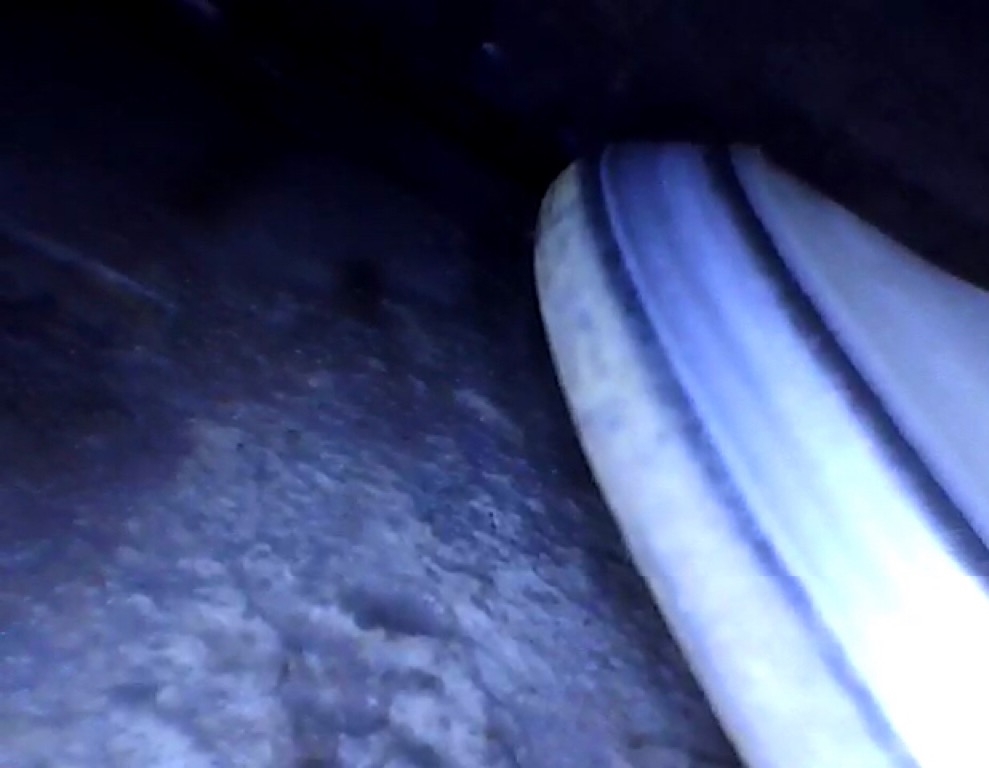
Here’s a follow up photo of the same valve about 12 flight hours later:
Isn’t the improvement remarkable?!
It’s not perfect, but it’s MUCH BETTER than before, and Jim has an excellent plan to monitor the condition of this valve every 20 hours or so.
Well done Jim!
Be sure to listen to the audio for this week’s podcast to hear this story, along with some other weird electrical issues I’ve been sorting out on a Bonanza and on a Cessna 210.
Have a great week!
The post “224 – Jim’s Exhaust Valve Rescue on his Cessna 182 Engine” appeared first at AirplaneOwnerMaintenance.com
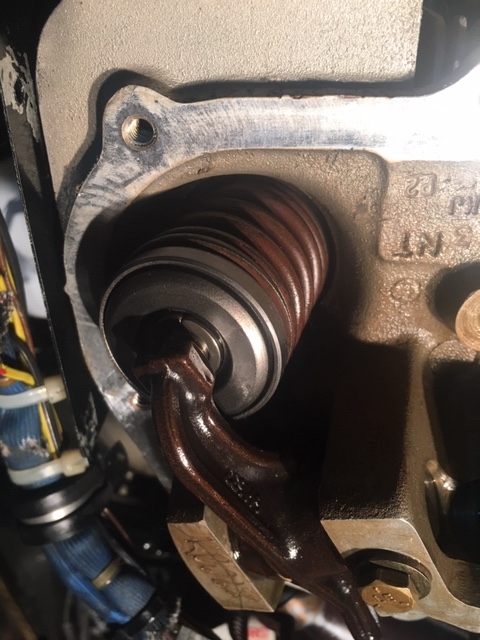
During the recent annual inspection on Drew Wright’s Cessna 182, cylinder #1 had a low compression of 42/80. However, with the amazing technology of borescoping, he was able to take a look inside the cylinder. The nice concentric circle of deposits on the face of the exhaust valve indicates a healthy valve. Drew wondered if perhaps this valve would be a good candidate for lapping in place, without removing the cylinder.
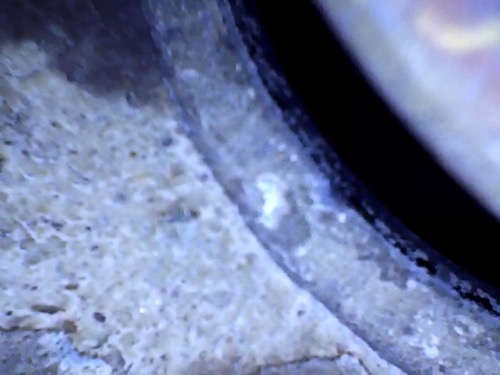
Even though the valve appeared healthy, Drew noticed a significant amount of air leaking out the exhaust during the compression test. Once again, his borescope was very helpful in observing the condition of the exhaust valve and seat area. The valve looks good, except for the rough and uneven seating area.
The seat also looks good, except for the corresponding rough and uneven seating area.
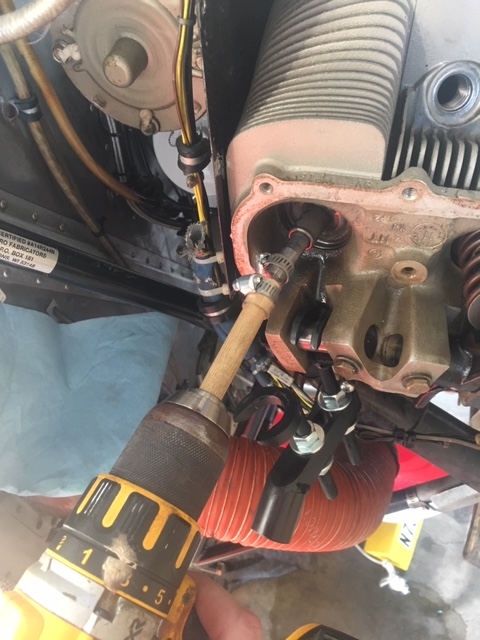
With the supervision of his A&P, Drew was able to remove the rocker cover and the exhaust valve springs. After verifying the valve guide was in good condition with no excessive wear, and the valve was sliding freely in the valve guide, he was ready to “lap” the valve (to apply a small amount of valve grinding compound to the edge of the valve using a long Q-tip through the top spark plug hole, and spinning the valve against the seat to smooth out and improve the seating area.)
Drew used a piece of wood dowel rod, some clear tubing, and some hose clamps, for this task… I like his idea so much, I’m planning to use this technique in the future.
One of the most important parts of the lapping process, is cleaning out the residue after the job is finished. One method is to spray Av-gas into the top spark plug hole to wash the grinding compound off the valve and the surrounding areas, and let it run out the bottom spark plug hole. Multiple washings, along with some compressed air, cleans up the area very well.
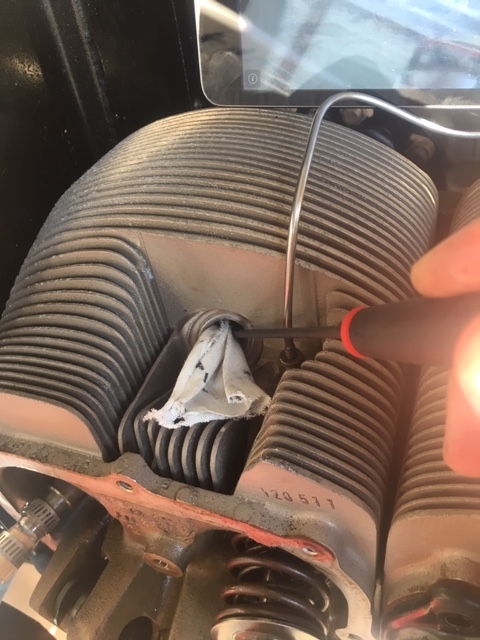
An additional thing Drew did was to push a thin cloth into the top spark plug hole, and pull the valve back to squeeze the cloth between the valve and valve seat. Then, he could turn the valve against the cloth and clean the seating area even better. I’m also going to keep that little tip in mind for my next lapping project. Thanks Drew!
The seating area of the valve showed a nice smooth band after the lapping was done – very impressive!
After the lapping was completed, a new rotator was installed on the exhaust valve, everything was reassembled, and the compression immediately improved!
But the best result was the compression test that was done after running the engine… that same cylinder that was 42/80, now had a compression of 78/80! What a fantastic result, and now, hopefully that cylinder will run reliably for many more hours.
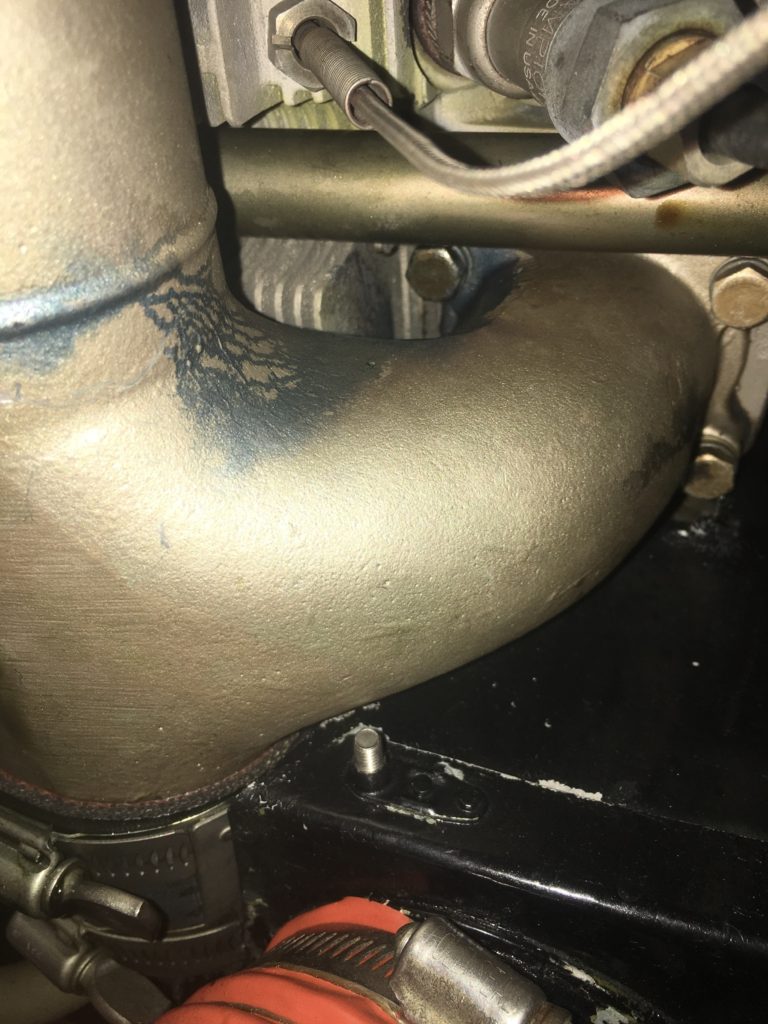
Be sure to listen to the audio for this episode for more details about Drew’s adventure. He also shared about an induction leak that was visible because of some blue fuel staining.
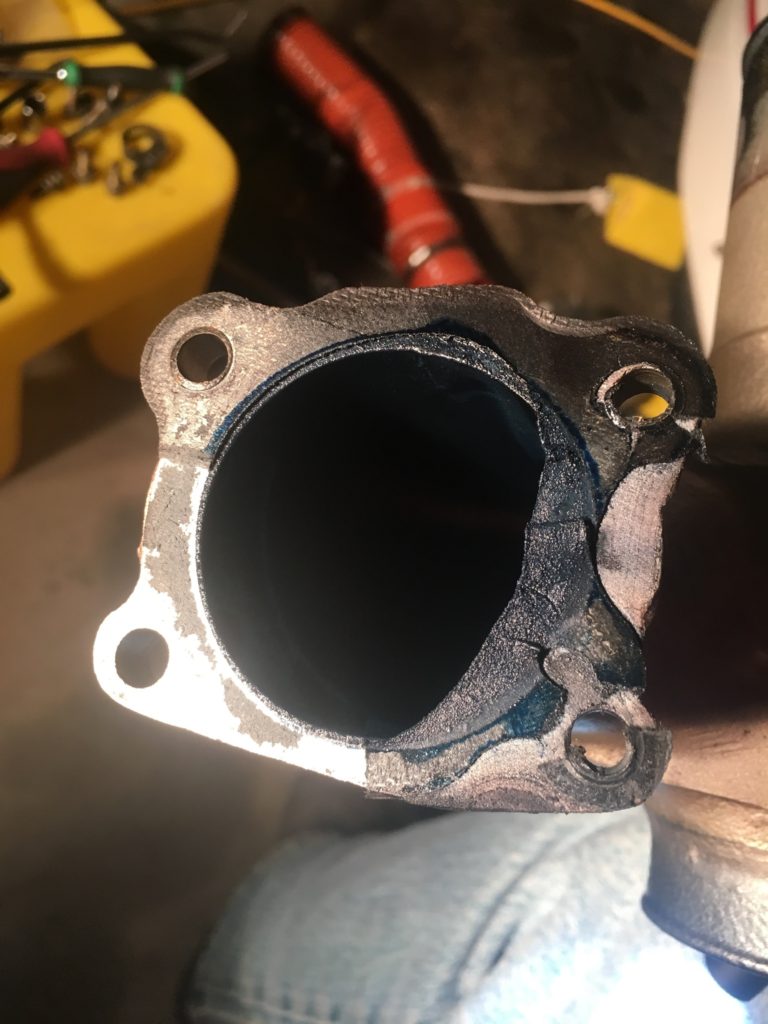
After removing the intake pipe, it was obvious the gasket had shifted out of position during the assembly process many years ago… perhaps this was part of the poor idling problem that was also corrected during the annual inspection. After installing a new intake gasket and adjusting the idle mixture setting, the engine idled much better than before.
Drew’s story is a true inspiration in so many ways.
So, if you, as an airplane owner, have an interest in learning and getting involved in the maintenance, just find an A&P who is willing to give you some supervision to keep things legal, and you’ll have all kinds of possibilities.
Well done Drew, on your exhaust valve lapping project! I’m thrilled with the result you achieved on this one!
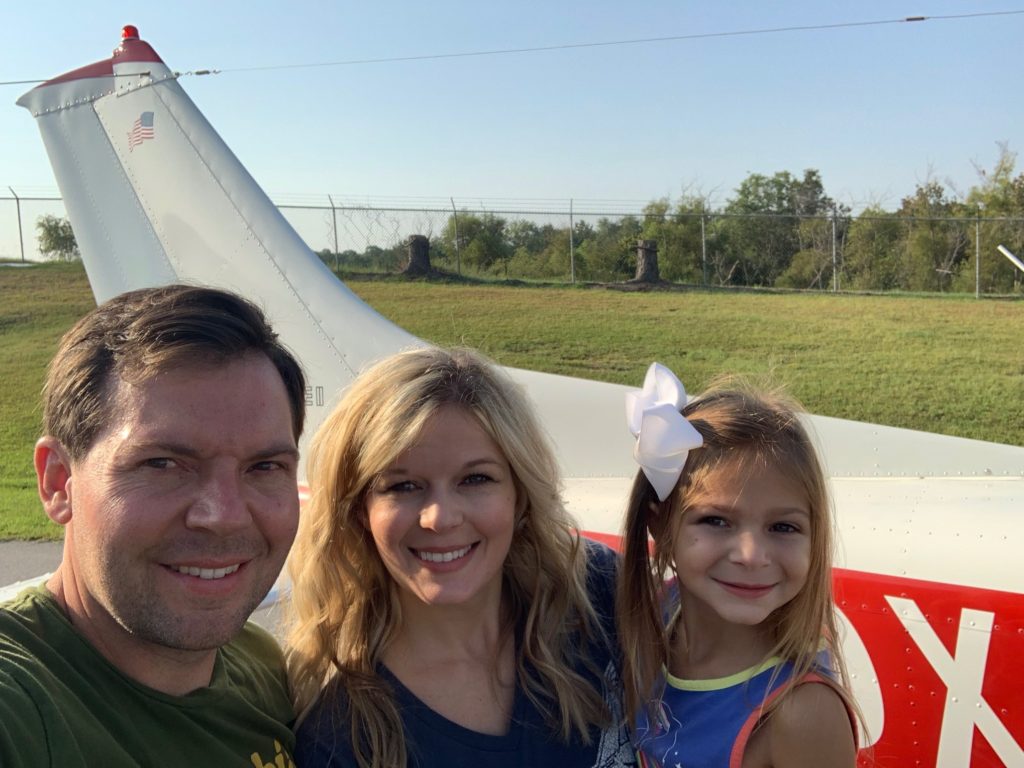
Drew has a young family, and it makes me happy to know he’s taking such good care of his airplane… after all, he’s got some precious cargo to haul around!
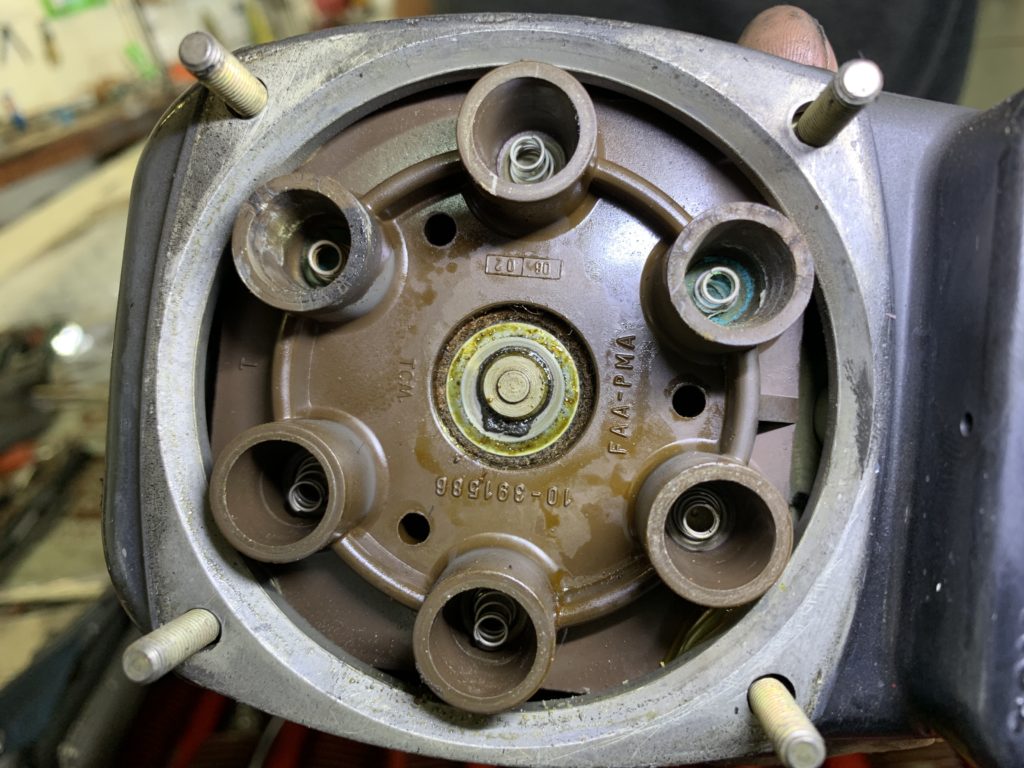
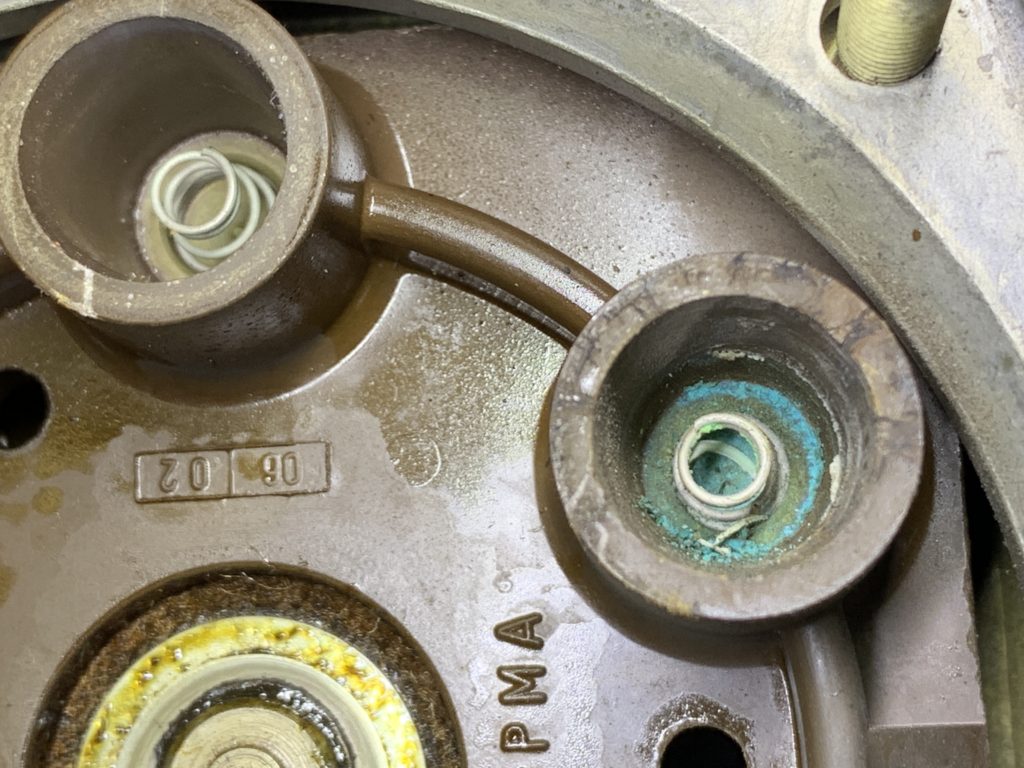
Corrosion in the towers of a magneto can cause high resistance, and the problem will be magnified as you go up in altitude.
This green corrosion could likely be cleaned up and it may improve some, but it may also indicate a good time to perform either a 500 hour inspection or an overhaul on the magneto.
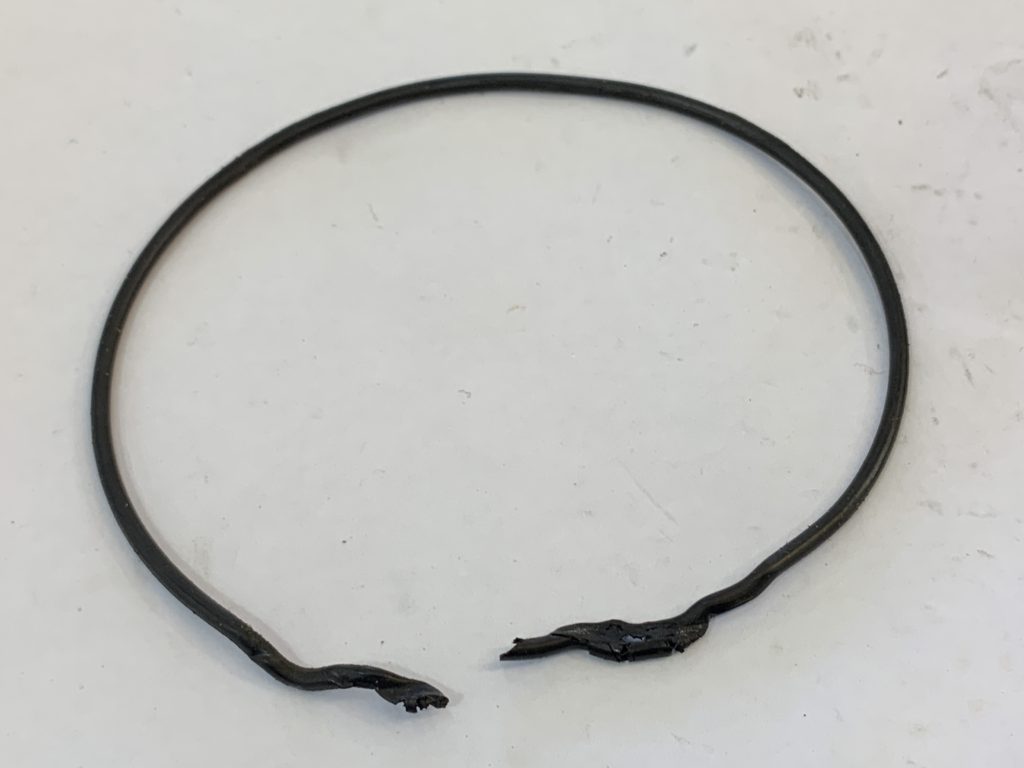
Pressurized magnetos have an o-ring that seals the connection where the wiring harness attaches to the magneto. I found this one on a twin Cessna last week, while changing one of the magnetos.
Listen to today’s episode to hear about the details of this issue, and some things to think about for optimal magneto performance.
Thankfully, we got the twin Cessna running again, and the owner made 4 flights the very next day!


Recent Comments