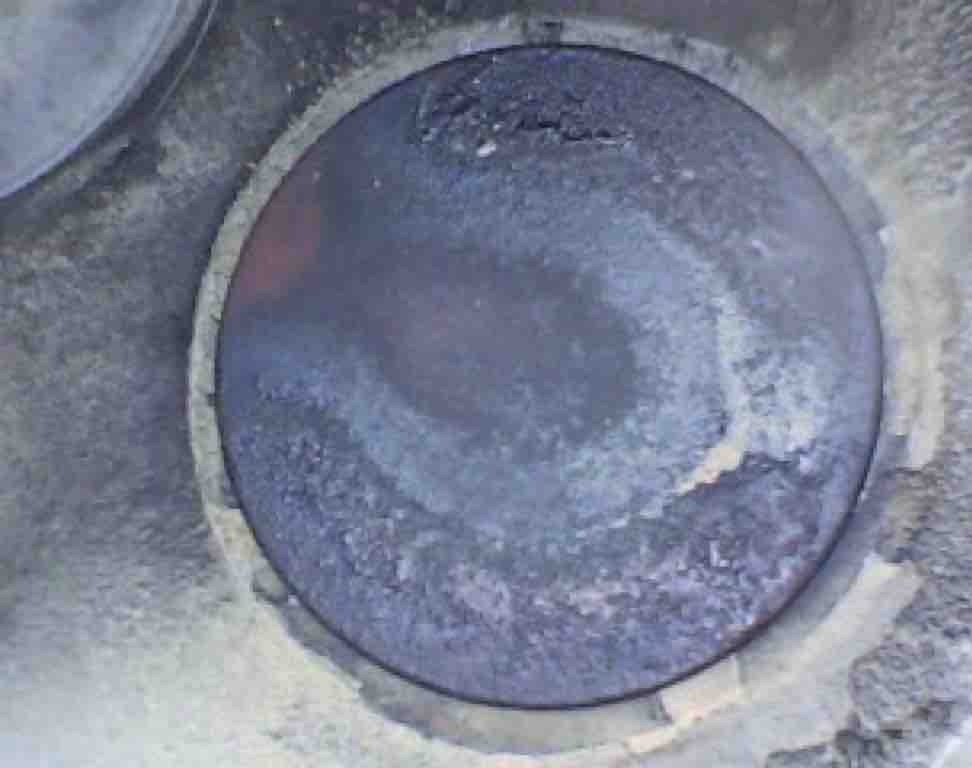
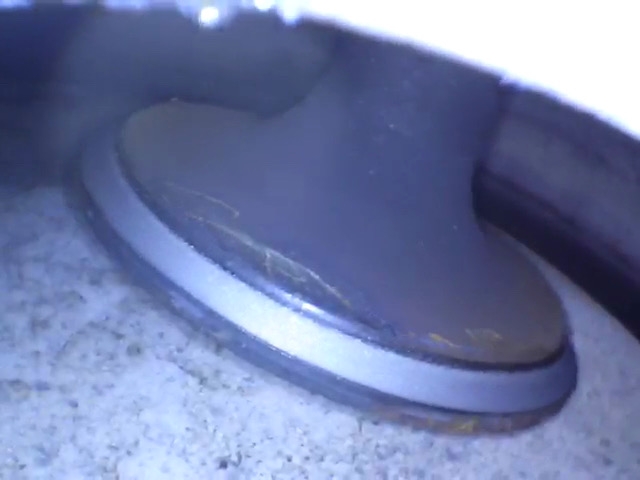
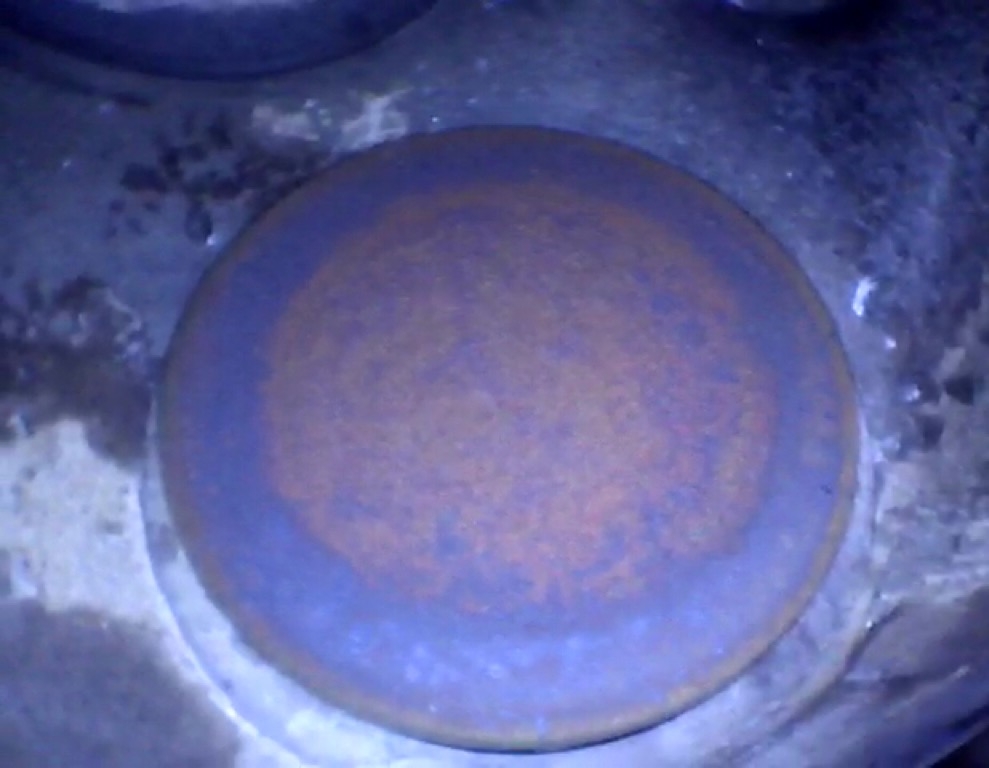
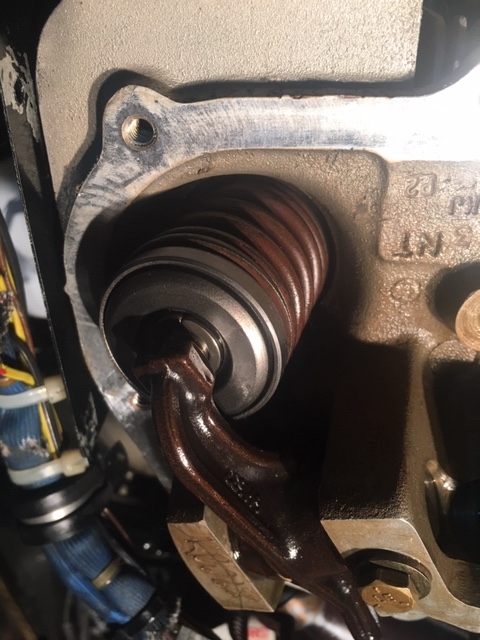
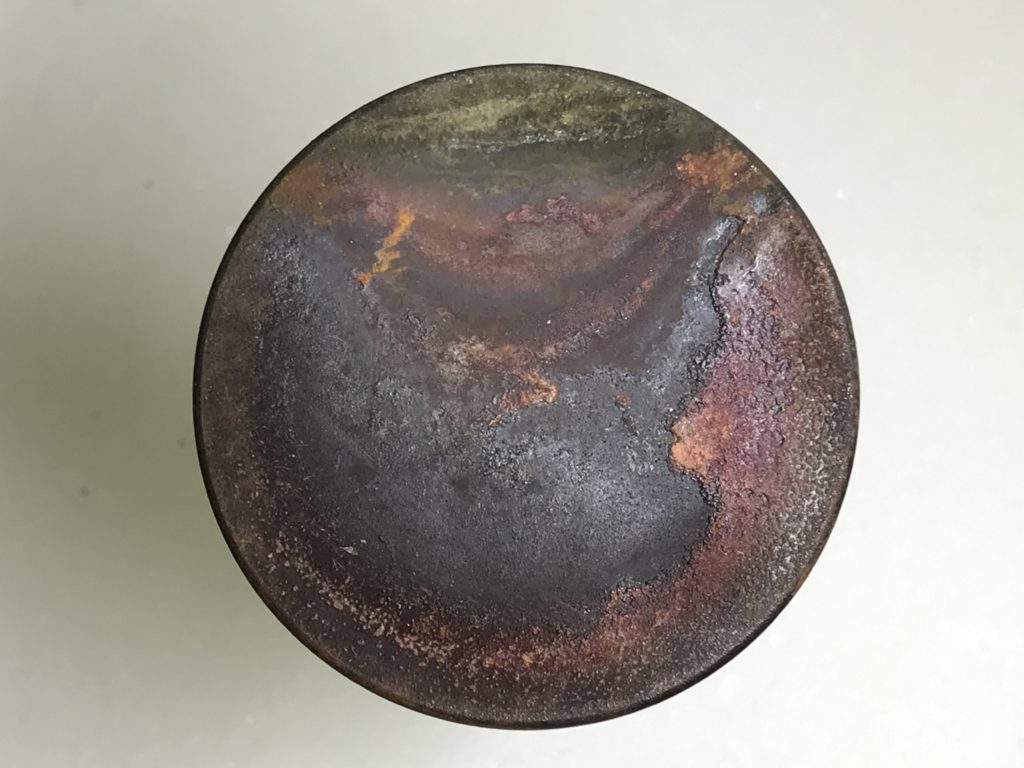
I received an email recently from Spence, the owner of an S35 Bonanza with a Turbo-Normalized IO-520 engine. He included a picture of his #2 cylinder exhaust valve. Here’s what it looked like:
At first glance, my reaction was something like, “Oooh, that’s ugly!”
The most concerning area is the spot at the 10 o’clock position. There’s also a little concerning area at the 2:30 position as well, but not as much as the 10 o’clock position. The normal deposits seen on the top and bottom edges of the valve have been burned away over at the 10 o’clock position. The small red spot is concerning, but not as concerning as if it was green. As it says in the excellent exhaust valve poster “Anatomy of a Valve Failure,” produced by AOPA, “Green means stop!” This is because the color green has been seen on valve edges that are imminently in danger of a piece breaking off.
For sure, Spence’s borescope photo is a classic visual presentation of a burning exhaust valve. Perhaps you’re wondering, “What does “burning” mean?” And that’s a great question. It means there’s an area that is not sealing well between the edge of the valve and the valve seat when the valve is closed. This condition allows very hot exhaust gases to rush through a small gap between the valve and seat at just the wrong time when those gases are the hottest, and over time if left uncorrected, the edge of the valve can suffer extreme heat damage and finally be in danger of a piece of the valve breaking off.
Not something you want to risk while you’re flying along in your Turbo-Normalized Bonanza! (Or any airplane for that matter.) But an airplane with a turbocharger is especially vulnerable because even a small piece of an exhaust valve would be enough to completely trash the turbocharger.
The next question might be, “How would you know if an exhaust valve was burning?” This is also a great question. You might see a drop in compression, but the best way by far to find a burning exhaust valve is with a borescope. With some training in what to look for, a burning exhaust valve is very noticeable, as in the photo above.
Spence did a great thing when he found this burning valve. Finding it was one thing, but deciding what to do about it was the next big question. In his email, Spence asked, “Do you believe this is a candidate for lapping in place and is it something you would be able to do for me?”
Spence was very interested in a less-invasive way to remedy his burning exhaust valve, especially since he has had other cylinders fail this way over the years, and this particular cylinder had only 368 hours on it (he actually paid a reputable engine shop to take the new Superior cylinder, check the exhaust valve tolerances, and perform a 3-angle cut before installing the cylinder.) He was understandably weary of changing cylinders.
I agreed to give the lapping procedure a try, with a couple conditions. One, we would not want the exhaust valve guide to be significantly worn. And two, the edge of the valve and valve seat must be in reasonably good condition.
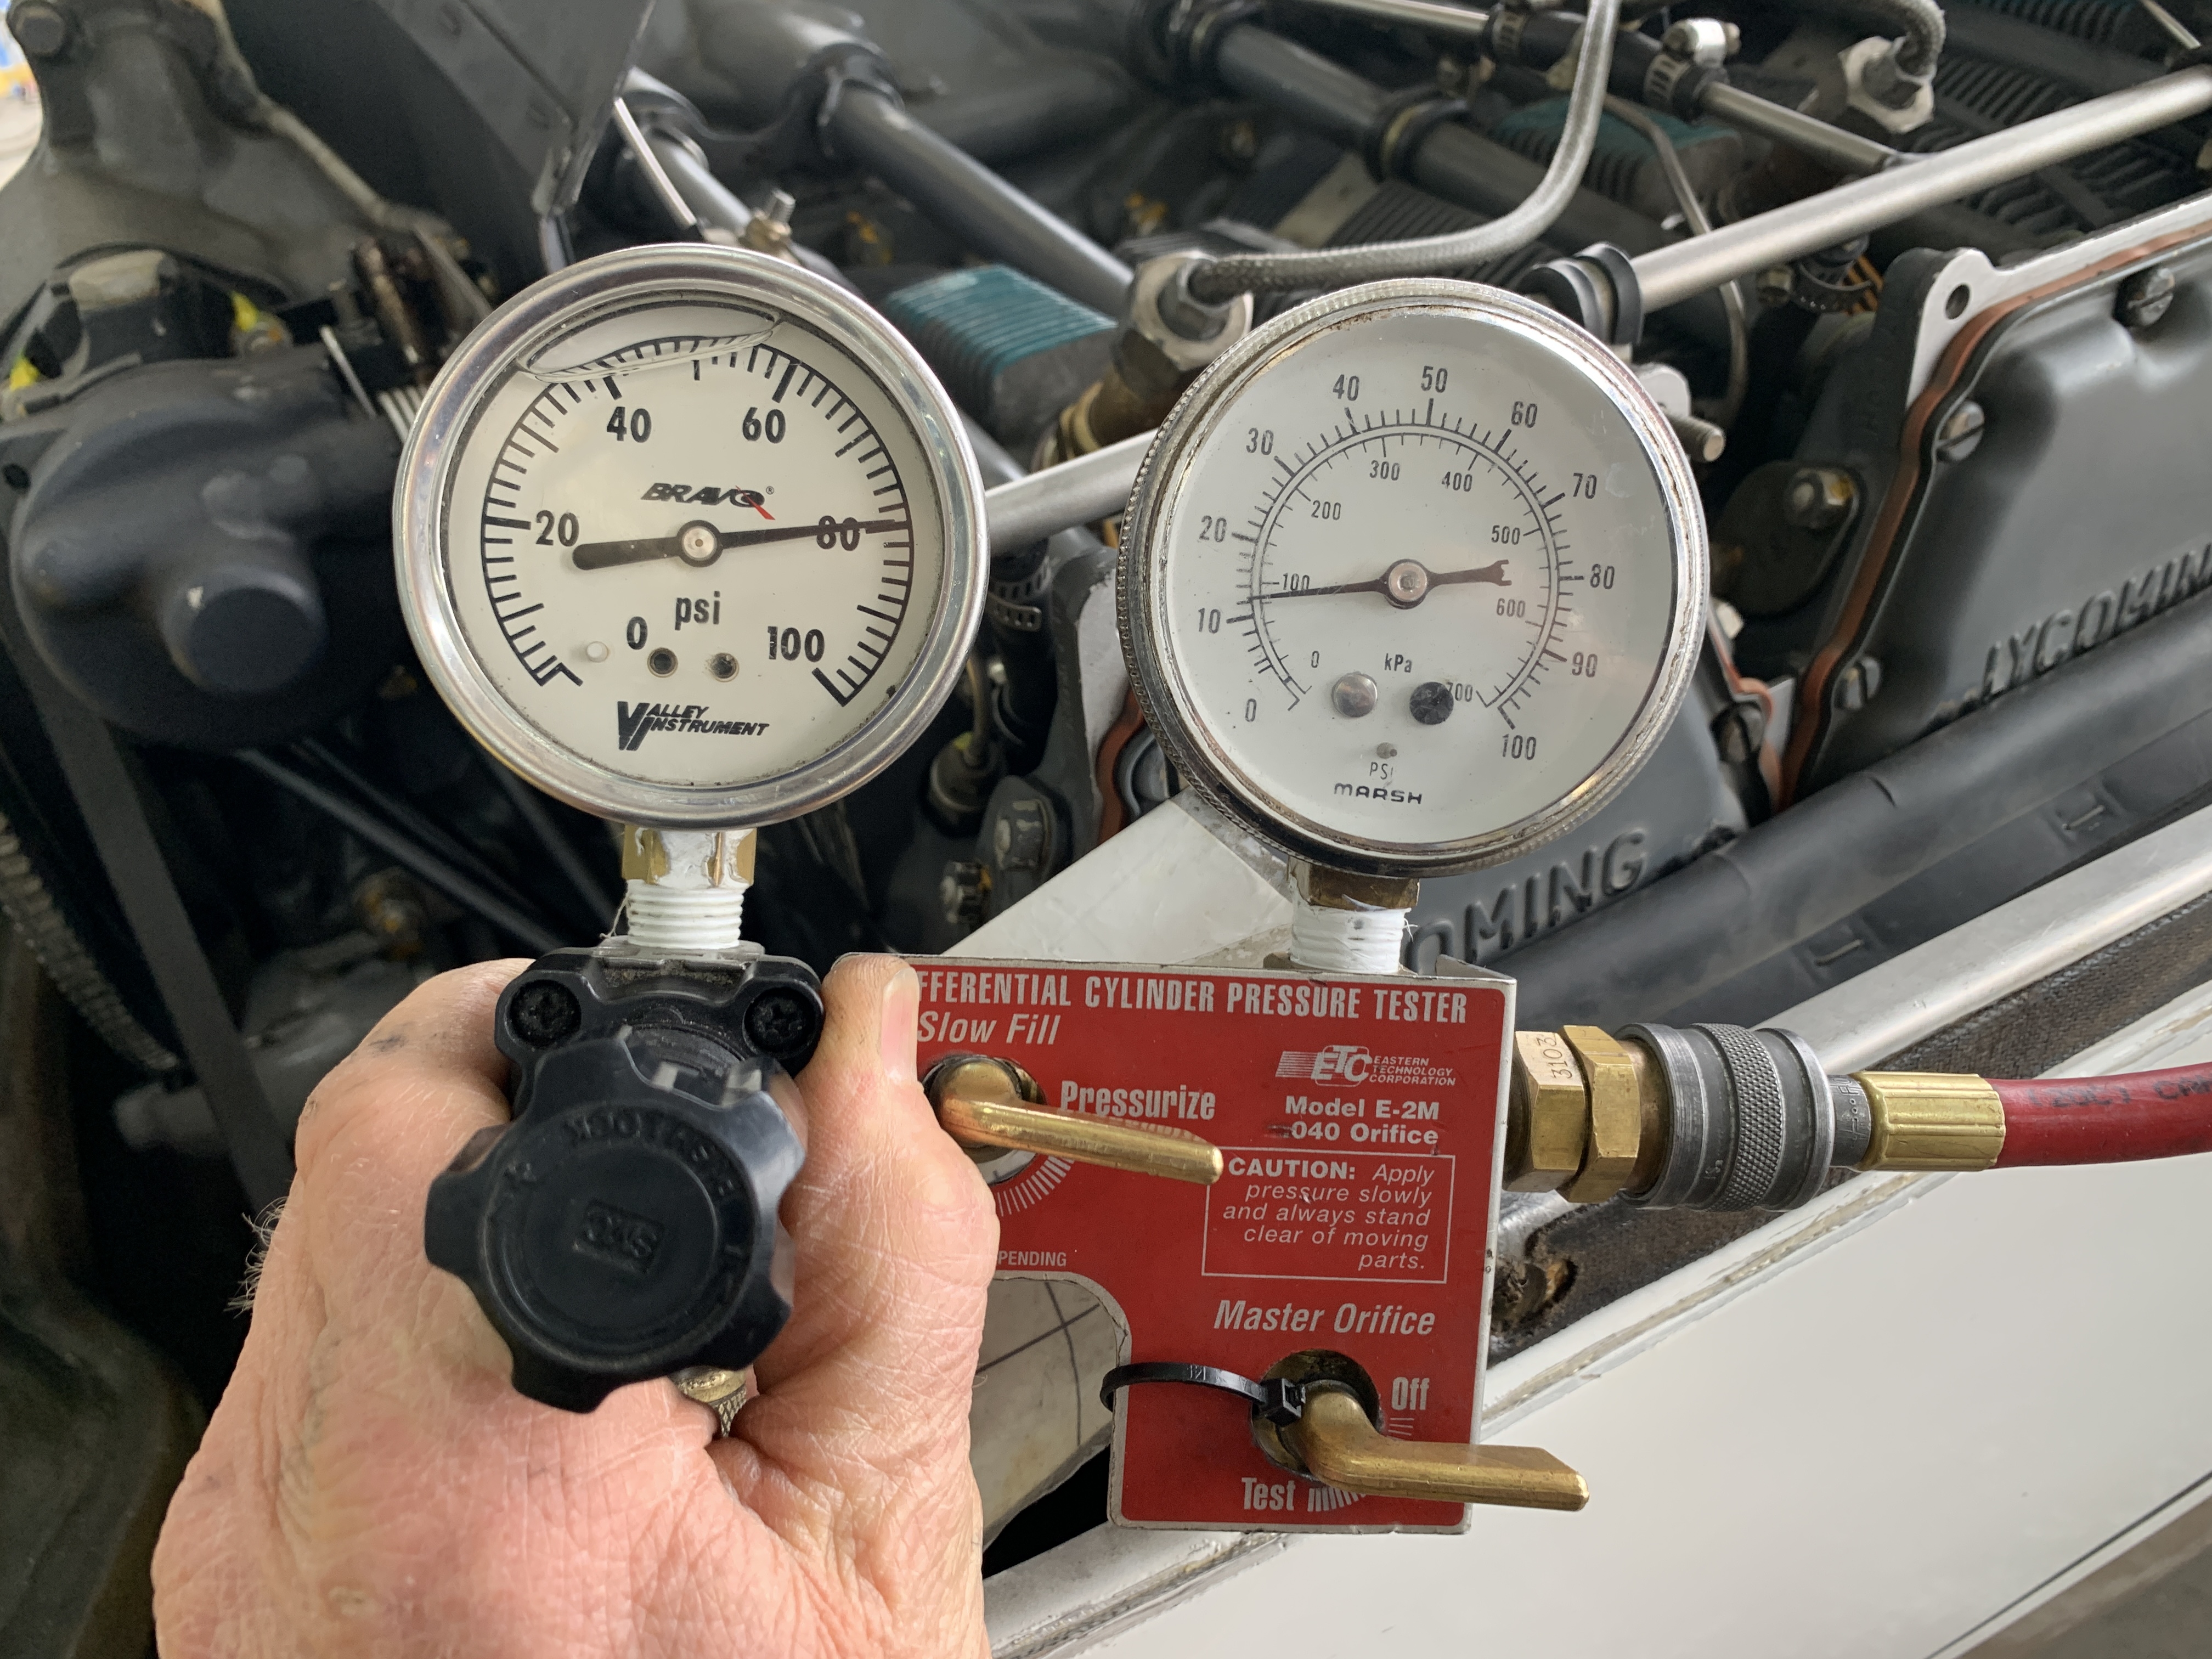
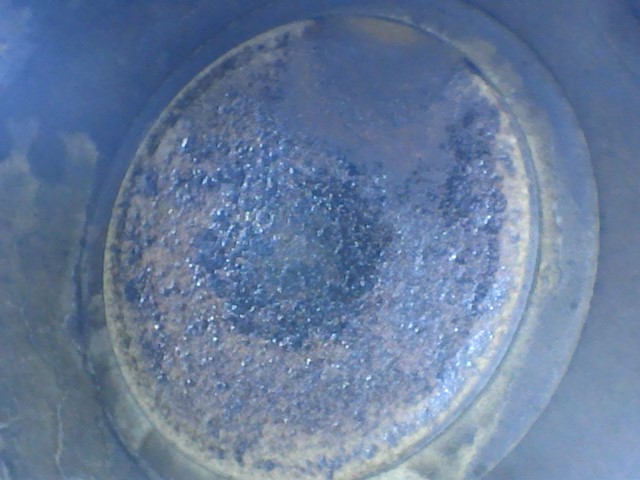
On the agreed upon morning, Spence showed up at Classic Aviation at KSHD, and we got to work. We got things opened up and before removing the valve springs, we did a cold compression check and could not get more than 30/80 psi, with significant leakage past the exhaust valve. A healthy cylinder should be a lot more than 30/80, even with a cold compression check.
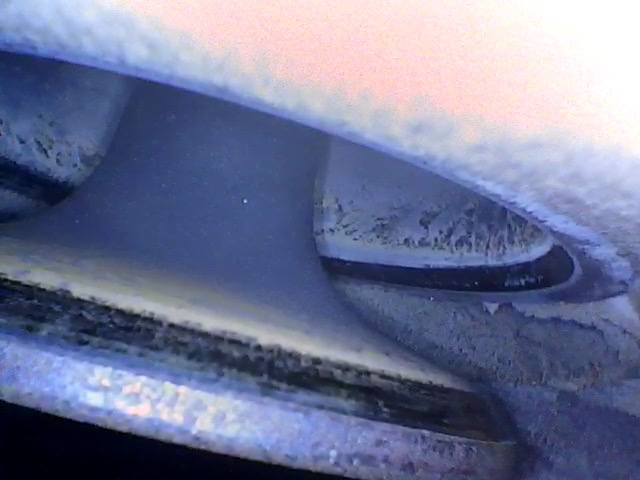
We got some borescope photos of the valve edge and seat, and aside from the normal spotty appearance, things looked quite good.
After removing the valve springs, our second condition was also met, in that the valve guide did not have a substantial amount of wear. I checked this by wiggling the valve stem up and down and side to side, in various positions.
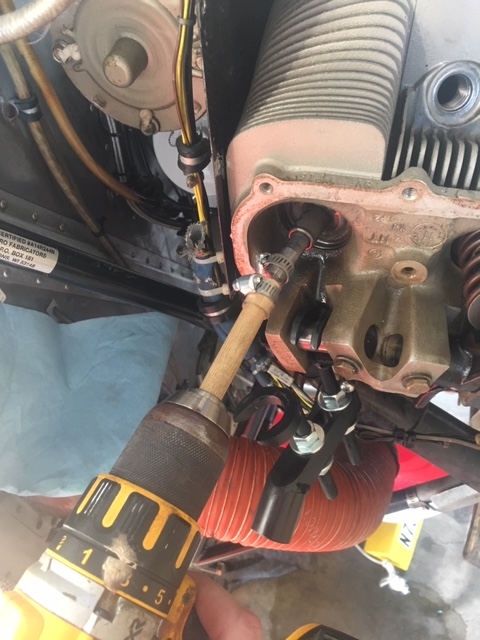
Now it was time to perform the lapping procedure. “Lapping an exhaust valve” involves removing the rocker cover, exhaust rocker arm, and valve springs. This allows you to carefully push the valve into the cylinder far enough to see the edge down through the top spark plug hole. In this position, you can carefully apply valve grinding compound on the seating area of the valve, rotating the valve as needed to lightly coat the full 360 degrees of seating area. At this point, pull the valve back against the seat and rotate it back and forth using whatever method you decide, in order to restore a good smooth seal between the valve and the seat. I use a wood dowel rod chucked in a cordless drill, with a piece of thick vinyl tubing clamped between the dowel rod and the valve stem, which acts as a shock absorber and works very well. It may take several rounds of applying the compound and lapping the valve, and rinsing it off with solvent in between times, letting it run out the bottom spark plug hole onto a shop towel.
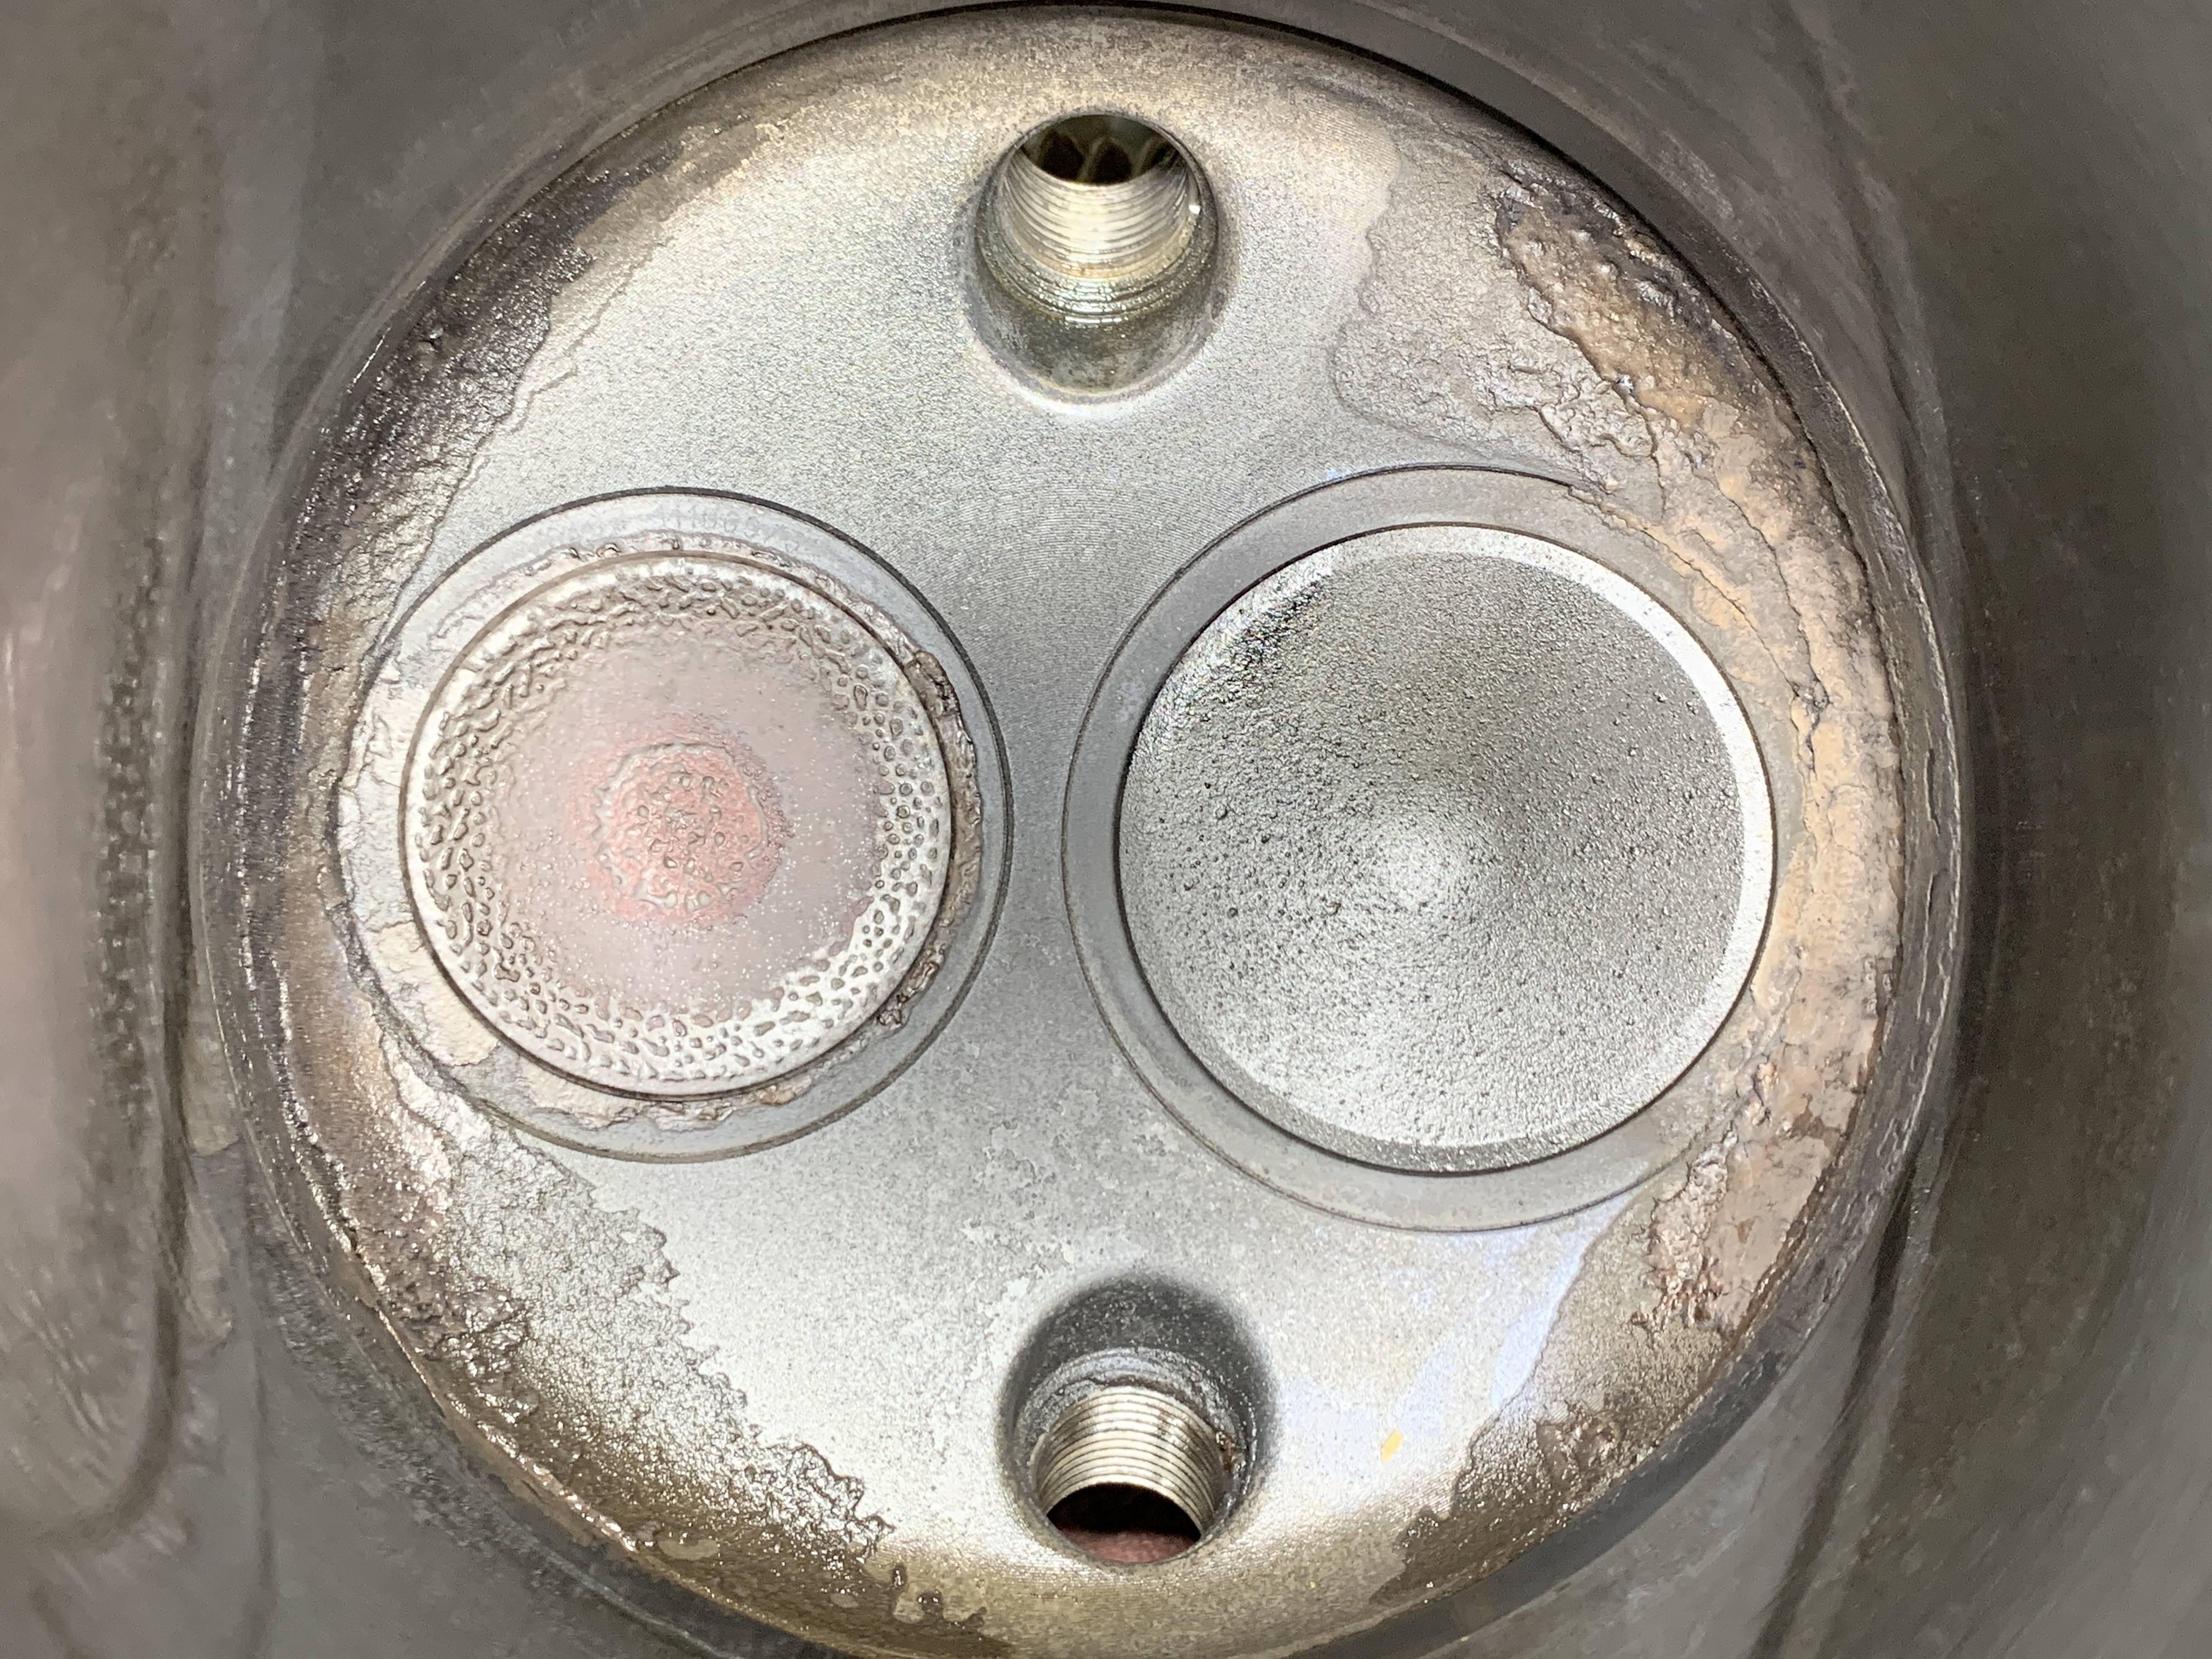
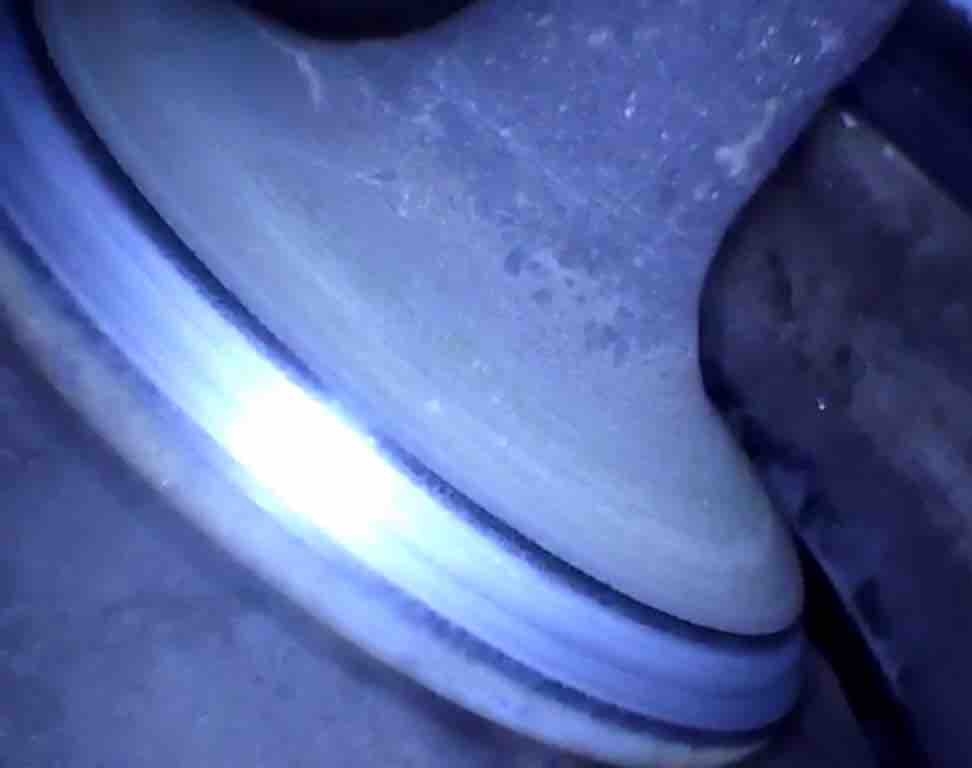
It’s important to rinse the valve edge off each time in order to examine the progress. My biggest regret from this particular lapping job, is that I did not take incremental photos along the way. It was by far the best result I’ve ever seen. After the first round of lapping, there was a nice smooth even band most of the way around the valve, with a distinct darker uneven area for about 30 or 40 degrees of rotation… corresponding to the burning side of the valve. After the second round, the bad area was noticeably smaller, and after the third round, even smaller still. We did a fourth round of applying the coarse grit compound for good measure (the bad area was pretty much completely gone at this point,) and finished it off with one round of lapping with fine grit compound.
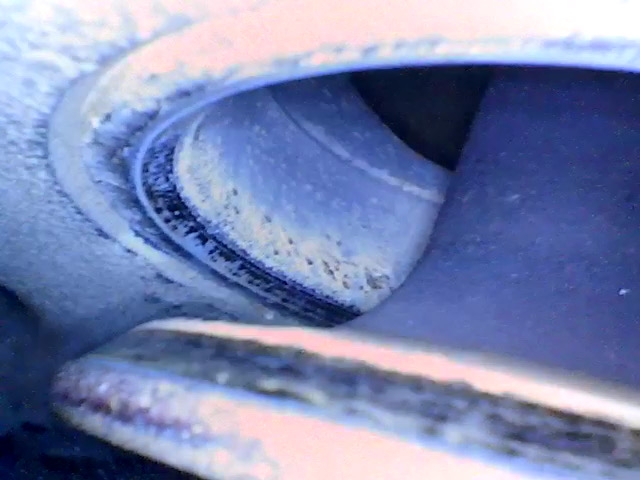
The result was nothing short of spectacular:
This is about as perfect of an exhaust valve edge as you could hope for! Needless to say we were thrilled.
We washed the cylinder out with some Av Gas in a squeeze bottle, blew it out with compressed air, and repeated that process a second time. Then we sprayed some LPS-2 in the cylinder for some lubrication so the cylinder walls would not be dry for starting.
We put everything back together and installed a new rotocoil assembly P/N SA629117-1 on the exhaust valve, and a new rocker cover gasket.
Spence did a short ground run so we could check for leaks, and then he did a test flight to check engine operation and get it hot so we could do another compression test.
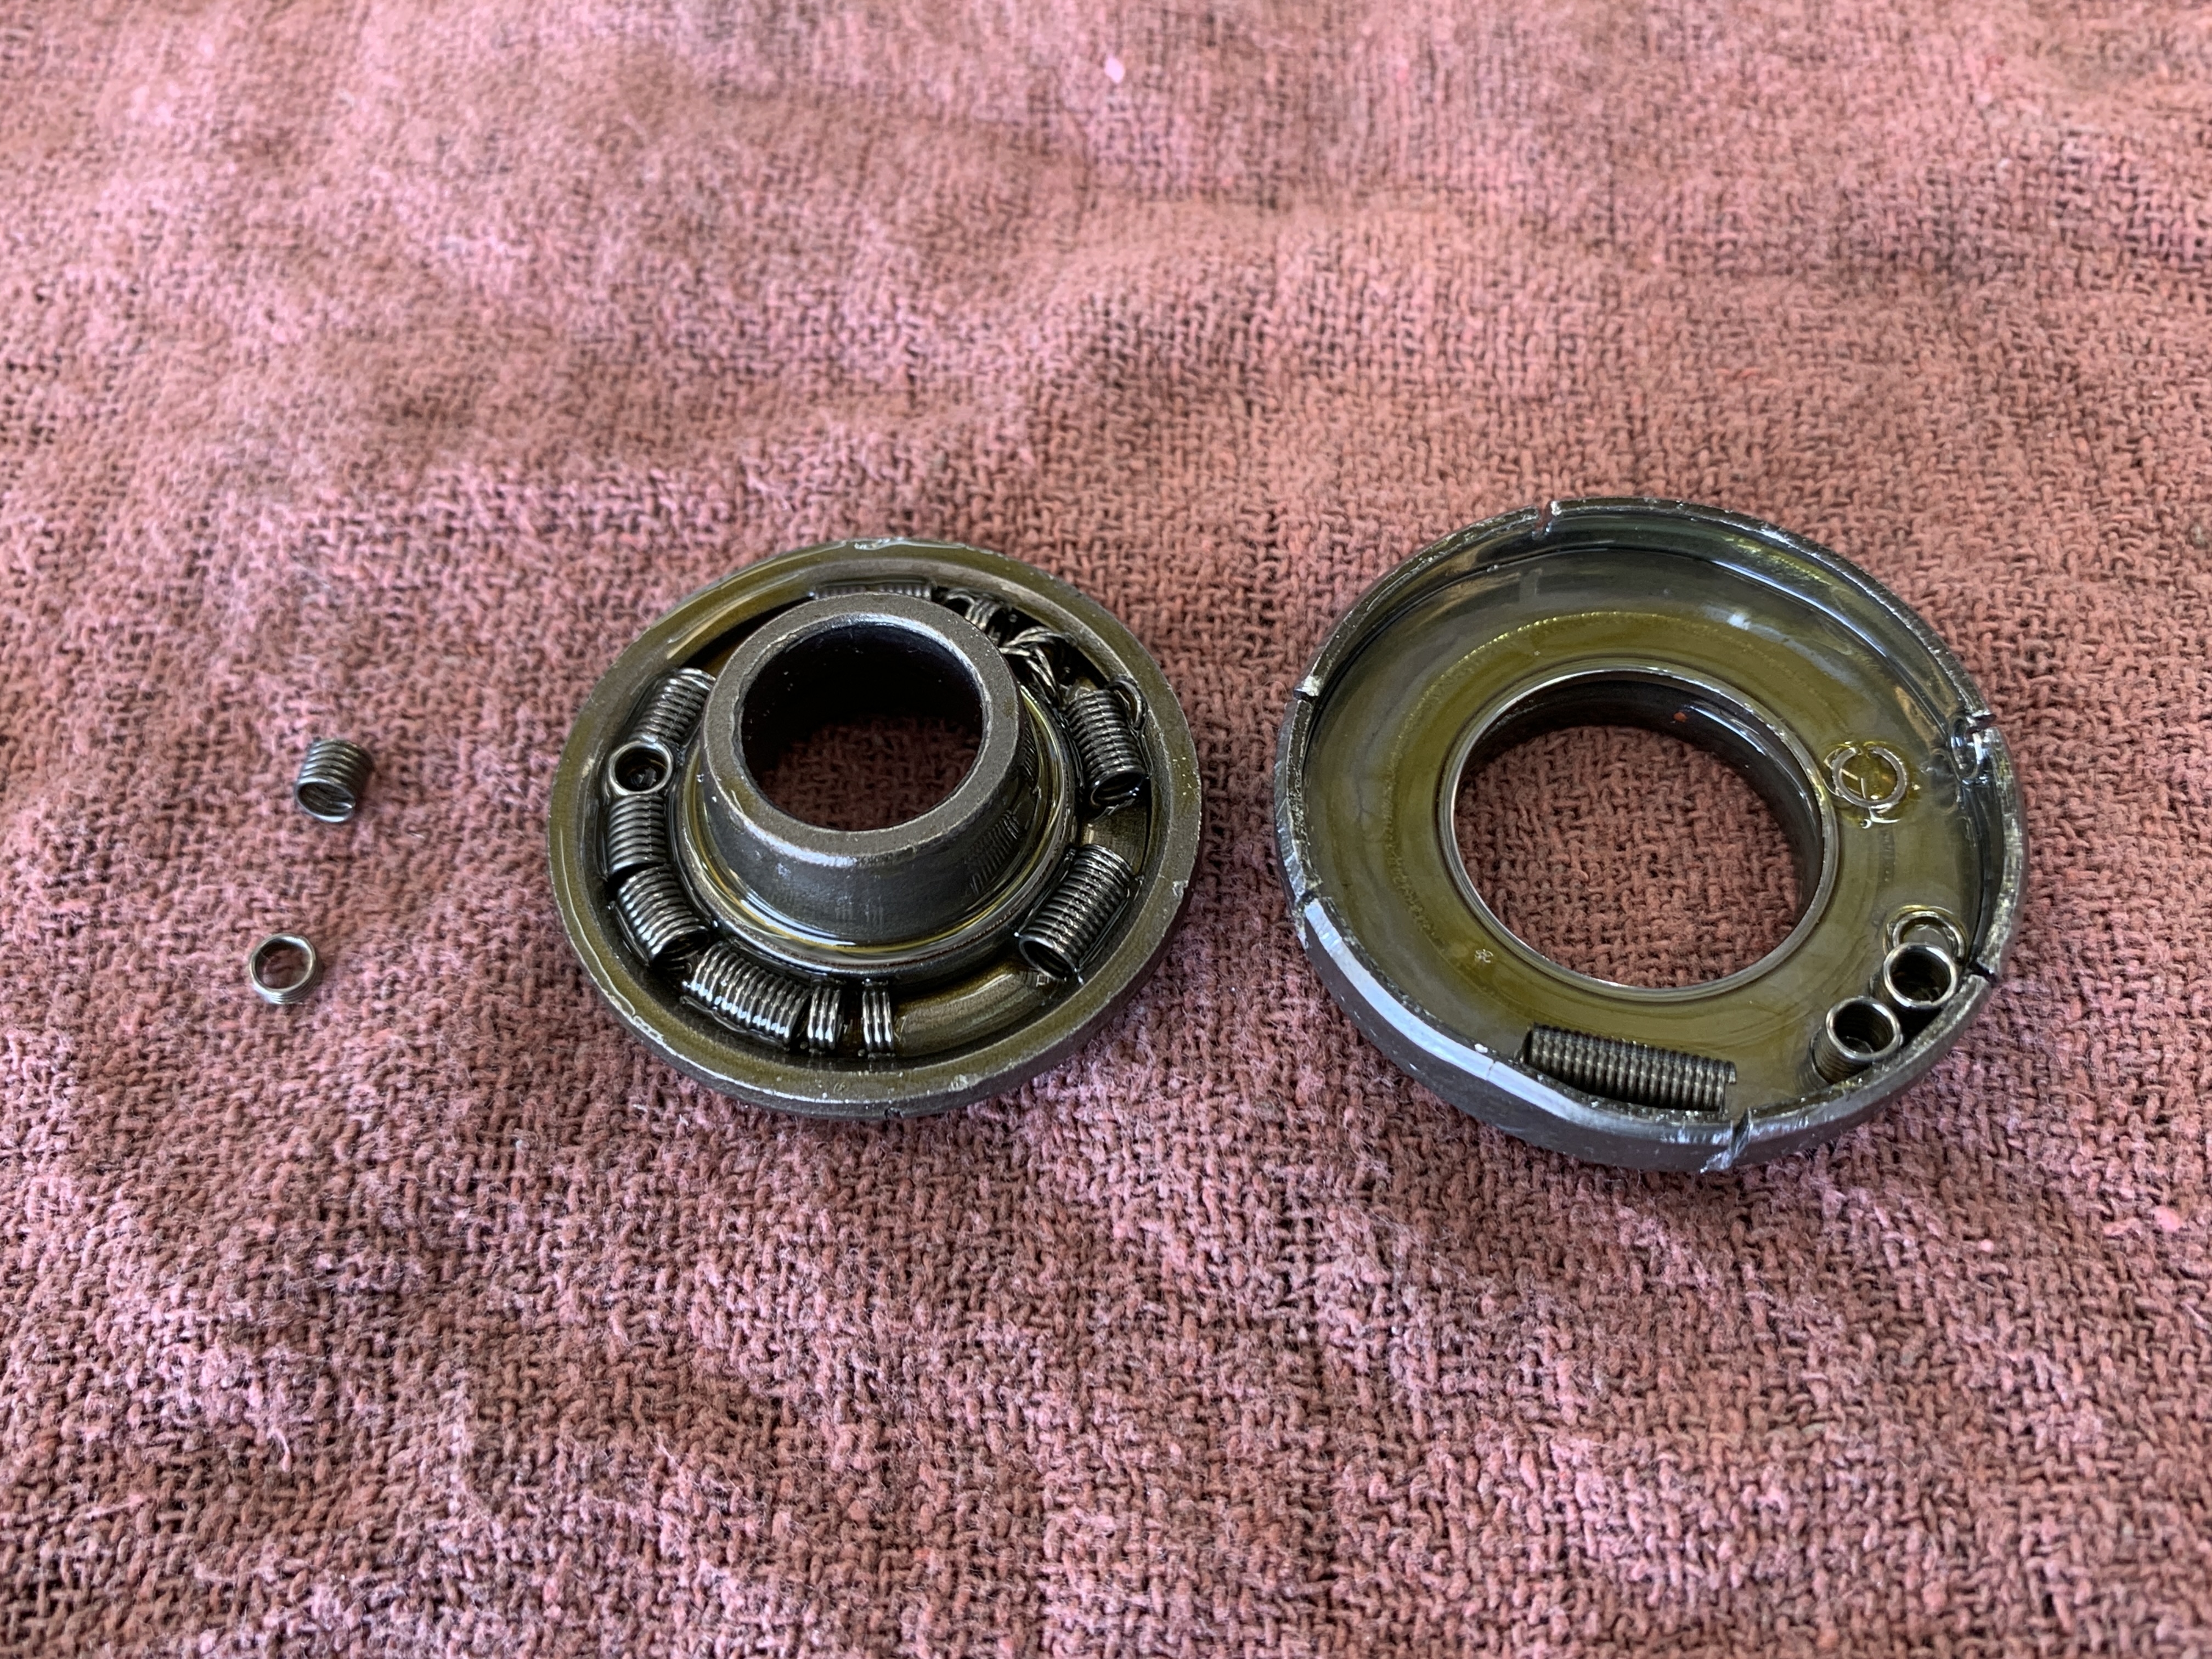
While Spence was out flying, I cut the old rotocoil apart, and was SHOCKED at what I found: (I had heard of this happening, but had never seen it myself.)
The spring inside the rotocoil should be one long continuous spring. This one was in many pieces, clearly making this part non-functional. The rotocoil serves a very important purpose. It causes a small and incremental rotation of the valve every time the rocker arm presses against the valve stem, and helps to maintain a good seal between the valve and valve seat. When an exhaust valve stops rotating, there is a much greater possibility for a hot spot to develop. It’s important to stop a hot spot as soon as possible. If not, cylinder removal may be inevitable.
We are very hopeful this cylinder has been rescued from premature removal. Not only did the lapping process restore an excellent seating area on the valve, but the compression came up dramatically as well… after the test flight, we got an amazing 70/80!
Thank you Spence, for the opportunity to work with you on your cylinder! Of all the valve lapping projects I’ve done, this one is a favorite for sure.
The result was absolutely amazing, and I have a few takeaways as I think about the whole valve lapping process:
Even low-time cylinders can develop exhaust valve problems.
ALWAYS do a borescope inspection along with every compression test (preferably with every oil change.)
Take action immediately when you notice a burning exhaust valve (lapping is often a good solution if caught early.)
ALWAYS install a new rotocoil assembly when lapping a Continental exhaust valve, to help ensure the valve will rotate properly and consistently.
If you do remove a cylinder for repair, be sure a new rotocoil is installed as part of the repair process (sometimes they are reused unless you specify otherwise.)
If you’d like to see or hear more info on this topic, be sure to check out episode 109 of the Airplane Owner Maintenance Podcast. It’s called “Exhaust Valve Problems – Could Lapping Be A Good Option?” Apparently airplane owners want to learn about this topic… episode 109 is the 4th highest downloaded episode of all time, do date.
12/80! That’s a terrible compression test result. And unlike some cylinders, this one did not show any obvious reasons for the low compression… take a look at the valves after the cylinder was removed:
Unless I’m missing something, I don’t see anything that would explain such a low compression number. The cylinder has been shipped to Tim Barnes at Skyline Cylinders for repair, so I’m hoping he will be able to give me more information about it. You can listen to the audio for more thoughts about this whole experience, and maybe I’ll give an update on it in a future episode.
I also mentioned in this episode my latest project in the shop at Classic Aviation – an annual inspection on a nice E33A Bonanza:
It’s a great airplane, with a great owner – now that’s a good combination!
The post “172 – A Perplexing Low Cylinder Compression on a Piper Saratoga” appeared first at AirplaneOwnerMaintenance.com
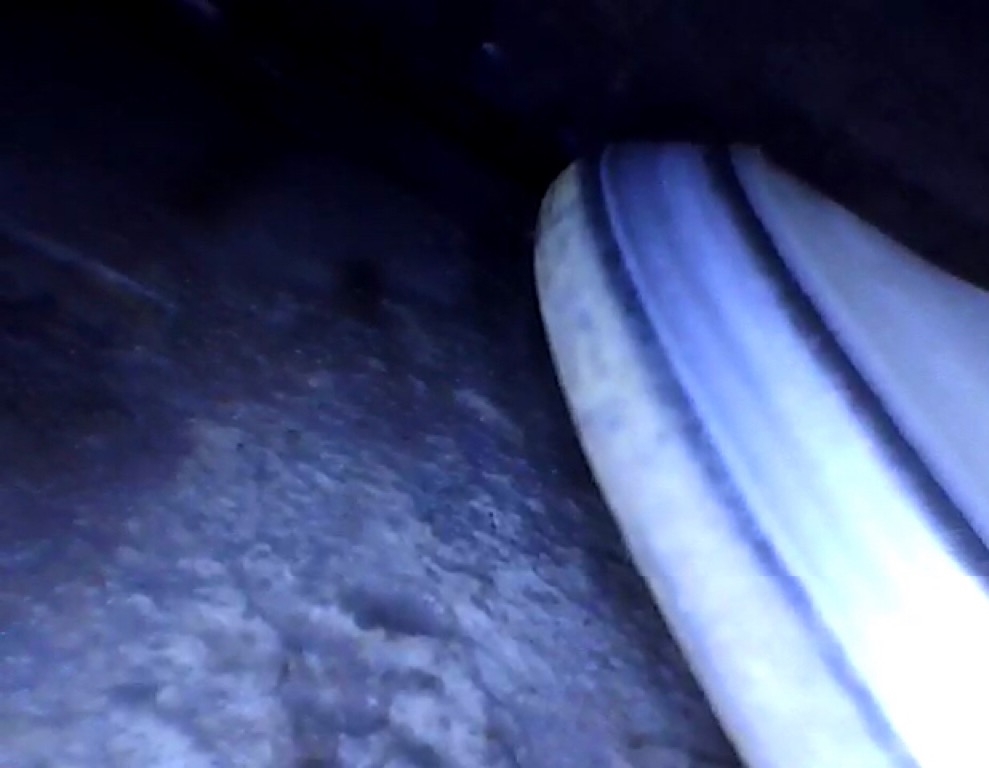
During the recent annual inspection on Drew Wright’s Cessna 182, cylinder #1 had a low compression of 42/80. However, with the amazing technology of borescoping, he was able to take a look inside the cylinder. The nice concentric circle of deposits on the face of the exhaust valve indicates a healthy valve. Drew wondered if perhaps this valve would be a good candidate for lapping in place, without removing the cylinder.
Even though the valve appeared healthy, Drew noticed a significant amount of air leaking out the exhaust during the compression test. Once again, his borescope was very helpful in observing the condition of the exhaust valve and seat area. The valve looks good, except for the rough and uneven seating area.
The seat also looks good, except for the corresponding rough and uneven seating area.
With the supervision of his A&P, Drew was able to remove the rocker cover and the exhaust valve springs. After verifying the valve guide was in good condition with no excessive wear, and the valve was sliding freely in the valve guide, he was ready to “lap” the valve (to apply a small amount of valve grinding compound to the edge of the valve using a long Q-tip through the top spark plug hole, and spinning the valve against the seat to smooth out and improve the seating area.)
Drew used a piece of wood dowel rod, some clear tubing, and some hose clamps, for this task… I like his idea so much, I’m planning to use this technique in the future.
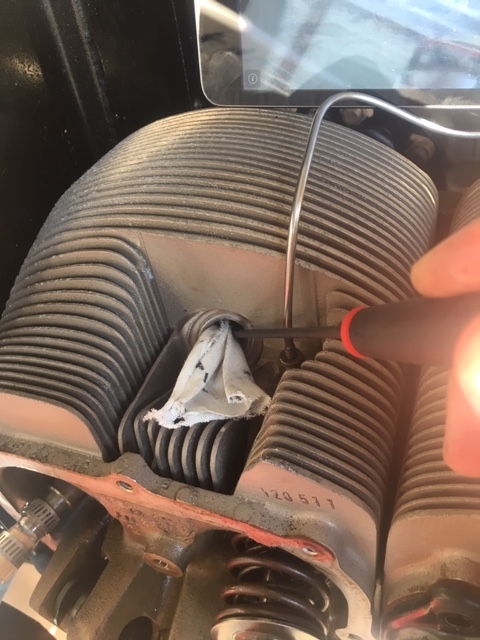
One of the most important parts of the lapping process, is cleaning out the residue after the job is finished. One method is to spray Av-gas into the top spark plug hole to wash the grinding compound off the valve and the surrounding areas, and let it run out the bottom spark plug hole. Multiple washings, along with some compressed air, cleans up the area very well.
An additional thing Drew did was to push a thin cloth into the top spark plug hole, and pull the valve back to squeeze the cloth between the valve and valve seat. Then, he could turn the valve against the cloth and clean the seating area even better. I’m also going to keep that little tip in mind for my next lapping project. Thanks Drew!
The seating area of the valve showed a nice smooth band after the lapping was done – very impressive!
After the lapping was completed, a new rotator was installed on the exhaust valve, everything was reassembled, and the compression immediately improved!
But the best result was the compression test that was done after running the engine… that same cylinder that was 42/80, now had a compression of 78/80! What a fantastic result, and now, hopefully that cylinder will run reliably for many more hours.
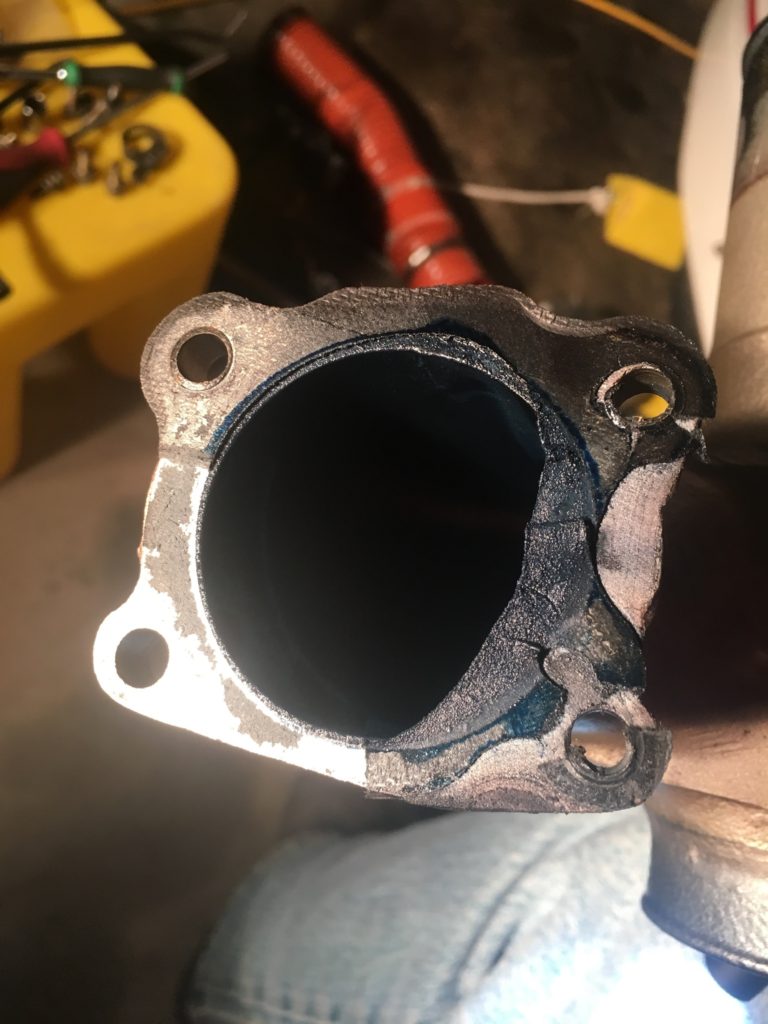
Be sure to listen to the audio for this episode for more details about Drew’s adventure. He also shared about an induction leak that was visible because of some blue fuel staining.
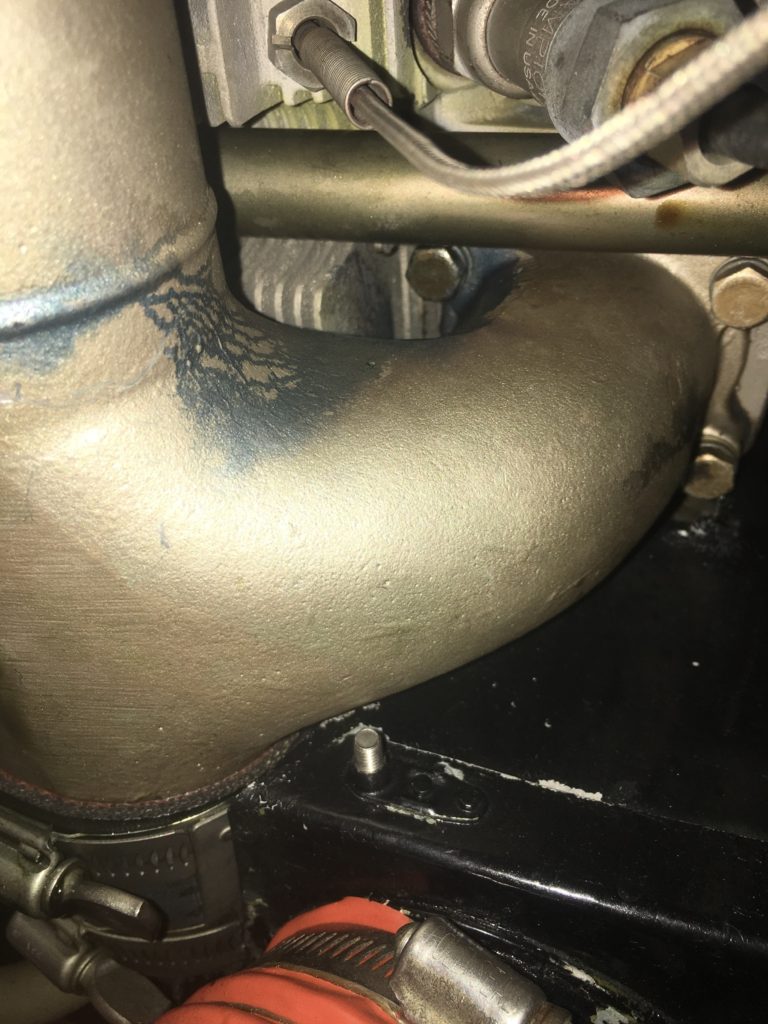
After removing the intake pipe, it was obvious the gasket had shifted out of position during the assembly process many years ago… perhaps this was part of the poor idling problem that was also corrected during the annual inspection. After installing a new intake gasket and adjusting the idle mixture setting, the engine idled much better than before.
Drew’s story is a true inspiration in so many ways.
So, if you, as an airplane owner, have an interest in learning and getting involved in the maintenance, just find an A&P who is willing to give you some supervision to keep things legal, and you’ll have all kinds of possibilities.
Well done Drew, on your exhaust valve lapping project! I’m thrilled with the result you achieved on this one!
Drew has a young family, and it makes me happy to know he’s taking such good care of his airplane… after all, he’s got some precious cargo to haul around!
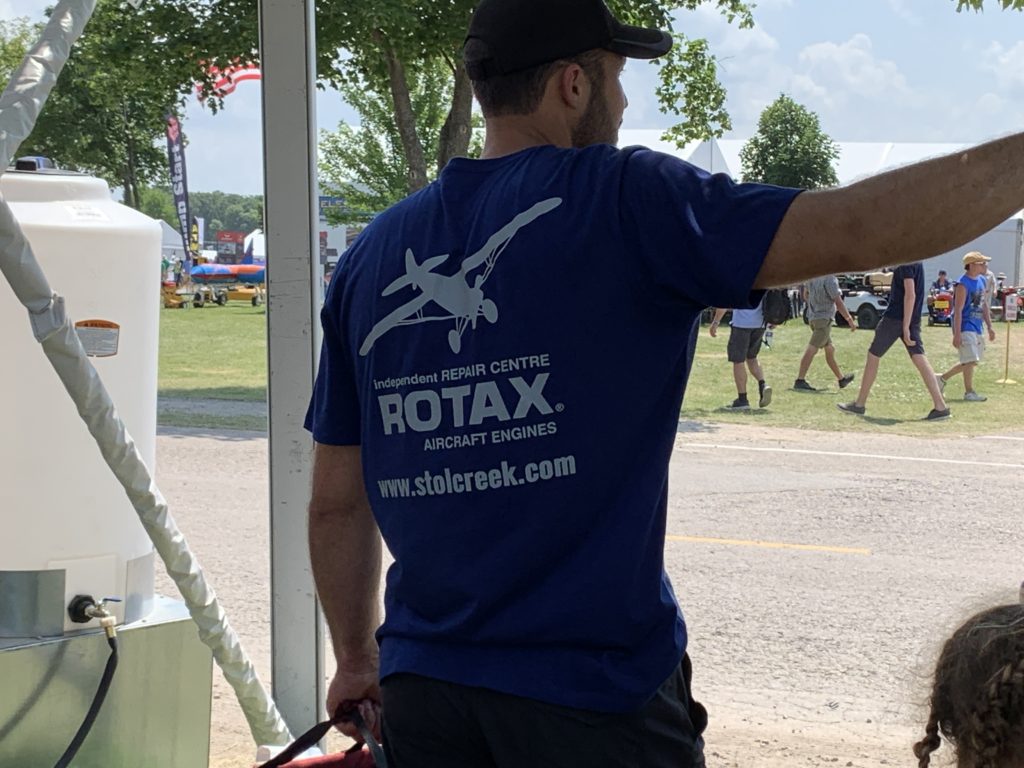
Note: The Exhaust Valve Borescoping and Lapping Presentation at Oshkosh was so much fun, and I met some fantastic people. If you’re buying the borescope I recommended, go to AirplaneOwnerMaintenance.com/119 and click the links for the borescope of your choice. Use the code “Dean” for a 10% discount.
Now for the trip to Oshkosh:
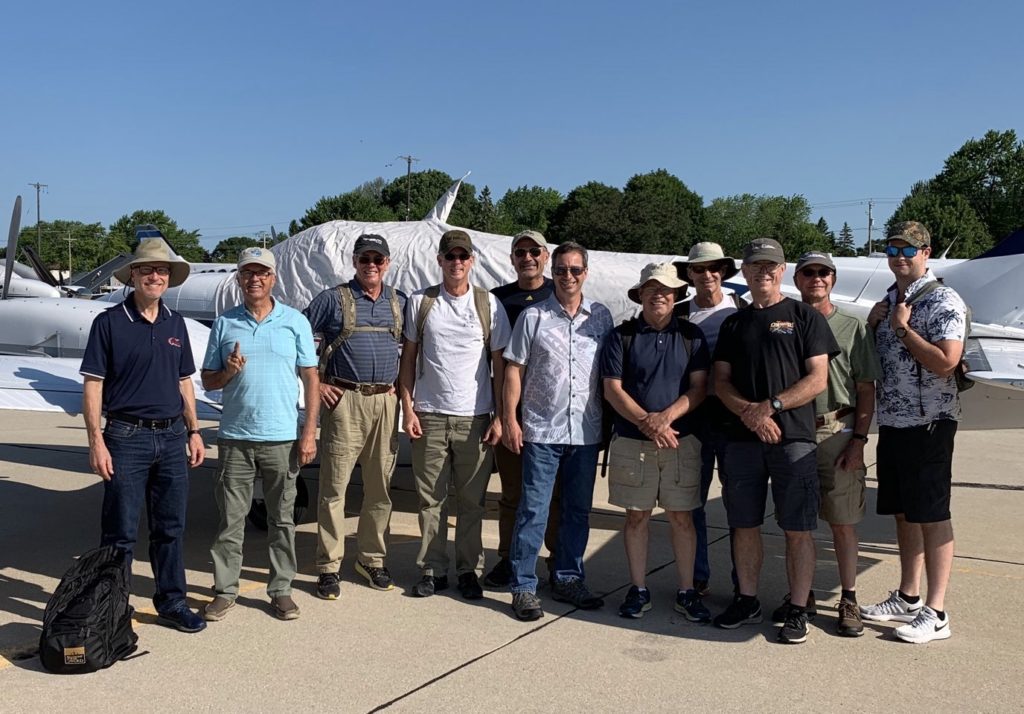
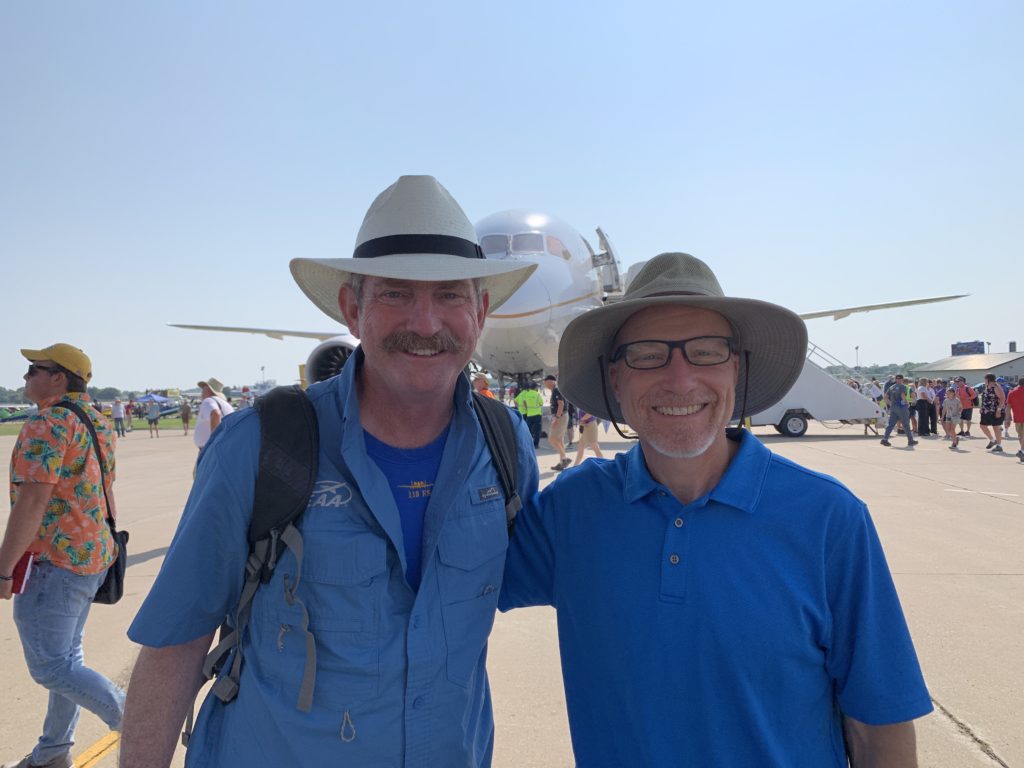
The Luray, Virginia guys!
——————————————————————————————————————–
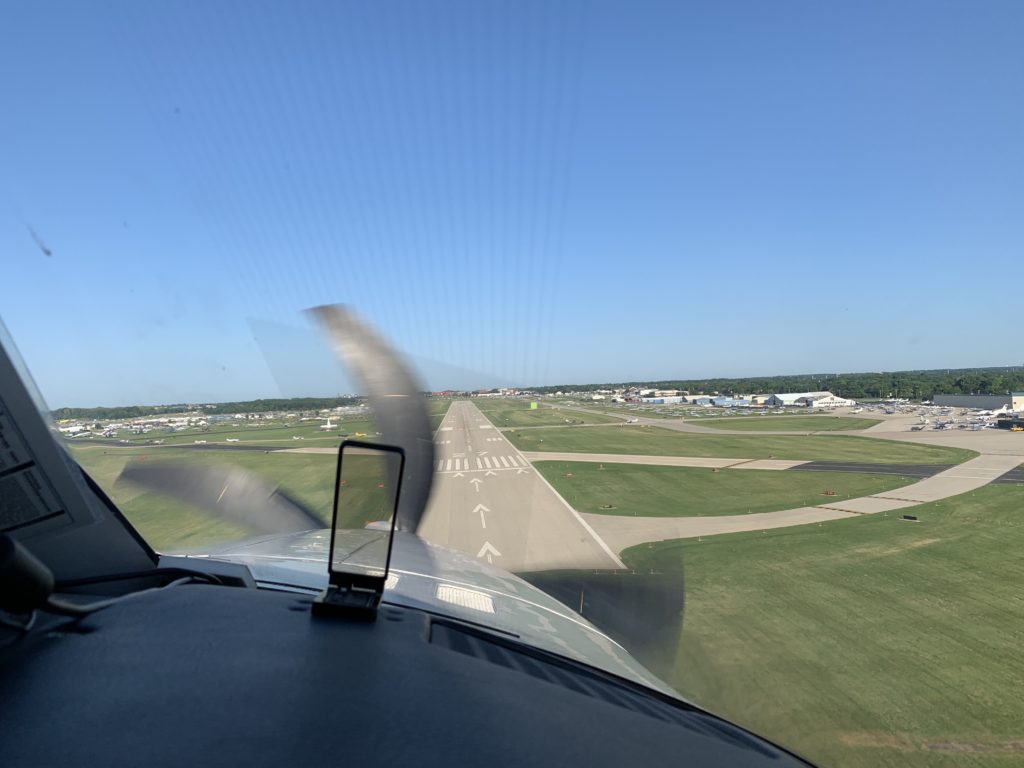
Final approach to runway 27 – Land on the “Green Dot!”
——————————————————————————————————————–
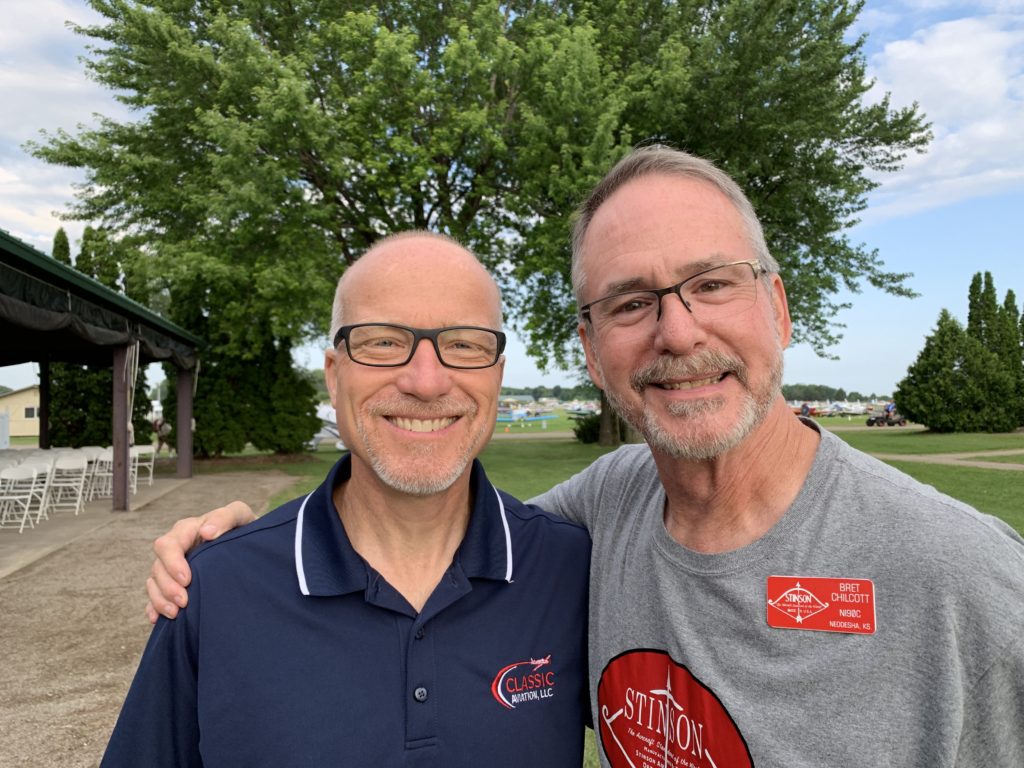
I met Bret Chilcott from Neodesha Kansas, and listened to his excellent presentation about Stinson 108 aircraft, and what a value they are.
——————————————————————————————————————–
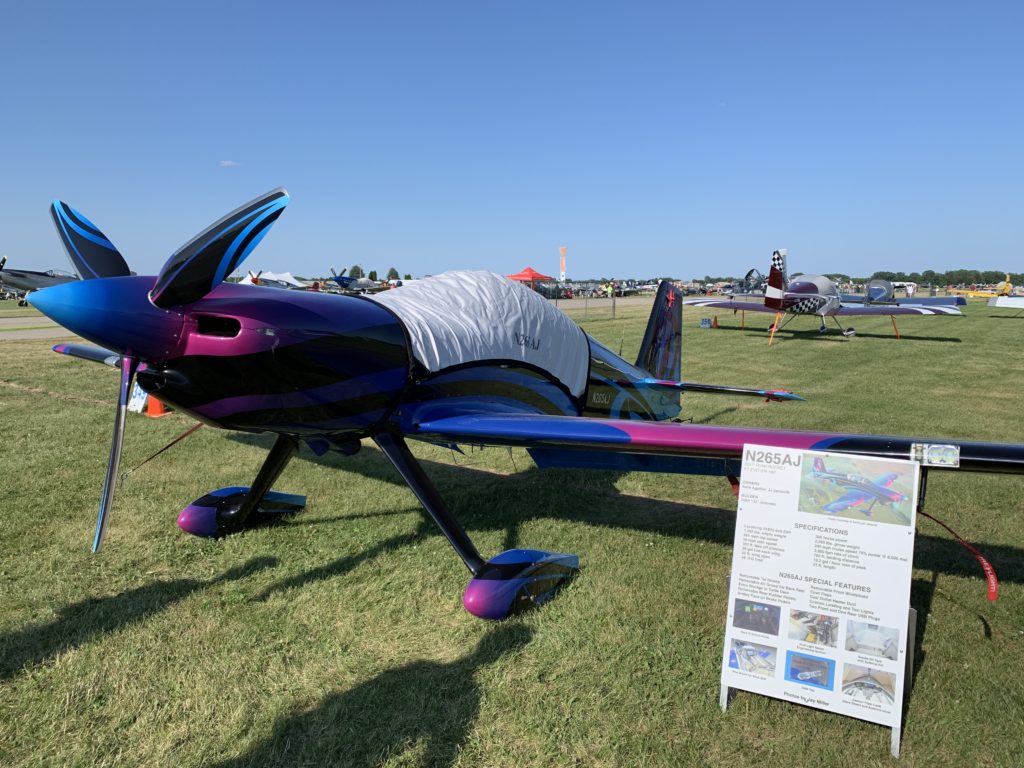
So many sleek and fast airplanes at AirVenture!
——————————————————————————————————————–
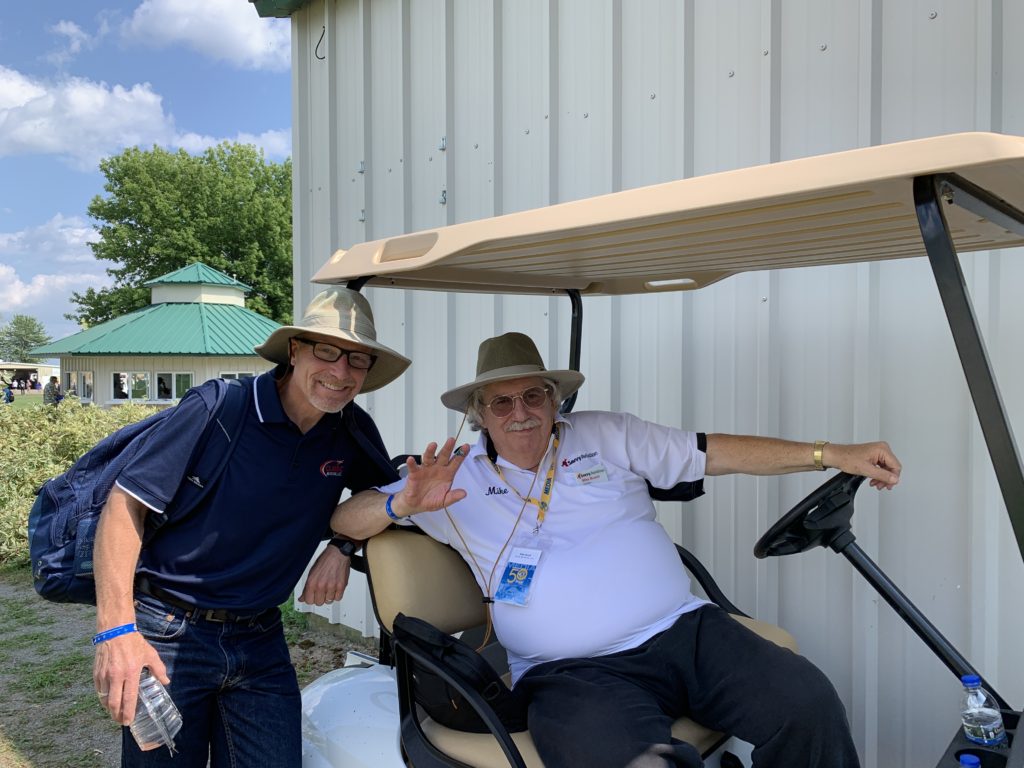
I managed to grab a quick picture with Mike Busch… he did 13 seminars this year!
——————————————————————————————————————–
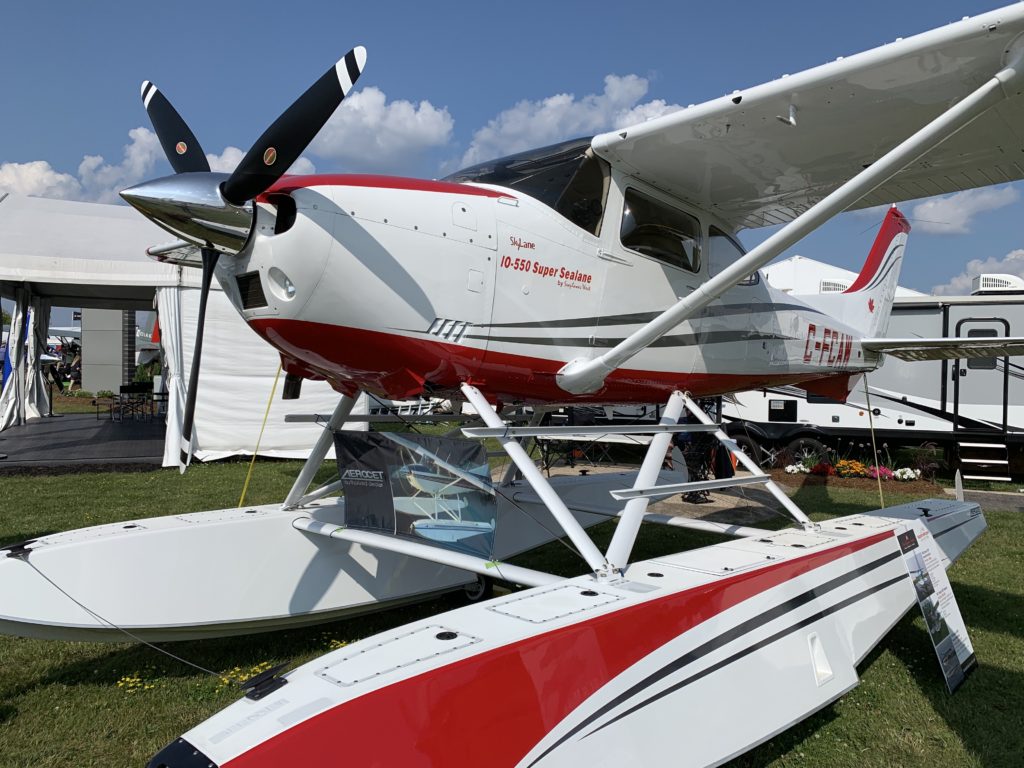
Check out one of the stunningly beautiful float planes there:
——————————————————————————————————————–
Jack Swift was the first person to purchase my video course, “Safety Wire Like A Pro!” I met him at Boeing Plaza, between the Boeing 747 and the 787. What a great guy!
——————————————————————————————————————–
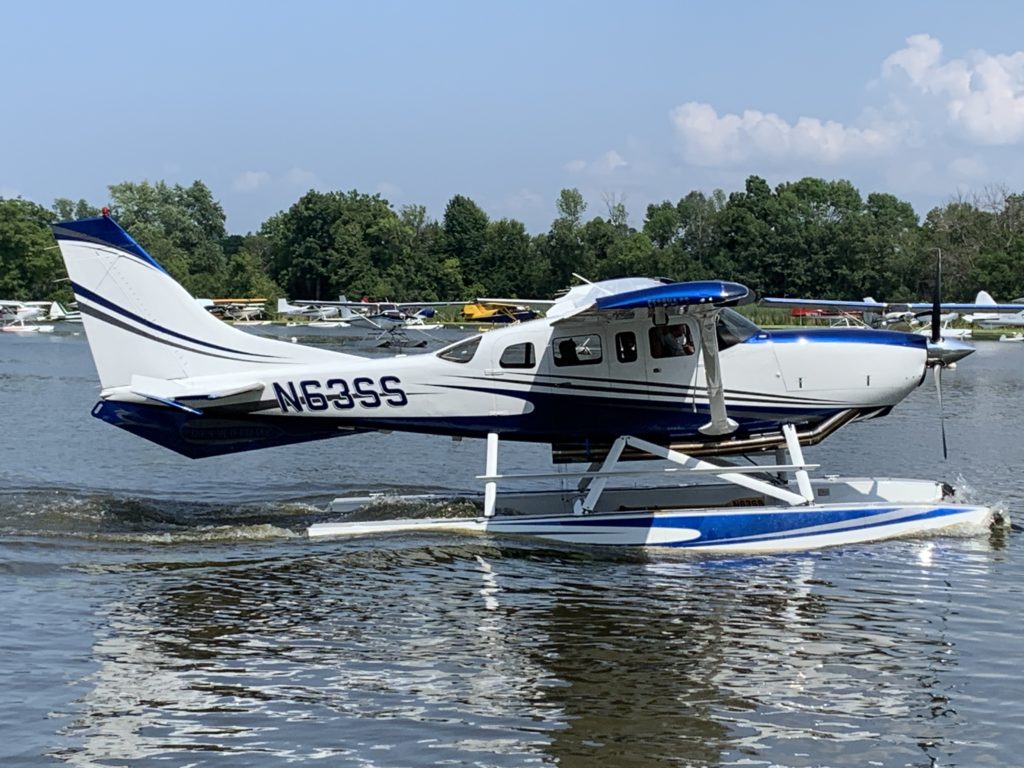
Check out the turbine 206 on floats at the seaplane base:
——————————————————————————————————————–
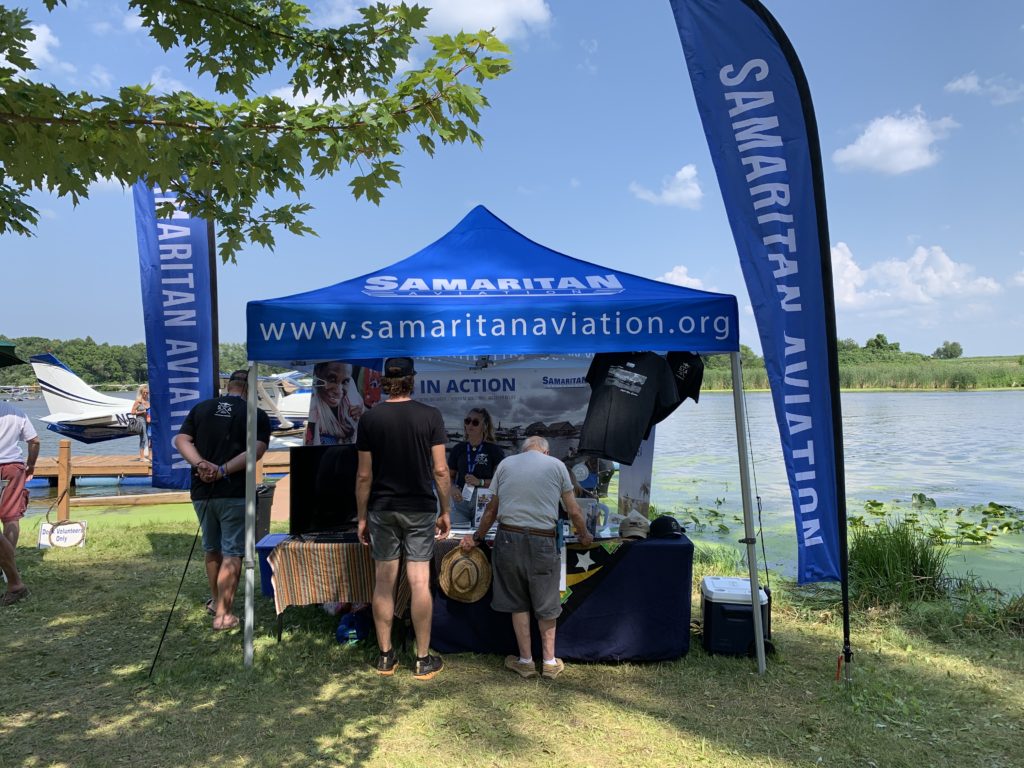
And a mission organization who uses Cessna 206’s in Papua, New Guinea. samaritanaviation.org
——————————————————————————————————————–
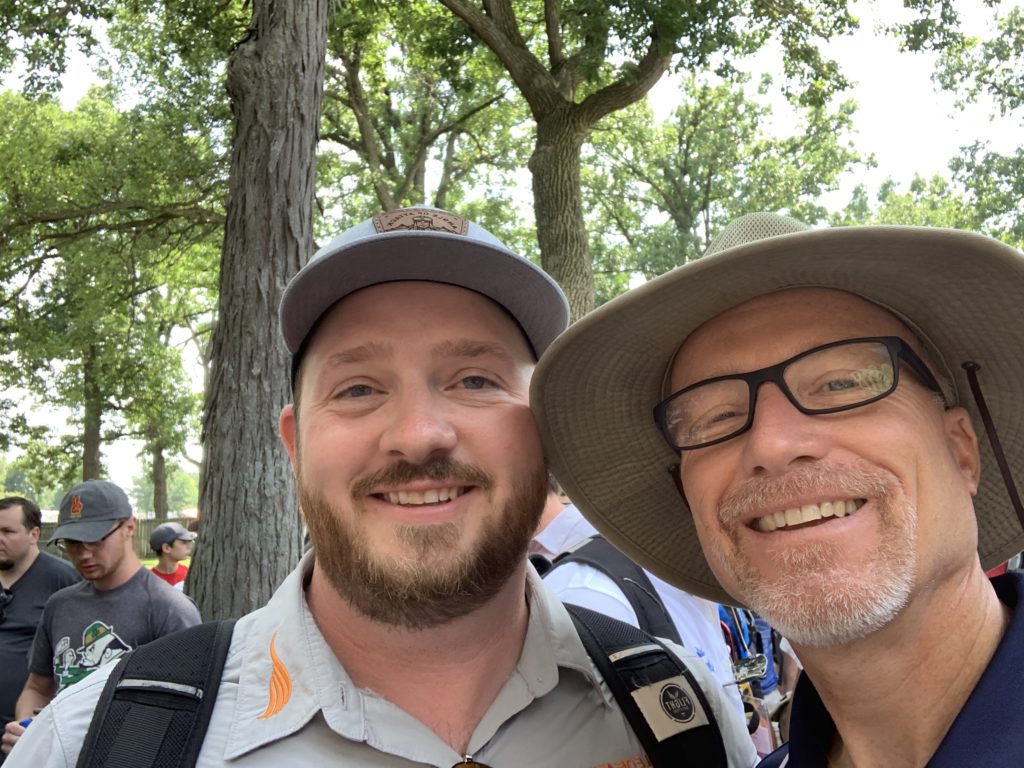
Chris Palmer with AviatorTraining.com was there, and it was great to meet him in person! I gotta get a new hat for next year… that thing is ridiculous 🙂 Check out Chris on Instagram @angleofattack – he got a ride in the back seat of one of the Aeroshell Team T-6’s! Well done Chris!
——————————————————————————————————————–
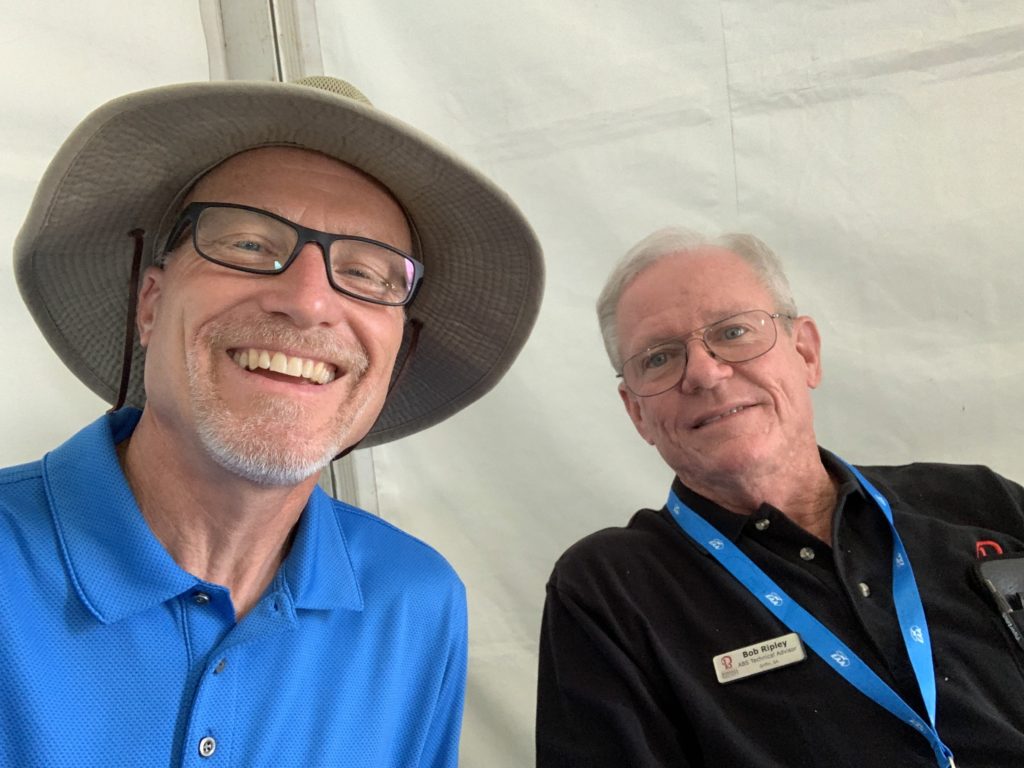
Bob Ripley was in the ABS tent, and I got to thank him for his help… he’s a walking encyclopedia of Bonanza and Baron knowledge! Having access to Bob for technical questions, in my opinion, is one of the best benefits of ABS membership.
——————————————————————————————————————–
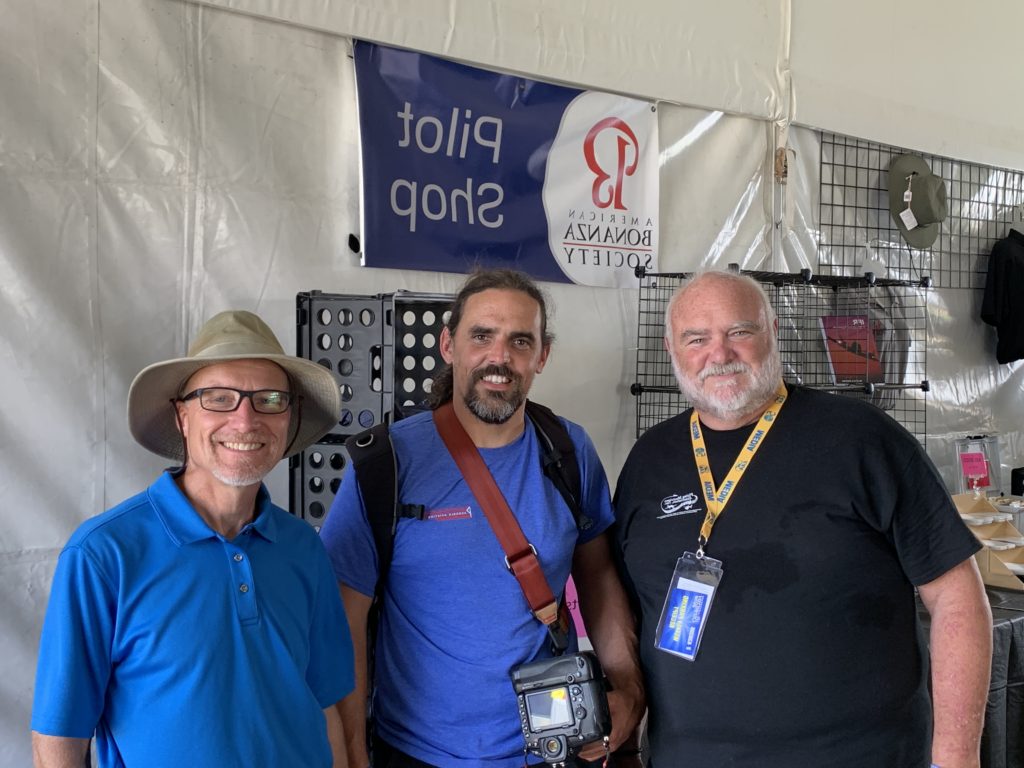
It was also a great privilege to meet Joe Godfrey and Dave Pasquale. Joe is an engine monitor and analysis expert, and Dave is a borescoping and valve lapping expert. Both of these guys work with Savvy Aviation, and Dave also has his own maintenance shop, Pasquale Aviation, LLC, in Pottstown, PA.
——————————————————————————————————————–
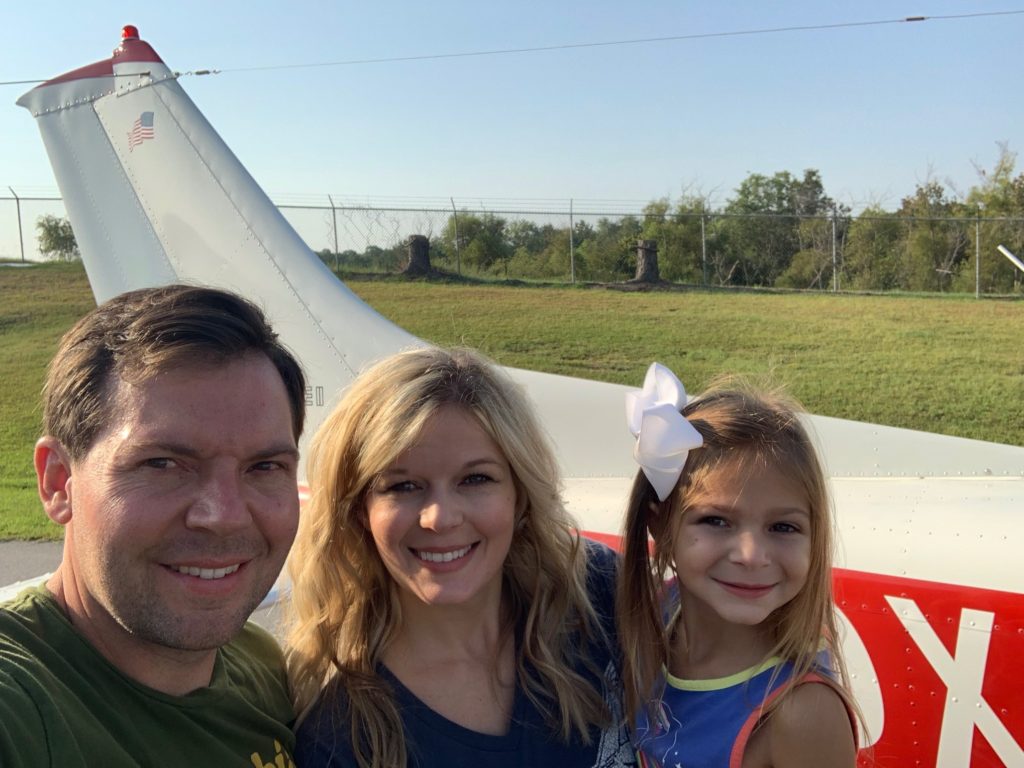
Finally, don’t miss the story behind this picture…
I saw this guy with his young family and decided to take a picture to get his information. I forgot about it until today when I was looking through my photos. His story is absolutely inspiring. Listen to the audio for this episode, and then check out his website:
Scroll down to check out Dean’s favorite borescope.
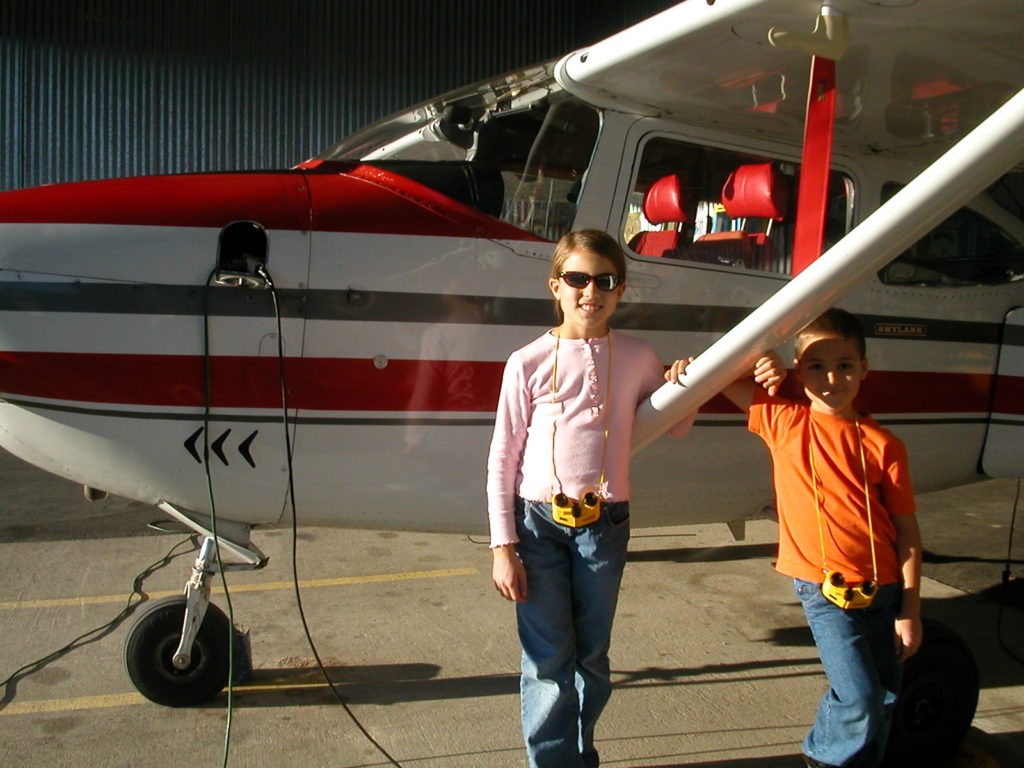
I have three kids, and those are my two oldest… from many years ago 🙂
Morgan, my oldest, is on the left, and Seth is on the right. I’m guessing they were around 9 and 7 years old at that time, and they’re now 22 and 20!
So why am I showing you this picture? Good question. I’m using this picture because it’s deeply meaningful to me, AND this Cessna 182 has turned into my favorite exhaust valve borescoping and lapping story.
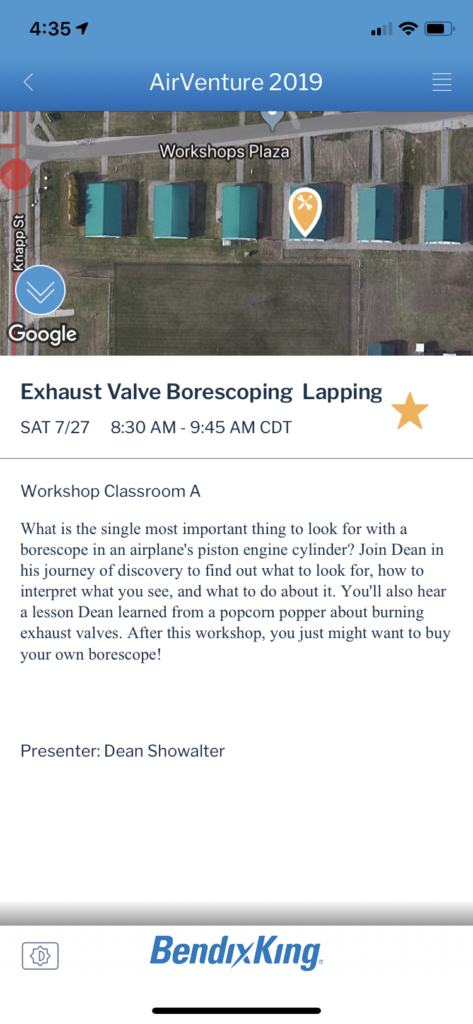
I’ll be telling that story in a presentation at Oshkosh on Saturday July 27, at 8:30 am. Hope to see you there!
The whole idea of “lapping” the exhaust valves came out of first borescoping the valves.
A borescope is necessary to determine if an exhaust valve is a good candidate for lapping or not.
And for this purpose, I’m a firm believer that:
Sometimes a borescope is better than a compression tester.
When it comes to viewing the condition of piston engine exhaust valves, a borescope is better than a compression tester. I have three specific story examples of actual airplanes that had an exhaust valve in serious trouble, but all three of those cylinders still had a compression test result of at least 60/80. After seeing these examples, it is EASY to see that “Sometimes, a borescope is better than a compression tester!”
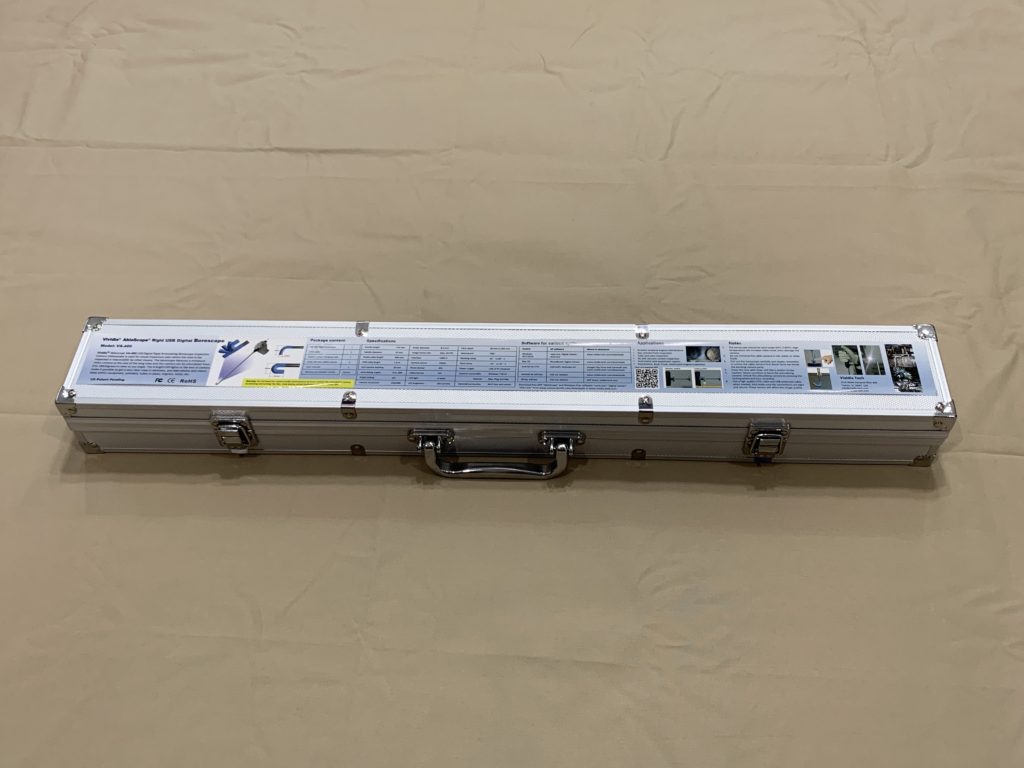
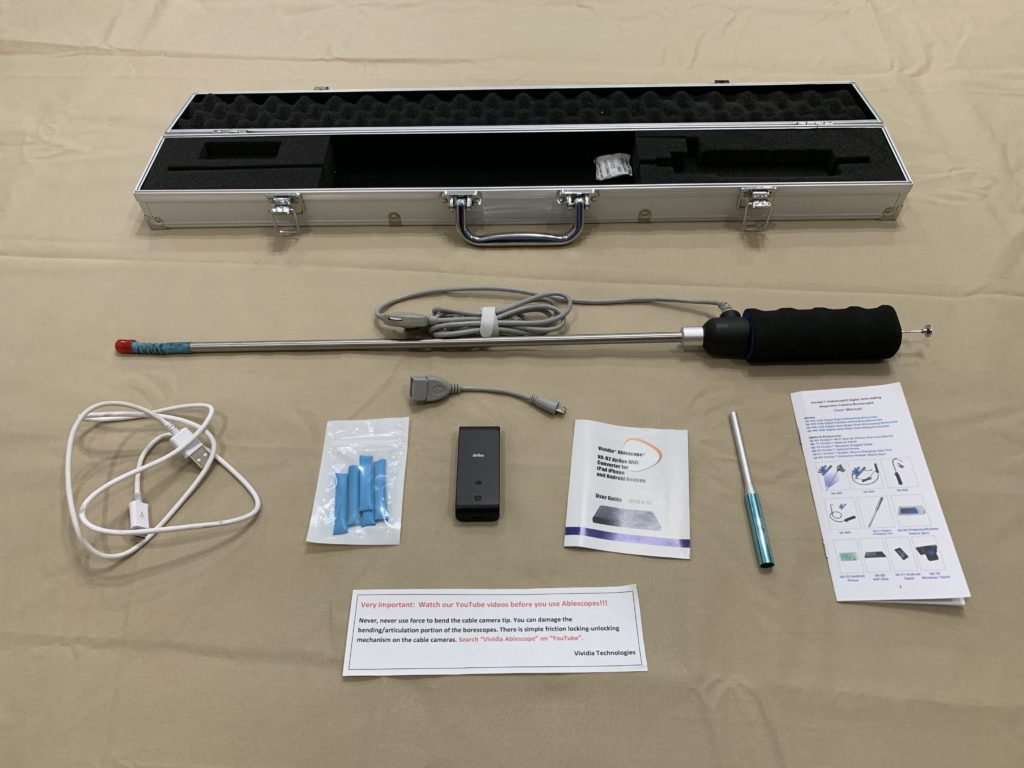
So… I’ll also be talking A LOT about borescoping in my Oshkosh presentation. I’ve actually tracked down the company that produces my favorite borescope and I’m looking forward to meeting these people at Oshkosh. Oasis Scientific will have a booth there.
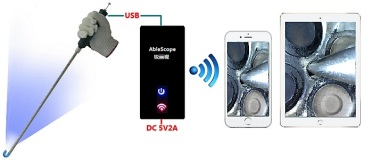
They’ve been great to work with and have set up a code for me to offer you 10% off the purchase price. Just use my code “Dean” at checkout to receive the 10 % discount. Oasis Scientific has many borescoping products, and here are my two favorites to recommend to you: (The first is the borescope alone, and the second is a bundle that includes an adapter to allow you to view and save pictures on your iPhone or iPad.) I bought the bundle and am very happy with it.
If you will be at Oshkosh 2019, you can go to Oasis Scientific’s booth and get their discounted show price PLUS another 10% discount by using my code “Dean”.
The borescope above will connect directly to an Android device or tablet.
Or if you’re like me and want to use your iPhone or iPad, you’ll want to buy the bundle which includes the VA-400 above along with a WiFi adapter to allow viewing on your iPhone or iPad. Here’s the bundle: (This is the one I bought.)
It’s an incredible tool that comes in a really nice metal box.
I’m really happy with this borescope. If you’re looking for a borescope, this one may be a good option for you as well.
Don’t forget to use the code “Dean” at checkout to recieve a 10% discount off the purchase price.
If you have not downloaded my free UPDATED Exhaust Valve Inspection Guide with pictures and descriptions of what to look for, be sure to grab a copy of that as well… it will be super helpful in using your new borescope. You can get access to that free guide here: airplaneownermaintenance.com/exhaustvalves
In the next podcast episode, I’ll give a report on my first time to Oshkosh!
Have a great week, and I hope to see some of you at the big airshow!
Would you know what to do if you saw this? Get the free training guide and read about what’s going on with this exhaust valve from a Turbo-normalized A36 Bonanza.
Here’s another one:
This exhaust valve is actually in a Lycoming IO-360 engine. After seeing this, I’m a firm believer in doing borescope inspections with every annual, not just for Continental engines, but for Lycoming and Franklin engines as well.
These two exhaust valves and many more, along with explanations, are included in the free borescoping guide.
Here’s the link to subscribe to this free training:
Please take advantage of this free offer, and if you find it helpful, please share the link wherever you feel is appropriate.
——————————————————————————————————————-
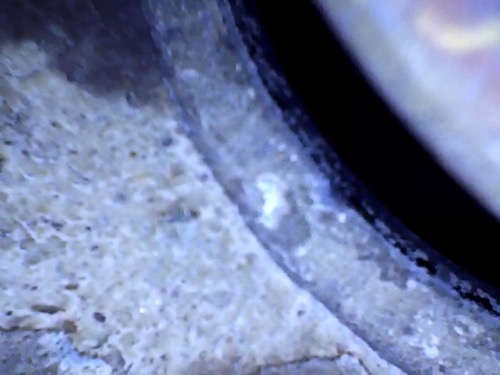
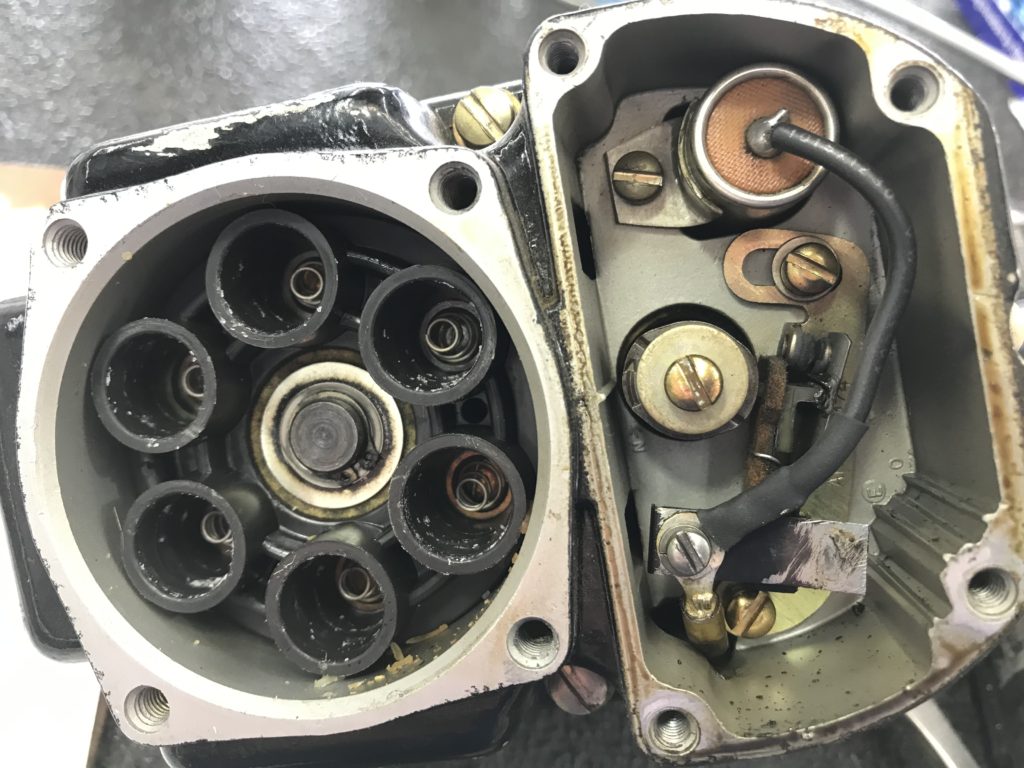
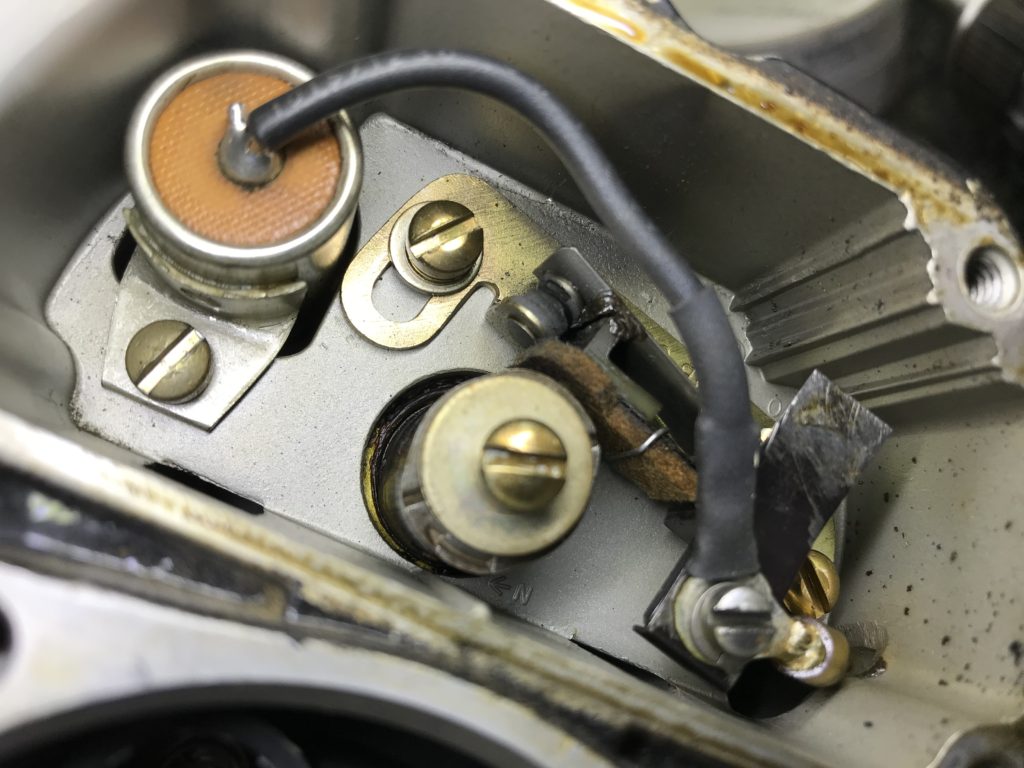
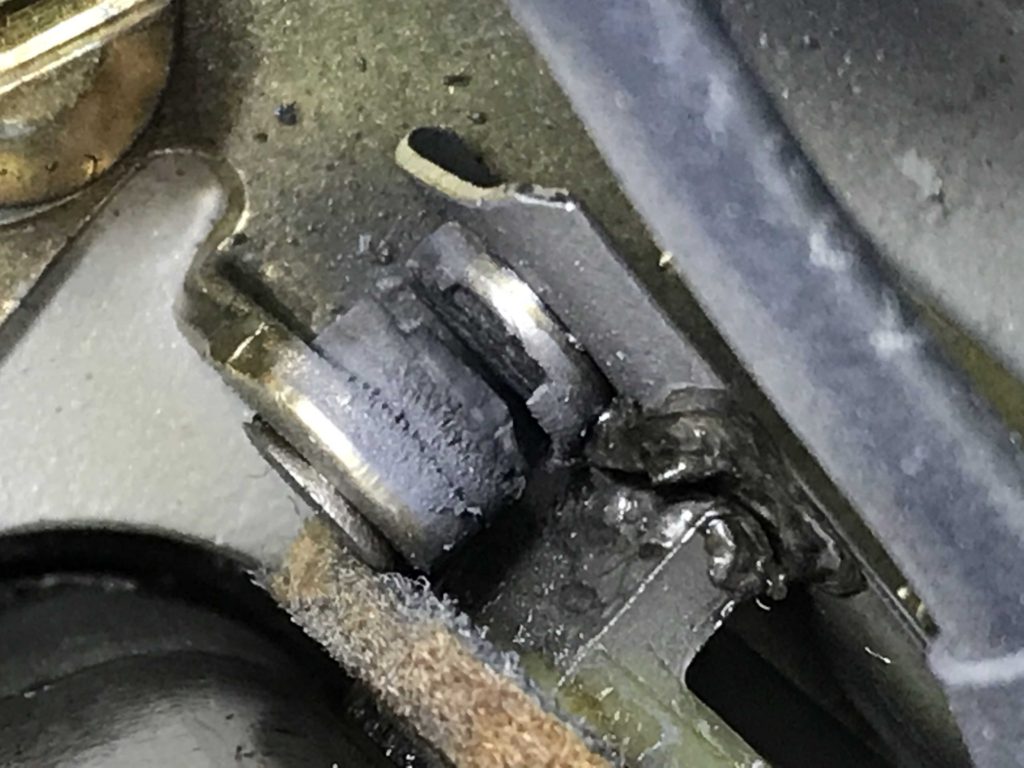
Also in this week’s podcast, I’m sharing some information about magneto contact points. Like exhaust valves, this is an item that is normally hidden unless effort is made to see it. When I saw these contact points, I was reminded of how important it is to do 500 hour inspections on magnetos. This magneto has approximately 1100 hours on it, and the contact points are in poor condition… startling condition actually.
Look at the right side, and then we’ll zoom in on the next picture.
Notice the very dirty contact points.Very nasty… not sure how much longer this magneto would have run.
Bottom line lesson here: For safe and reliable operation, magnetos need regular maintenance, and the 500 hour inspection recommendation is there for a good reason.
My favorite magneto shop is Aircraft Ignition Services, LLC in Honey Grove, Texas, just outside of Dallas. This is a fantastic shop run by Kevin and Leah Herrington. Everything about their work is top notch. The work is excellent and the ongoing support and service is the best I’ve seen. Here’s their website. Take a look, and give ’em a call if you need any magneto work.


Recent Comments