A Maintenance Oriented Podcast For Airplane Owners, Pilots, and Mechanics

Tag: mooney

249 – An EXHAUST-ing Mooney / Continental Story

Today’s episode is about Pat’s Mooney, and how we sealed up some exhaust leaks.

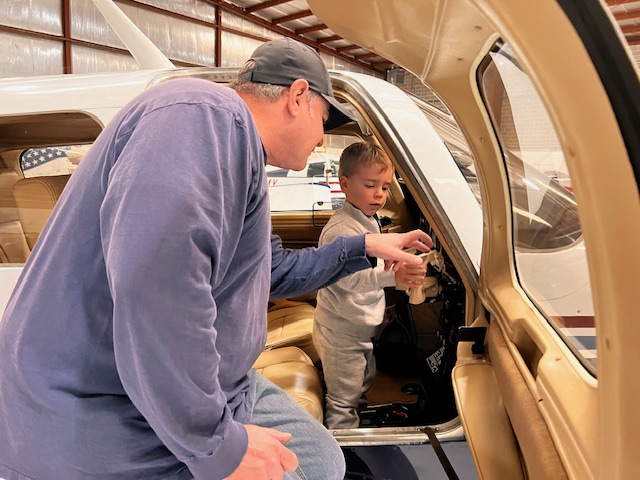
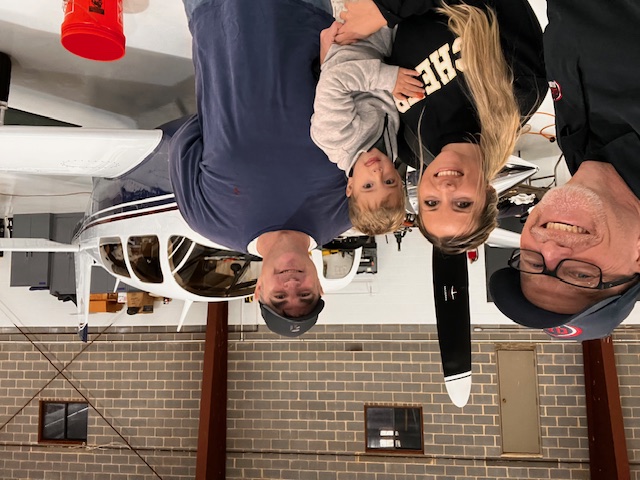
And it’s a fun story because Pat has become a good friend… check out the above photo where he’s showing his airplane to my grandson Spencer 🙂

Spencer and my daughter McKenzie stopped by the shop one day when Pat and I were working on his Mooney 252 (M20K.)

And if you’ve listened to the Airplane Owner Maintenance Podcast, you’ll likely remember that it’s McKenzie’s voice in the podcast intro and outro… thanks McKenzie!

Pat flew his Mooney from Wisconsin to Virginia for his annual inspection, and he hung around for several days to work with me on his airplane… I love airplane owners like Pat!

I love working with the “Pats” of general aviation because they tend to have some or all of the following traits:

  • They love aviation as a whole.
  • They are interested in the maintenance side of things.
  • They want things fixed and working properly.
  • They are easy to work with and fun to be around.
  • They care about people and relationships.

And that pretty well describes Pat, so we got off to a good start on his inspection.

One of the squawks I discovered was 5 of the 6 exhaust flanges had small leaks at the gasket area… we found this while doing a pressure test on the exhaust system. Here’s one of the flanges that was leaking:
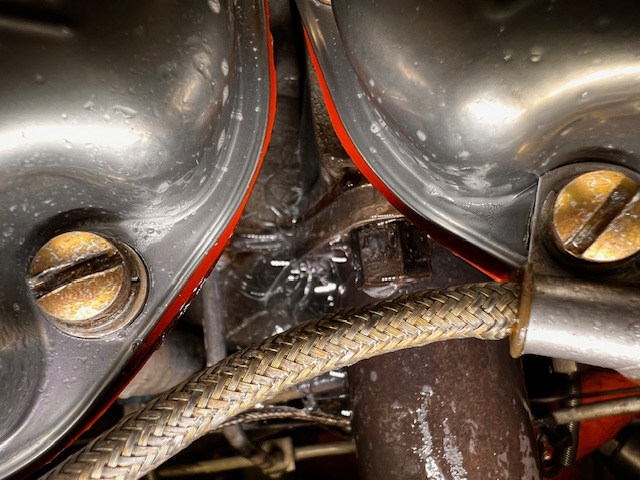
This engine is a Continental TSIO-360 and has 2 thin stainless steel gaskets P/N 630365 on each cylinder.

Here are the old gaskets I removed, along with one stud that backed out and had to be replaced with a new one:
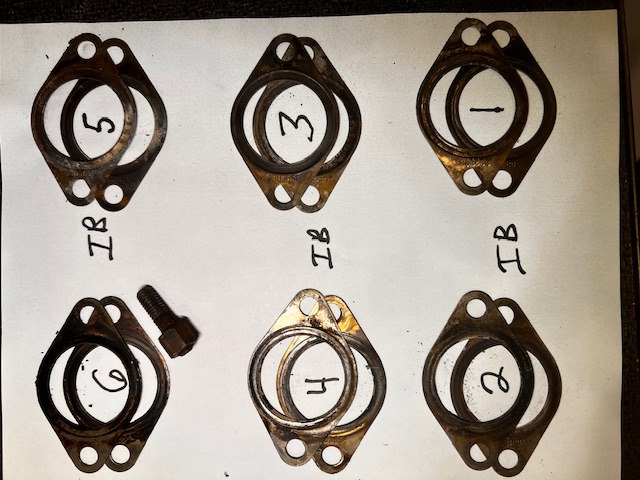
I’ve found there is significant confusion out there about how these gaskets should be installed.

One side has a raised area, or a bump on it, and the other side has a recessed, or concave area.

As I’ve researched the internet (sometimes a not-so-good place to get good information,) it seems a fair number of people think these gaskets should be “nested” together for installation.

That is, put both gaskets in the same direction to they fit together, and then install them.

I wanted a definitive answer, so I called Continental.

Vadin was very helpful and explained it to me this way:

“You want to create an air pocket between the two gaskets.”

This means put the concave or recessed side of the two gaskets toward each other and this creates the air pocket.

Then, as you torque the exhaust nuts and squeeze the gaskets together, the bump on the top gasket is up against the cylinder flange, and the bump on the bottom gasket is down against the exhaust riser flange, and in this way you can hopefully seal up any small imperfections on the surfaces and get a perfect (or nearly perfect) seal.

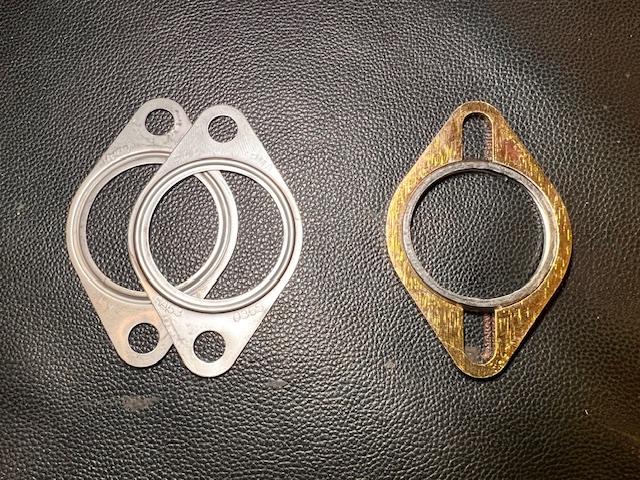
Also, there is another type of gasket that can be installed on this engine… it’s the “blow proof” gasket made my Rapco, P/N RA970.

Here’s the visual difference between the two types of gaskets (the thin ones on the top and the thick, blow proof one on the bottom):
I asked Vadin at Continental about these, and he could not officially endorse them, but he also acknowledged that some people seem to have good success with these thicker gaskets.

So, after discussing the situation with Pat, we decided to go with the thicker, blow proof, RA970 gaskets.

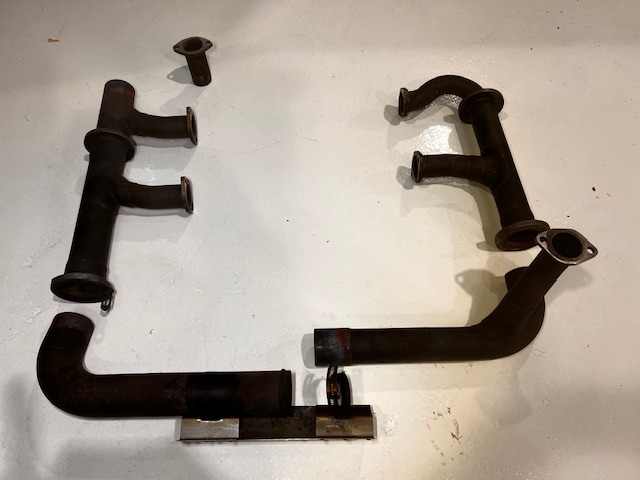
Prior to installing the gaskets, I had carefully sanded all 6 exhaust riser flanges flat and smooth so as to get the best seal possible. Here’s a photo of the exhaust system before sanding the flanges:
I carefully installed the new gaskets, and torqued all the nuts with the studs properly lubed with engine oil.

I was excited to do another pressure test and was confident about the results.

I was sorely disappointed.

Five of the six flanges still had small leaks.

Back to the drawing board.

I texted Pat and notified him that I thought we should try the other type gaskets and see if we could get a better seal.

He agreed.

So, I reluctantly removed the thick RA970 gaskets and installed two each 630365 thin gaskets (properly positioned) on each flange and retorqued everything.

Time for another pressure test.

It wasn’t perfect as I had hoped, but it was very acceptable.

Three of the flanges were perfect with zero leakage.

The other three were nearly perfect with only very small bubbles forming slowly at one side of the flange during the pressure test.

I’m satisfied with this… and as I thought about the whole situation, I suppose you could buy a whole new exhaust system for the engine in hopes of getting a 100% perfect seal, but I don’t think that’s necessary in this situation.

I also realized that if this was my personal airplane, I would feel the same about it, and I would fly my family in it with great confidence.

Be sure to listen to the audio for this episode to hear the whole storyl

And after all that, I’m EXHAUSTED!

But it’s been totally worthwhile, because Pat is such a great guy to work with!

Thanks Pat, and I look forward to returning your airplane to you real soon!


The post “249 – An EXHAUST-ing Mooney / Continental Story” appeared first at AirplaneOwnerMaintenance.com
173 – What’s Happening With Cylinder #1 in my Mooney M20J?

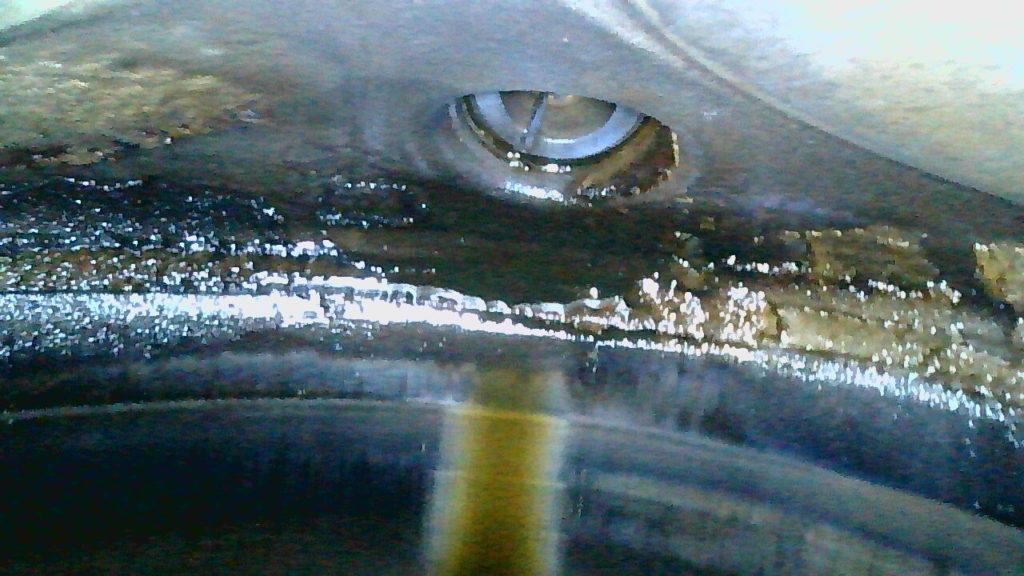
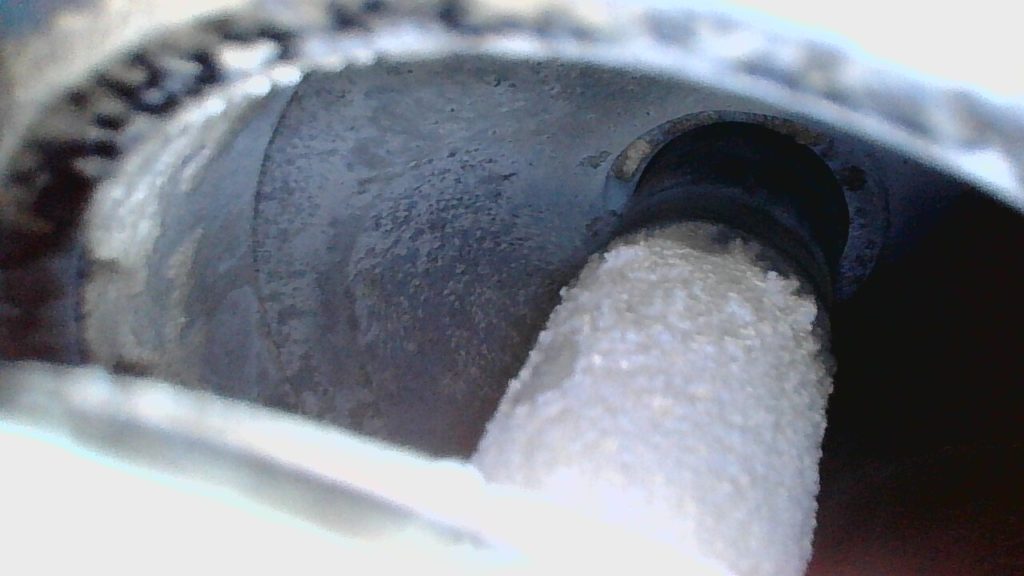
I got an email from Michael this past week. He owns a Mooney M20J, and something strange happened with cylinder #1’s EGT and CHT recently. Michael agreed to let me share the story, so that’s the main feature in this episode. The picture above is one Michael took with his borescope while looking for any obvious problems with the cylinder.

Before we get to that story, here are a few items I included in this episode:

  • How I microwaved a fork, and nothing bad happened 🙂
  • How I’ve been fighting the mice at Classic Aviation.
  • The great people this week who either stopped by the shop to say hi, or who sent me an email or voice message:
    • Mike, and his Cirrus SR22.
    • Steve and Janet, and their Twin Comanche.
    • Rudy and his Mooney M20J.
    • Michael and his Mooney M20J. (This is the featured story in this episode.)
  • A little follow up from the Piper Saratoga story I talked about in the last episode
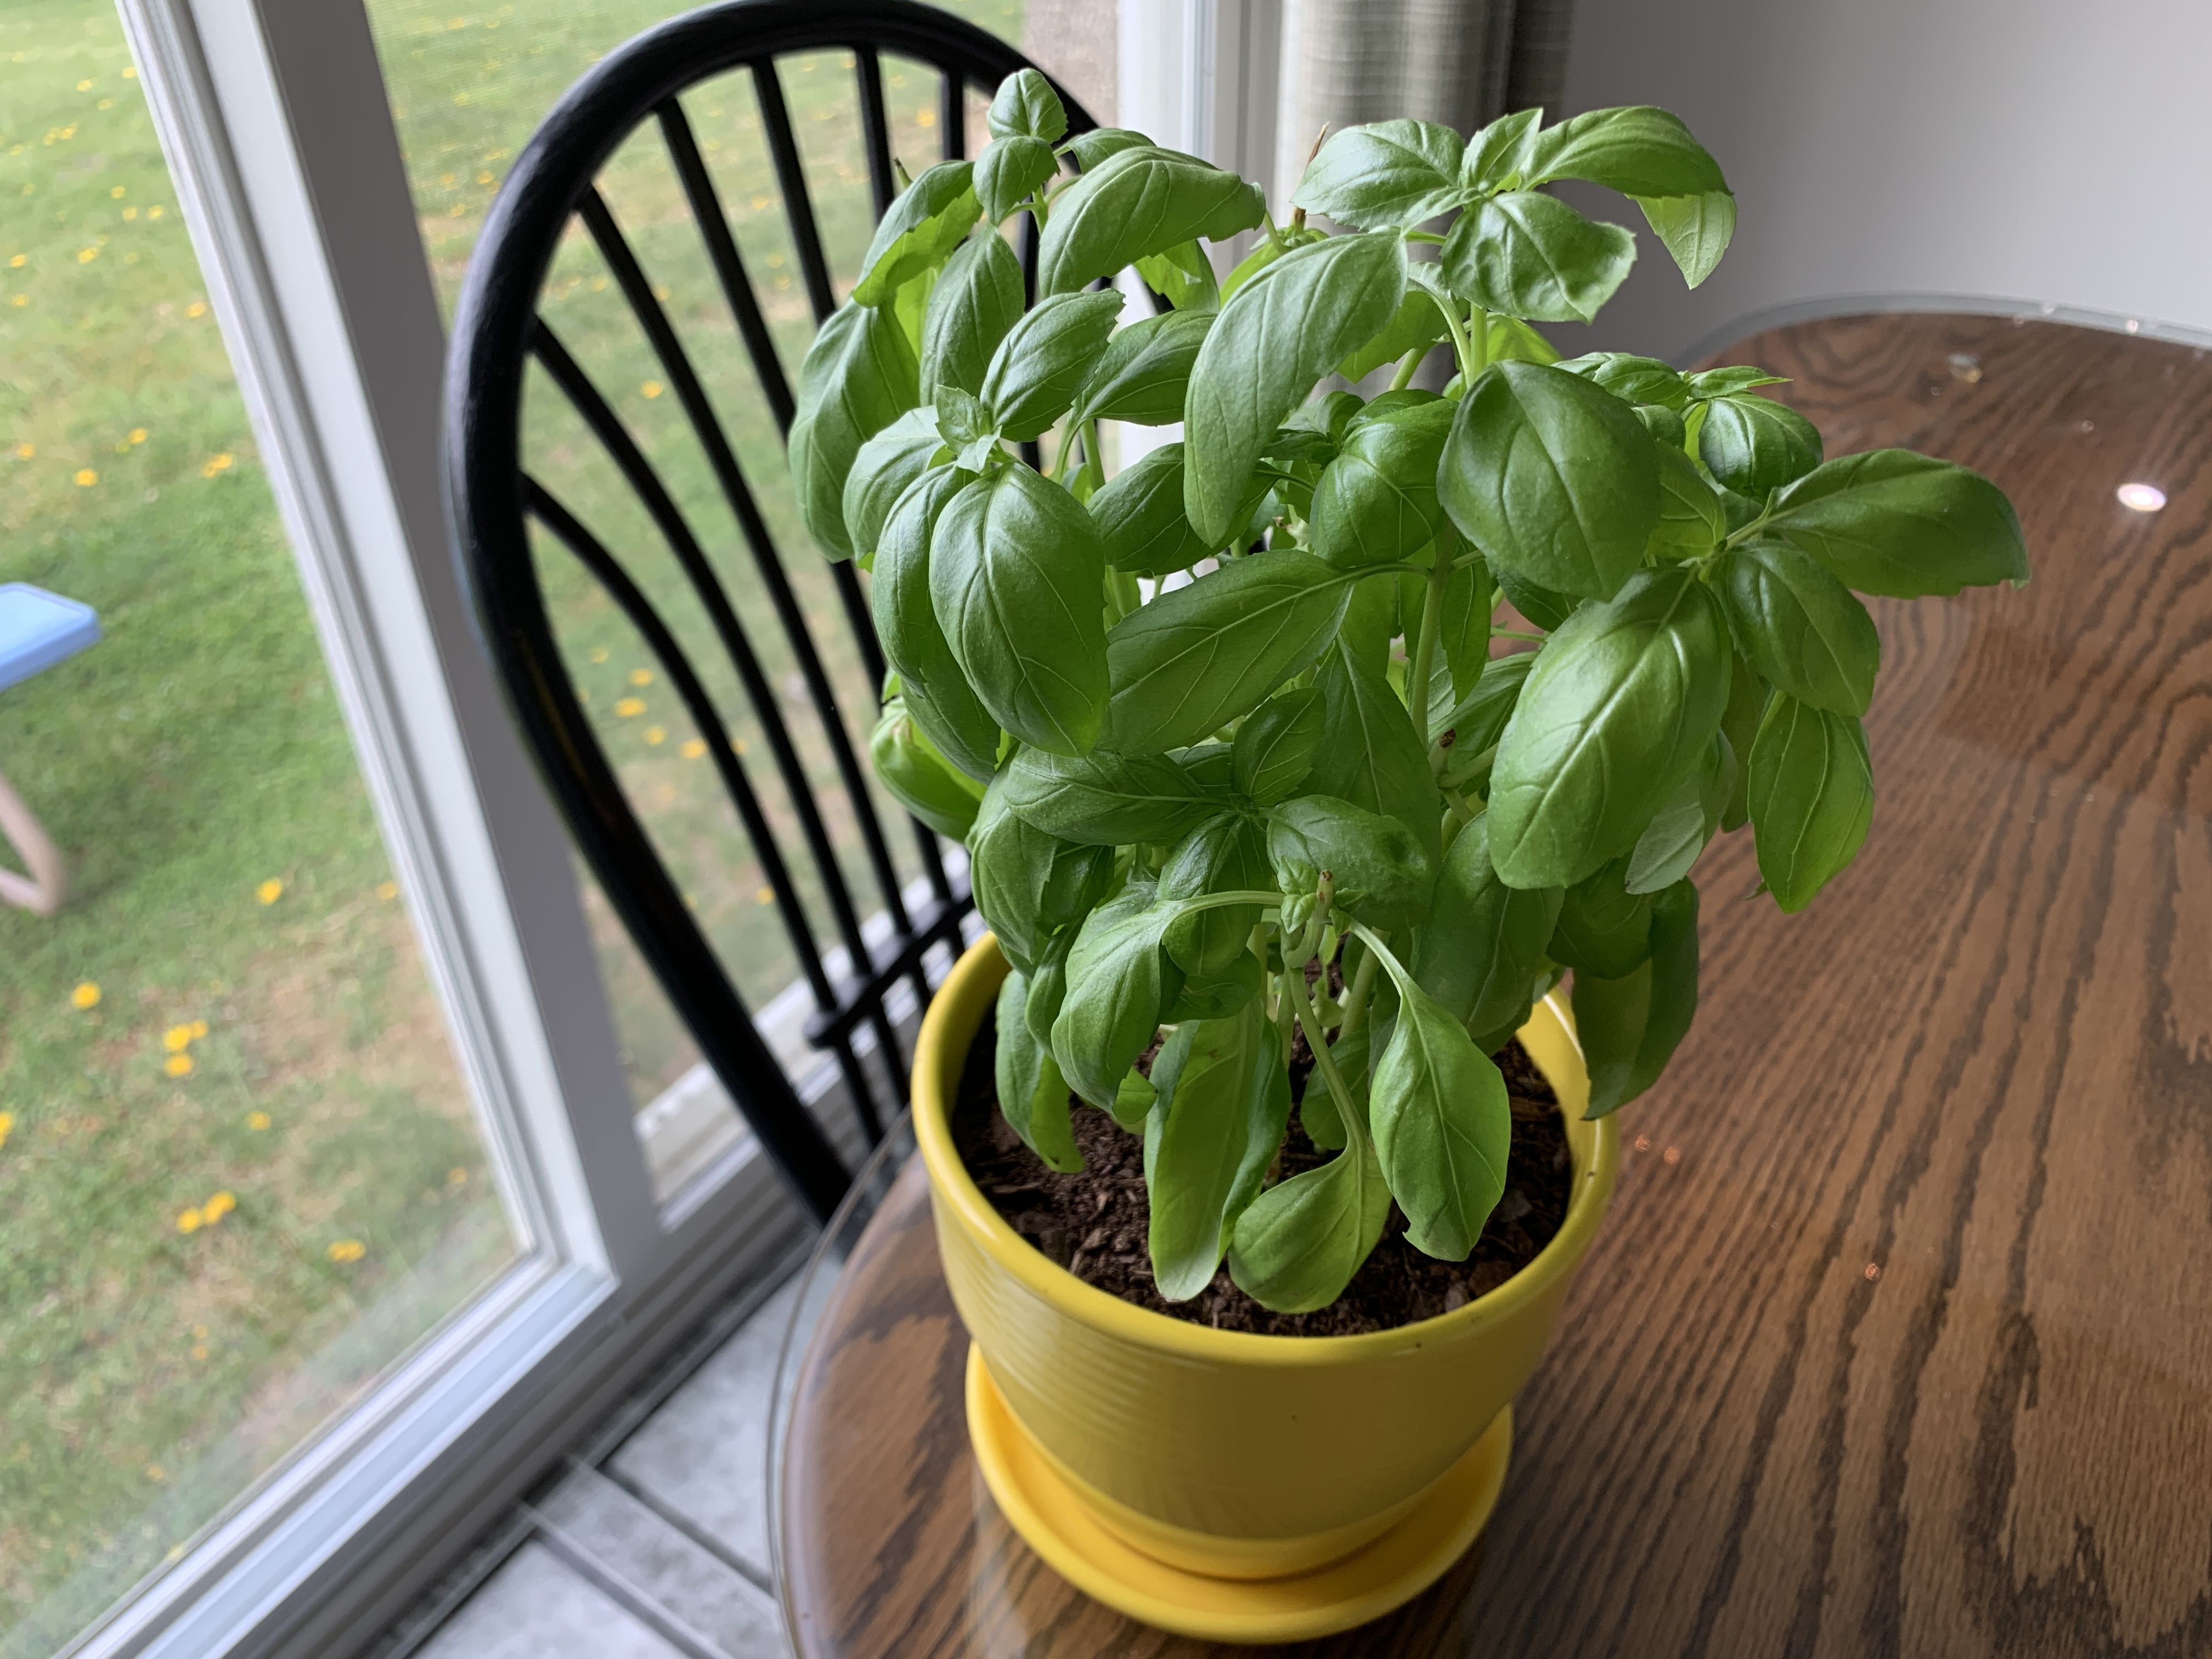
  • … and here’s the little basil plant that has become more interesting than I ever thought it would:

Here are a couple more samples from the excellent photos Michael took of cylinder #1 with his borescope:


Finally, for those of you who love great books, especially books that use good aviation stories to teach life lessons, I have a good one to recommend.

John Ramstead has a new book coming out real soon called “On Purpose With Purpose.” From his days as an F-14 Tomcat pilot, to a near-fatal horse-riding accident, to his transition to a podcaster, speaker, and coach, John’s book is absolutely inspiring. I’ve already pre-ordered my copy, and I’ve been reading the digital version… it’s excellent!

Why don’t you join me in reading this book? Click here to buy your copy.

If you just want to learn more about the book, click here.


The post “173 – What’s Happening With Cylinder #1 in my Mooney M20J?” appeared first at AirplaneOwnerMaintenance.com
143 – Oh No! A Lycoming Exhaust Stud Pulled Out!


Note: The “Safety Wire Like A Pro!” video training course is available for one more day at 20% off (use code “canard” for discount coupon.) Read about the training here:

https://airplane-owner-maintenance.teachable.com/p/safetywiring


Three stories for today:

Story #1:

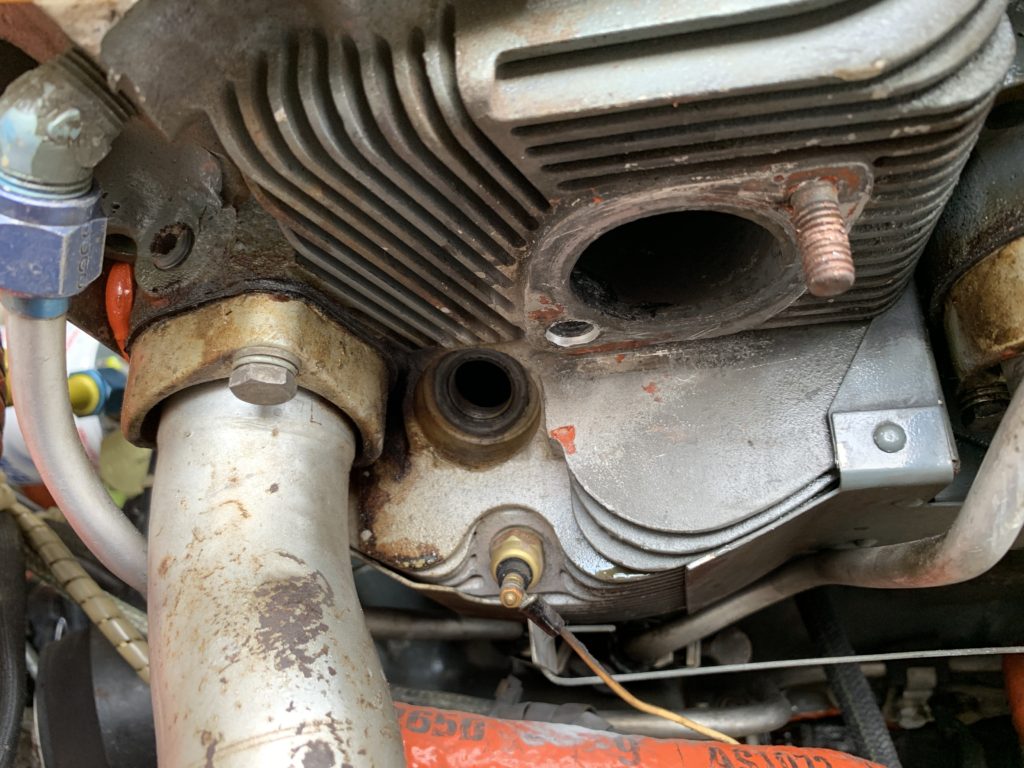
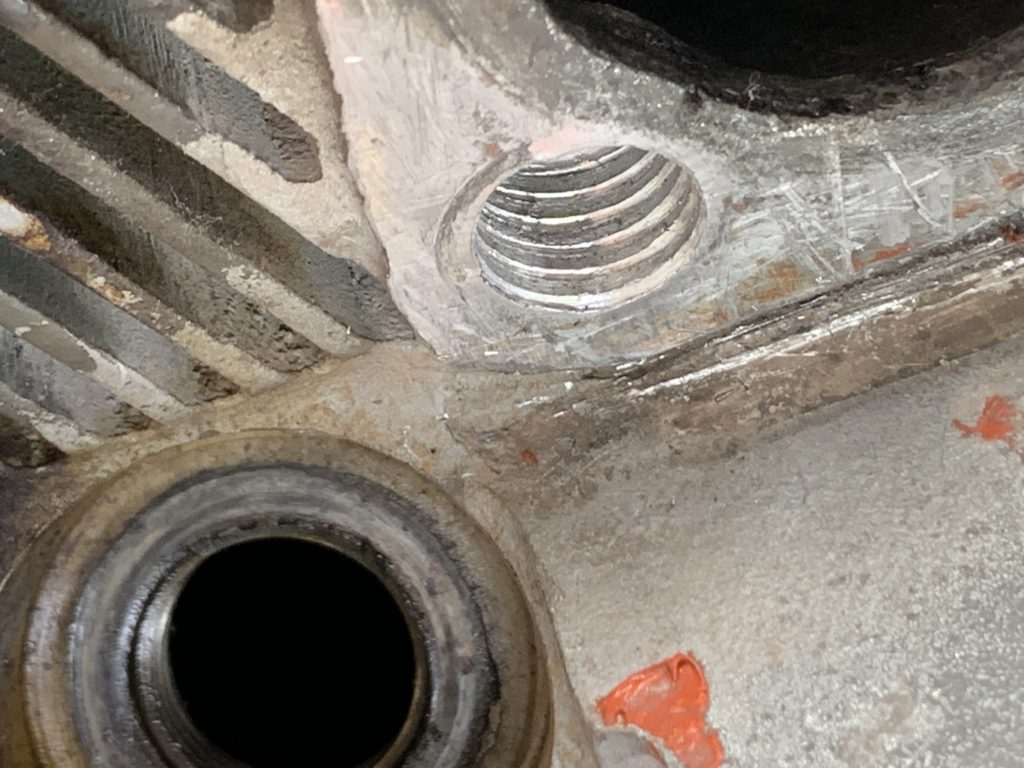
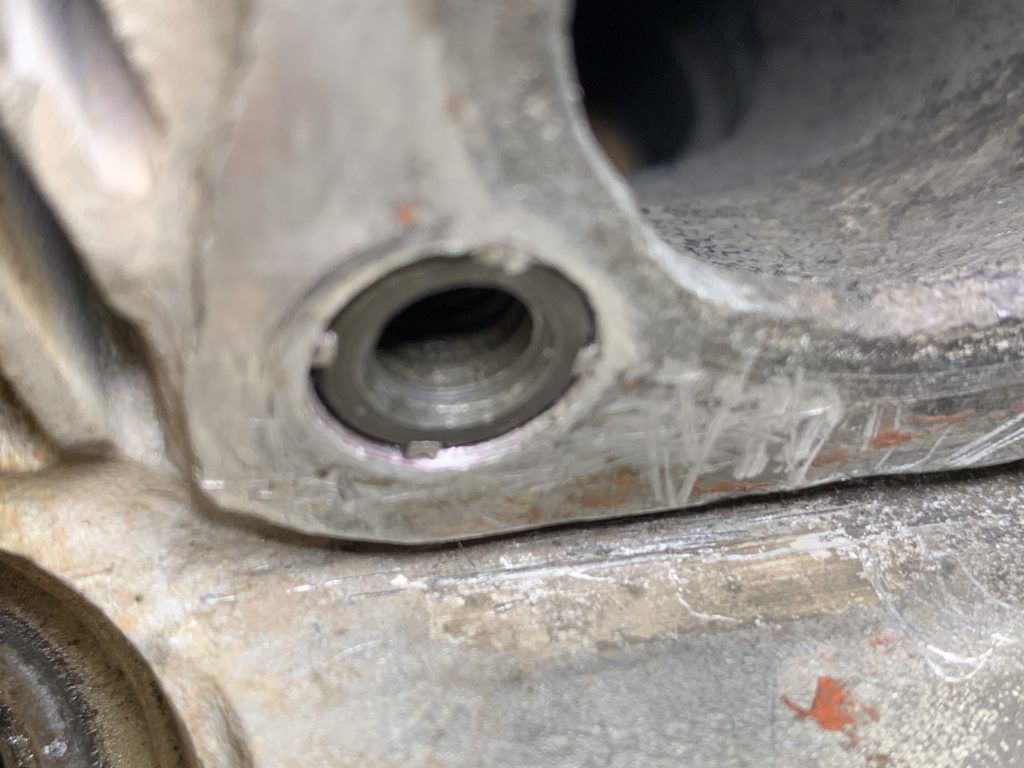
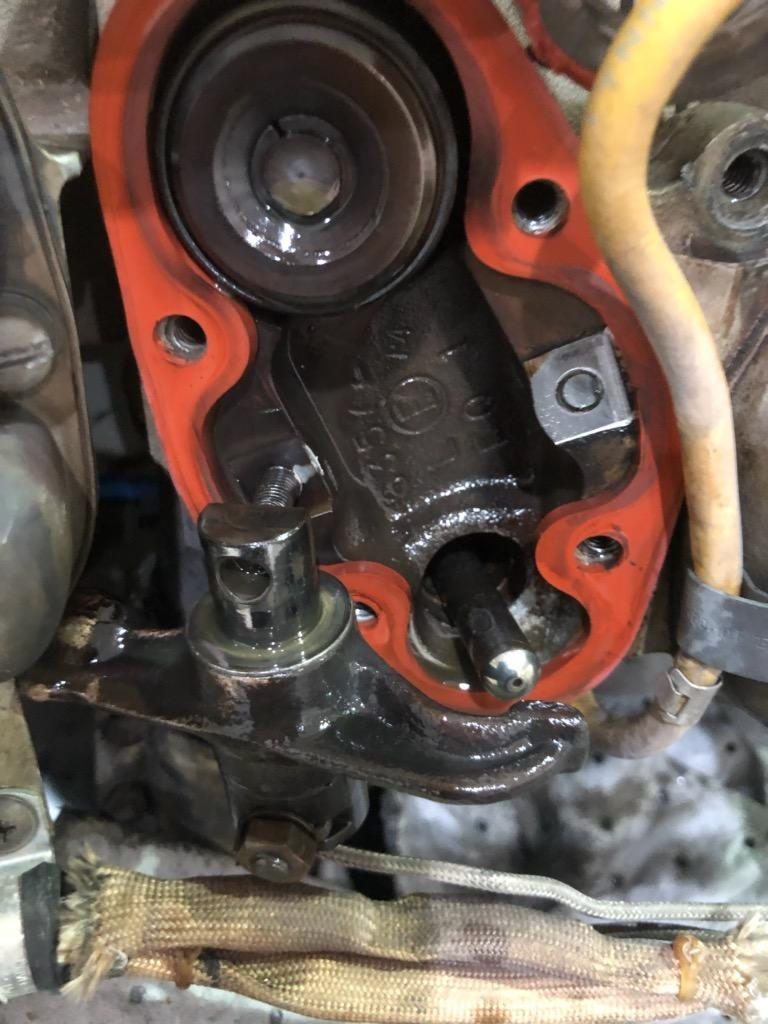
A Lycoming exhaust stud pulled out.

It was disappointing, but turned out to be an inspiring learning experience.

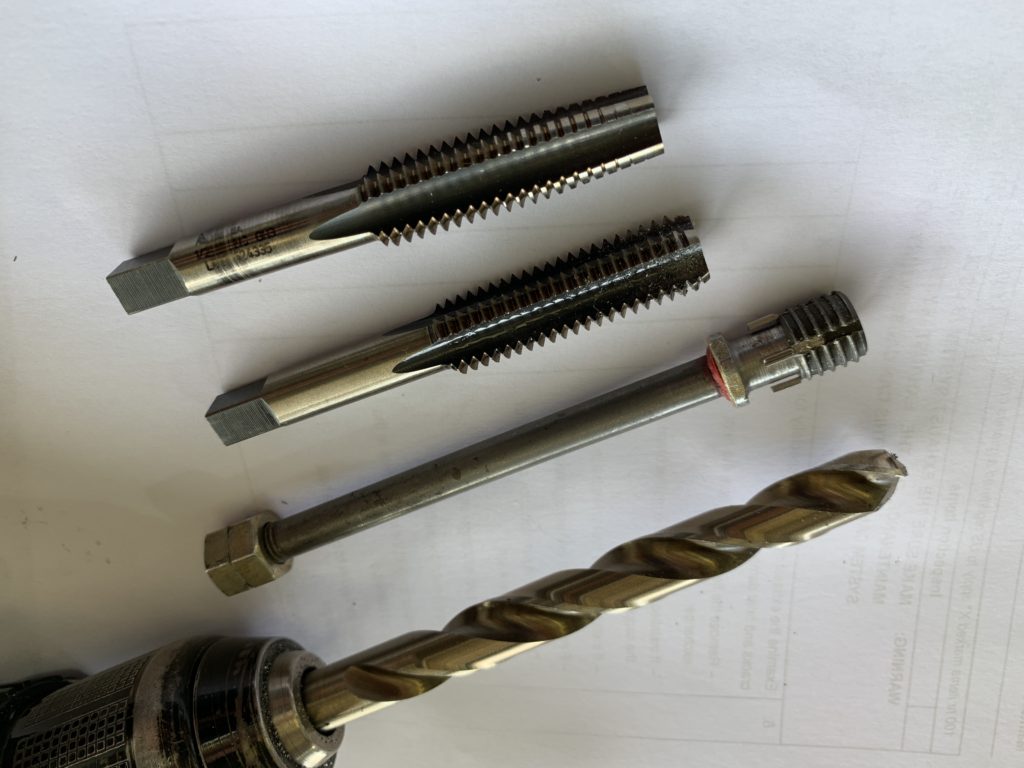
A helicoil had previously been installed, which pulled out, and left a hole too big to install another helicoil (thread repair). Listen and find out how we solved the problem with a “Keensert” thread repair:

It worked fantastically!


Story #2:

Bad spark Plug.

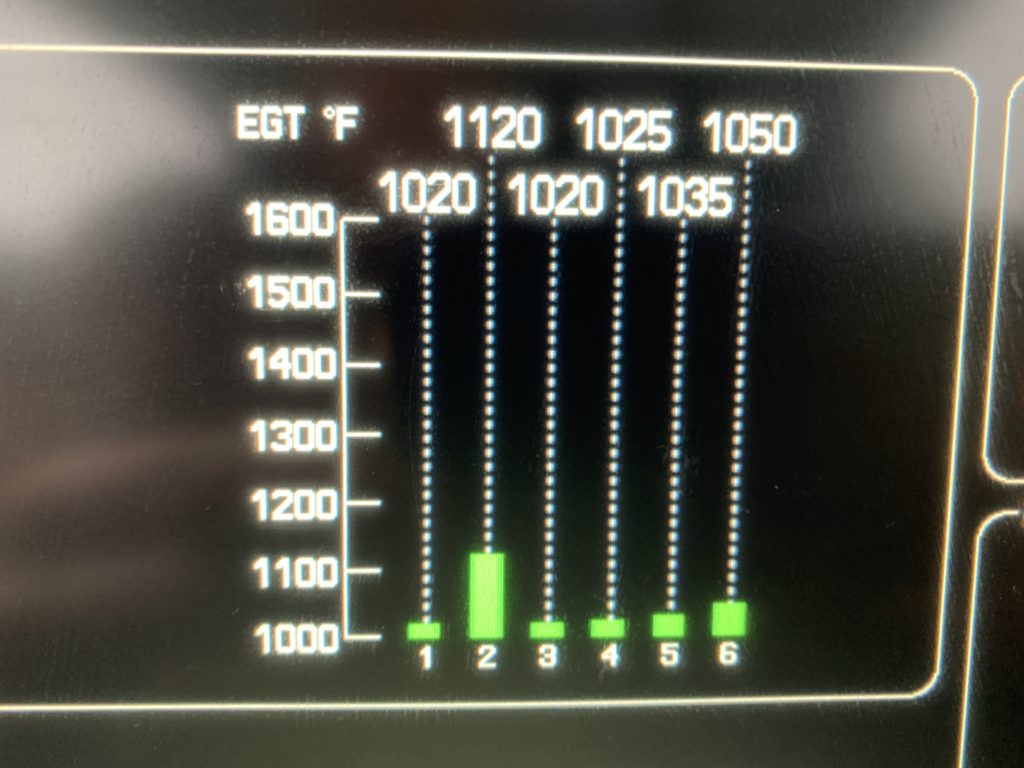
We also talked in this episode about a bad spark plug and how we determined which one was bad, using the engine monitor system in a Cirrus SR22.

The EGT for cylinder #2 was higher than all the others because only one spark plug was firing in that cylinder which caused the exhaust gases to be hotter when they crossed the EGT probe.

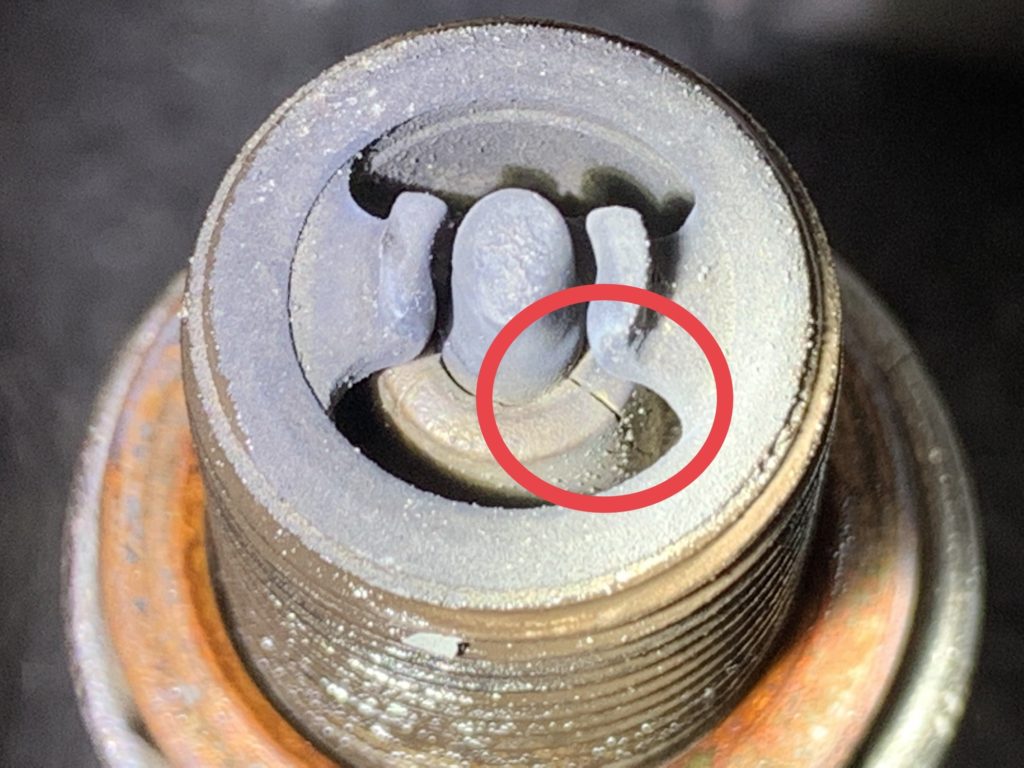
It turned out the spark plug ceramic was cracked and the plug was not working at all: (I verified it using the spark plug tester.) There’s actually another crack on the other side of the ceramic as well.

With some basic training, an engine monitor can be an excellent troubleshooting tool.


Story #3:

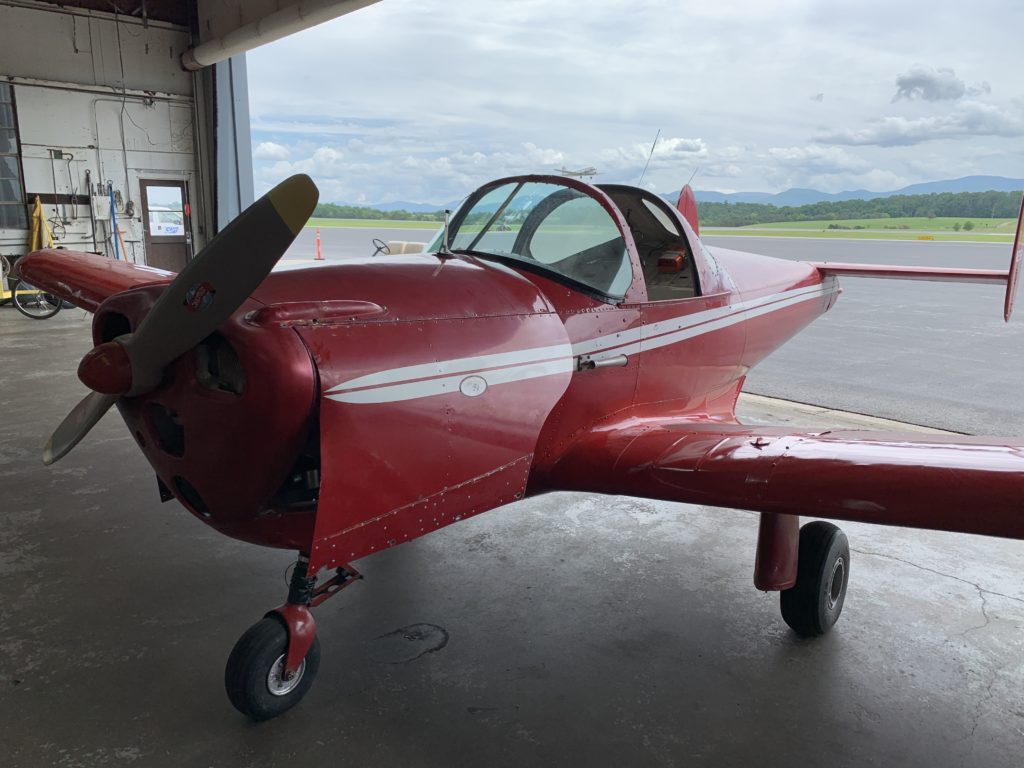
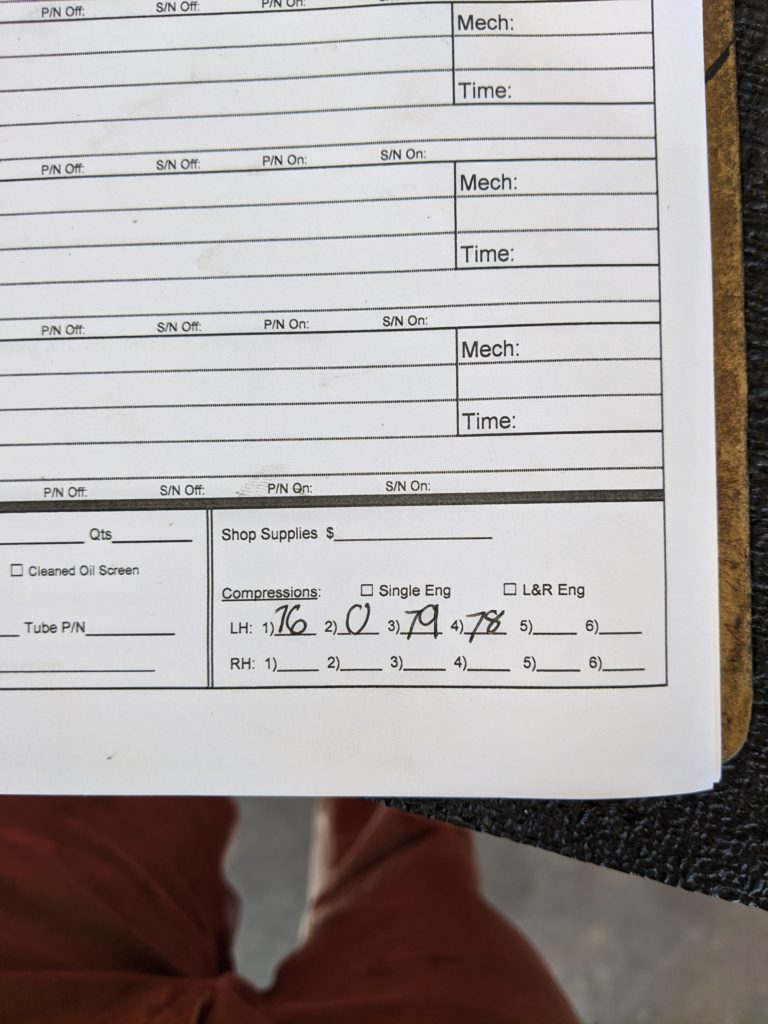
Rough engine in an Ercoupe.

After some troubleshooting, it was discovered that cylinder #2 had no compression due to a stuck exhaust valve.


Other resources mentioned in this episode:

https://airplane-owner-maintenance.teachable.com/p/safetywiring

(Use code “canard” for 20% off on the safety wiring training course until midnight May 31, 2020.)


PilotWorkshop.com

(Be sure to sign up for the free pilot “Tip of the week.”)


142 – Fixing a Stranded Cessna 172XP and Flying it Home

What an adventure!

This airplane got stranded at Wilmington, Delaware due to failure of the #2 cylinder on the Lycoming IO-360 engine.

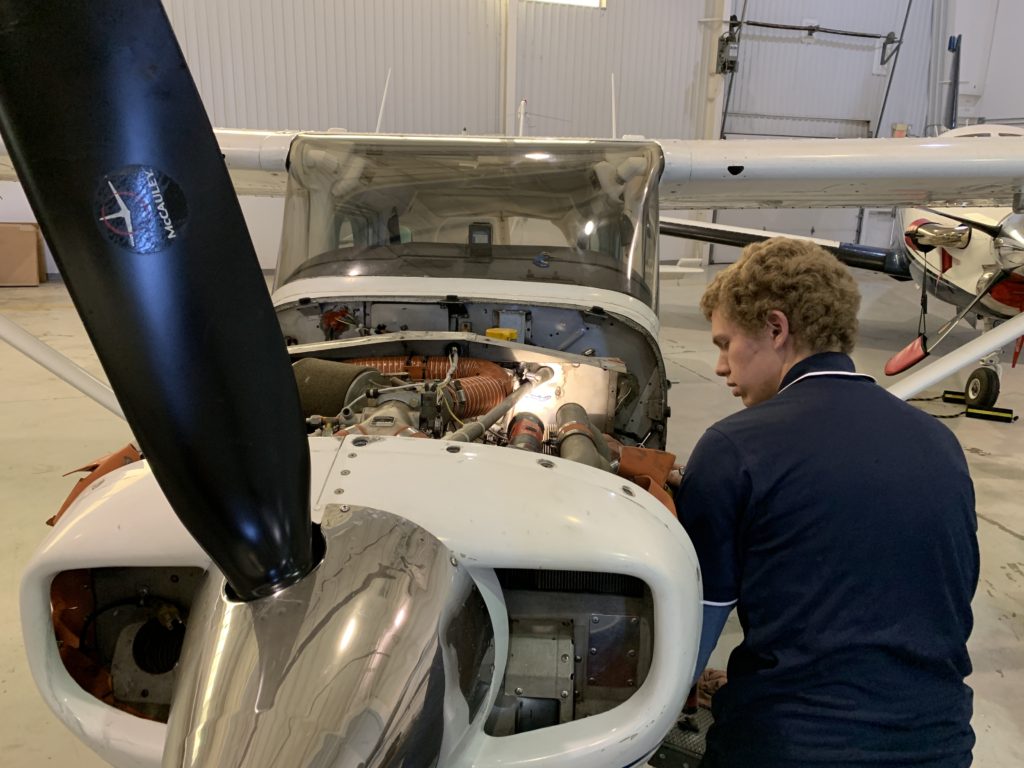
The local maintenance shop discovered the exhaust valve rocker shaft stud had broken… here’s what it looked like:

Obviously, that cylinder was rendered useless… and it caused a significant power loss. Thankfully, the flight instructor and student were able to make an uneventful landing at KILG.

Weeks later, Kenneth and I set out on an adventure to fix the airplane and get it back home.

We left early one morning with a new cylinder assembly and all the parts and tools we anticipated needing for the repair.

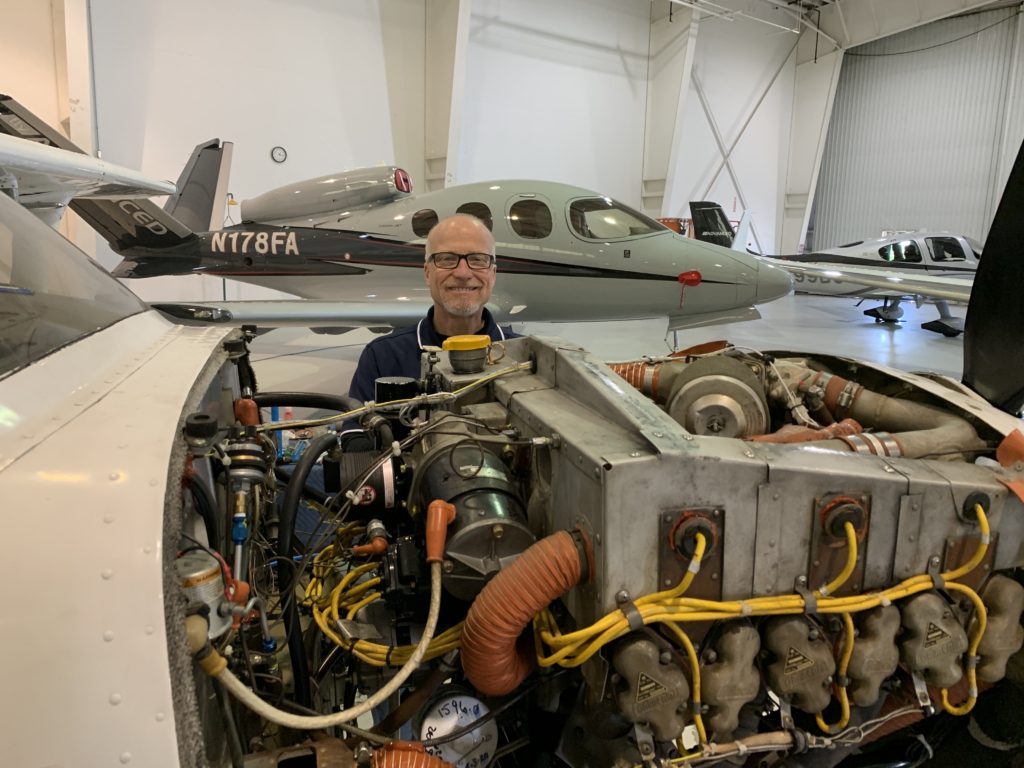
It went as well as could be expected… here’s Kenneth at work in the shop, where we were surrounded by amazing airplanes… a TBM, a Cirrus Vision Jet, and some other bigger jets. The only other piston airplane in this shop was a Piper Warrior.

I wasn’t sure how it would go having two of us working on the same cylinder change, but it went very well.

We took a short lunch break to grab some burgers at Wendy’s, and by mid afternoon, the installation was complete.

We did a short ground run, and then it was time for a brief local flight to make sure things were good for the return to Shenandoah Valley. I’d never done a maintenance test flight at a towered airport, so that was a little different, but actually went very well. The controller was excellent to work with and very helpful, which was much appreciated.

After the short flight, we checked the engine again and everything looked good. Now it was time for the flight home.

Kenneth flew the Mooney we had traveled in that morning, and I flew the Cessna 172XP. Most things went as planned, except for the out of the ordinary situation right before takeoff.

A single engine Cessna landed and told the controller their oil door popped off, and it was on the runway. So we had to wait for a maintenance truck to come out and retrieve the oil door off the runway before we could take off. I didn’t see that one coming!

The trip home went very well… I flew VFR, so I was thankful I had noticed the night before that I could fly slightly around the North side of the BWI, IAD, and Washington, DC area, and stay clear of those areas.

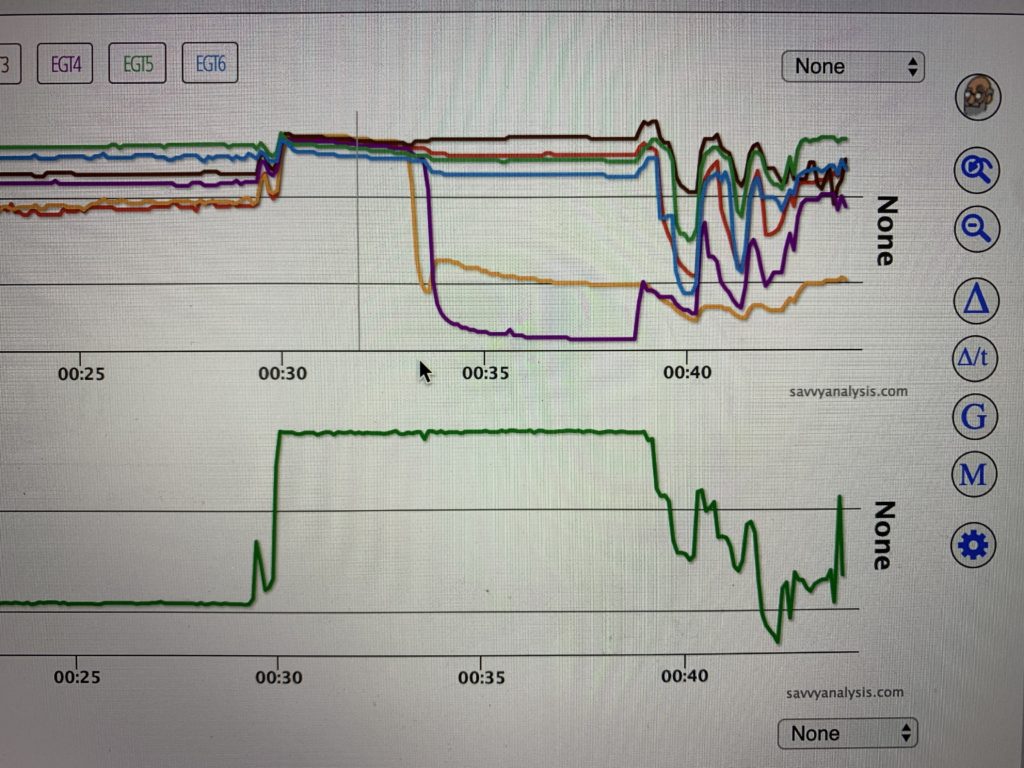
This airplane has a JPI engine monitor, and I later downloaded the data and saw exactly where the cylinder failure had occurred. Take a look:

I just wish the sample rate had been set to 1 second, instead of 6 seconds, but it’s better than nothing for sure. The upper graph is the EGT, and the yellow line is cylinder #2, the one that failed. What I haven’t fully figured out yet, is why the purple (#4) dropped off so dramatically right after that. I’m thinking that happened since it was right next to #2, but I need to ask an engine data expert about that. Maybe I’ll check with Joe Godfrey with Savvy Analysis.

(The bottom graph is engine RPM.) There’s so much more information in the profile that is not shown here.

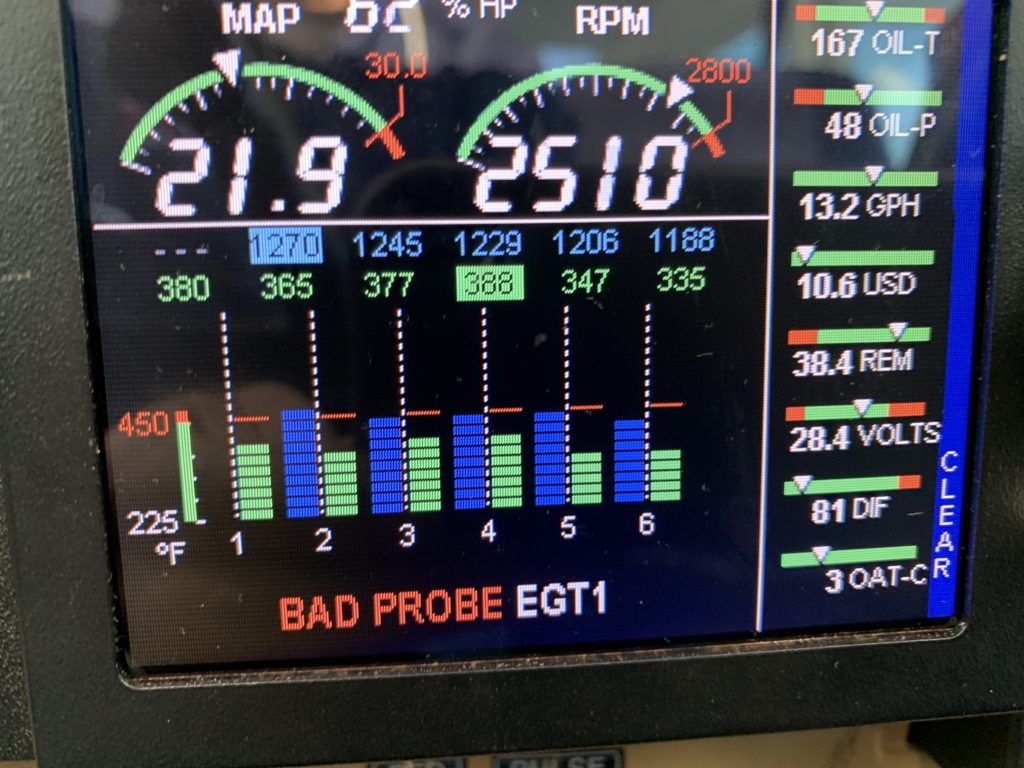
One more thing… I was very thankful that when I got an error message on the way home, it was for cylinder #1 and not #2, the one we had just fixed. Here’s a shot of the engine monitor on the trip home:

It later turned out that one of the probe wires for #2 was loose… an easy fix.

All in all, it was a great adventure, and I’m thankful for the opportunity to help rescue a stranded airplane. It’s a wonderful thing to fly an airplane you’ve returned to airworthy condition!

Here’s a screen shot of my trip home… a little squiggly, but I figure it’s not bad for the given circumstances!