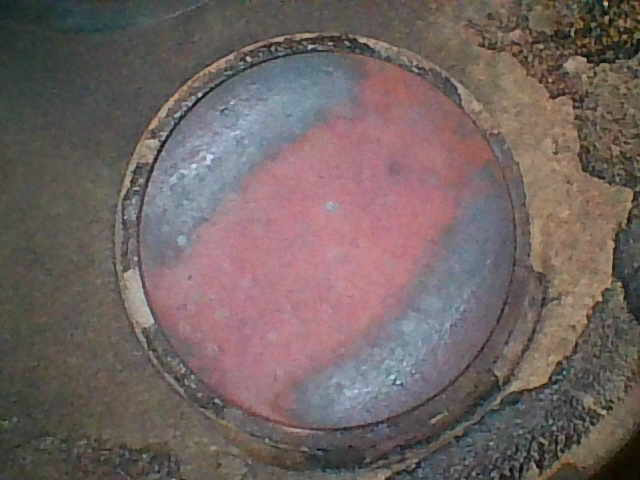
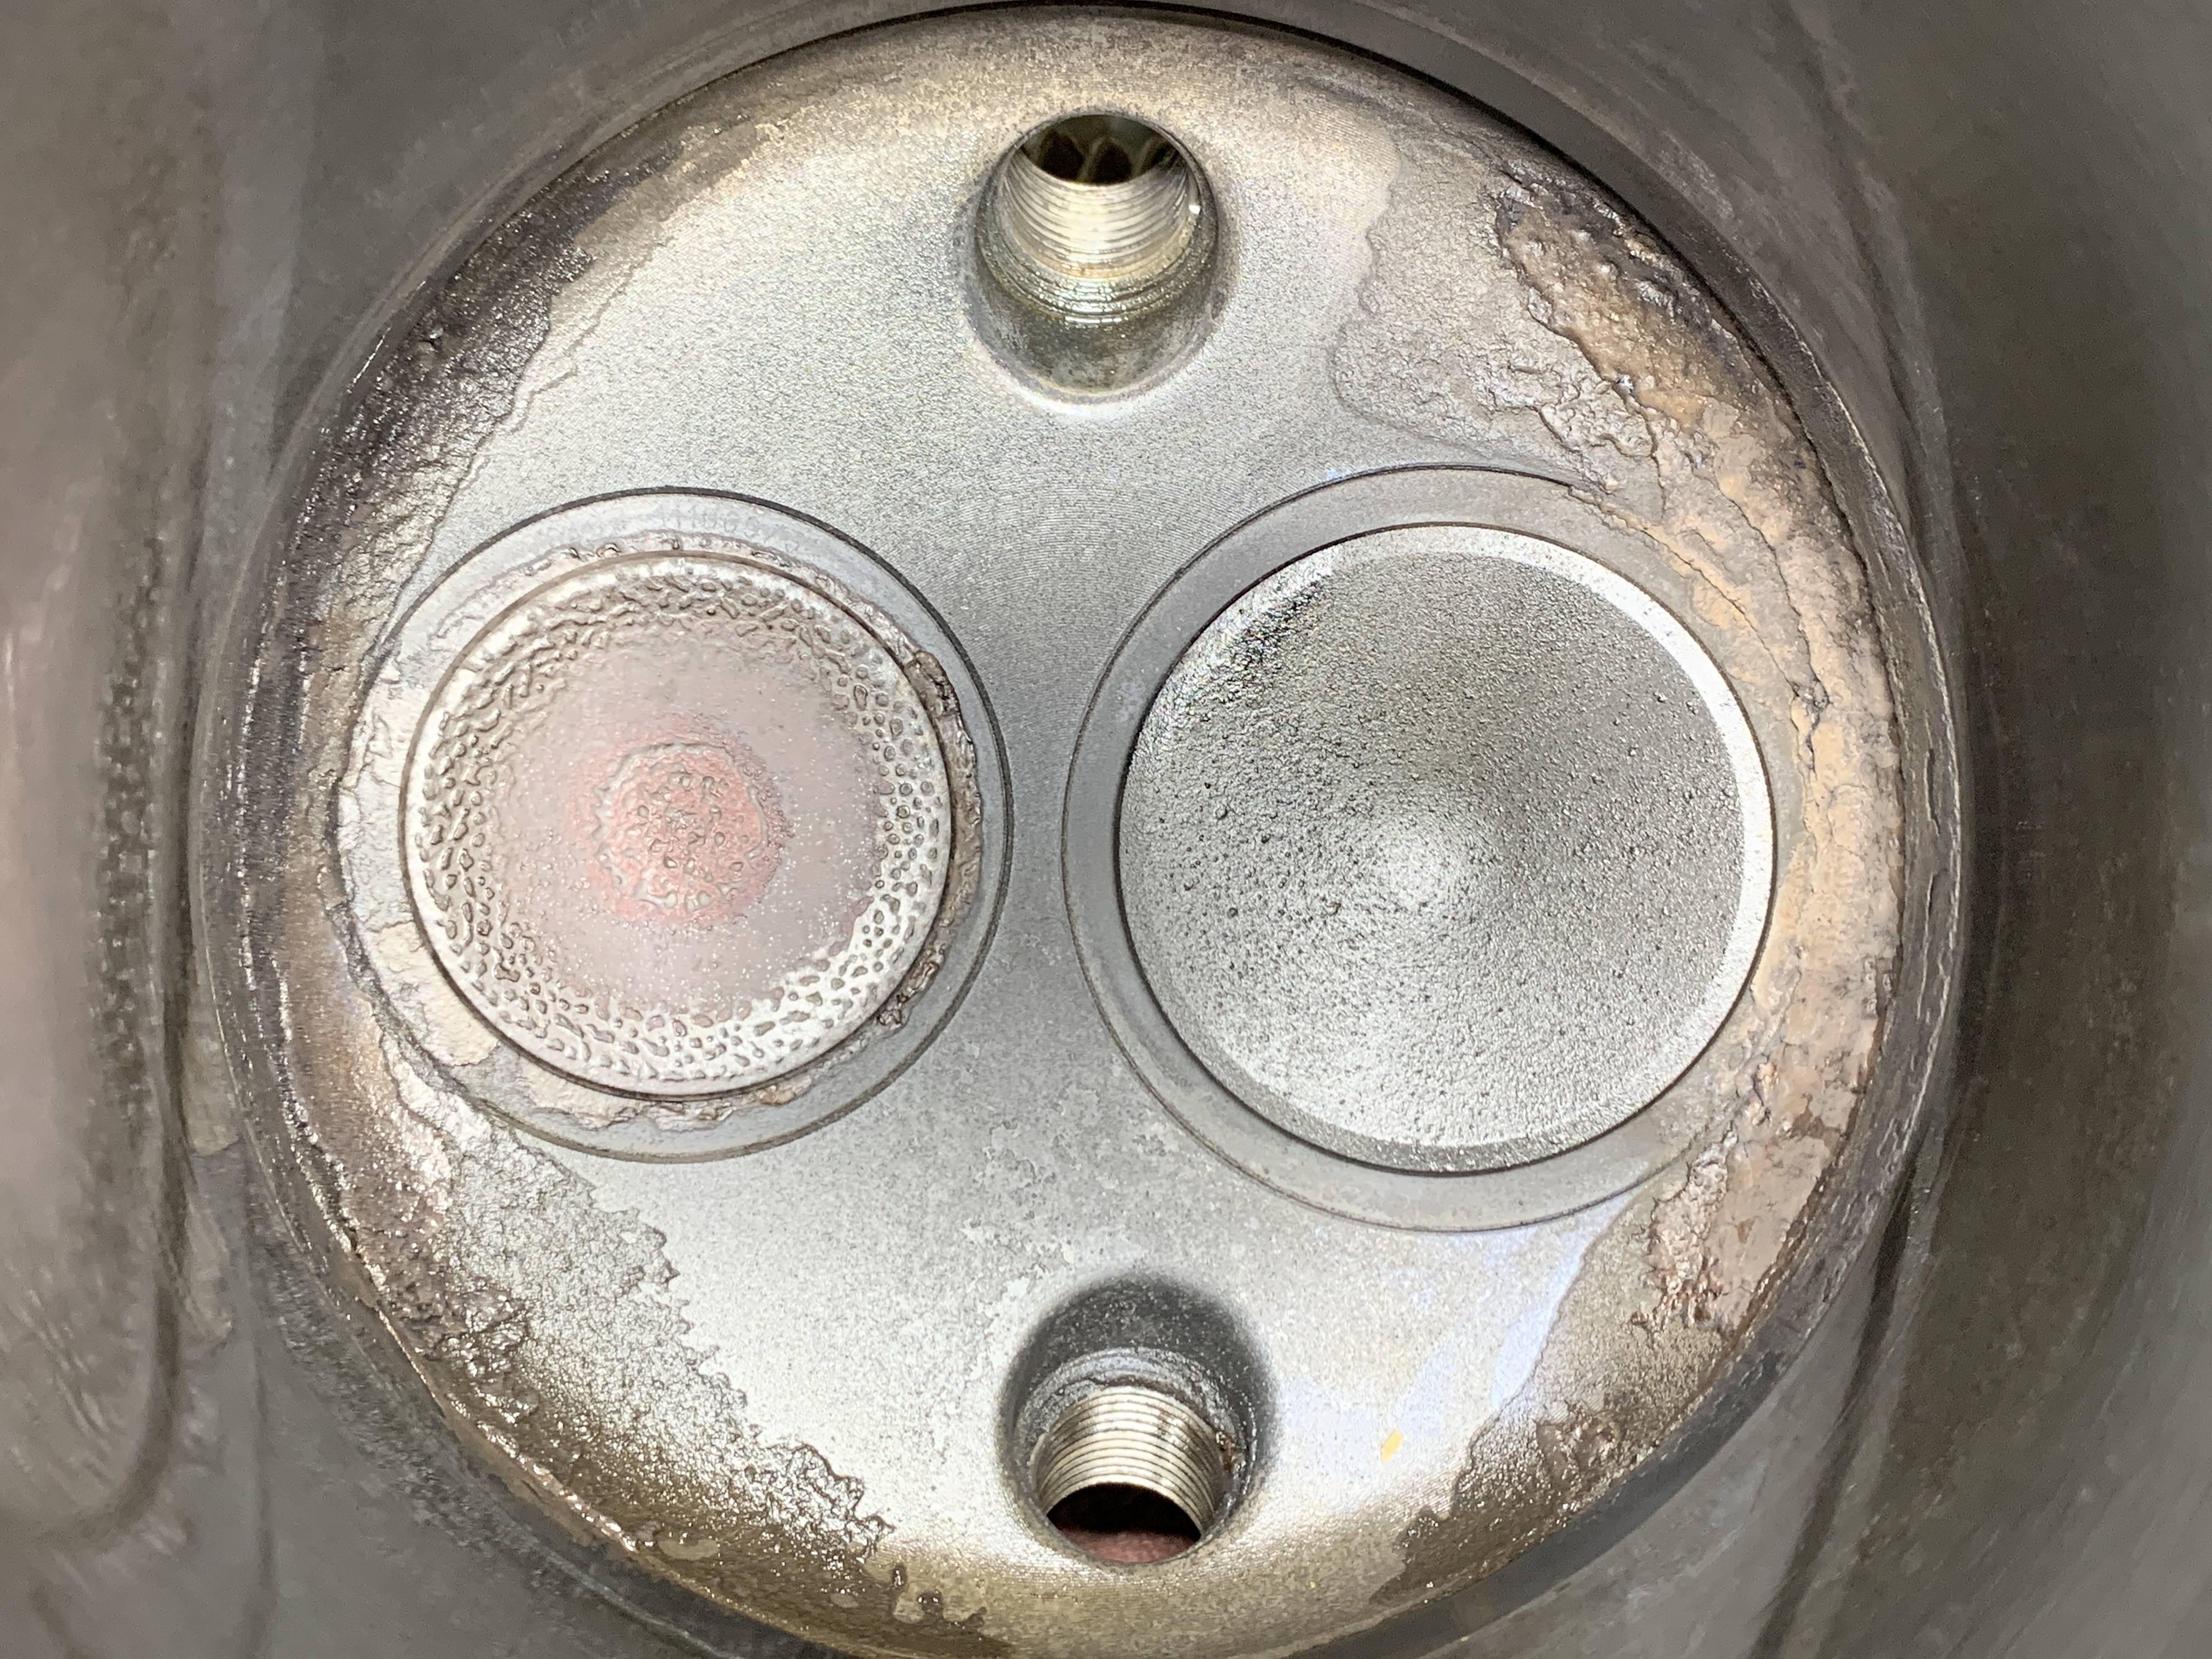
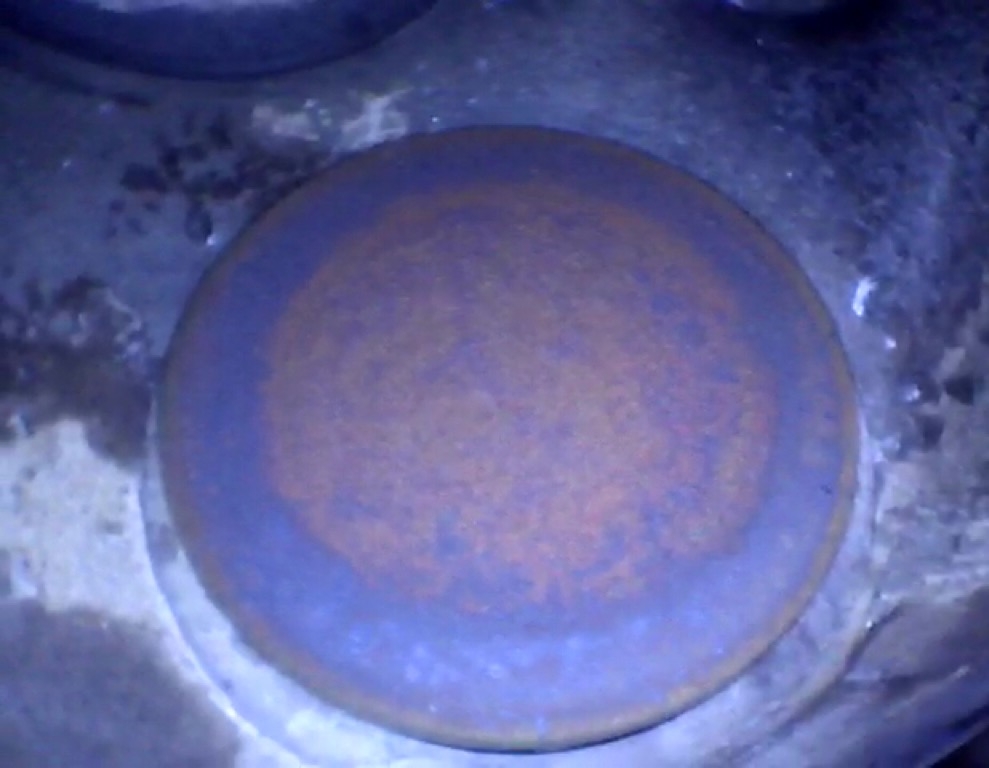
This exhaust valve in a turbo-normalized A36 Bonanza looks quite good. The appearance is mostly concentric and uniform. There’s just that one area at about the 10 to 11 o’clock position that looks slightly uneven.
If the compression test had been good, I likely would not have lapped the valve.
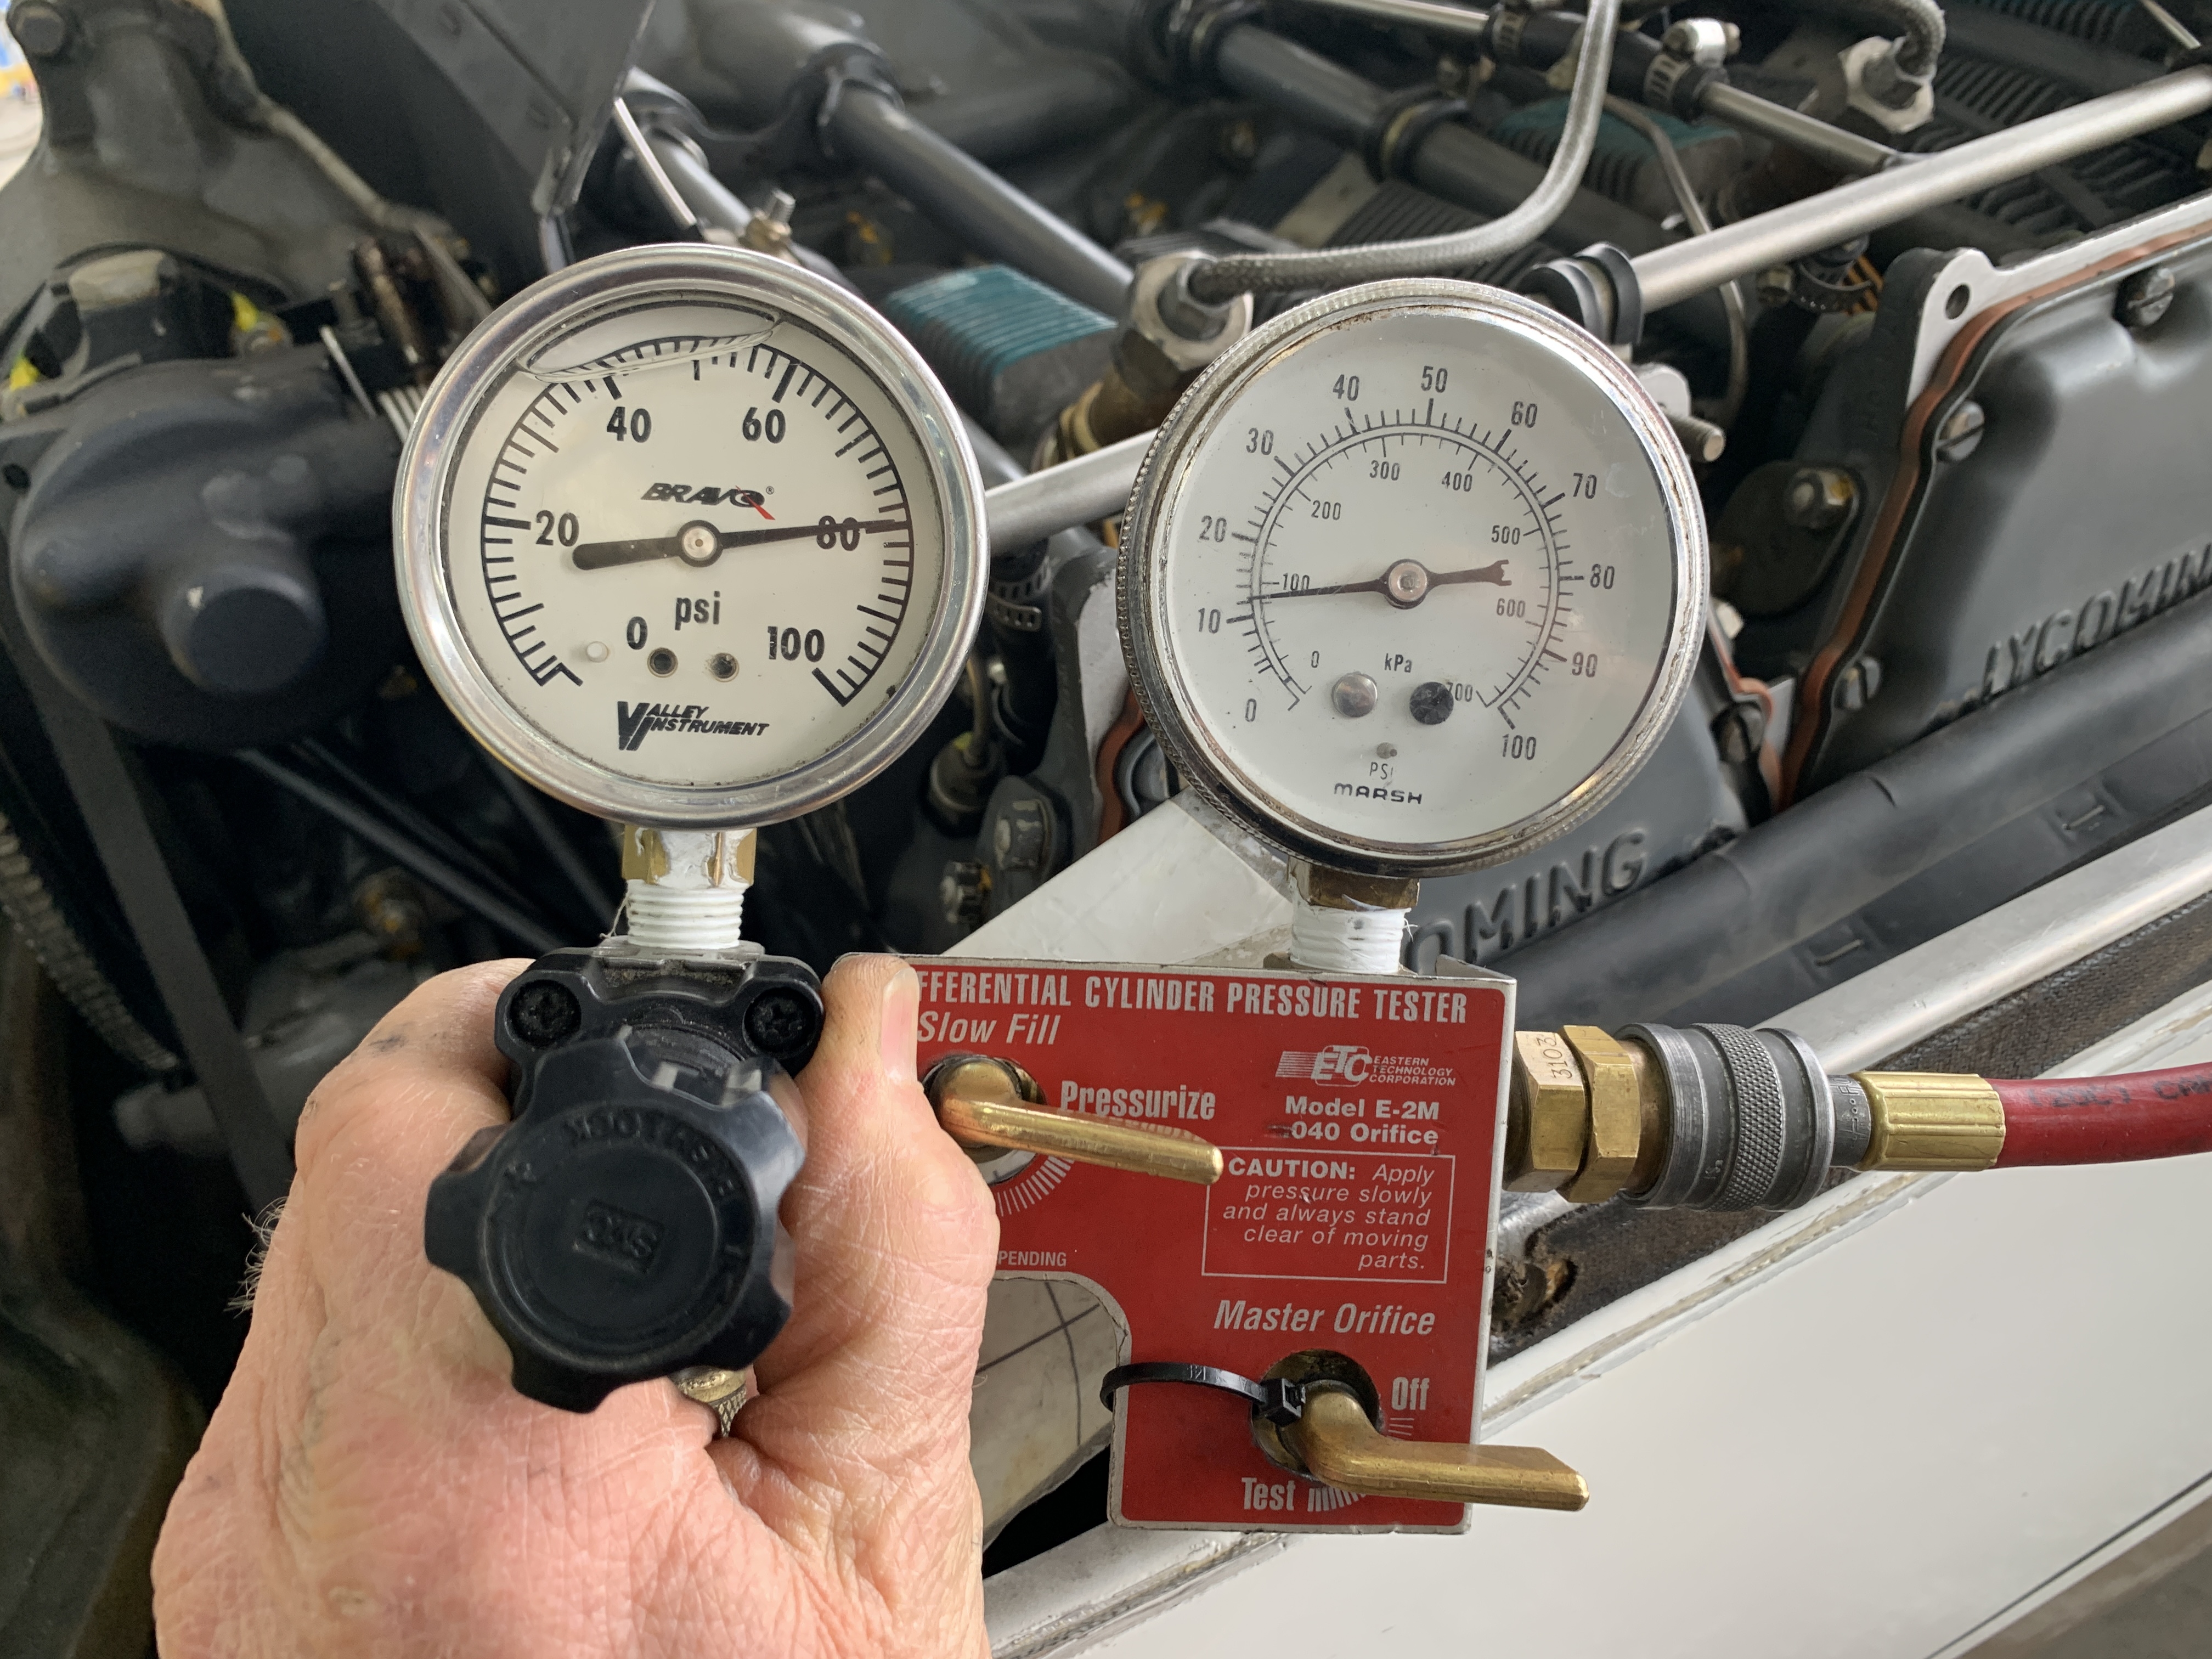
But since it was 44/80 when the required minimum was 46/80 according to the master orifice reading, I lapped the valve in place, installed a new rotocoil and new valve springs, and put it back together.
Amazingly, after doing this work, I got a good solid cold compression of 65/80!
I’ve found that lapping the exhaust valve and restoring a good seal between the edge of the valve and the seat is the most effective way to improve a low compression number, as long as everything else looks good in the cylinder.
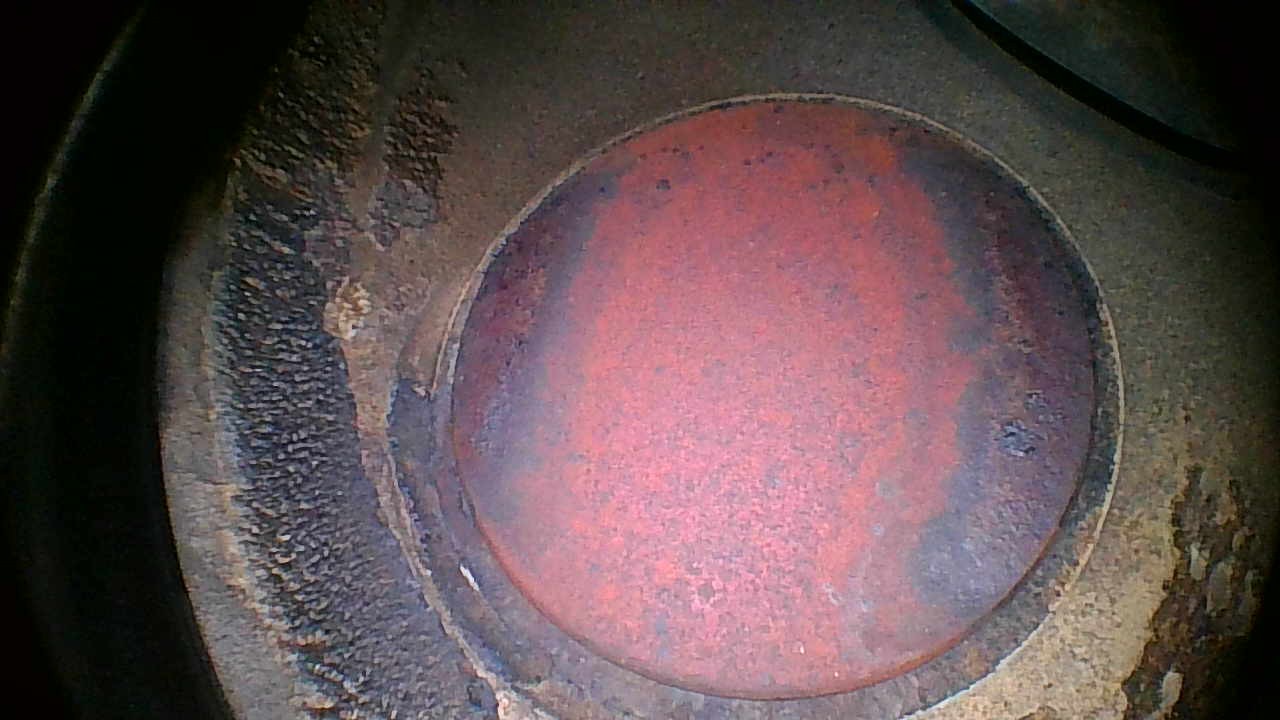
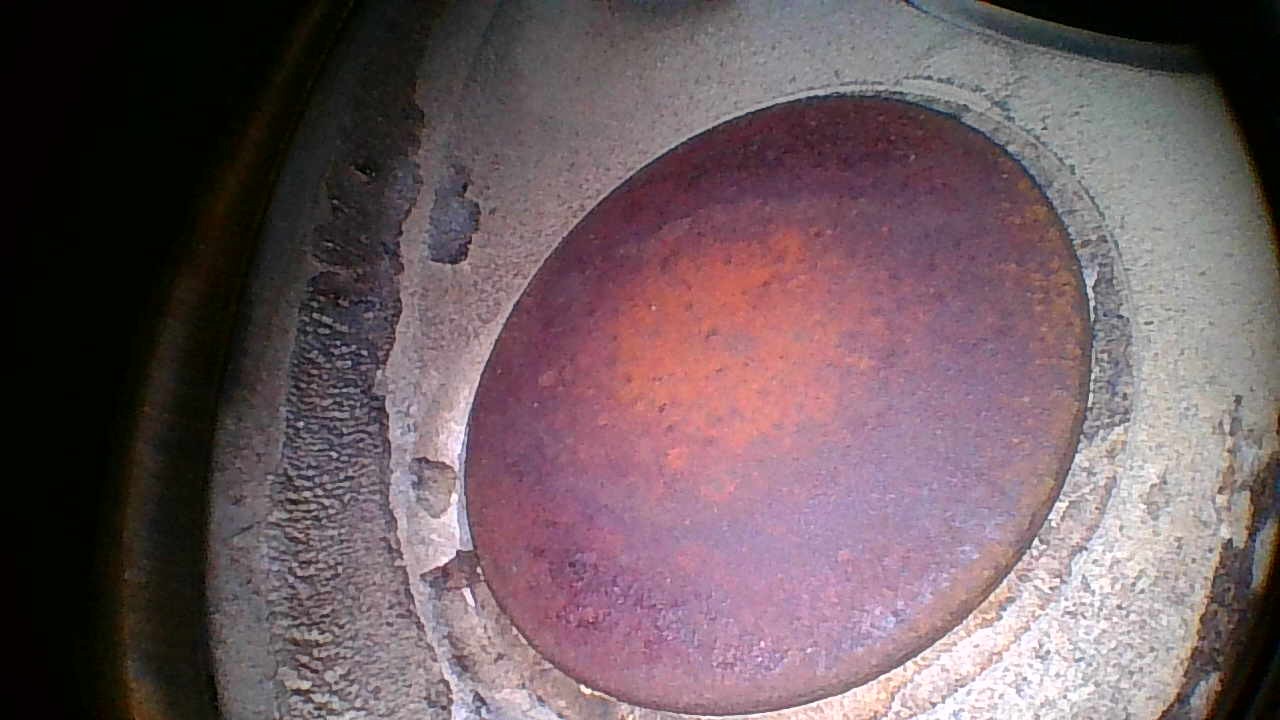
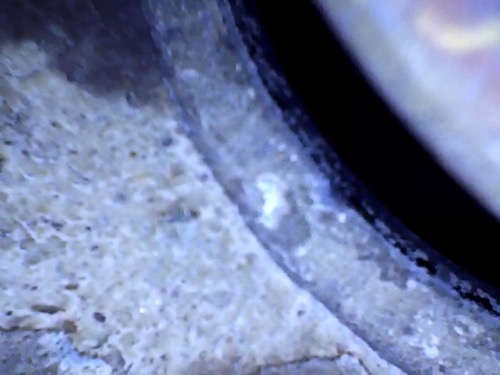
Here are some additional photos of the seat area before lapping:
You can listen to the full story in the audio for this episode.
I’ve also included some email feedback from the last episode, including a story about an airplane that made a precautionary landing in a field!
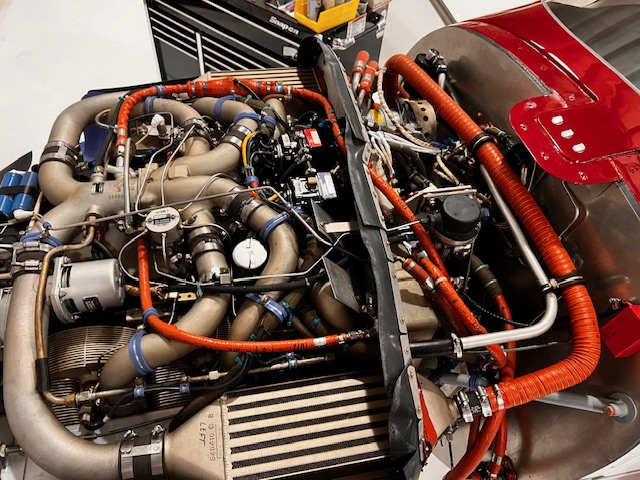
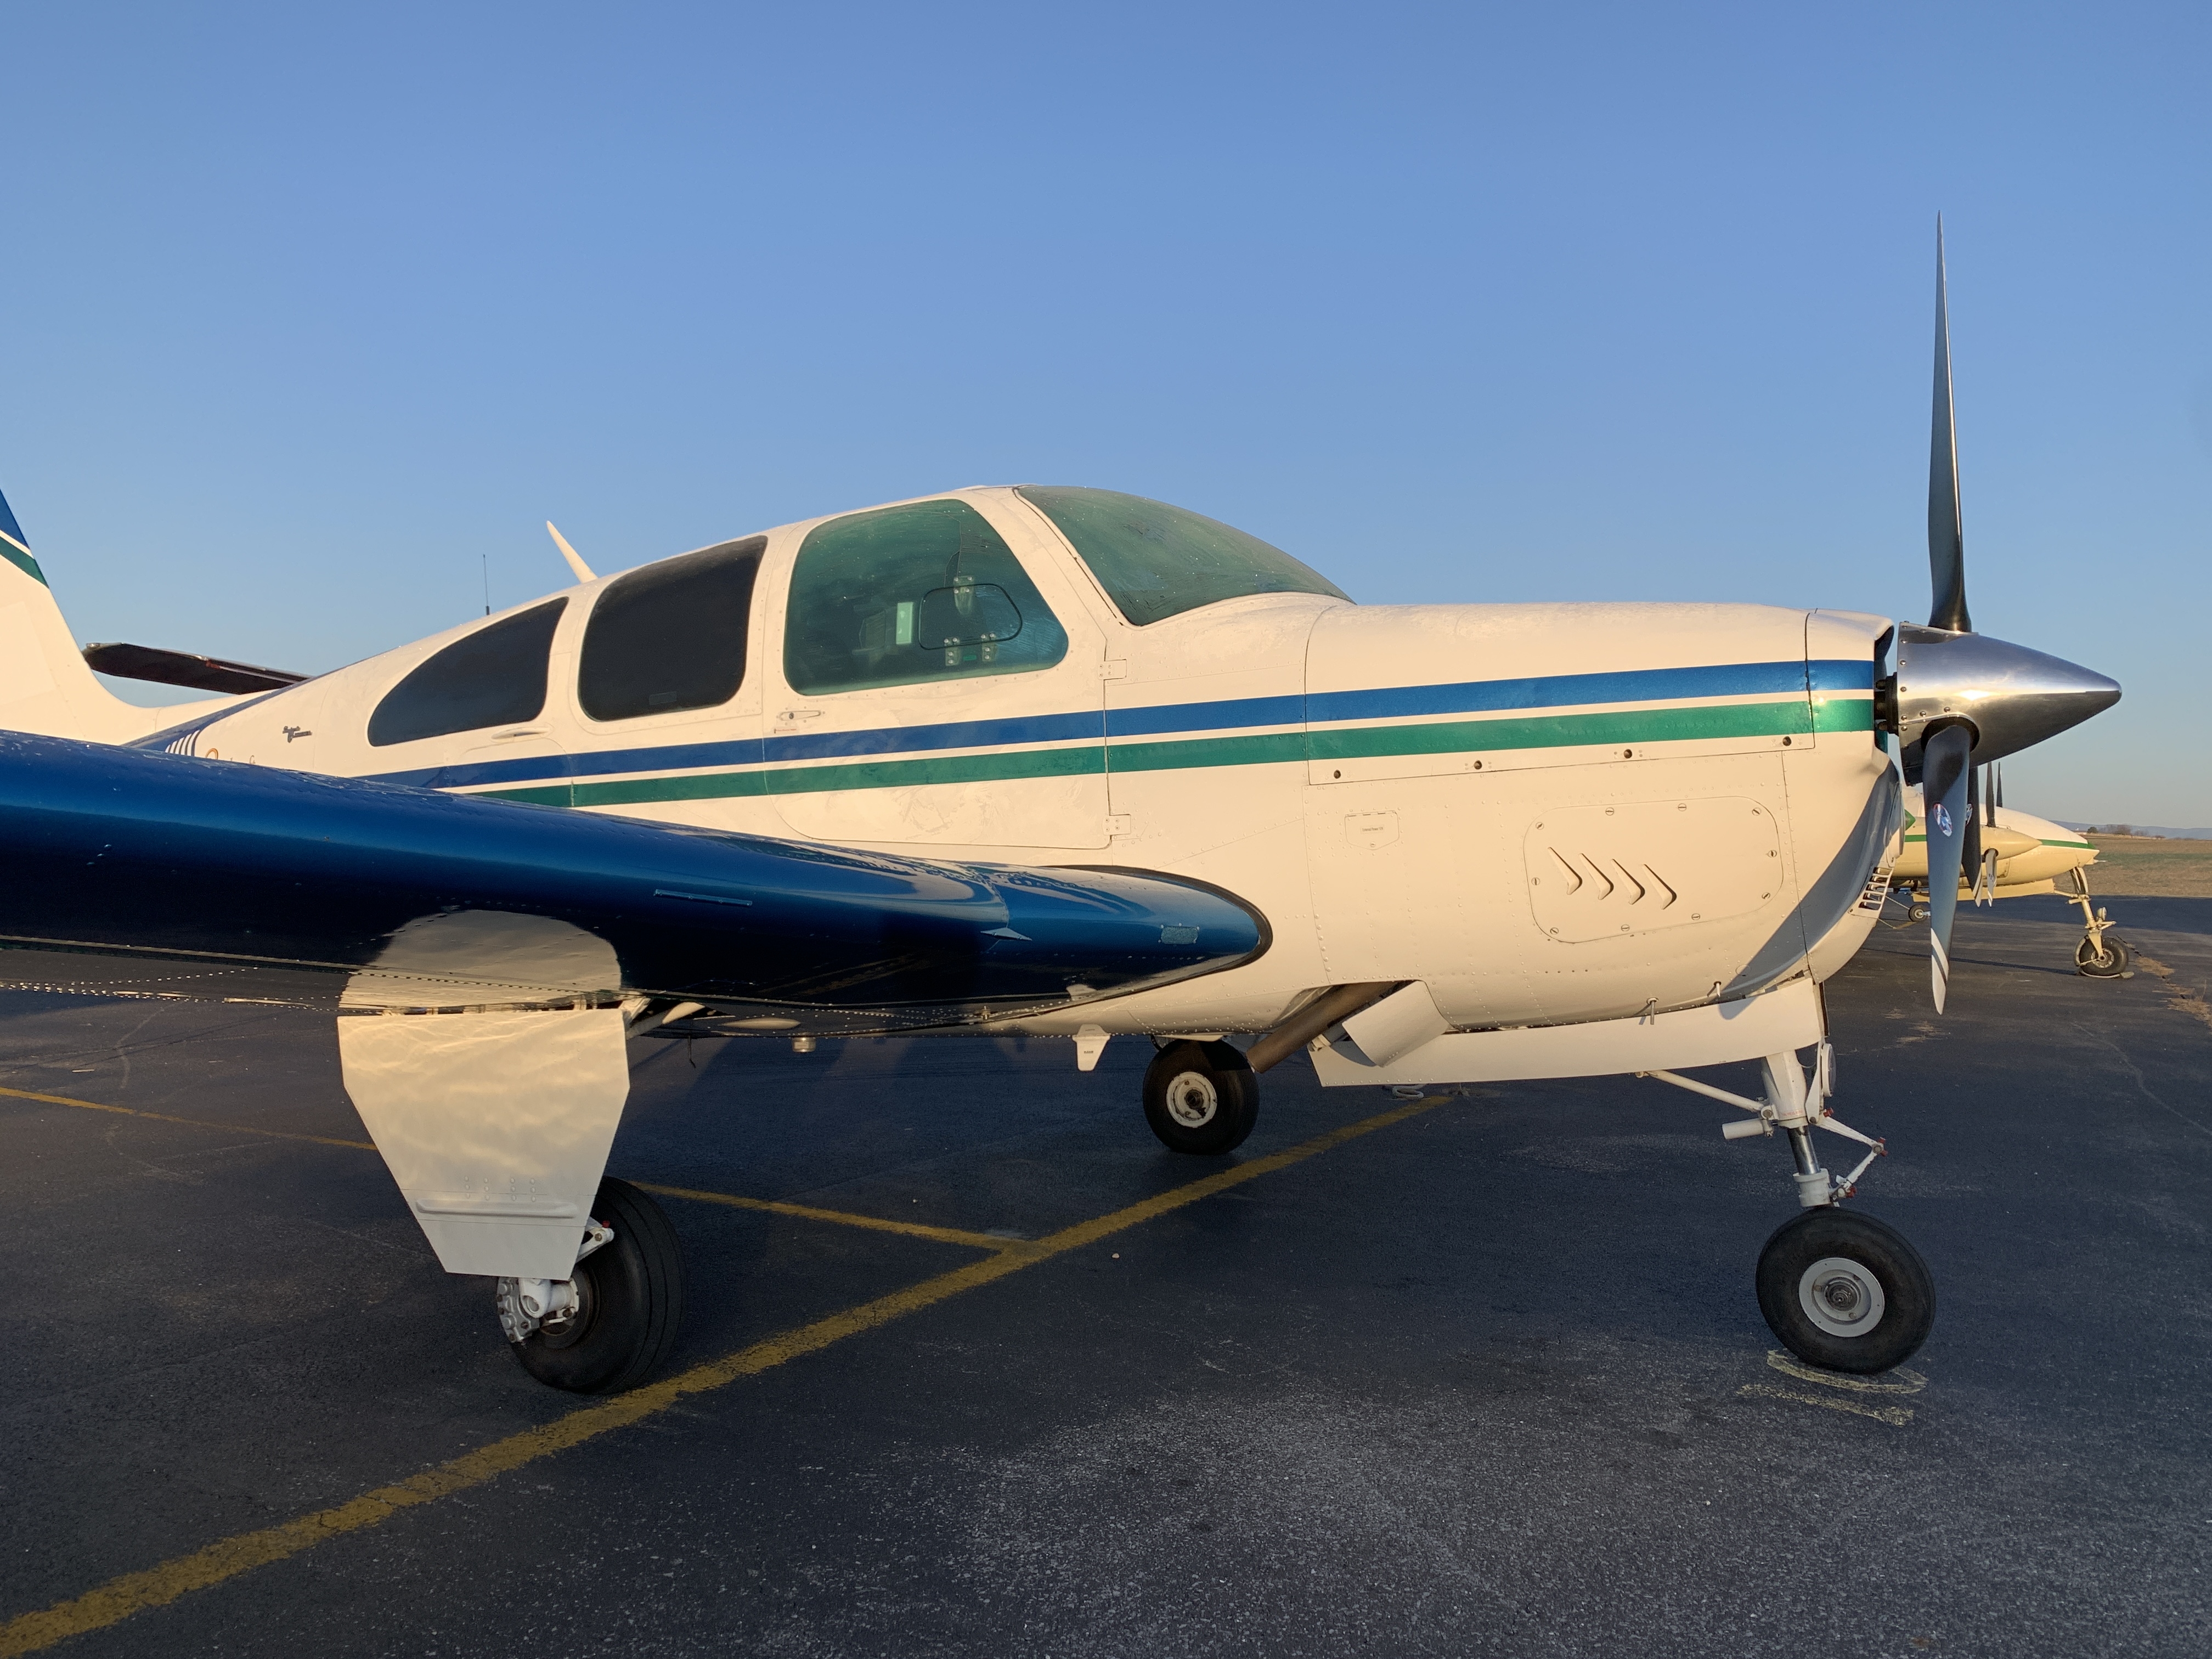
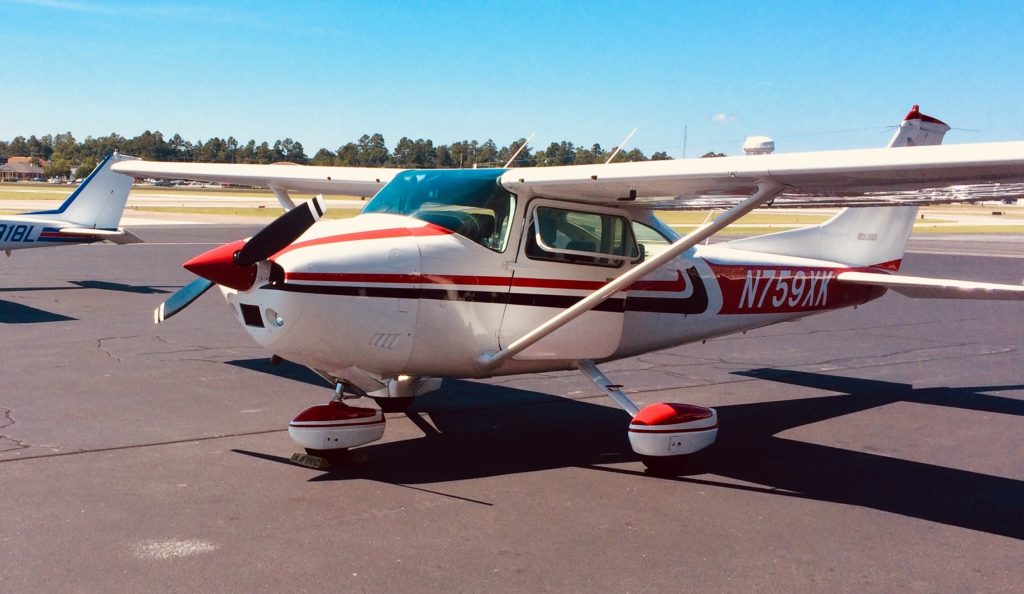
Here’s a totally separate photo of that same airplane from one of its scenic flights:
Thanks Justin, for agreeing to let me share your amazing story of landing this airplane in a field!
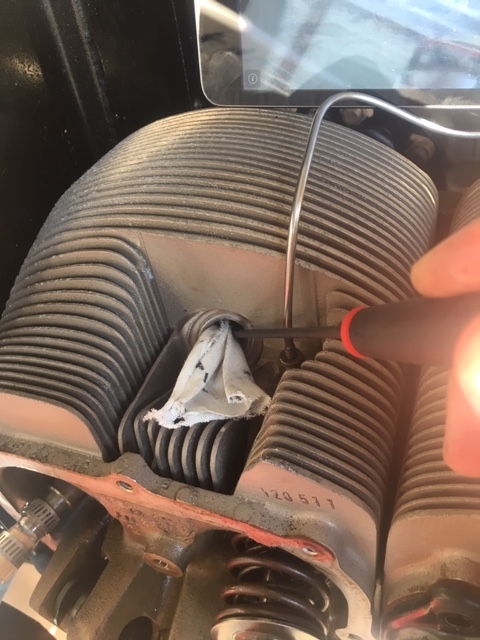
Bennett contacted me awhile back to see if I could lap an exhaust valve for him.
The #4 exhaust valve showed a very uneven appearance when viewed with his borescope.
Bennett flew in to KSHD one morning and we got started.
Before lapping, we checked the cylinder compression and it was 29/80… not good.
Here’s what the valve looked like:
We got to work and lapped the valve.
When we were happy with the progress, we reinstalled the exhaust valve in the valve guide and installed new valve springs and a new rotocoil, to help ensure the valve would rotate properly and provide the best possibility for a good seal between the valve and the seat.
After running the engine, we rechecked the compression, and were very pleased… it was 74/80!
Amazing!
But there’s more…
Several weeks later, Bennett emailed me, and here’s what he said:
“Dean, I am so excited I am emailing from my hangar… Looks like lapping worked great! After one flight down to Florida and back… about 3.5 hours each way, the #4 exhaust valve looks vastly improved. See before and after pics attached. Much thanks!”
And here are the before and after photos he sent:
BEFORE:
AFTER: (and keep in mind the following photo was after only about 7 hours of engine operation.)
I’m confident this exhaust valve has been rescued, and will quite possibly run normally for many more hours.
It’s always nice when we can solve these valve problems with “laparoscopic surgery” (lapping a valve in place) instead of “major surgery” (removing a cylinder.)
There’s more to this story, but I’m not going to type it out here… you can listen to the audio for this podcast and hear about the magneto issues we solved on Bennett’s engine as well.
(The magnetos on Bennett’s engine are challenging to work on due to their location and all the stuff around them, but with some persistence, it’s doable.)
Thanks Bennett, for flying down to SHD.
It was nice meeting you and working with you!
The post, “251 – Bennett’s Exhaust Valve Rescue on his Cessna TTx” appeared first at AirplaneOwnerMaintenance.com
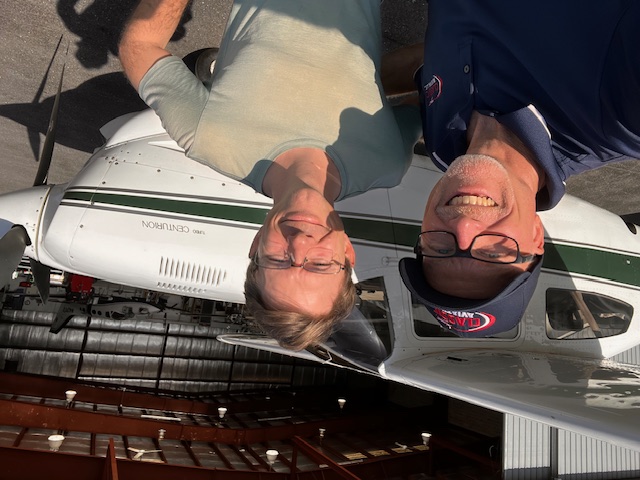
Last Monday, I lapped the #5 exhaust valve on a Continental engine.
But more importantly, I met the owner / pilot of a Turbo Centurion, and now I’m happy to call him a good friend!
Thanks for flying all the way up here Mark!
Here’s the story:
Mark had been a little concerned about the #5 exhaust valve, not because he was having any particular trouble with it, but because the borescope photo showed a slightly irregular appearance.
And being proactive, Mark decided to do some research.
That’s when he found me, and some of the information I’ve published to help airplane owners understand borescoping, exhaust valve lapping, and other useful pieces of information you often won’t find in the “maintenance manual.”
Mark’s local shop had indicated it would be a good idea to keep an eye on the #5 exhaust valve, and if it continued to be a problem, the cylinder may need to be removed for a repair or replacement.
Some years ago, I would have had similar thoughts.
But not today.
In the past 5 years, I’ve rescued many cylinders from premature removal, especially on large bore Continentals… and I was hopeful we could remedy Mark’s situation as well.
Instead of removing cylinders in situations where the exhaust valve is showing beginning signs of burning, or the compression is dropping into the 50’s and 40’s and below, I now consider the first option of LAPPING THE EXHAUST VALVE WITHOUT REMOVING THE CYLINDER, AND INSTALLING A NEW ROTOCOIL.
Mark was interested to learn about this process, so we agreed on a plan for him to fly his airplane from North Carolina to the Shenandoah Valley of Virginia for some not-so-invasive surgery on his airplane engine.
Soon after Mark landed, we rolled his Cessna T210 in the shop and got to work.
I won’t bore you in this post with all the details, but we lapped the exhaust valve and were both pleased with the progress along the way and with the end result.
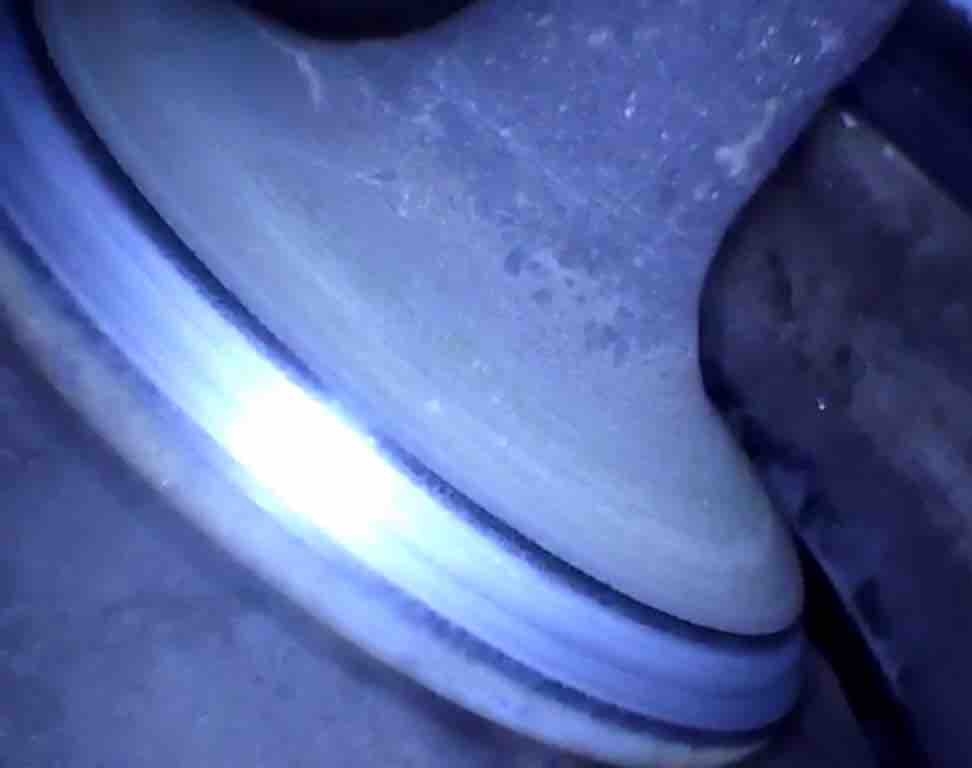
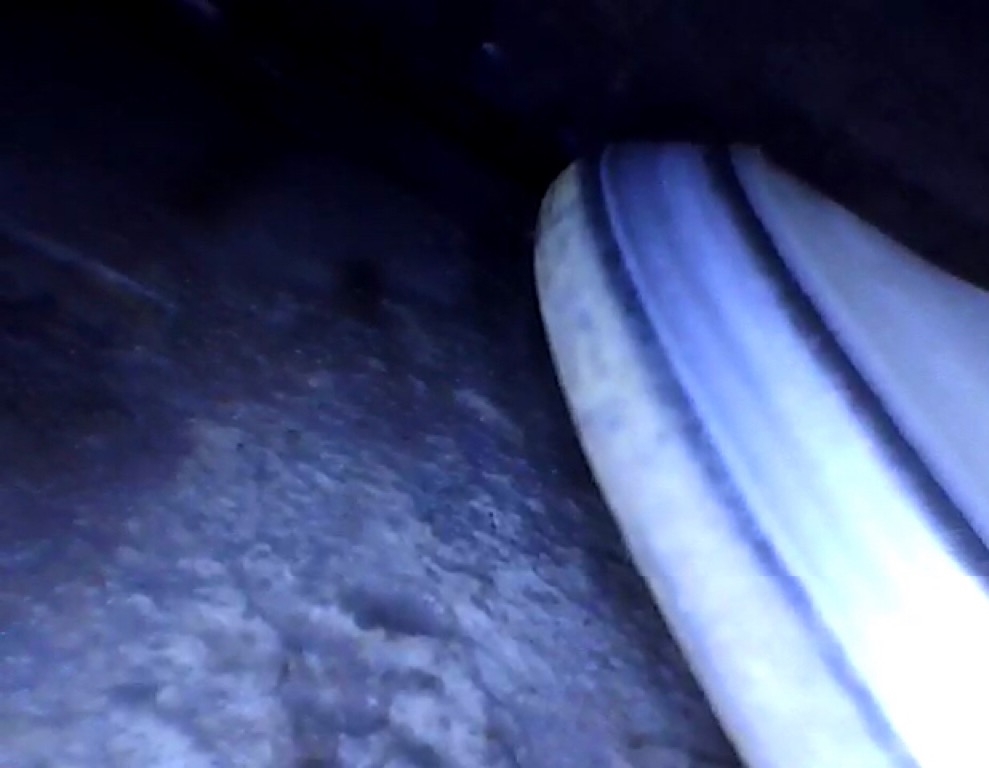
Take a look at some photos showing the lapping compound at work, and the nice, shiny sealing band that’s developing on the edge of the valve.
An excellent sealing surface, along with a new rotocoil on the valve, will help to ensure it rotates properly during operation, thus minimizing the chances for a burning exhaust valve which will shorten it’s lifespan if not remedied.
When the process was completed, we flushed the lapping compound out the bottom spark plug hole and sprayed some LPS-2 in the top spark plug hole and dispersed it with compressed air in an attempt to keep the cylinder wall lubricated during startup, after which the engine lubrication system would take over and do its job.
During reassembly, we installed a new rotocoil P/N 629117-1 on the exhaust valve and reassembled all the parts that had been removed.
You may ask, “Why do we need to install a new rotocoil?”
Great question.
And to answer the question, some photos will help.
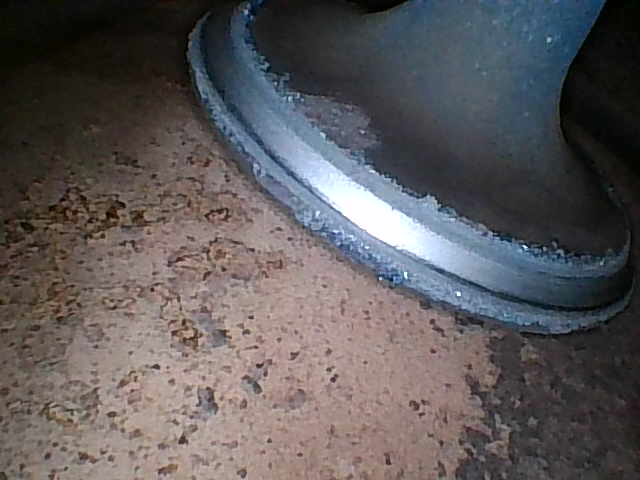
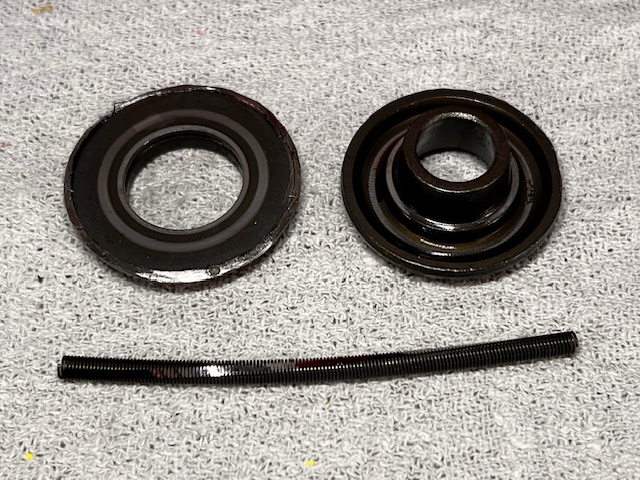
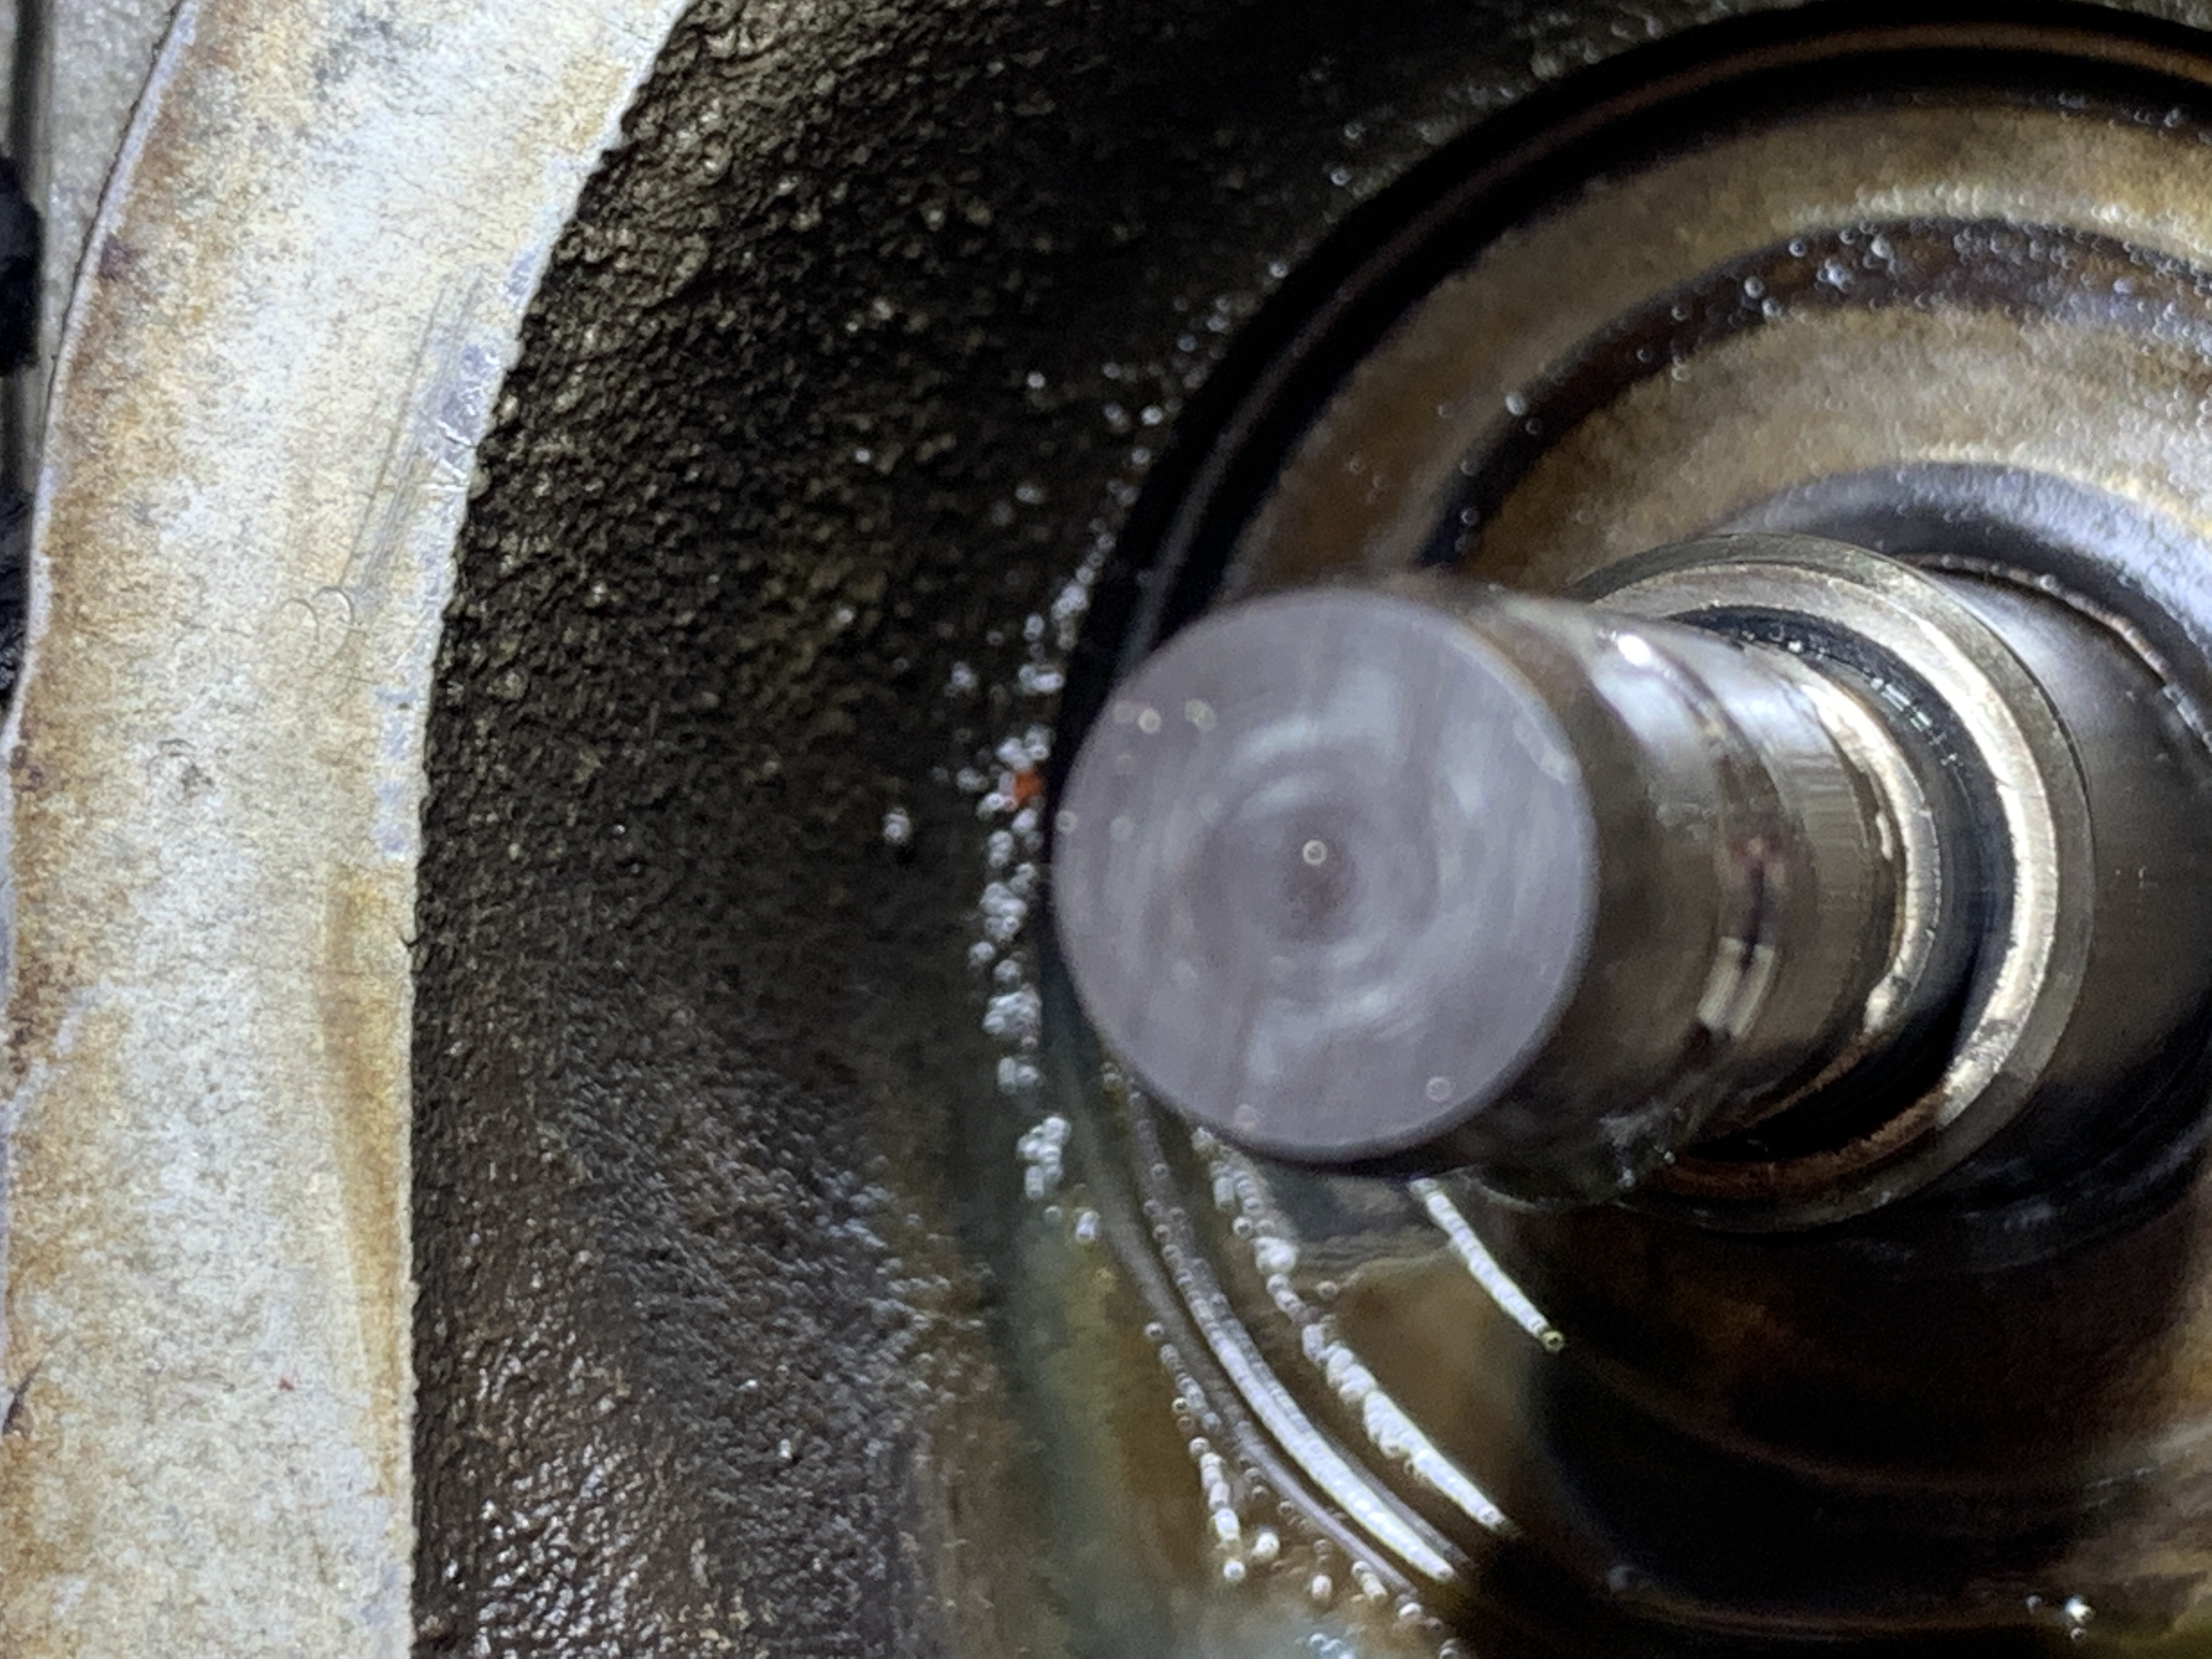
When you cut a rotocoil apart, here’s what you’ll find: two halves, a special washer, and a long spring laying on its side.
Every time the valve stem is pressed down by the rocker arm, the rotocoil makes the valve rotate just a little. This action helps prevent hot spots on the edge of the valve, and keeps the sealing surface in tact between the valve and the valve seat.
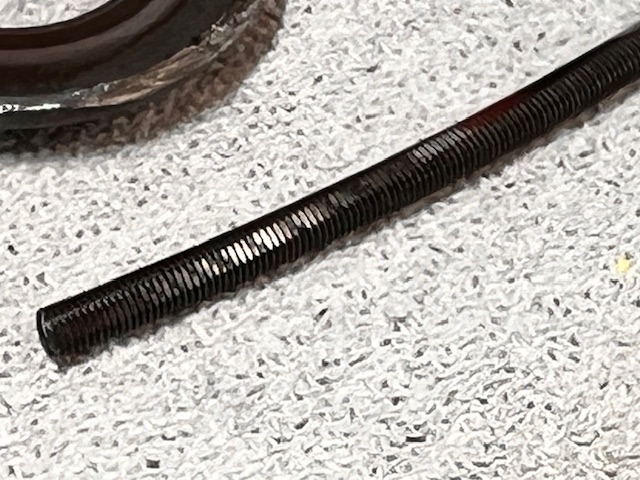
Over time, the spring gets a flat spot on it which decreases its ability to make the valve rotate.
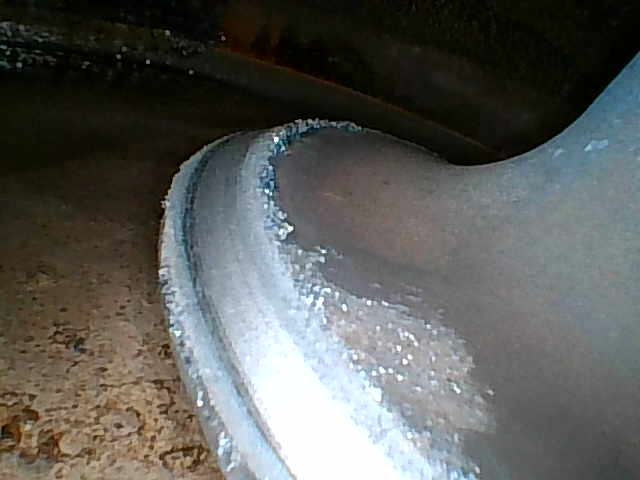
Here’s a close-up photo of the flat spot on the spring:
Eventually, the spring can break into many pieces if the coils get too thin at the flat spot.
For this reason, and because rotocoils are very reasonably priced, I always install a new rotocoil when I lap a Continental exhaust valve.
We completed the project, Mark ran the engine, and we re-checked the compression. It was excellent at 75/80, a stellar number!
I’ve had very dramatic improvements in compression numbers after lapping valves (like from the 30’s or 40’s to the 60’s and 70’s.) This time was not as dramatic as Mark’s #5 compression was 71/80 before lapping. But it was still very worthwhile doing in order to prevent any further irregularity in the sealing capability and appearance of the valve.
Mark was being very proactive and planning ahead, and I applaud that!
Sometimes people let these valves go too far, and then there’s no choice but to remove the cylinder.
But if caught early, most exhaust valves can be saved from further burning.
Mark, it was great to work with you, and although I don’t wish for you to have any airplane troubles, I do hope we can work together on your airplane again sometime soon!
I inspected another A36 Bonanza recently, and one of the cylinder compressions was too low… lower than the minimum prescribed by Continental using the master orifice tool.
I had two options:
Option One: Remove the cylinder for repair or replacement.
Option Two: Make the exhaust valve seal better and improve the compression result in hopes of saving the cylinder from premature amputation.
I chose Option Two.
It was at least worth a try…
… and the result was stunning!
After lapping the valve in place and installing a new rotocoil, I ran the engine again and rechecked the compression.
It was 75/80!
The lowest cylinder on the engine was now the highest cylinder.
I also lapped the exhaust valve in cylinder #2, and that one improved from 49/80 to 63/80.
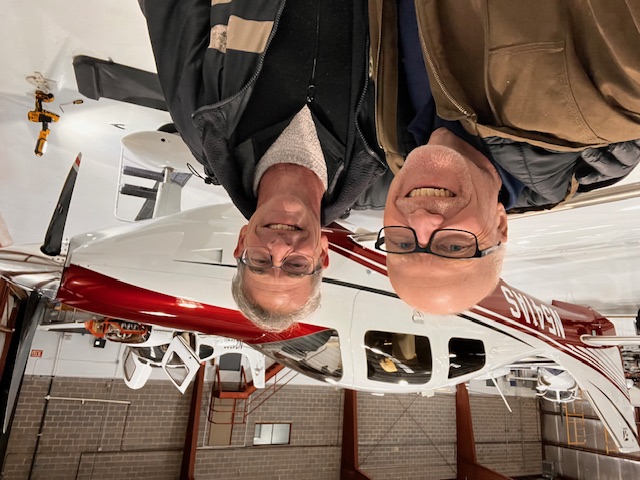
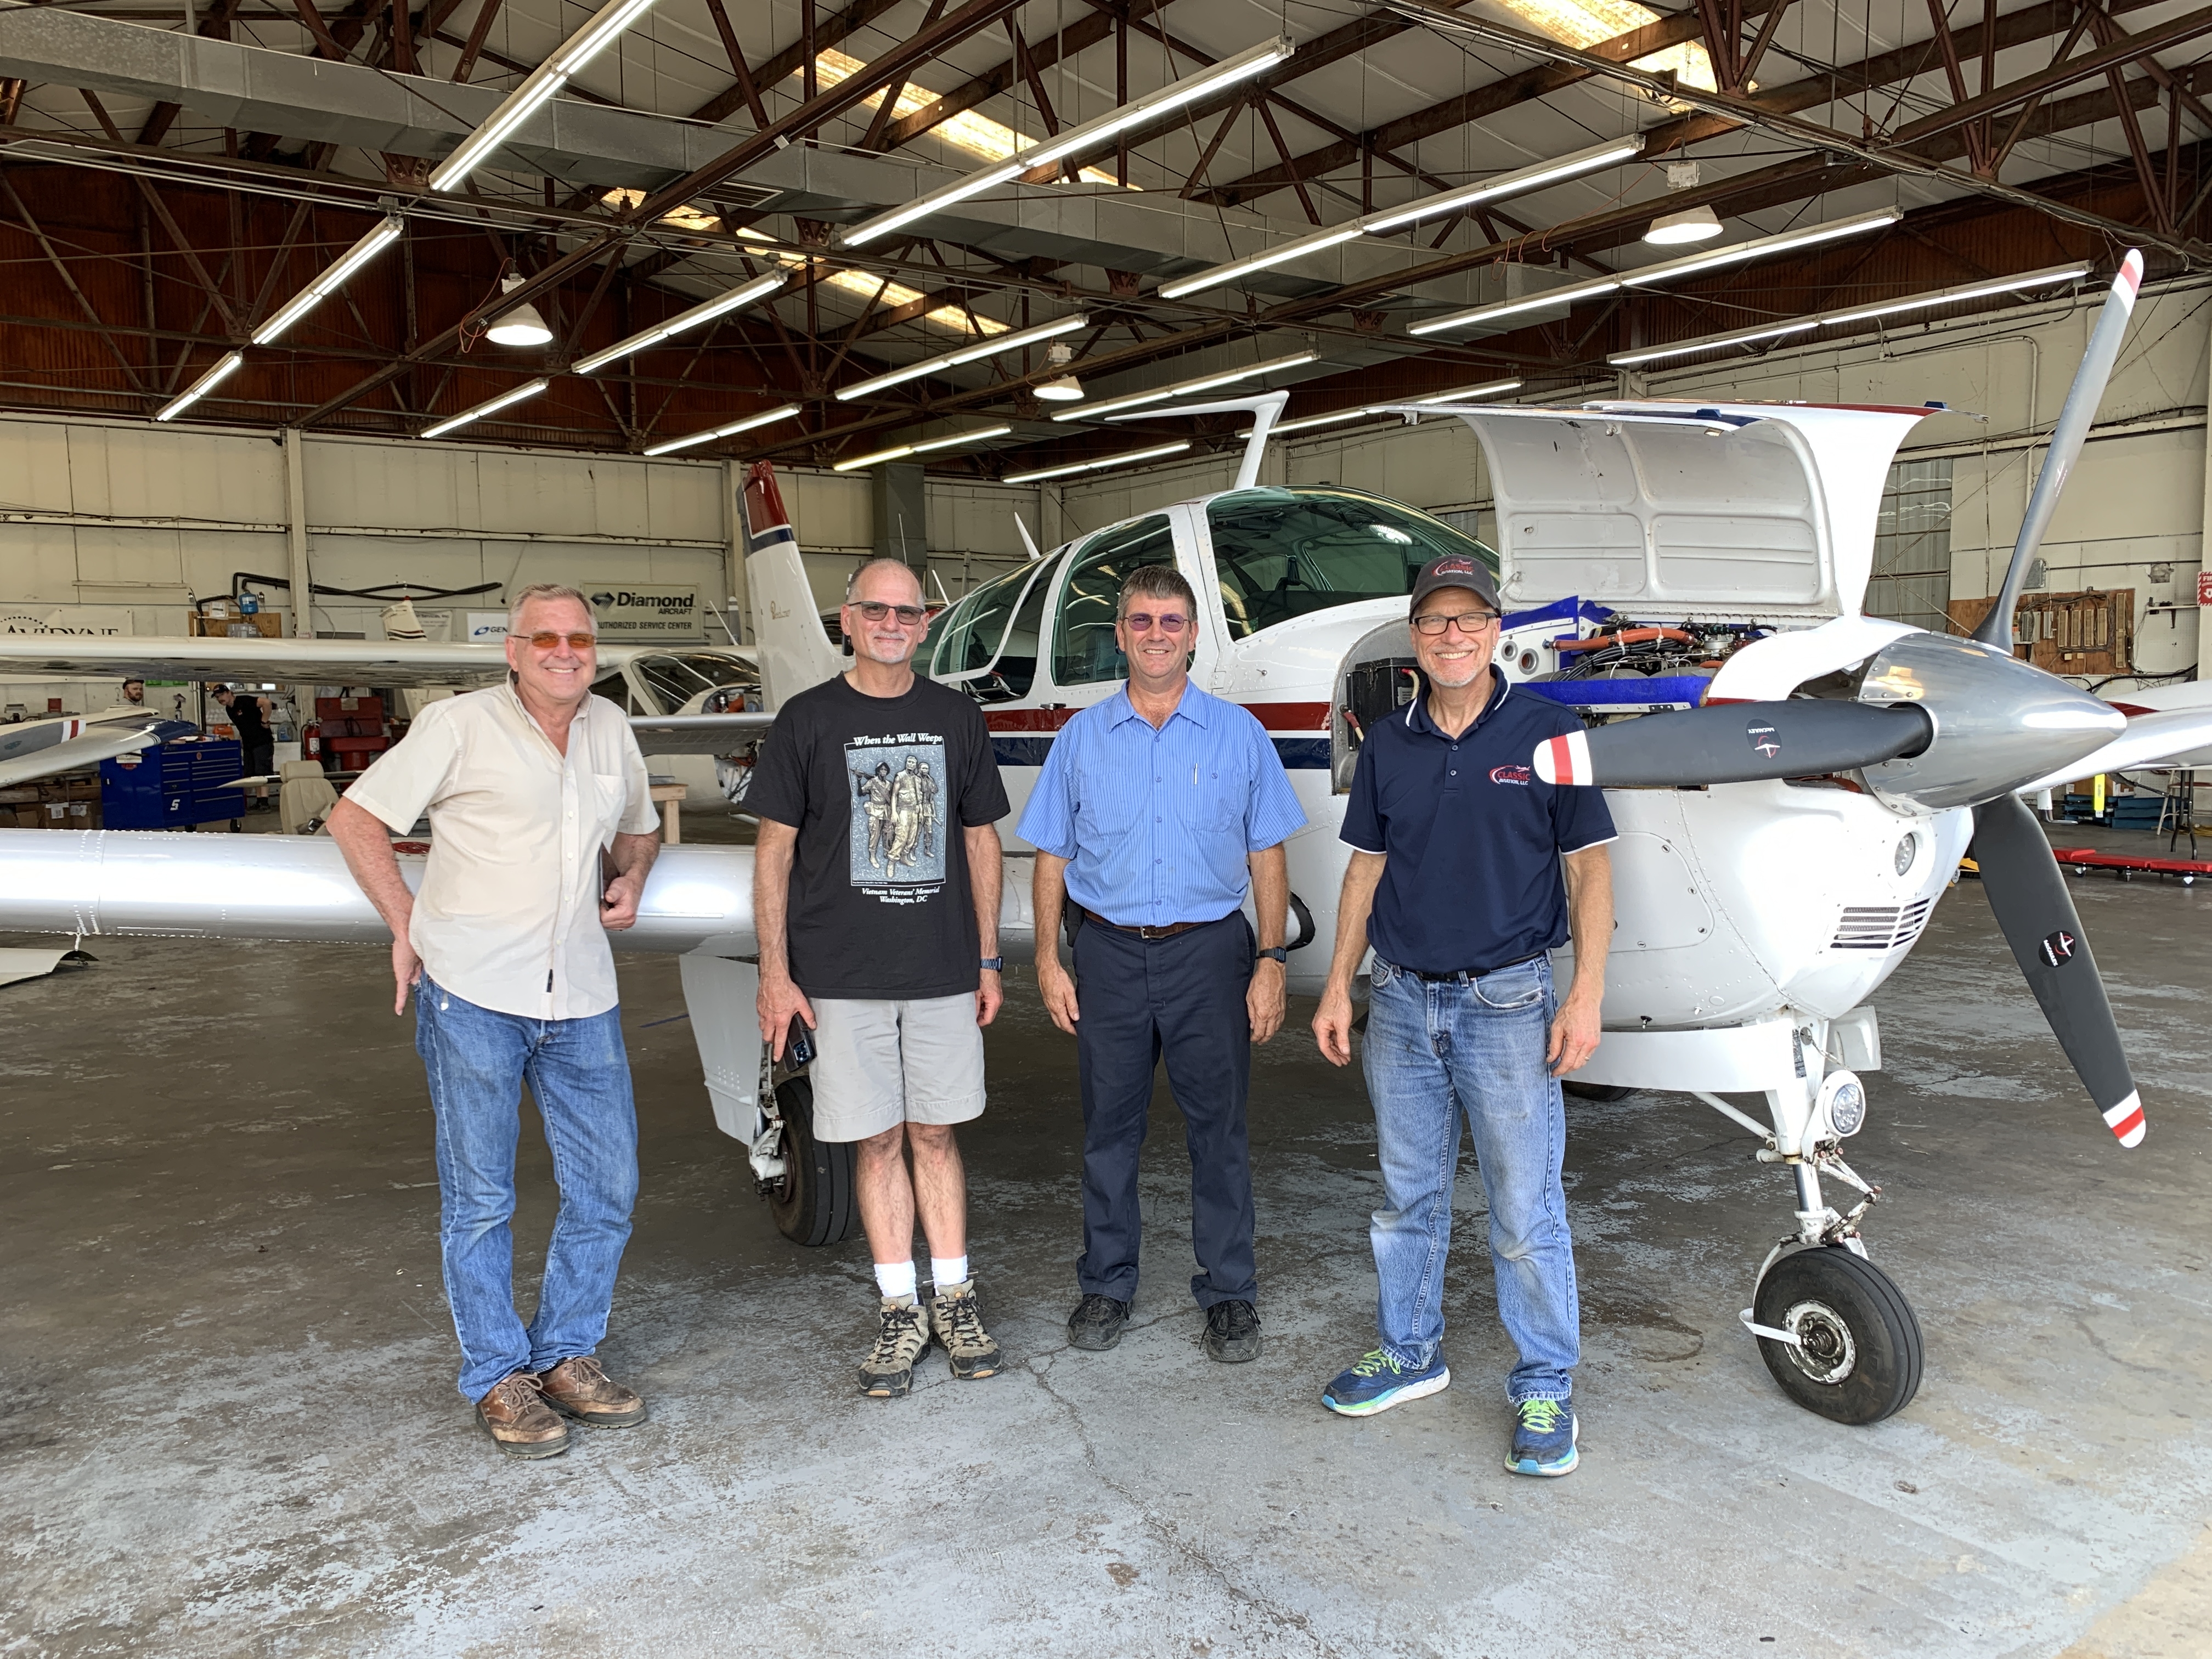
From left: Arthur, Dave, Mervin, Dean (I got to work with these guys last Monday at Classic Aviation., when Dave had me lap the exhaust valves in cylinders 3 and 5.)
Scroll down for more info about this valve lapping adventure.
Diamond DA40 annual inspection – here are some squawks we discuss in this episode:
Electroair ignition leads.
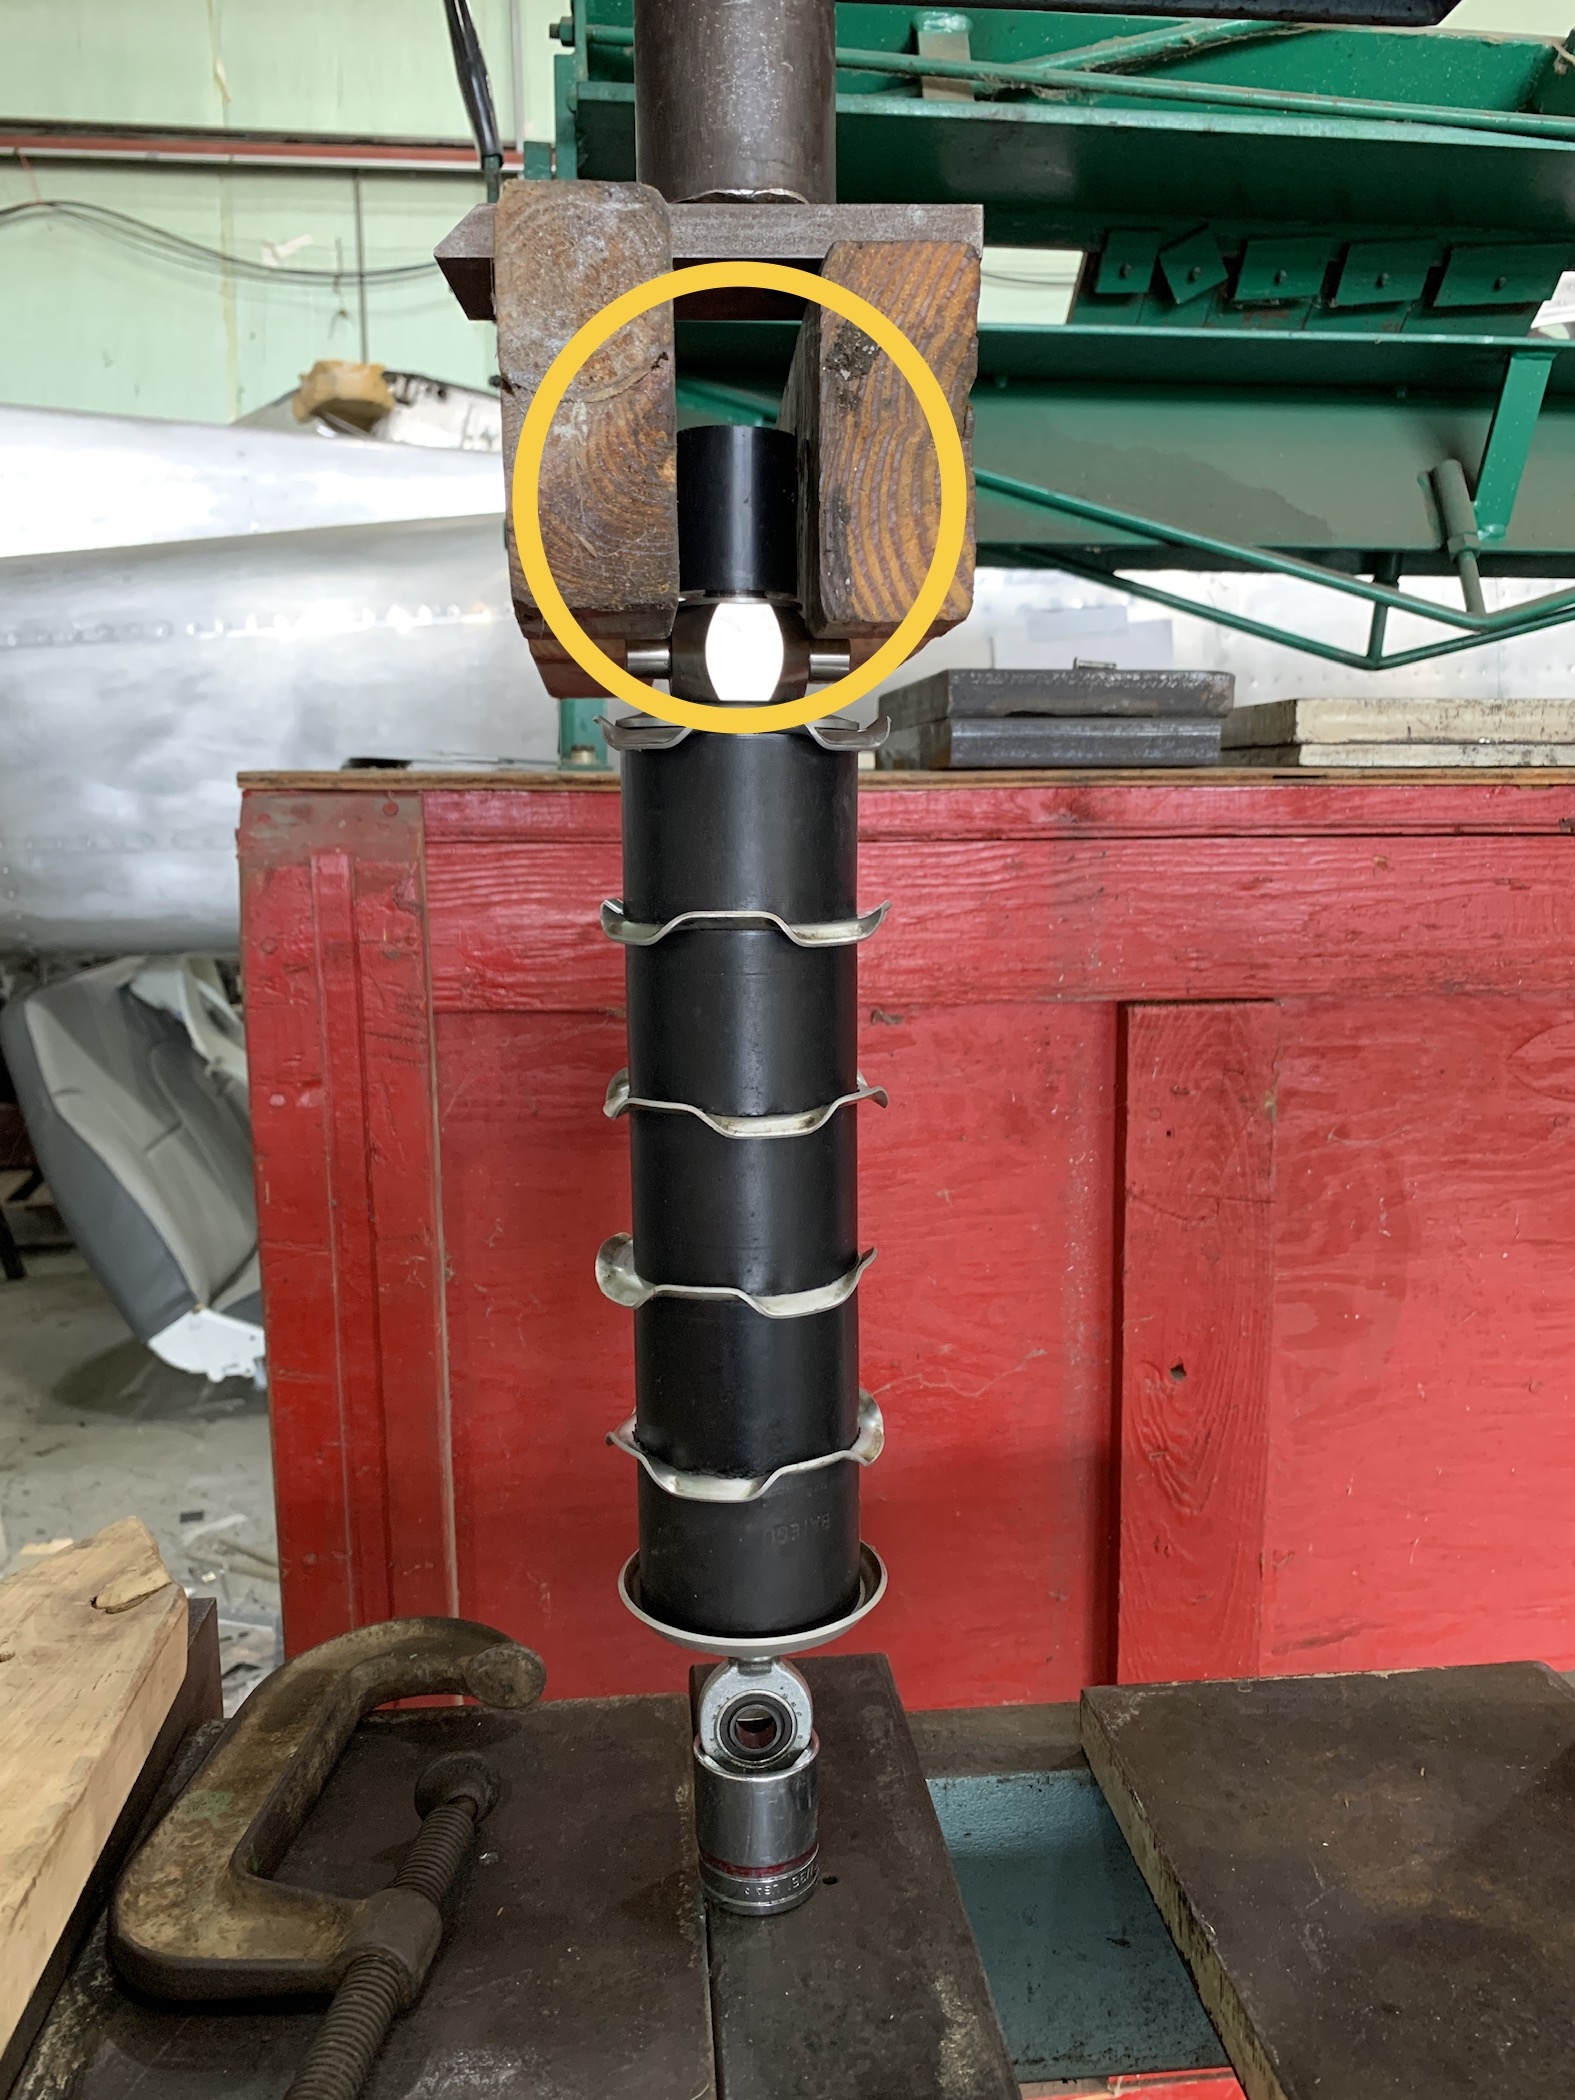
Nose gear issues, including a missing elastomer element:
This is the elastomer pack for the nose gear. The small elastomer element in the yellow circle is the one that we replaced since the old one had split and fallen out of position. The hydraulic press was very helpful in compressing the stack to get the nut started. The end in the yellow circle goes on the bottom end when installed on the airplane, and the rod end bearing at the bottom of the photo is actually the top of the stack, and attaches to the engine mount at the firewall.
AmSafe seatbelts
RG24-15M aircraft battery
Alternator 500 hour brush inspection
Alternator aux. wire terminal loose
Aft door warning light inop.
Prop governor nuts under-torqued
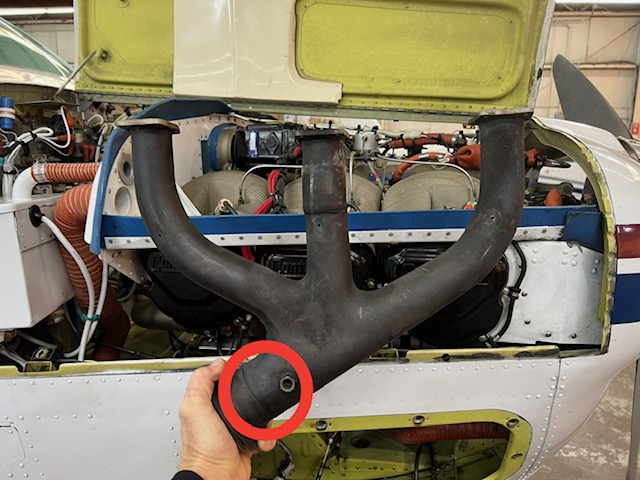
Bolt dangling from the induction airbox
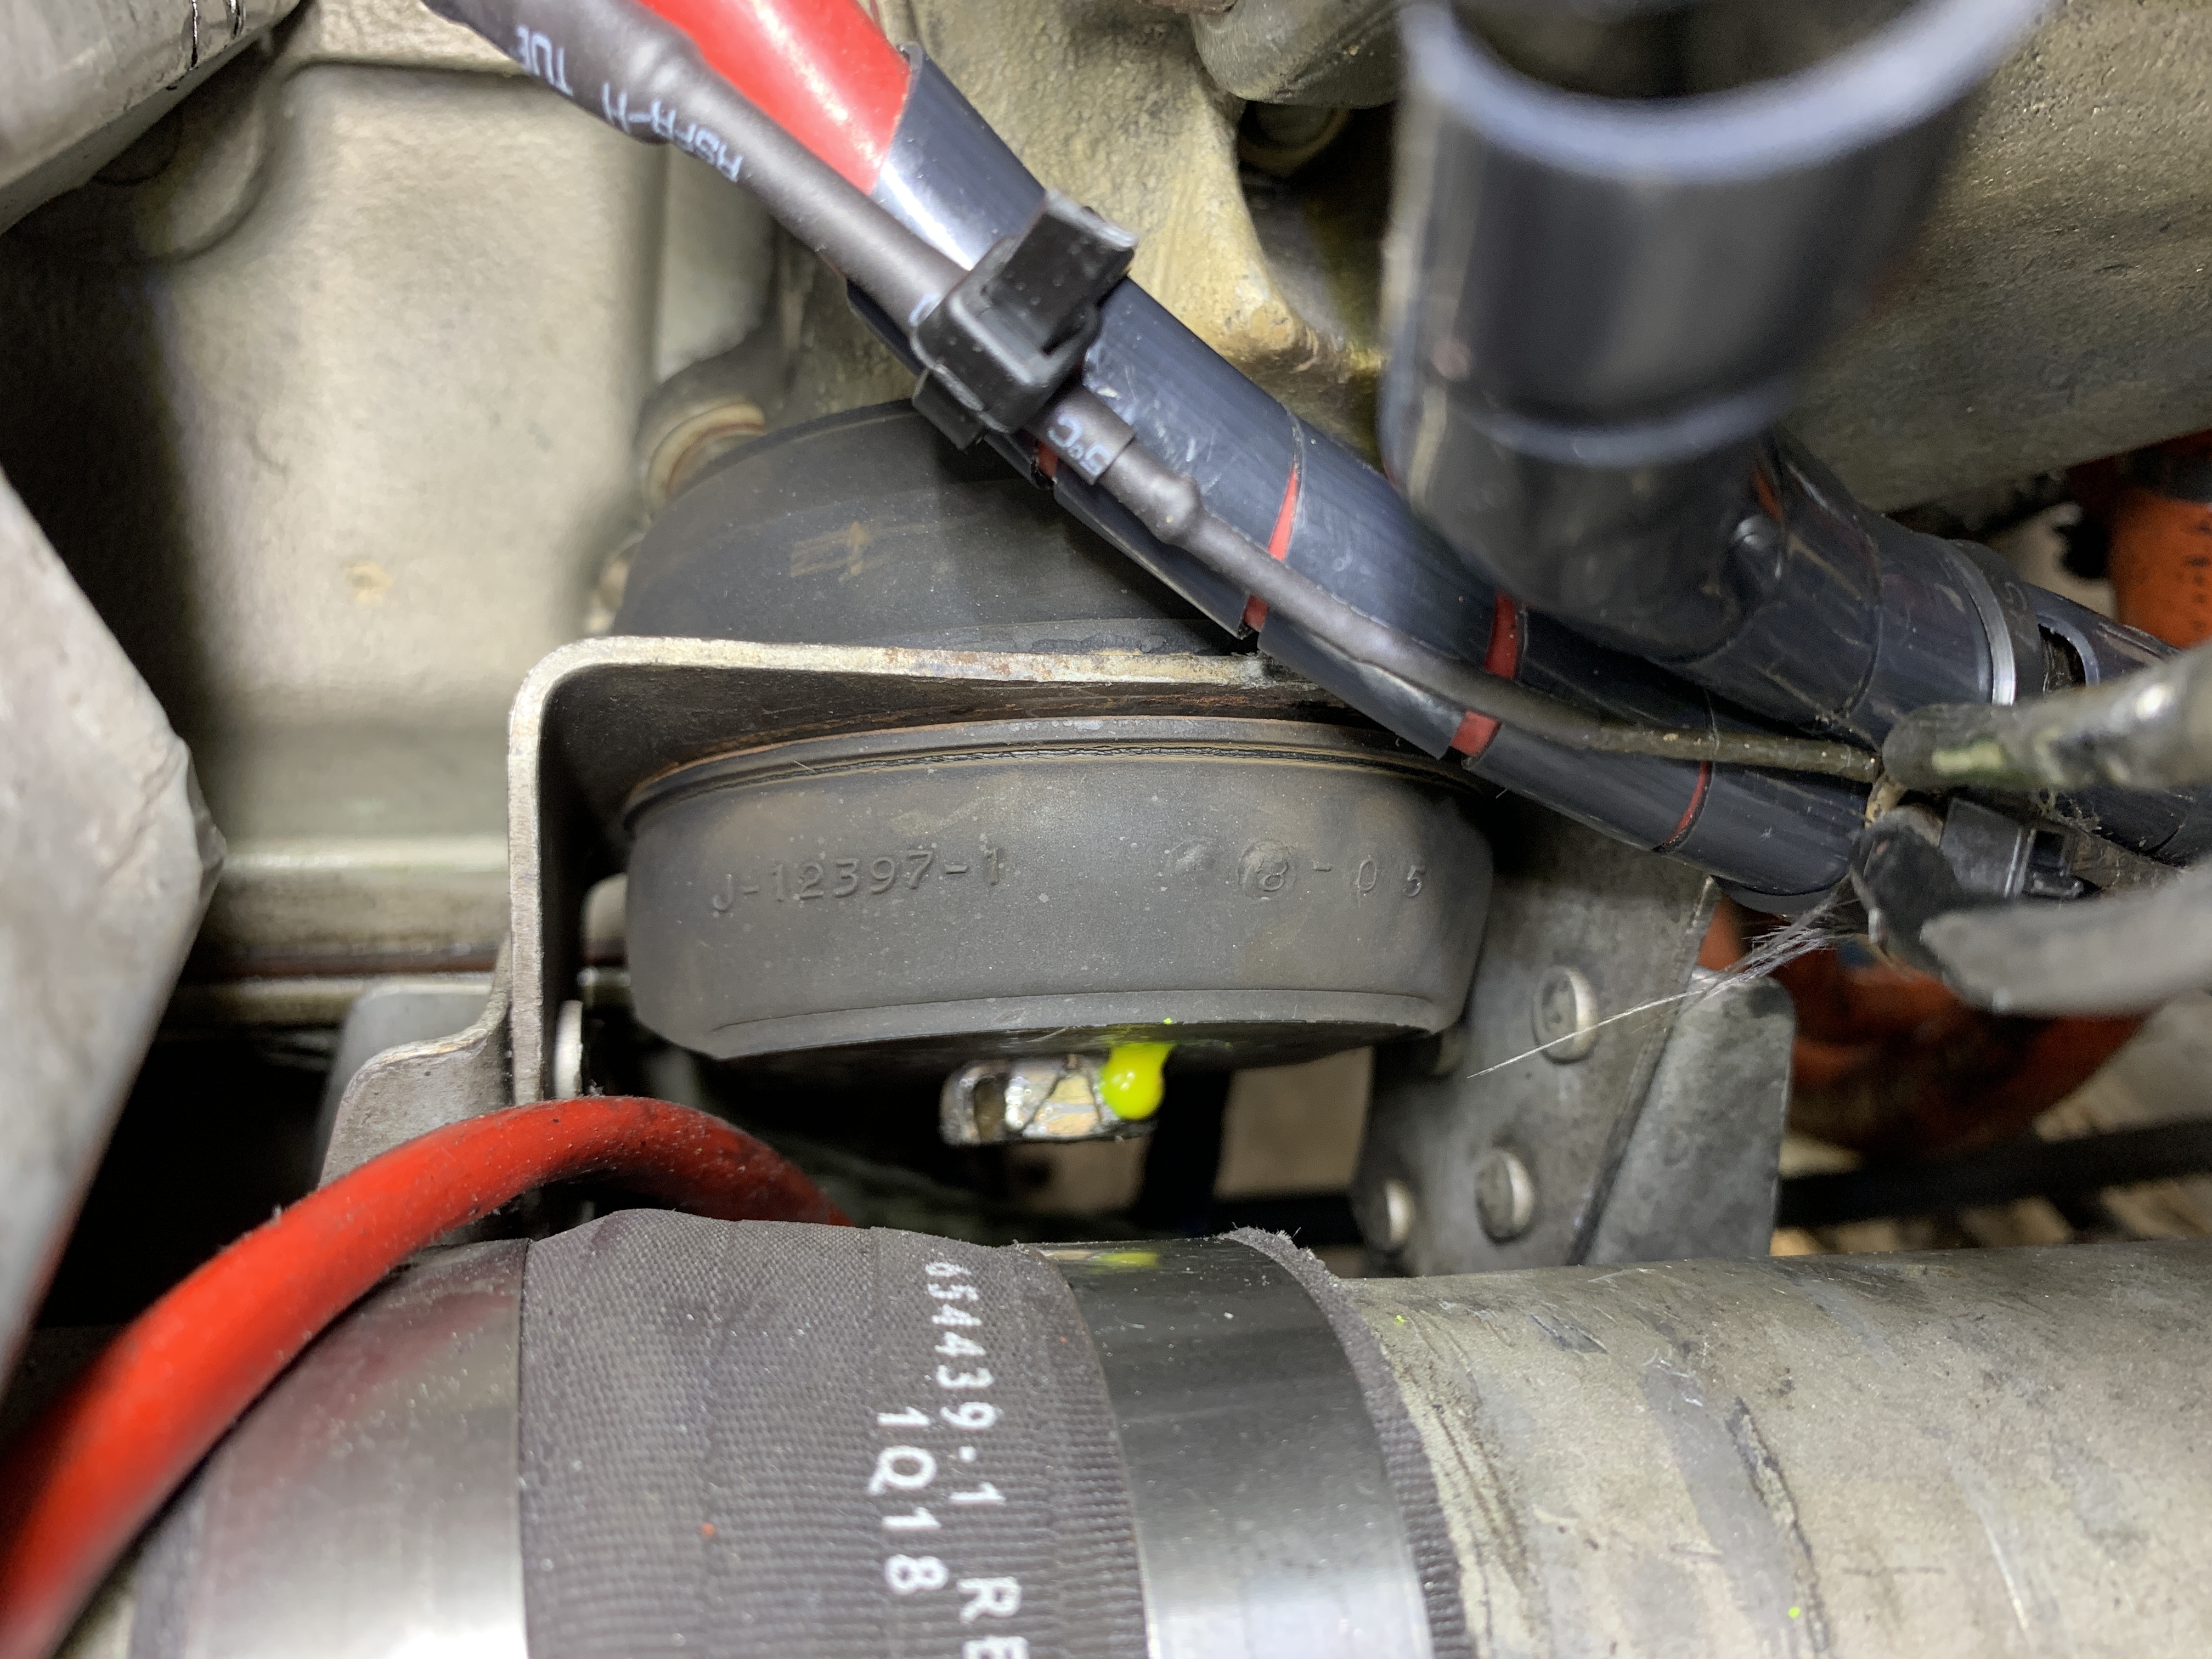
Oil leak caused by the engine driven fuel pump:
Engine baffling issues
Loose brake caliper bolts
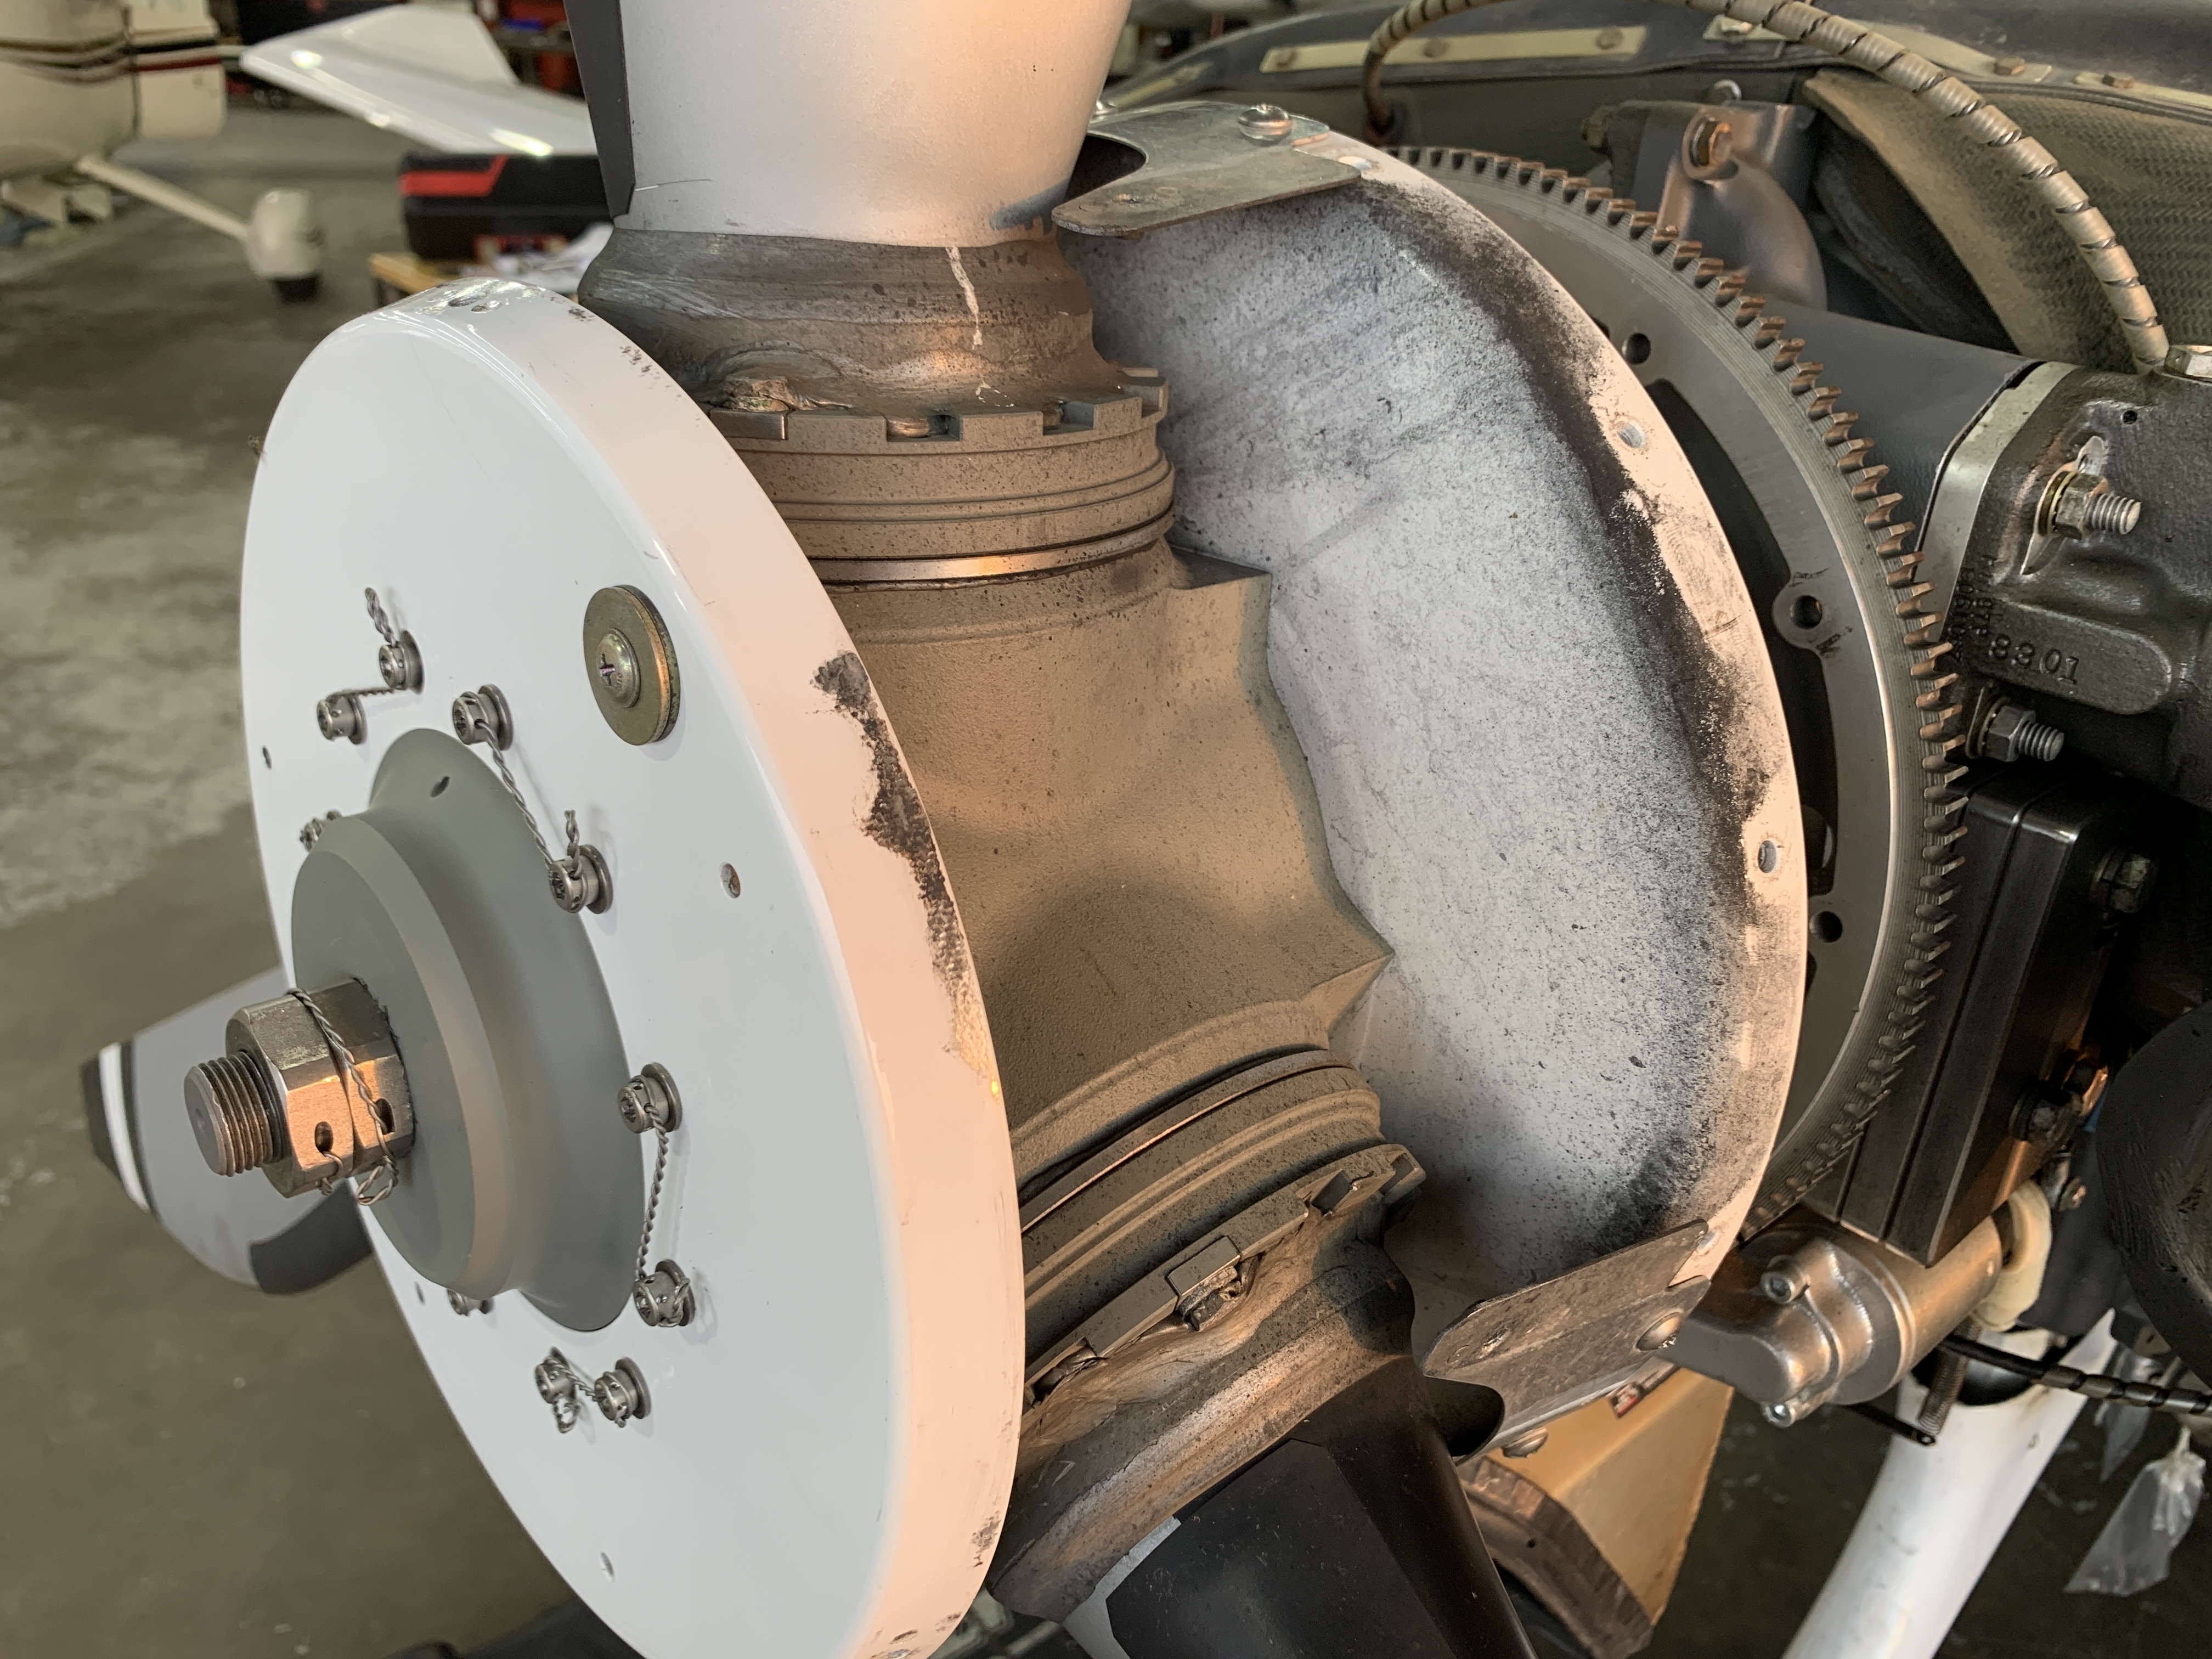
Aluminum dust on prop spinner bulkheads:
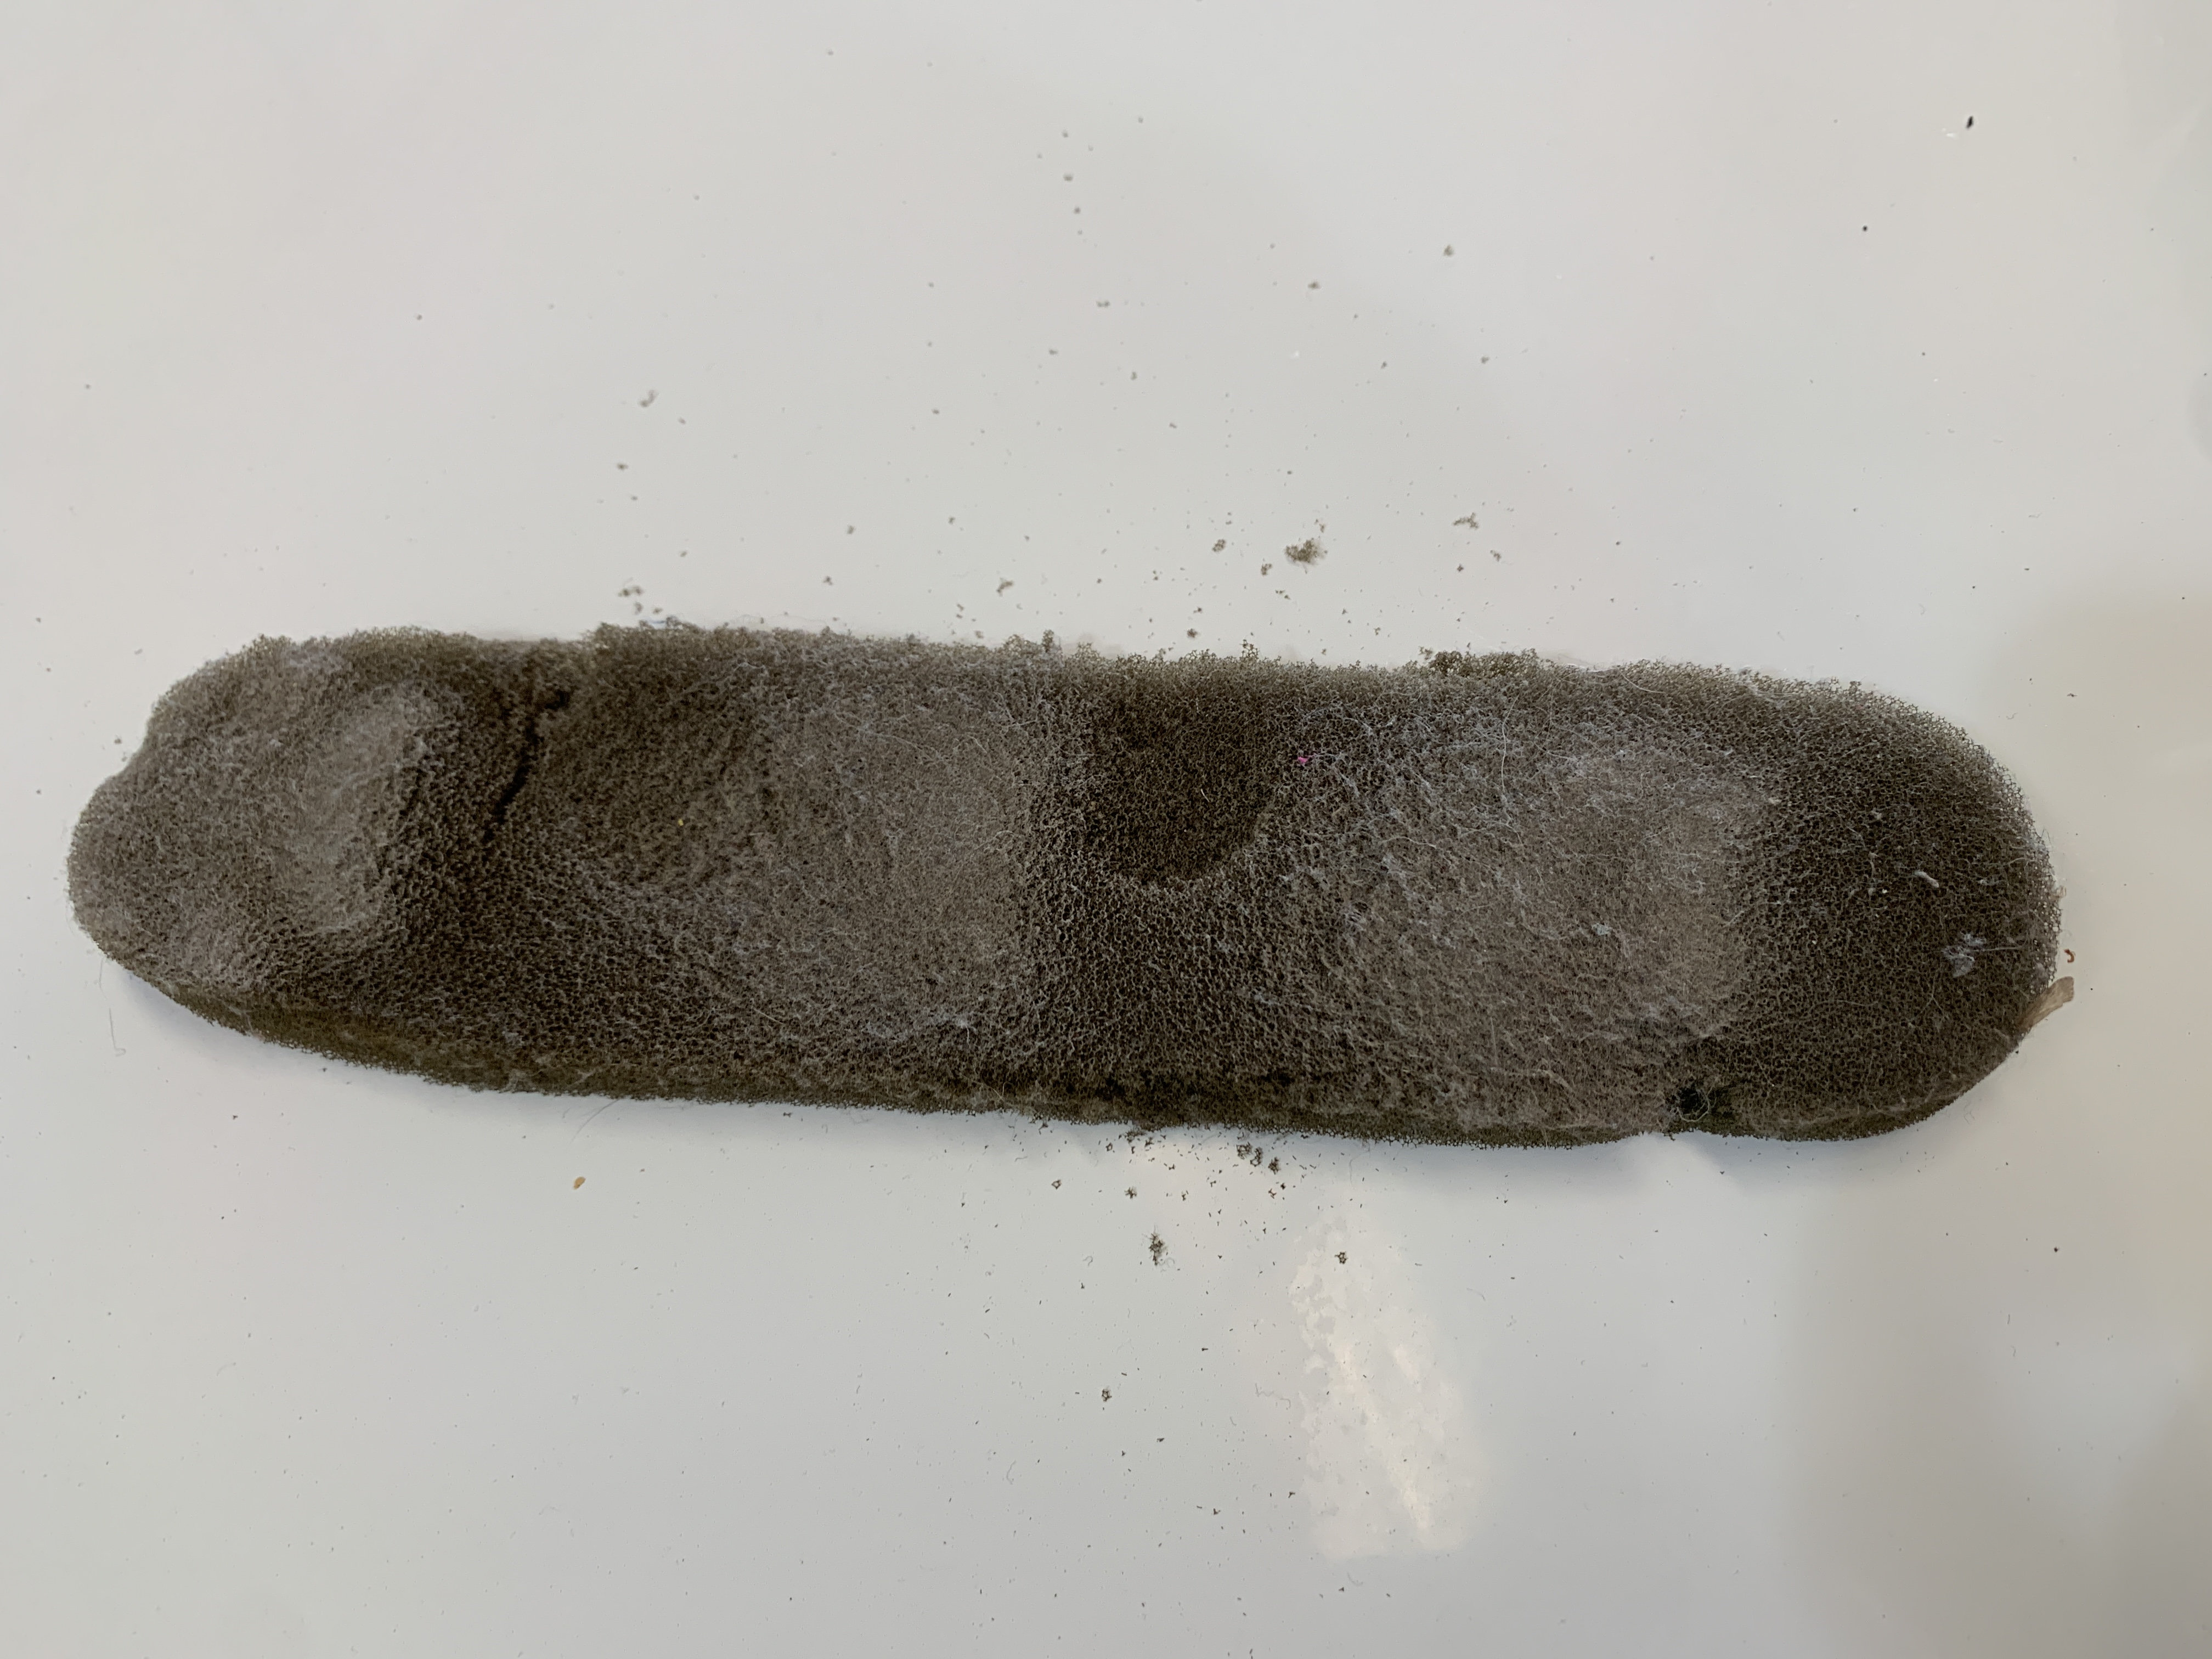
Aft avionics fan inlet filter badly deteriorated and filthy:
Rudder cable tension low
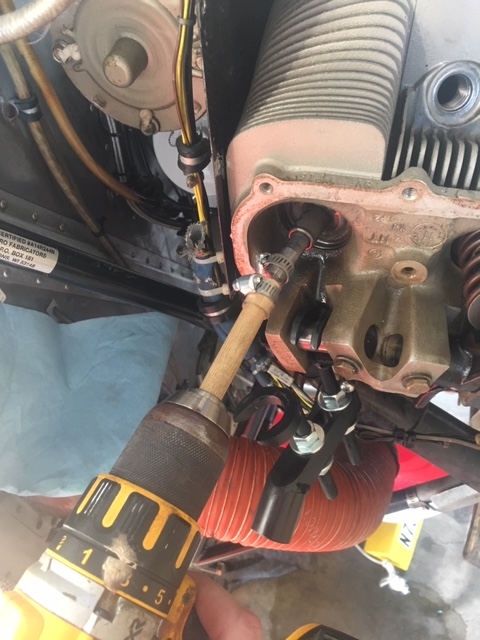
Wiring and baffle rod under right side of engine
Now back to the valve lapping project with the Bonanza – here are the exhaust valves from cylinder 3 and cylinder 5… #3 compression improved from 60/80 to 62/80, and #5 compression improved from 55/80 to 69/80. The real test will be when we see the results after another 25, 50, and 100 hours of operation.
The #3 exhaust valve definitely has some irregularities; hopefully it will return to a normal appearance in several hours of operation after lapping and installing a new rotocoil.The #5 exhaust valve looks quite healthy overall, with a very small questionable area at about the 1 o’clock position. We also lapped this one and installed a new rotocoil as a proactive measure.
By the way, these photos were taken with my new Vividia VA-400 borescope… I was very impressed with the photo resolution compared with my older borescope from a couple years ago.
There are various options, and if you want to display the images on your iPhone or iPad, I recommend the VA-400 WiFi Bundle #1: VA-400 and W01 wifi box (Model: VA-400W1)
When you purchase from Oasis Scientific and use the code “Dean” you will receive a 10% discount, and you’ll be supporting the podcast at the same time.
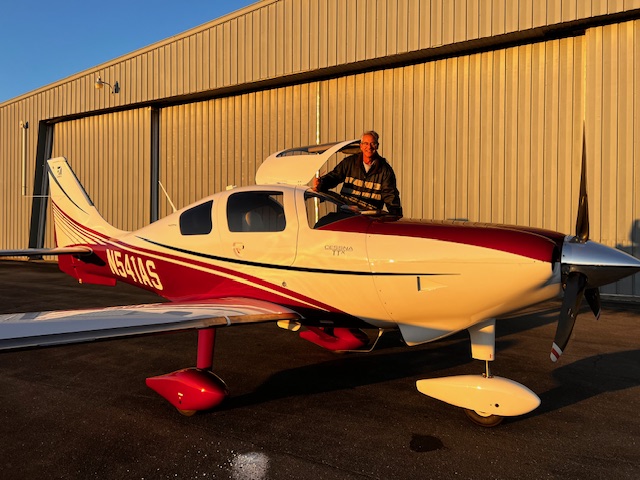
It was a great experience meeting Dave Ovad and working on his F33A Bonanza along with Mervin and Arthur.
It was also a pleasure to see Arthur’s P35 Bonanza that day:
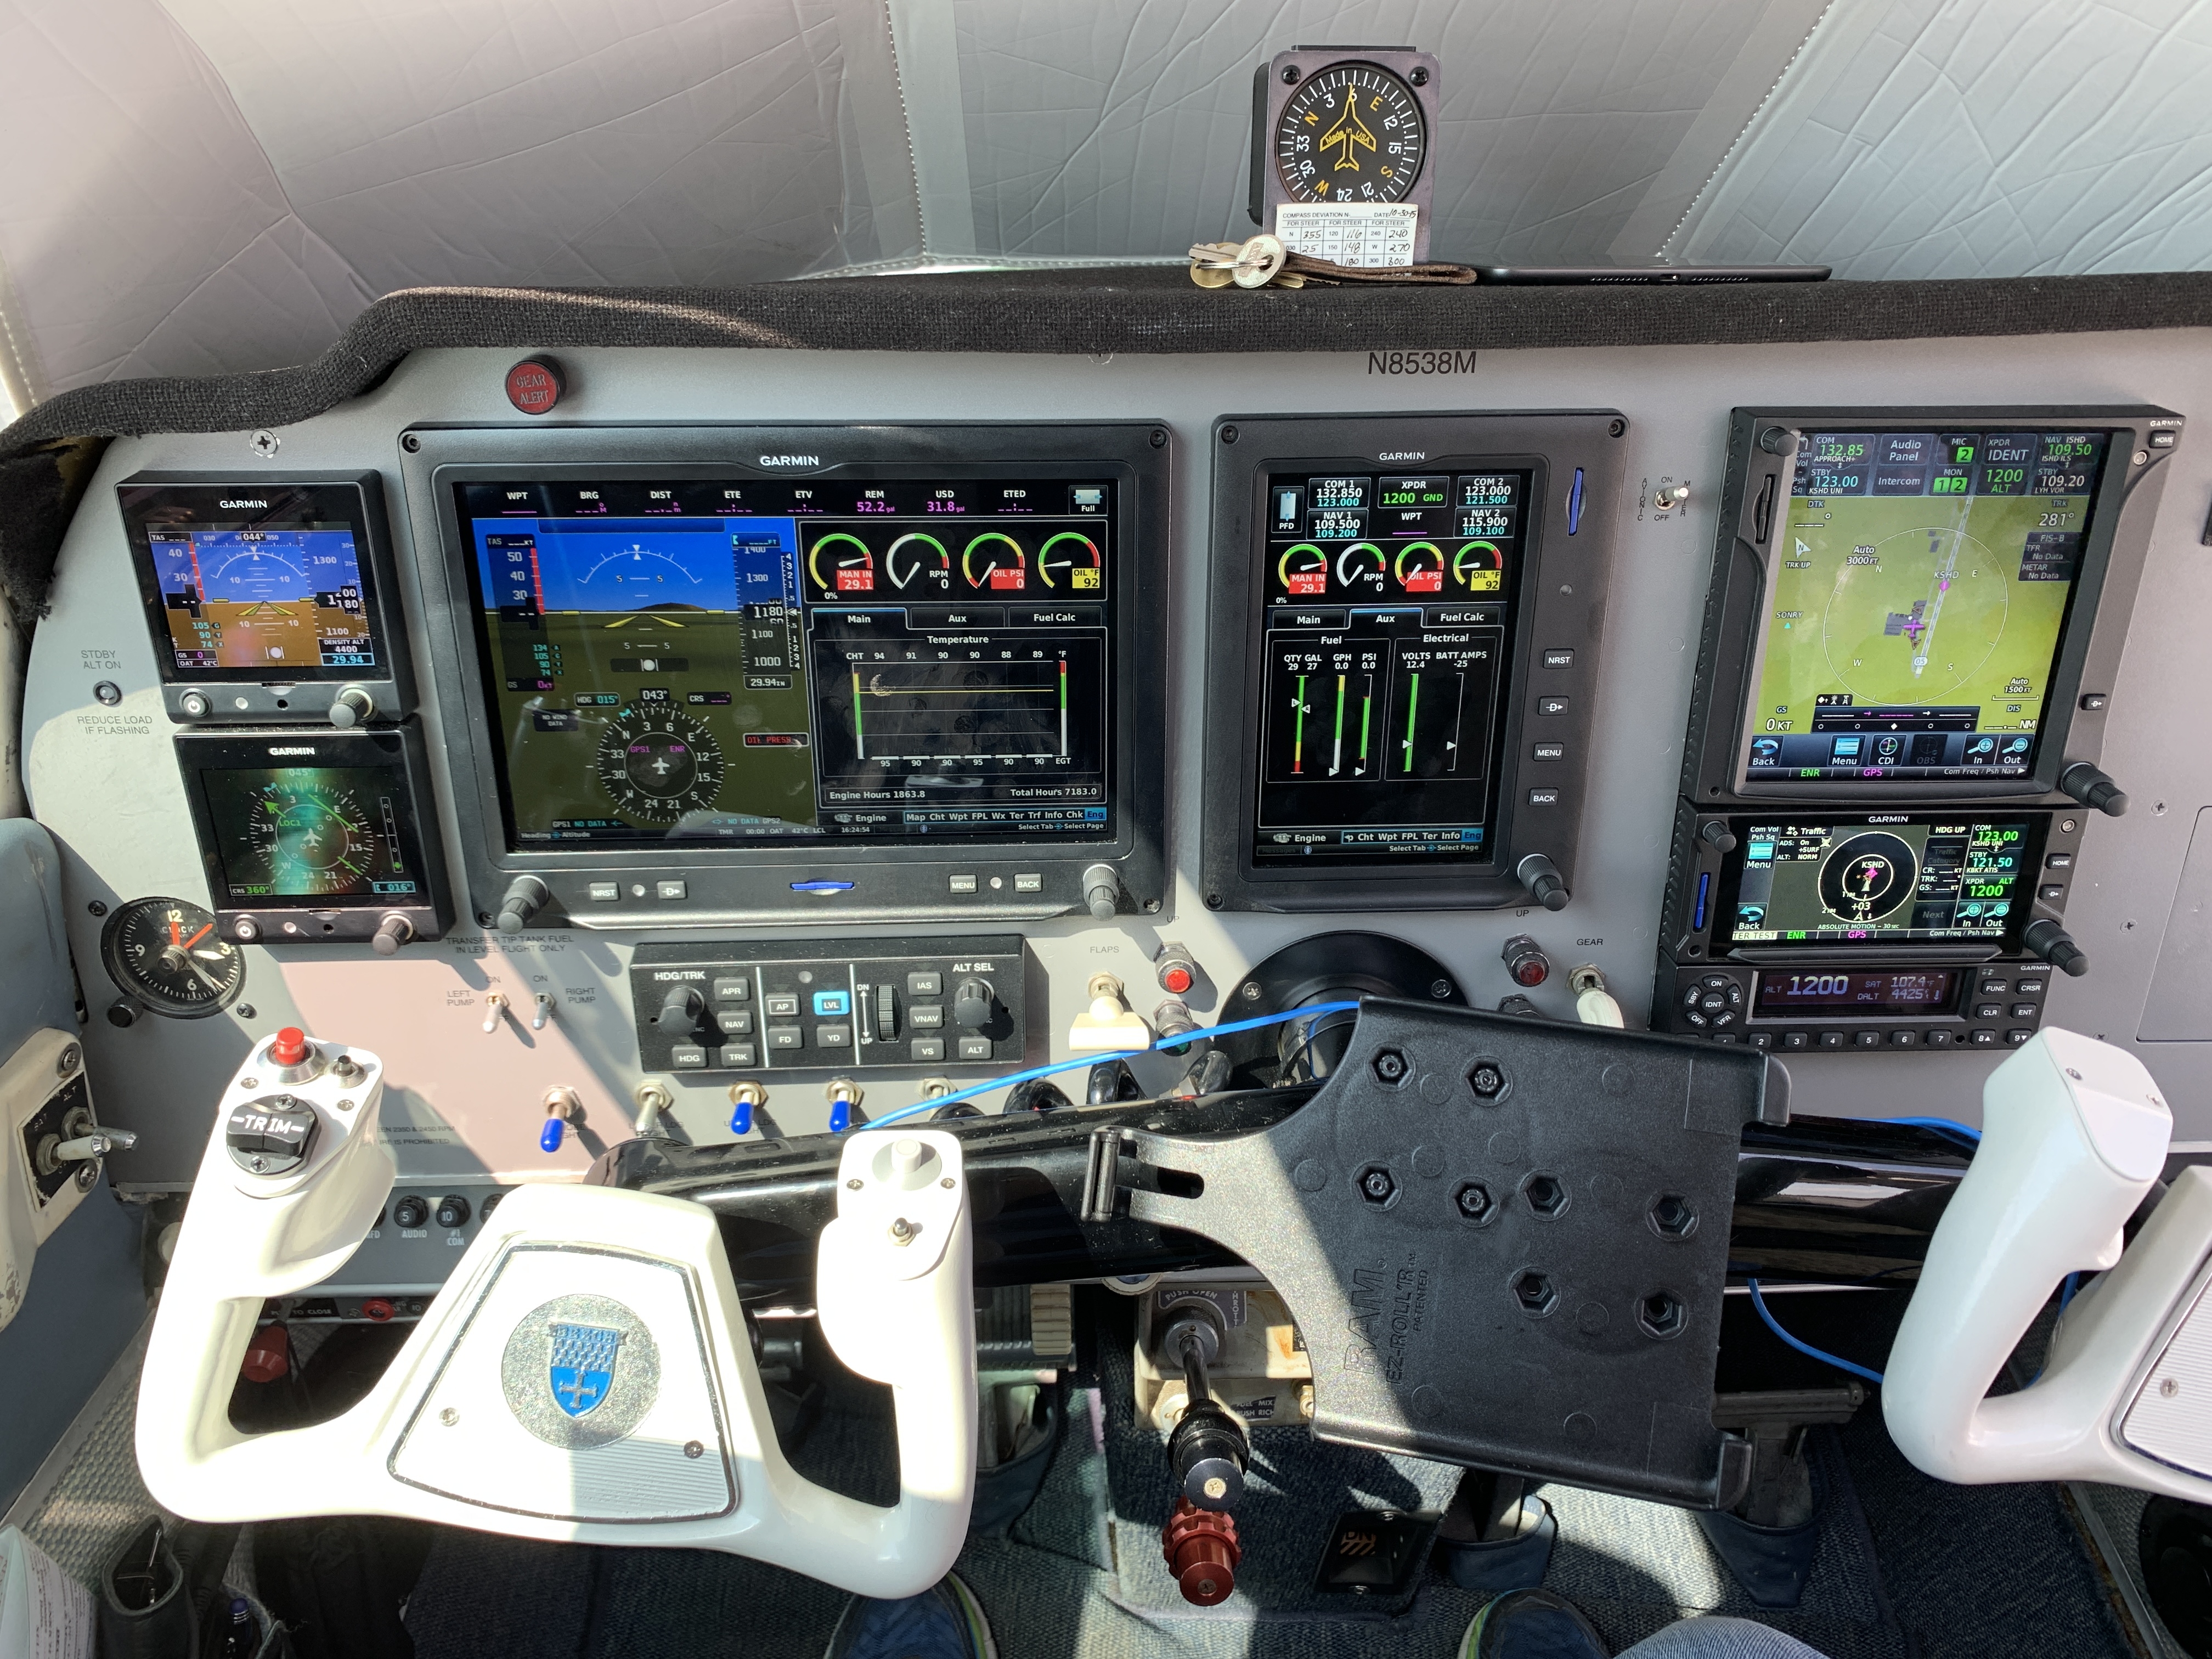
Arthur has a really nice panel in his airplane as well… check it out:
12/80! That’s a terrible compression test result. And unlike some cylinders, this one did not show any obvious reasons for the low compression… take a look at the valves after the cylinder was removed:
Unless I’m missing something, I don’t see anything that would explain such a low compression number. The cylinder has been shipped to Tim Barnes at Skyline Cylinders for repair, so I’m hoping he will be able to give me more information about it. You can listen to the audio for more thoughts about this whole experience, and maybe I’ll give an update on it in a future episode.
I also mentioned in this episode my latest project in the shop at Classic Aviation – an annual inspection on a nice E33A Bonanza:
It’s a great airplane, with a great owner – now that’s a good combination!
The post “172 – A Perplexing Low Cylinder Compression on a Piper Saratoga” appeared first at AirplaneOwnerMaintenance.com
Valve lapping is sometimes a great option for improving cylinder compression and extending the life of an exhaust valve. We’ll talk about it in today’s episode.
Pilot Workshops.com is our sponsor for this episode, and I wholeheartedly recommend their resources.
Be sure to sign up for the “Tip of the Week,” and receive a short, practical tip every Wednesday morning that will make you a better pilot.
PilotWorkshops.com also has simple and practical book about Airplane Engines. It’s packed full of easy-to-understand information for pilots. As we approach the season of colder temperatures, you might want to check out the section on pre-heating.
When you purchase the book, you’ll get both the digital copy and the print copy.
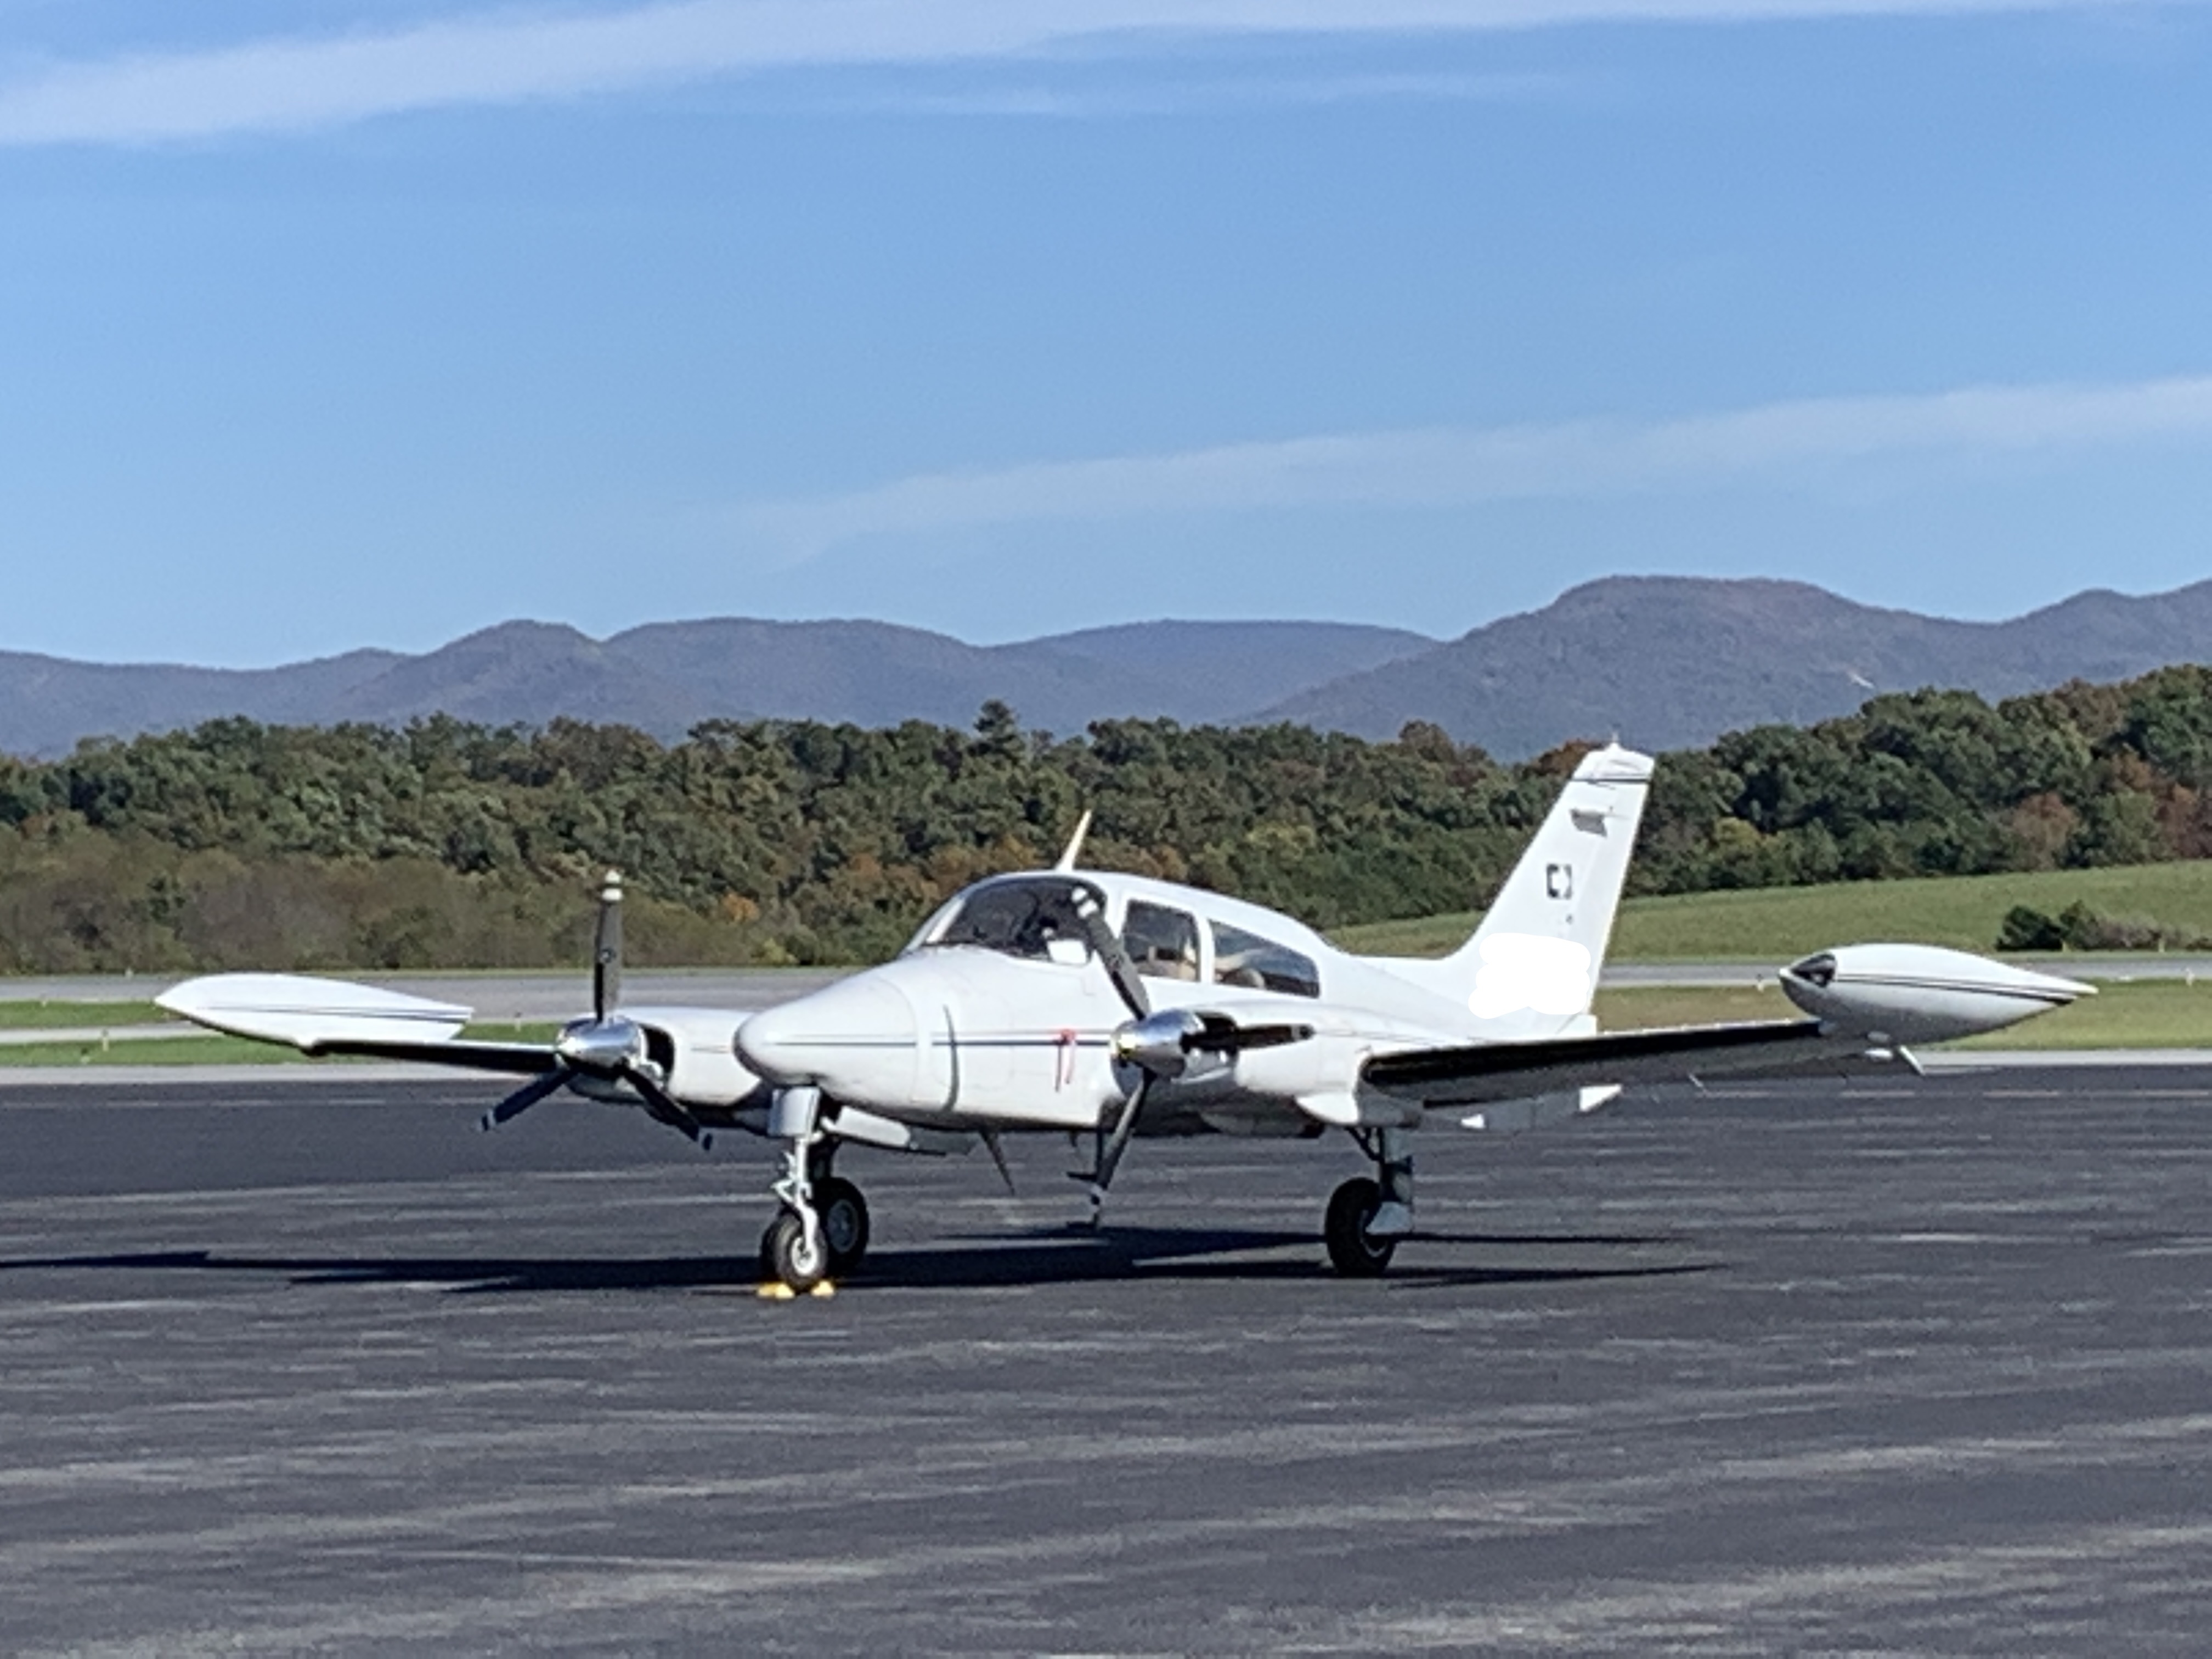
In today’s episode, we have three issues from Trace’s Cessna 310 this past week:
Lapping an exhaust valve.
Repositioning and correctly installing an engine shock mount.
Evaluating a vacuum system issue, and making a plan.
First, the lapping project. At the recent annual inspection, the compression in the right engine cylinder #4 was in the mid-50’s. After lapping we got a solid 64/80, a significant improvement.
Second, one engine shock mount was out of position:
The 1/4 inch gap got my attention and we had to hoist the engine and loosen the bolt to install the lower shock mount correctly. Here’s the result – notice the 1/4 inch gap has been closed.
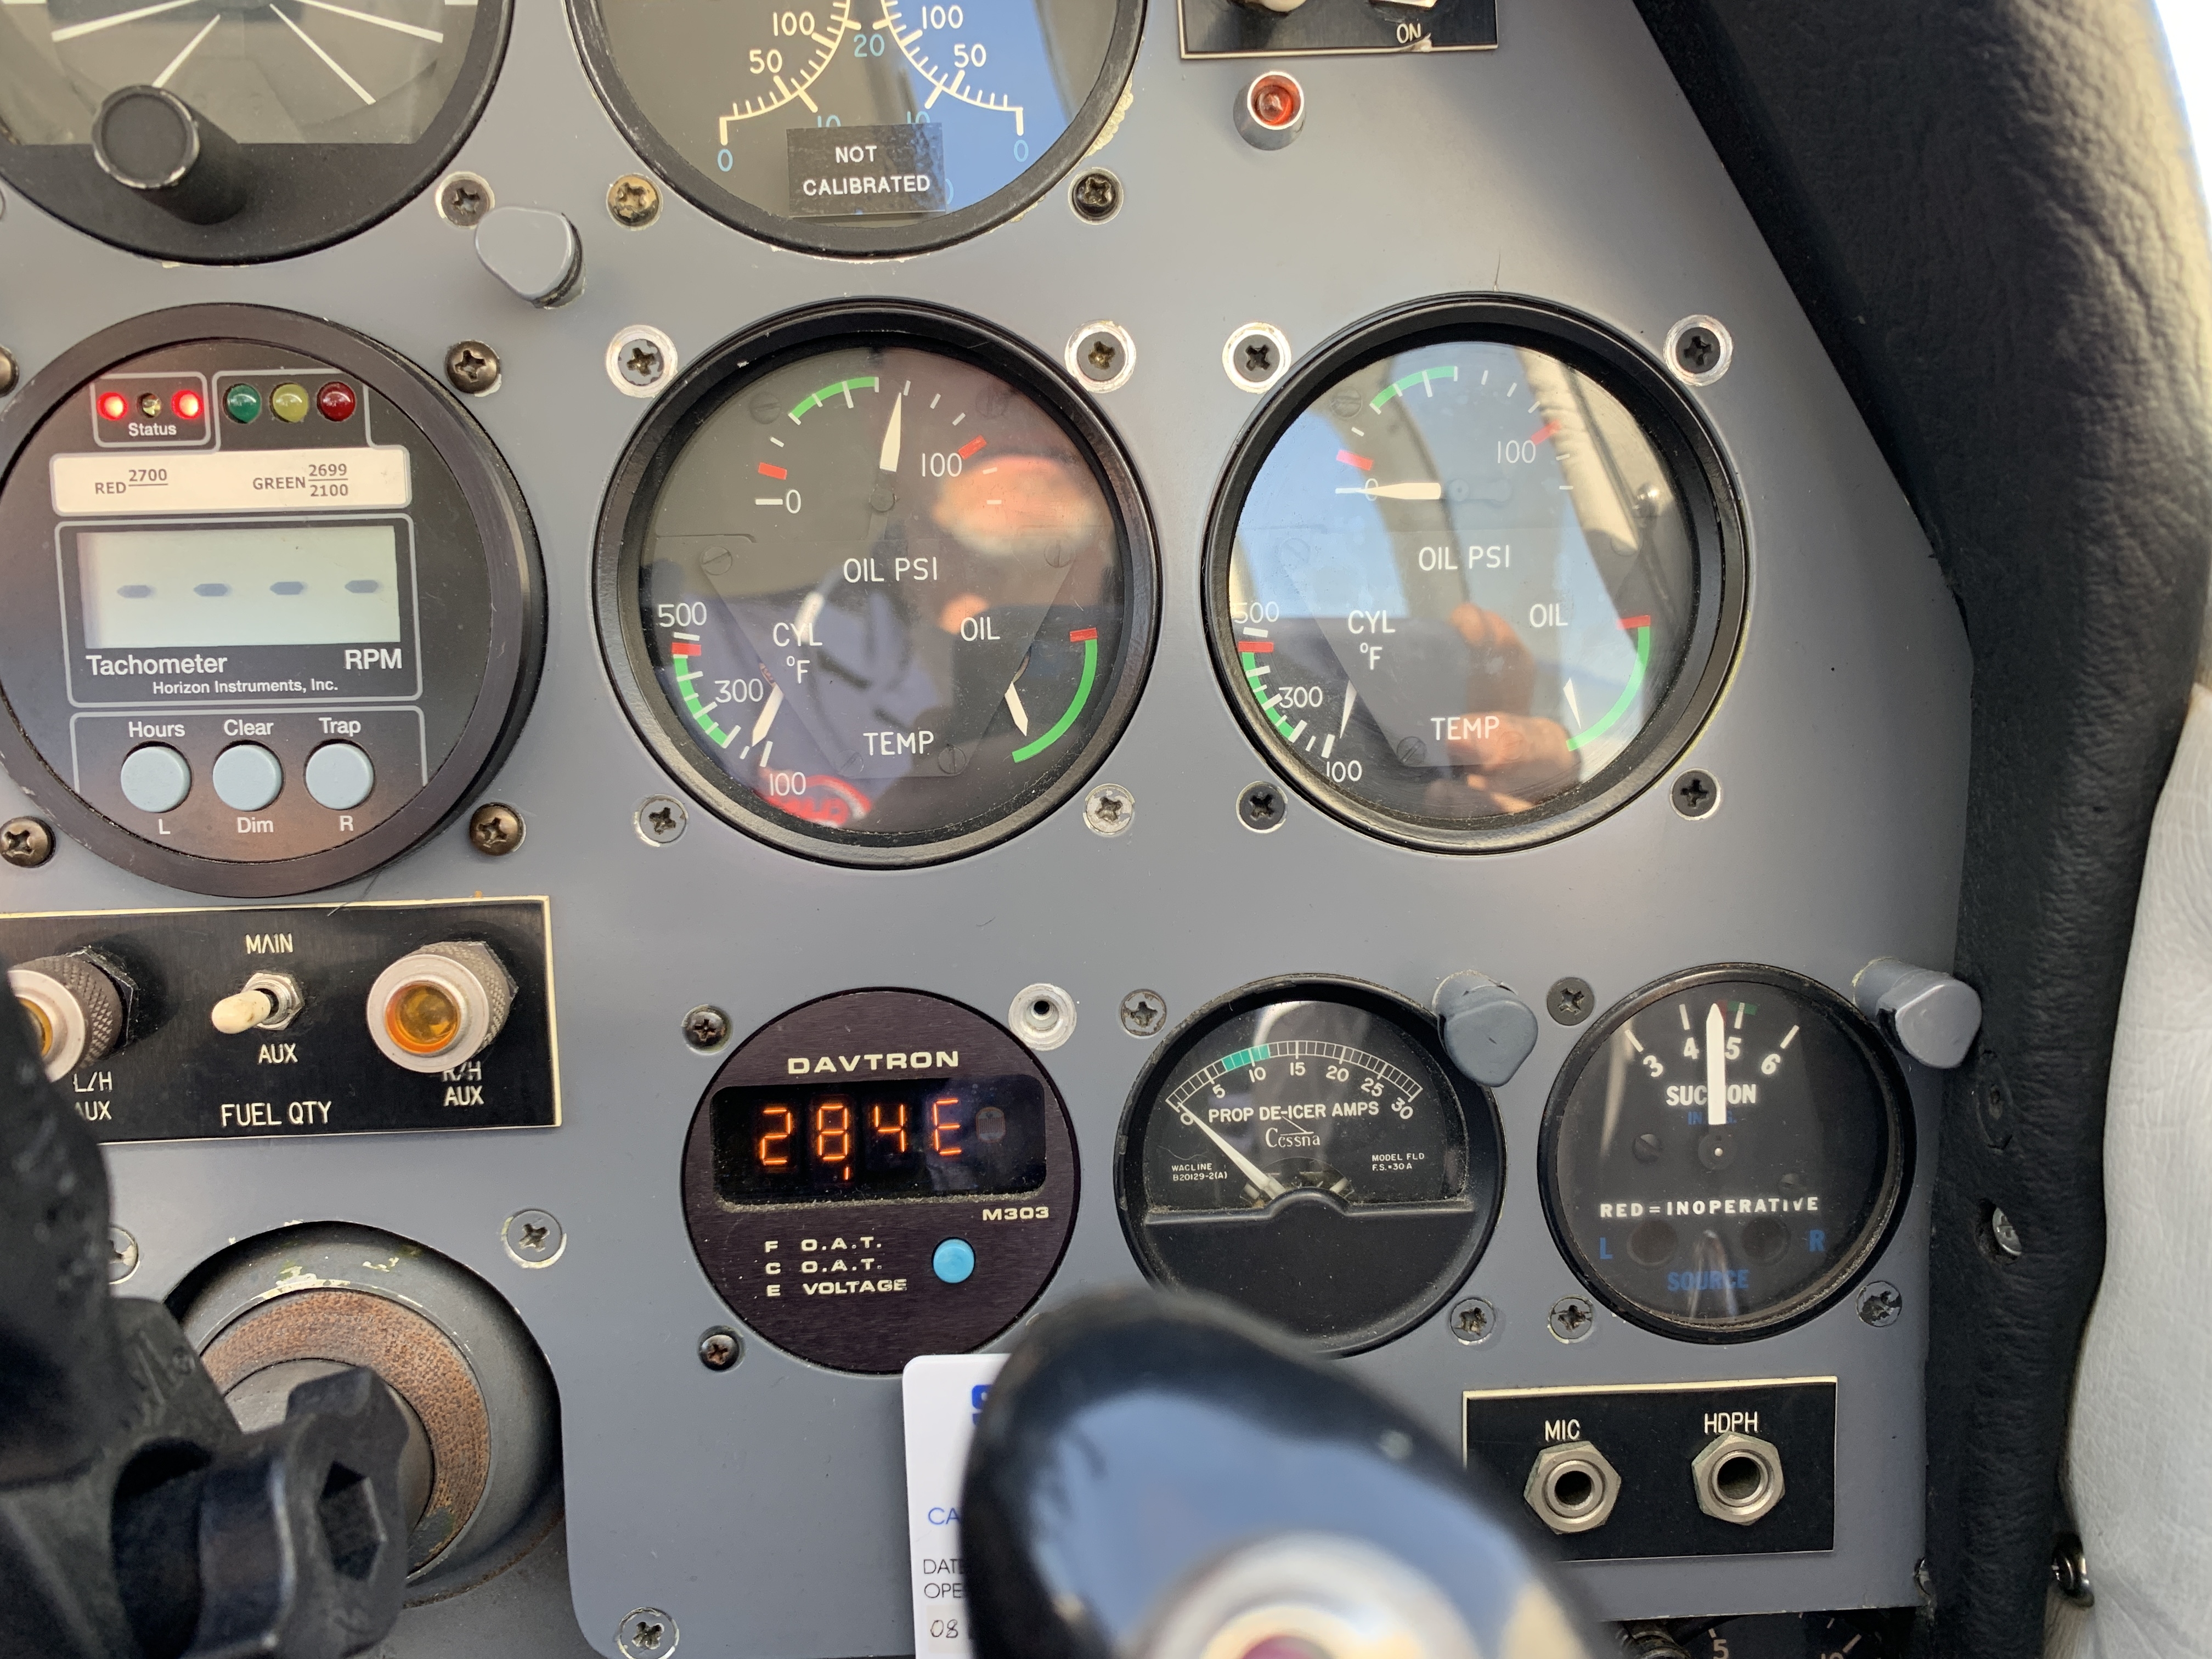
The third isssue showed up when we ran the engines. Notice the oil pressure gauges… only the left engine is running. But the vacuum gauge indicates both vacuum pumps are operating.
This usually indicates a problem with the vacuum manifold valve. Most likely, it will need to be replaced.
After we checked and verified there were no oil leaks, Trace took me for a ride in his Cessna 310… a great experience! Thank you Trace!
Trace has been a Navy F-18 test pilot for quite a few years, and it was awesome to fly with him!
And to wrap us this episode, I also met Tobin this past week, owner of a very nice Piper Cherokee Six. He dropped his airplane off at SHD for his annual inspection. Hopefully I can give an update in the future about how his inspection turns out.
Trace, and Tobin, it was a pleasure to meet both of you this past week!
The post, “157 – Valve lapping, shock mounts, and vacuum issues,” appeared first at AirplaneOwnerMaintenance.com
During the recent annual inspection on Drew Wright’s Cessna 182, cylinder #1 had a low compression of 42/80. However, with the amazing technology of borescoping, he was able to take a look inside the cylinder. The nice concentric circle of deposits on the face of the exhaust valve indicates a healthy valve. Drew wondered if perhaps this valve would be a good candidate for lapping in place, without removing the cylinder.
Even though the valve appeared healthy, Drew noticed a significant amount of air leaking out the exhaust during the compression test. Once again, his borescope was very helpful in observing the condition of the exhaust valve and seat area. The valve looks good, except for the rough and uneven seating area.
The seat also looks good, except for the corresponding rough and uneven seating area.
With the supervision of his A&P, Drew was able to remove the rocker cover and the exhaust valve springs. After verifying the valve guide was in good condition with no excessive wear, and the valve was sliding freely in the valve guide, he was ready to “lap” the valve (to apply a small amount of valve grinding compound to the edge of the valve using a long Q-tip through the top spark plug hole, and spinning the valve against the seat to smooth out and improve the seating area.)
Drew used a piece of wood dowel rod, some clear tubing, and some hose clamps, for this task… I like his idea so much, I’m planning to use this technique in the future.
One of the most important parts of the lapping process, is cleaning out the residue after the job is finished. One method is to spray Av-gas into the top spark plug hole to wash the grinding compound off the valve and the surrounding areas, and let it run out the bottom spark plug hole. Multiple washings, along with some compressed air, cleans up the area very well.
An additional thing Drew did was to push a thin cloth into the top spark plug hole, and pull the valve back to squeeze the cloth between the valve and valve seat. Then, he could turn the valve against the cloth and clean the seating area even better. I’m also going to keep that little tip in mind for my next lapping project. Thanks Drew!
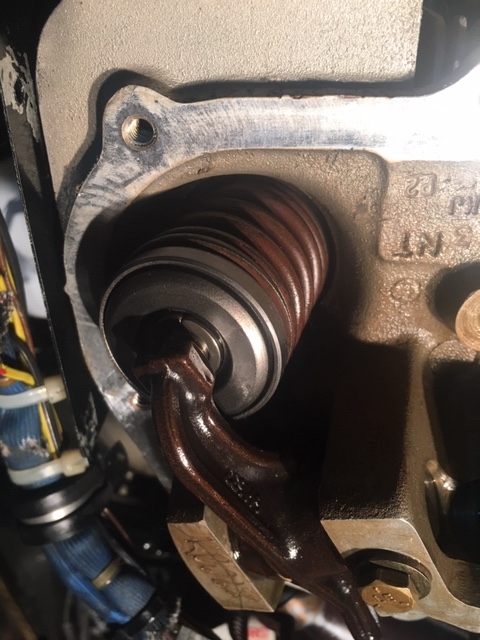
The seating area of the valve showed a nice smooth band after the lapping was done – very impressive!
After the lapping was completed, a new rotator was installed on the exhaust valve, everything was reassembled, and the compression immediately improved!
But the best result was the compression test that was done after running the engine… that same cylinder that was 42/80, now had a compression of 78/80! What a fantastic result, and now, hopefully that cylinder will run reliably for many more hours.
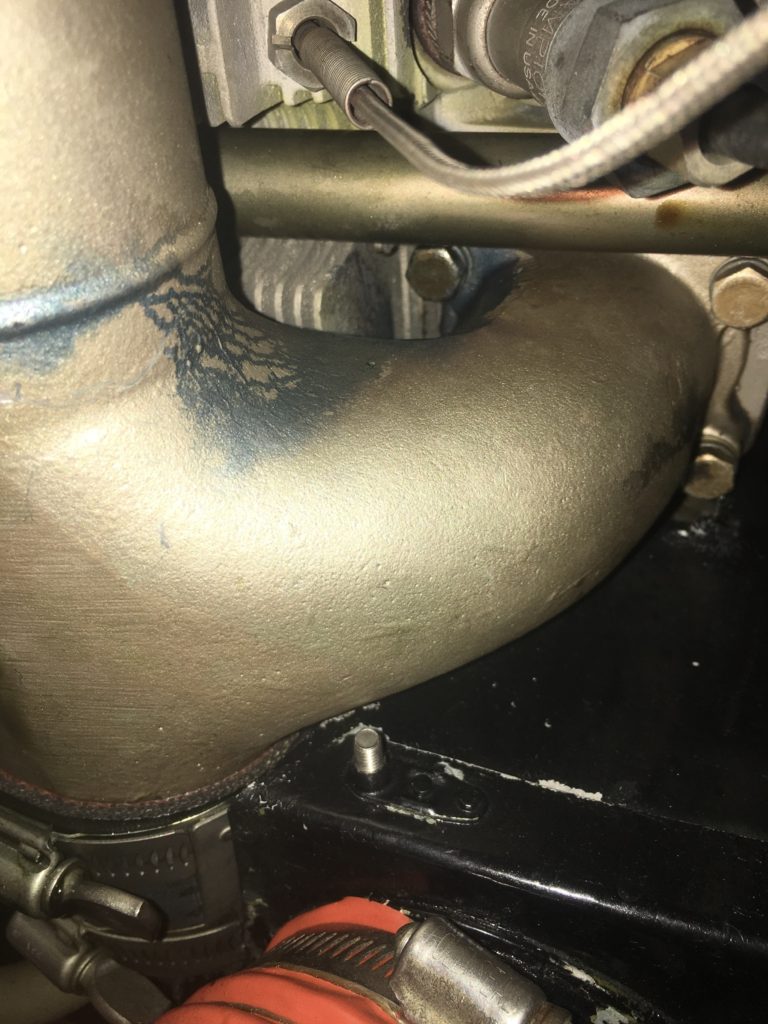
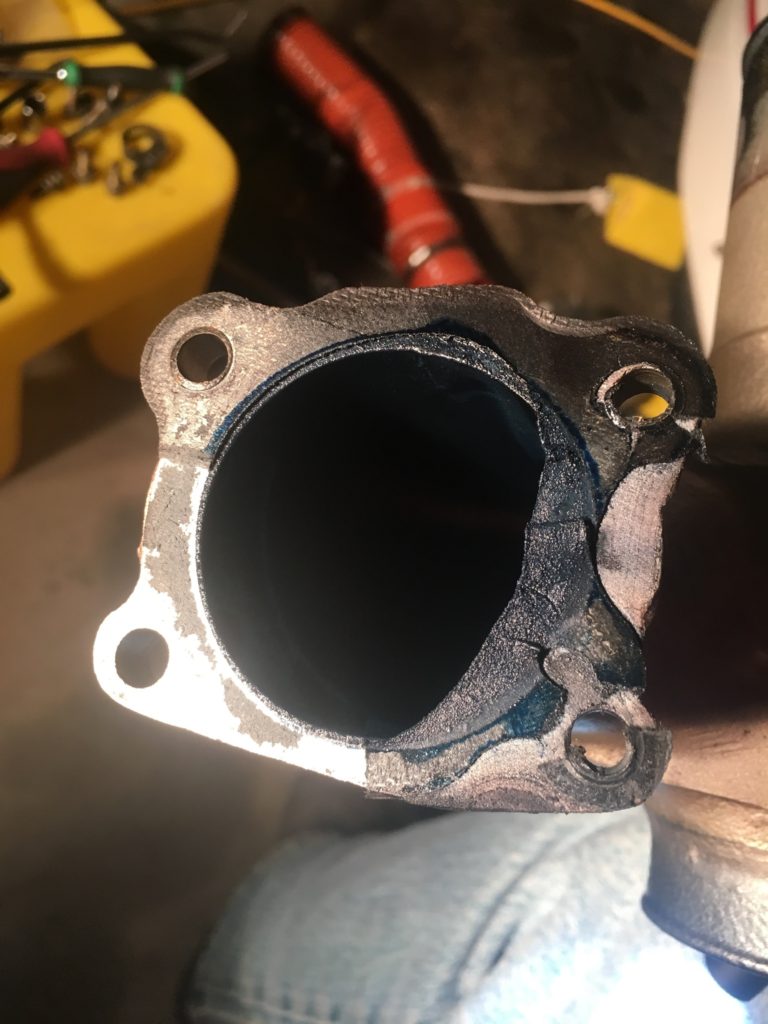
Be sure to listen to the audio for this episode for more details about Drew’s adventure. He also shared about an induction leak that was visible because of some blue fuel staining.
After removing the intake pipe, it was obvious the gasket had shifted out of position during the assembly process many years ago… perhaps this was part of the poor idling problem that was also corrected during the annual inspection. After installing a new intake gasket and adjusting the idle mixture setting, the engine idled much better than before.
Drew’s story is a true inspiration in so many ways.
So, if you, as an airplane owner, have an interest in learning and getting involved in the maintenance, just find an A&P who is willing to give you some supervision to keep things legal, and you’ll have all kinds of possibilities.
Well done Drew, on your exhaust valve lapping project! I’m thrilled with the result you achieved on this one!
Drew has a young family, and it makes me happy to know he’s taking such good care of his airplane… after all, he’s got some precious cargo to haul around!


Recent Comments