Podcast: Play in new window | Download
Last Monday, I lapped the #5 exhaust valve on a Continental engine.
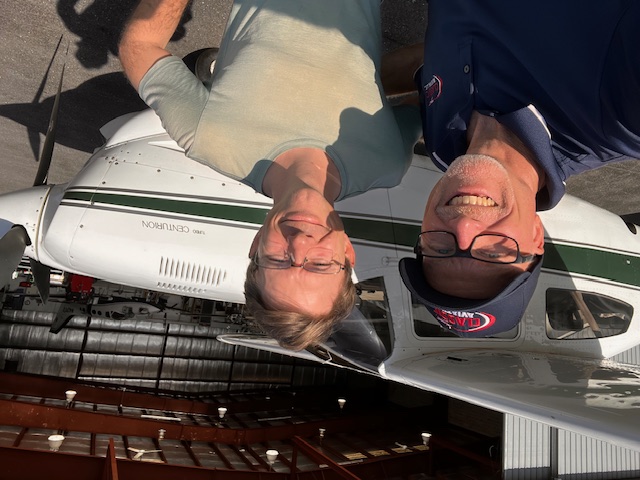
But more importantly, I met the owner / pilot of a Turbo Centurion, and now I’m happy to call him a good friend!
Thanks for flying all the way up here Mark!
Here’s the story:
Mark had been a little concerned about the #5 exhaust valve, not because he was having any particular trouble with it, but because the borescope photo showed a slightly irregular appearance.
And being proactive, Mark decided to do some research.
That’s when he found me, and some of the information I’ve published to help airplane owners understand borescoping, exhaust valve lapping, and other useful pieces of information you often won’t find in the “maintenance manual.”
Mark’s local shop had indicated it would be a good idea to keep an eye on the #5 exhaust valve, and if it continued to be a problem, the cylinder may need to be removed for a repair or replacement.
Some years ago, I would have had similar thoughts.
But not today.
In the past 5 years, I’ve rescued many cylinders from premature removal, especially on large bore Continentals… and I was hopeful we could remedy Mark’s situation as well.
Instead of removing cylinders in situations where the exhaust valve is showing beginning signs of burning, or the compression is dropping into the 50’s and 40’s and below, I now consider the first option of LAPPING THE EXHAUST VALVE WITHOUT REMOVING THE CYLINDER, AND INSTALLING A NEW ROTOCOIL.
Mark was interested to learn about this process, so we agreed on a plan for him to fly his airplane from North Carolina to the Shenandoah Valley of Virginia for some not-so-invasive surgery on his airplane engine.
Soon after Mark landed, we rolled his Cessna T210 in the shop and got to work.
I won’t bore you in this post with all the details, but we lapped the exhaust valve and were both pleased with the progress along the way and with the end result.
Take a look at some photos showing the lapping compound at work, and the nice, shiny sealing band that’s developing on the edge of the valve.
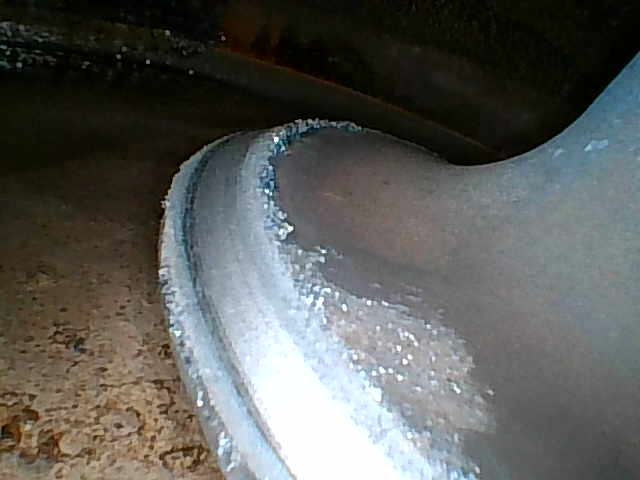
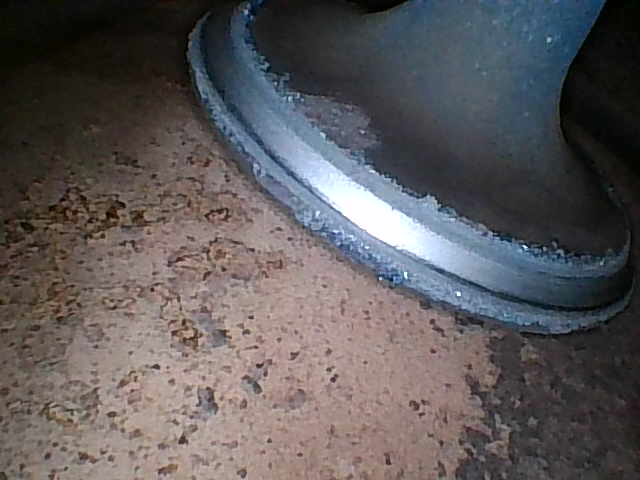
An excellent sealing surface, along with a new rotocoil on the valve, will help to ensure it rotates properly during operation, thus minimizing the chances for a burning exhaust valve which will shorten it’s lifespan if not remedied.
When the process was completed, we flushed the lapping compound out the bottom spark plug hole and sprayed some LPS-2 in the top spark plug hole and dispersed it with compressed air in an attempt to keep the cylinder wall lubricated during startup, after which the engine lubrication system would take over and do its job.
During reassembly, we installed a new rotocoil P/N 629117-1 on the exhaust valve and reassembled all the parts that had been removed.
You may ask, “Why do we need to install a new rotocoil?”
Great question.
And to answer the question, some photos will help.
When you cut a rotocoil apart, here’s what you’ll find: two halves, a special washer, and a long spring laying on its side.
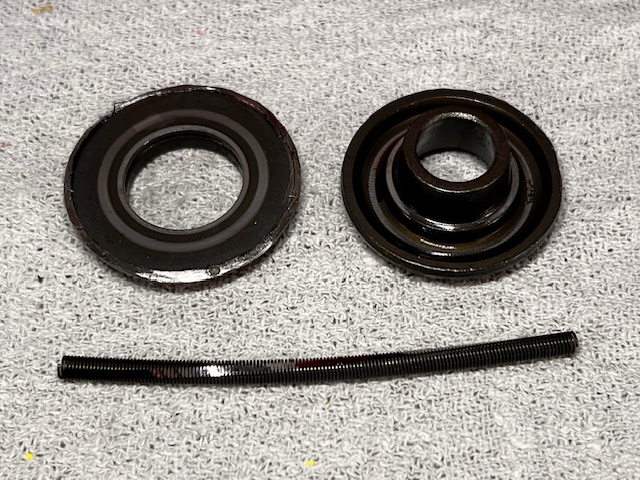
Every time the valve stem is pressed down by the rocker arm, the rotocoil makes the valve rotate just a little. This action helps prevent hot spots on the edge of the valve, and keeps the sealing surface in tact between the valve and the valve seat.
Over time, the spring gets a flat spot on it which decreases its ability to make the valve rotate.
Here’s a close-up photo of the flat spot on the spring:
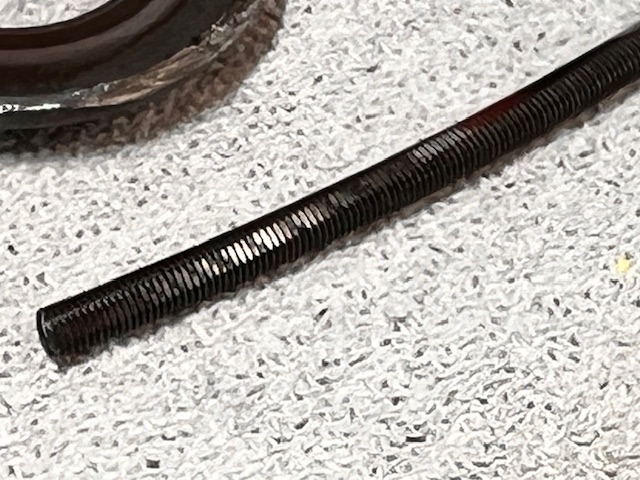
Eventually, the spring can break into many pieces if the coils get too thin at the flat spot.
For this reason, and because rotocoils are very reasonably priced, I always install a new rotocoil when I lap a Continental exhaust valve.
We completed the project, Mark ran the engine, and we re-checked the compression. It was excellent at 75/80, a stellar number!
I’ve had very dramatic improvements in compression numbers after lapping valves (like from the 30’s or 40’s to the 60’s and 70’s.) This time was not as dramatic as Mark’s #5 compression was 71/80 before lapping. But it was still very worthwhile doing in order to prevent any further irregularity in the sealing capability and appearance of the valve.
Mark was being very proactive and planning ahead, and I applaud that!
Sometimes people let these valves go too far, and then there’s no choice but to remove the cylinder.
But if caught early, most exhaust valves can be saved from further burning.
Mark, it was great to work with you, and although I don’t wish for you to have any airplane troubles, I do hope we can work together on your airplane again sometime soon!
The post “248 – Mark’s Cessna T210 Exhaust Valve Story” appeared first at AirplaneOwnerMaintenance.com
Recent Comments